Yarn Ornaments

Yarnaments (1)

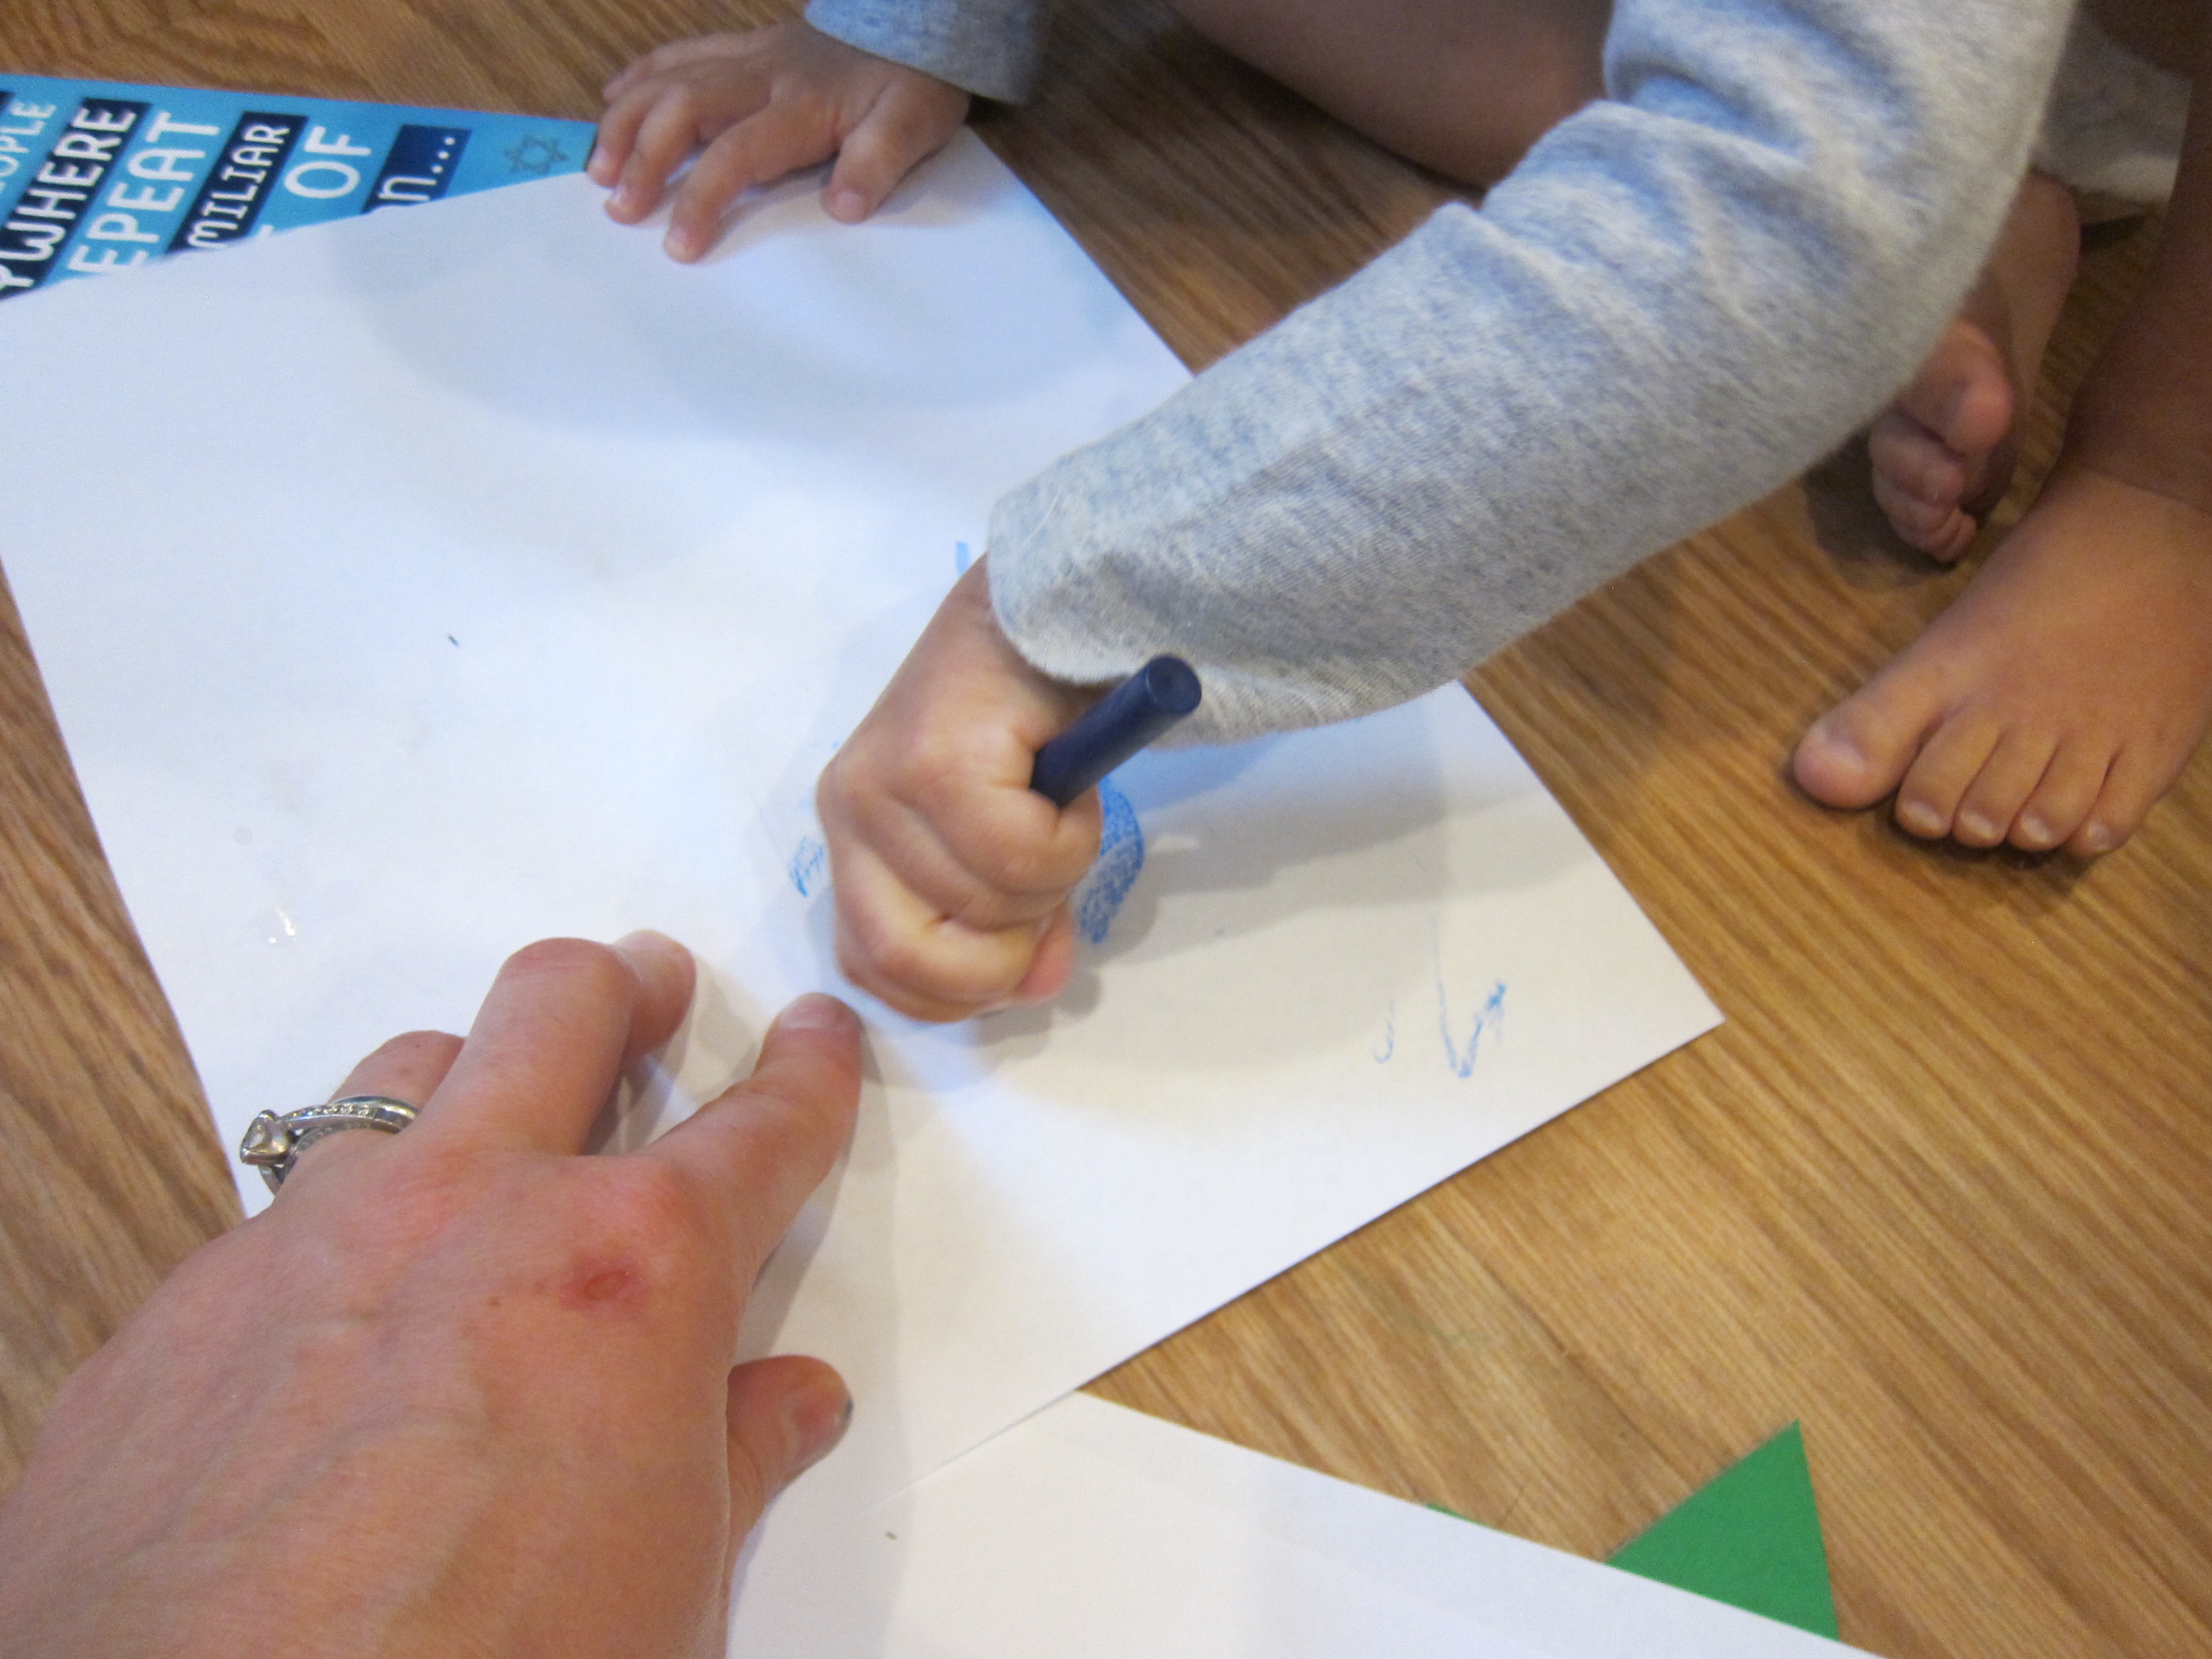
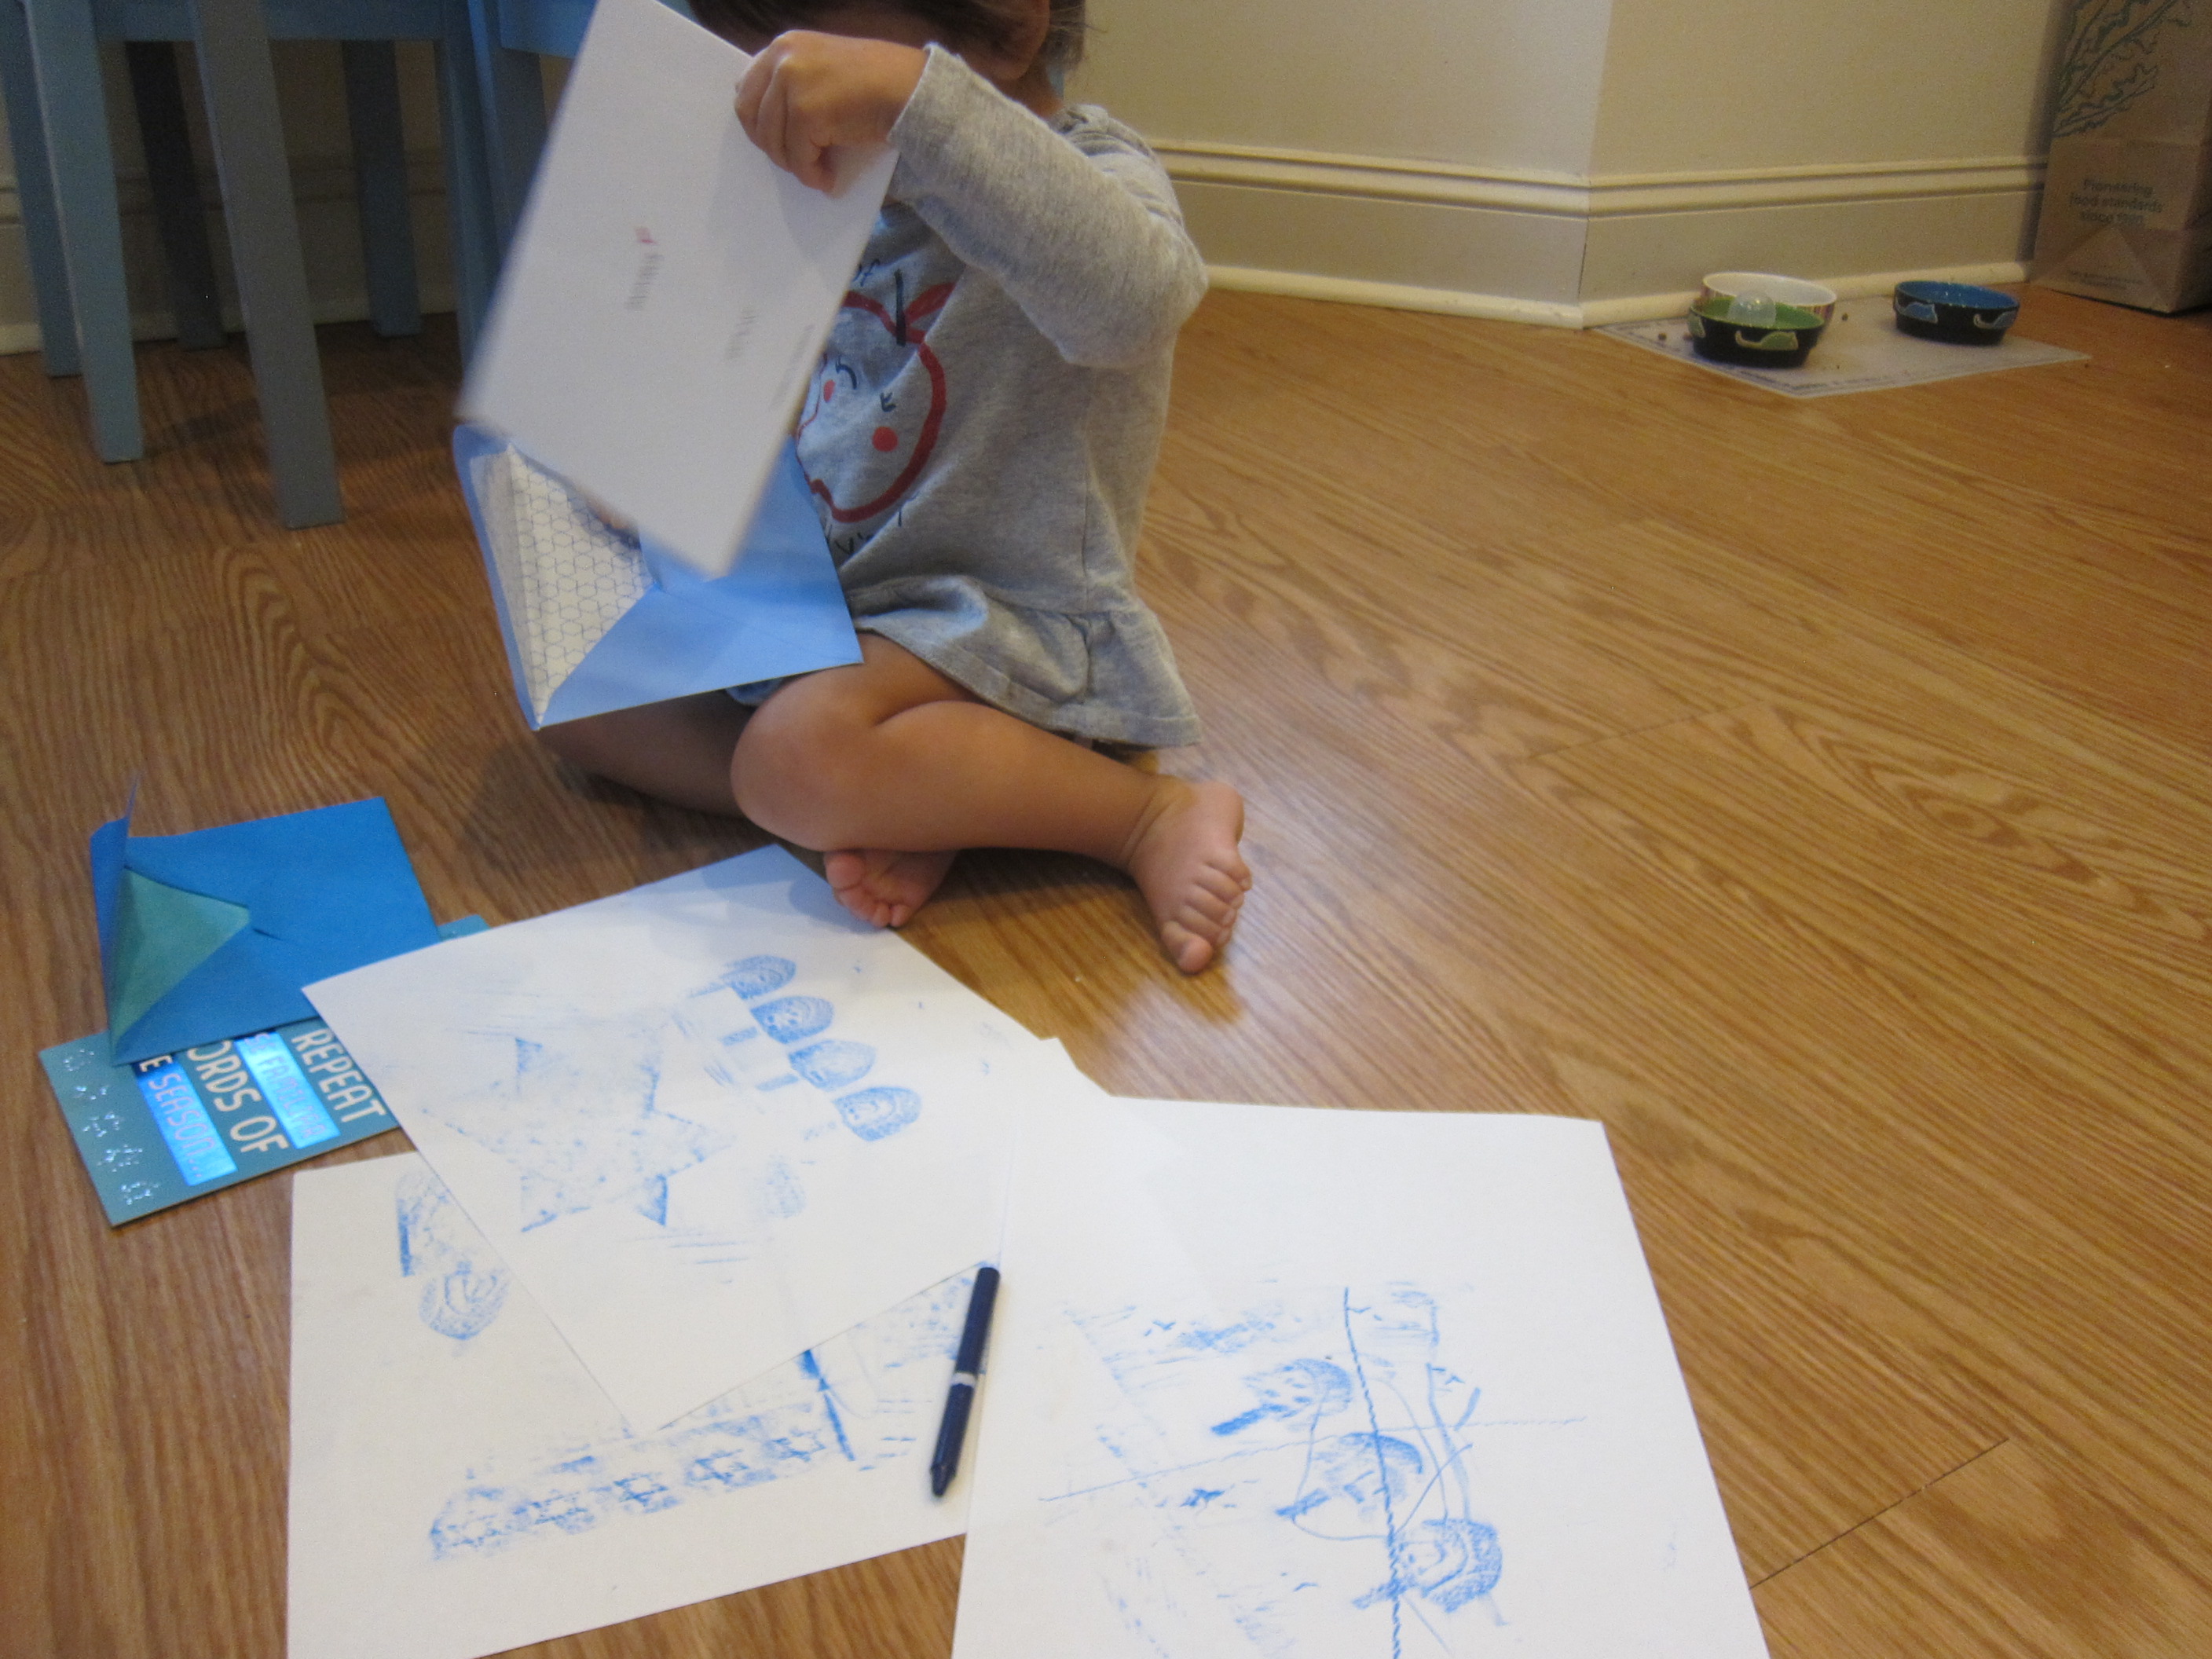
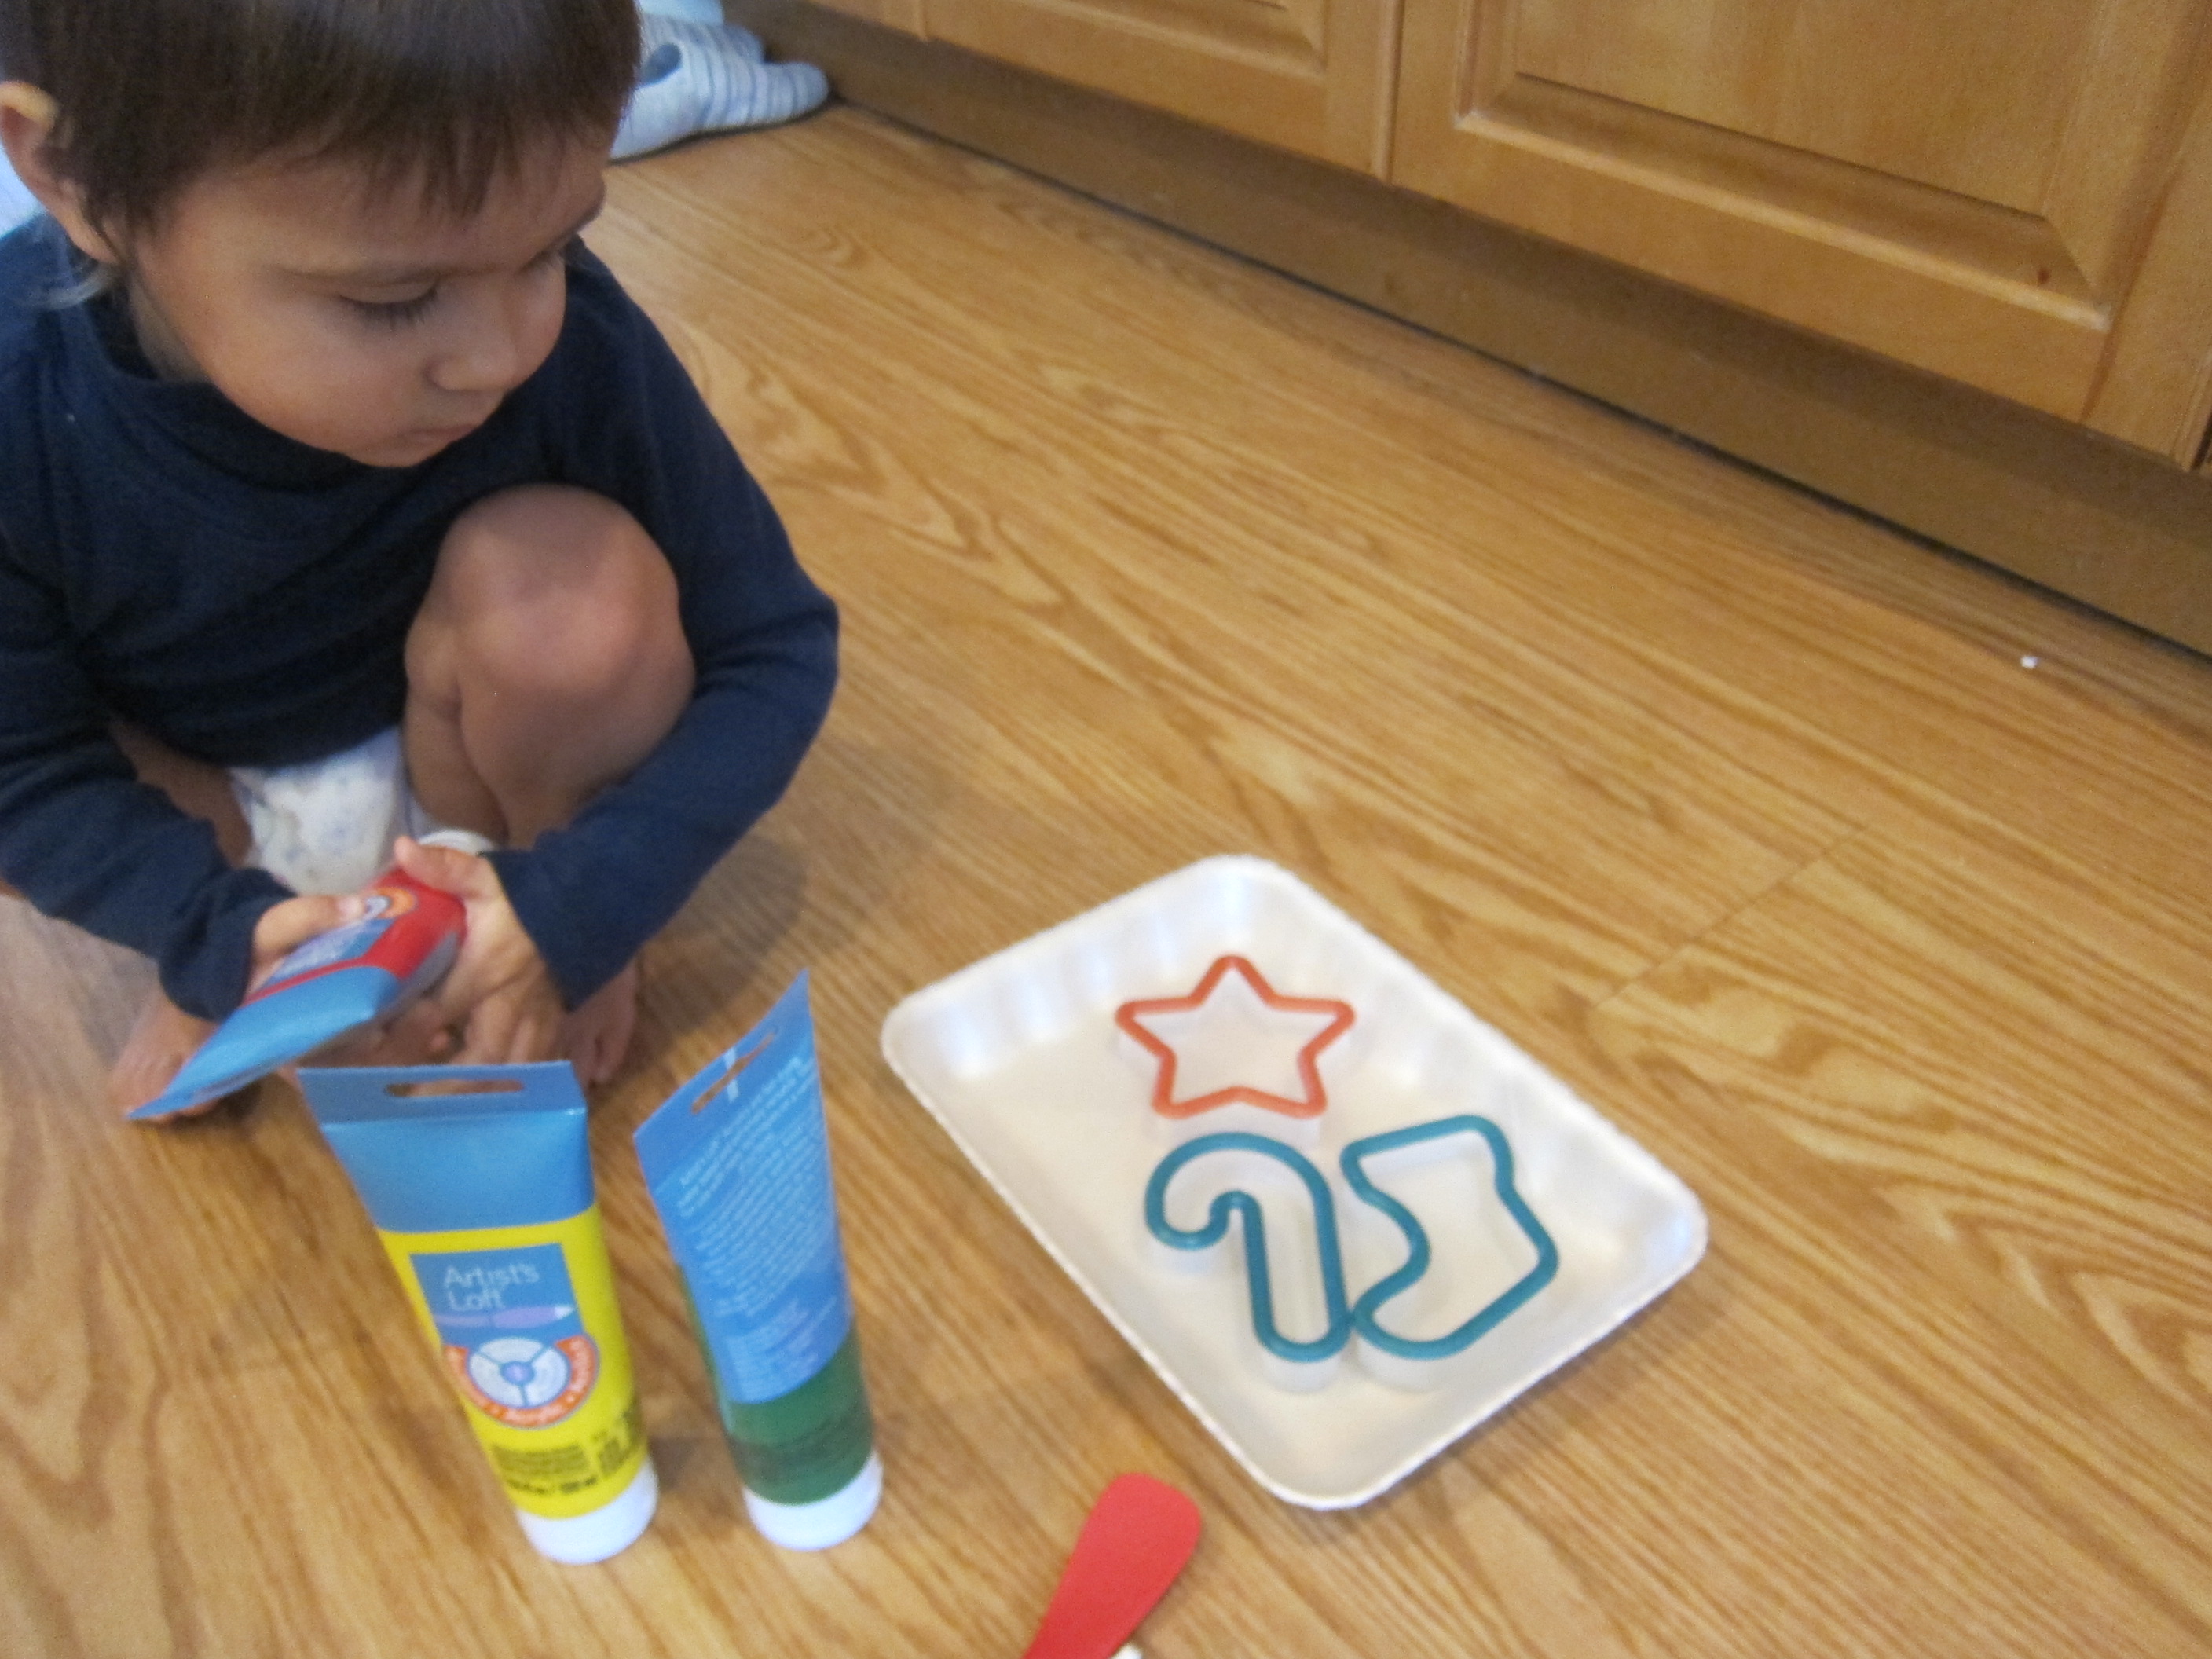
These pretty homemade ornaments are easy enough for even preschoolers to help put together. The resulting gift-shaped decorations also make – hint hint – a great gift for friends or relatives!

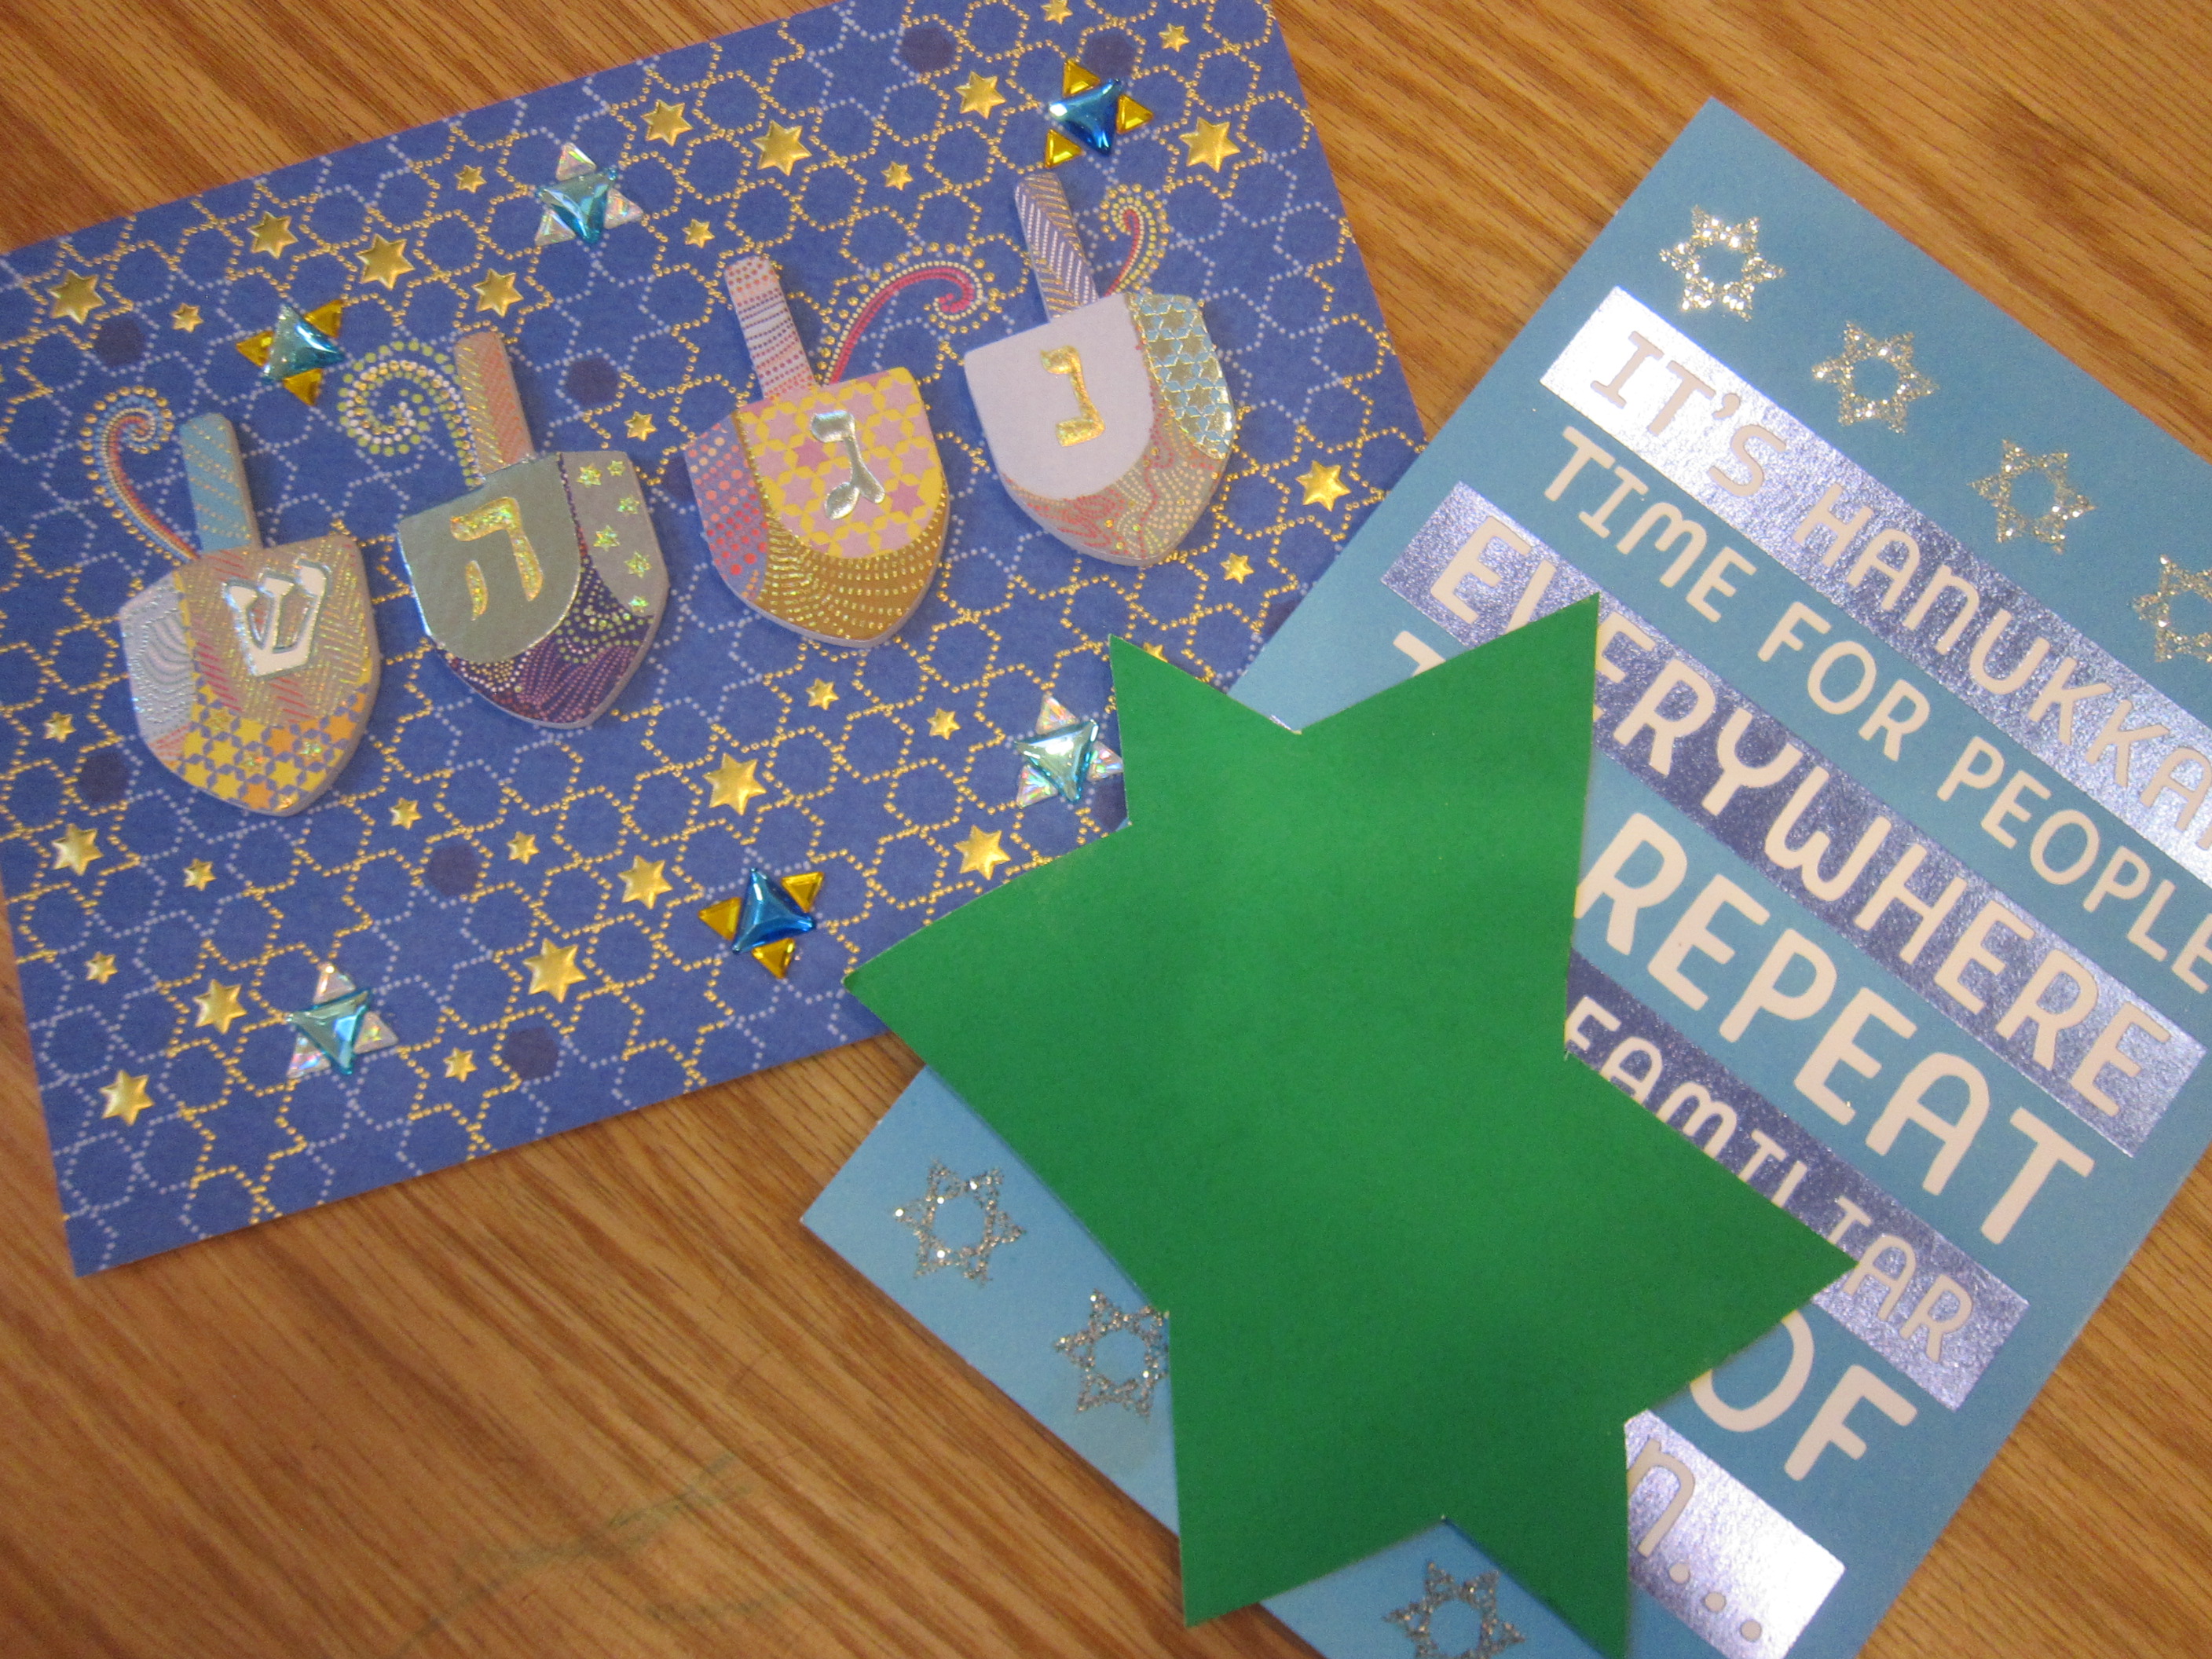
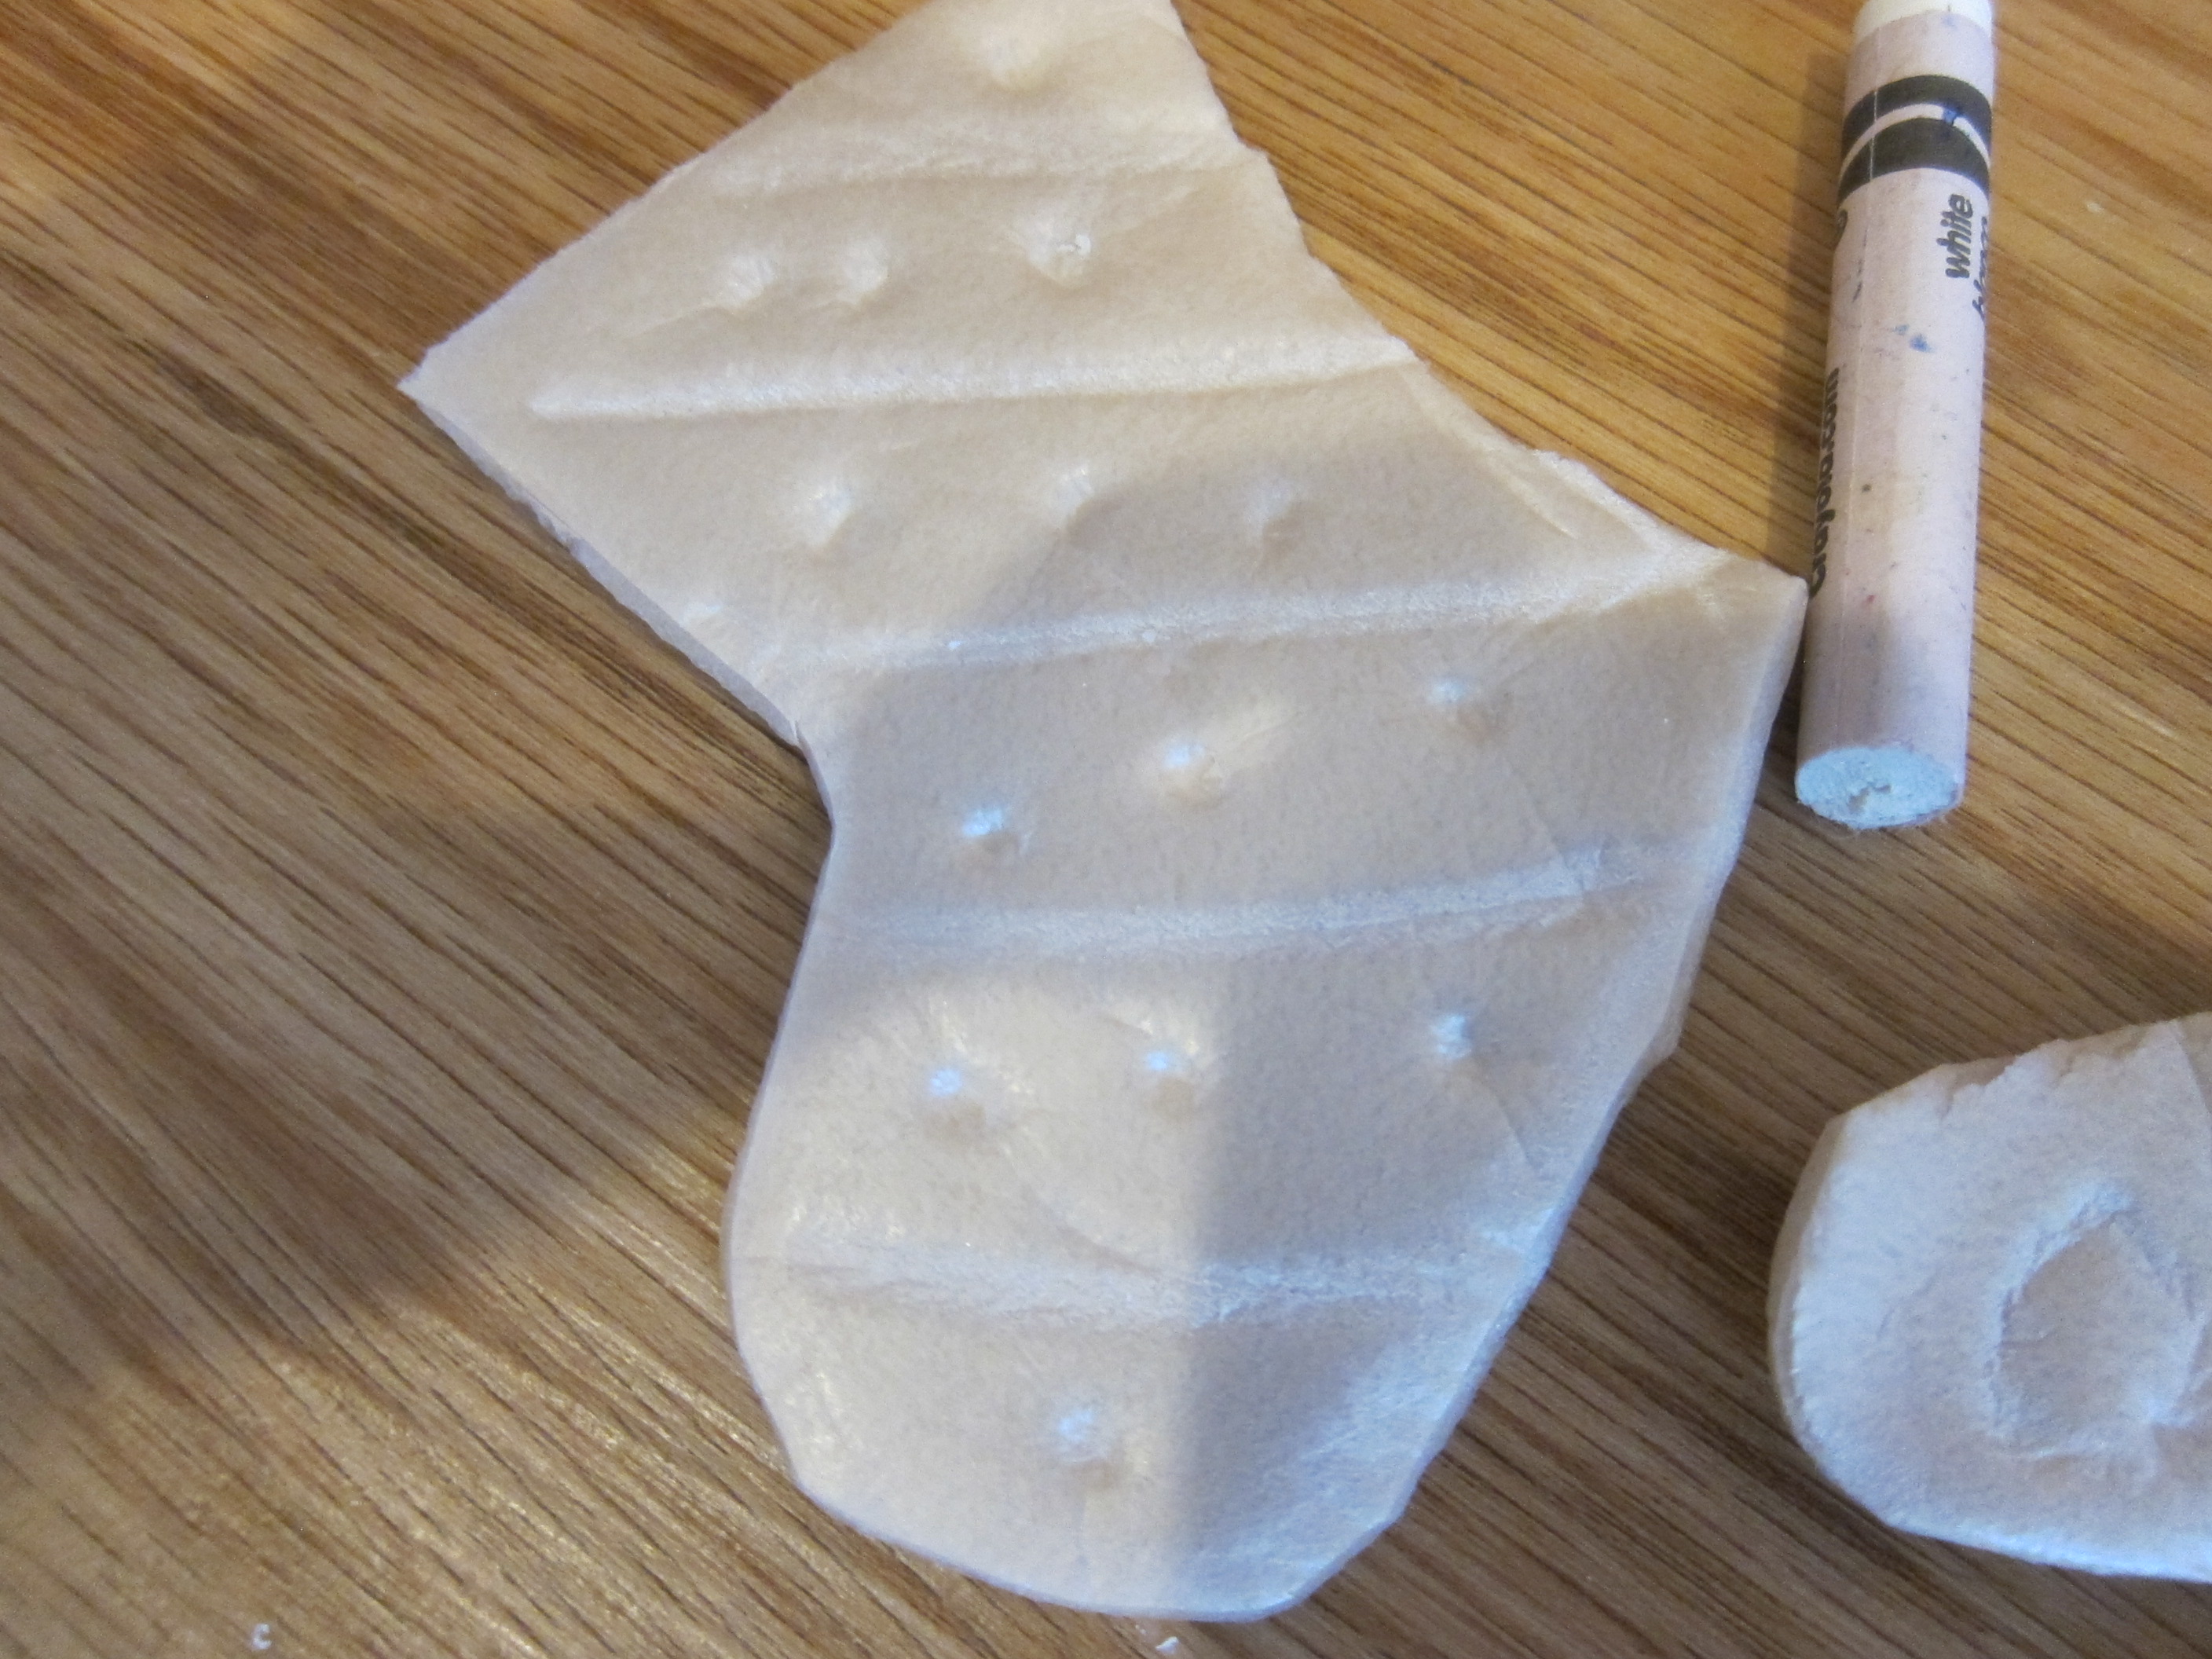
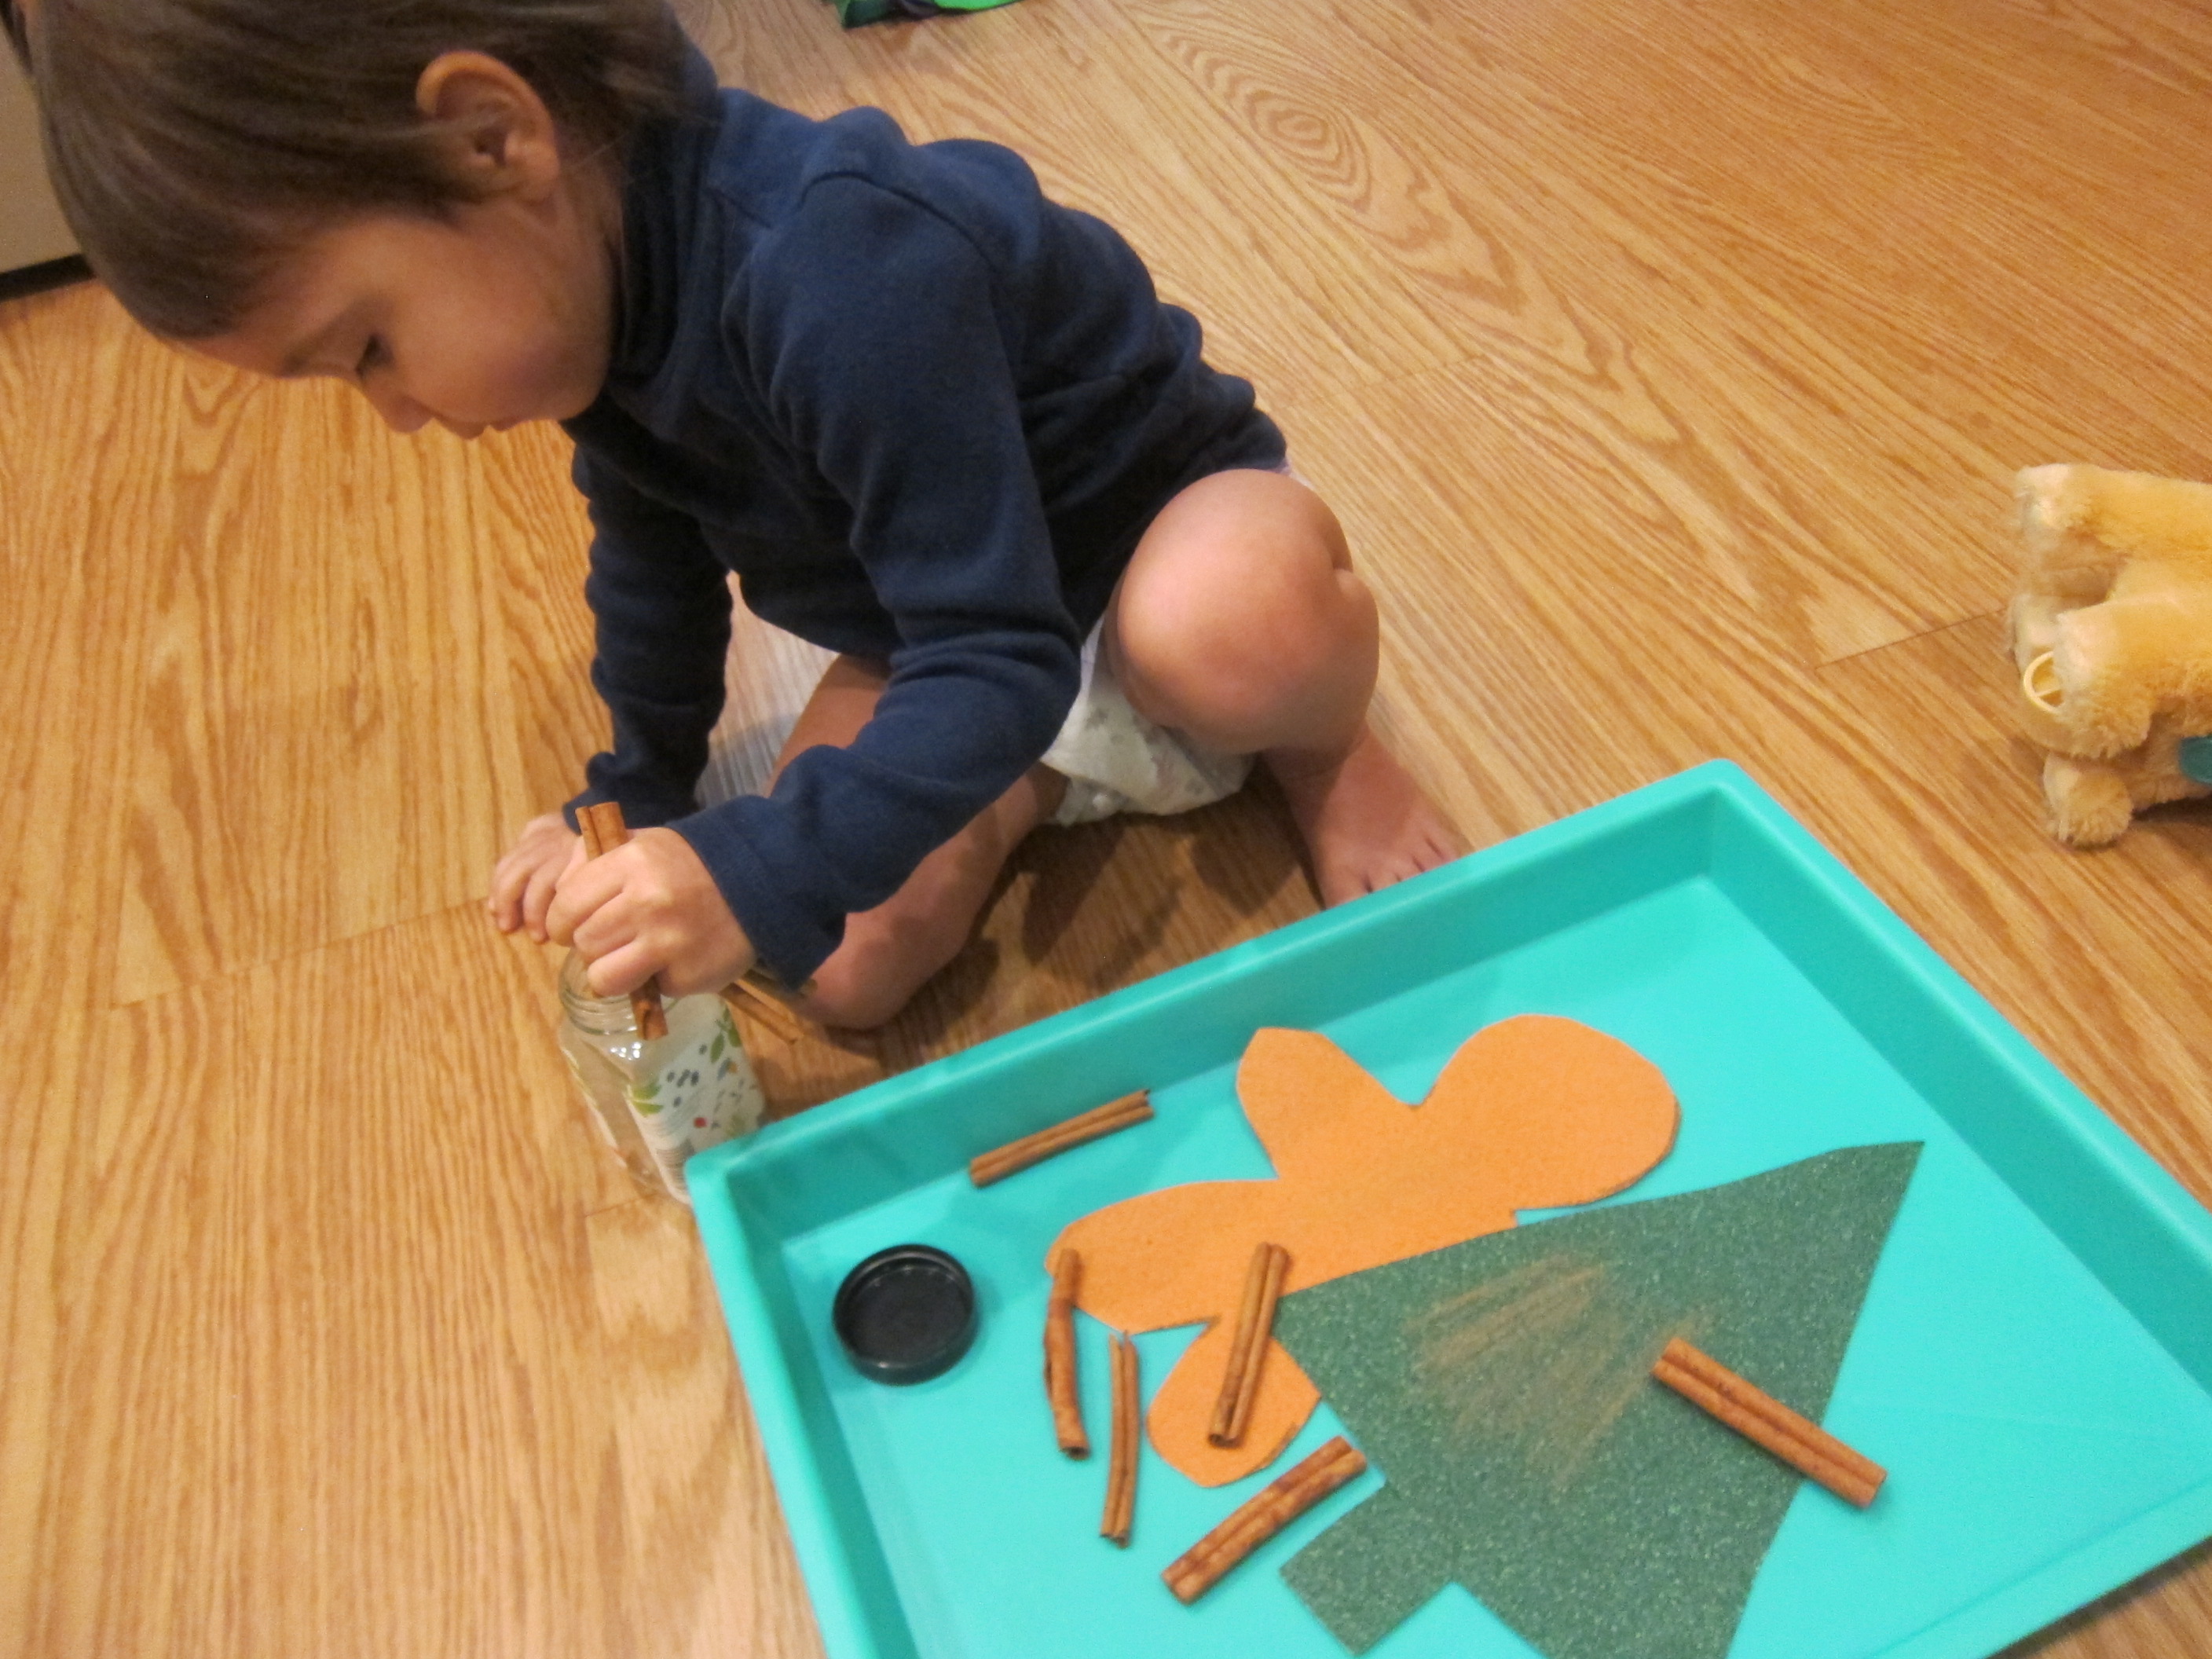
To start, cut squares out of cardboard (which is also a great way to reuse boxes from holiday deliveries). You could also cut out different shapes like circles or stars, but I found that the squares were the easiest for Veronika to help wrap, whereas stars were a bit tricky.

Yarnaments (6)

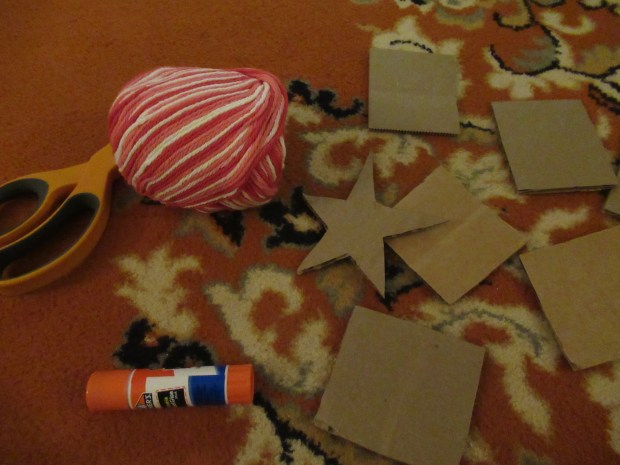
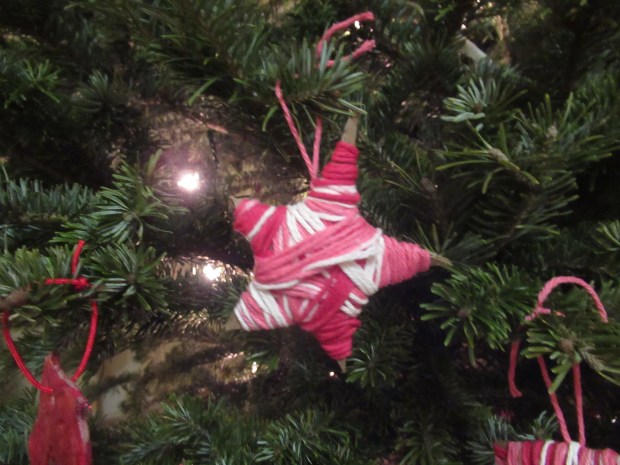
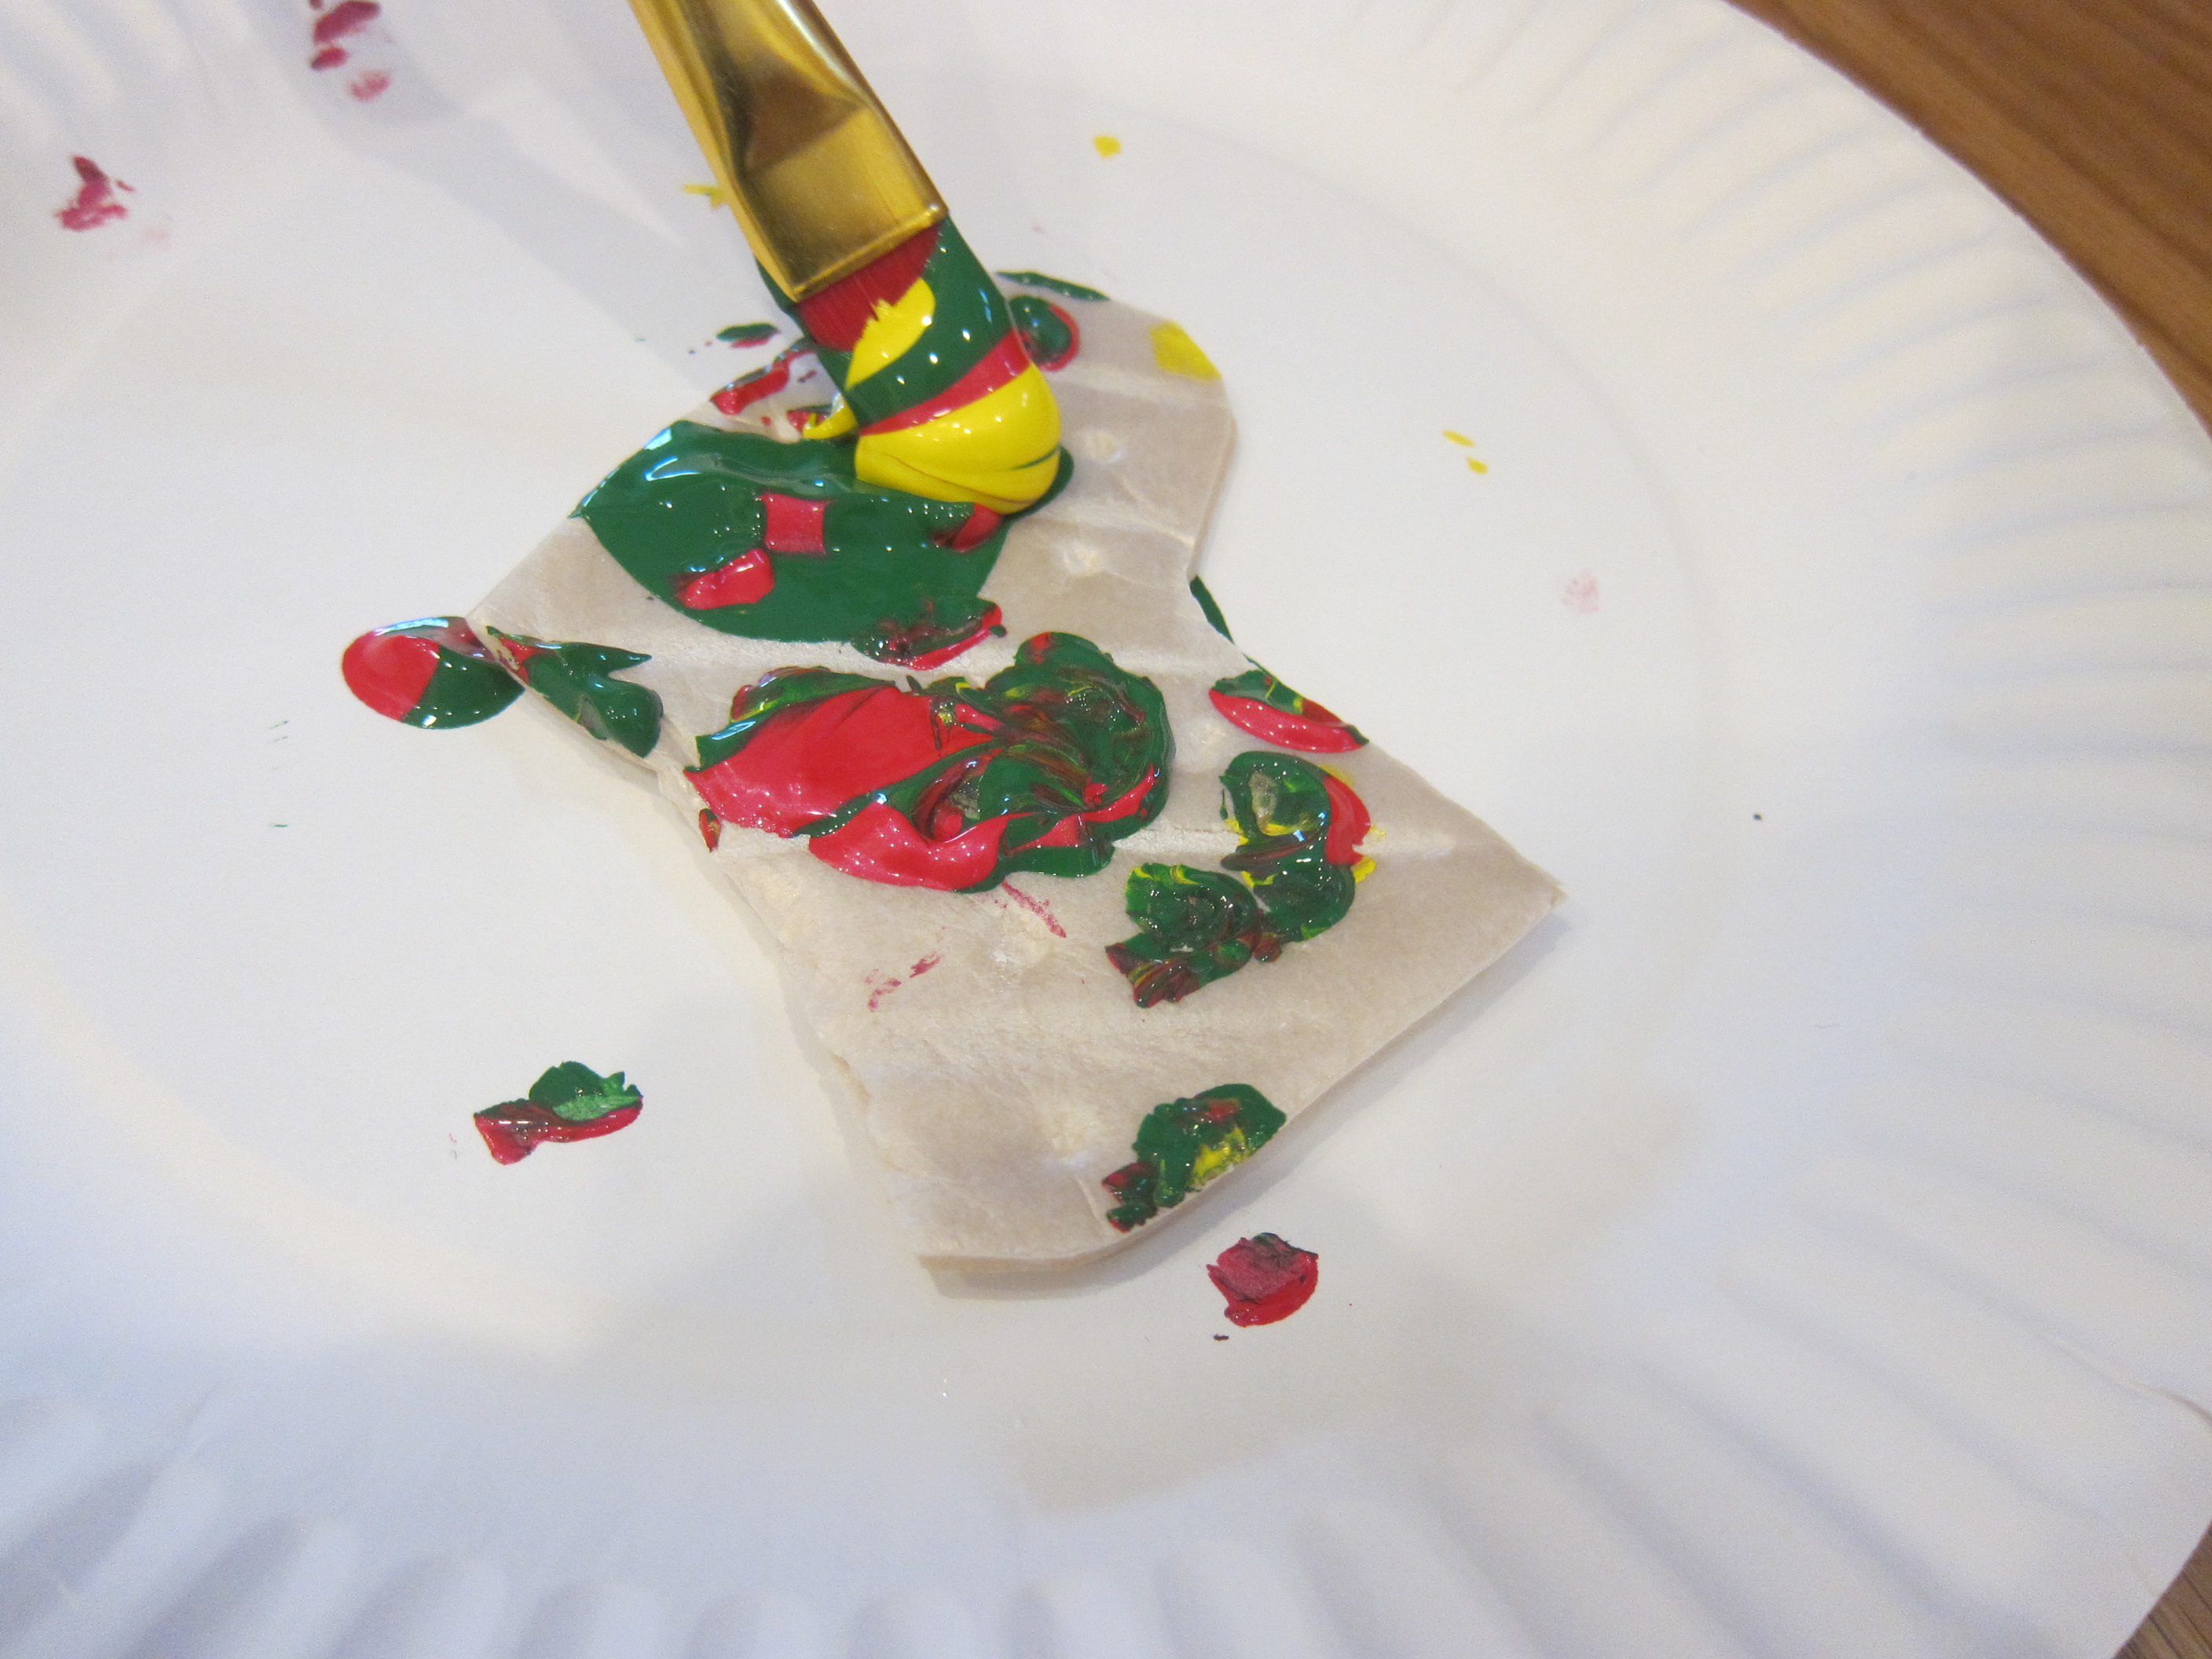
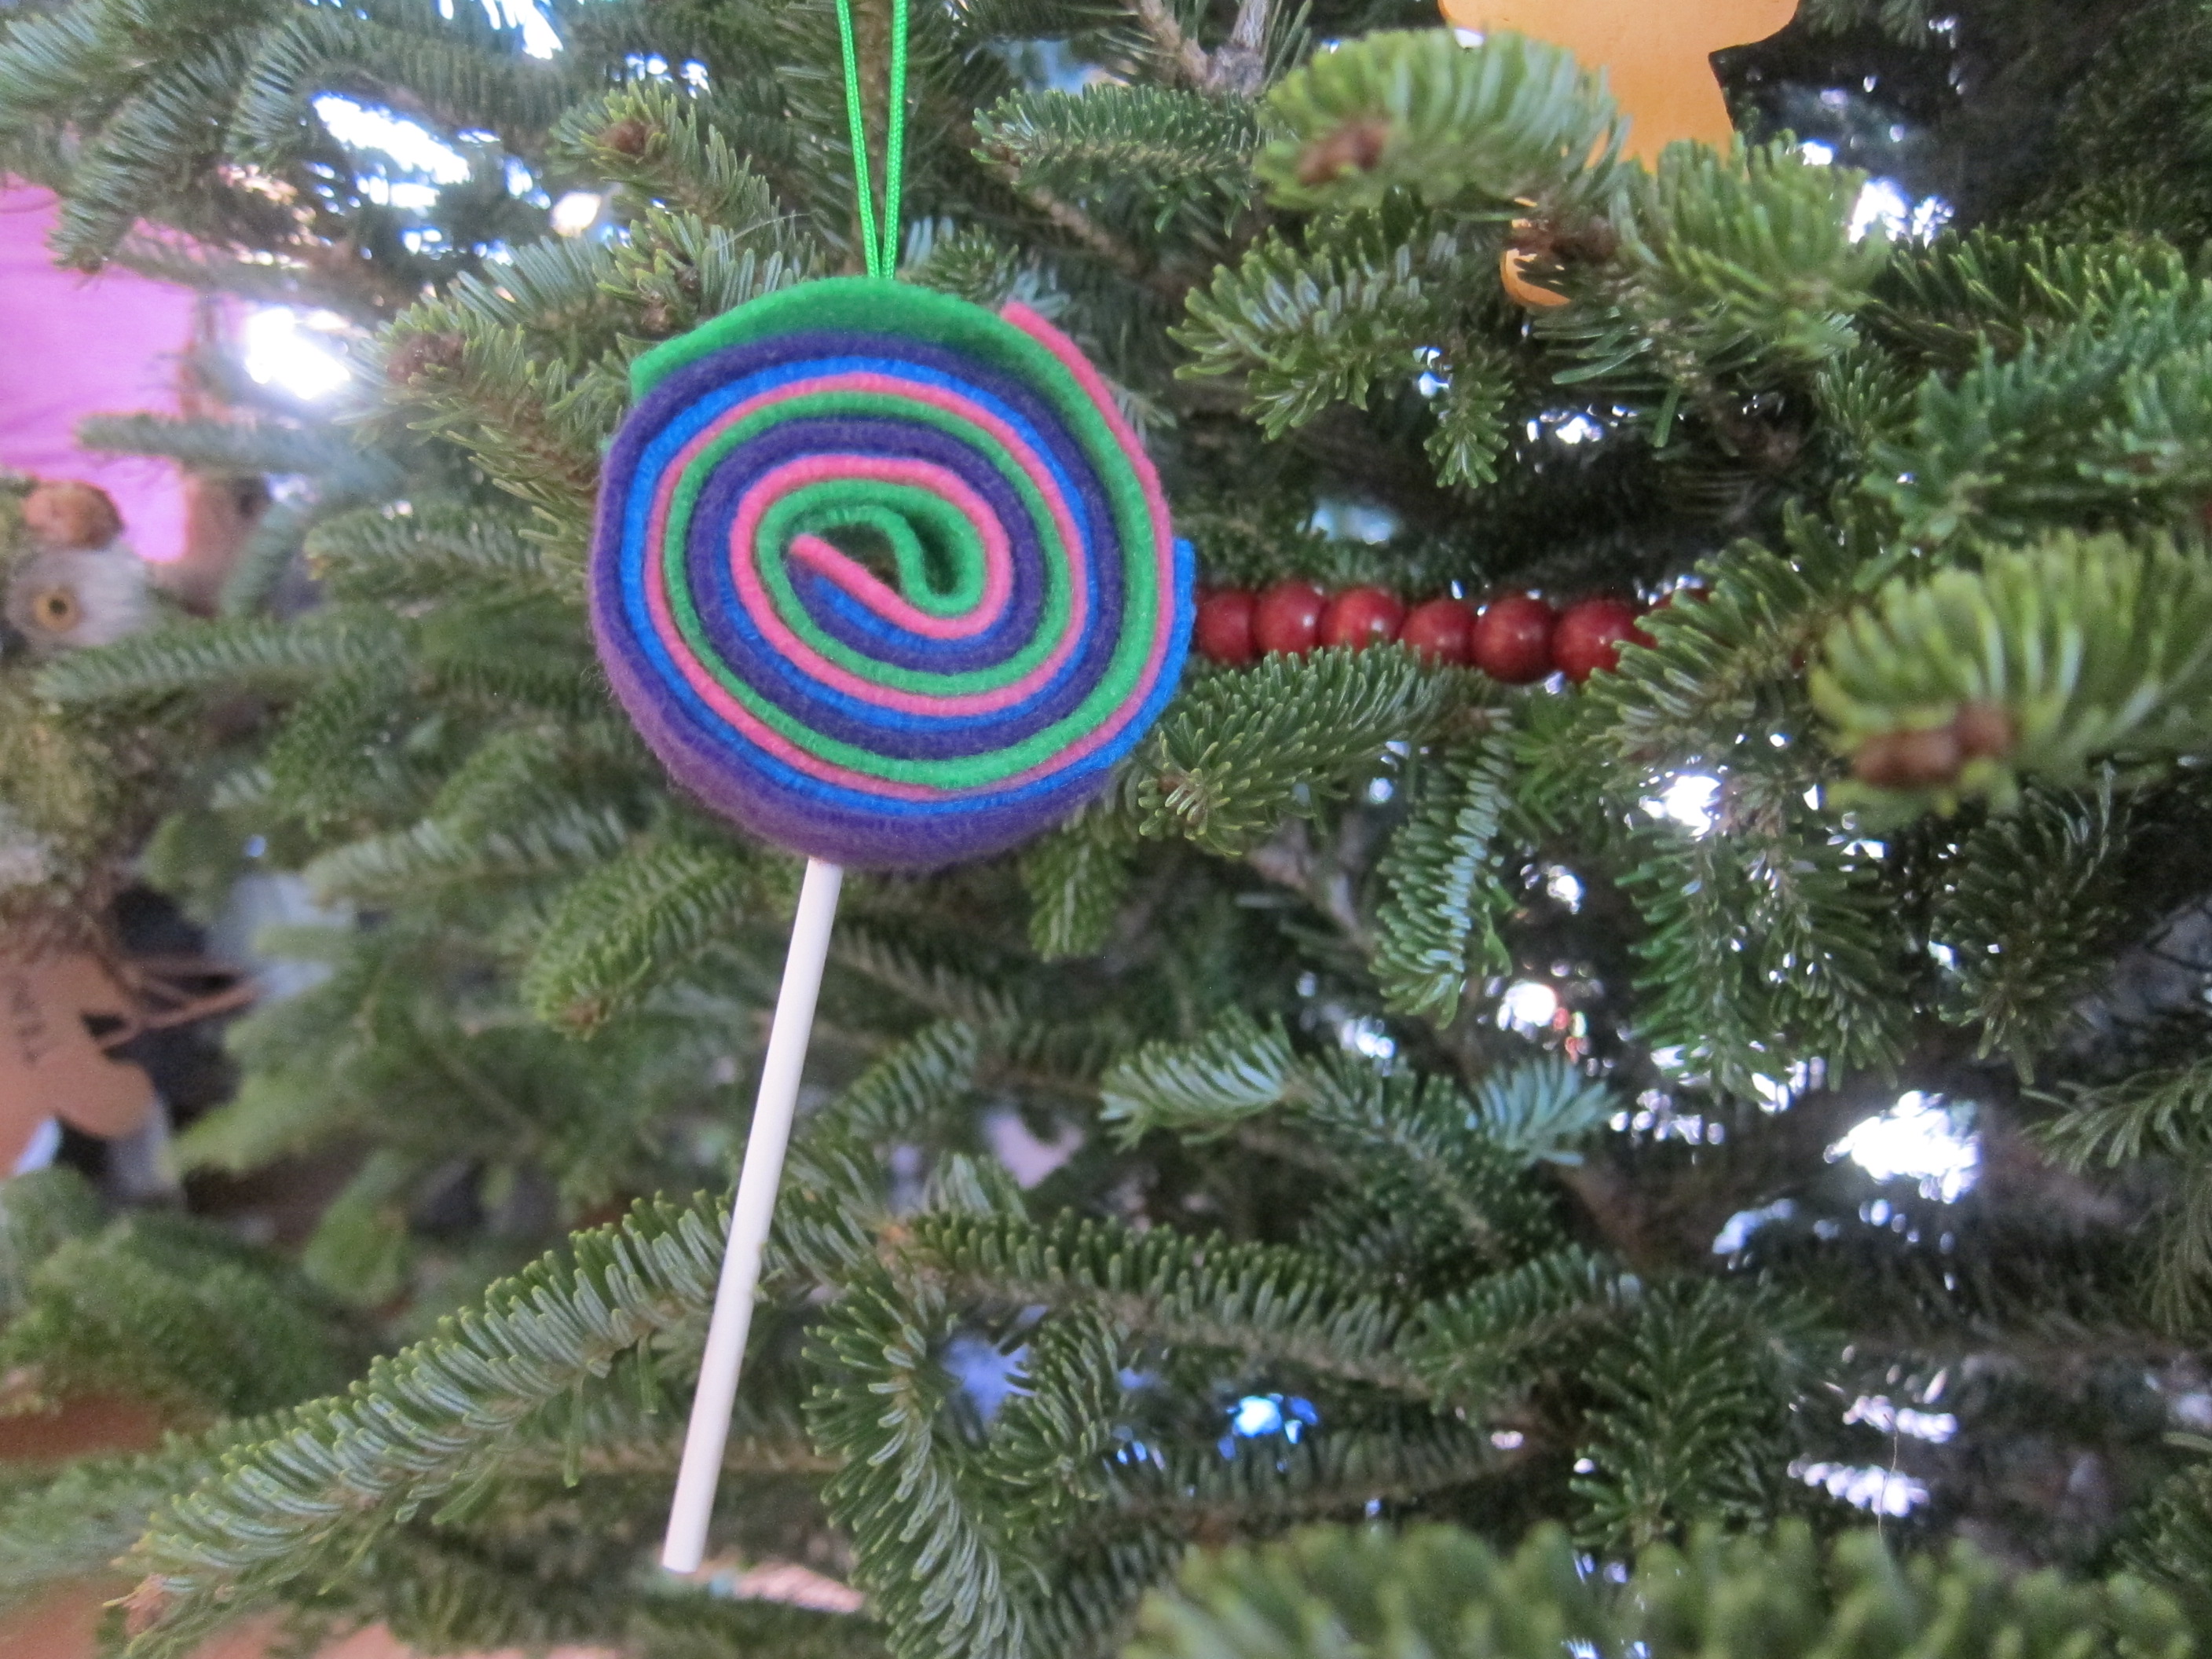
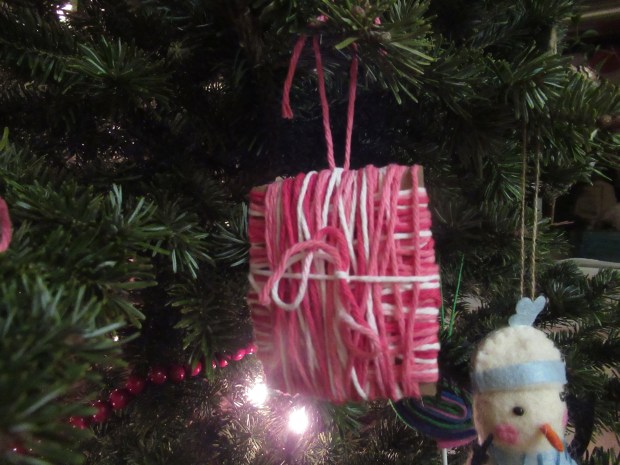
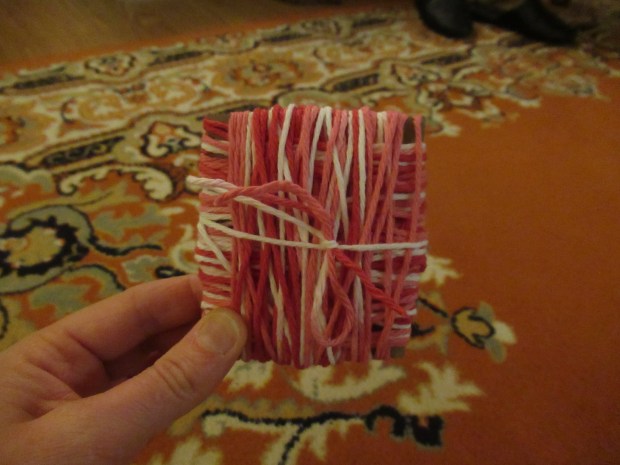
Use a glue stick or glue dot to make the center of each square sticky, then simply begin wrapping with yarn. We found a pretty one that changed from shades of red to pink to white and back again, which made us think of holiday candy canes!

Yarnaments (4)

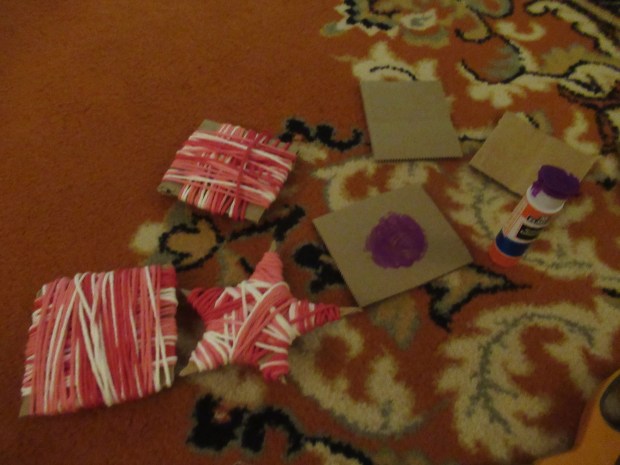
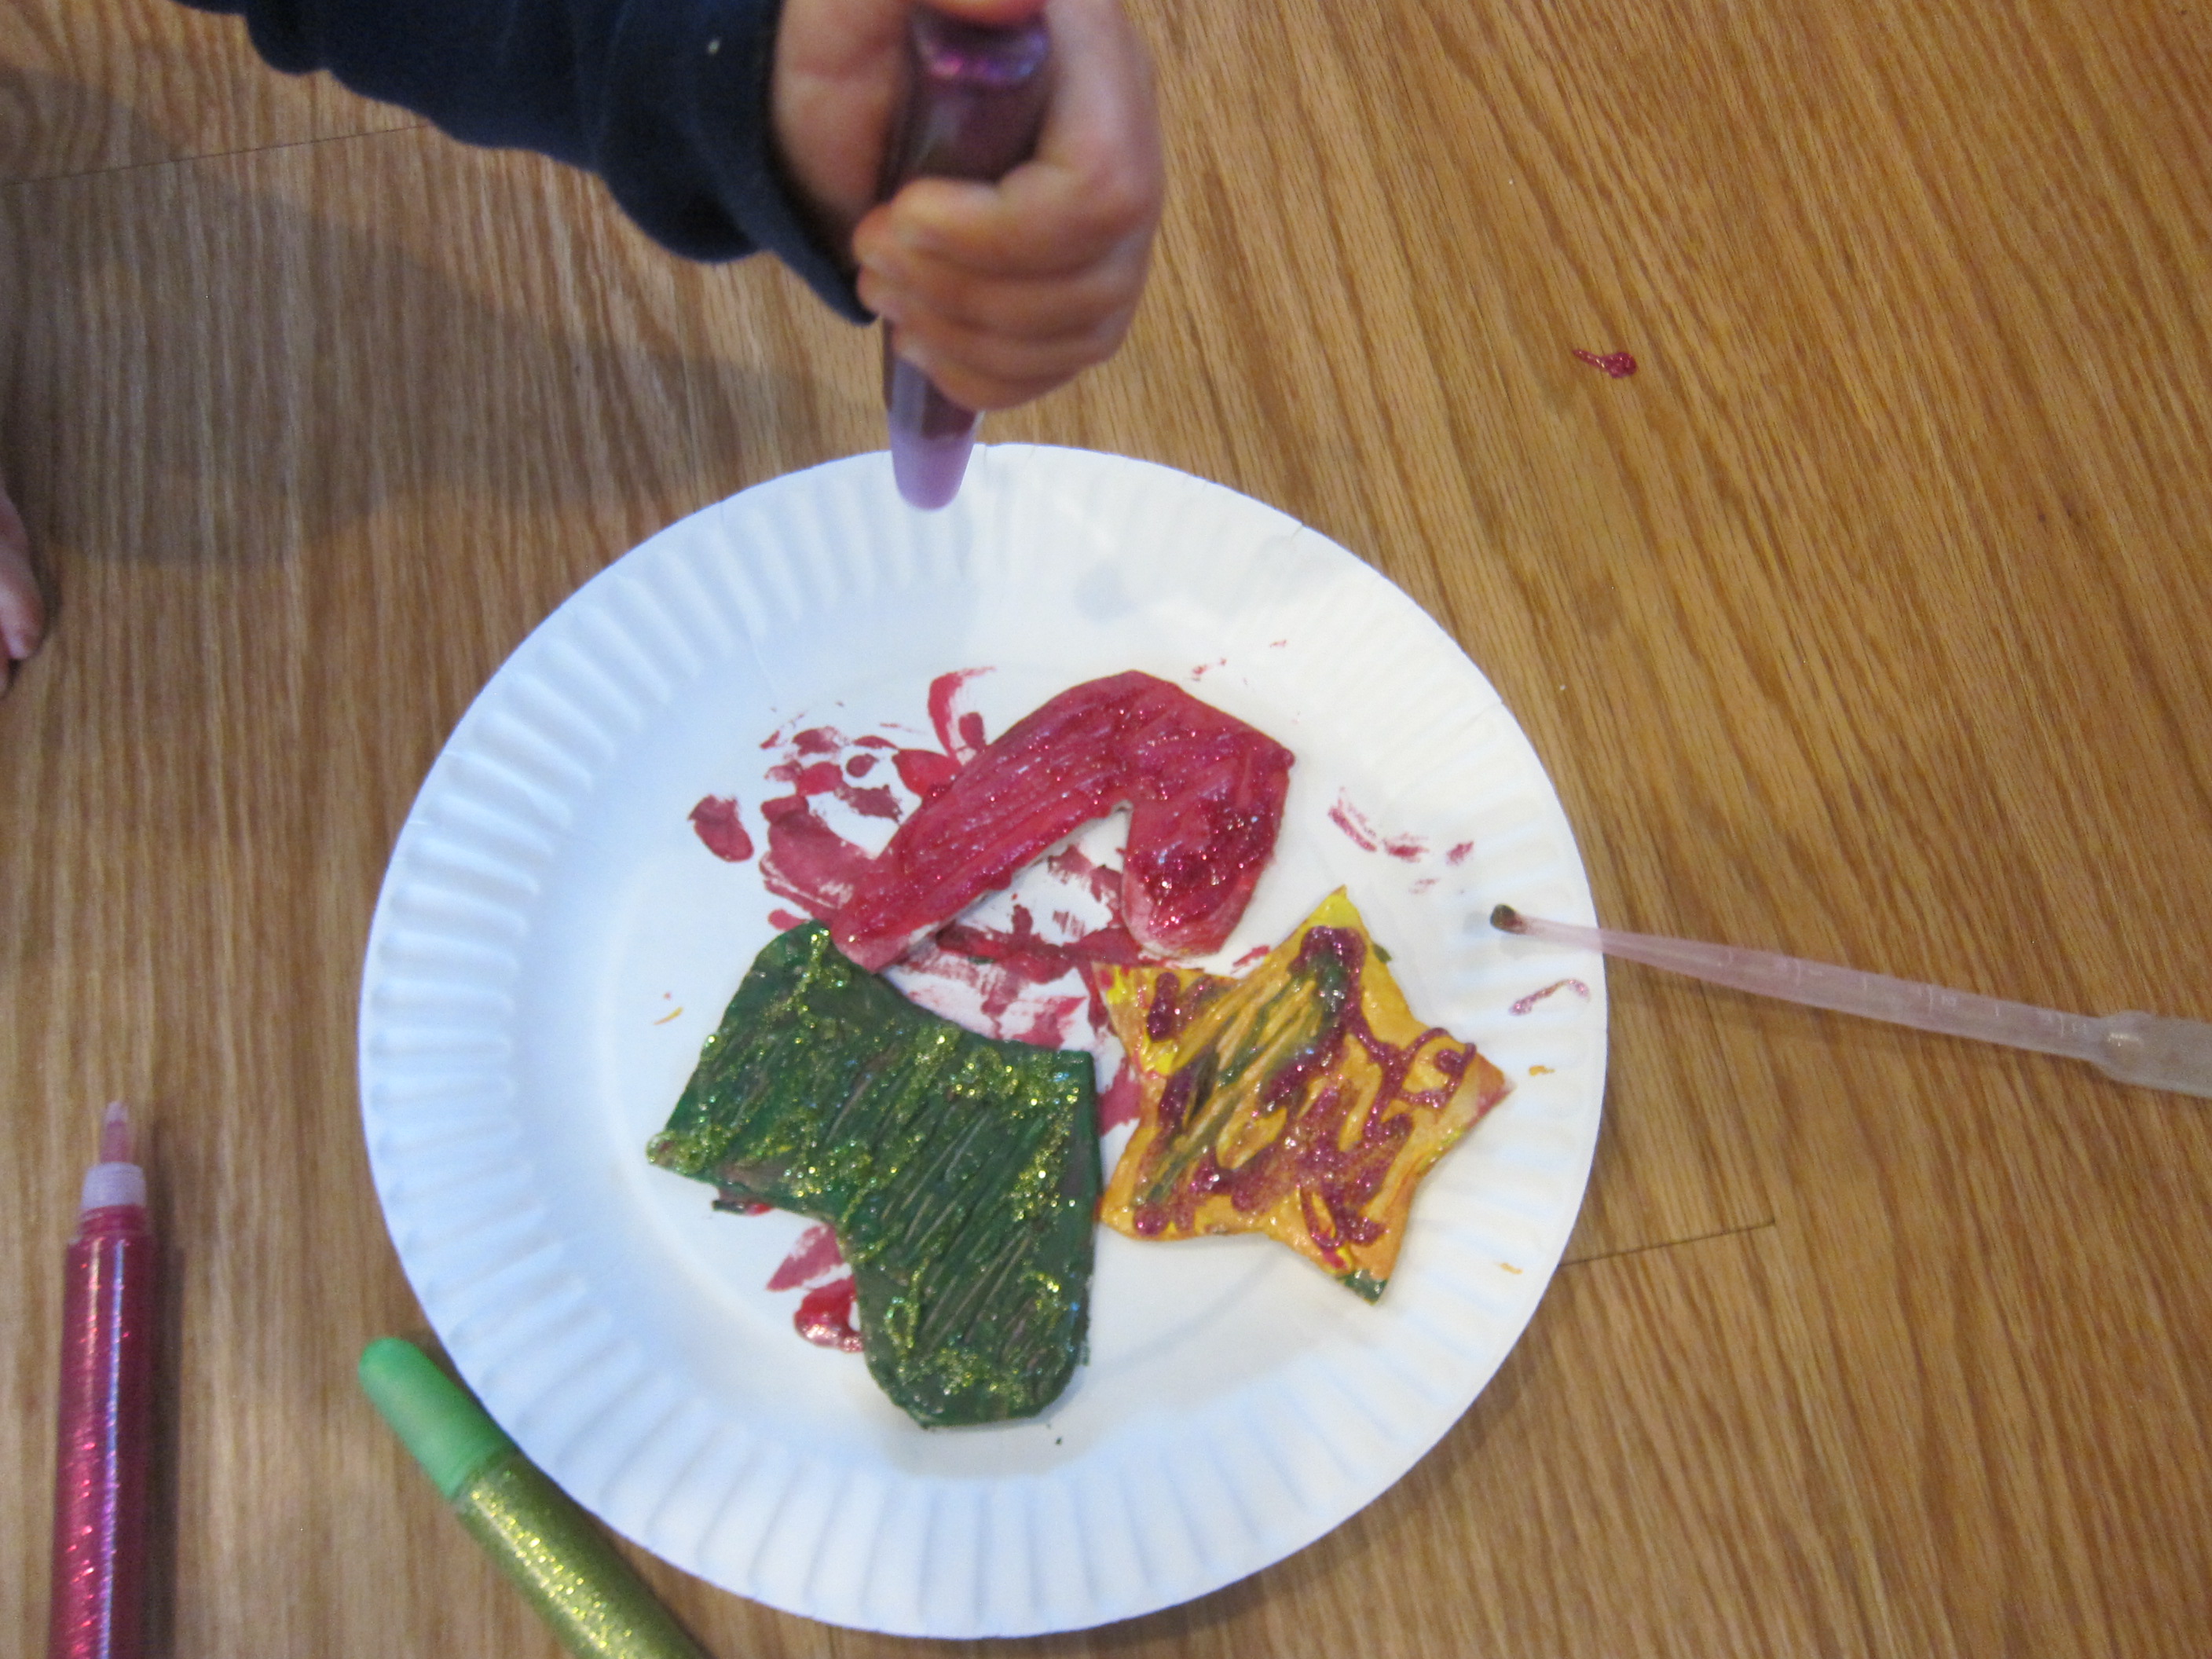
Keep wrapping until the squares are thickly covered and the cardboard doesn’t show. Use a second strand of yarn to tie a bow around the center, a neat little gift ready to go under the tree! Or in this case, on it.

Yarnaments (3)

A final loop of yarn works perfectly to hang these from the nearest bough.

Yarnaments (2)

Upcycling with Holiday Cards

Christmas Card Ball (7)

We had a few blank and leftover holiday cards, so today we turned them into crafts in two ways: one for Hanukkah and one for Christmas!

For the first, we had a few Hanukkah cards with bumpy 3-D elements, and I thought these would be great for holiday rubbings, similar to fall leaf rubbings. I removed the paper wrapper from a blue crayon and showed Veronika how to place the cards under a sheet of blank paper, then rub sideways with the crayon to reveal the images underneath.

Hanukkah Rubbings (1)

Neat images of dreidels and the Star of David seemed to magically appear before her eyes. If you don’t have cards with these bumpy elements, you can also cut shapes from poster board, place under the paper, and rub over them. It was hard for Veronika to get the mechanics down of rubbing with the crayon sideways…

Hanukkah Rubbings (2)

…but big brother Travis could do it!

Hanukkah Rubbings (3)

Meanwhile, Veronika really enjoyed simply scribbling with blue on the leftover cards and envelopes, or pretending to “mail them”.

Hanukkah Rubbings (5)

We also had a few Christmas cards to upcycle, and these made perfect Christmas Card Ball ornaments.

Christmas Card Ball (1)

Cut an old Christmas card into strips, then punch a hole in the top and bottom of each.

Christmas Card Ball (2)

Arrange the strips in order, then insert a brad in the top holes.

Christmas Card Ball (4)

Fan all the pieces out, then begin adding them to a second brad through the bottom hole, bending each so you form an orb shape as you work.

Christmas Card Ball (3)

Finally, loop a string around the top brad, securing with a knot, then tie into a loop that can hang from a Christmas tree. Veronika loved playing with all the materials as I worked on these, particularly mimicking me with safety scissors and extra brads.

Christmas Card Ball (5)

This was a fun activity to do side-by-side with a toddler, and so pretty hanging from the tree.

Christmas Card Ball (8)

Styrofoam Ornaments

Styrofoam Ornaments (8)

Here’s a way to upcycle those Styrofoam trays that come home from the produce department now and then (I’m looking at you, mini cucumbers) and use them in a holiday craft. Today, Veronika and I turned them into ornaments!

Once the tray had been washed and dried, we pulled out a few Christmas cookie cutters and traced around them, then cut out. Veronika loved talking about all the shapes.

Styrofoam Ornaments (1)

Now use the tip of a white crayon to make imprinted designs in the Styrofoam. I showed Veronika an example of lines and dots on a stocking shape. Since it was hard for her to press down the crayon hard enough or with precision, I took directions from her instead. She asked for circles on the candy cane and triangles on the star!

Styrofoam Ornaments (2)

Next, we painted the shapes with acrylic paint. She was so excited when she noticed that the paint had made lines on her paintbrush, at one point.

Styrofoam Ornaments (3)

Finally, it was time to squirt on glitter glue. Aim to use a corresponding color of glitter for each color of paint you’ve used (although with a toddler, be prepared for some mixing and matching). Ideally, once you brush the glitter glue across the surface of the shapes with a paintbrush, it will sink into the etched lines you made with the white crayon.

Styrofoam Ornaments (5)

However, since I was doing this project with a toddler, ours didn’t come out quite that neatly. But Veronika loved simply squirting big globs of glitter glue, which was just fine.

Styrofoam Ornaments (6)

Punch a hole in the top once dry, thread with string, and hang from the tree!

Styrofoam Ornaments var

Cinnamon Drawings

Cinnamon Drawings (8)

If there’s one scent that evokes Christmas in our home, than cinnamon is it. Here’s a fantastic sensory project that allows toddlers to take in one of the best smells of the season while making art!

To start, I cut out two simple Christmas-themed shapes from sandpaper. I had a coarse grade in green and a medium grade in brown, so it worked out nicely to draw a Christmas tree on the green and a simple gingerbread man on the brown.

Cinnamon Drawings (2)

Cut out your shapes and give to your toddler along with a few whole cinnamon sticks. Of course the first thing to do is take a nice big smell. “I smell with my nose!” Veronika is learning to say of her sense of smell.

Cinnamon Drawings (1)

Then I showed her that if she rubbed the cinnamon against the rough sandpaper, it left behind a trail of scented brown cinnamon.

Cinnamon Drawings (3)

Of course we had to smell the artwork again once it was covered!

Cinnamon Drawings (5)

Veronika loved both the shapes and the smell, but she was also very interested in transferring the cinnamon sticks in and out of their jar for a while. That meant this turned into a fine motor skills activity, too!

Cinnamon Drawings (4)

When the sandpaper was covered, I drew on a few final features with marker, then punched a hole and threaded ribbon through each so they could hang on our tree.

Cinnamon Drawings (7)

Felt Ornaments, 3 Ways

Felt Lollipop (2)

Fancy store-bought ornaments are beautiful, but my favorite ones from over the years have been the homemade ones. All you need for these three options are sheets of felt from the craft store and a little glue!

Felt Lollipops:

For the first version, stack 4 colors of felt together and cut into 3/4-inch wide strips. Glue the layers together at one end with tacky glue, then begin rolling up, adding dots of glue periodically. The mechanics of this were a bit tricky for Travis, but he started to get the hang of it!

Felt Lollipop (4)

Glue the loose ends of each felt color down, then wrap with a rubber band to hold everything in place as the glue dries.

Felt Lollipop (6)

Once dry, glue a loop of string onto the back, along with a lollipop stick. I found that hot glue was better for this step than tacky glue. These looked delicious hanging from the tree!

Felt Lollipop (1)

Felt Garland:

For the garland, cut many two-inch pieces of felt and begin using hot glue to attach them in two long strands. We made one that was all purple, and one that alternated light and dark green. The purple felt was cut thinner, and in retrospect I would have done the green strip just as thin.

Felt Garland (2)

Place a heavy book on one end of the two stands, then begin winding them together, securing with a clothespin at intervals.

Felt Garland (3)

Once it looks the way you want, use hot glue at the ends and everywhere else you had a clothespin. String around the tree as a garland!

Felt Garland (5)

Felt Ribbon Candy:

For the final version, we cut three colors of felt into 1-inch wide strips. Glue them together with tacky glue, then start folding the strand over itself, accordion-style, adding a drop of glue after each fold. Add a rubber band to hold it together until the glue dries.

Felt Ribbon (2)

Now just add a string with one more drop of glue, and it’s ready to hang on the tree!

Felt Ribbon (3)

Which one do your kids enjoy making the most? Please share in the comments!

Felt Garland (6)

Ice Cream Cup Stick Snowflakes

Ice Cream Stick Snowflakes (10)

This is the first year Veronika is truly aware of our Christmas tree, and she absolutely loves it. If your toddler wants to put his or her own personal stamp on the tree, this is a great toddler-friendly craft that results in pretty ornaments.

Note: You don’t need to hoard ice cream cup sticks for the project, either; mini craft sticks are available for purchase at craft supply stores.

Ice Cream Stick Snowflakes (1)

I placed lots of these sticks down on a tray and showed Veronika how to squirt glitter glue on them. Glitter glue is a fantastic toddler art supply because not only is it sparkly and fun, but the squeezing is great for fine motor skills.

Ice Cream Stick Snowflakes (3)

As she drizzled the glitter over a stick, I then would press another across it, piling up 4 each time until they looked like the branches of a snowflake.

Sometimes she needed a little help and we would squeeze the tubes together. She loved watching the sparkly color appear on the next branch of the “snowflake”.

Ice Cream Stick Snowflakes (7)

Once we had four finished snowflakes, she wanted to continue the play with extra glitter glue, scooping it up with additional mini craft sticks for quite a while.

Ice Cream Stick Snowflakes (5)

Meanwhile, let the glitter glue dry completely (which can take a while), then use hot glue to attach a loop of yarn or gift ribbon to each snowflake.

Ice Cream Stick Snowflakes (9)

These were beautiful on the tree!Ice Cream Stick Snowflakes (11)

Melted Candy Cane Ornaments

Candy Cane Ornaments alt

Caution: these pretty ornaments are fragile, so they might not last beyond one holiday season. But the fun of making them is worth it!

Line a baking sheet with parchment paper, and spray with cooking spray. Select which shapes you want your ornaments to be from among Christmas-themed cookie cutters and coat those with cooking spray as well before setting on the parchment.

Break mini candy canes into smaller pieces to fill the cookie cutters in an even layer. Look at my littlest kitchen elf!

Candy Cane Ornaments (1)

Bake at 350 degrees F for 6 minutes, just until the candy canes are melted.

Candy Cane Ornaments (2)

Remove from the oven and let stand for 2 minutes, then use a skewer to poke a hole near the top of each ornament.

Candy Cane Ornaments (3)

This was the trickiest part, as the candy canes need to be cooled enough not to run right back over the hole, but not so firm that cooled strands stick to the skewer. I confess we broke a few of our ornaments at this stage!

Candy Cane Ornaments (4)

Let stand an additional 5 minutes, then remove the cookie cutters.

Candy Cane Ornaments (5)

Thread twine or cord through each hole and tie into a loop before hanging from your Christmas tree.

Candy Cane Ornaments var

And yes, that’s a Darth Vader candy cane ornament you see!

Gift Your Child an Ornament Every Year

Ornament Year (2)

There are some households where the Christmas tree is color-coordinated or bears a different theme each year. Not so in our house! Our tree is a hodgepodge of homemade and heirlooms and ones we’ve randomly picked up over the years. But here is one nice thing that lends tradition to the tree: making sure to gift each child a special ornament every year.

This goes back to both my kids’ first Christmas, when they received one as a commemorative gift.

Ornament Year (3)

Moving forward, we’ve picked one up each year in relation to a holiday excursion. There’s the train from a trip to a holiday train show, for example…

Ornament Year (4)

…and this year Travis loved selecting owls from a trip to see holiday lights at a botanical garden.

Ornament Year (1)

This is definitely one of those traditions I intend to keep up, moving forward. How do your kids like to decorate the tree? Please share in the comments!


I Spy an Ornament

I Spy Ornament (2)

Here’s a fun variation on “I Spy” to play around the Christmas tree after the sun goes down!

Turn off all the lights in the room so that the only illumination left comes from the tree lights. Take turns playing classic “I Spy” (“I spy something green”, “I spy something gold”,) and have the other family members guess which ornament it is.

I Spy Ornament (3)

Travis loved being in charge of shining a flashlight on the guessed ornament if it was correct. Because he’s young, his clues are sometimes hilarious. “I spy something at the top of the tree with wings.” Our angel!

I Spy Ornament (4)

This can also be a fun way to talk about family ornaments, for example explaining the significance behind homemade ones, family heirlooms, or those purchased on vacation.

I Spy Ornament (5)

Travis loved the game so much we might just play every night until the tree comes down!

I Spy Ornament (1)

Cinnamon Ornaments

Cinnamon Ornaments (10)

Did you know you could make dough just from cinnamon and applesauce? Nor I, but here’s the perfect dough to craft holiday ornaments, thanks to Travis’s Ranger Rick Jr.. Once the cinnamon is in the oven, your whole house will smell like Christmas!

Travis loved concocting the dough. Simply dump in 1 (2-ounce) jar of cinnamon into a bowl. Careful to pour slowly so you don’t get cinnamon in your face!

CInnamon Ornaments (2)

Add 4 ounces applesauce, stirring until very well combined.

Cinnamon Ornaments (3)

Turn the dough out onto a cutting board and use a rolling pin to flatten to about 1/4-inch thick.

CInnamon Ornaments (5)

Travis was so excited we got to use our holiday-shaped cookie cutters for the first time since last Christmas.

Cinnamon Ornaments (6)

He loved selecting which shape to use each time we rolled the dough.

Cinnamon Ornaments (7)

Carefully transfer to a baking sheet.

Cinnamon Ornaments (8)

Use a toothpick to poke a hole in each ornament, then bake at 200 degrees F for 20 minutes.

The instructions says to thread pretty ribbon through the holes, but the toothpick holes were much too small for this. Next time I would punch out holes with a straw. Thinking quickly, we threaded the ornaments onto pipe cleaners, instead.

Cinnamon Ornaments (9)

Thread several onto one pipe cleaner (or ribbon) for a pretty garland, or make singles to hang as ornaments. Either way, these would also be wonderful to give away as gifts!