Lasagna Noodle Painting

Lasagna Noodle Painting (6)

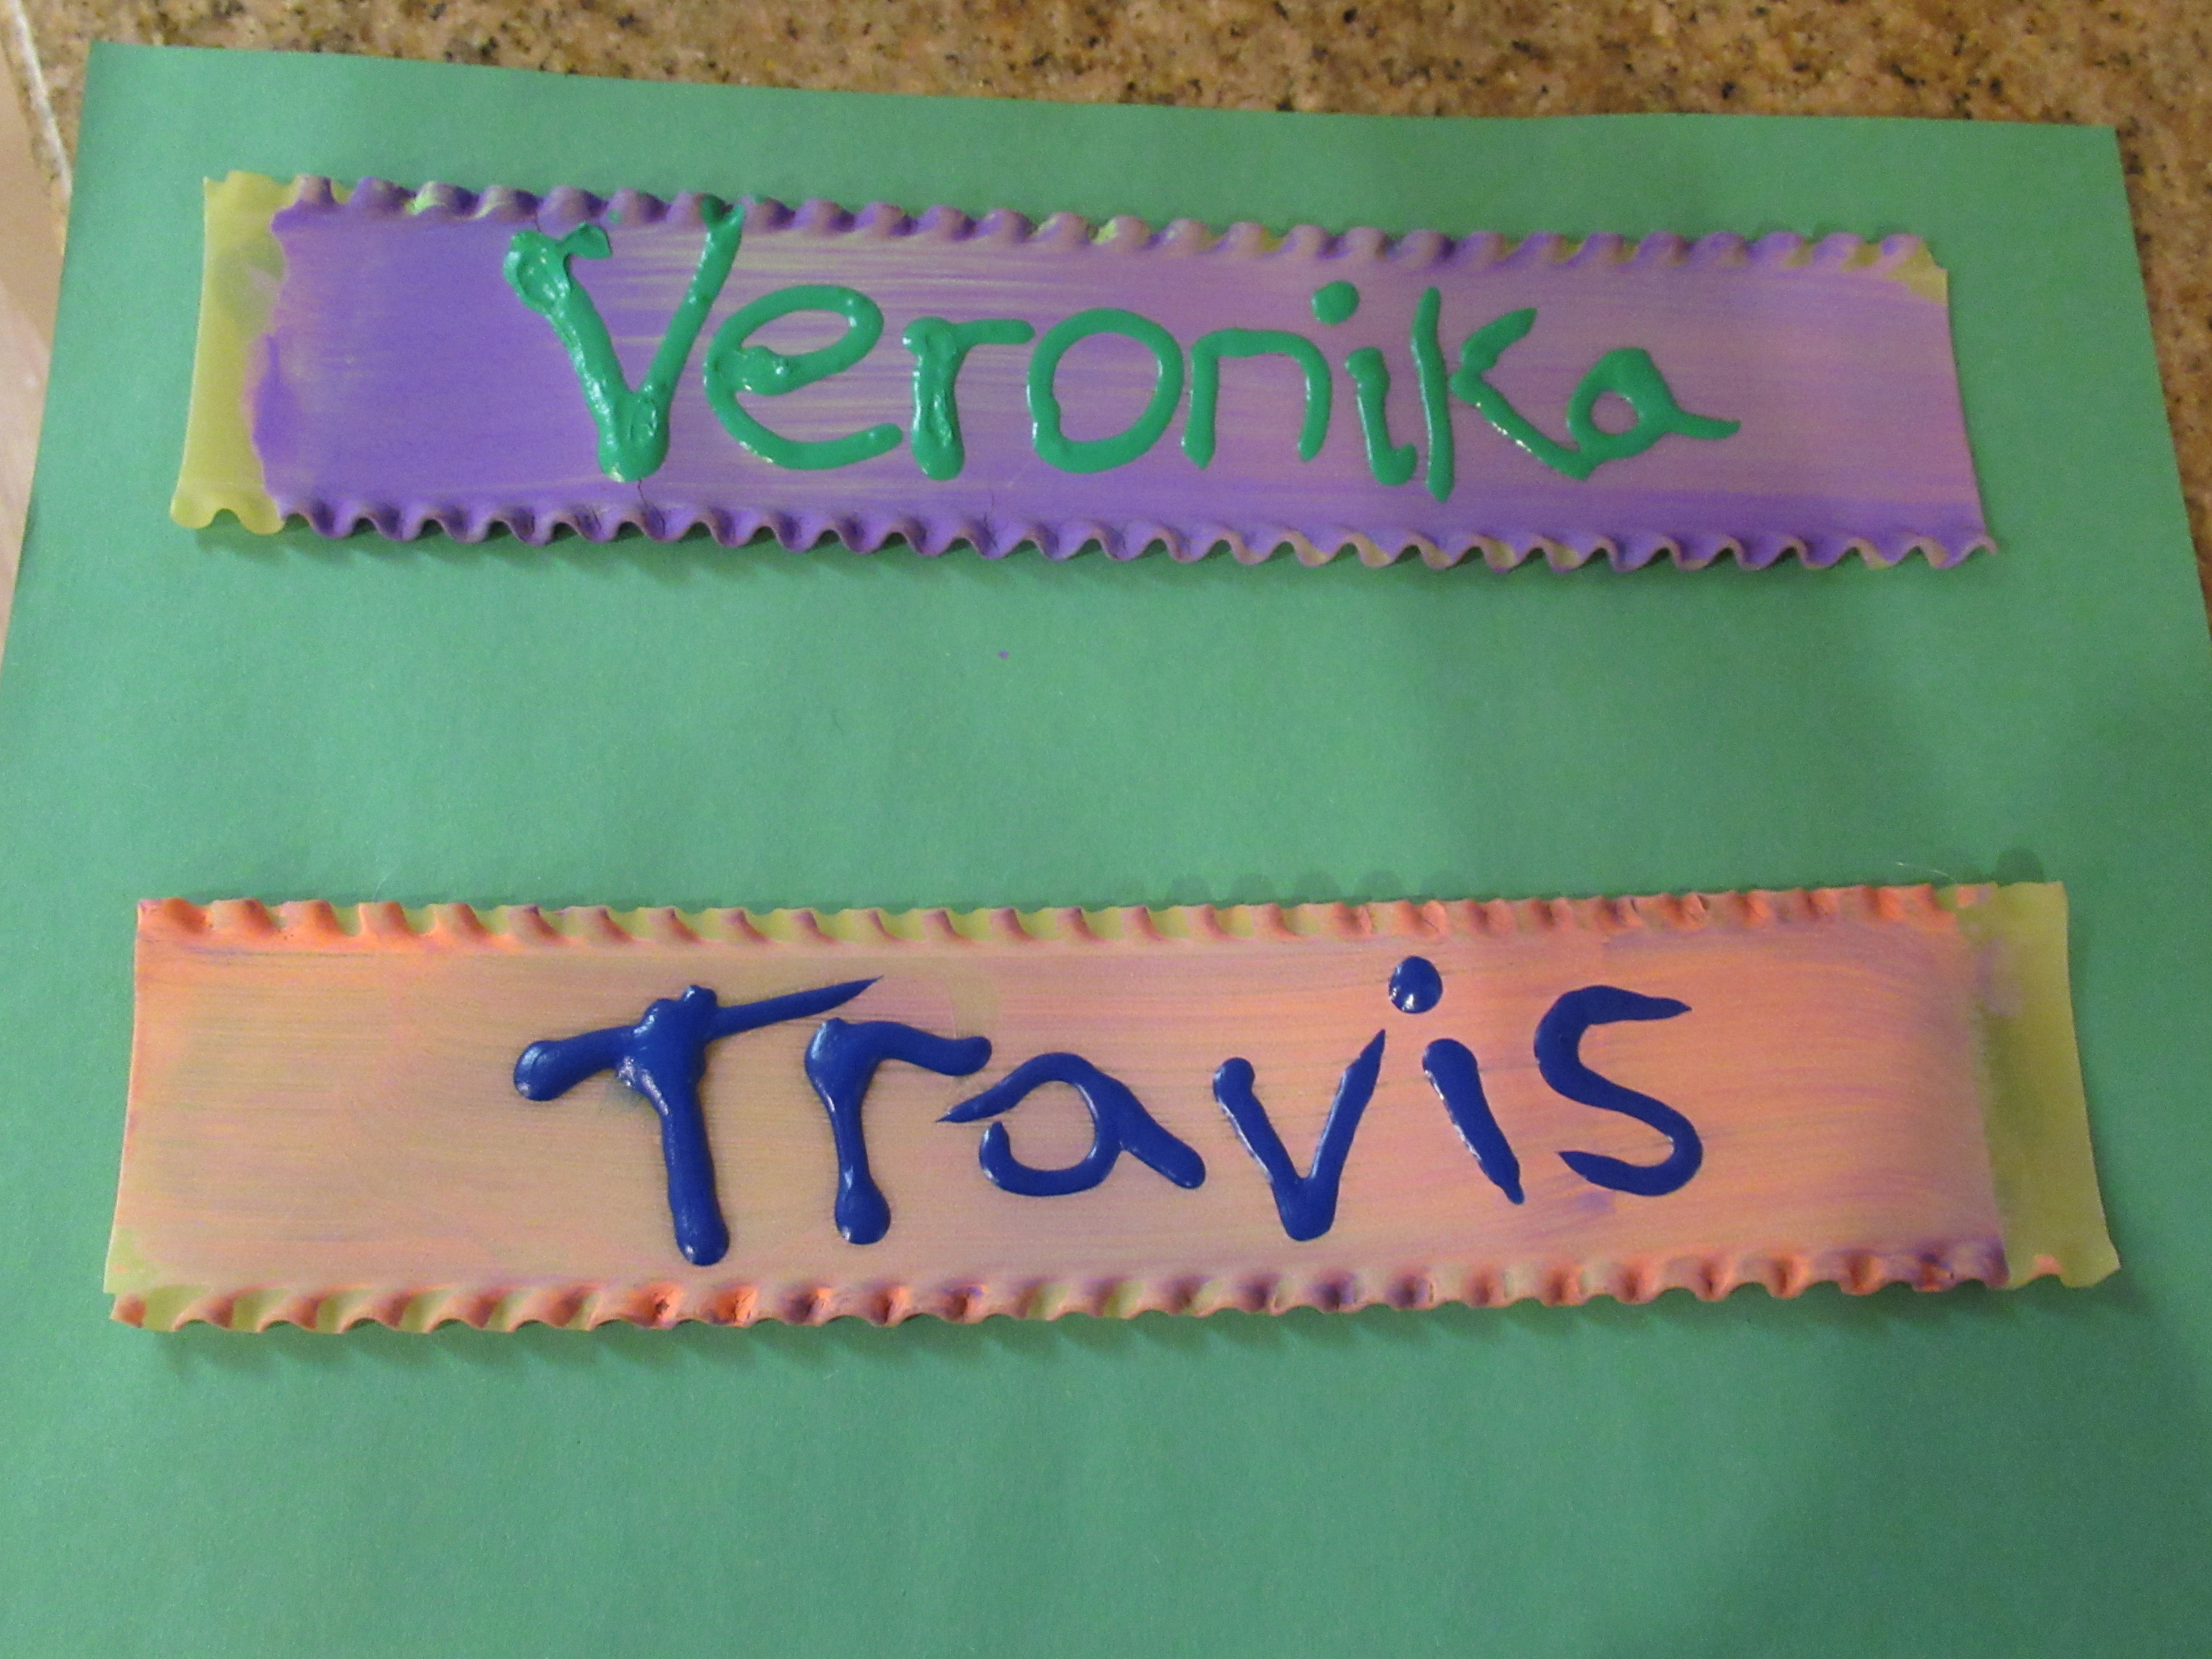
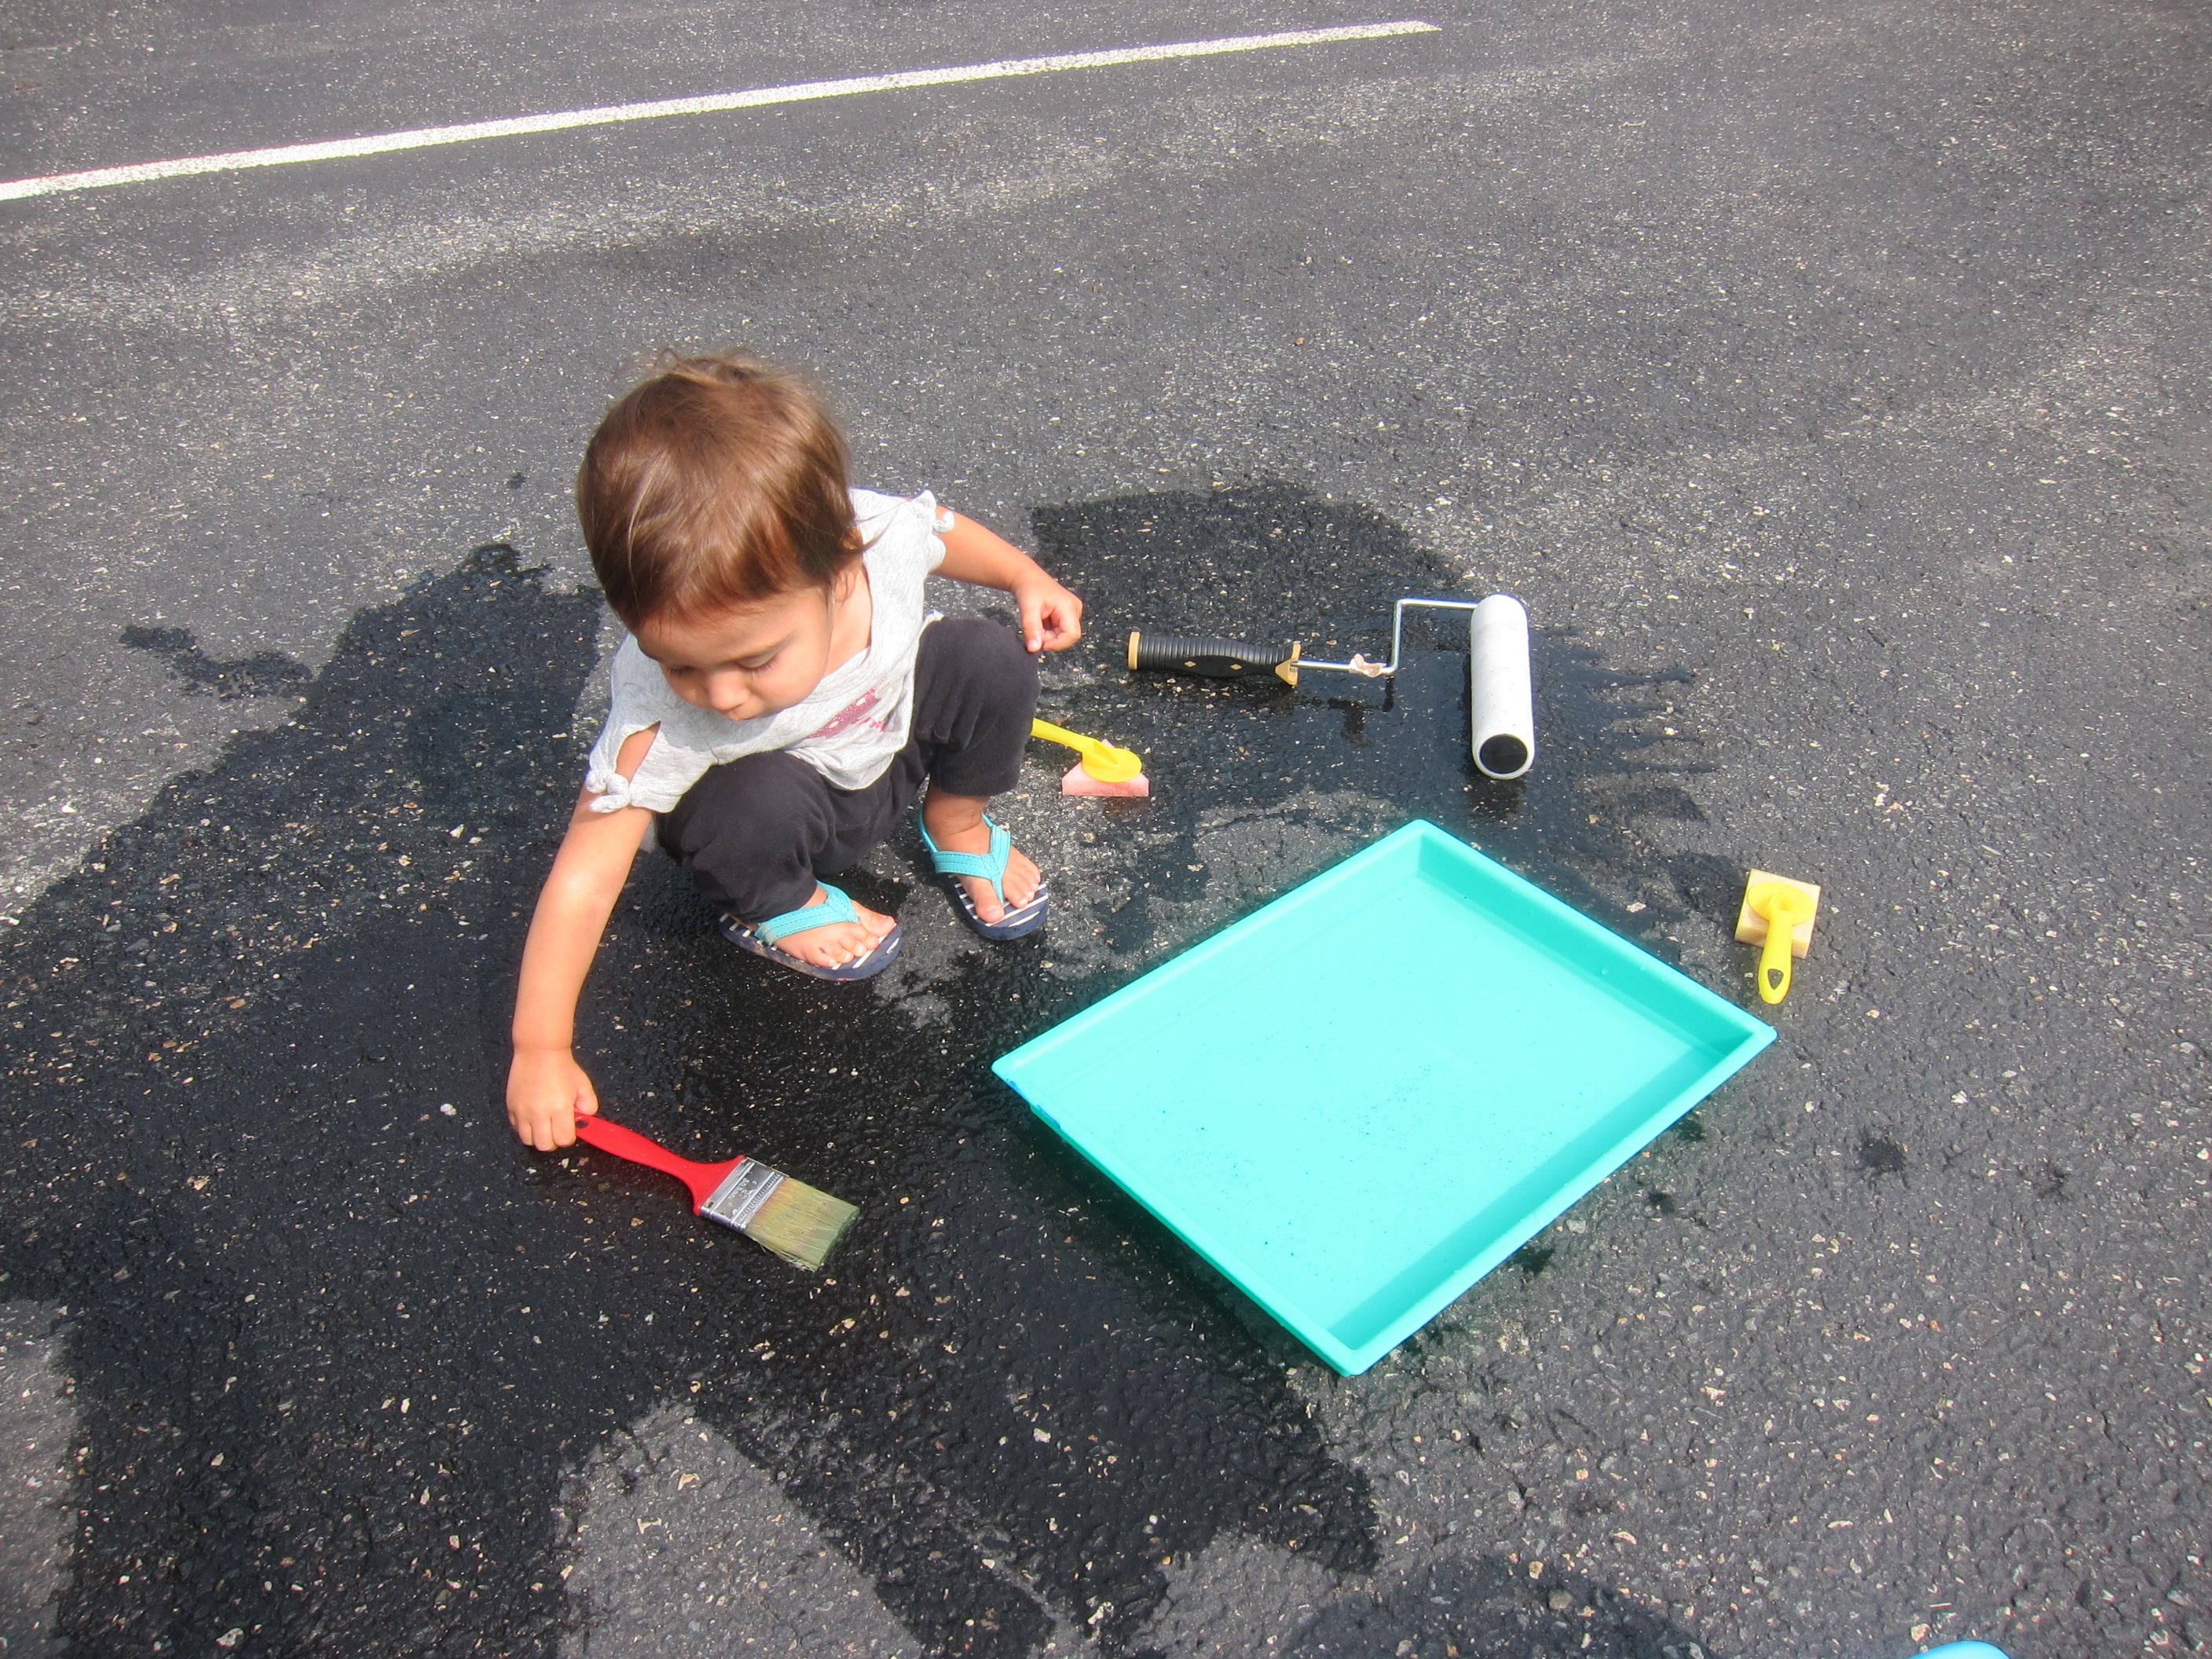
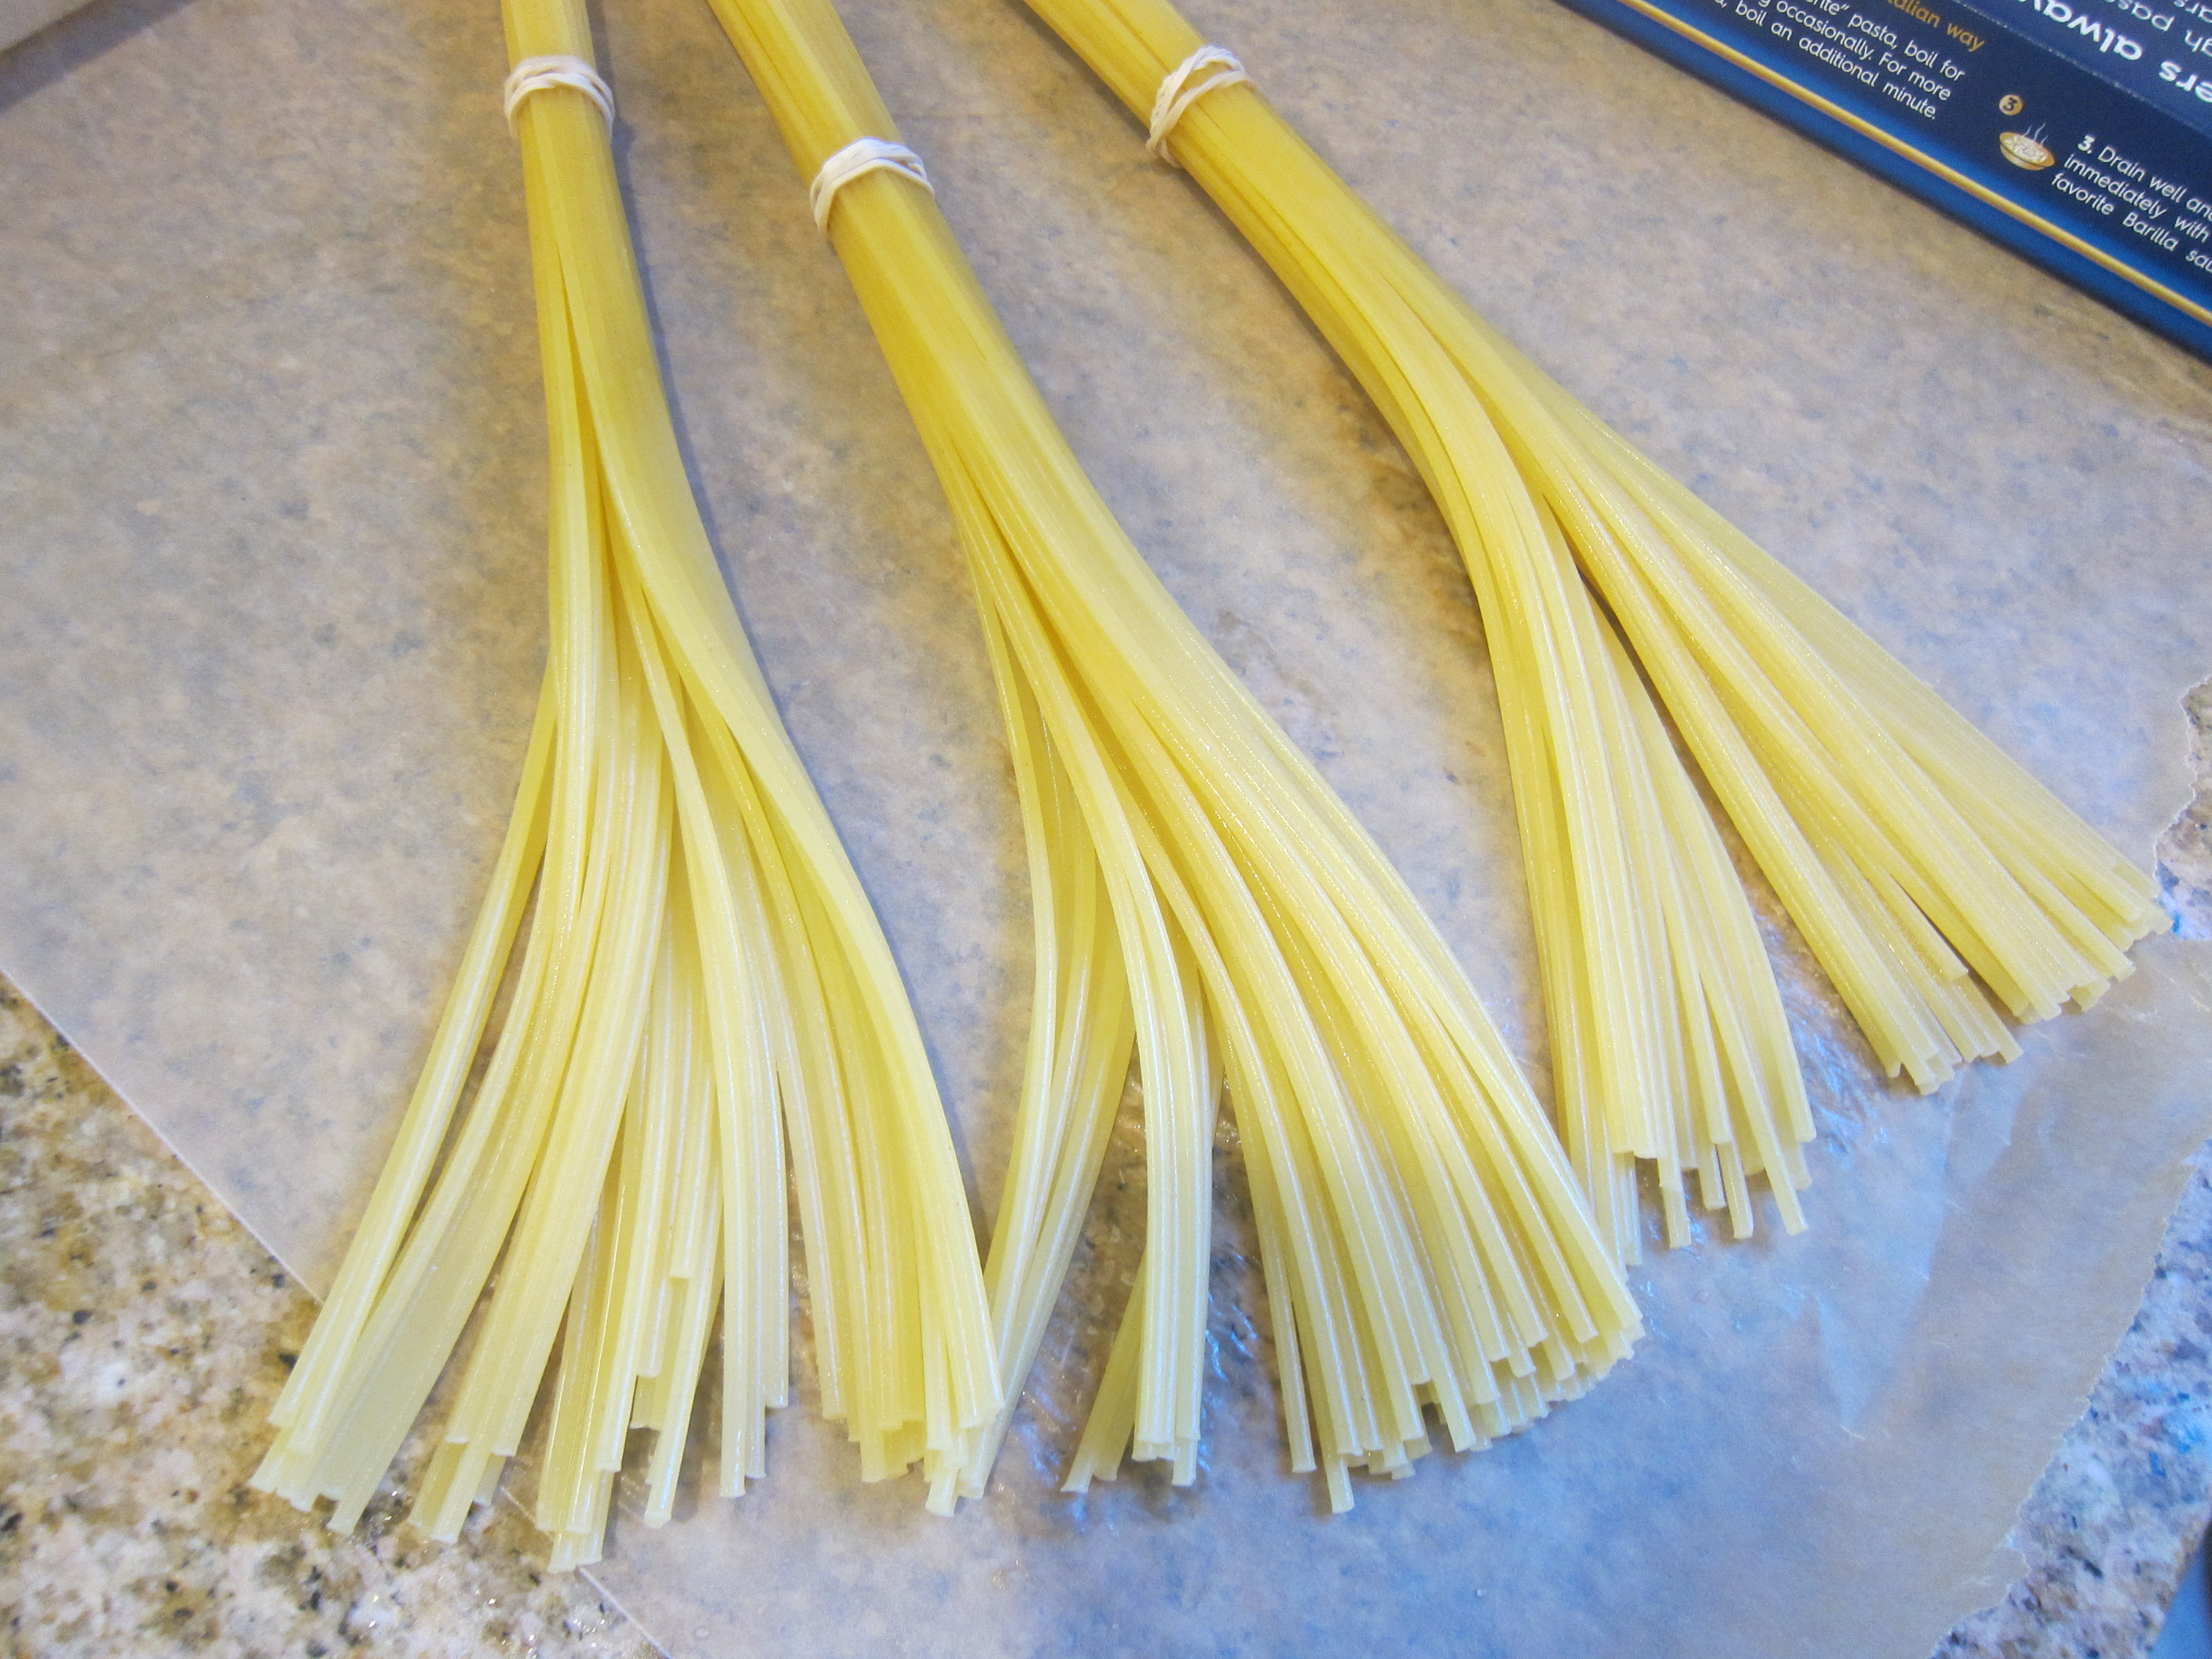
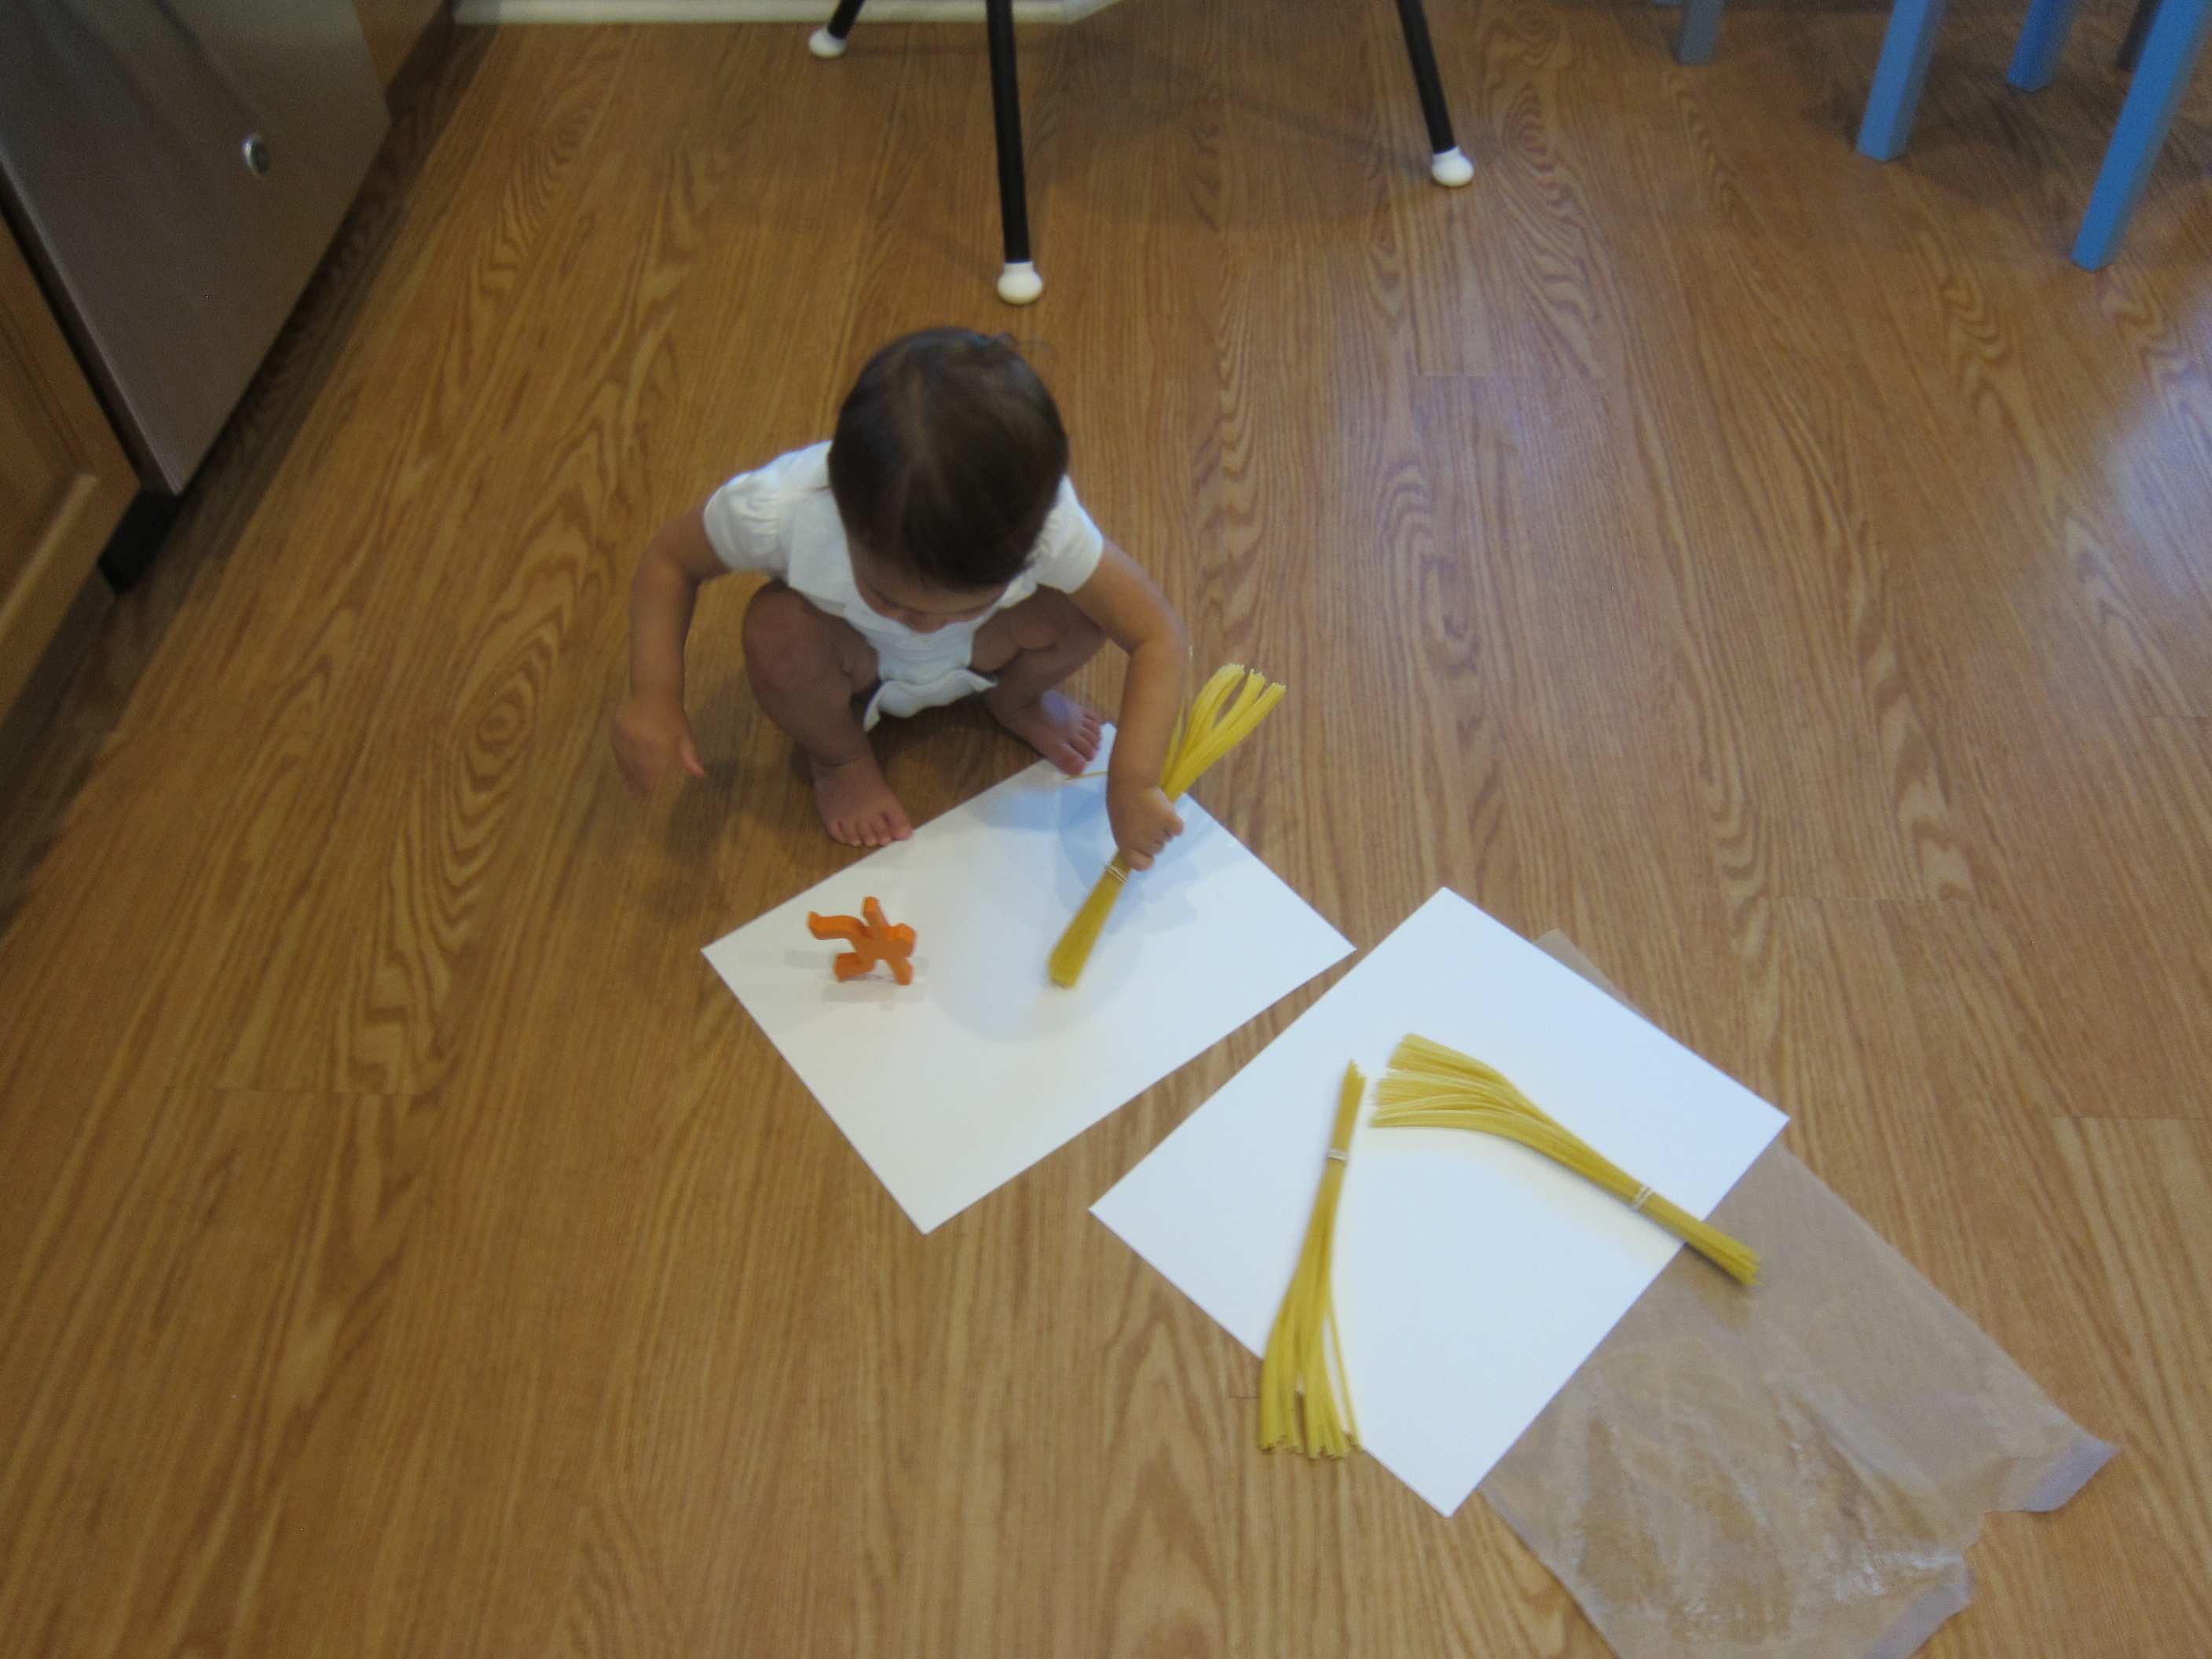
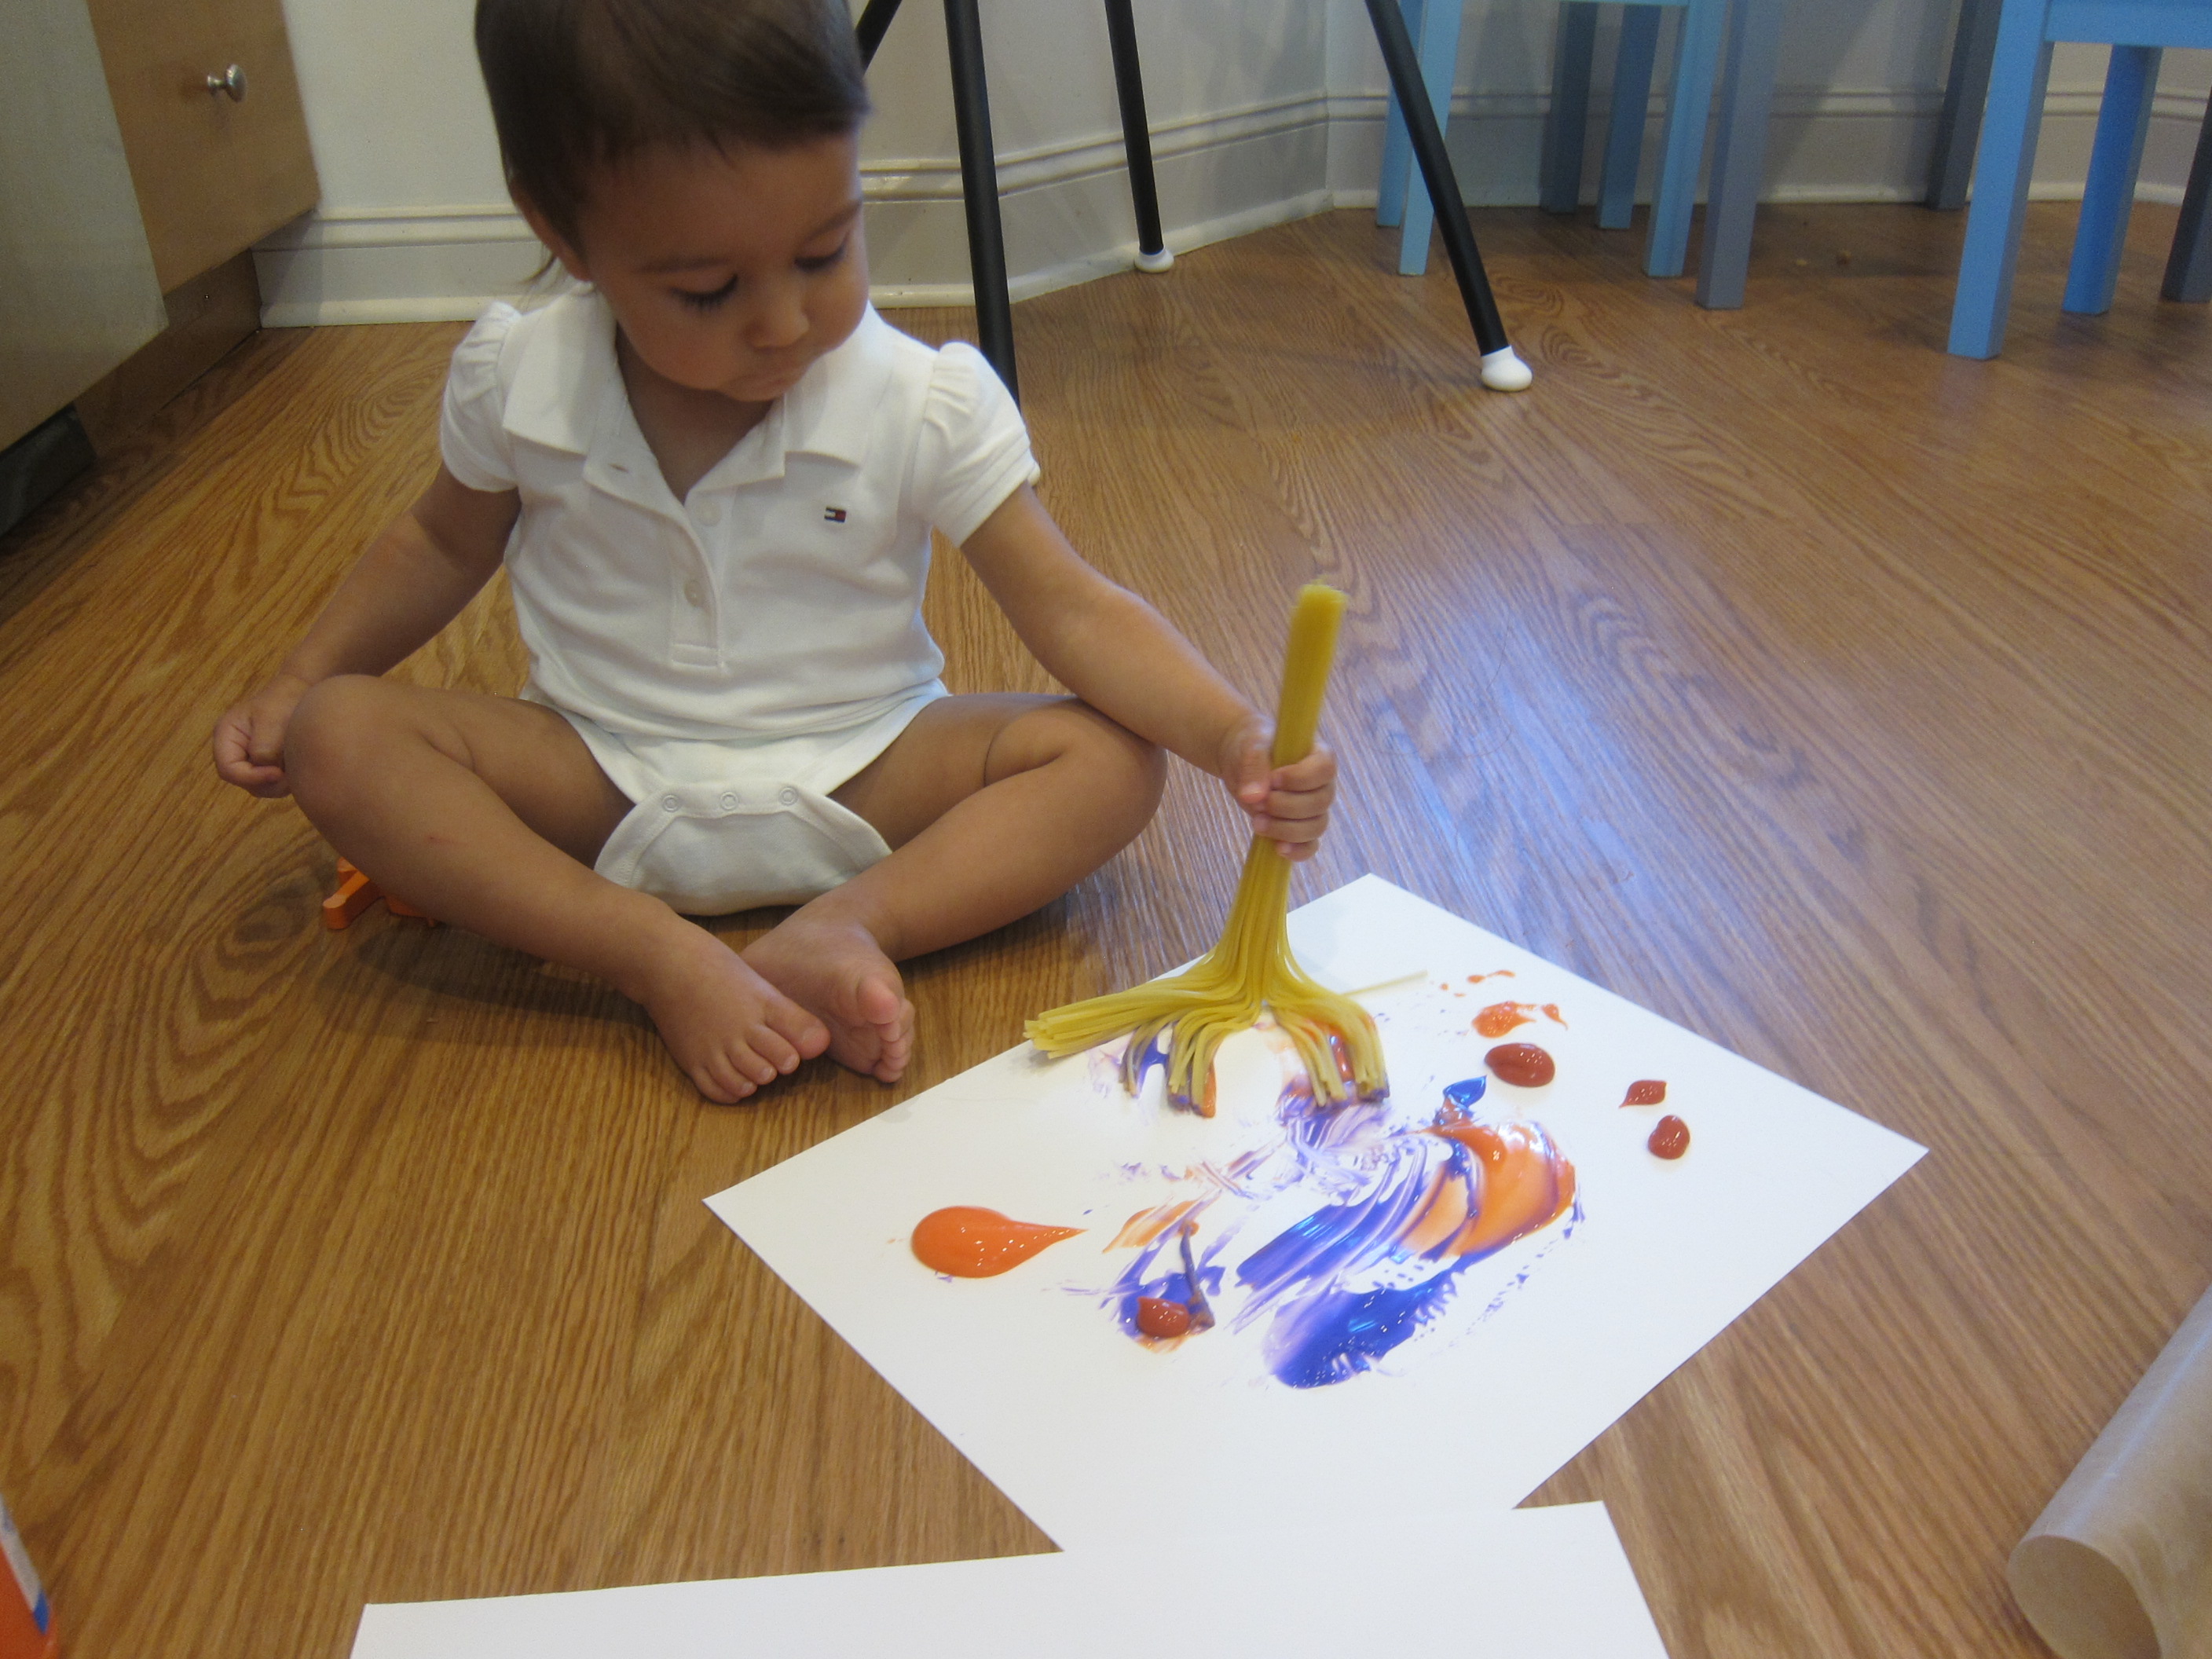
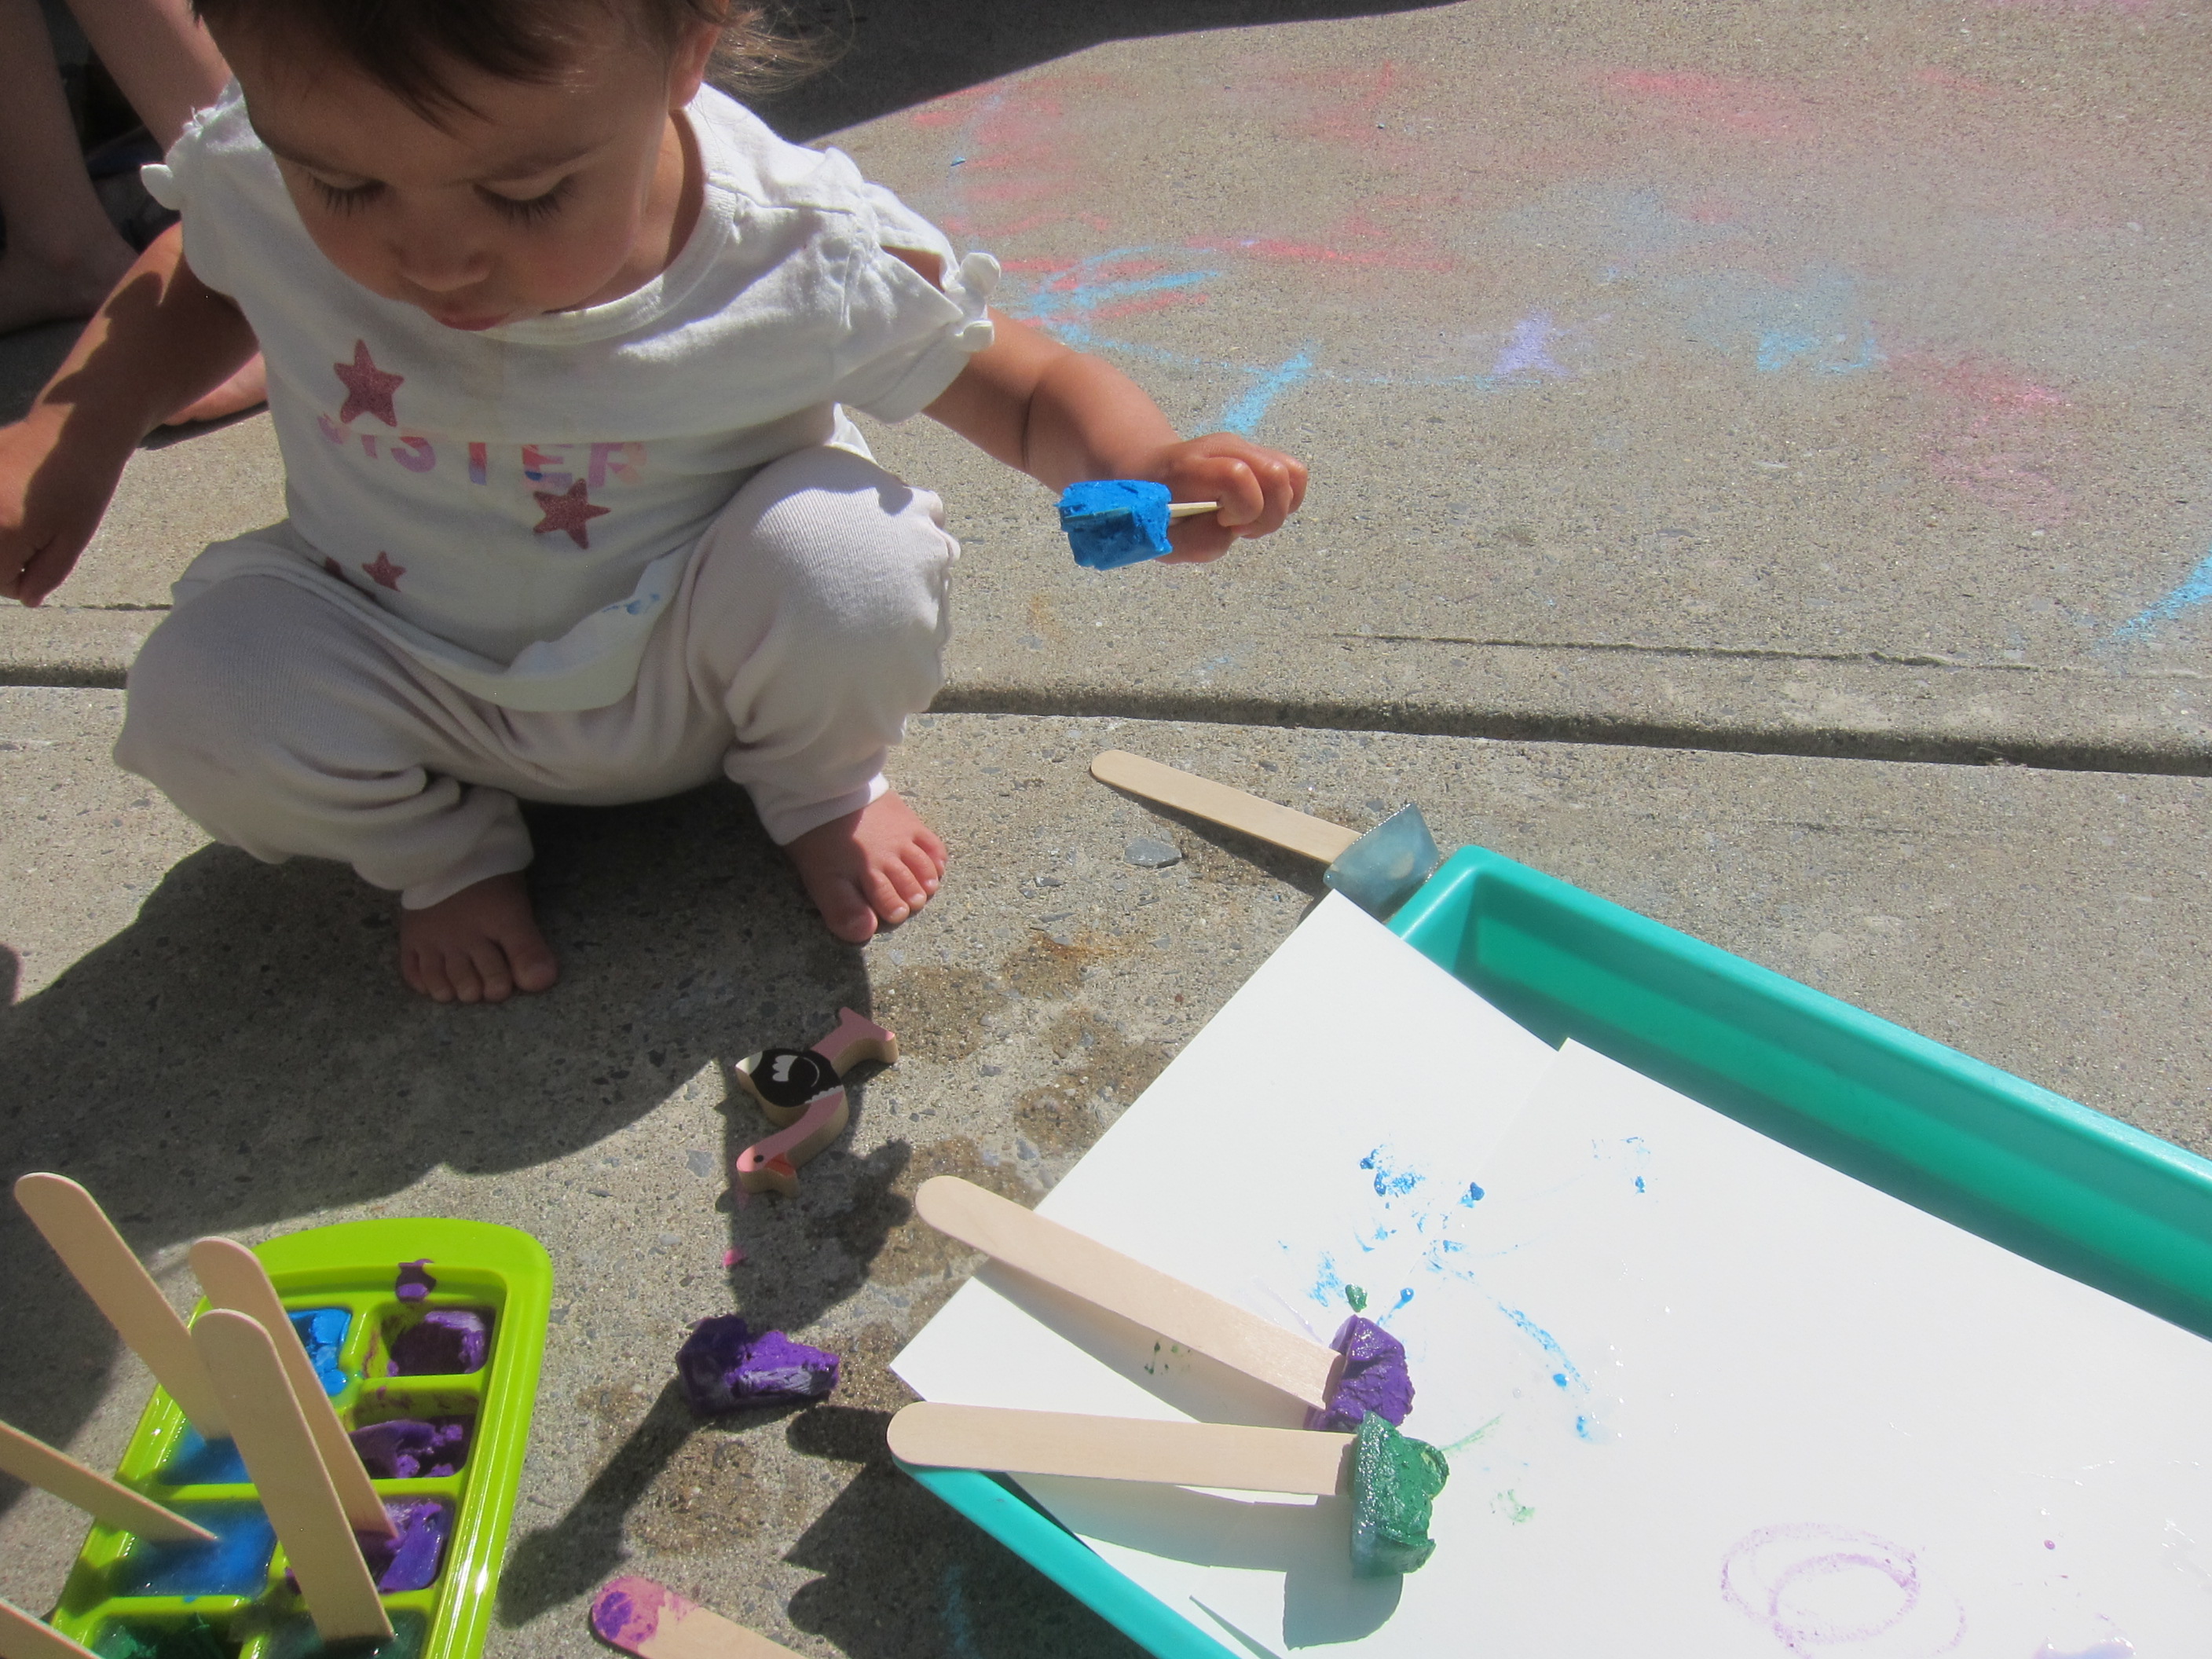
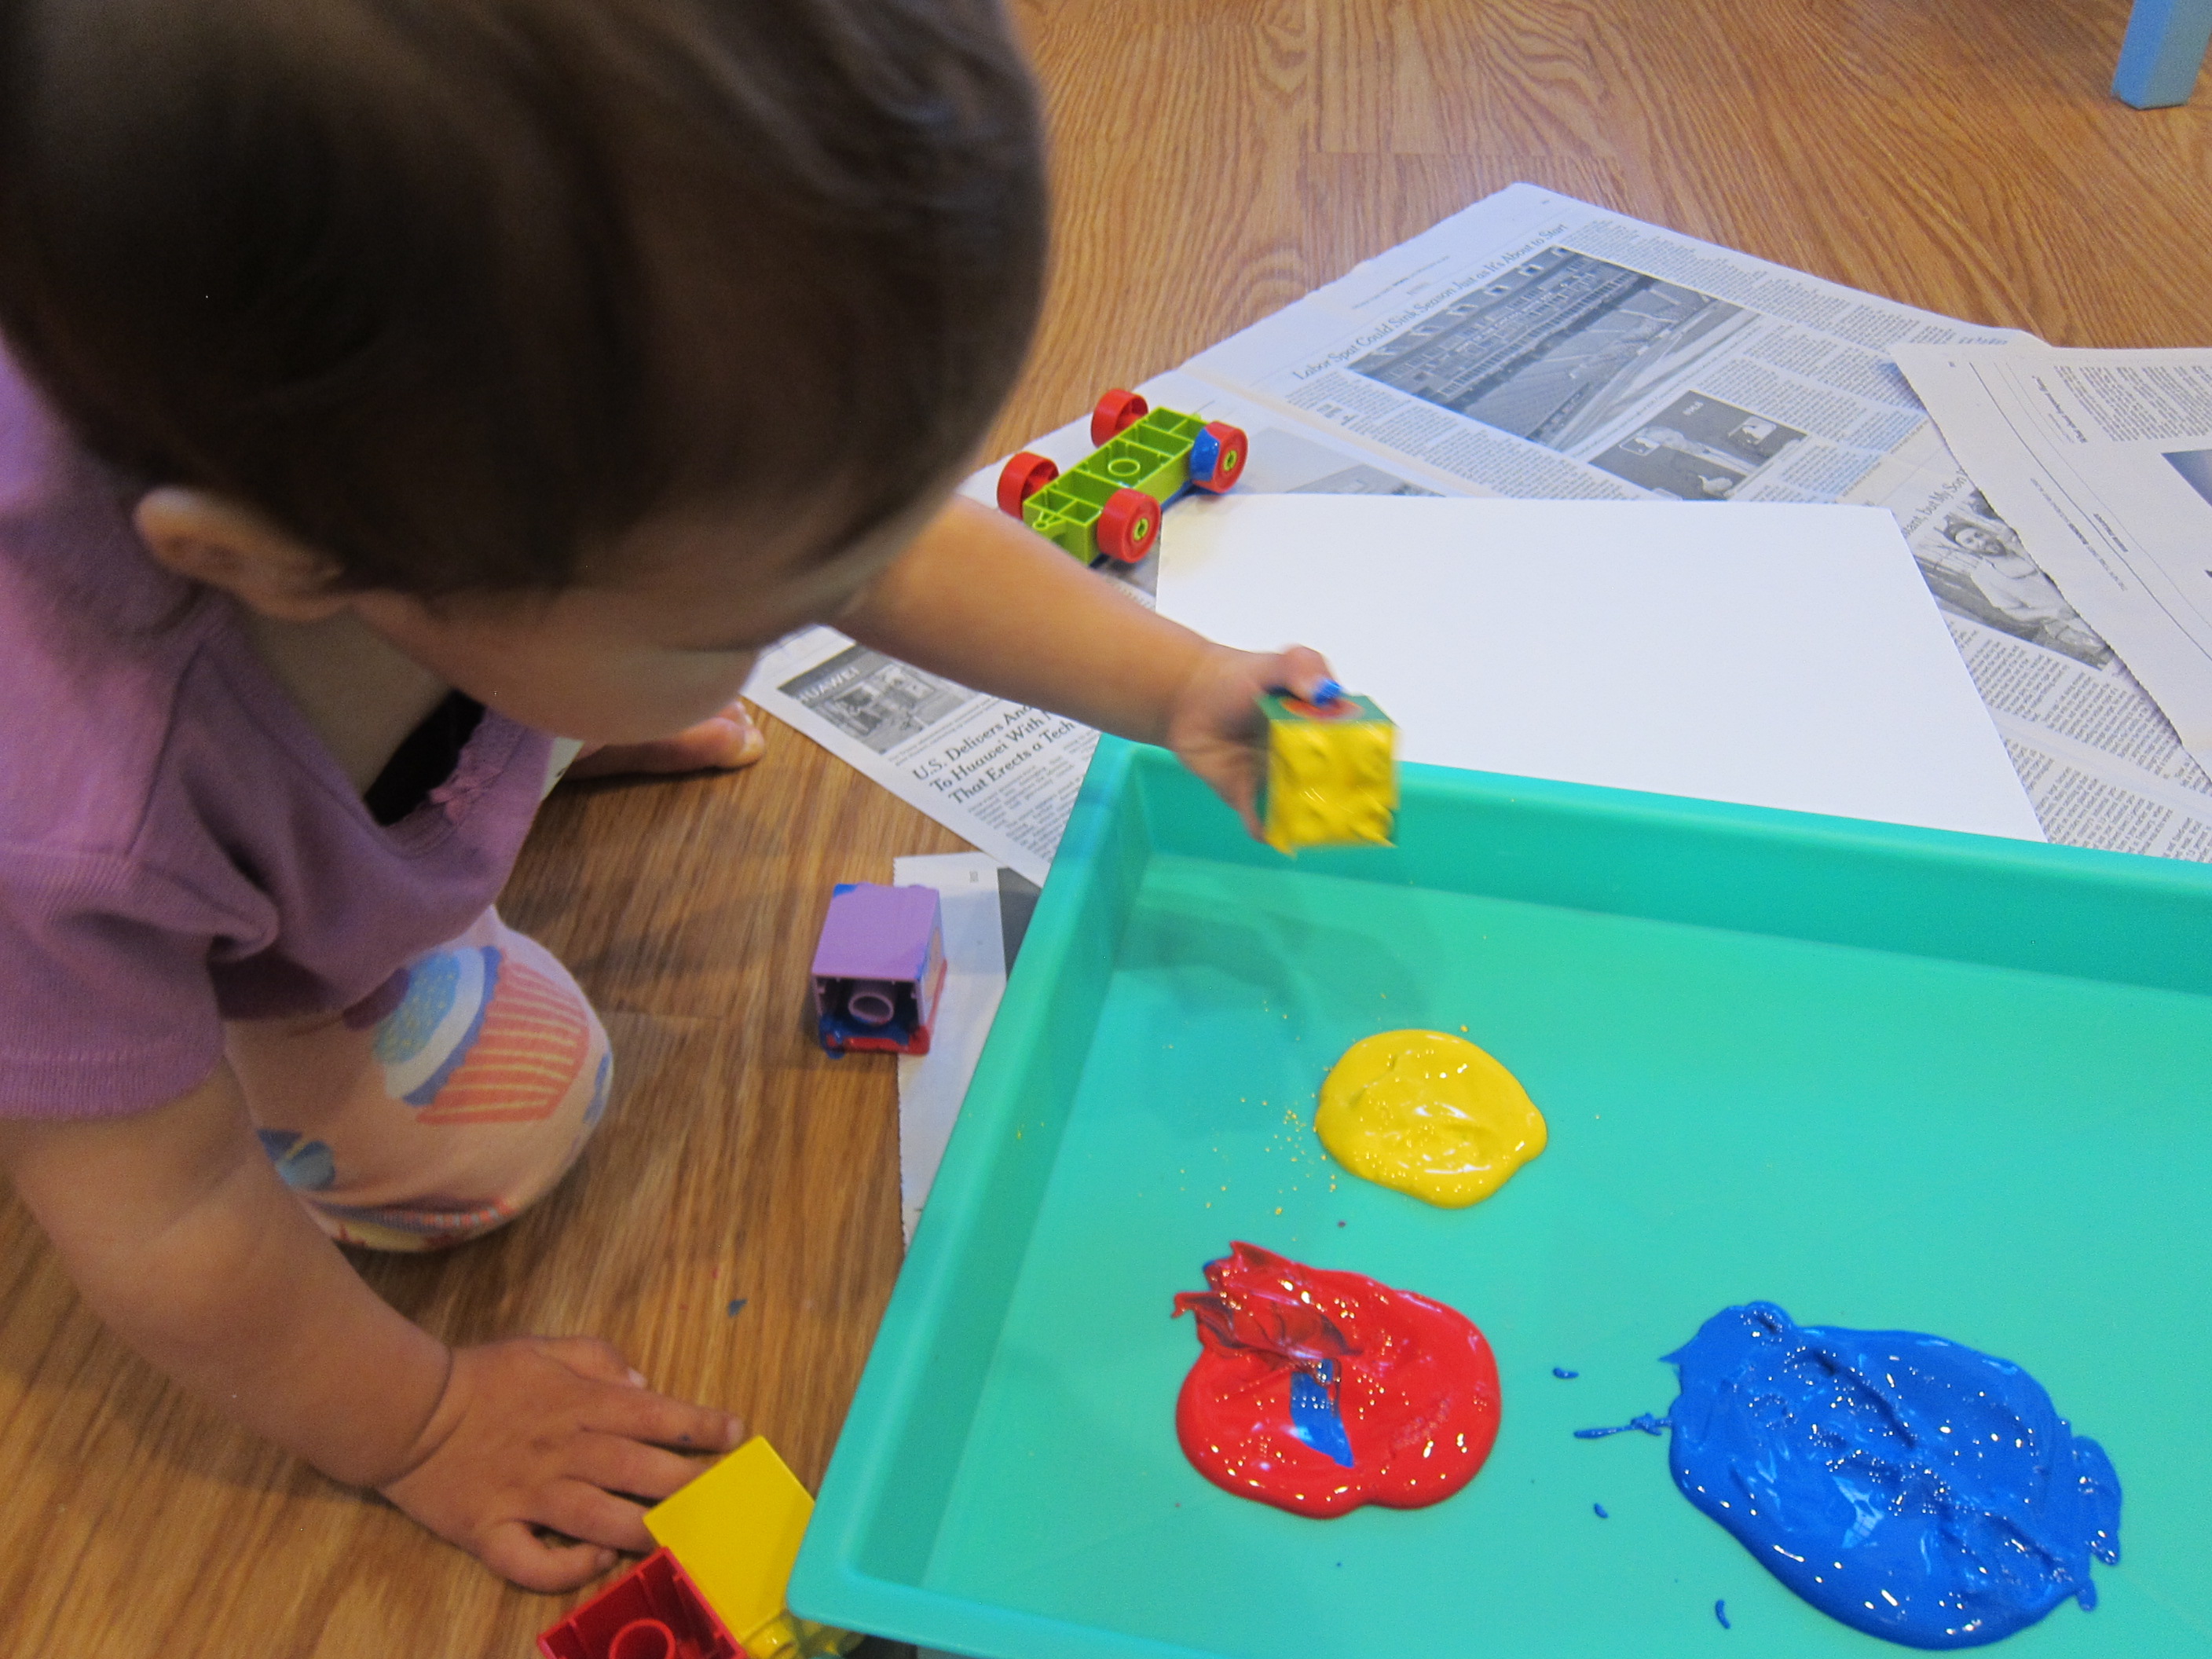
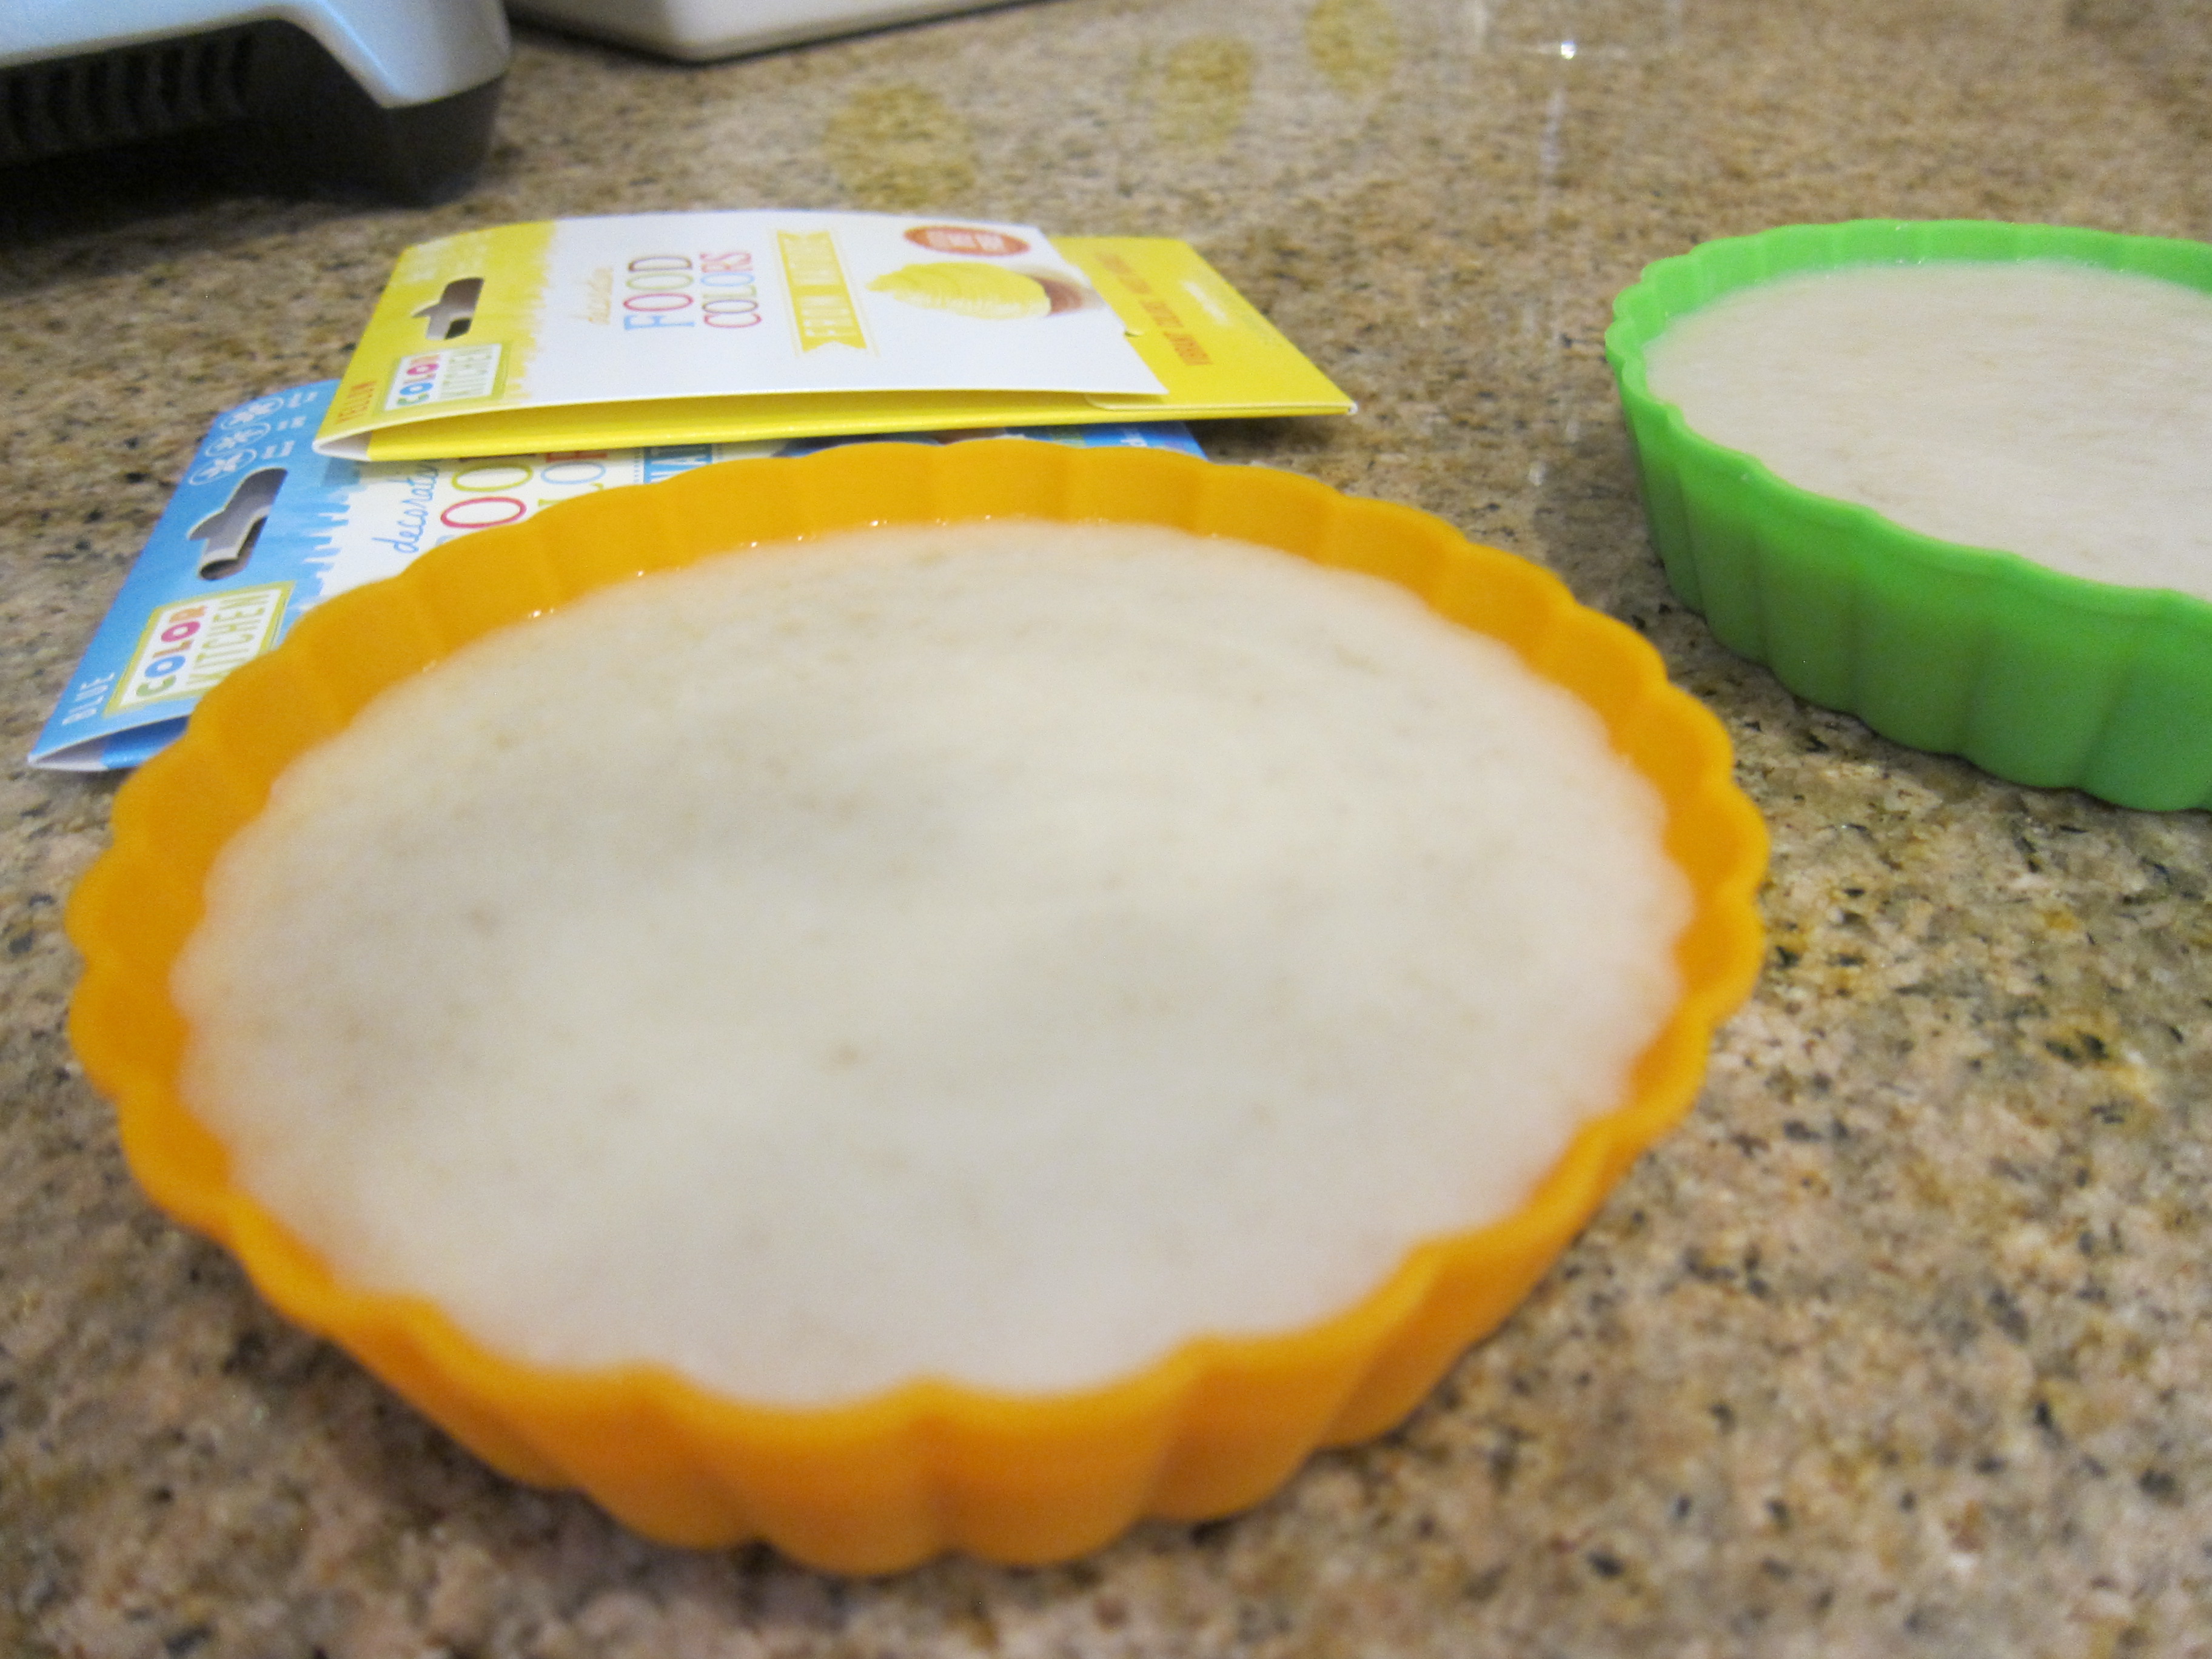
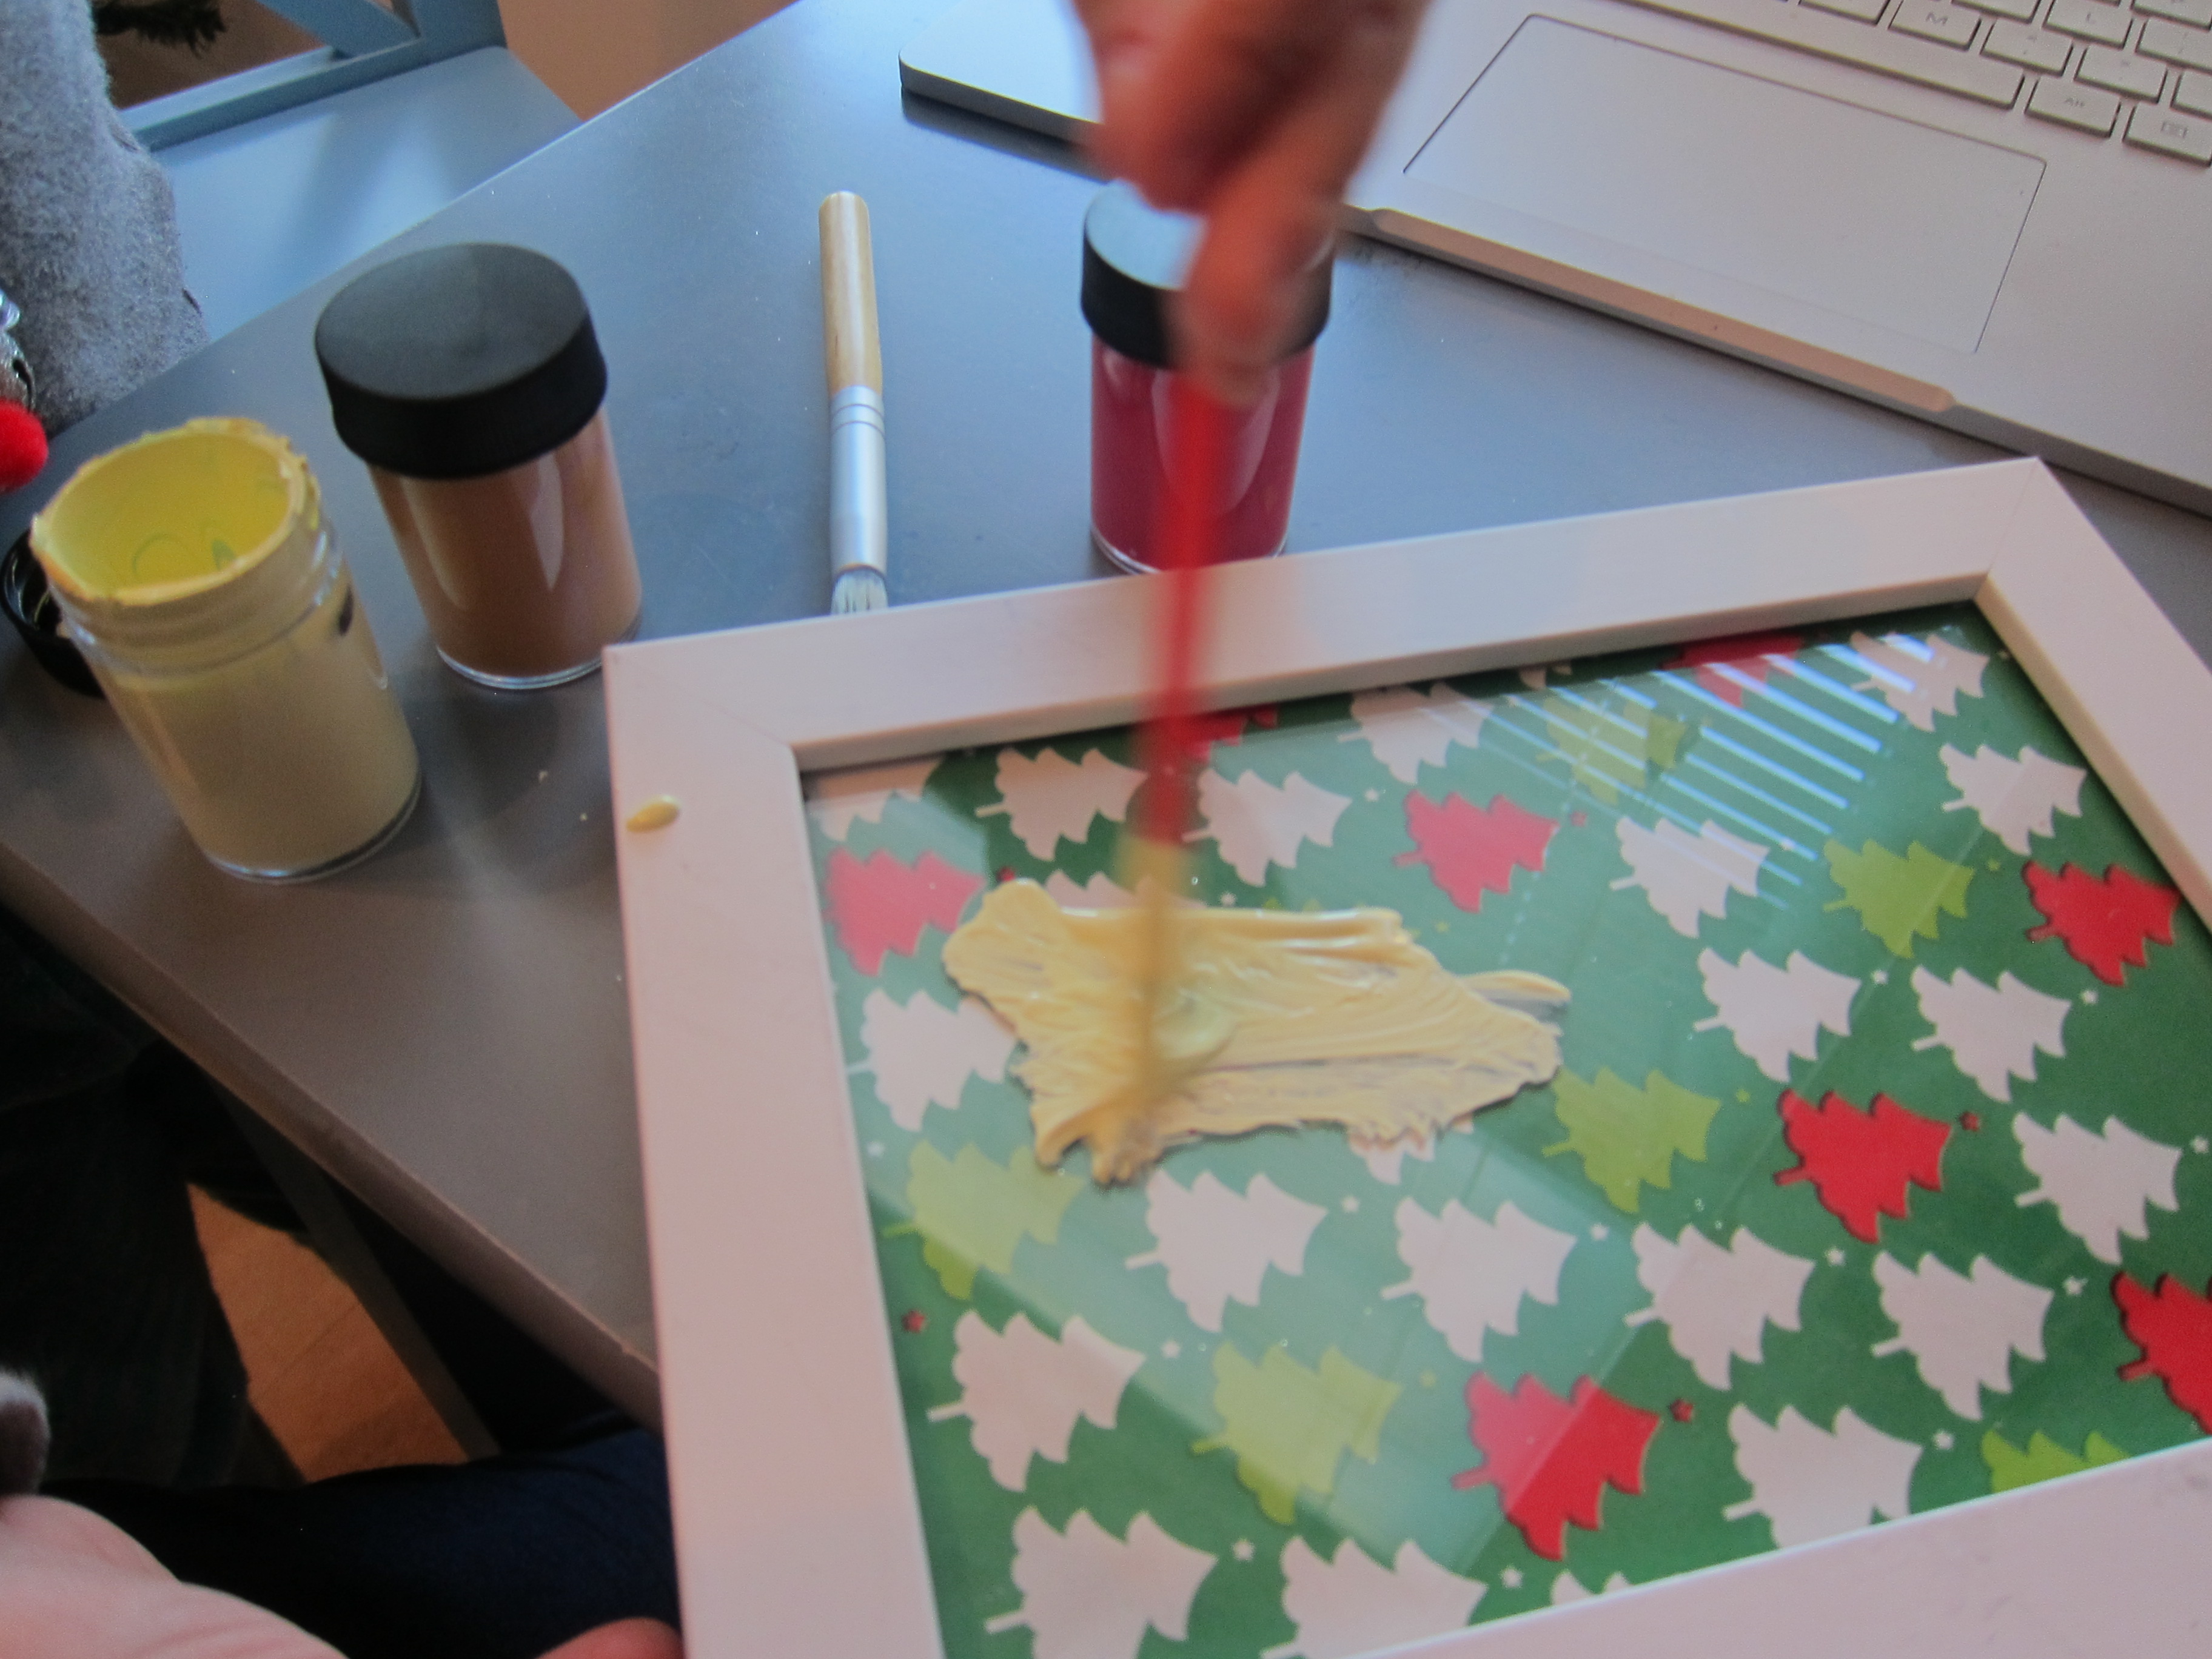
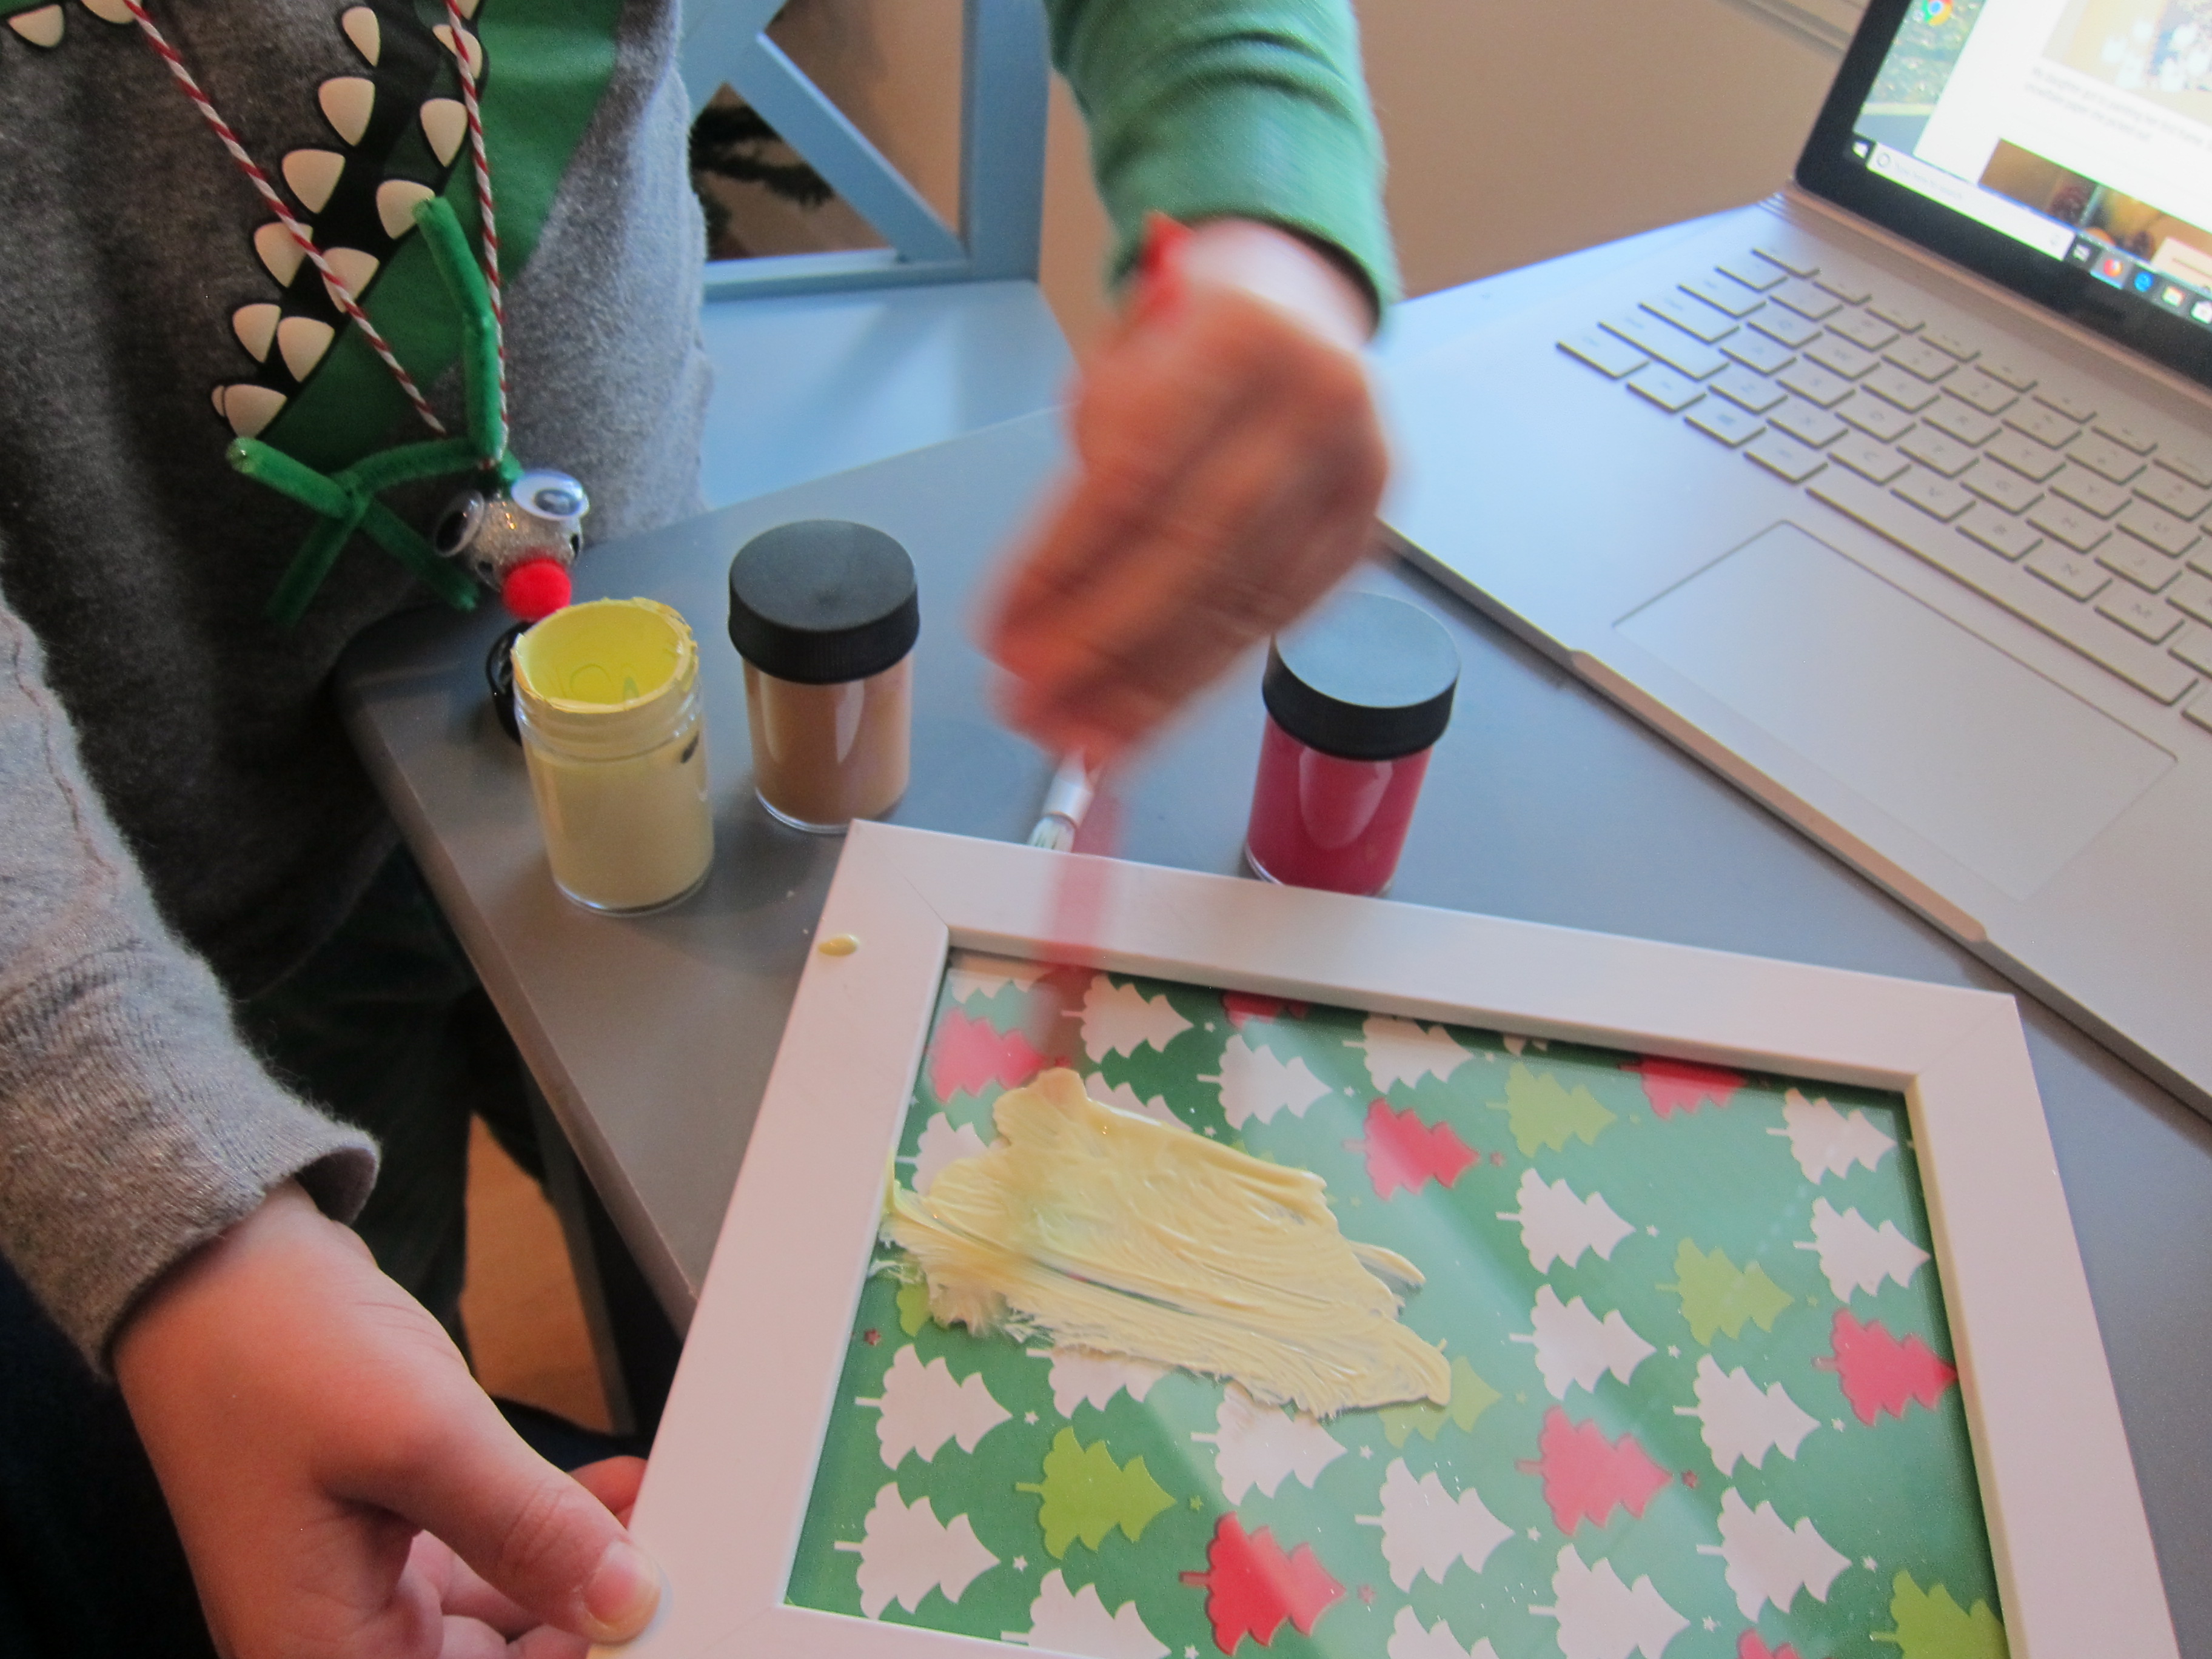
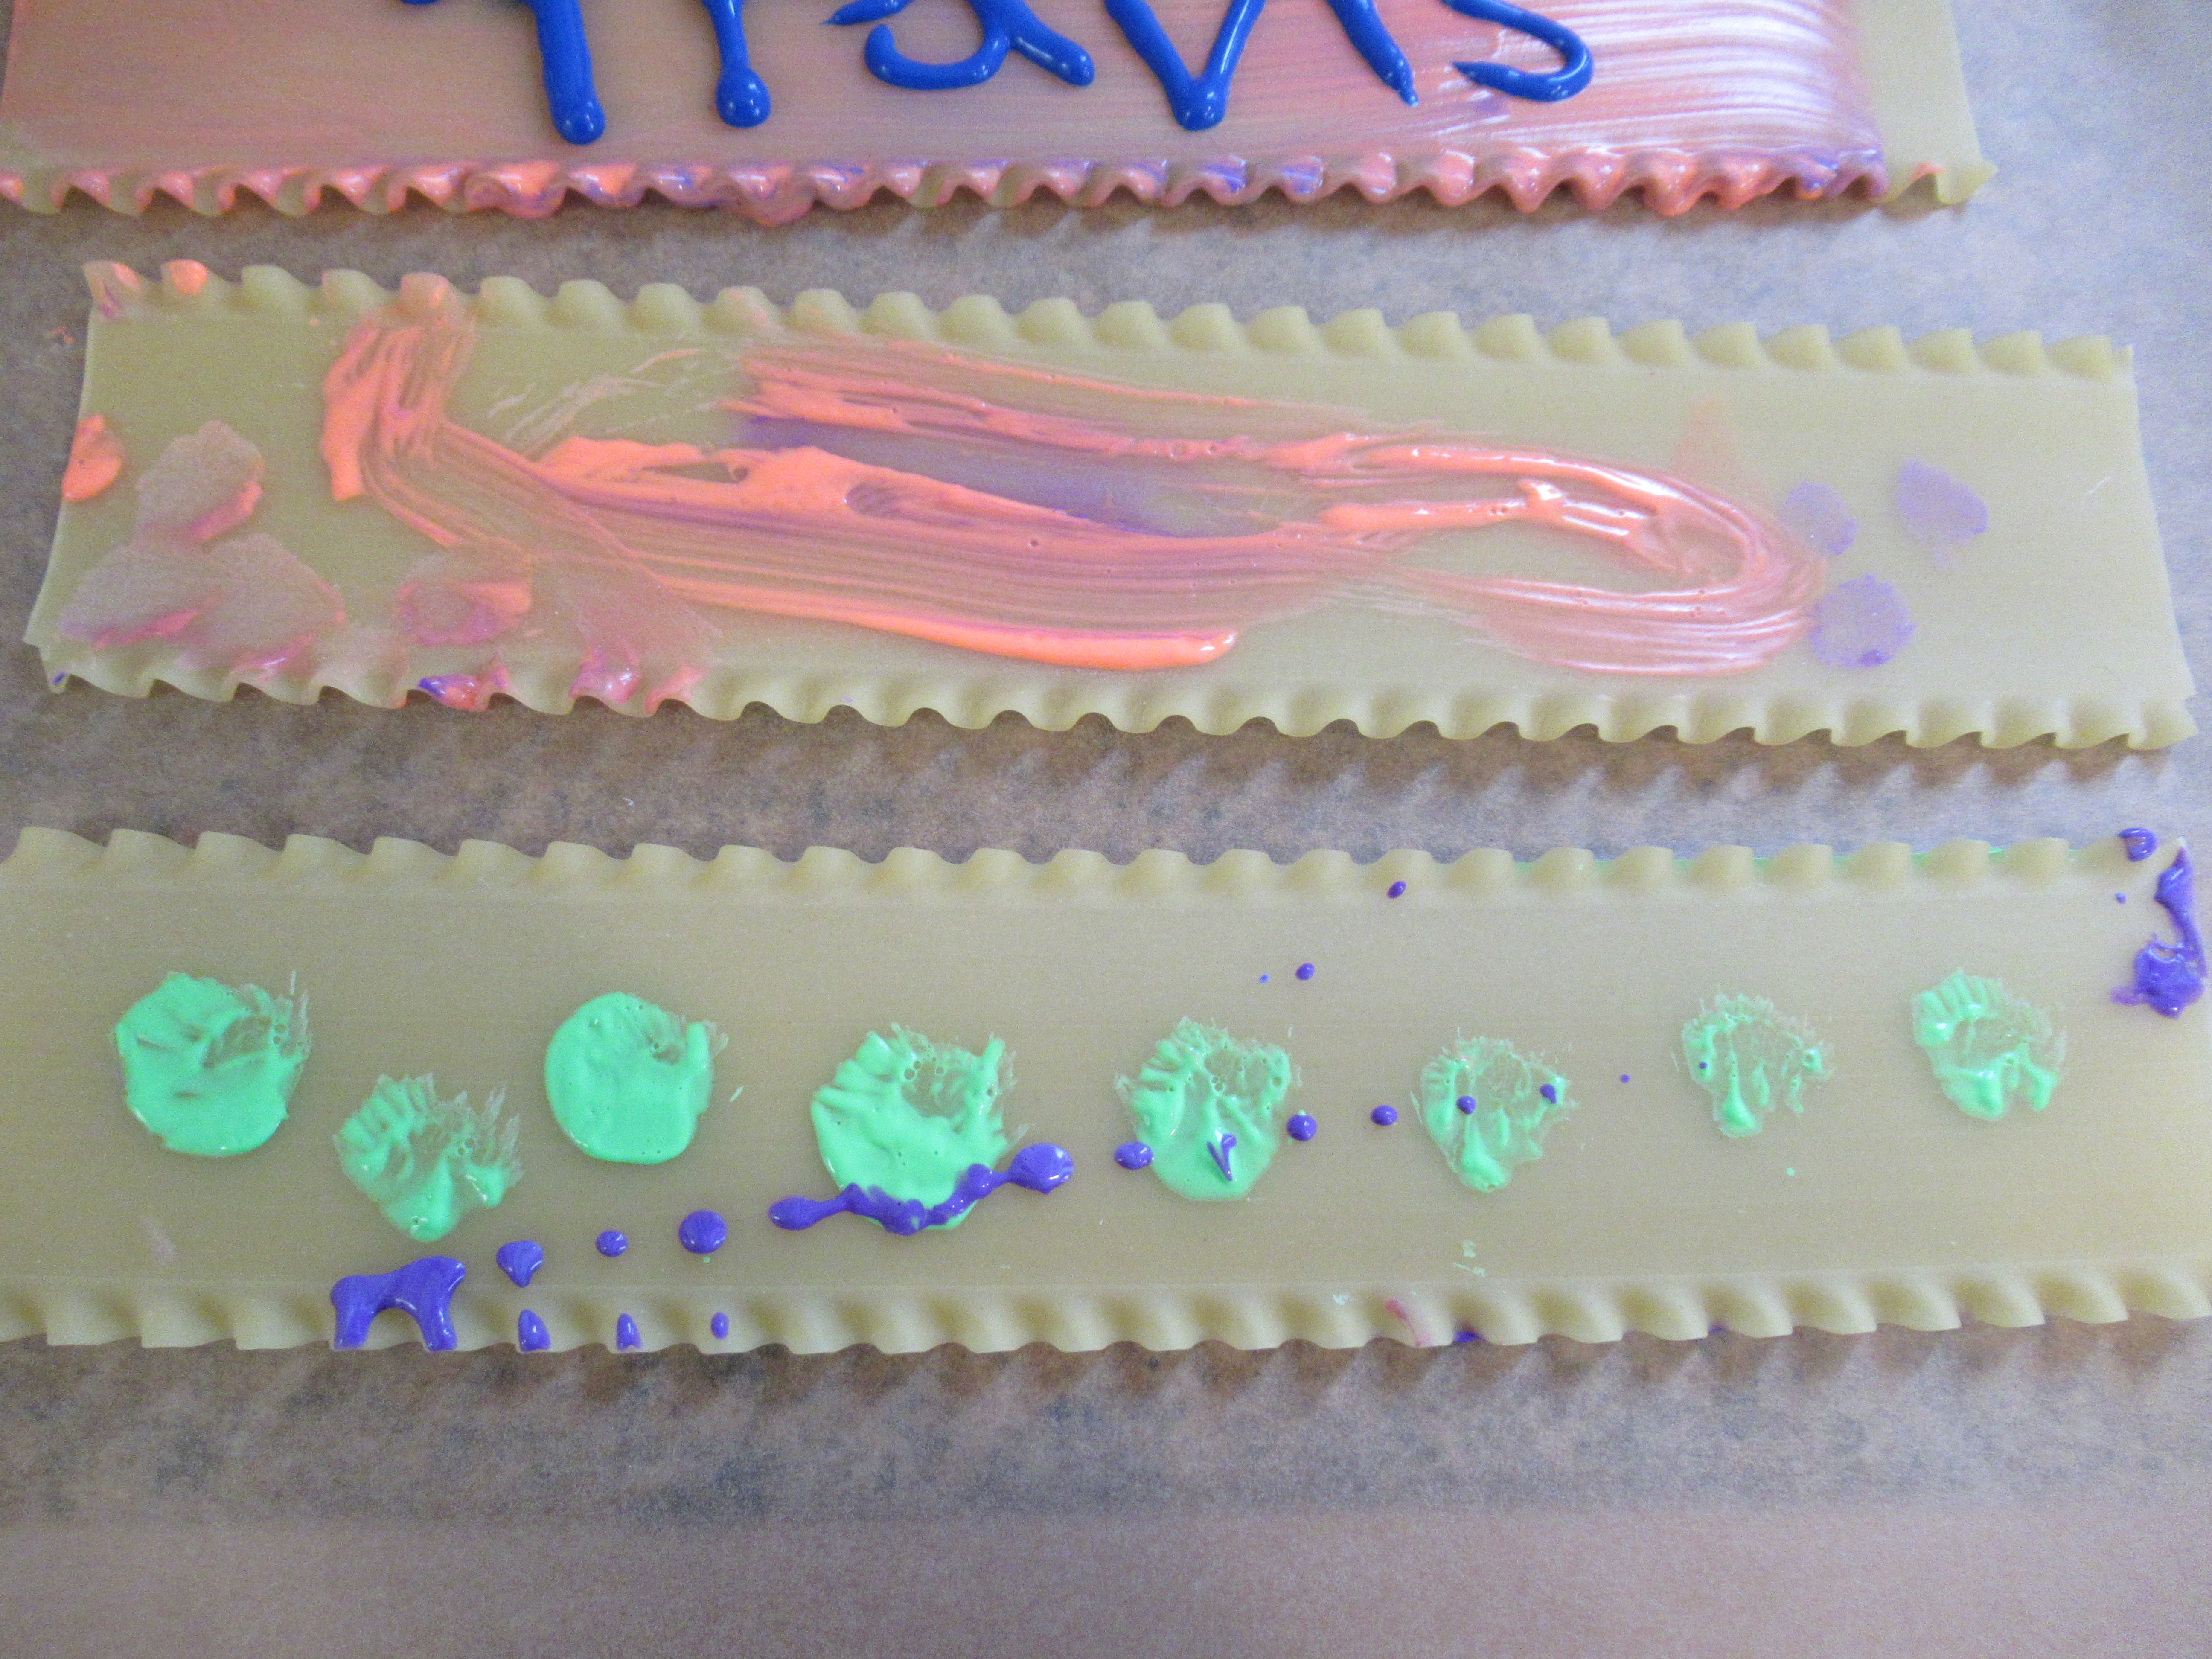
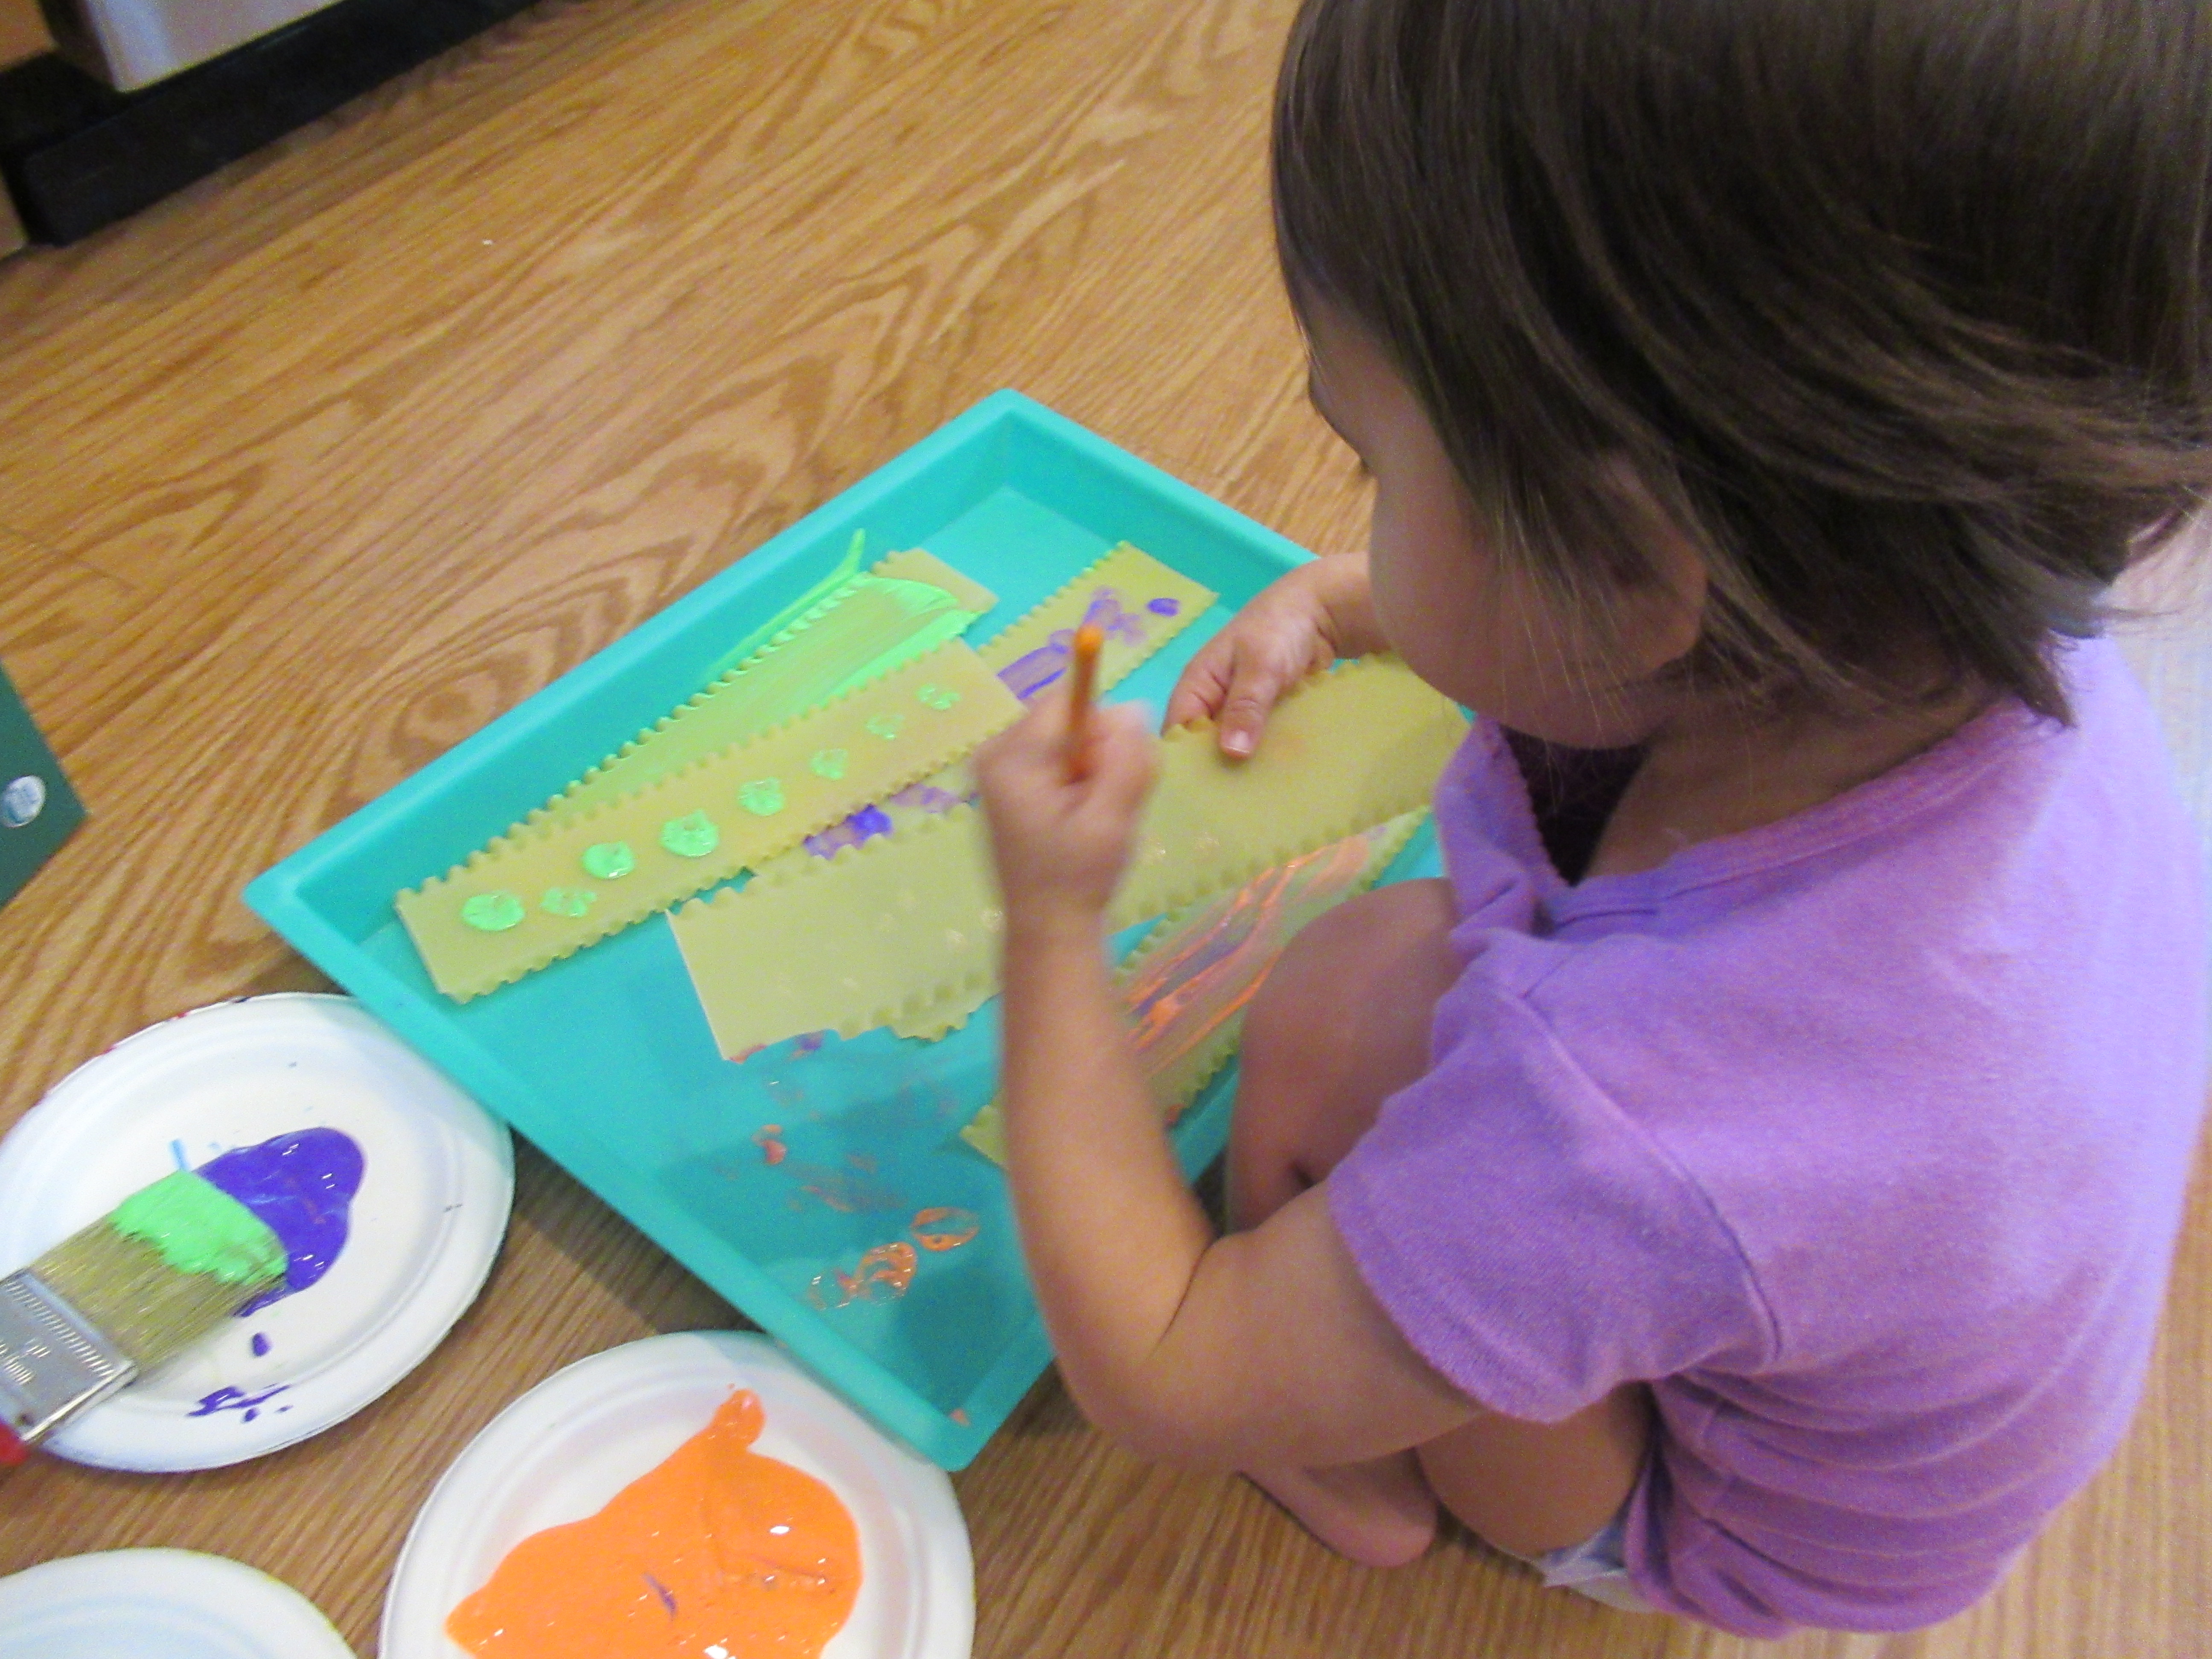
We love finding new “canvases” for painting, but today’s choice was one of the most unusual yet! I had a box of lasagna noodles in the pantry, so simply placed a few of them on a craft tray for Veronika. The long rectangles are practically begging to be painted!

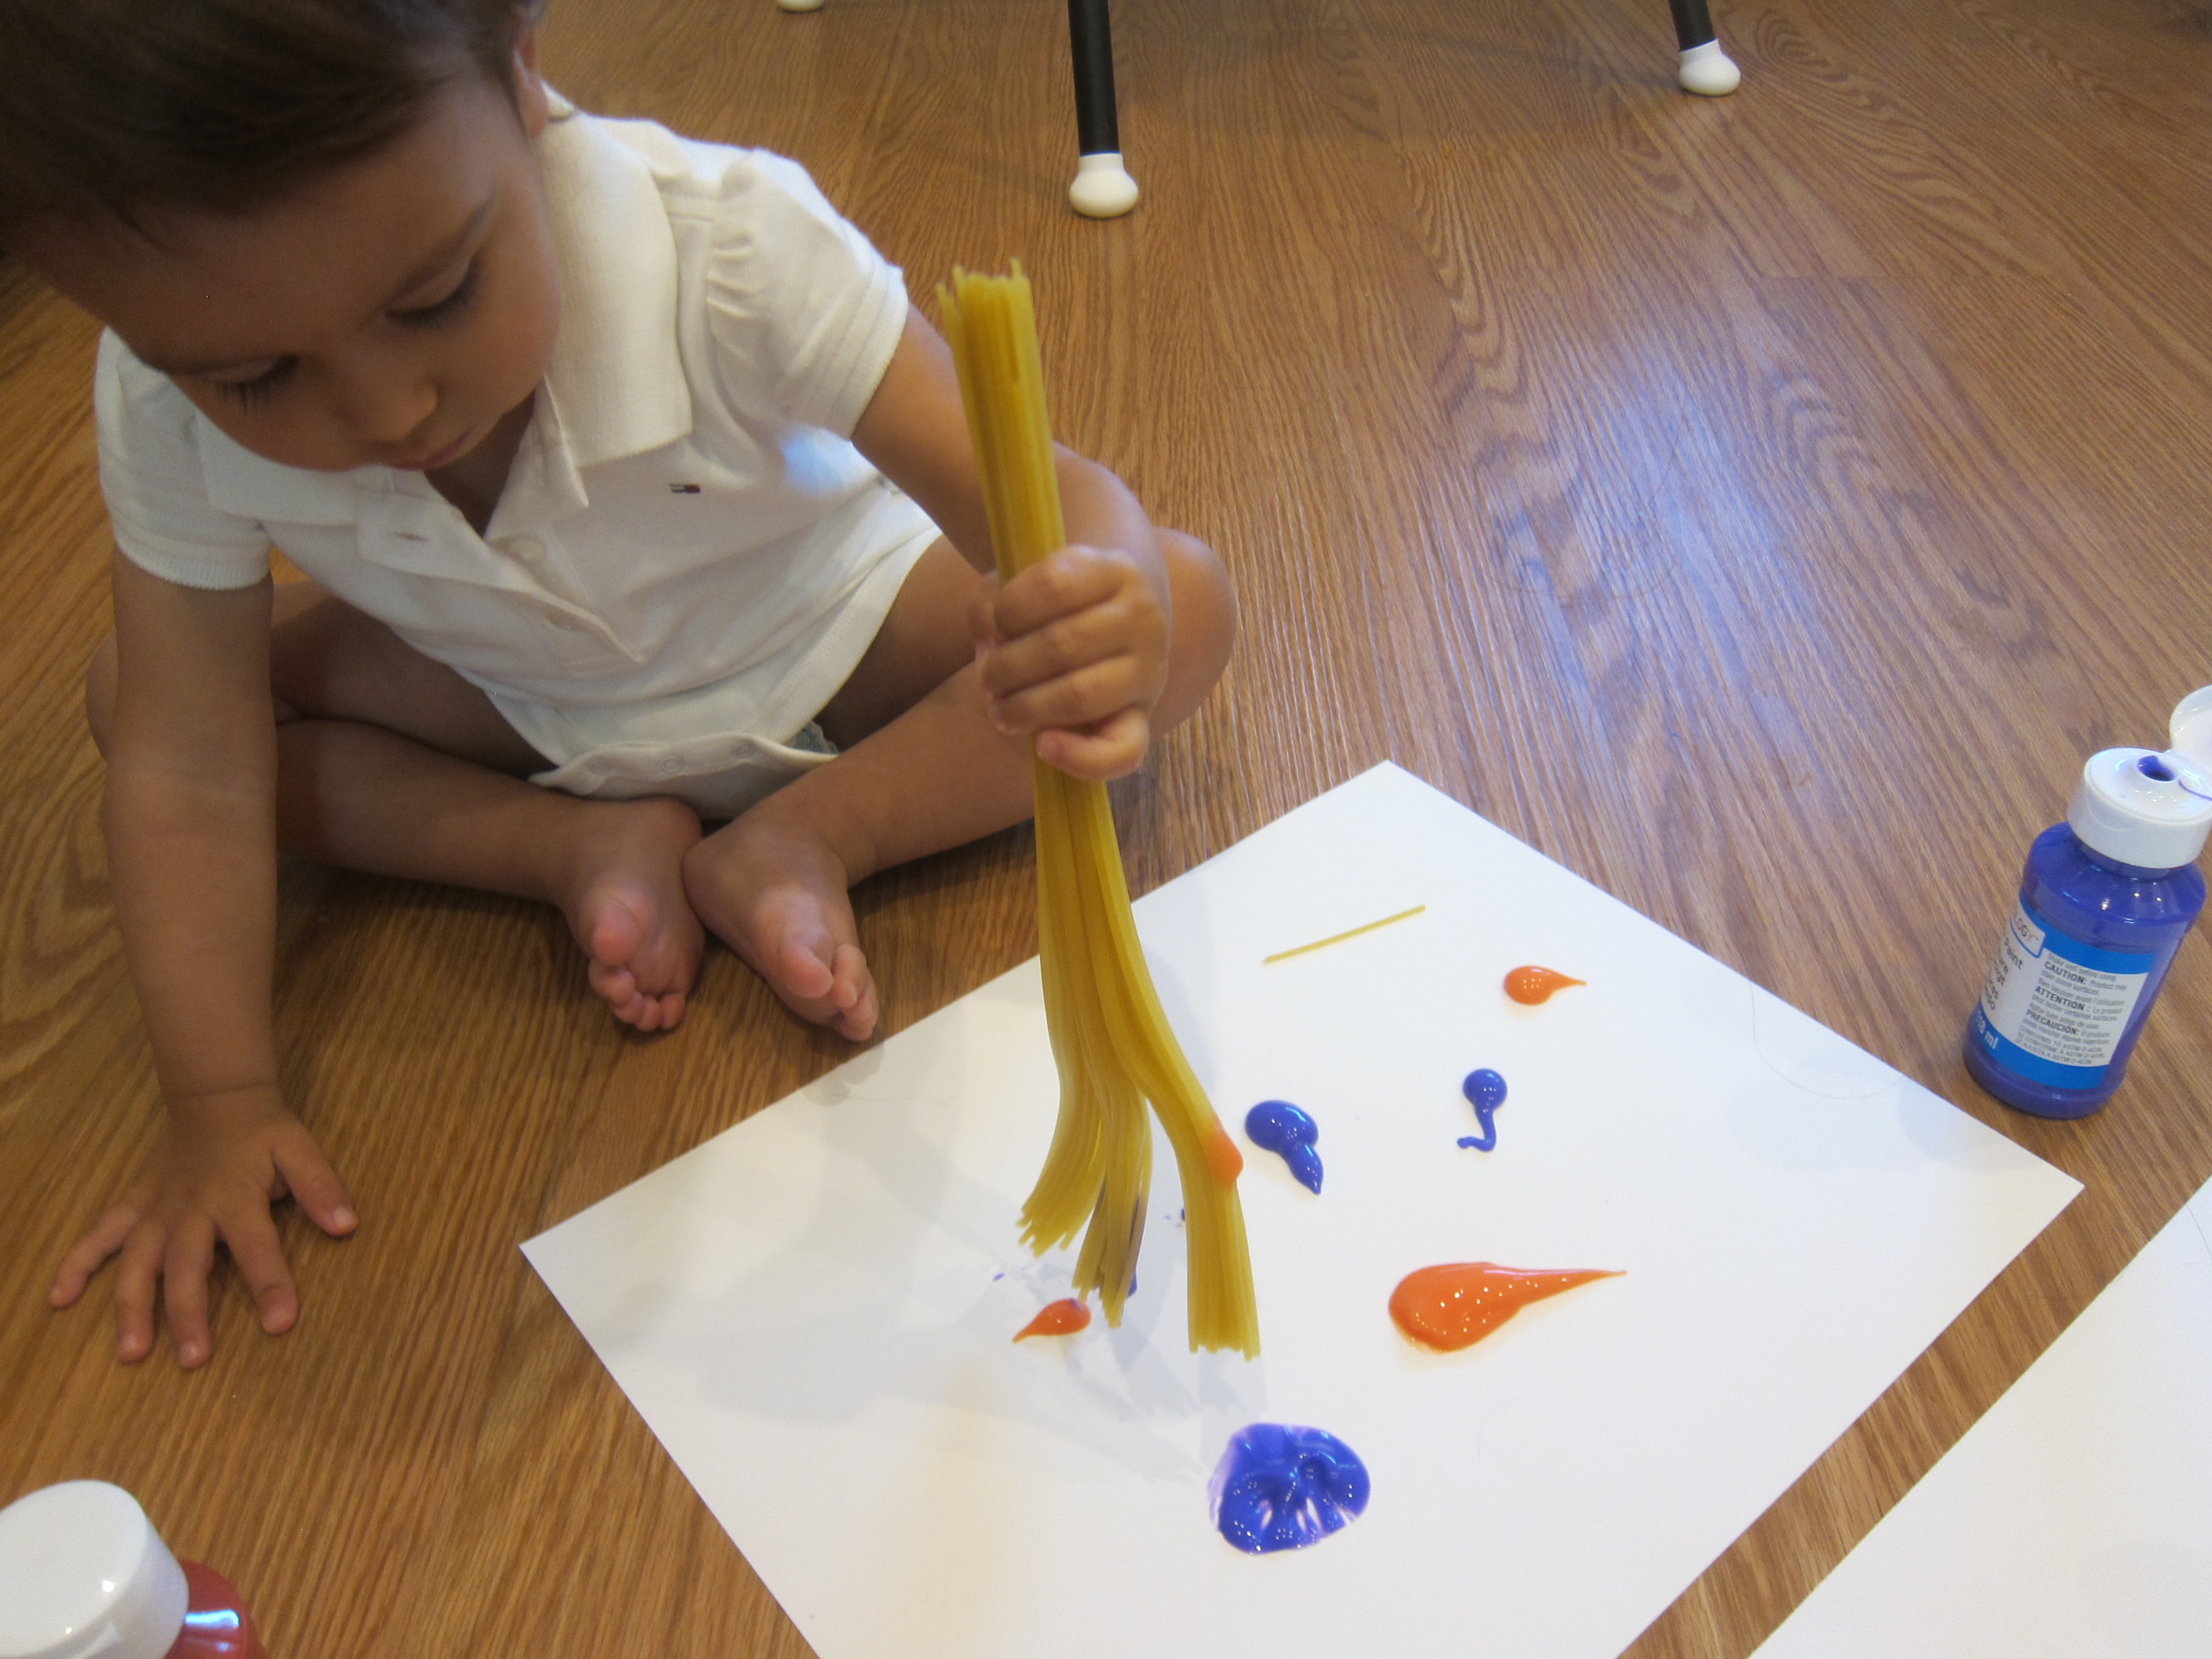
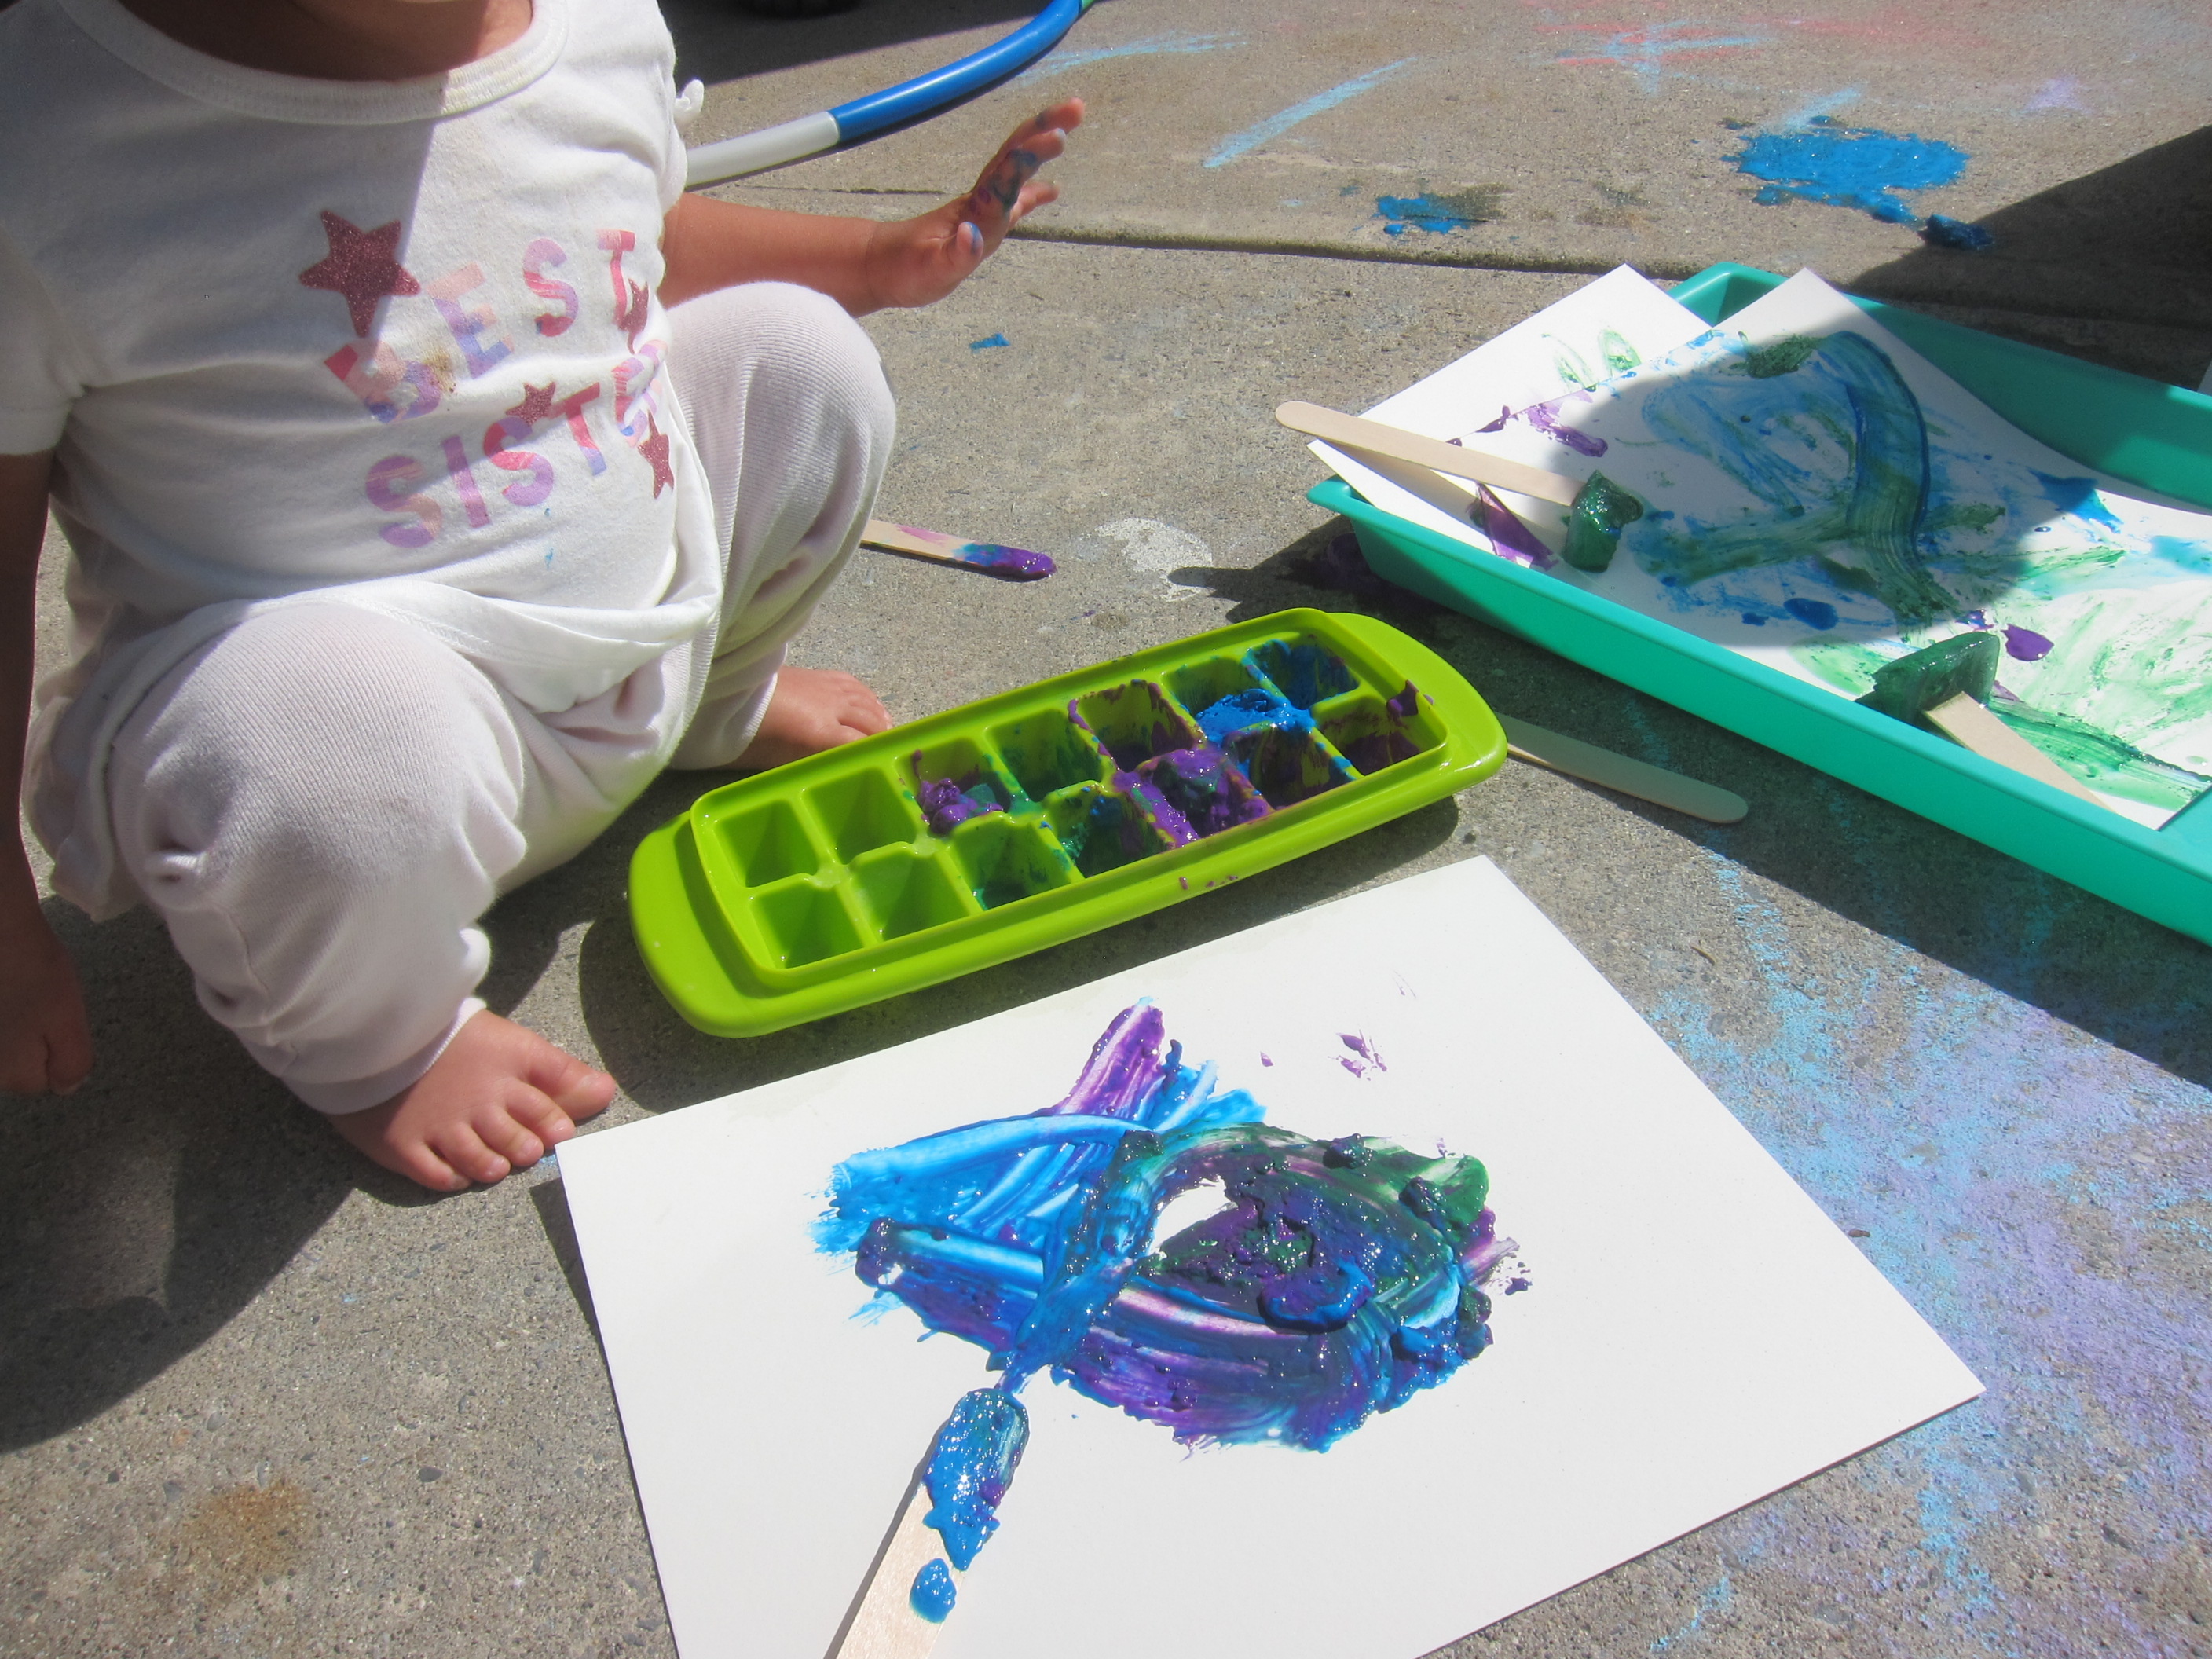
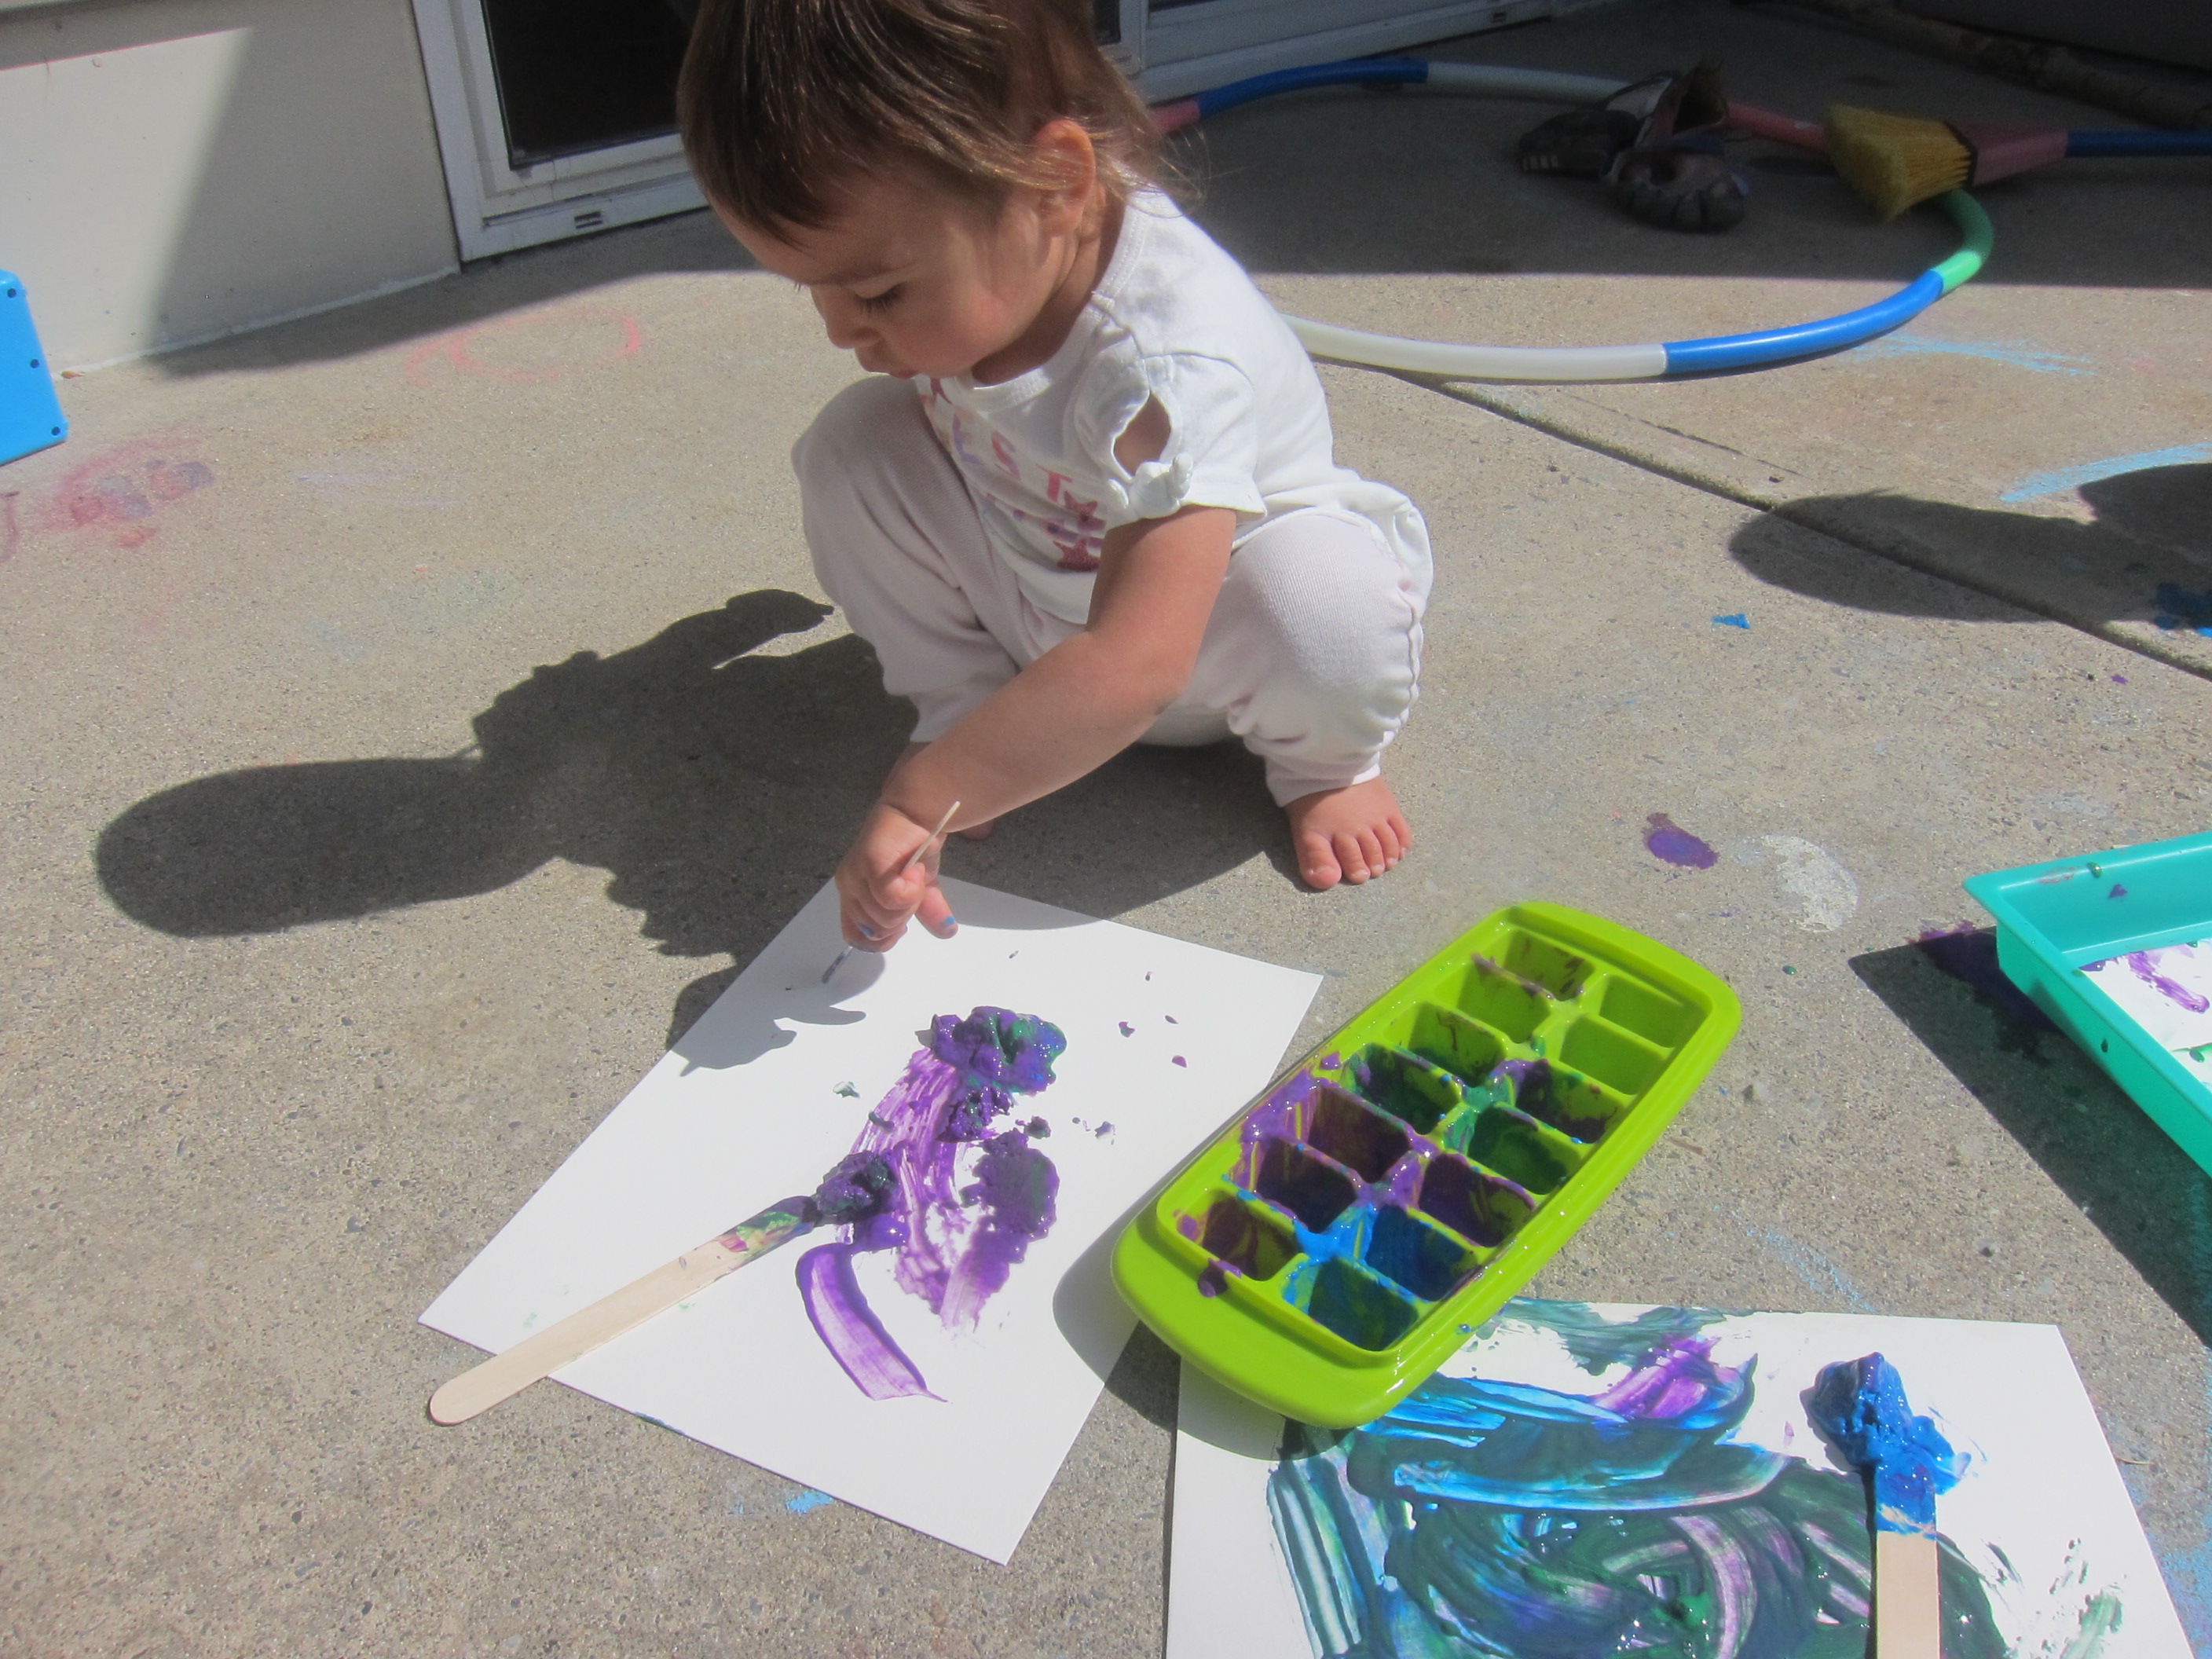
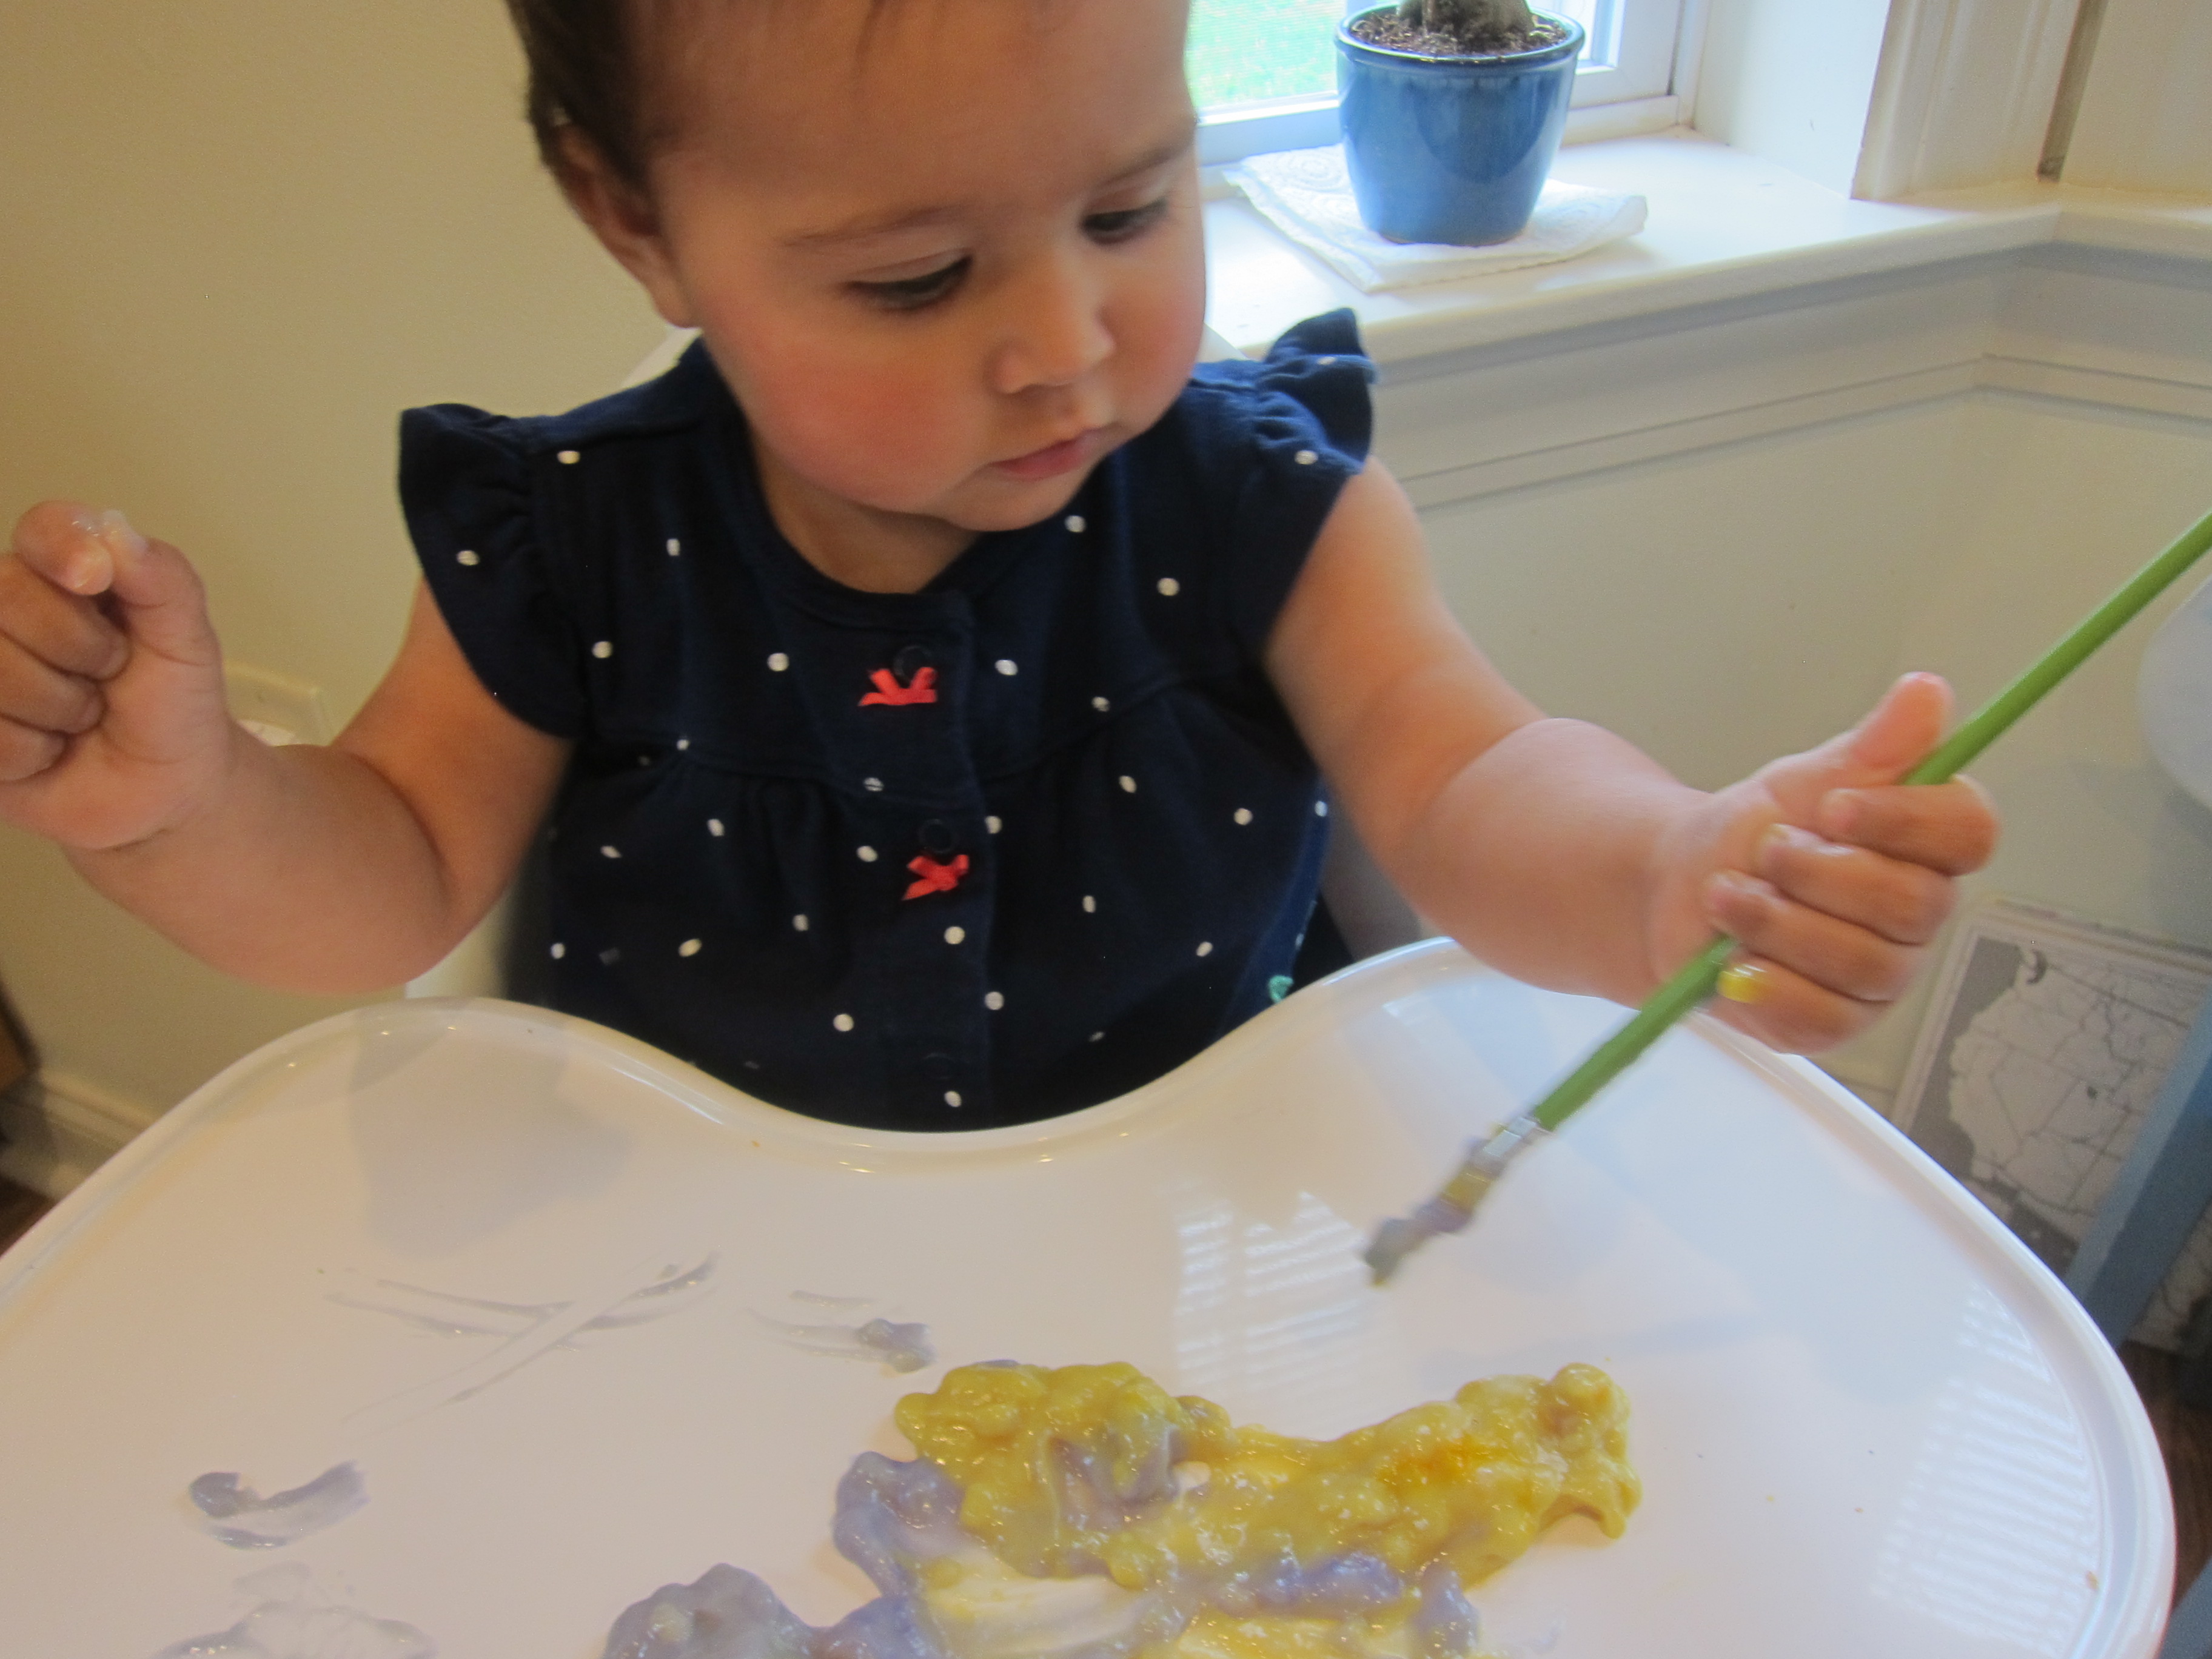
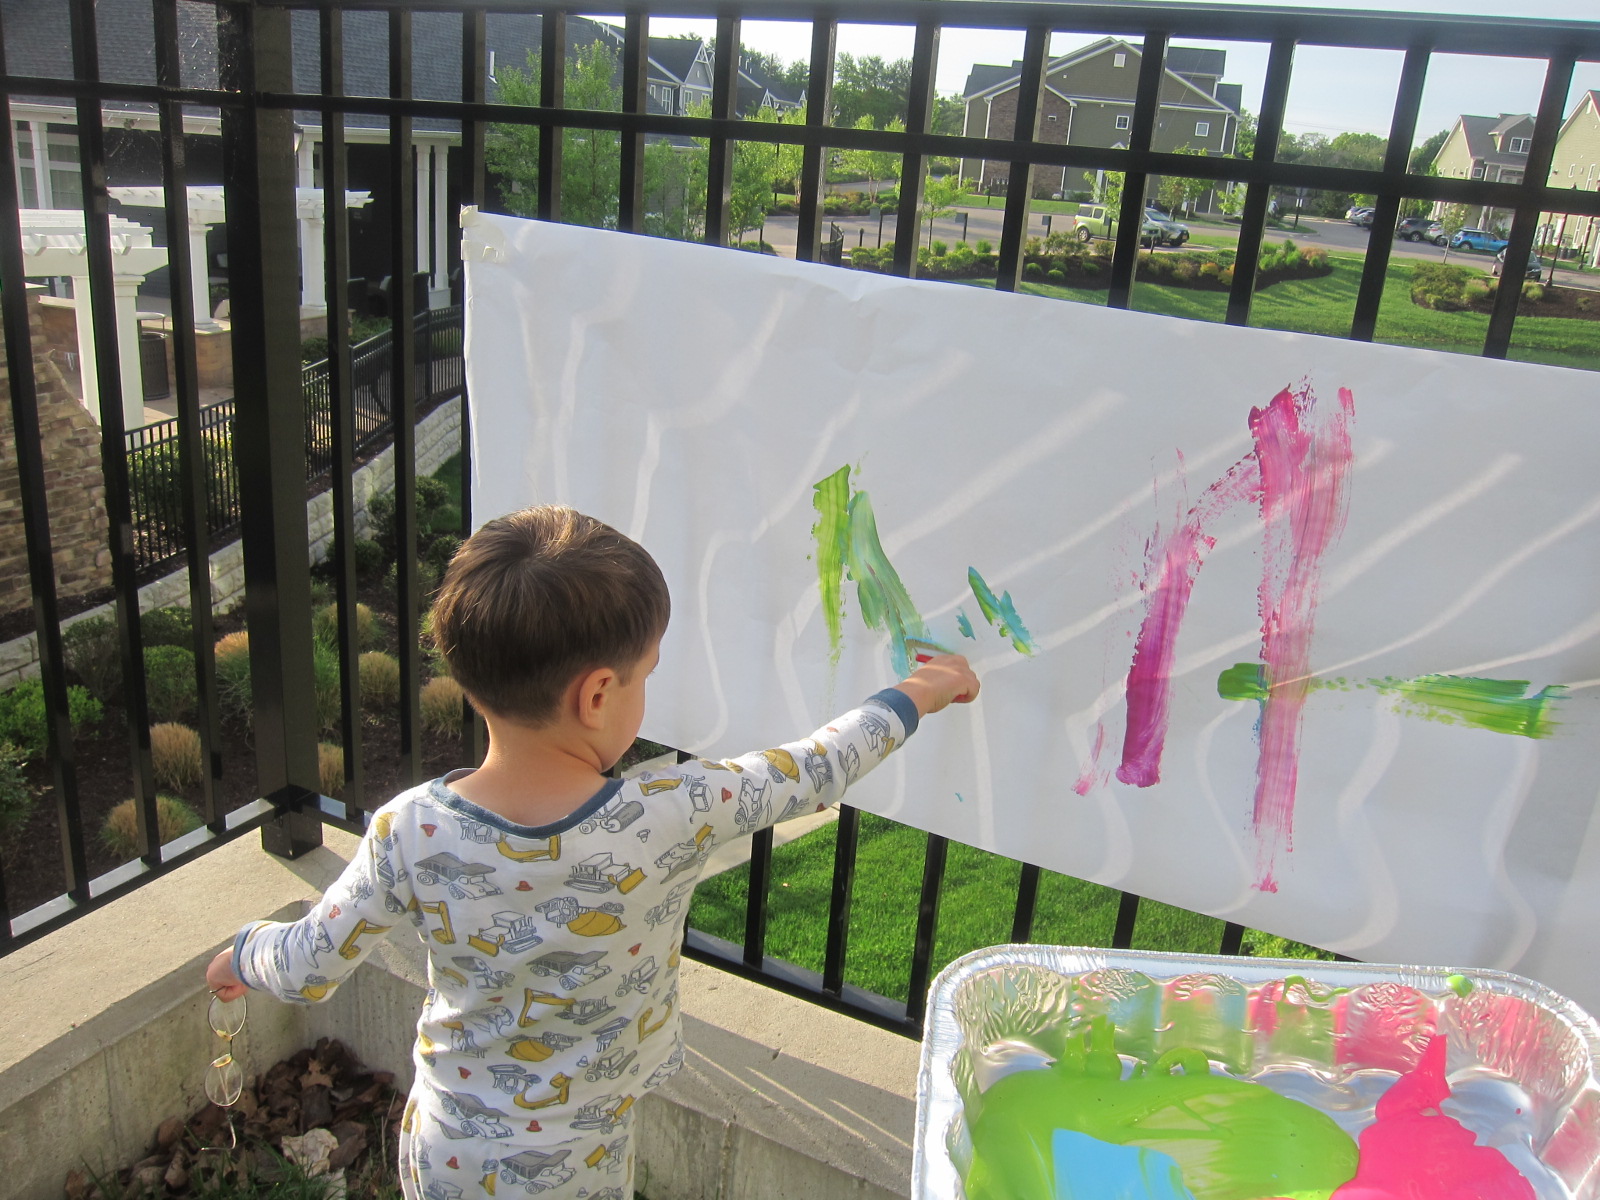
Veronika picked out her colors of paint, opting for a mix of neon orange, green, and purple.

Lasagna Noodle Painting (1)

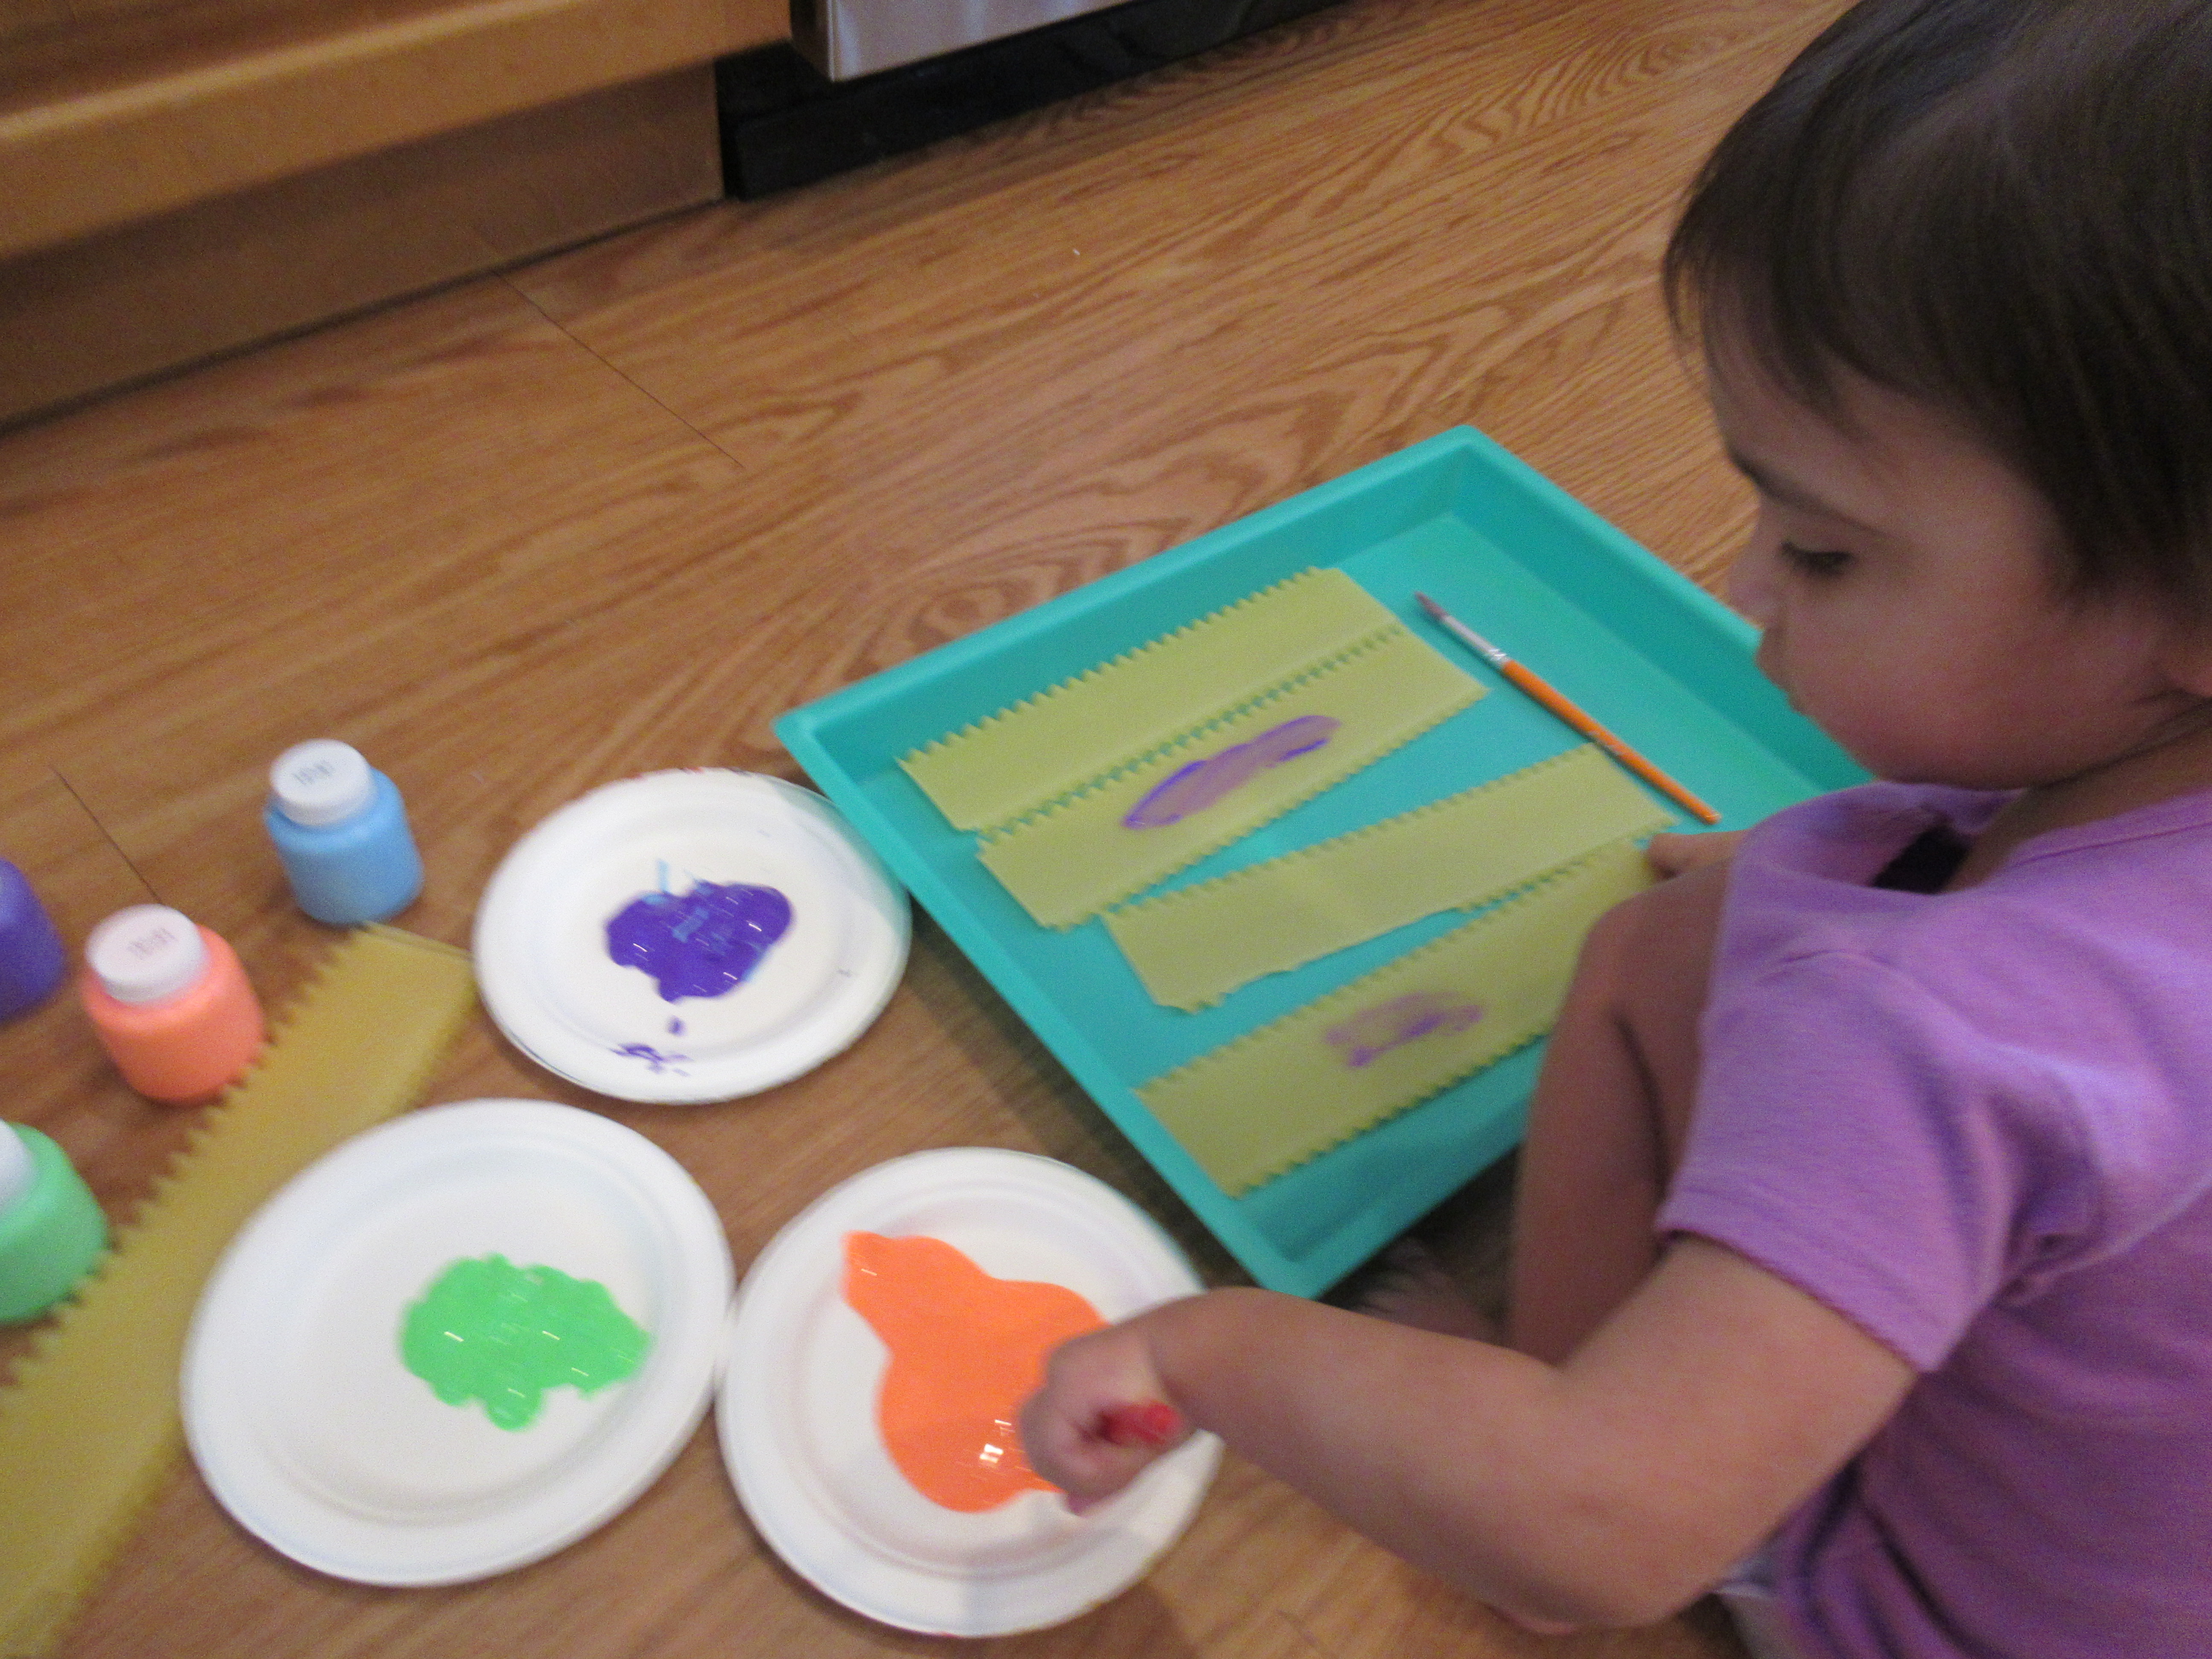
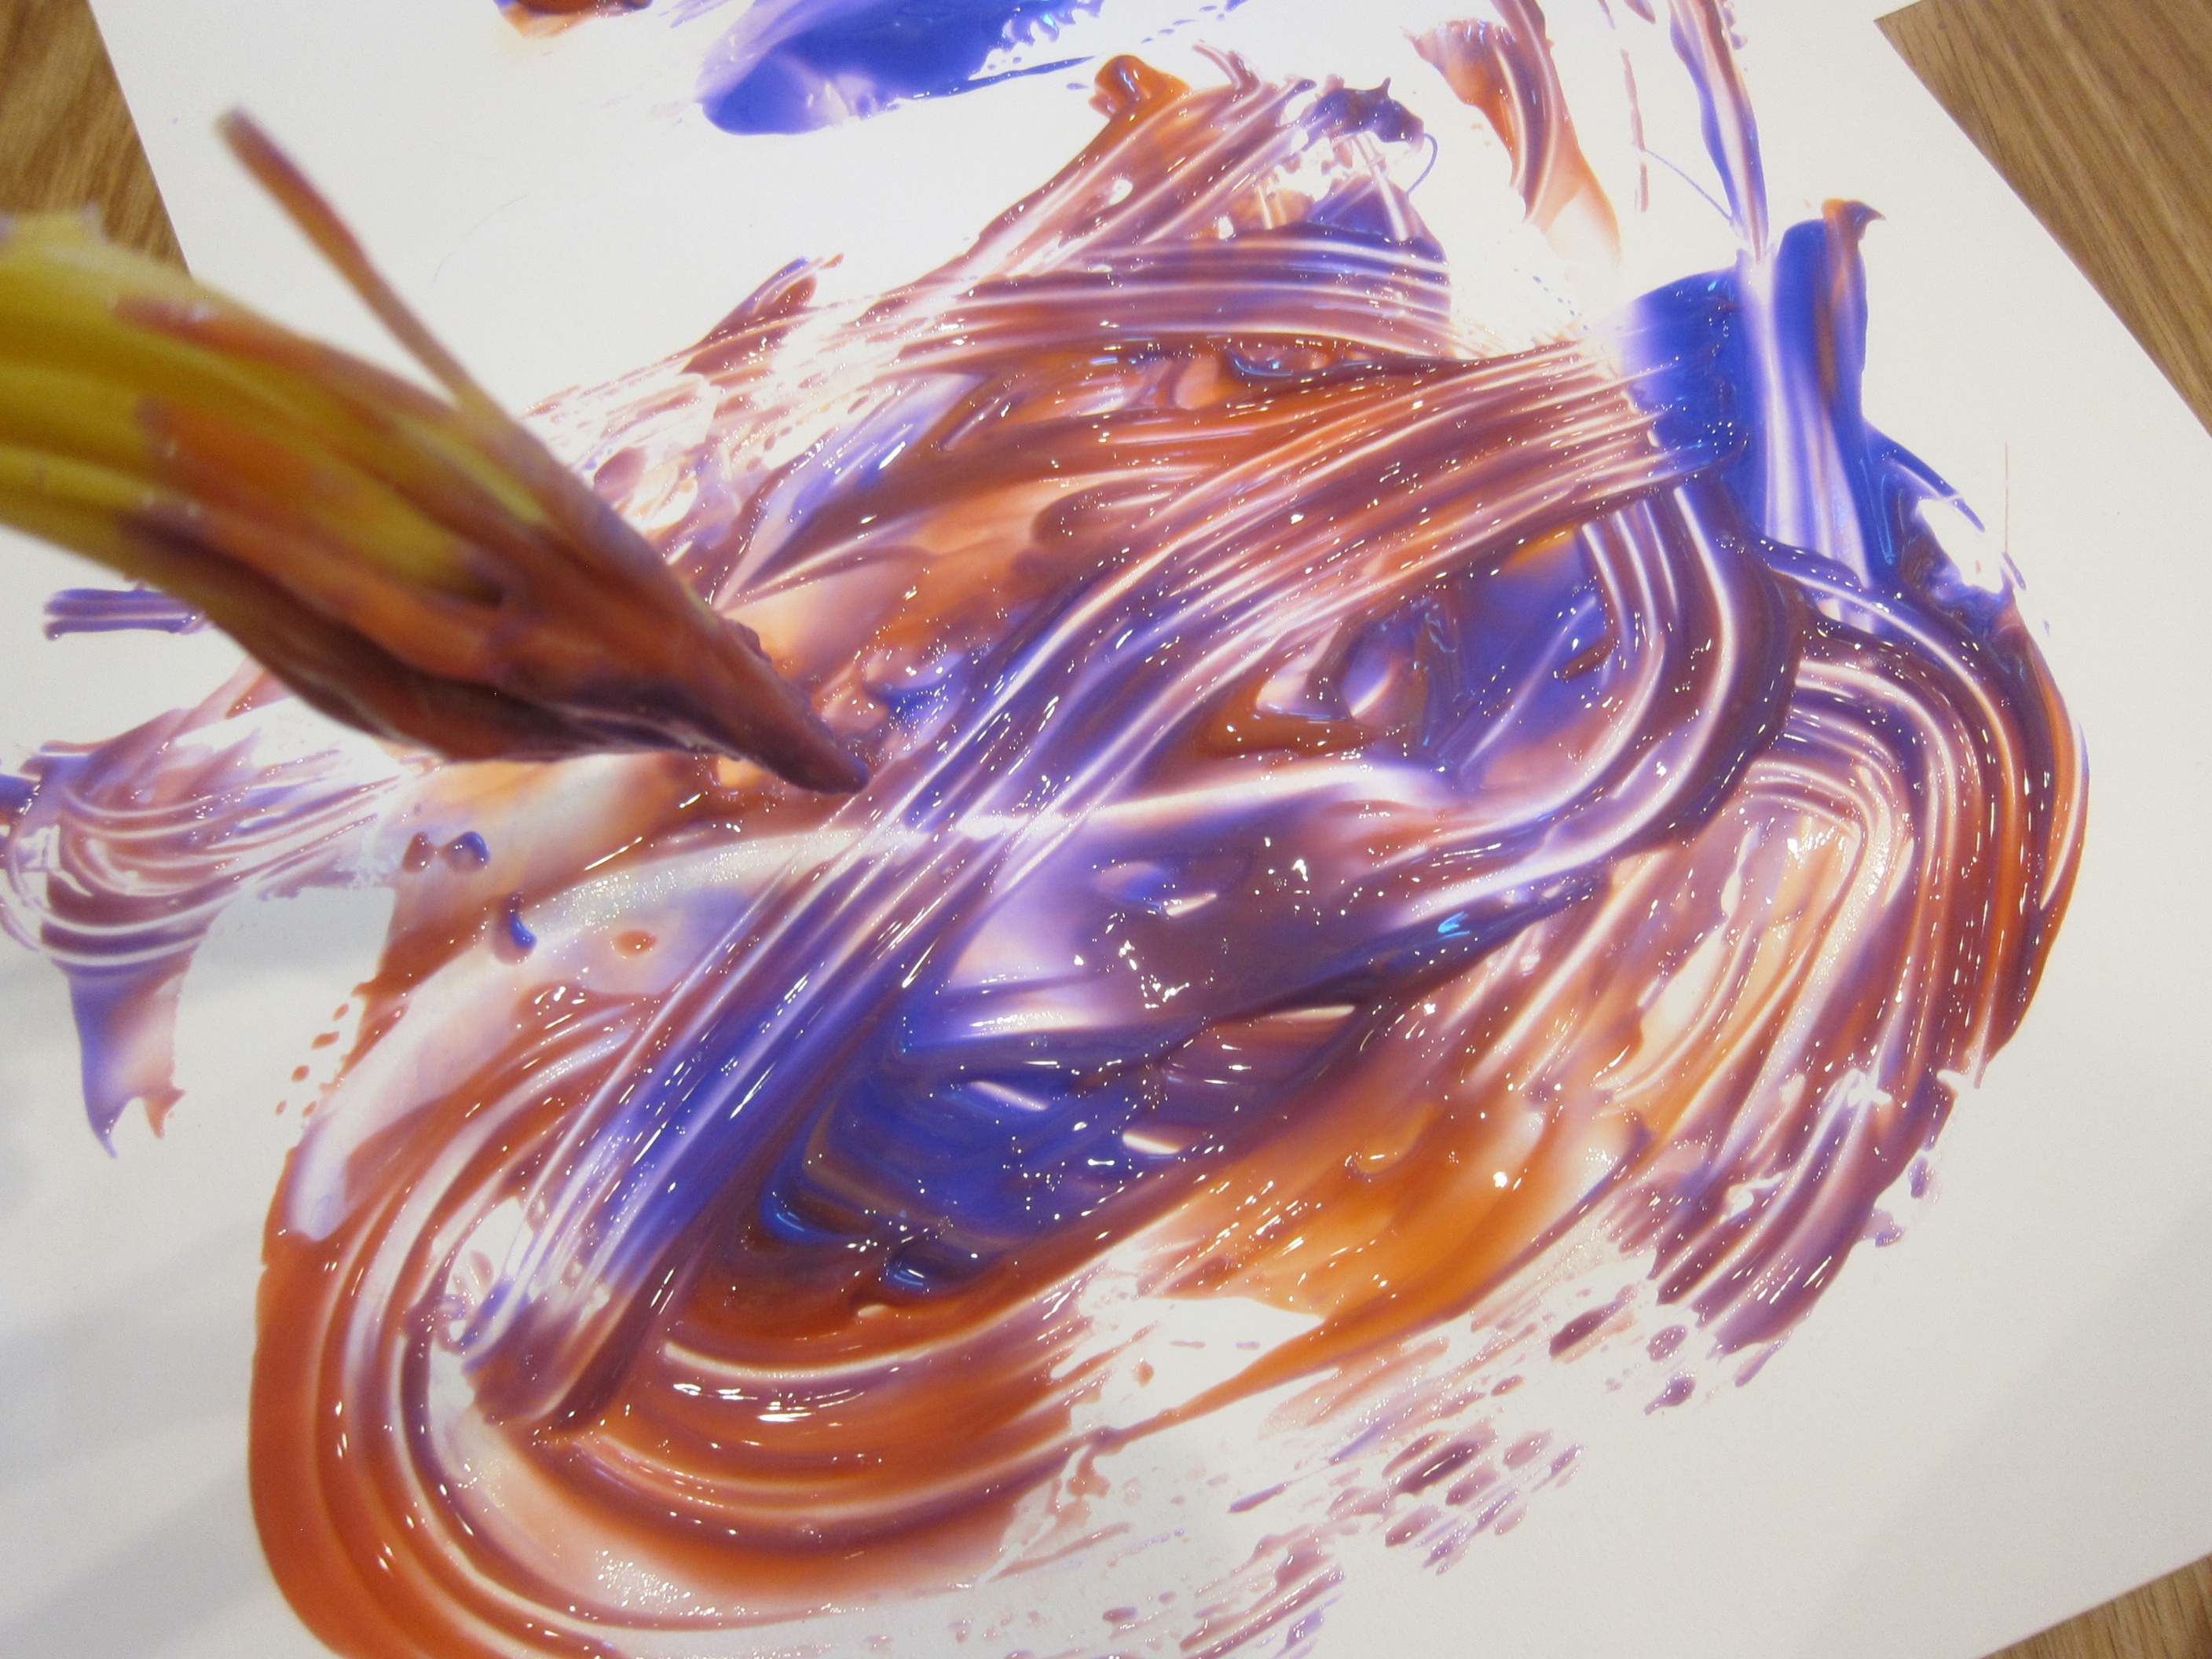
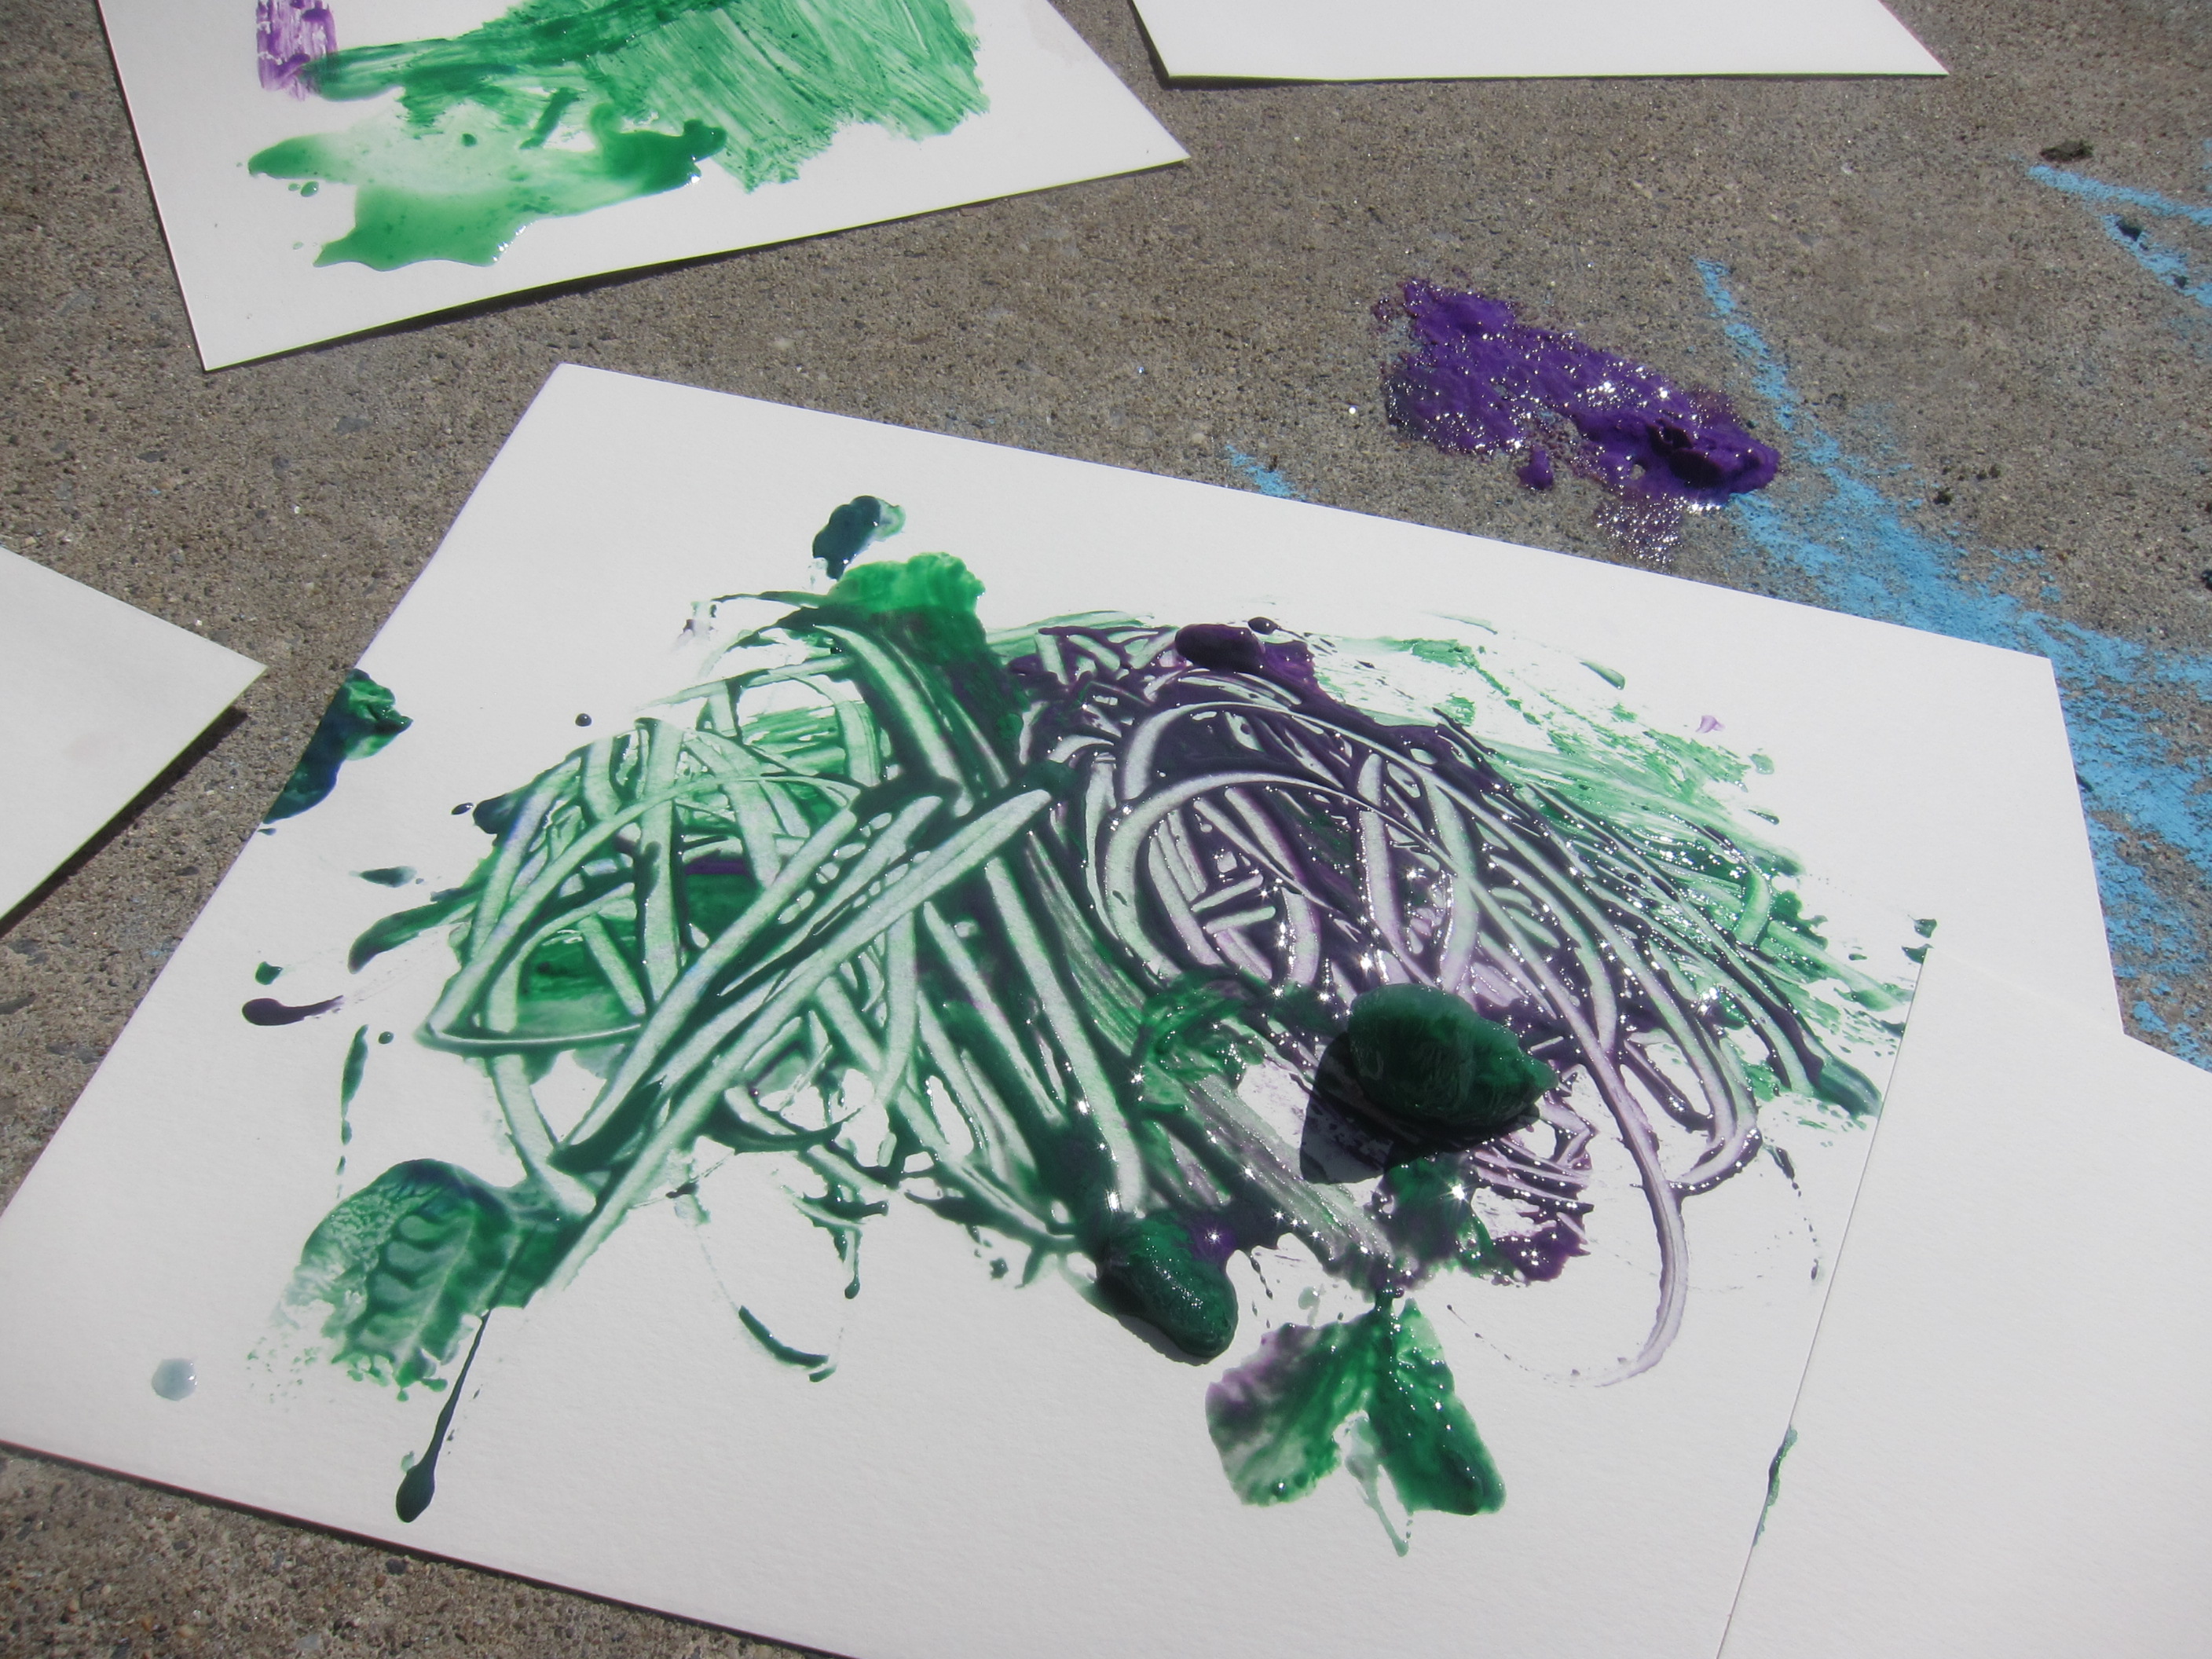
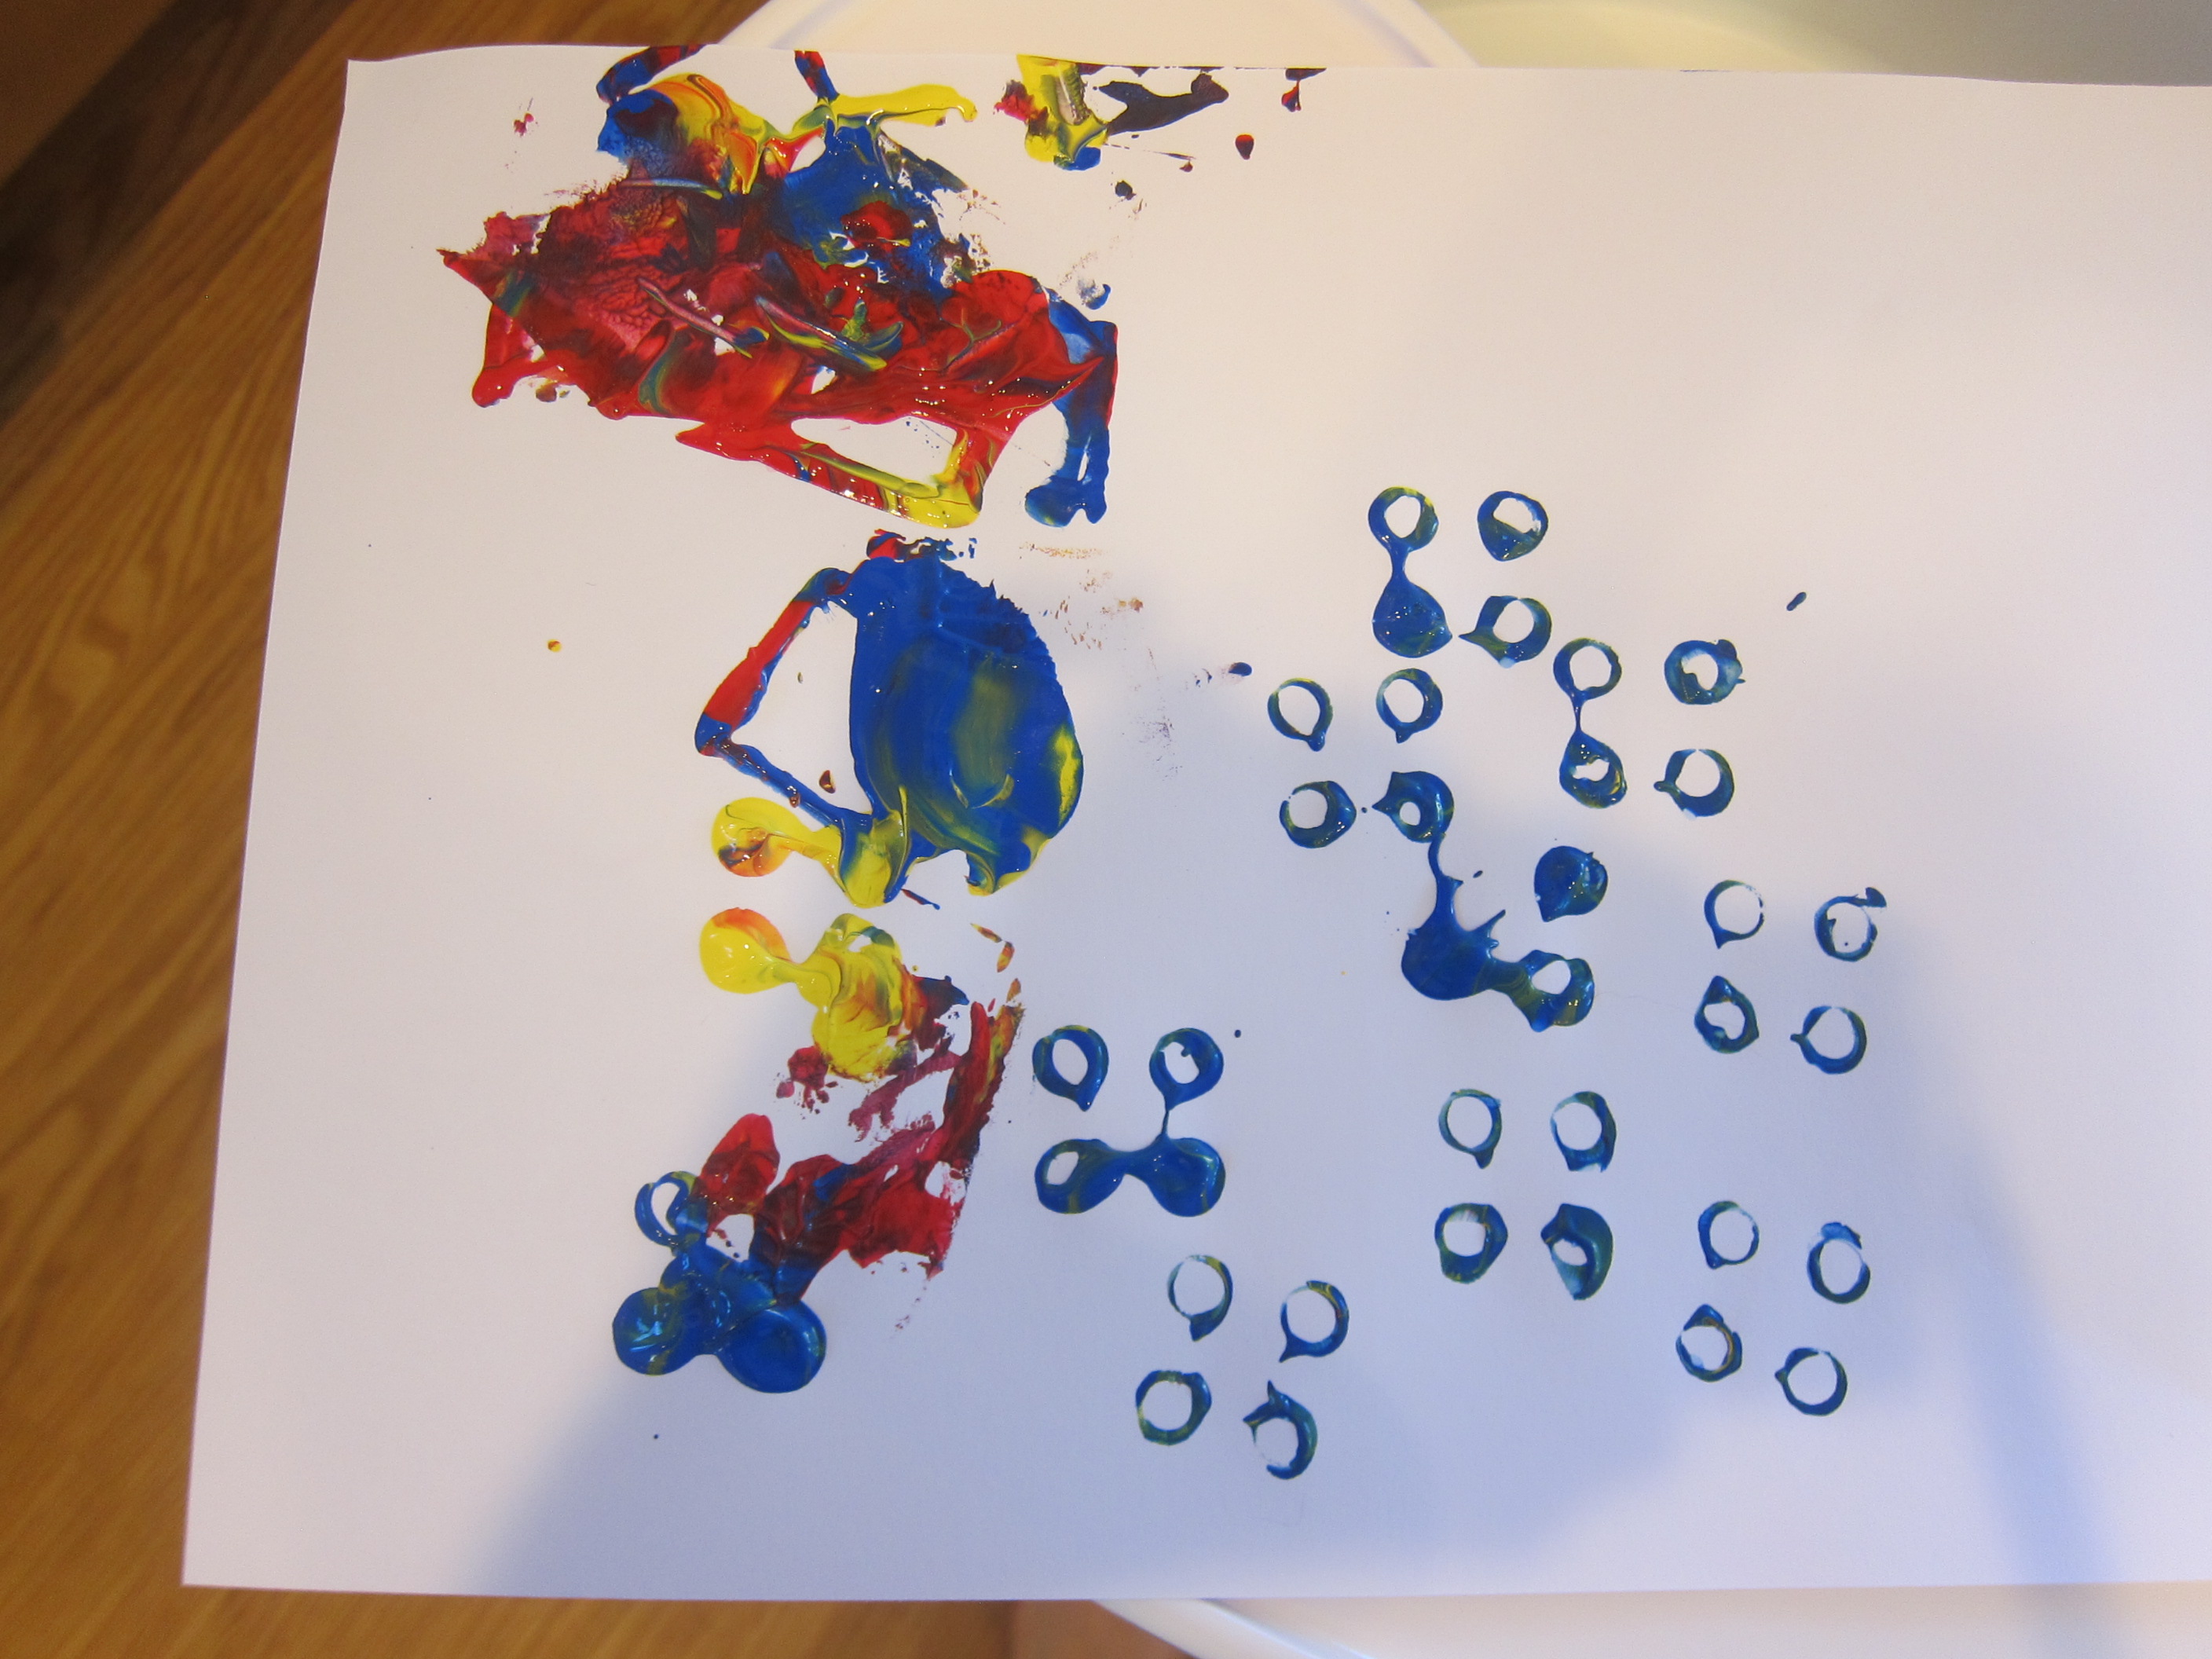
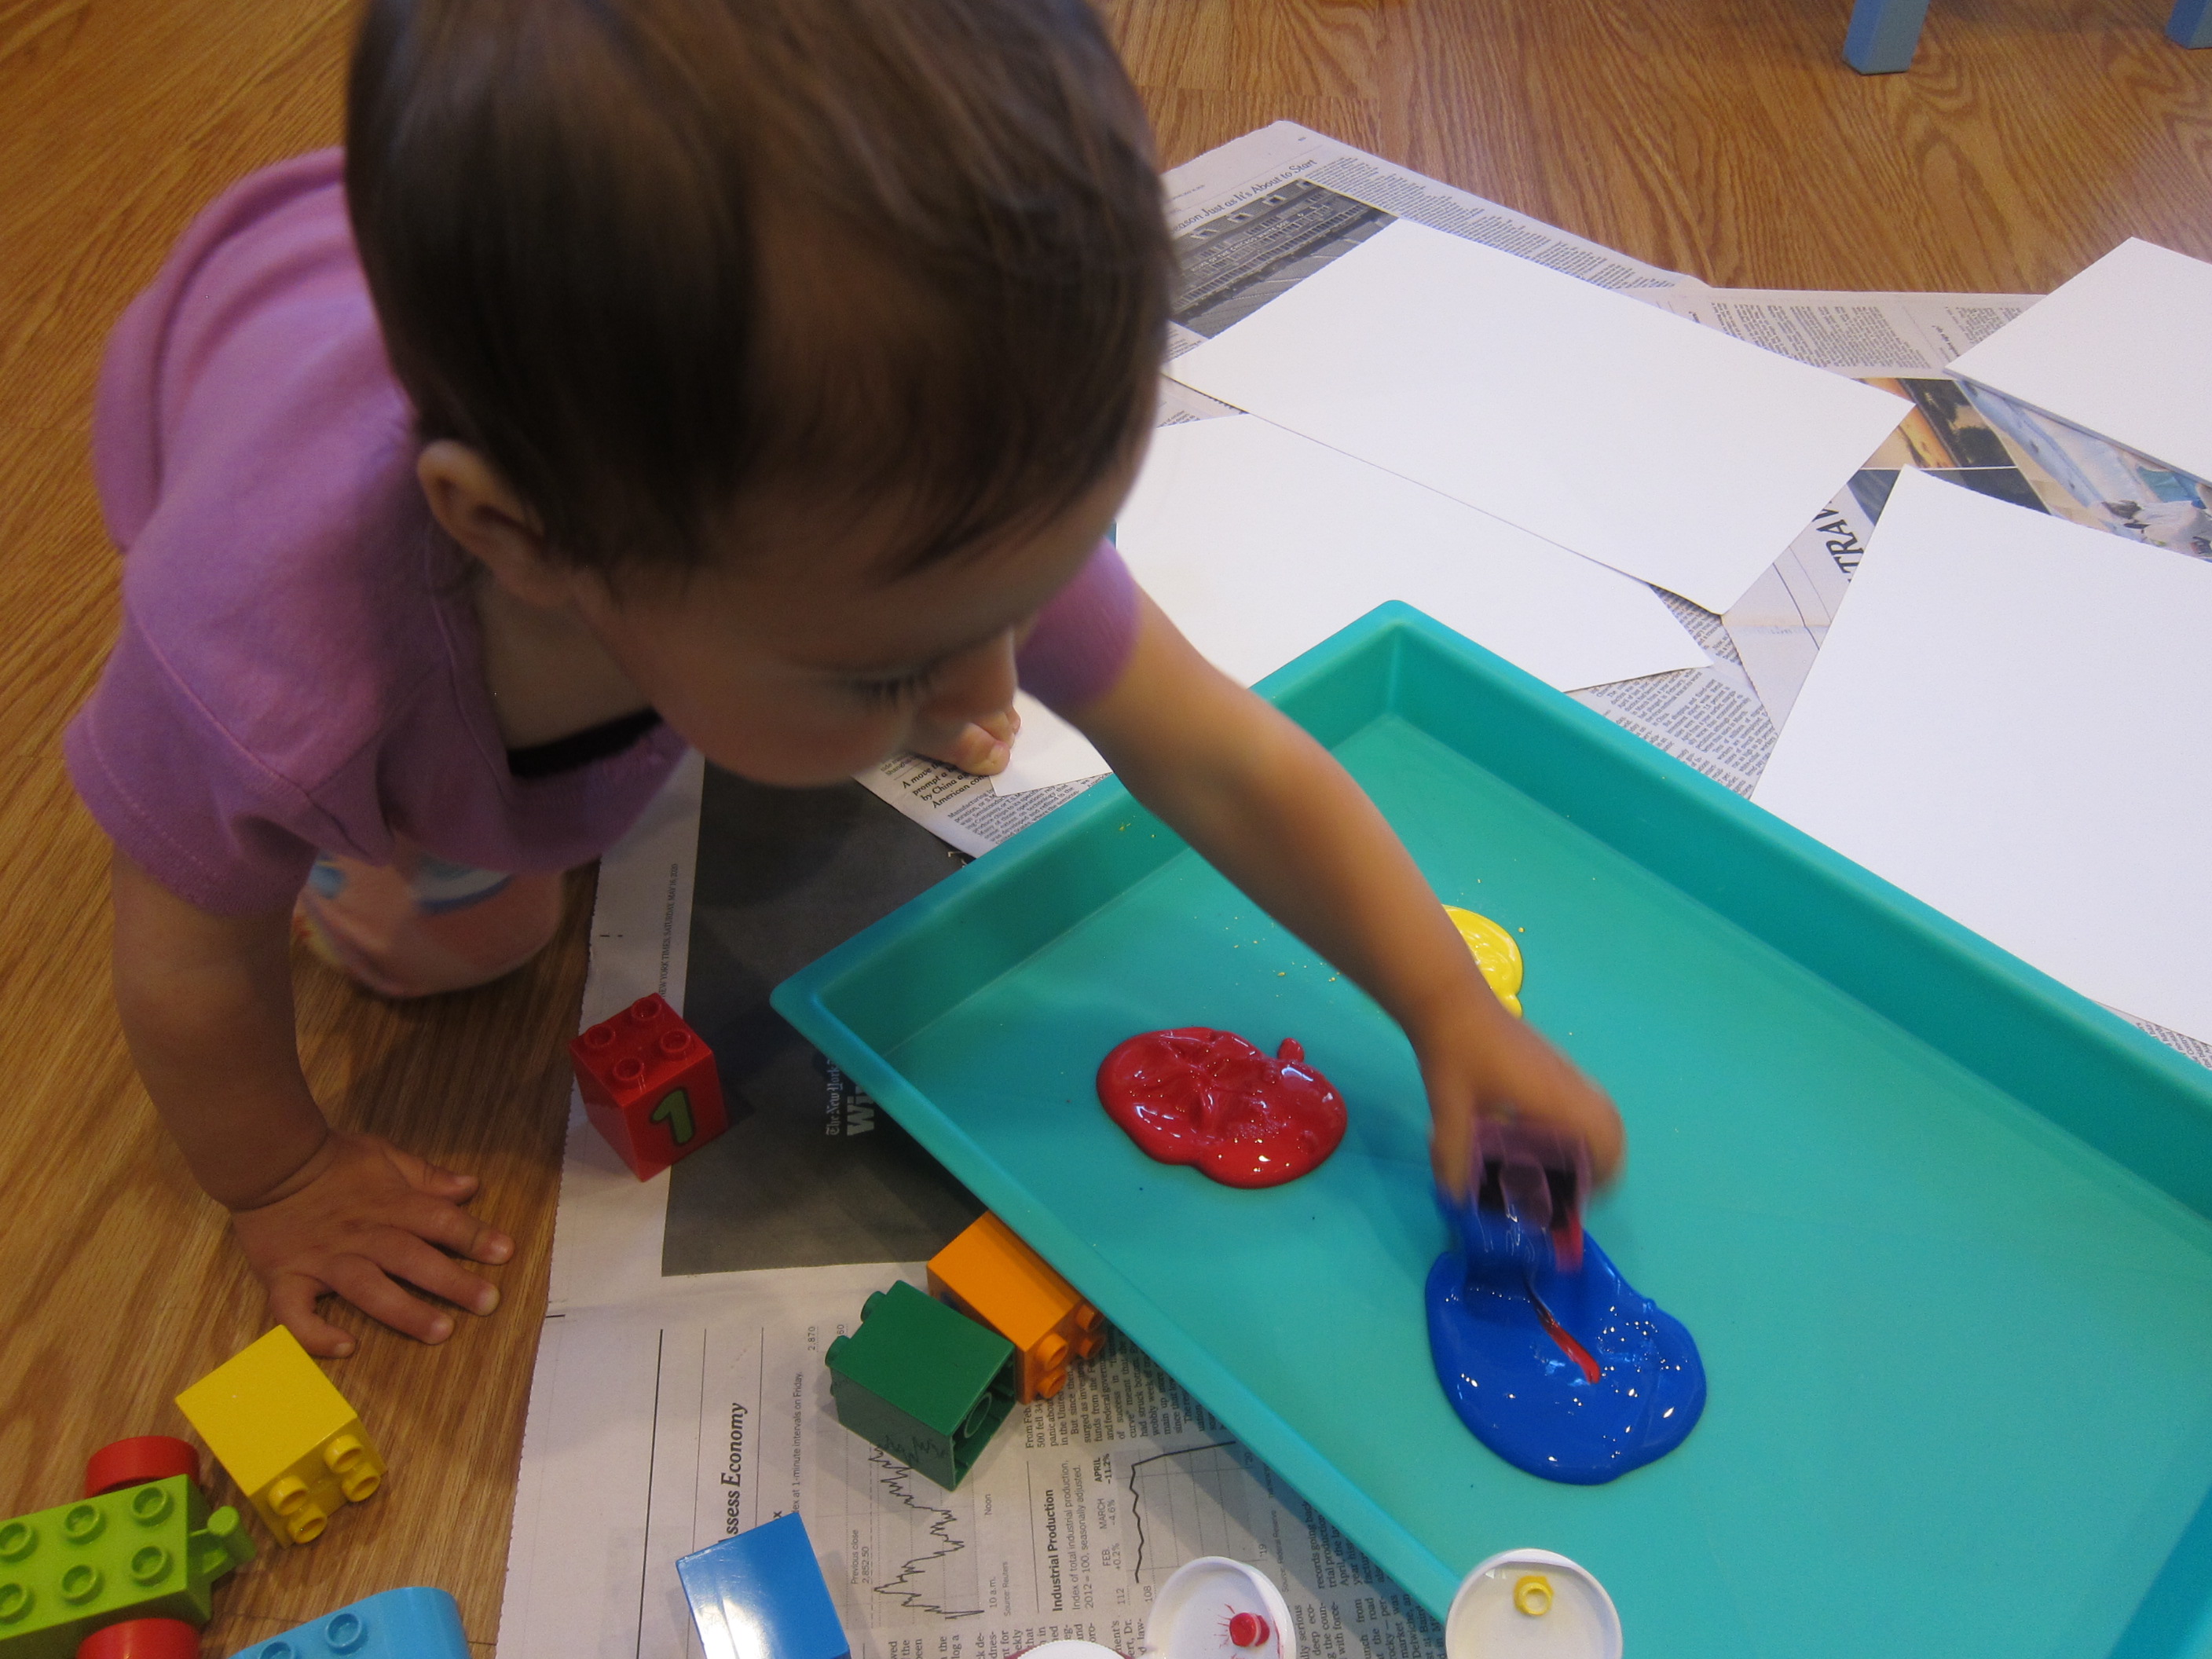
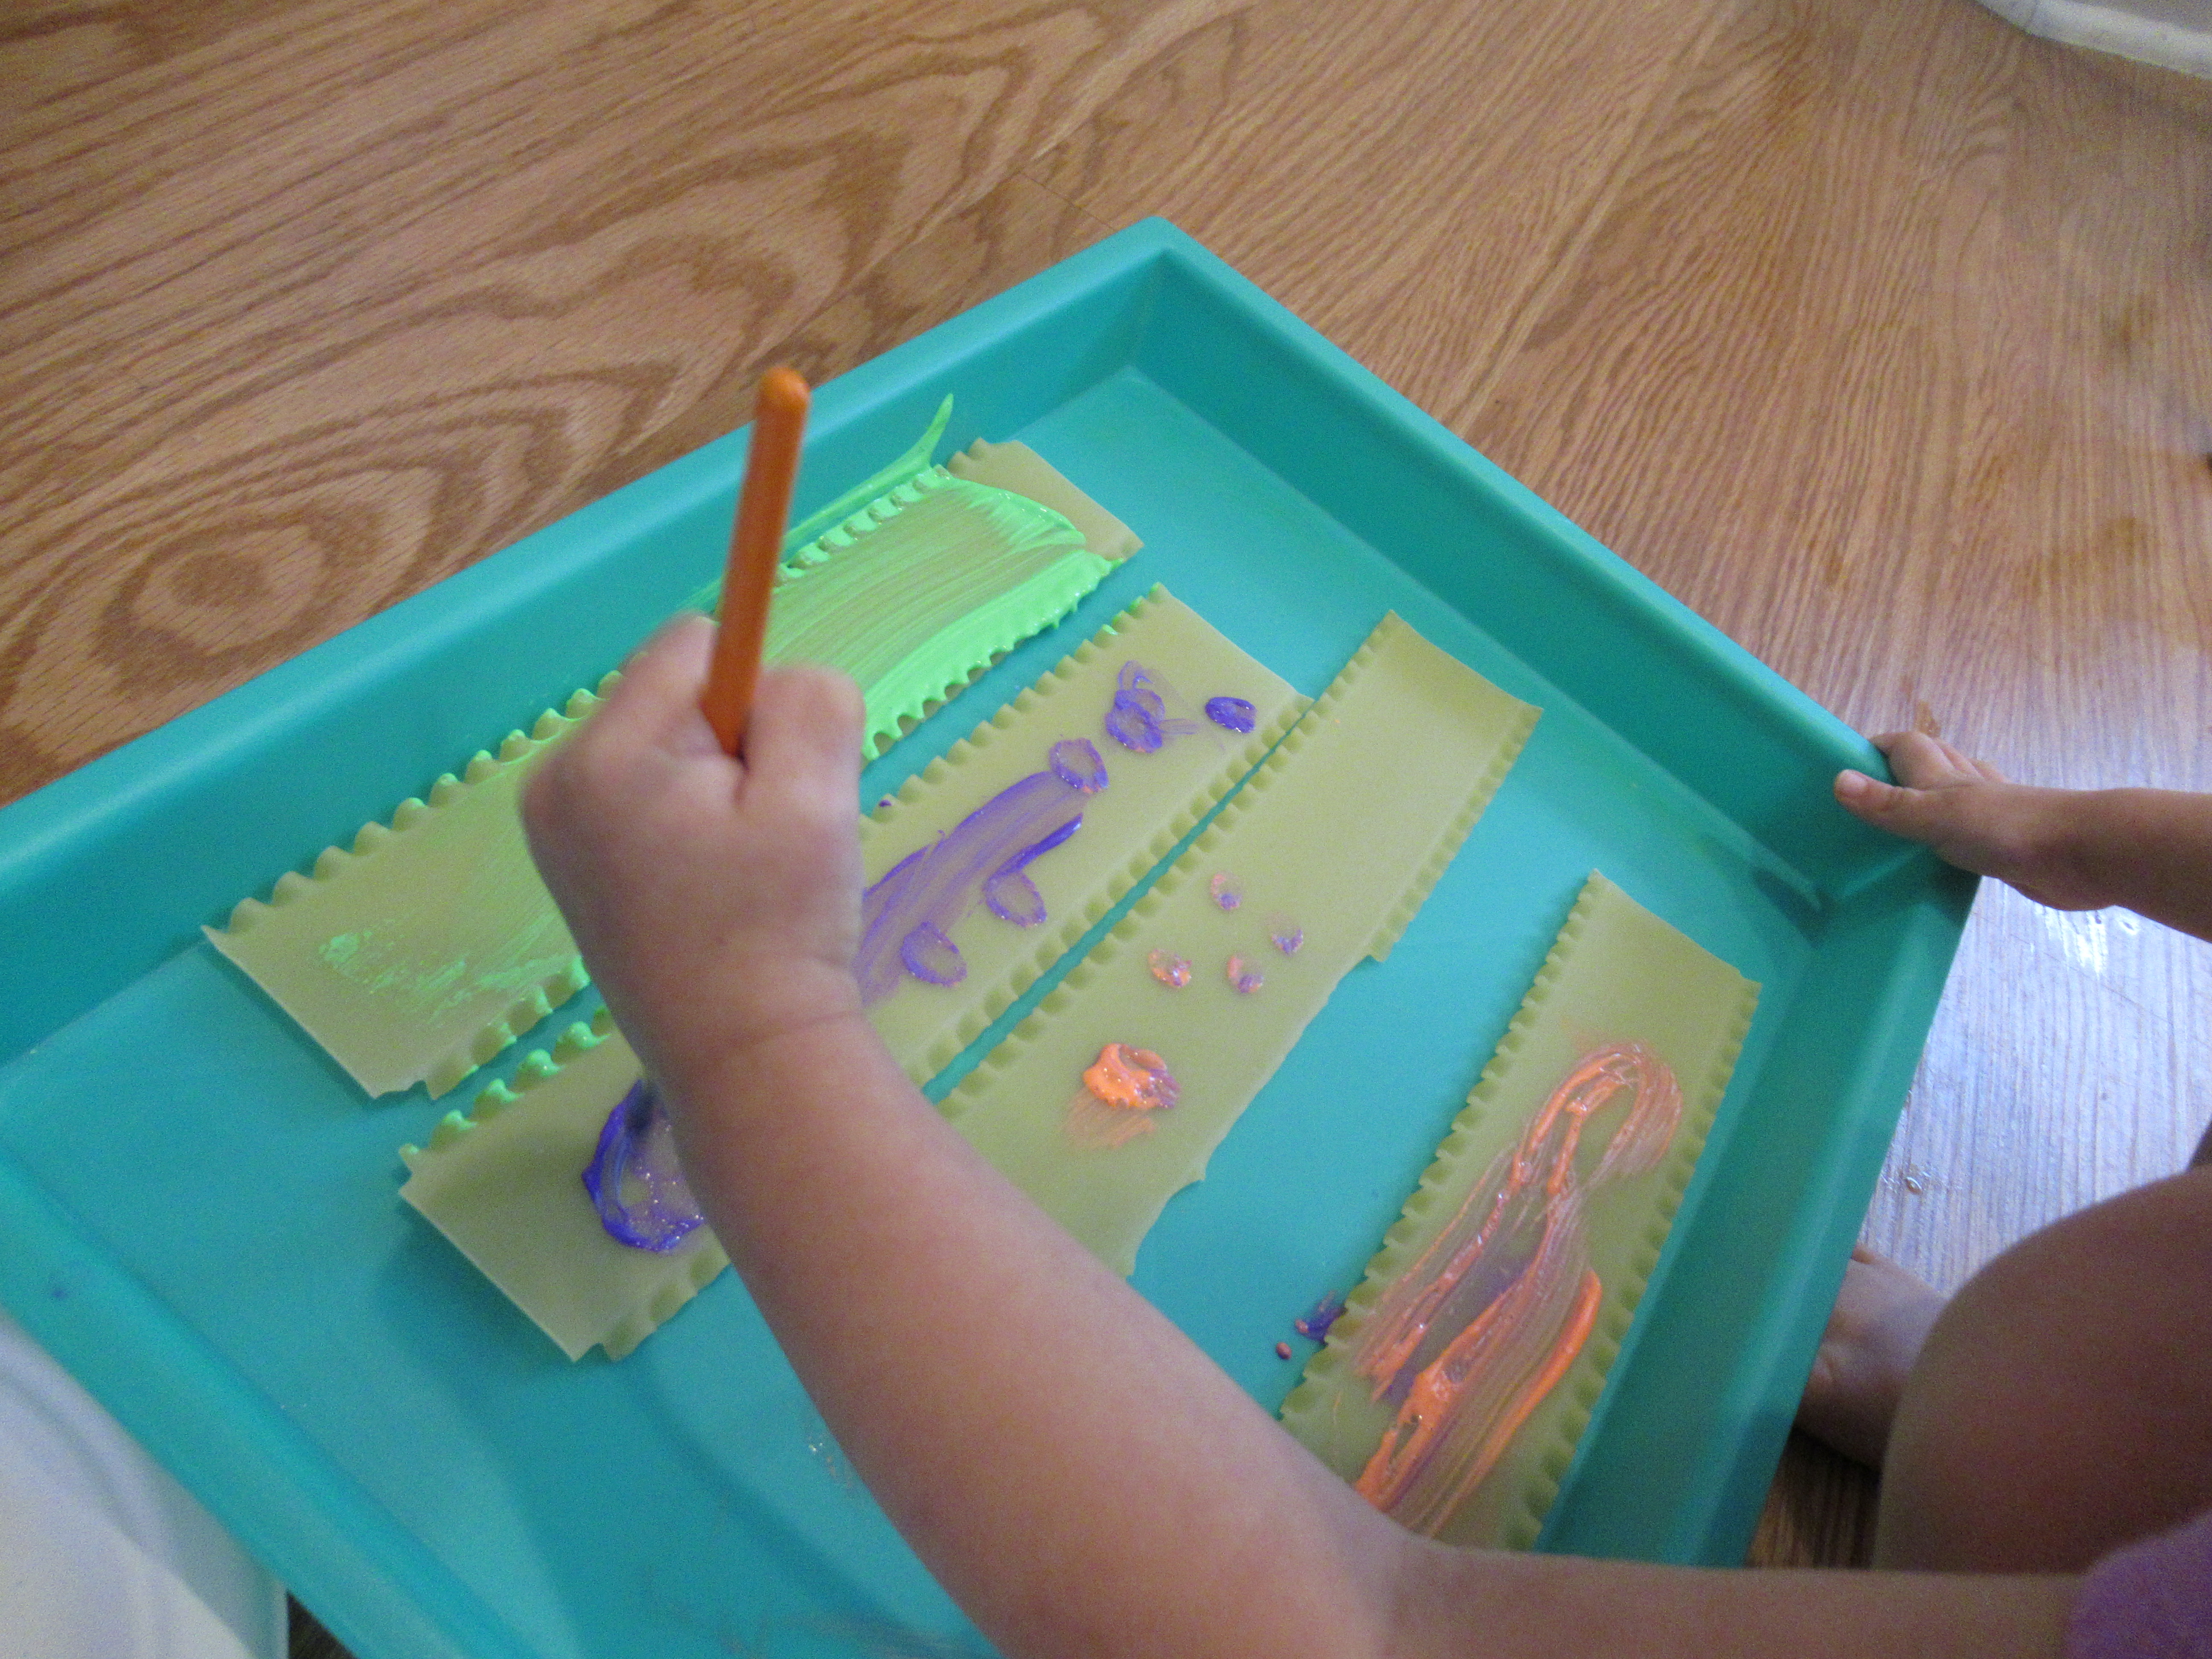
At first I just let her smear the noodles with the paint any which way. After she had painted a few noodles, I showed her that she could also create circles, wiggly lines, or dots.

Lasagna Noodle Painting (3)

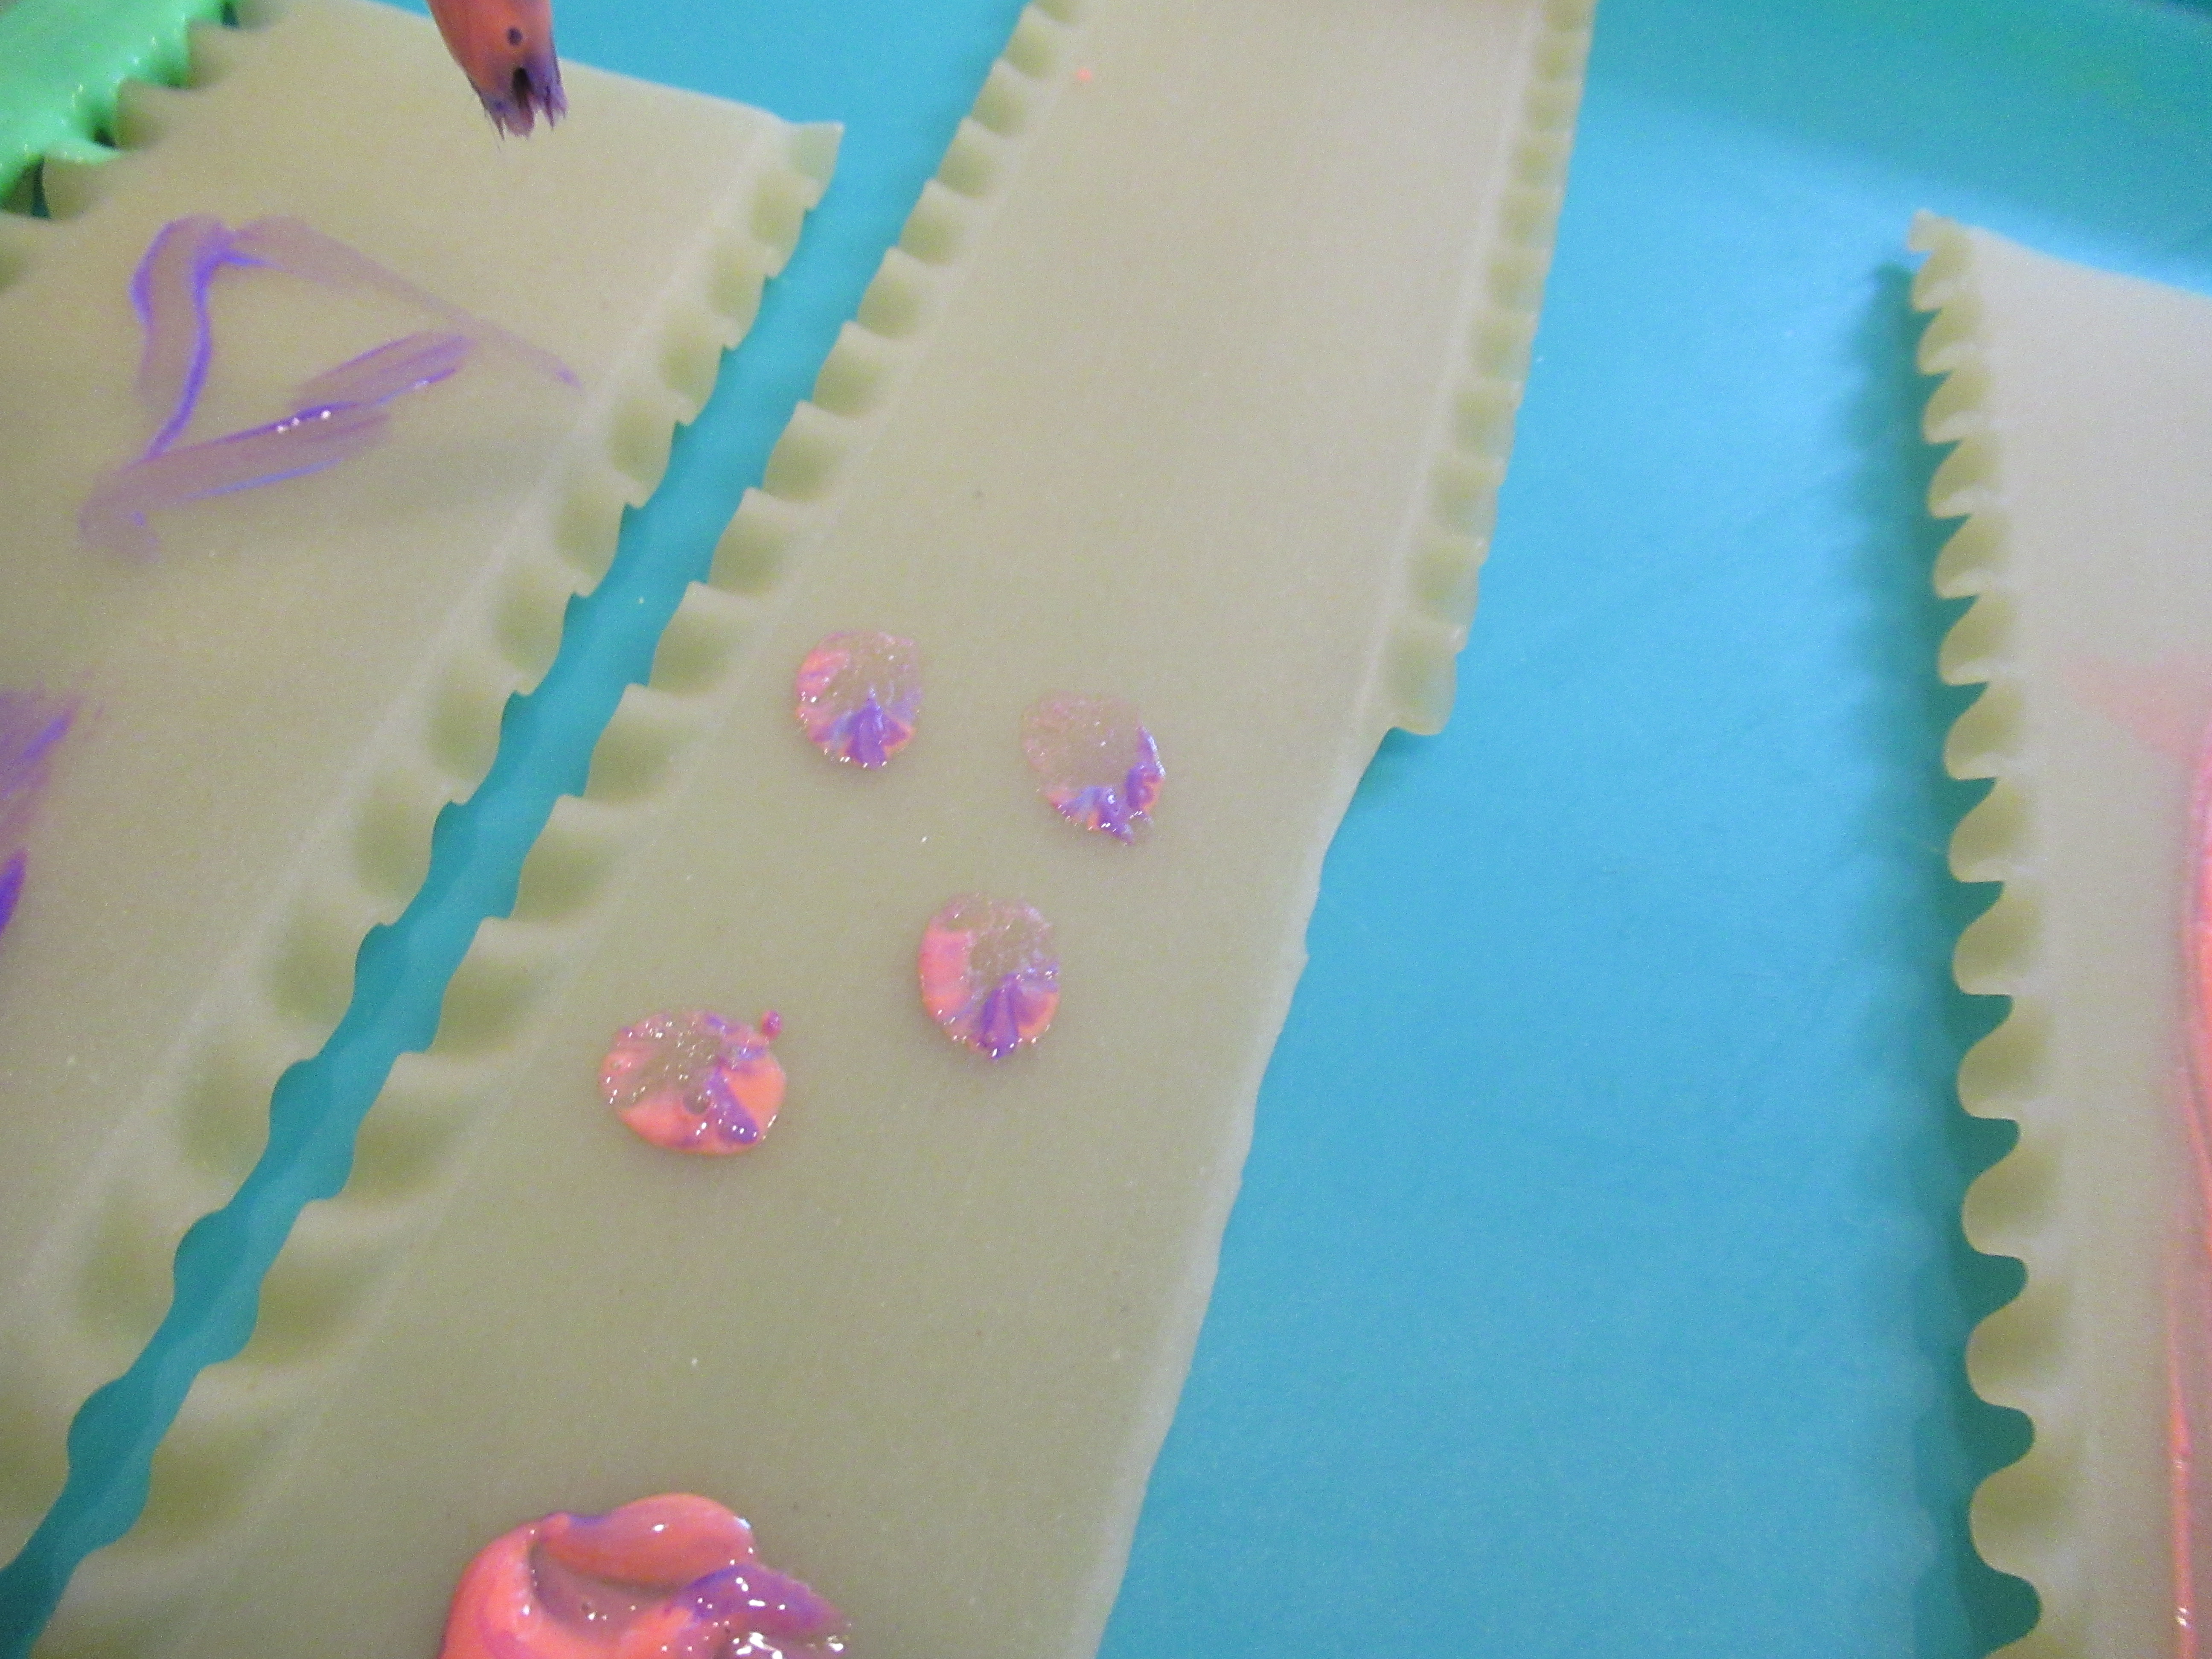
She particularly loved dotting with her paintbrush after that!

Lasagna Noodle Painting (5)

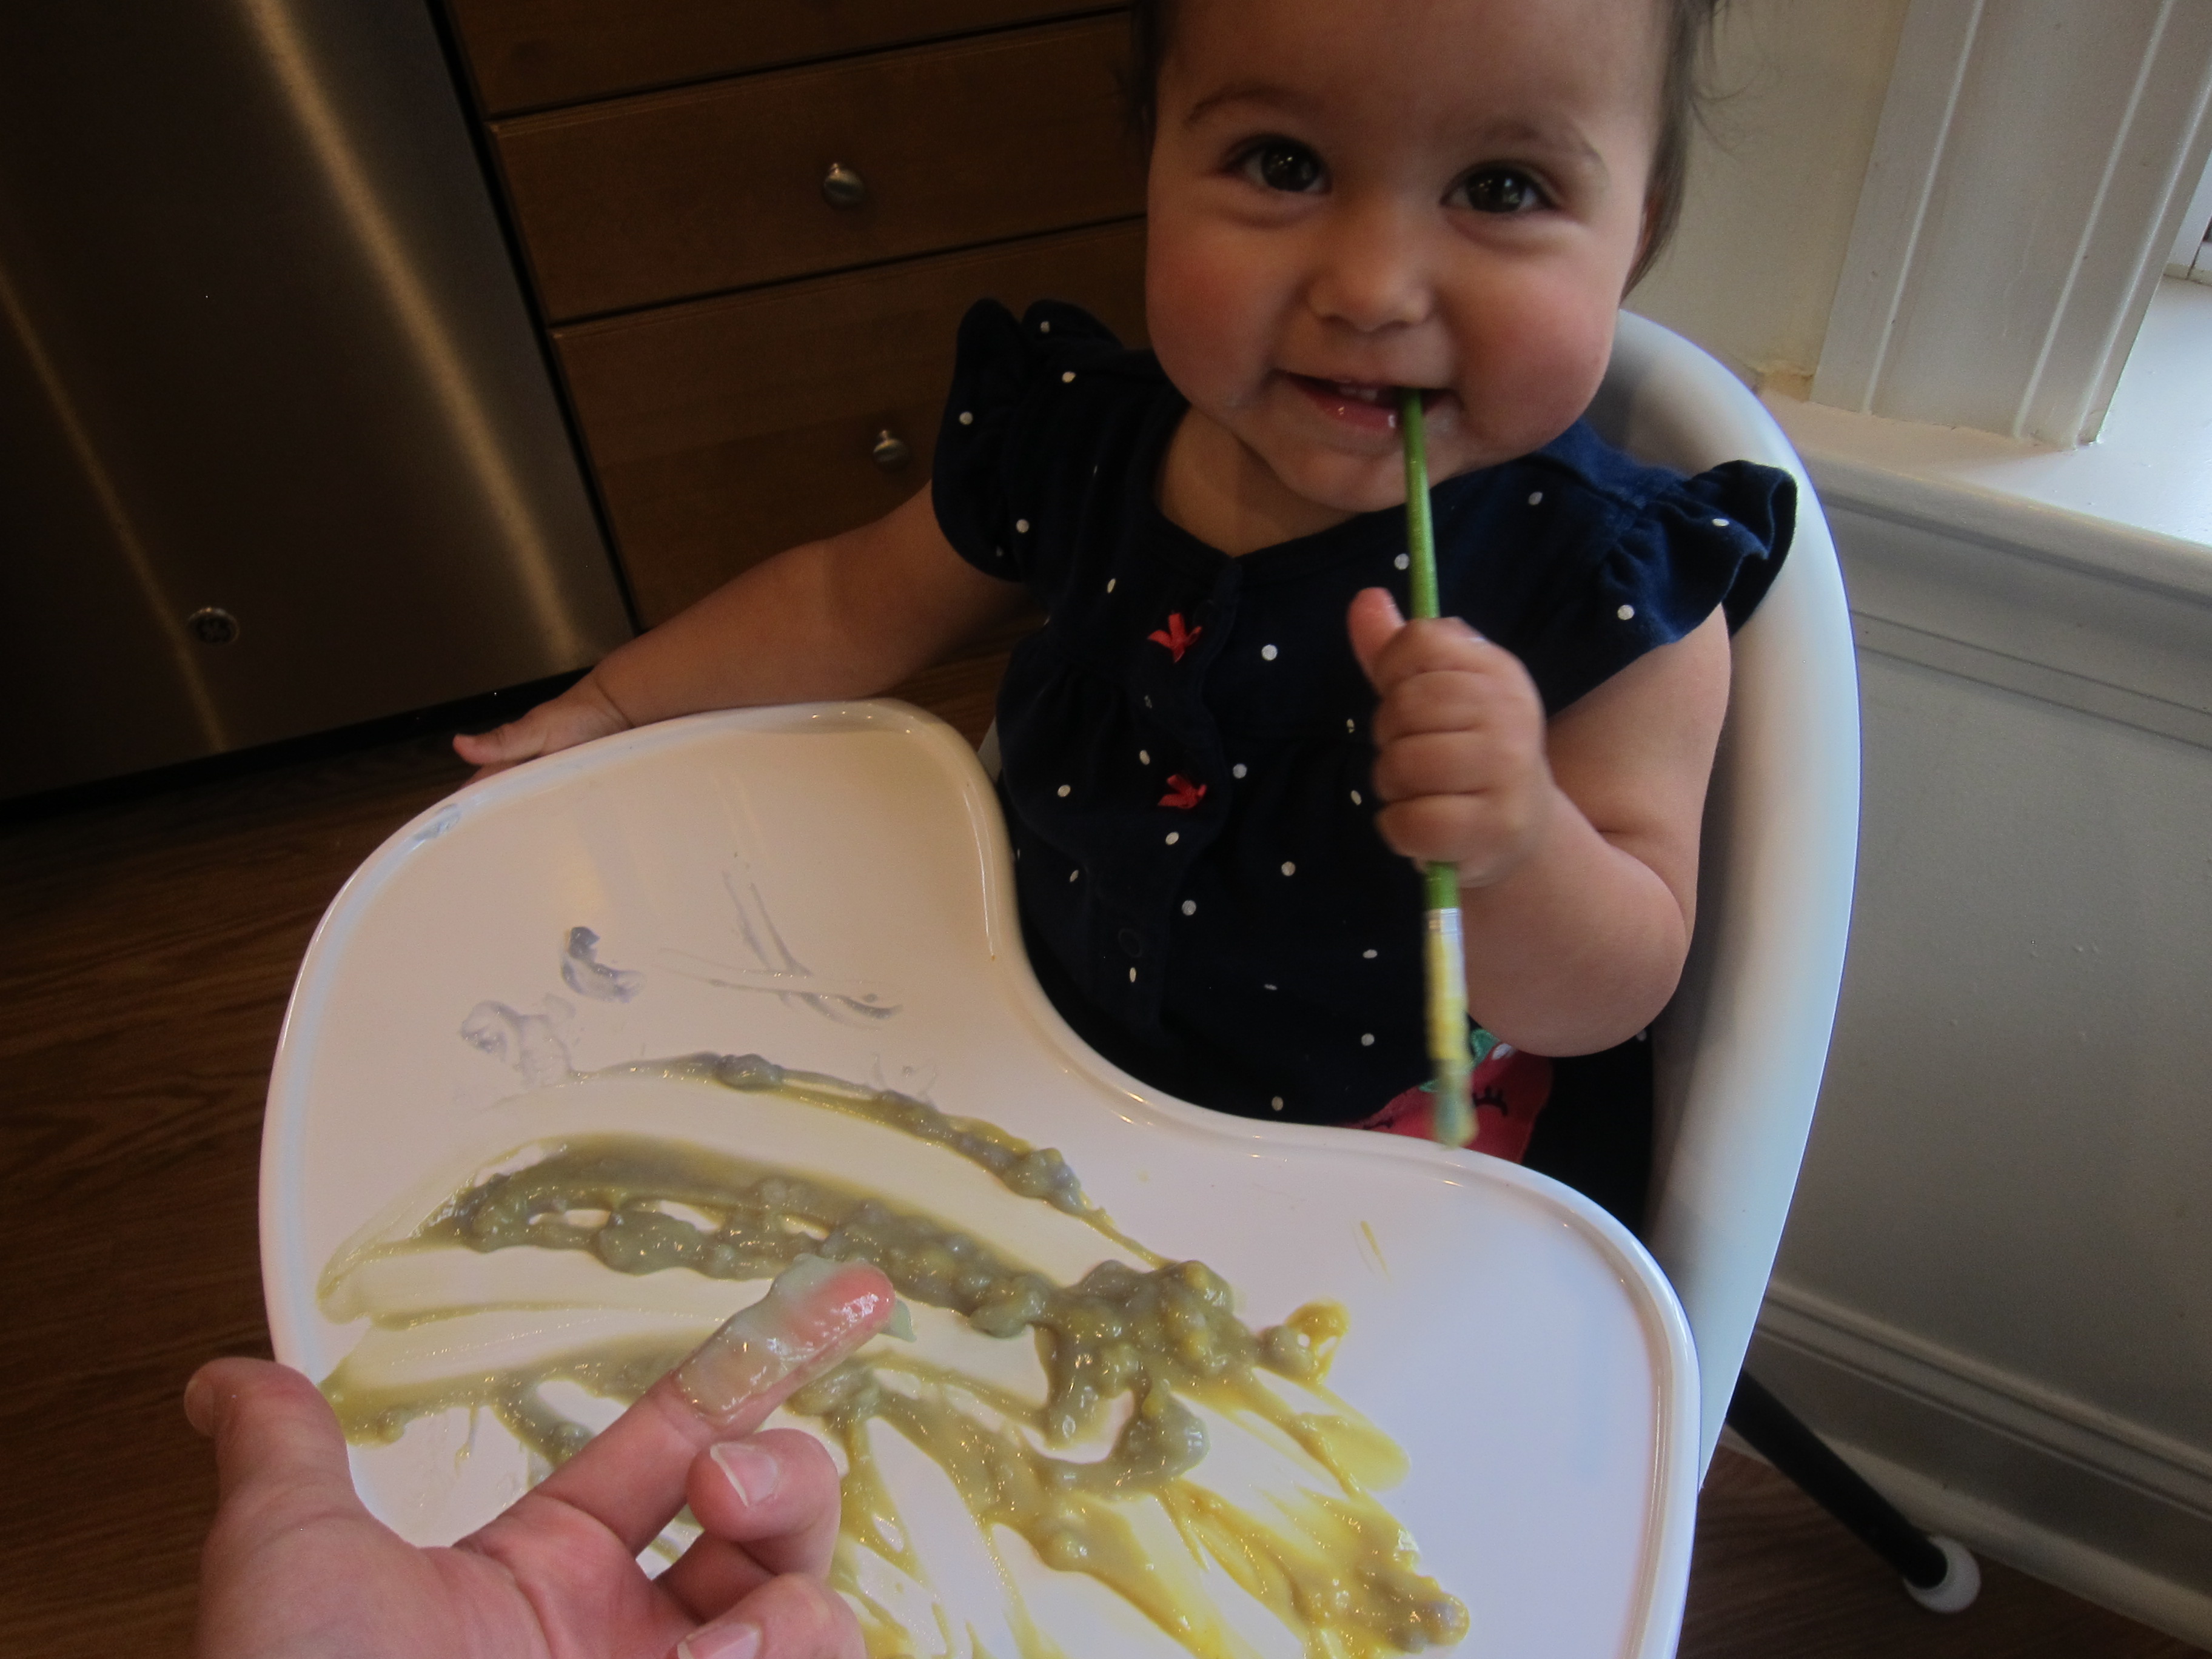
We also had one wide-bristle brush which could coat a whole lasagna noodle in one swipe. I showed her how to do this, but she asked for her smaller brush back. If your child wants to finish the noodles with a sprinkle of glitter, that would look great, too.

Lasagna Noodle Painting (4)

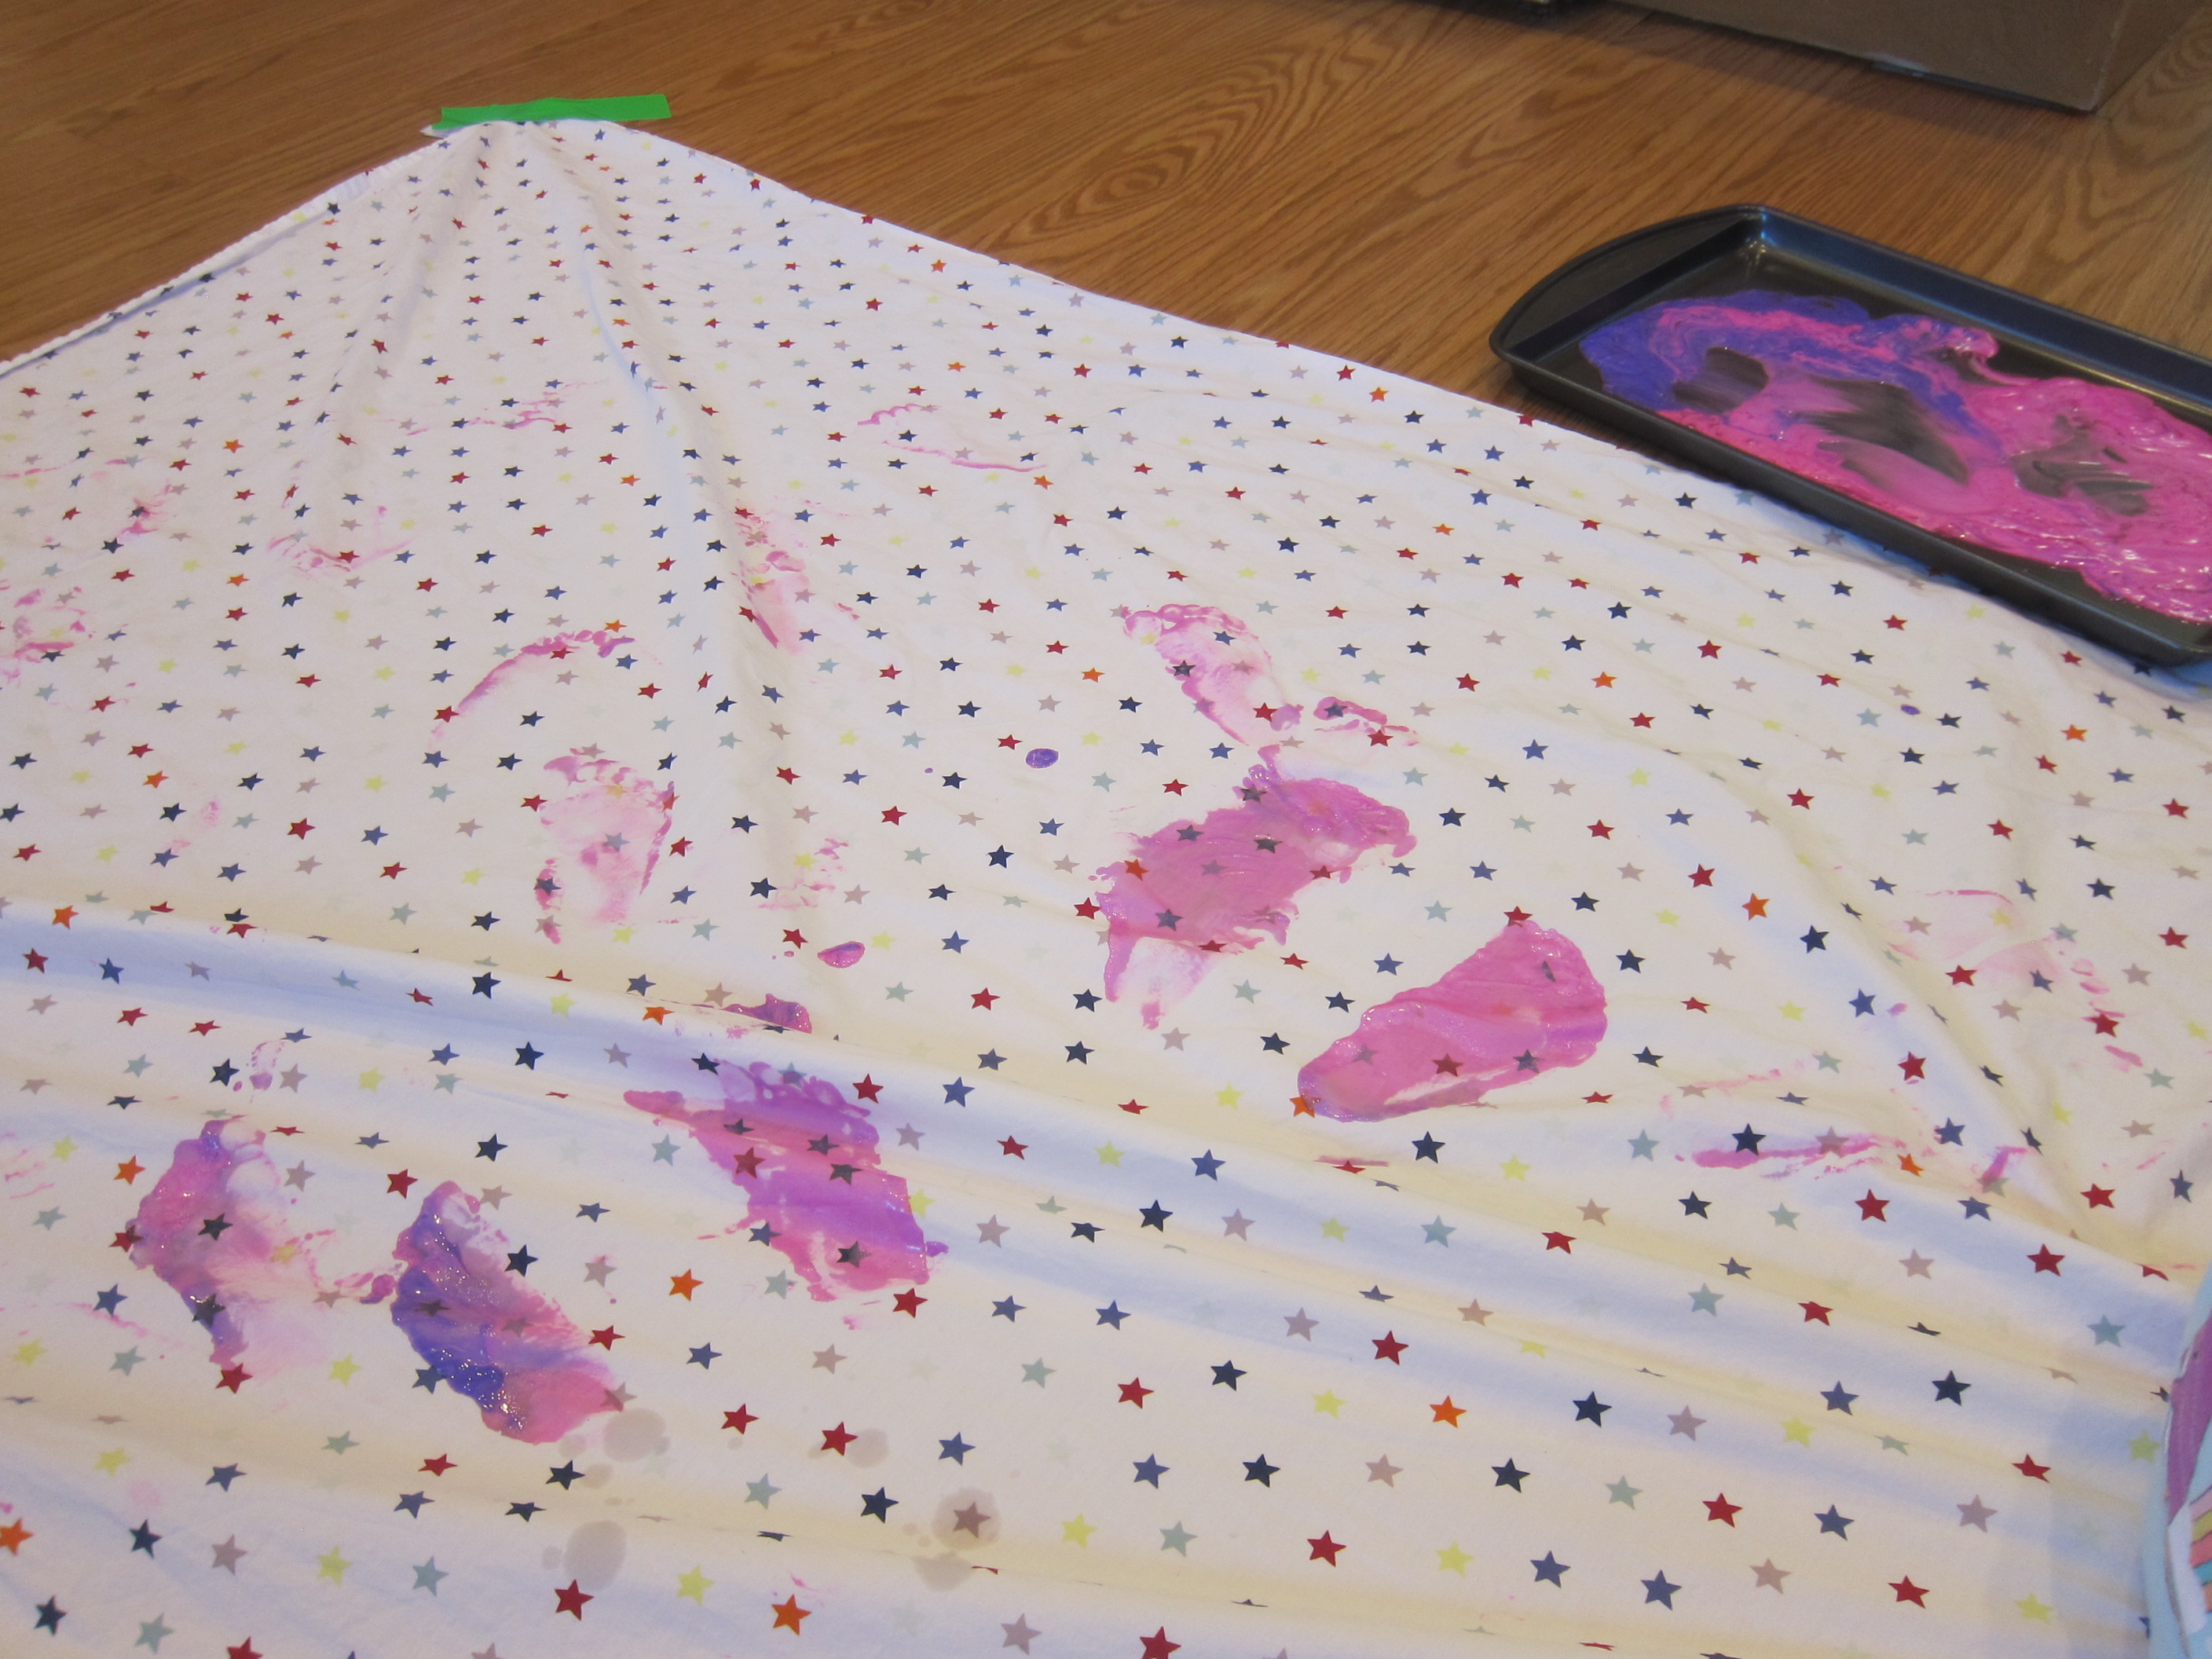
As the noodles were drying, I decided to add Veronika and Travis’s names with puffy paint. Once the paint dried, I attached them to colored construction paper with hot glue.

Lasagna Noodle Painting (7)

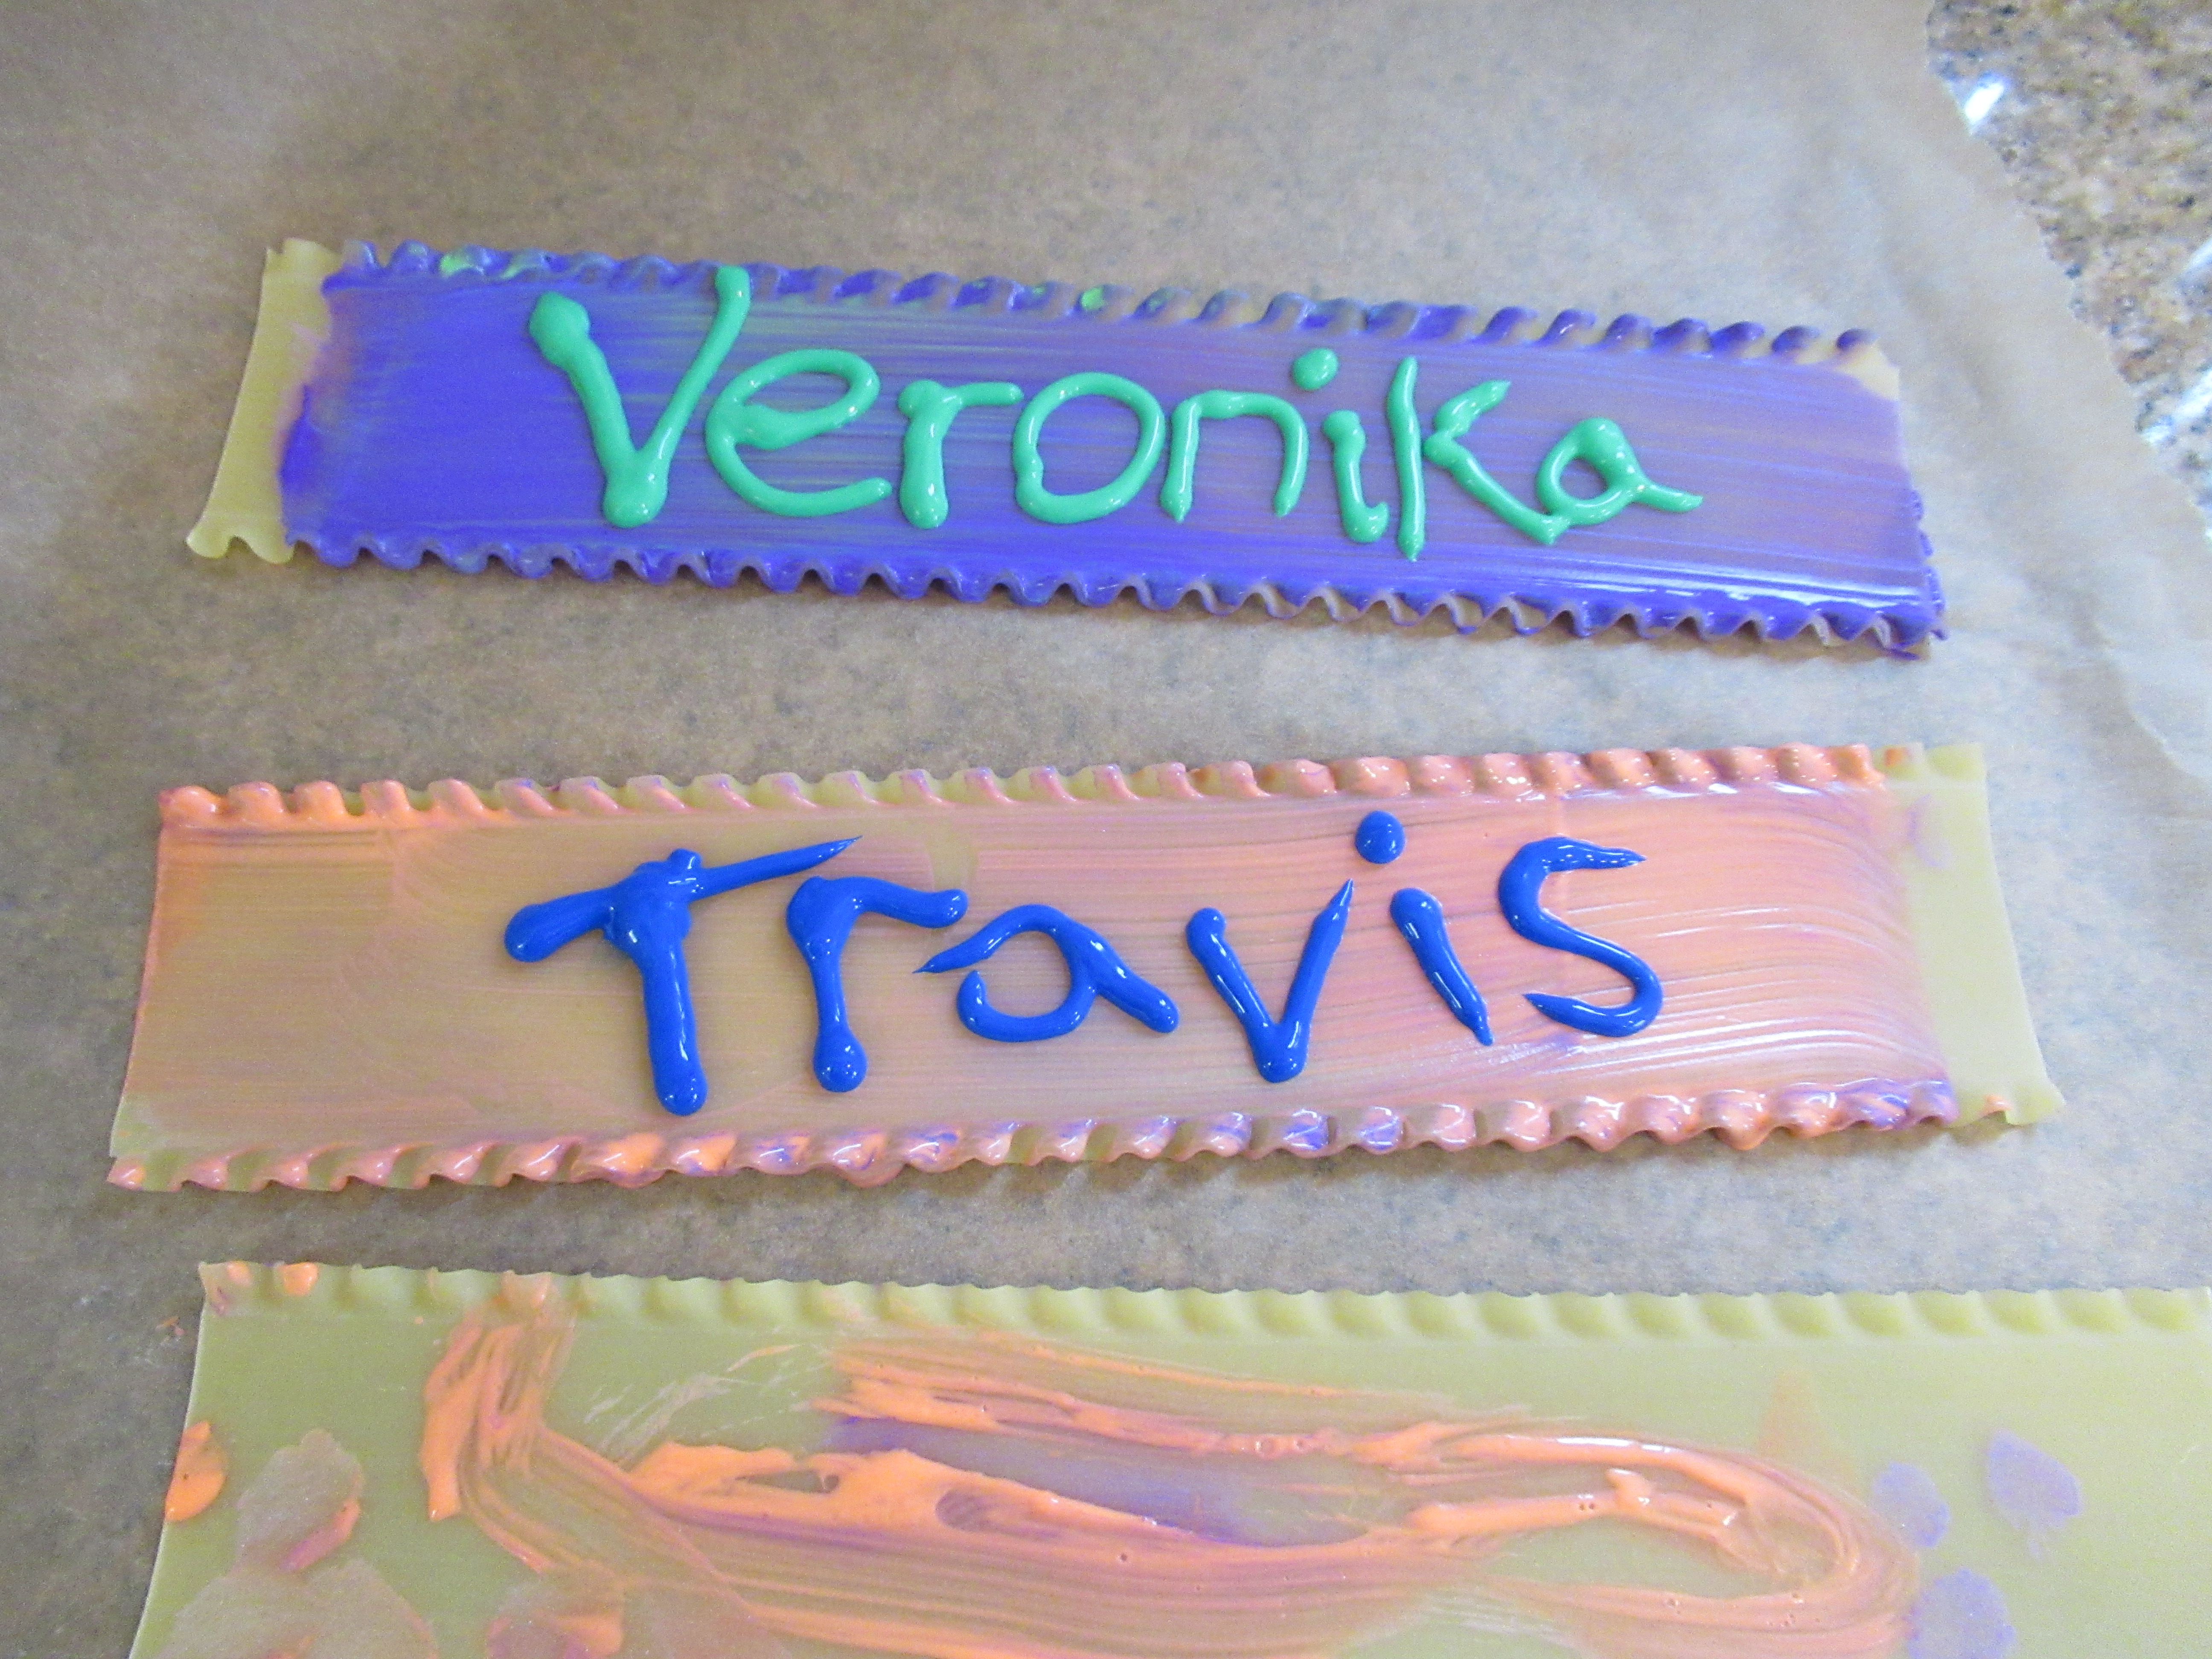
Now they made beautiful labels for the playroom! We’ll see how long our lasagna plaques last. 

Lasagna Noodle Painting (8)

Painting the Driveway with Water

Paint the Driveway with Water (9)

The season for outdoor water play is nearly at an end, so we’re taking advantage while we still can! Veronika has painted with water on a small scale this summer, but today we went big. Driveway-sized big, that is!

I have a paint roller which I thought would be novel for spreading water around, so we headed out to the driveway with the roller, a tray, and a few smaller paint brushes and sponges.

Paint the Driveway with Water (1)

I filled the tray with water from our watering can and Veronika instantly wanted to dip the sponges in.

Paint the Driveway with Water (3)

She liked pressing down and watching triangles and rectangles appear.

Paint the Driveway with Water (4)

I then showed her how to dip the paint roller in the tray and transfer to the pavement for big streaks of water “paint”. She gave it a few experimental sweeps, but it wasn’t her favorite. 

Paint the Driveway with Water (5)

She much preferred a wide bristle paint brush. “I’m sweeping!” she told me, as she dipped it in the tray of water and then brushed over the driveway.

Paint the Driveway with Water (7)

Kids love the instant gratification of watching pavement turn from light to dark with this activity.

Paint the Driveway with Water (6)

What a big bold canvas for making art!

Paint the Driveway with Water (10)

Paint Dancing

Paint Dancing (8)

I love throwing in a sensory project for the feet now and then, such a different experience for toddlers than working with their hands! All you need for this project is an old crib sheet (or similar large piece of fabric), and a willing pair of toddler feet.

I squirted two colors of washable paint onto a baking tray and added a little dish soap to each color, which will make clean up easier in case any paint goes off the fabric.

Paint Dancing (2)

Fill a second shallow tray with warm soapy water, and have a towel handy. Then tape your old sheet down to the floor securely at all four corners. I put on some tunes (Walking on Sunshine felt just right!) and Veronika immediately started bopping and dancing before the paint was even involved.

Paint Dancing (1)

Then I dipped her feet into the paint and set her painted soles down on the fabric. “Let’s dance!” I said.

Paint Dancing (3)

She was initially hesitant when the paint was thickest, but as she began to move around, a big smile formed.

Paint Dancing (5)

We dipped her toes and repeated a few times, and mixed up the tempo for a little music lesson, too!

Paint Dancing (6)

Arguably her favorite part was washing off in the sudsy water at the end. At first she just dipped in her toes, but then I turned around and found her sitting completely in the soapy tray like it was a mini bathtub. Well, time for an outfit change!

Paint Dancing (7)

Paint with Spaghetti Brooms

Spaghetti Brooms (7)

The kids have payed with cooked spaghetti, but never before have we used it to paint. Veronika loved that these looked like miniature brooms!

To make a broom “paintbrush”, secure a bundle of uncooked spaghetti together with a rubber band near one end.

Spaghetti Brooms (1)

Cook the spaghetti bundles in boiling water, but use caution only to heat the bottom portion of the noodles, not the “handle”. I held on to the part with the rubber band so the rubber wouldn’t melt or singe, and let the “broom” tips soften in the water for only about 2 minutes. This is definitely a grown-up step, and make sure to avoid the steam. You can cook your noodles longer, but I knew Veronika would have an easier time painting if they were a bit firm.

Spaghetti Brooms (2)

Once cooled, I showed Veronika the brushes. She loved exploring them before there was even paint.

Spaghetti Brooms (3)

We then blobbed craft paint onto poster board, and I showed her how to “sweep” the color. My little happy helper took right to this version of painting!

Spaghetti Brooms (4)

She loved testing out the different bundles, swirling the colors, and more.

Spaghetti Brooms (6)

The individual noodles leave neat textured tracks through the paint, an effect even Veronika could master at 20 months.

Spaghetti Brooms (8)

A cute project, with surprisingly little mess!

Spaghetti Brooms (5)

Frozen Painting, Two Ways


Frozen Painting (7)

It’s beginning to feel a lot like summer, so all things ice are on my mind! To wit, today Veronika tried painting with frozen cubes in two ways.

I set up both games the night before. For the first, I filled compartments of an ice cube tray with water. After about an hour, when the water is firm but not frozen solid, insert a craft stick for a handle into each cube.

In the morning. I gave Veronika these ice “paintbrushes” alongside a paint-with-water book. The ice did all the work!

Magic Painting (1)

I showed her how to swirl it in the paints on the page, then make color magically appear.

Magic Painting (2)

Beyond the magical wow factor, there was the fun of the colors, the thrill of cold ice, glee watching the cubes melt, and more.

Magic Painting (4)

Her final work of art wasn’t bad for a nineteen month old!

Magic Painting (6)

For the second game, I had also frozen cubes the night before, but with paint! Fill the compartments of an ice cube tray with washable paints nearly all the way, then top off with water. Again, insert a craft stick after about an hour in the freezer.

Frozen Painting (2)

For this craft, we headed outside to get messy! Place thick watercolor paper on a tray, and use the frozen paint cubes directly on the paper.

Frozen Painting (4)

The more the paints melt, the deeper the colors.

Frozen Painting (3)

Big brother Travis discovered you can make cool etches with the edge of the craft stick, one the paint melts off.

Frozen Painting (12)

Some of our paint cubes didn’t lift out of the tray neatly, but Veronika loved scooping and stirring at these leftover globs of half-frozen paint, so that was half the fun!

Frozen Painting (9)

I helped scoop the paint onto the paper so she could mush it about with a craft stick.

Frozen Painting (11)

You’ll notice we made an enormous mess, but I had expected as much! Luckily the paint will wash off after the next good rain storm.

Frozen Painting (13)

The kids filled page after page with these frozen cubes, and loved every minute.

Frozen Painting (10)

Duplo Printing

Duplo Printing (11)

This novel painting method is an easy way to mix up art projects with a toddler. It’s also an ideal introduction to the process of “stamping”, since Duplo fit perfectly in those toddler-sized hands.

I squirted a few blobs of paint into a shallow tray, and set out some of Veronika’s Duplo pieces, along with sheets of thick white paper. I showed her how to dip the Duplo into the paint (ideally with the bumps down) and press on to the paper.

Duplo Printing (7)

The first mark will probably come out splotchy but as you continue to dot, the bumps become clearer. “Bump bump bump!” she said with excitement.

Duplo Printing (8)

She grabbed for a piece, and – not surprisingly – didn’t quite get the bumps in the paint on her first try, so I assisted a little bit.

Duplo Printing (5)

Instead, her prints tended to be of the sides, bottoms, or edges of the Duplo pieces, but this gave nice variety to our pages. She looked so proud of herself, and at the process of making this art!

Duplo Printing (10)

Meanwhile, I continued to dot the bumpy side of Duplo pieces more clearly around her work, to show her the effect. A full length “train” piece gave nice variety.

Duplo Printing (3)

You can let the paint colors overlap for subtle color mixing, or just let your toddler run wild with the project.

Duplo Printing (1)

One note of caution: Be sure to wash the paint off soon after ending the project, especially if your child will be upset at favorite Duplo pieces being soiled.

Duplo Printing (9)

We knew we were done when she dipped in her hands, not the Duplo pieces!

Pudding Painting

Pudding Paint (6)

Veronika is almost old enough to start making her first works of art, but there’s one problem with this girl: everything goes in her mouth! The solution, if your baby is the same, is edible paint.

Pudding Paint (1)

Today, I whipped up a batch of vanilla pudding (Whole Foods 365 is vegan). Let the pudding chill in the fridge, then add food coloring for “paint” colors.

Pudding Paint (2)

I gave Veronika a paint brush, which instantly made her look so proud; she’s seen big brother paint, and now it was her turn.

Pudding Paint (4)

Turn a little of the pudding paint out onto a highchair tray (or tape down paper, if you prefer) and let your little artist go to town.

Pudding Paint (5)

First she just made a few smears. Then she wanted to focus more on the paintbrush. Once the tip of it got in her mouth and she discovered the pudding was yummy…

Pudding Paint (7)

…her smile was priceless. Then she really got her hands into the mix.

Pudding Paint (11)

I showed her how to make circles and squares, plus a few letters.

Pudding Paint (8)

Soon we had green, where or blue and yellow “paints” had mixed.

Pudding Paint (10)

This was a fantastic foray into the world of art, as she nears 10 months old!


Pudding Paint (9)

Wall Mural

Wall Mural (7)

I didn’t decorate the nursery with either of my children, which had more to do with my disinterest in interior design than anything else. And since we rent an apartment, I always felt I couldn’t do too much to walls or windows.

But it seemed a shame to let the chance pass me completely by, and I loved this cute idea to project an image on just a small portion of a wall, trace with pencil, and then fill in with paint.

The activity book I found this in is so old that it recommended an overhead projector for the task. (!) Do they even make those anymore? Failing to have a projector, I was at a loss for how to trace an image onto the wall until shown a neat technique, no artistic skills required:

Print out the image you want (we went with a farm animal theme) and make a heavy layer of pencil on the opposite side of the paper.

Wall Mural (2)

Now hold the paper up to the wall, and trace all lines with pencil – the graphite will transfer through!

Wall Mural (1)

Soon we had four little farm animals to color in.

Wall Mural (3)

I chose a spot on the wall that was fairly low, so it will be at eye level with Veronika once she starts to crawl or toddle about.

Wall Mural (8)

I used acrylic paint, and decided that it looked neater with the outlines of the animals painted, but not filled completely in.

Wall Mural (4)

Little blue sheep was too adorable!

Wall Mural (9)

Veronika was my eager audience, her eyes wide as I worked!

Wall Mural (6)

And ha, then there was the problem of explaining to my four year old why mom was suddenly allowed to paint on the wall. So I let him make a design of his choice in a tiny portion of the corner. Behold his red bird:

Wall Mural (11)

I can’t wait for Veronika to enjoy this beautiful little portion of her room!

Wall Mural (10)

Picture Frame Winter Scene

Picture Frame Winter (5).JPG

Here’s one of those crafts that didn’t exactly turned out as I imagined! My little artist had his own plans, but the whole point was the fun and the crafting moment together, not perfection.

To start, you’ll need a simple frame (you can find these cheap at a craft store, measuring about 5×7 inches). Travis loves the mechanics of removing the back off a frame, so was delighted to discover our project enabled him to do so.

Picture Frame Winter (1)

Cut a piece of leftover holiday wrapping paper to fit the glass of the frame, and insert.

Picture Frame Winter (2)

I set out acrylic paints and invited Travis to draw any winter-themed scene that would fit nicely with our Christmas tree background. He chose white for snow, and I encouraged him to paint a snowman, thinking of how the body is made up of various circles.

Picture Frame Winter (3)

Travis had his own plans, making a big snowy blanket of white. “It’s covering the trees,” he insisted.


Picture Frame Winter (4)

Luckily at this point I snapped a pic, because he soon decided he needed to “snow” over the trees completely with white paint. I laughed but didn’t tell him this rather negated the point of having wrapping paper inside the frame.

He then wanted to mix other colors over his white. “I’m an artist!” he declared, doing swirls of paint.

Picture Frame Winter (6)

Well, we didn’t end up with a winter scene, but we did end up with a good time!

Picture Frame Winter (7)

I encourage you to have fun with these, though. Your children could paint something quite beautiful in front of the wrapping paper background, whether snowmen or ornaments or anything else that fits the season. I’d love to hear what they come up with in the comments!

Painting on the Fence

Paint on Fence (4).JPG

The sun was streaming through our windows and onto the little patch of grass outside our patio this morning, and I just had to get us outside. To motivate Travis, I did something taboo – painting outside!

Of course plein air painting has a long tradition, but so many of our kids’ crafts nowadays are indoors at craft tables or classrooms or easels. There is something so beautiful about being outside with a paintbrush and paper.

To contain any mess, I poured a few paint colors into a foil tray and gave Travis thick brushes.

Paint on Fence (1)

Use painter’s tape to secure a large piece of craft paper to a fence. If you don’t have a fence, the outside wall of a house would probably work, just make sure you’re using washable paints!

Paint on Fence (2)

The large surface will encourage big strokes – sideways, up and down, or whatever else inspires your little artist.

Paint Fence (6)

My little artist at work.

Paint on Fence (3)

All the more beautiful in the sunshine!

Paint on Fence (5)