Toddler Pouch

Toddler Pouch (3)

If your toddler wants to carry along a little purse just like mommy, all you need to do is put together this simple craft!

To start, Veronika helped decorate some paper plates. Use whatever coloring material your toddler likes best; Veronika jumped right to it with her favorite color crayons (purple and blue), and lots of stickers.

Toddler Pouch (2)

I also drew familiar images on the plates for her like a rainbow and sun.

Toddler Pouch (1)

Cut one of the paper plates in half, and then staple it onto a second paper plate.

Toddler Pouch (4)

Punch two holes at the top of the full plate and thread through with yarn. Now it was ready to sling over her shoulder! Or to be stuffed full of toys and treasures.

Toddler Pouch (5)

She seemed so delighted with this pouch of her very own.

Crazy Bird Puppets

Crazy Bird Puppets (7)

If a cold winter afternoon is driving your kids a bit stir-crazy, then make crazy puppets with all that energy. Crazy bird puppets that is!

To start, paint paper plates with any colors your kids want. You’ll need two and half plates per bird, but we just went crazy (of course!) and painted more than we needed, ending up with about 7 or 8 plates.

Crazy Bird Puppets (2)

Veronika really wanted to help, too, and loved mixing colors and alternating between large- and small-bristled brushes.

Crazy Bird Puppets (1)

I needed some place to let all those plates dry. Ideally I would have had some place to hang them from clothespins, but I settled for laying them down on top of scrap paper in the bathtub. Once dry, we folded two plates in half and then stapled together. Place the half plate underneath the bottom one and staple on.

Crazy Bird Puppets (3)

Now, your hands can insert between the two full-sized plates so you can work the “beak” of the bird to make it look like he’s cackling and cawing and talking. Travis helped glue on feathers and pom poms for decoration, and then these birds looked even crazier.

Crazy Bird Puppets (5)

Put a sock on your wrist and you’ll even have the illusion of colorful neck feathers as you make the bird’s beak move.

Crazy Bird Puppets (6)

Here’s hoping you have a crazy good time with these puppets.

No Mess Paper Plate Snowflakes

No Mess Paper Plate Snowflakes (9)

Last week, Veronika painted snowflakes with q-tips, a great toddler method with very little mess. Today’s version meant even easier clean-up, since all the paint was inside a zip-top plastic bag!

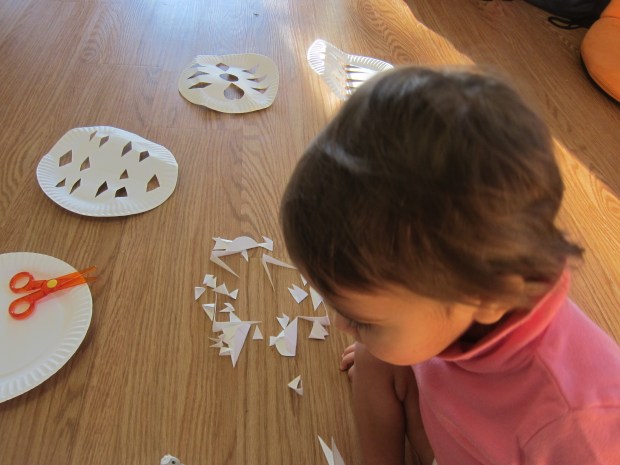
To start, I cut out snowflakes from paper plates. I folded each plate in half, then in half again, and snipped out triangles, ovals, and heart shapes. Open back up to reveal the “snowflake” to your child.

No Mess Paper Plate Snowflakes (2)

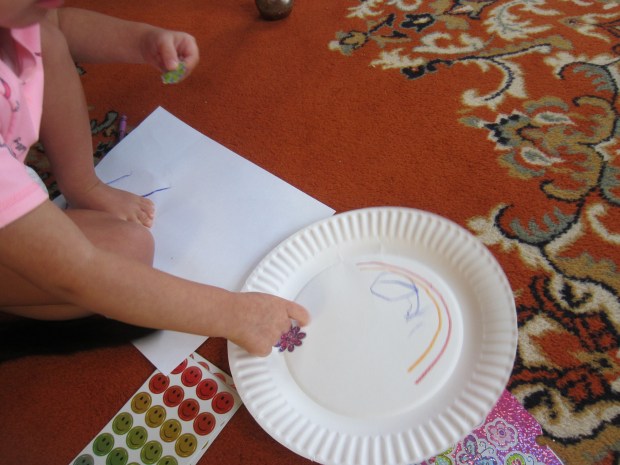
In retrospect, I would have scalloped the edges, too, for a prettier result. Veronika sure thought this was neat, though, and loved sitting beside me with her own pair of safety scissors!

No Mess Paper Plate Snowflakes (1)

Place each plate in a large zip-top bag and add a little bit of silver and blue paint. You can also add a little glitter to each bag, but since we happened to have glitter paint, everything went in all at once! I sealed the bags and showed Veronika how to mush the paint around with her hands until the plate was painted.

No Mess Paper Plate Snowflakes (3)

She was so surprised when she first reached down and realized she could touch the paint but not get messy. And then she just really enjoyed it! I helped a little to spread the paint to the edges of the plates.

No Mess Paper Plate Snowflakes (5)

It took a little trial and error to figure out the right amount of paint to use. Too much and the plate was so saturated that it ripped upon removal from the bag. Too little and you won’t be able to spread the paint far enough. So my recommendation is to start with less than you think you need and work your way up.

No Mess Paper Plate Snowflakes (6)

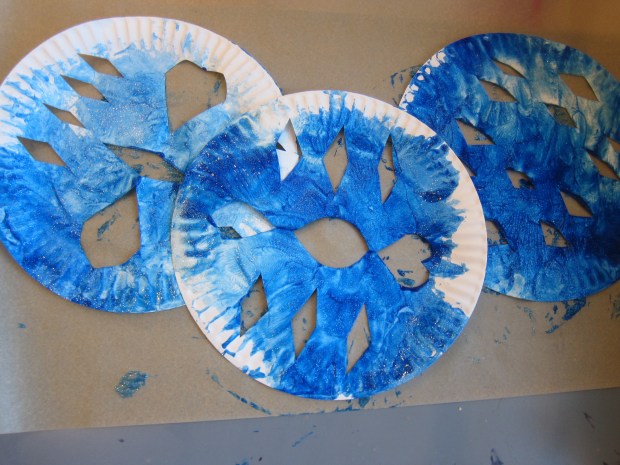
Next time, I would use a little white paint, too, since the blue dominated over the silver. Still, they turned out pretty!

No Mess Paper Plate Snowflakes (7)

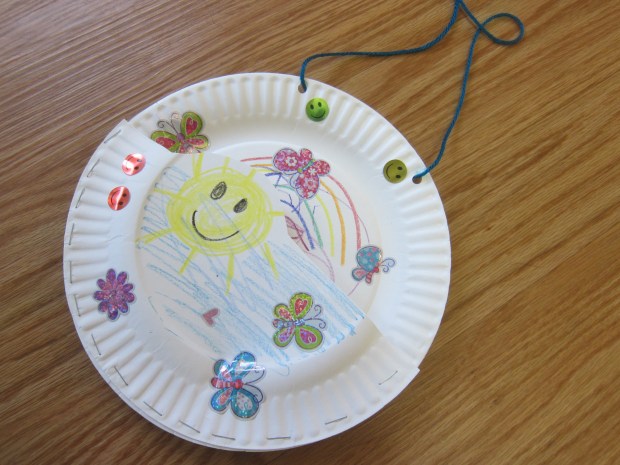
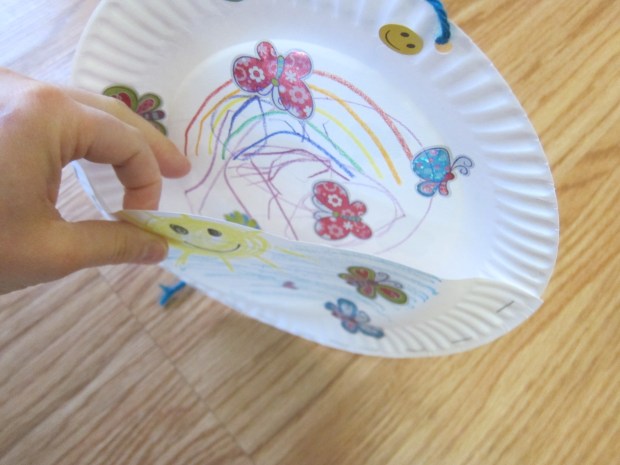
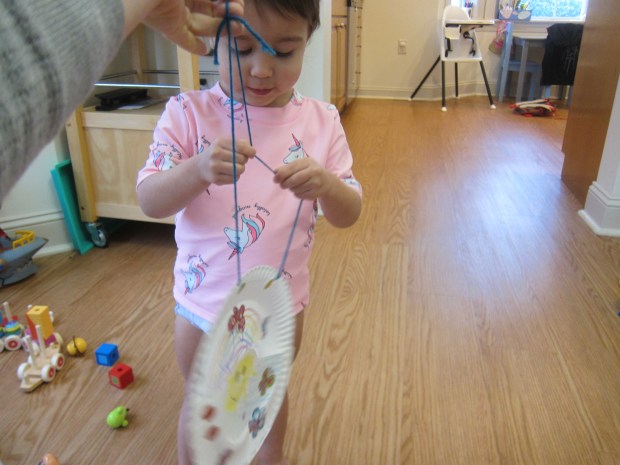
Let the plates dry completely, then hang the snowflakes around the house for a winter snowstorm.

Paper Plate Fraction Puzzles

Plate Fractions (6)

These homemade puzzles were easy as can be, and were a huge hit! Although preschoolers might not entirely latch onto the notion of fractions, it’s an easy way to introduce the concept while having fun. Bigger kids can cut their puzzles into increasingly intricate fractions, such as sevenths or eighths.

To start, all you need to do is decorate paper plates with markers. Travis was very intent adding brown dots and brown circles around the rims of the plates.

Plate Fractions (1)

I added a few decorative elements to each plate so that there would be a recognizable image to form into a puzzle for each.

Plate Fractions (2)

For a 3 year old, I cut plates into halves, thirds, or fourths.

Plate Fractions (4)

Travis puzzled over making the four pieces of this one into a full circle for quite some time!

Plate Fractions (8)

He loved our puzzle that was in thirds, and was so delighted every time he made each paper plate whole again.

Plate Fractions (5)

A great little morning diversion.

Plate Fractions (7)