Yarn Christmas Trees

Yarn Tree (10).JPG

Be forewarned: This holiday decoration project is a messy one! In other words, perfect if your kids love getting their hands dirty and helping deck the halls around the house.

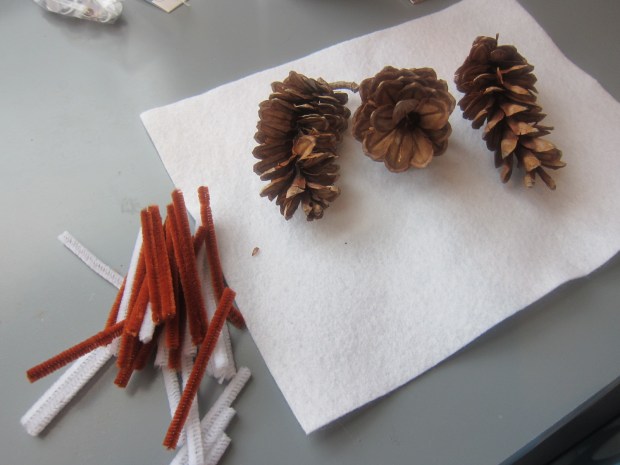
For materials, you’ll need Styrofoam cones (available at craft stores) with the plastic wrap still on. You’ll also need red and green yarn. I had pastel shades of each in my craft bin, which would look lovely if you’re taking a pastel approach to decorating this year! Ideally, I would have had darker red and green, but we were eager to do the project so made do.

Yarn Tree (1)

Cut the yarn into pieces about 20 feet long. Yes you read that right, 20 feet! Travis loved helping measure out the long lengths by standing at the opposite end of the apartment from me.

Yarn Tree (2)

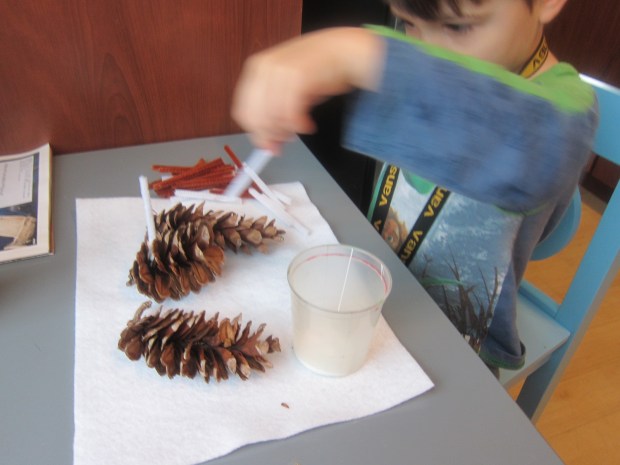
Next we needed glue. You can use watered down store-bought glue, but we made a neat homemade version simply by mixing 1/2 cup flour with water until the consistency of a thick paste.

Yarn Tree (3)

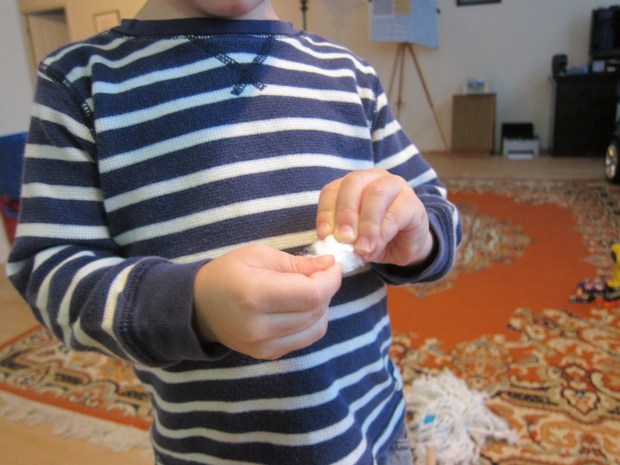
I worried Travis might not get his hands in there, but to my surprise, he was eager to see how it felt. Goopy!

Yarn Tree (4)

Soak your stands of yarn in the “glue,” one strand at a time. Once it’s coated, wrap around one of the Styrofoam cones, wrapping and wrapping until completely covered – the more the better!

Yarn Tree (5)

The key is not to let the yarn get tangled, or you’ll wind up with a clump you can’t continue to wrap. After a few successful trees, we encountered a tangle. Whoops!

Yarn Tree (6)

Luckily the cone was just covered enough.

Let dry overnight. Travis had to come over and touch our flour glue occasionally, to see how the drying process was coming along.

Yarn Tree (7)

In the morning, snip the plastic wrap from the cone, and slide the yarn tree off – you’ll have to tug the cone out a bit forcefully. Remove the inner plastic, and the yarn tree now stands alone.

Yarn Tree (8)

We thought it might be fun to decorate one with little gems and beads, although it was hard to get them to stick on, as the beads were heavy.

Yarn Tree (9)

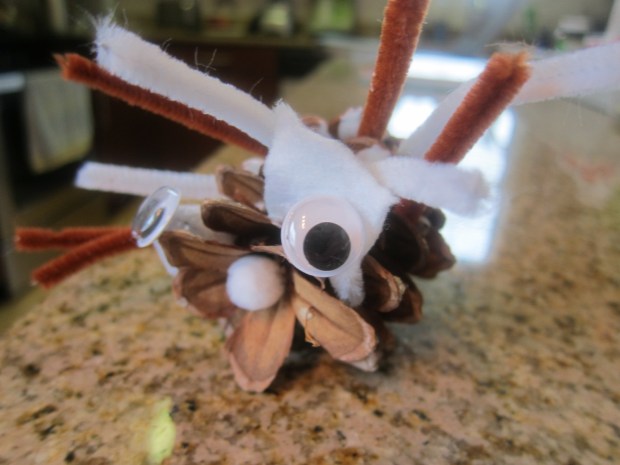
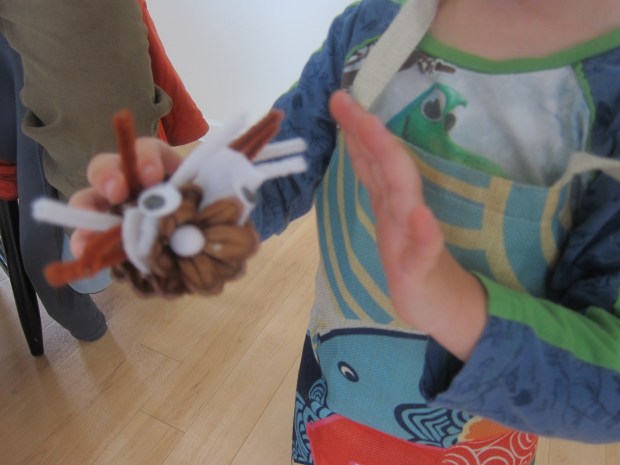
Pinecones made lovely tree toppers though!

Yarn Tree (11)

Easy Pinecone Wreath

Pinecone Wreath (5)

We’ve had a kindness wreath up on our door for over a year now – a project that we loved, but the time now feels right for a change. We used fall nature finds to craft this easy wreath on a store-bought twig frame.

As the title of this post suggests, you’ll need pinecones of course, but feel free to add other treasures that your children bring in from nature. We added some beautiful fall foliage!

Pinecone Wreath (1)

You can use ribbons to attach the pinecones, but I worried this wouldn’t be strong enough. Instead, we wrapped floral wire around each pinecone – Travis loved this new material (under adult supervision, of course).

Pinecone Wreath (2)

I did the wire wrapping, but he selected the perfect spot on the wreath for each pinecone.

Pinecone Wreath (3)

To attach the leaves, we simply tucked in their stems.

Pinecone Wreath (4)

Is there a homemade wreath hanging on your door for this autumn? Please share in the comments!

Pinecone Wreath (6)


Pinecone Hedgehog

Pinecone Hedgehog (4).JPG

Finally we have treasures from our first foray into spring nature walks! What animal did we bring home from our little “safari”? We decided to turn these pinecones into hedgehogs!

First, cut pipe cleaners into pieces about 2 inches in length and set out a cup or dish of white glue.

Pinecone Hedgehog (1)

Travis worked to dip the end of each pipe cleaner into the glue and we nestled them between the scales of the pinecone.

Pinecone Hedgehog (2)

A few finishing touches were all the hedgehog needed. A little glue helped us add a pom pom nose and felt pieces for ears.

To affix googly eyes, we first bent a small piece of pipe cleaner in half, then glued on an eye. Wedge the pipe cleaner ends into the pinecone with a little more glue to hold in place.

Pinecone Hedgehog (3)

What a cute critter – a little prickly though!

Pinecone Hedgehog (5)

Pinecone Snow Owl

Pinecone Owl (8).JPG

These cute owls were the perfect craft to put together on a day with two-foot-high snow drifts outside our window!

Our inspiration came from the picture of this adorable little guy.

Pinecone Owl (1)

All we needed were pinecones and cotton balls to recreate him indoors, and luckily I had both on hand.

Tearing apart cotton balls always feels so fluffy and fun!

Pinecone Owl (3)

Travis helped push the cotton into the pinecone, until we had mostly filled it in with white.

Pinecone Owl (4)

As an alternative, we tried using a white feather boa for an even fluffier look, winding it in between pinecone sections.

Pinecone Owl (2)

These owls turned out so fluffy though that they looked more like snow gerbils!

Pinecone Owl (5)

To finish our owls, we added googly eyes and little beaks cut from brown felt.

Pinecone Owl (6)

They’re nice and warm inside and away from the snow!