Pom Pom Target Practice

Pom Pom Target (4)

Learning to huff down through a straw is a great skill for kids to master. It’s the first step towards blowing bubbles, tooting into a flute, and so much more. To help hone the skill, we practice today on pom poms, and threw in a target for good measure!

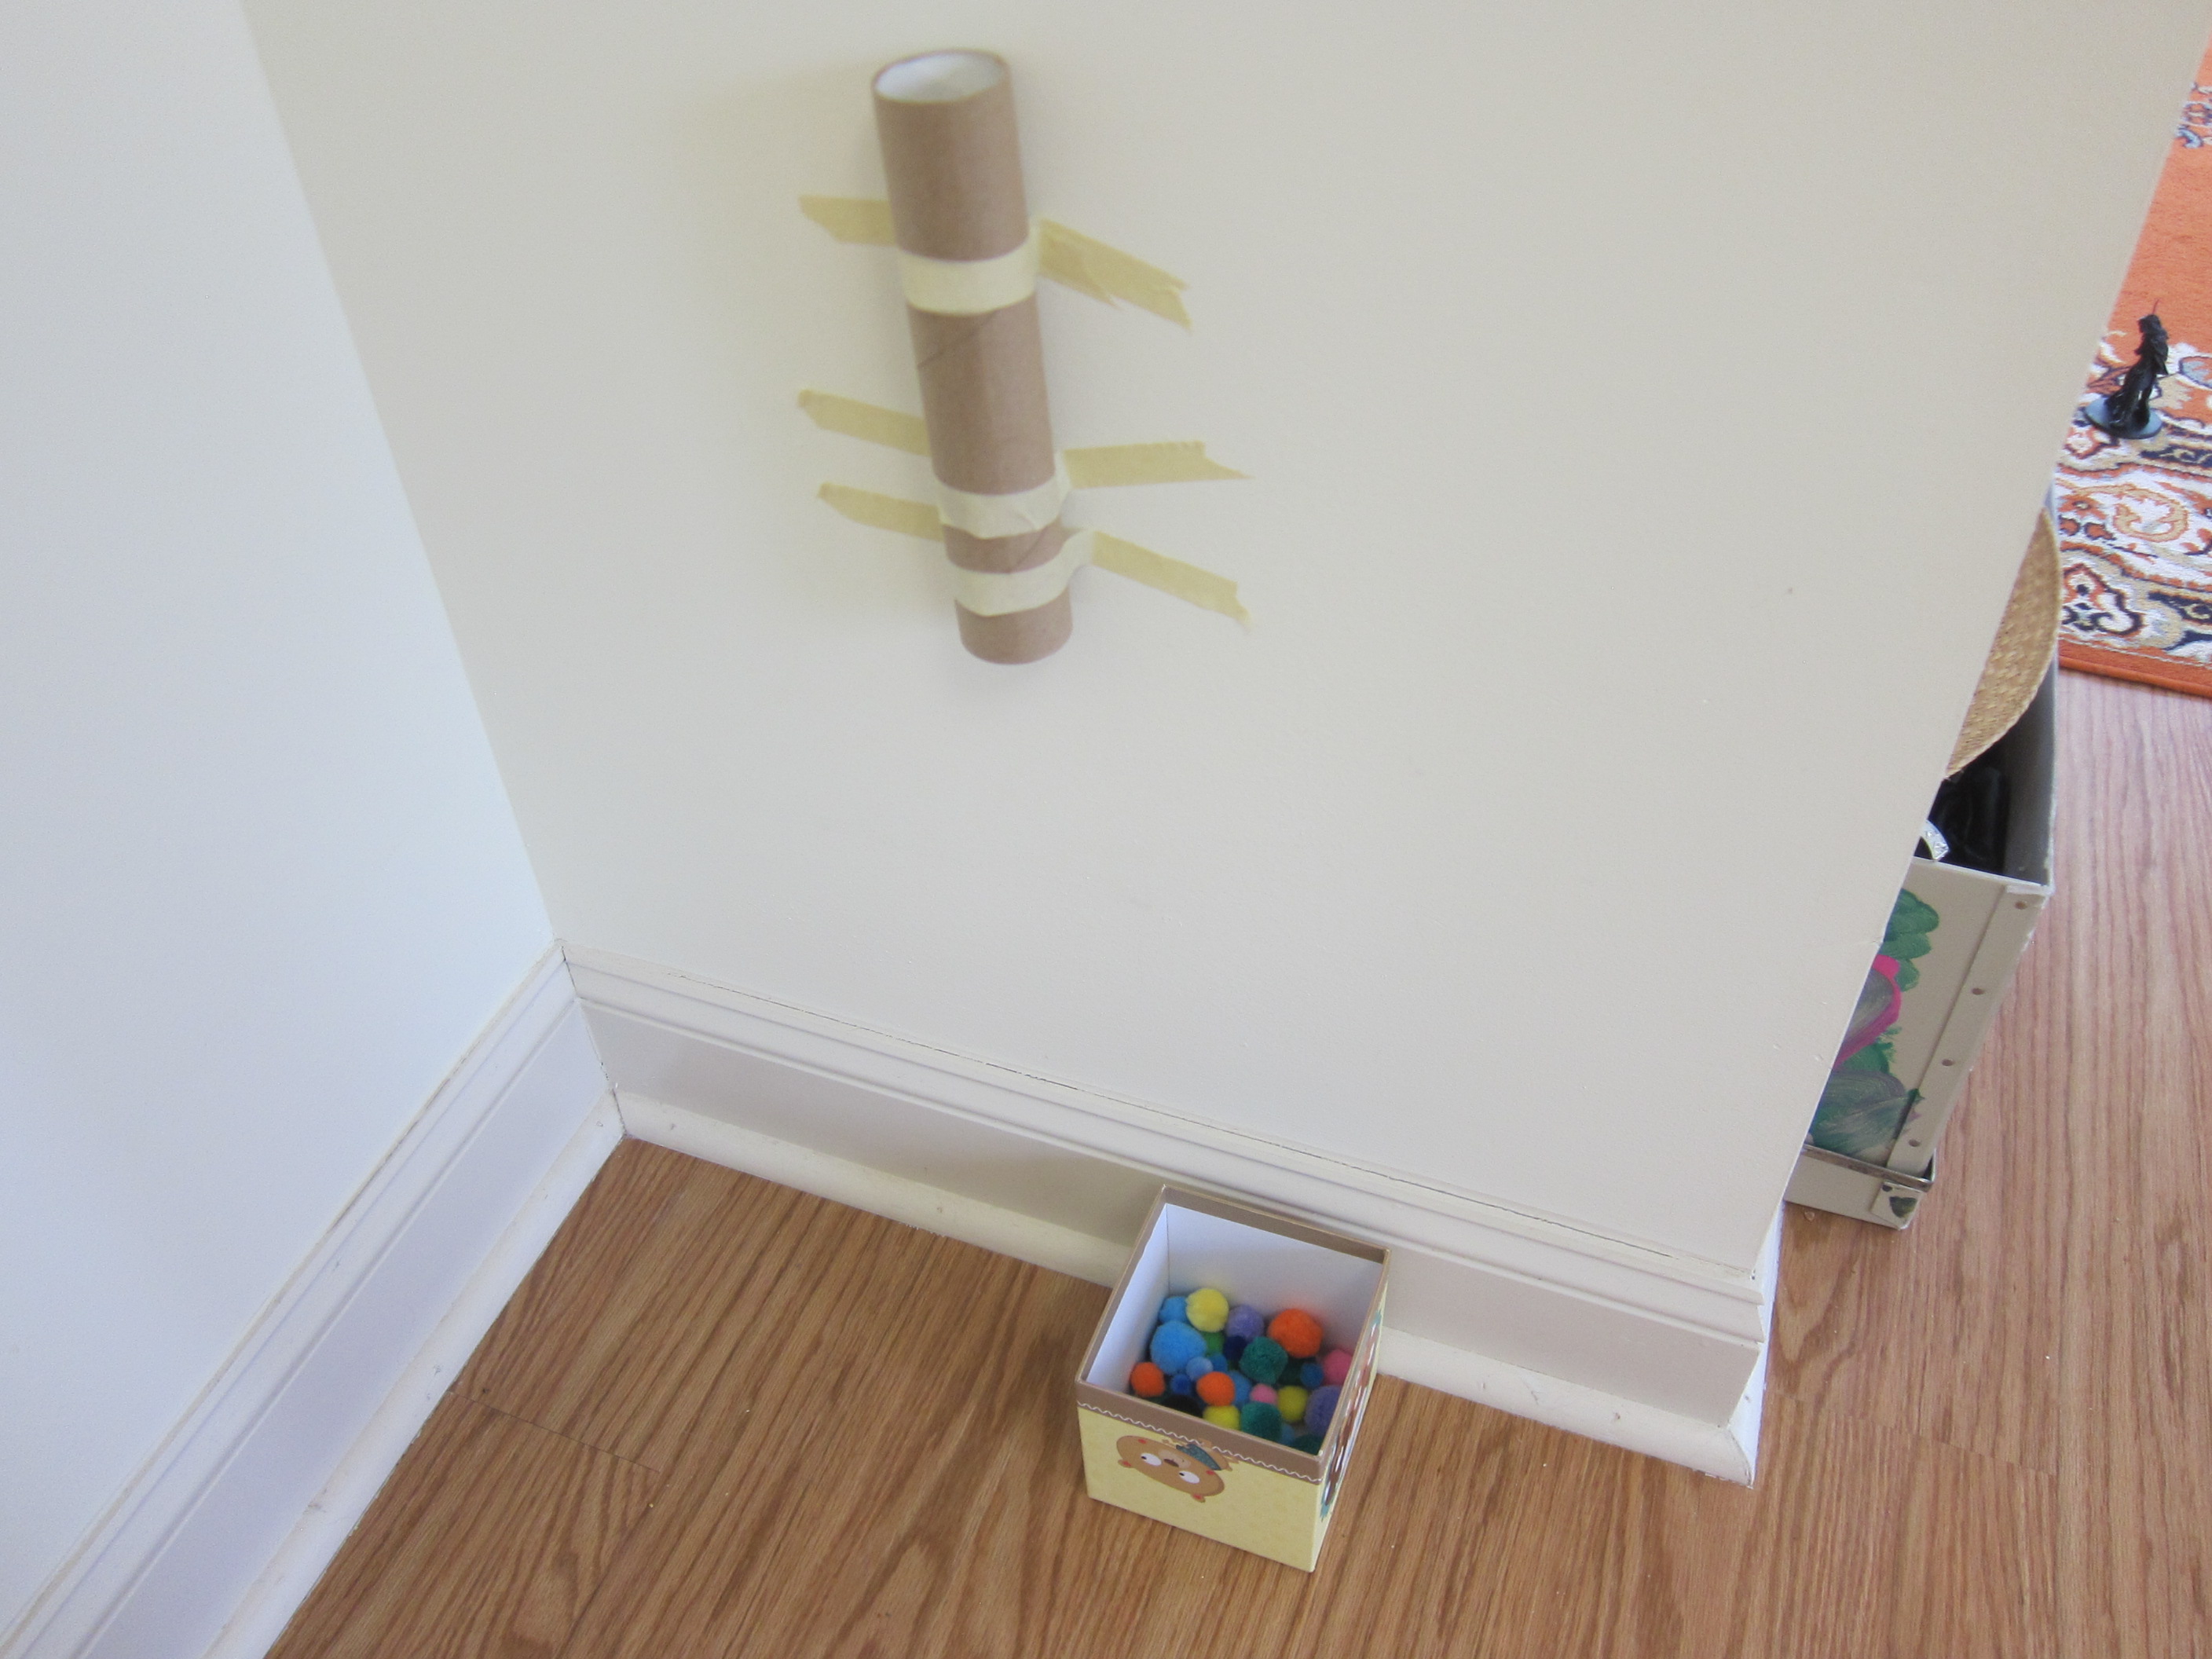
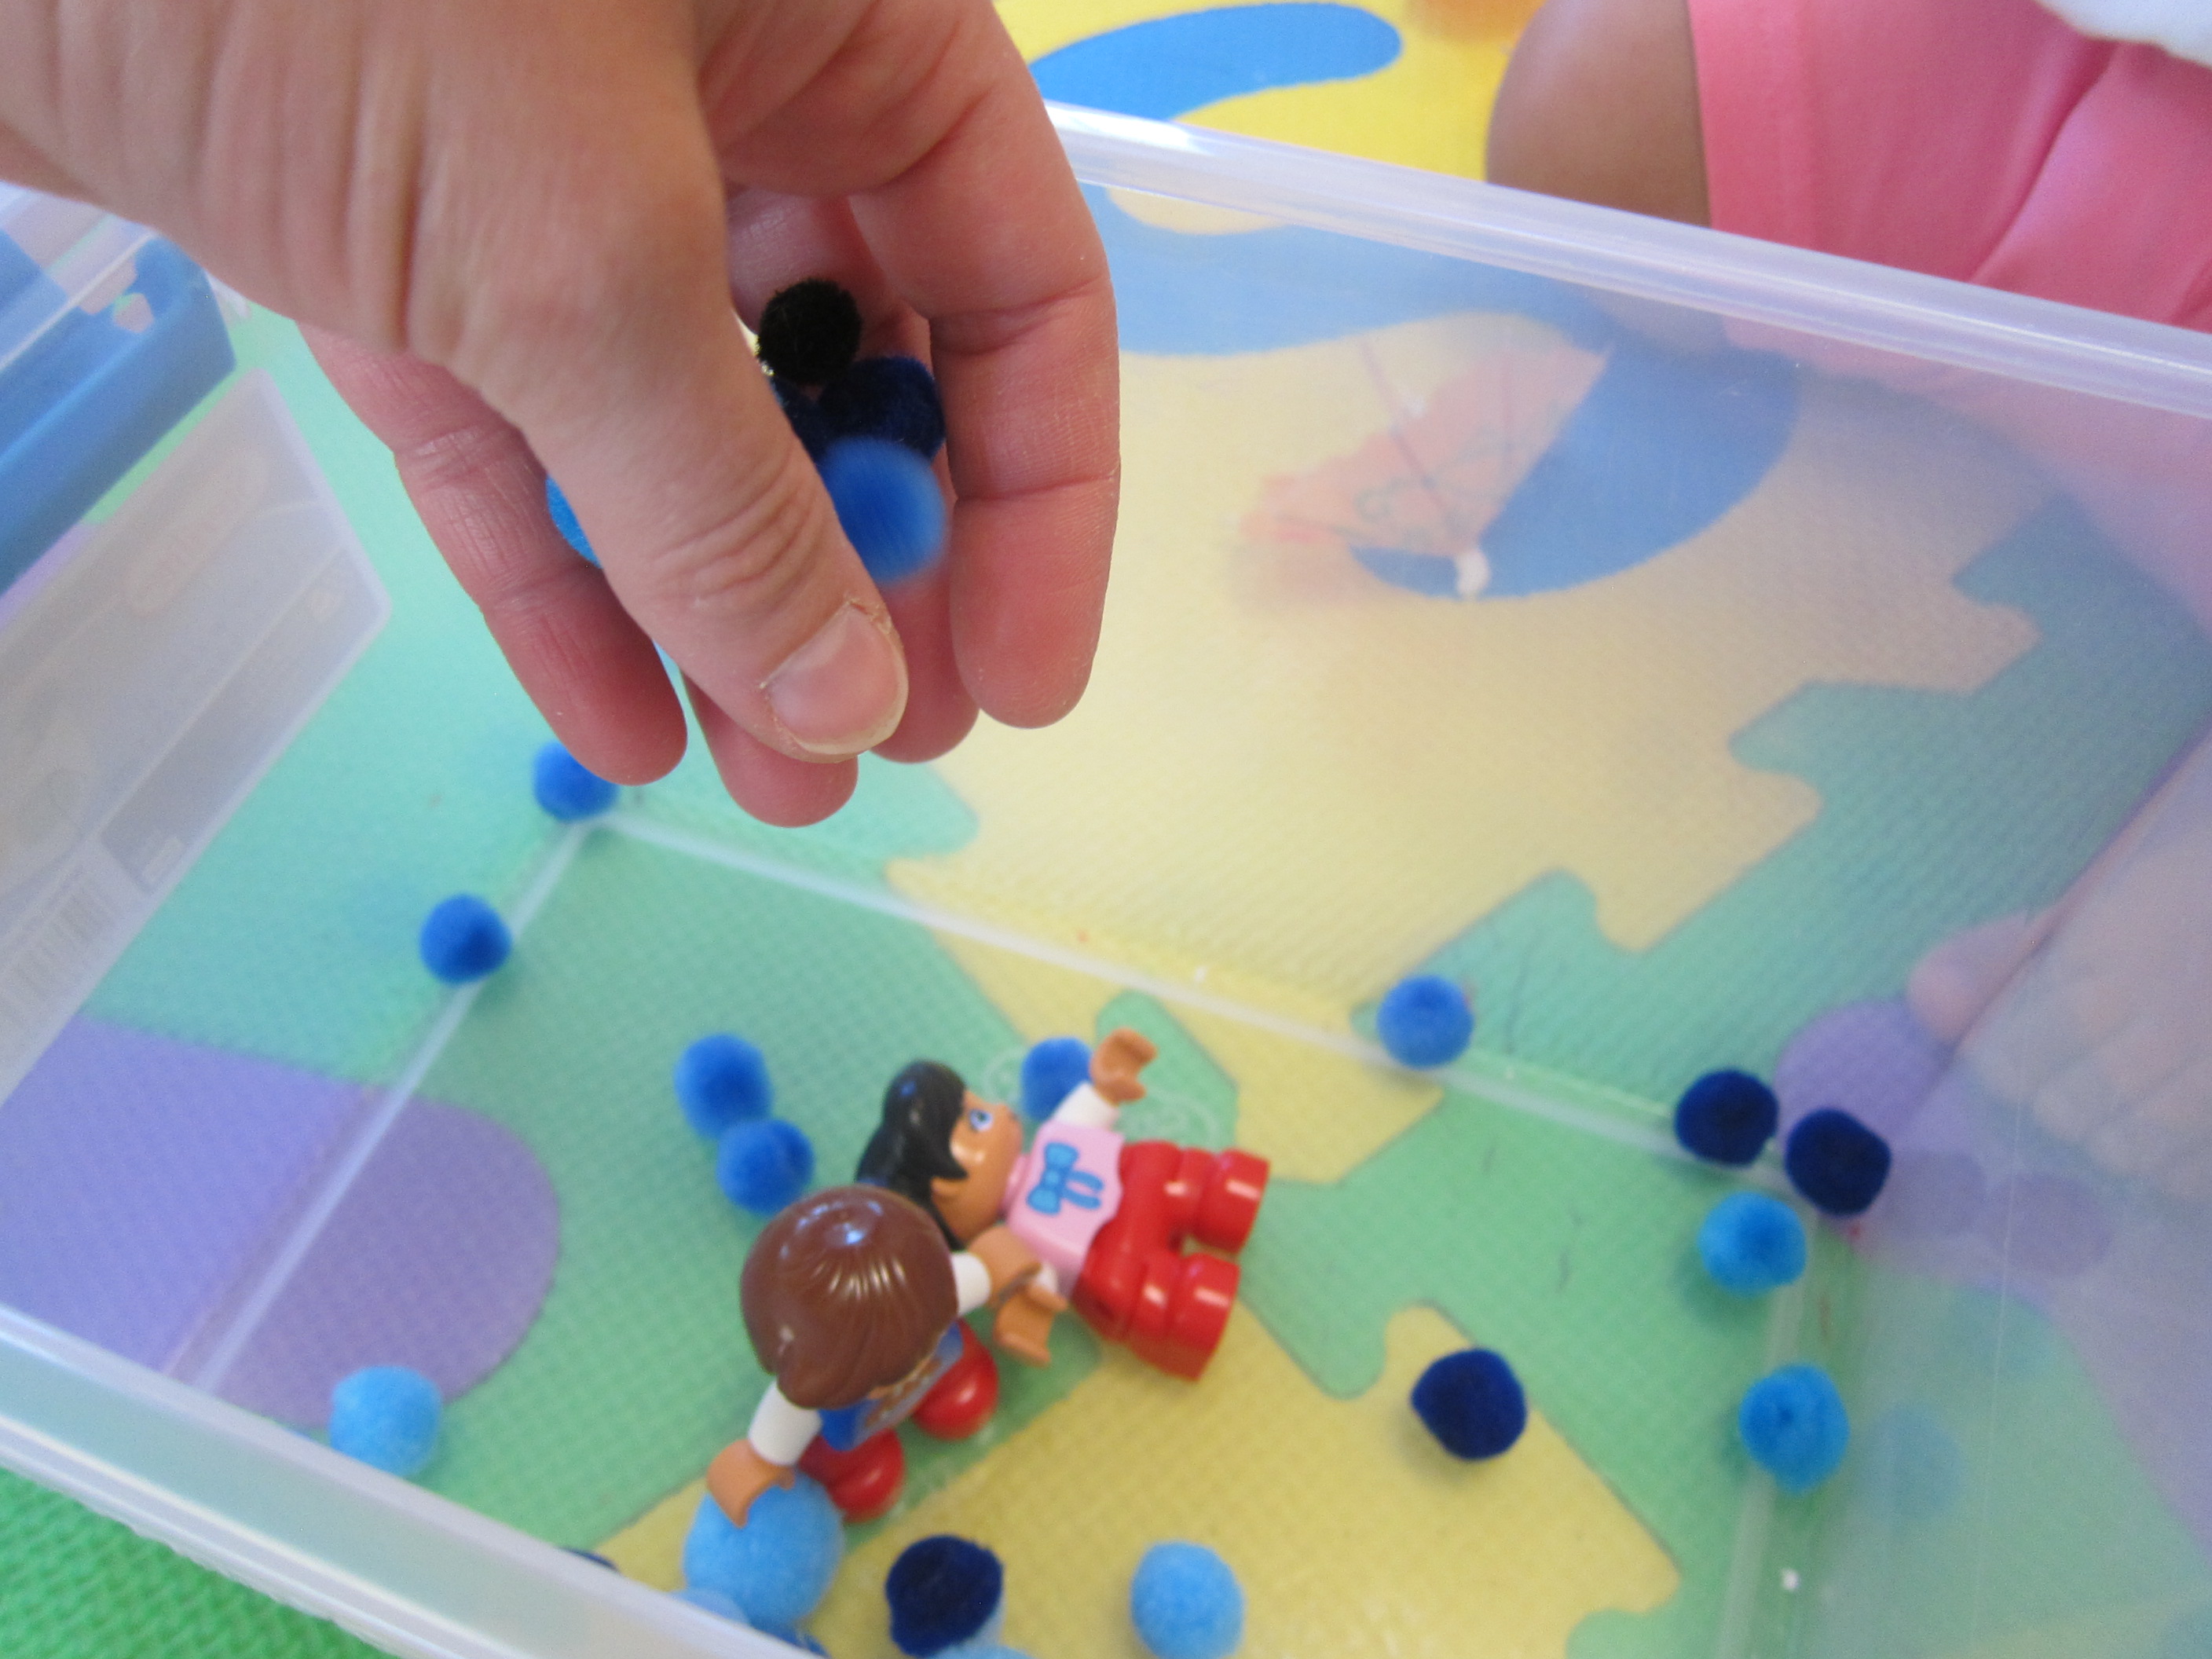
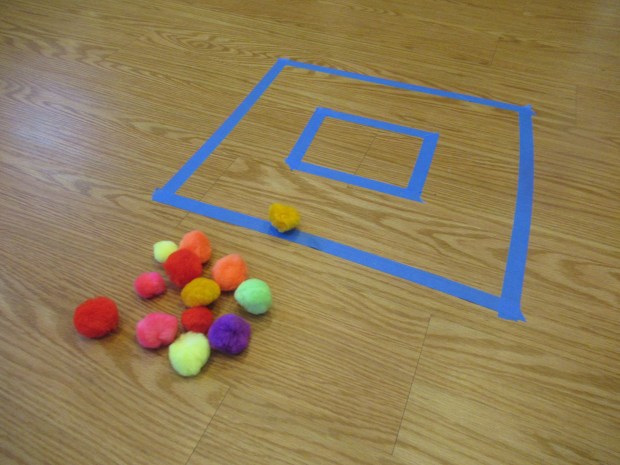
To set up, I taped two squares on the floor with masking tape, one smaller one inside a larger.

Pom Pom Target (1)

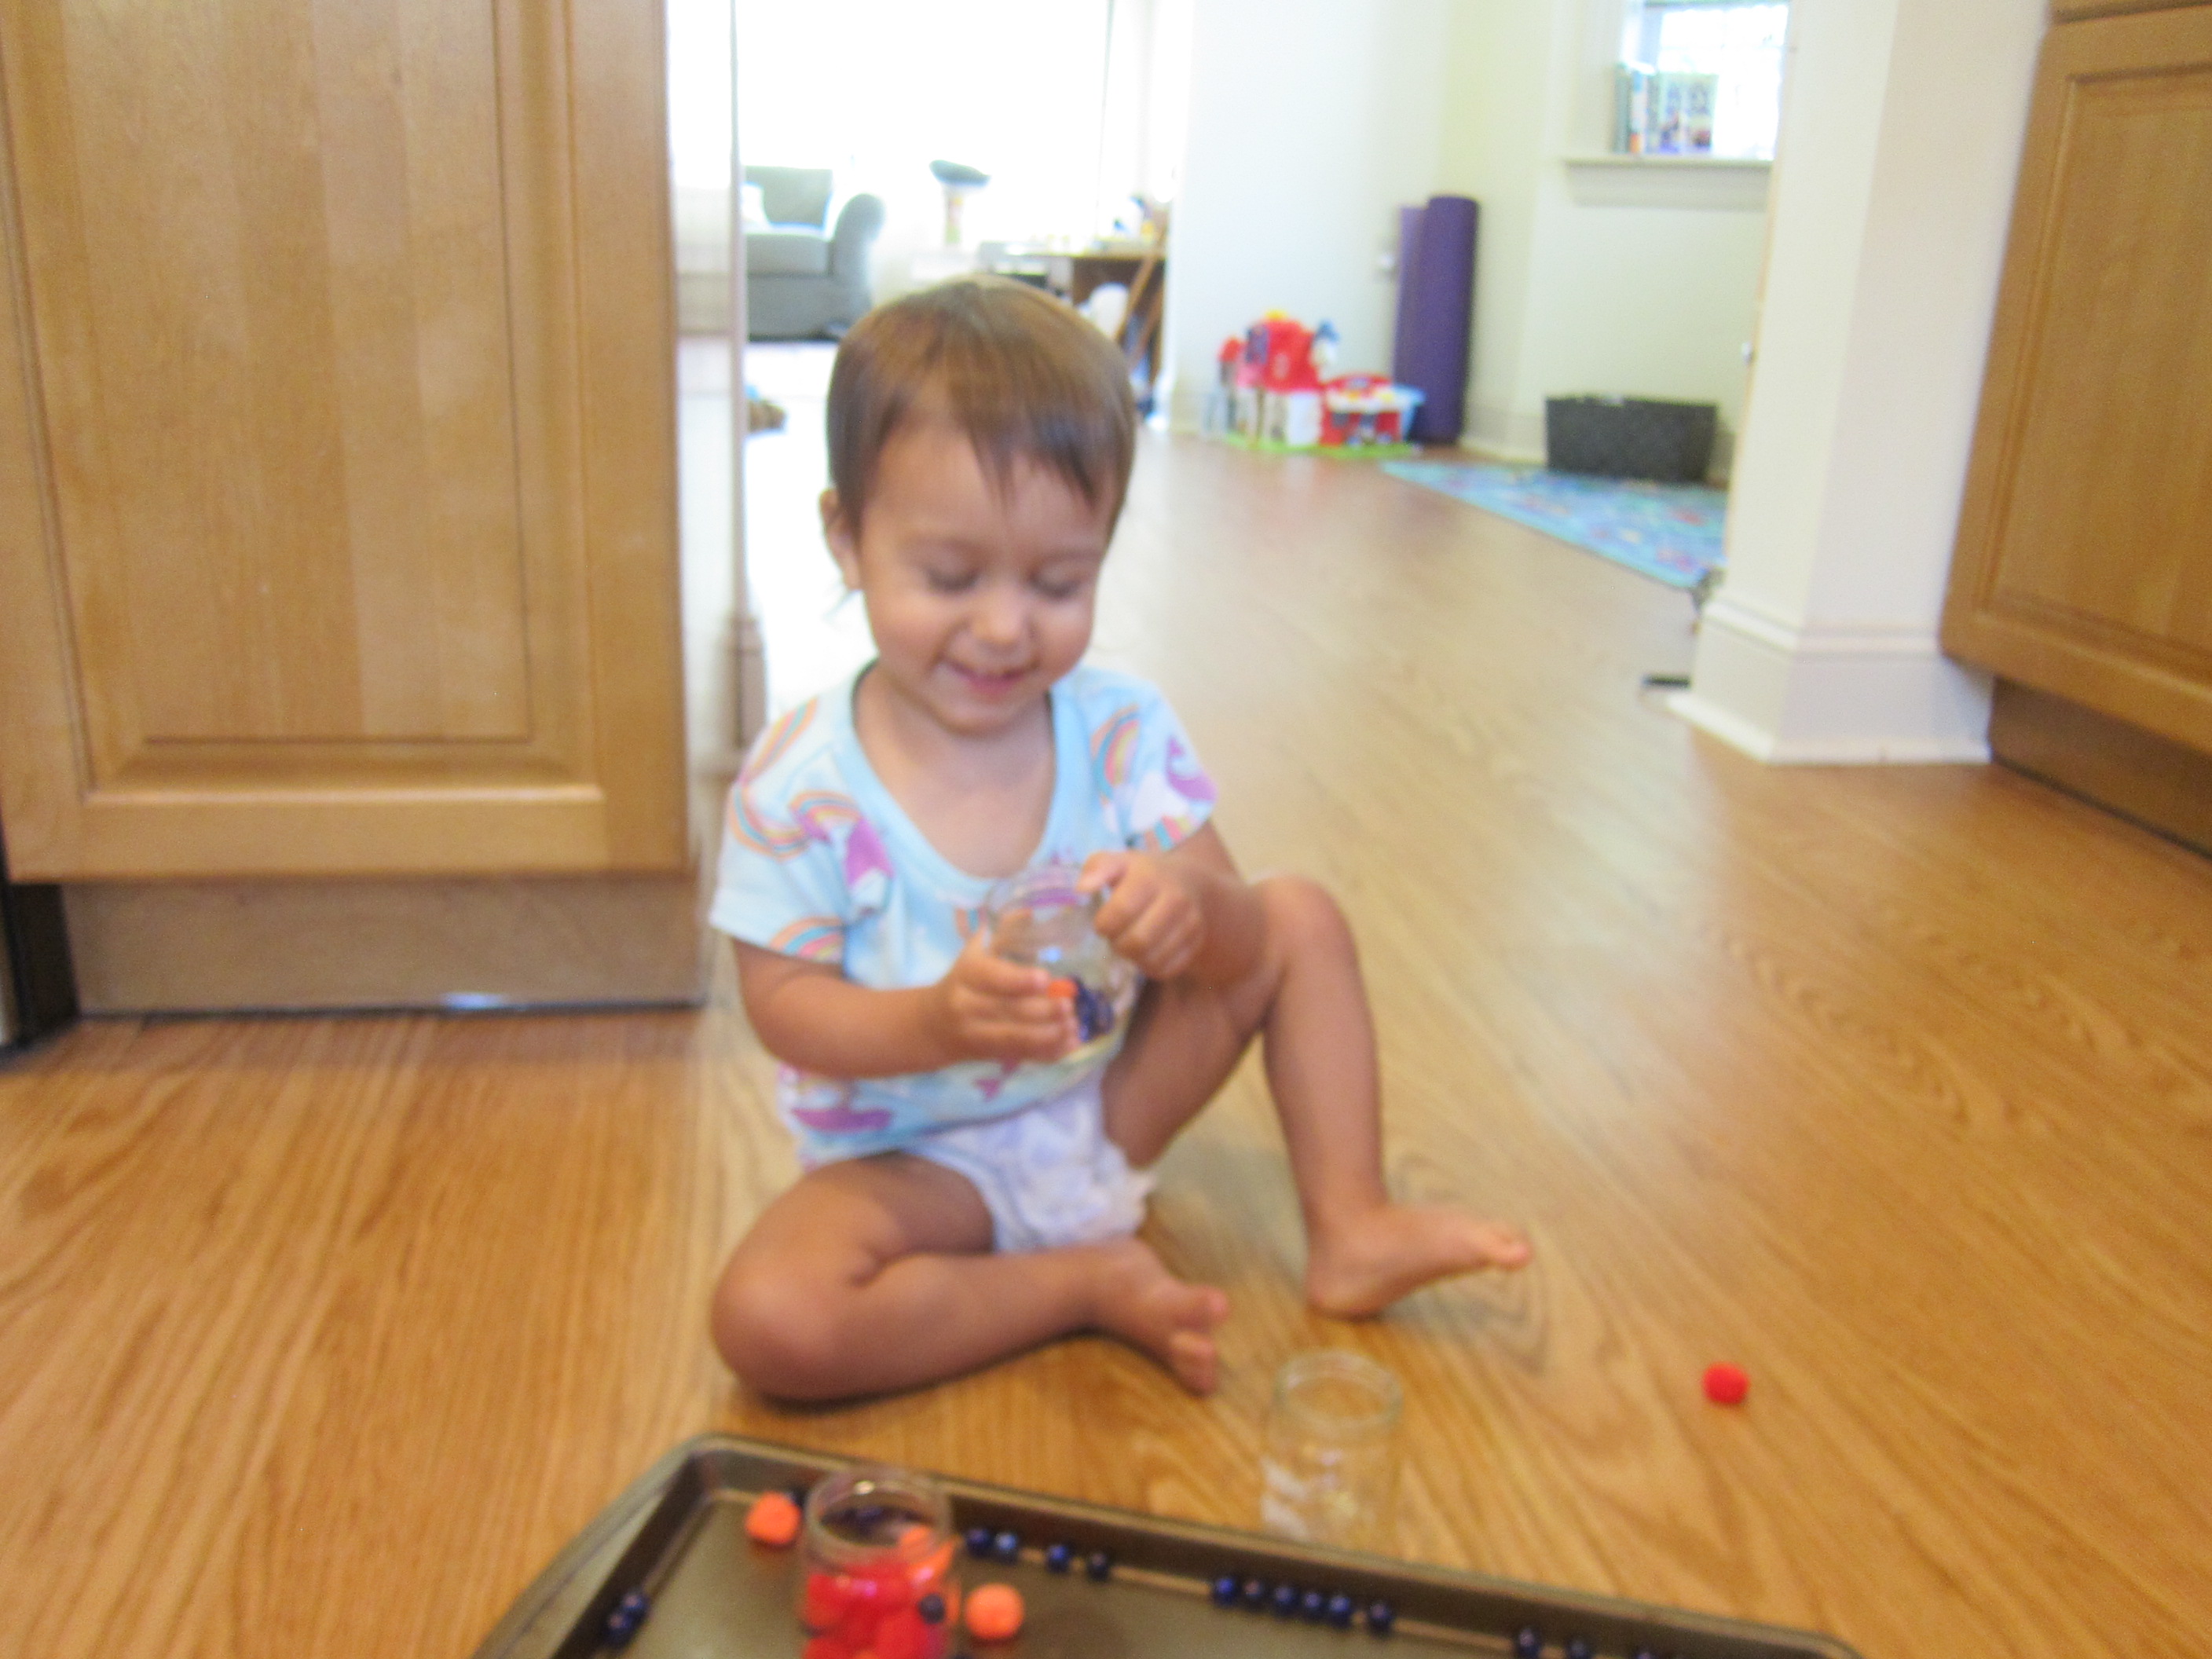
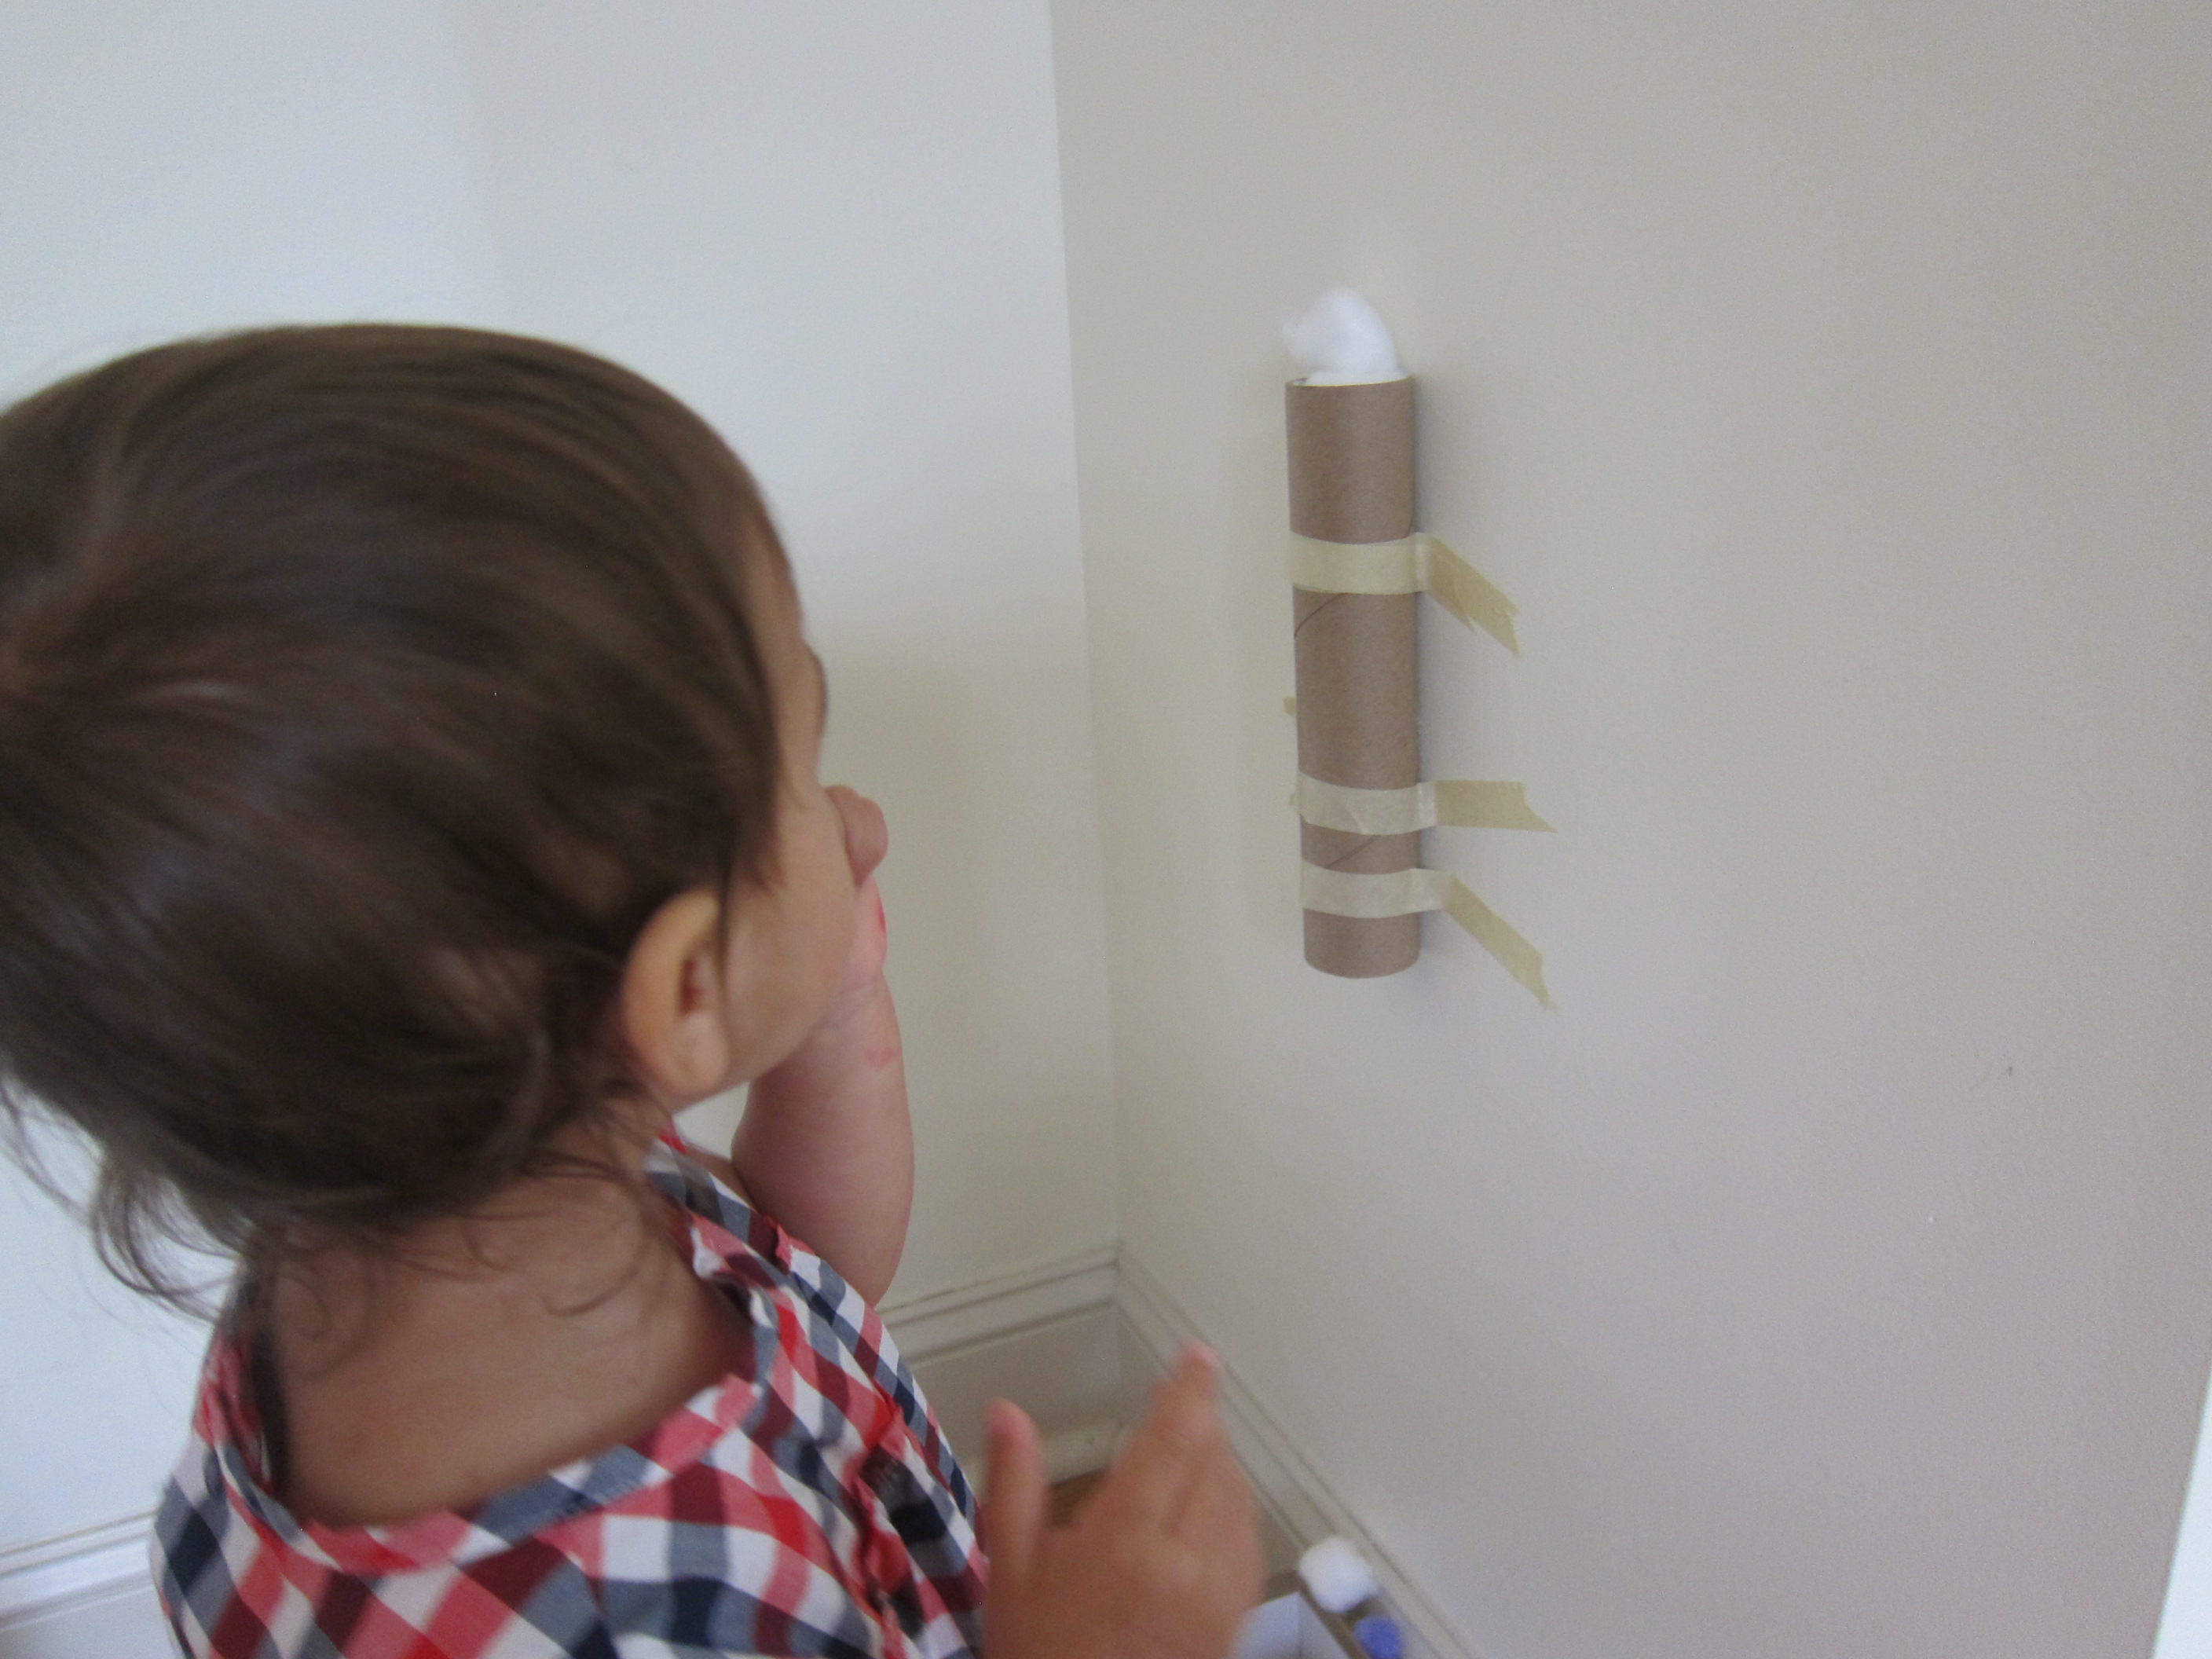
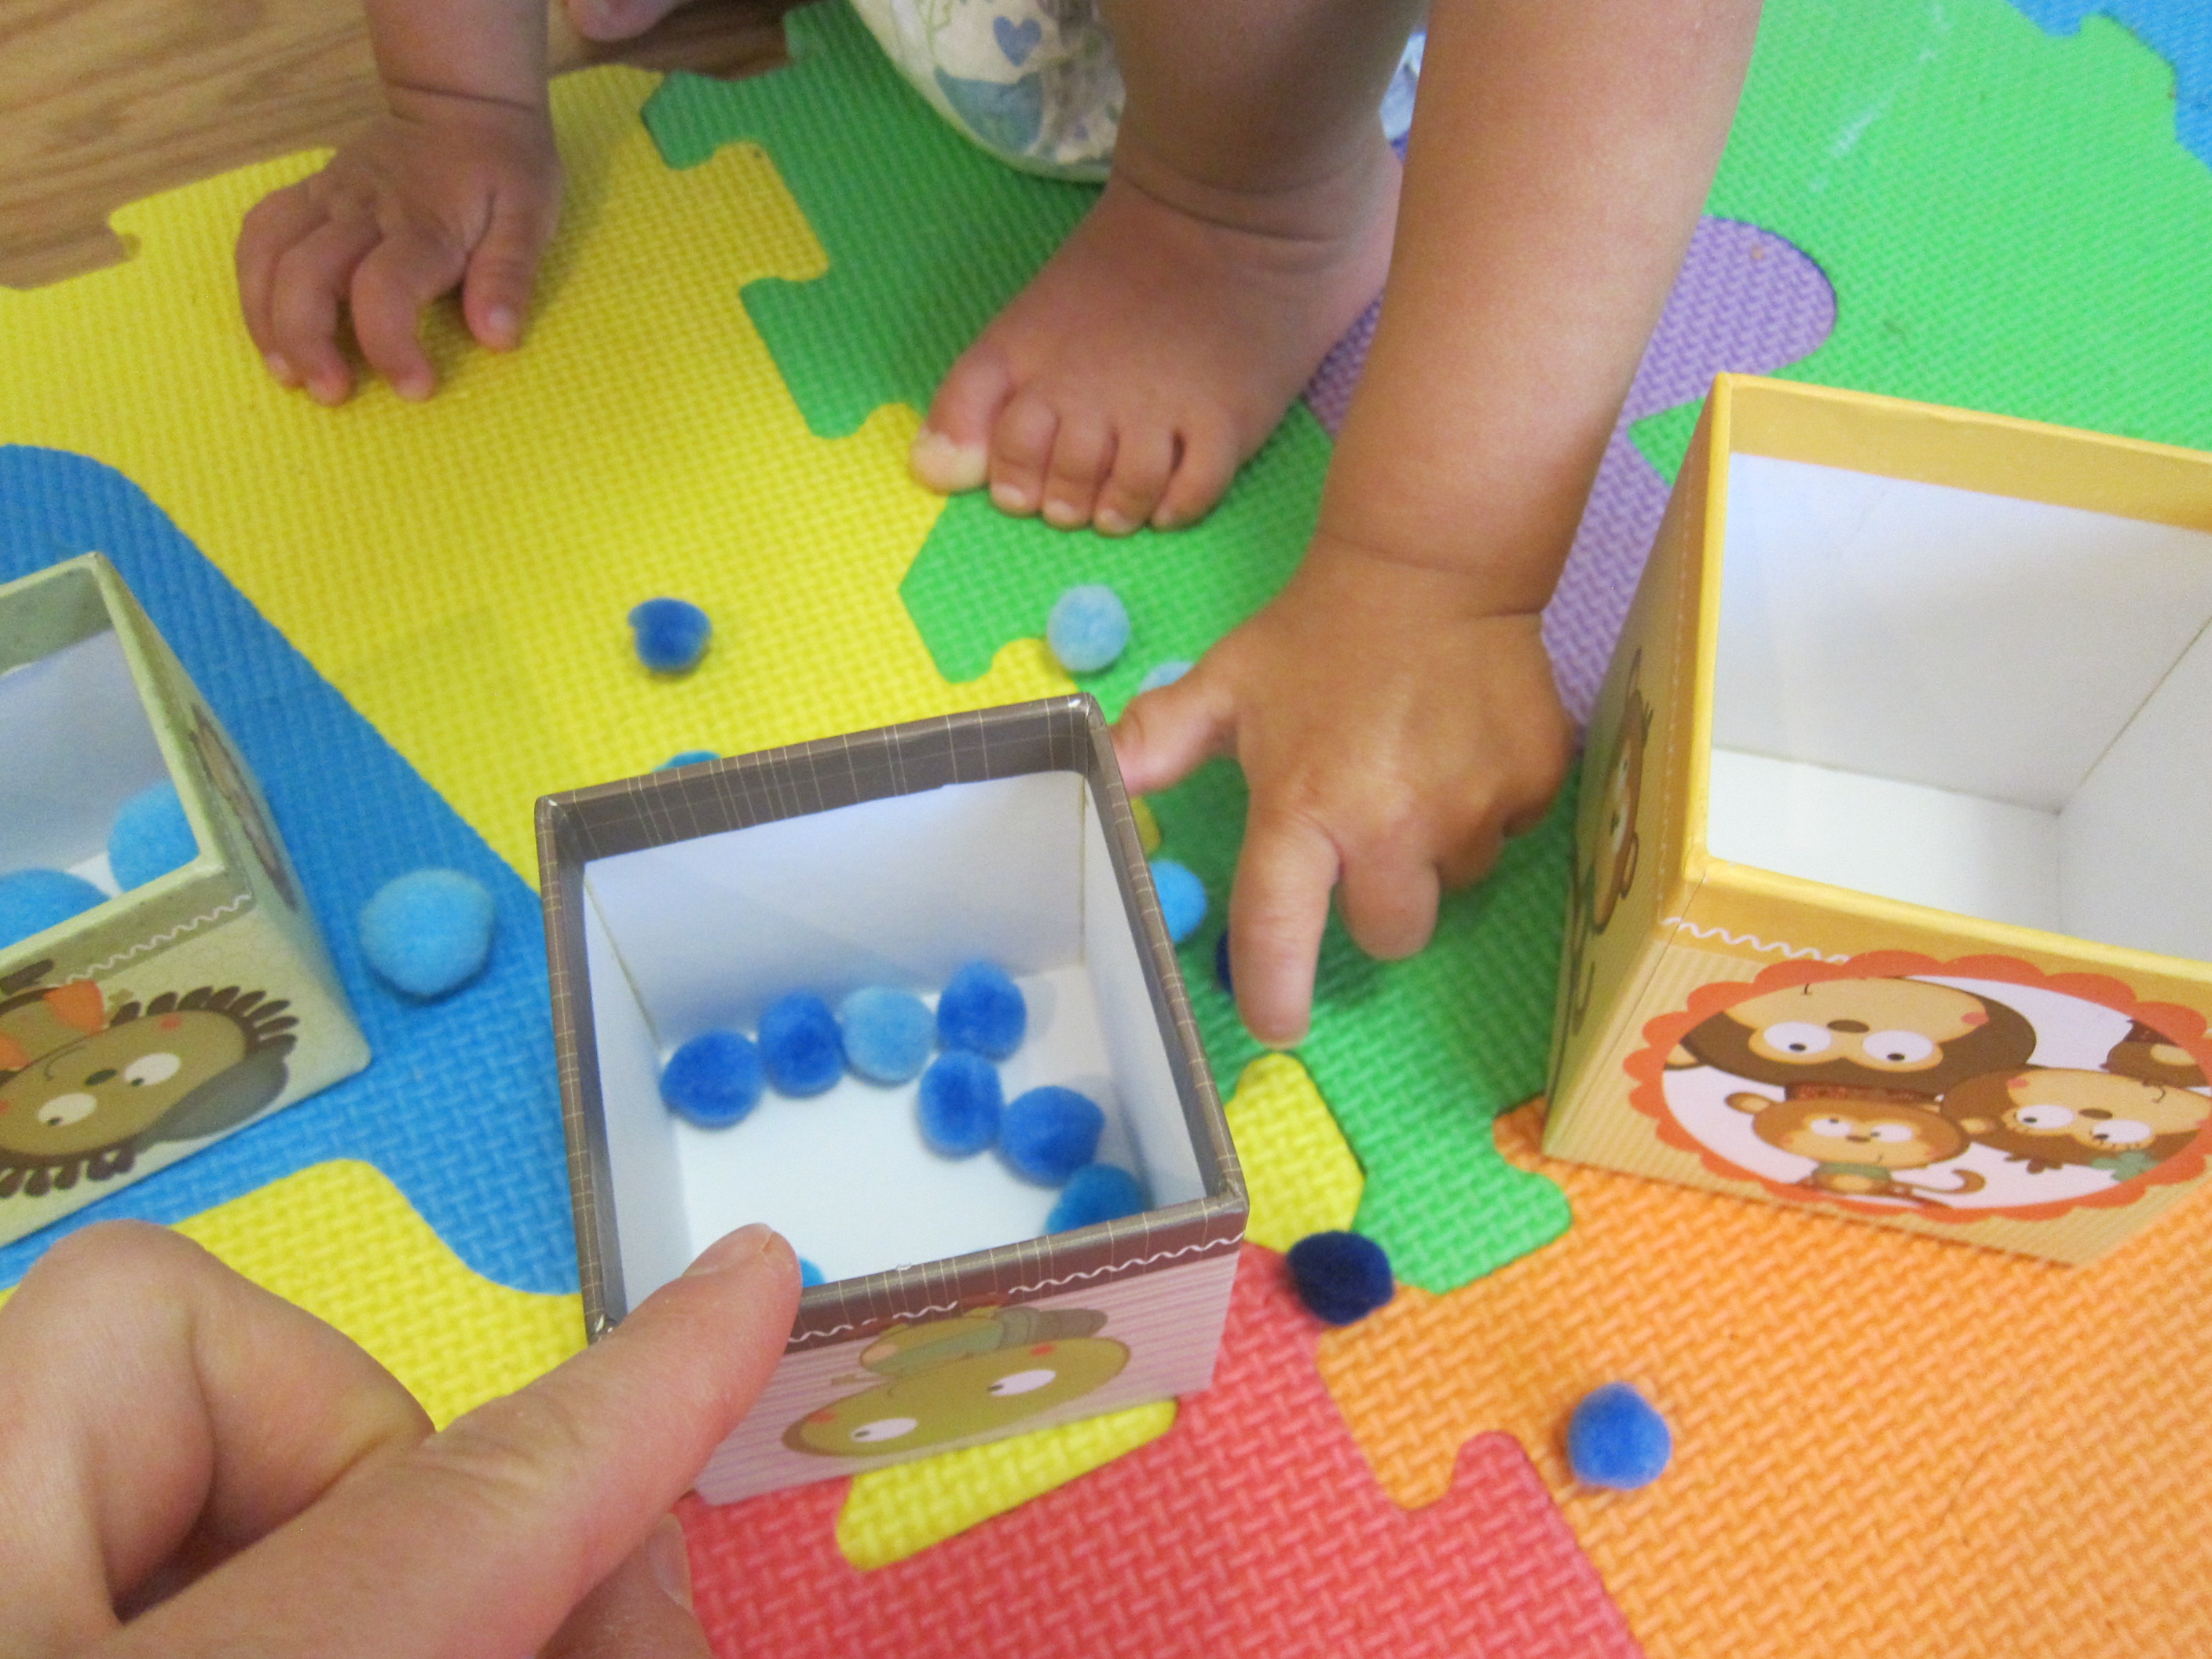
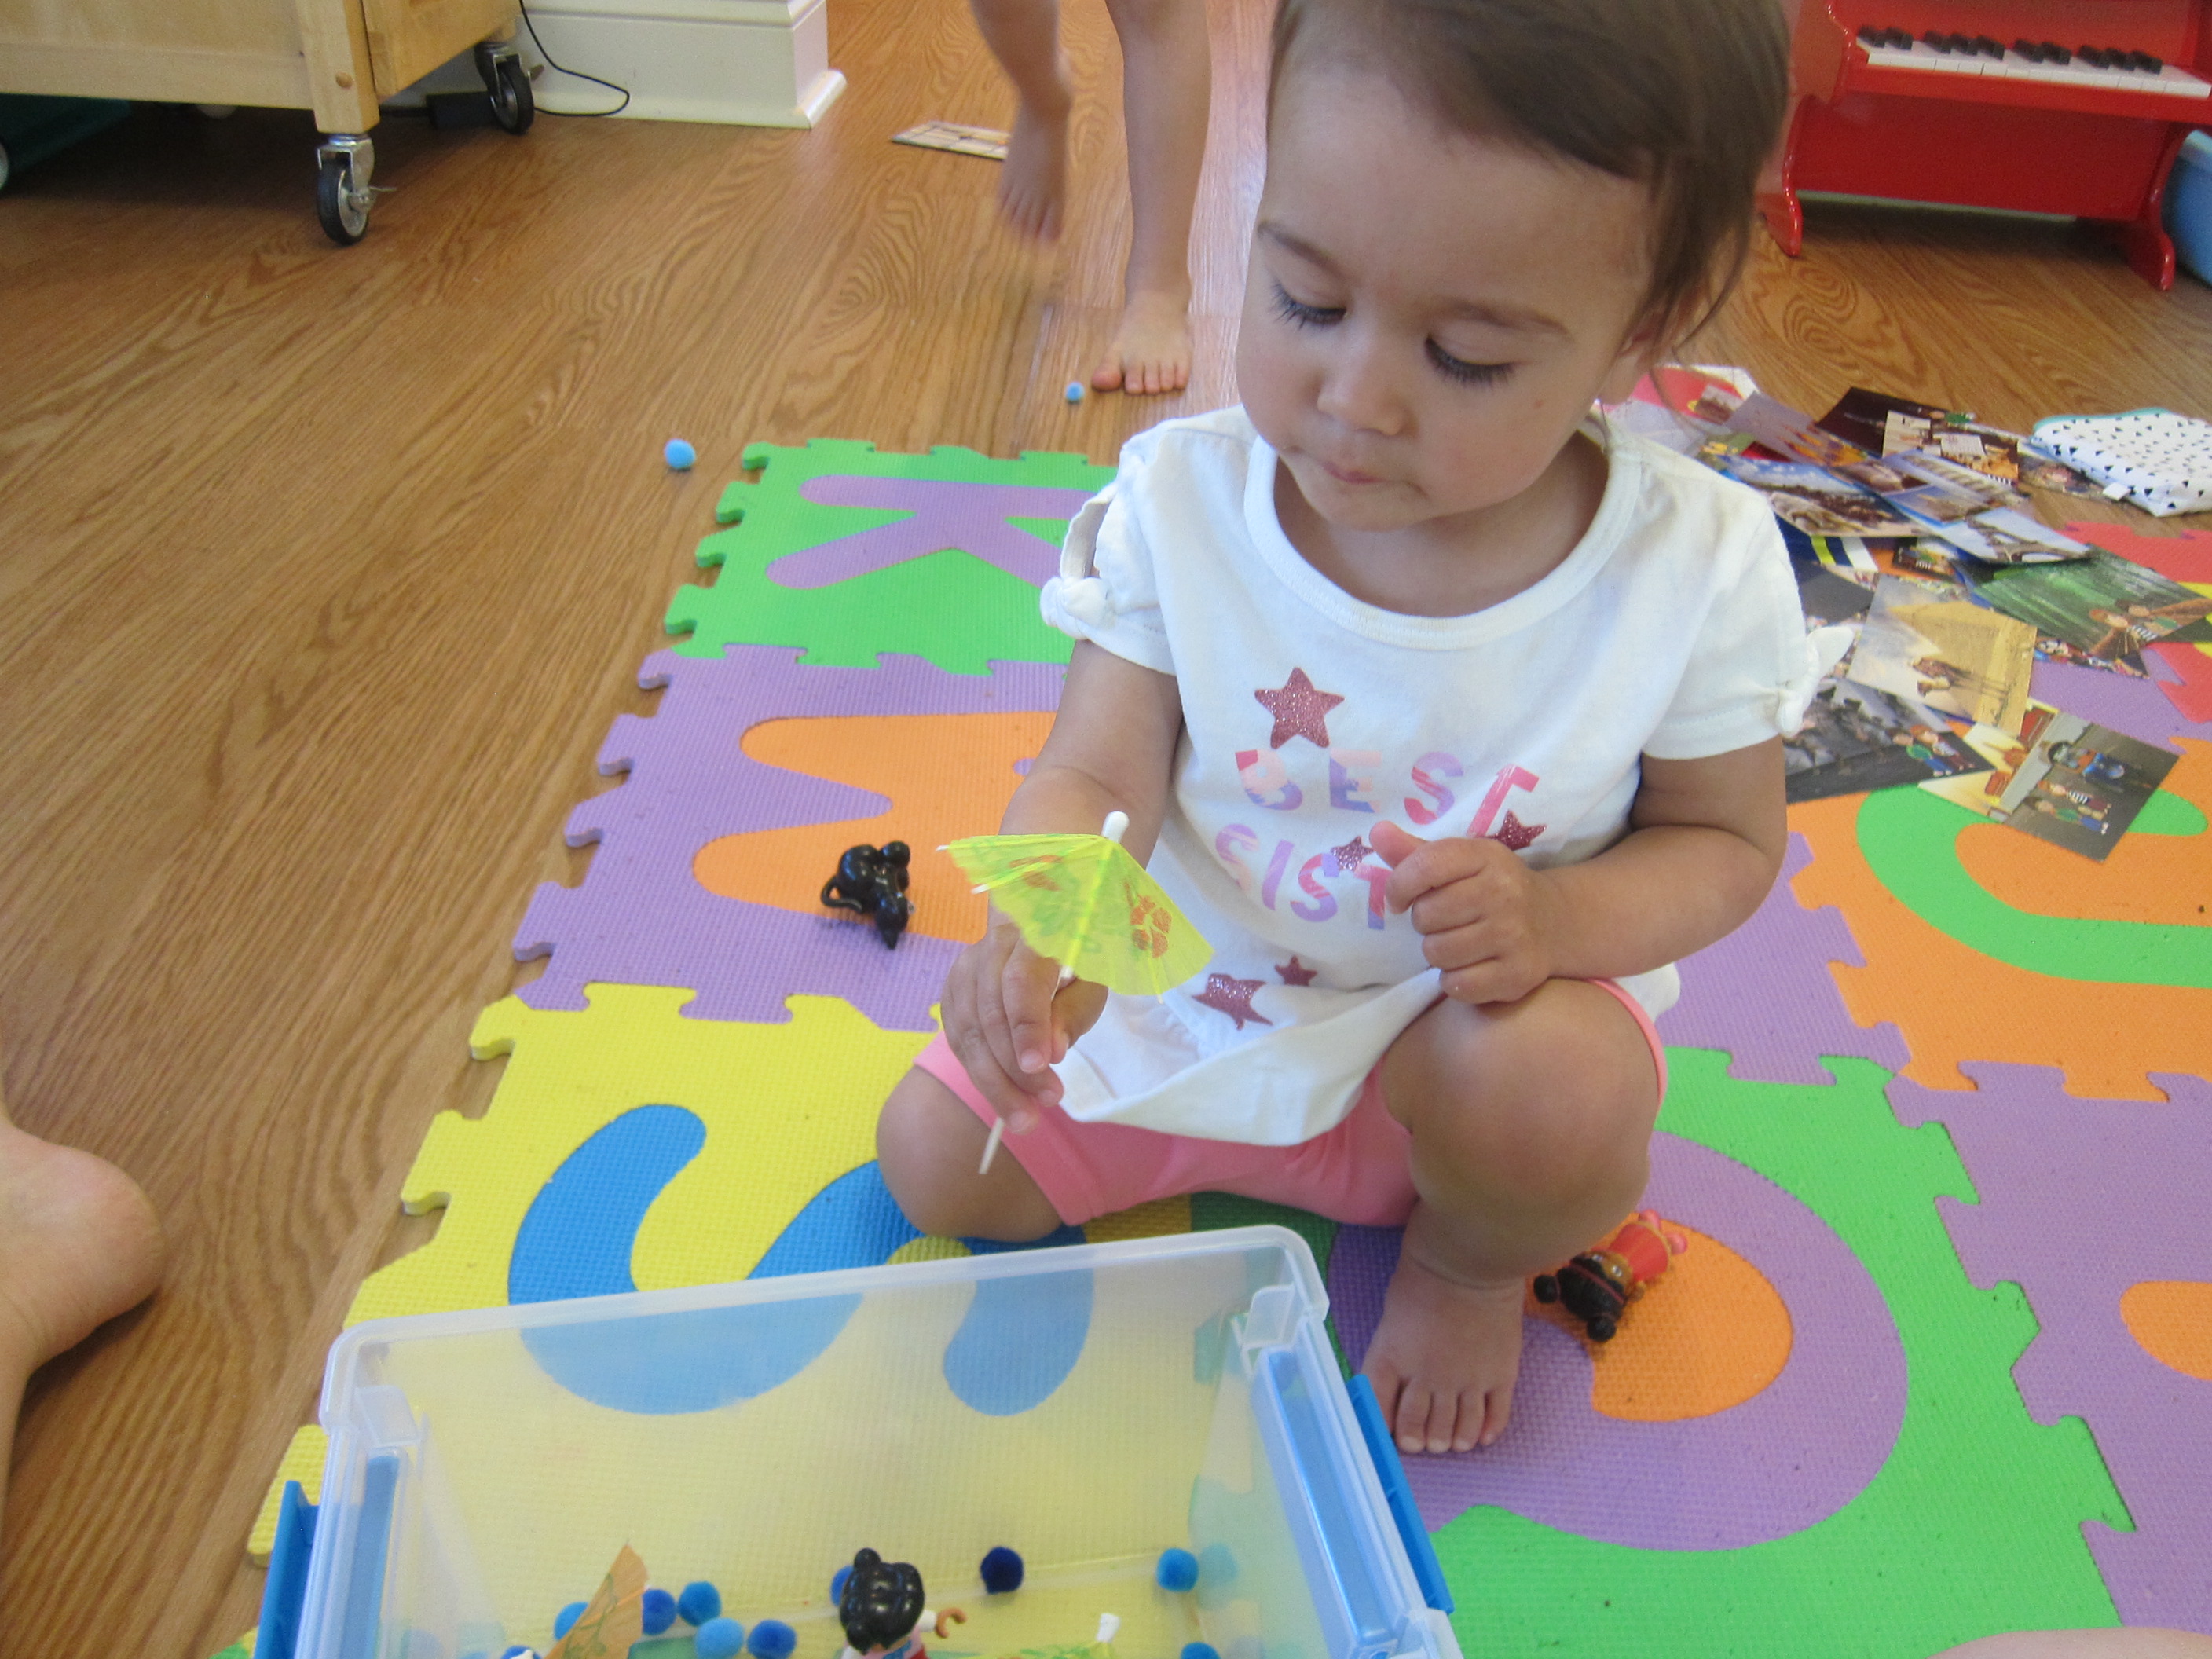
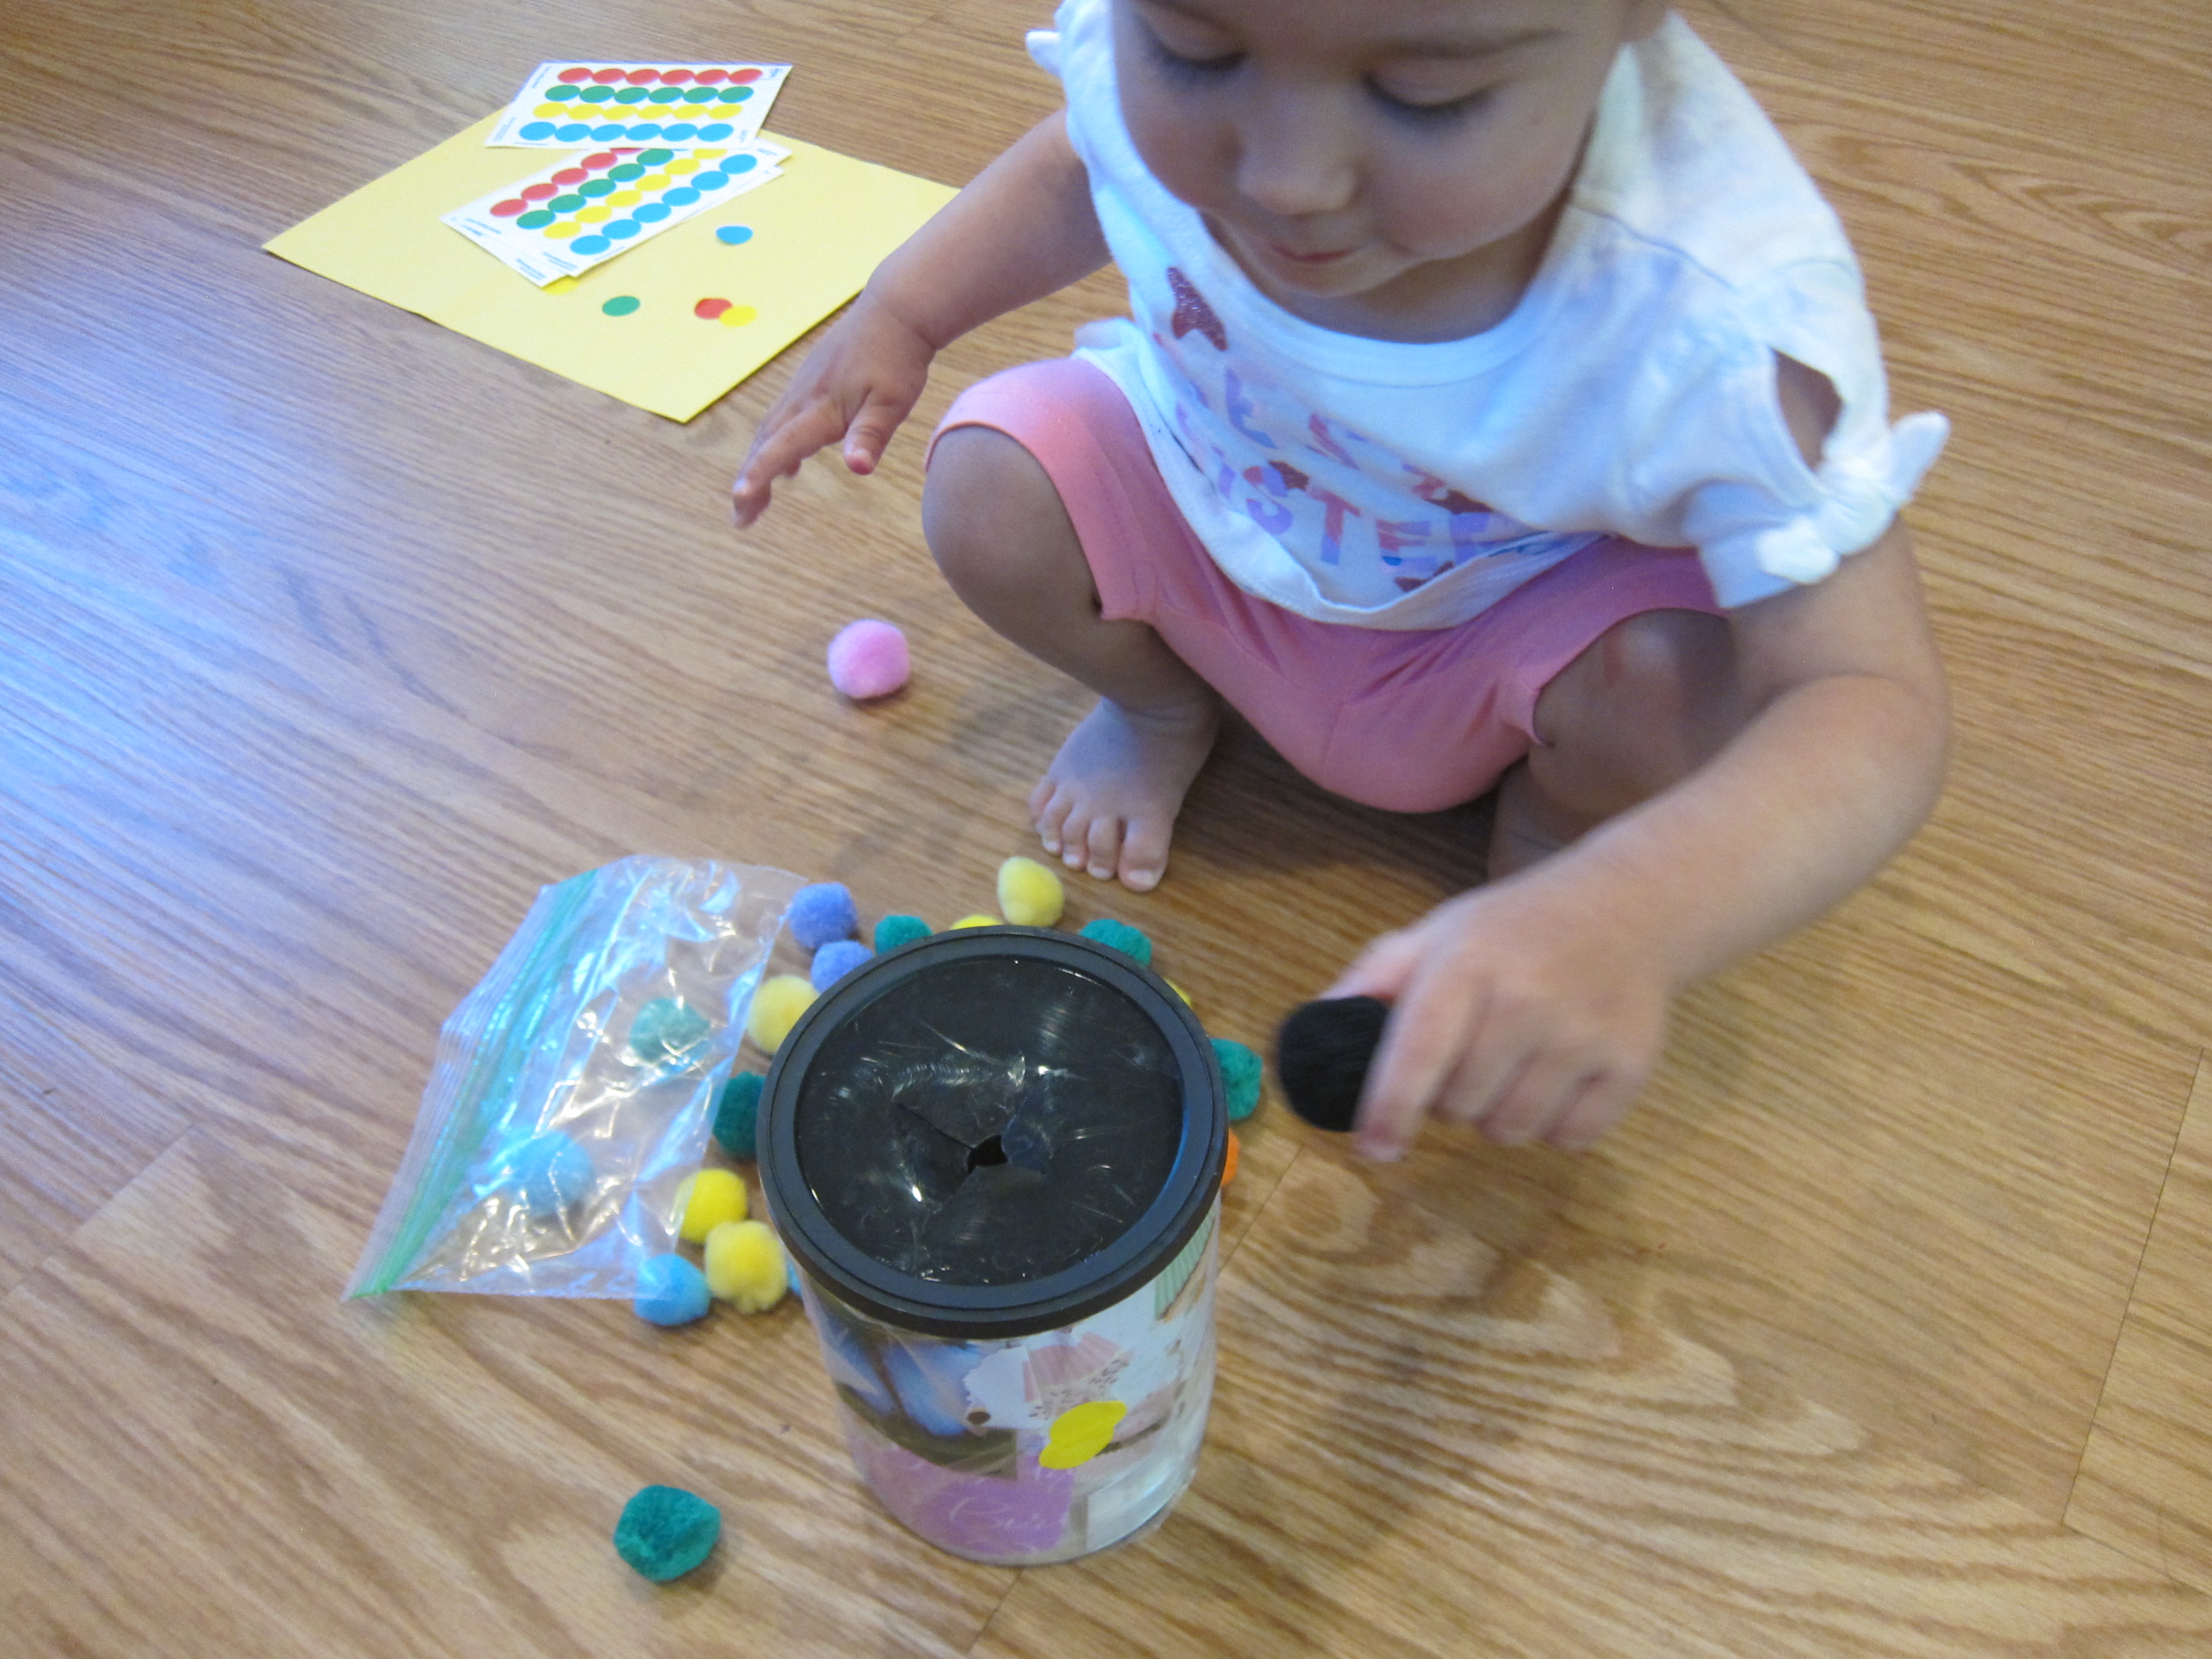
Veronika was quite intrigued when she saw the set up with the straws, and for a while was mainly interested in the straws themselves, practicing her huffing skills.

Pom Pom Target (2)

Then I showed her how to aim the straw at a pom pom, which would send it skittering towards the middle. We got silly down on our tummies as we took aim.

Pom Pom Target (3)

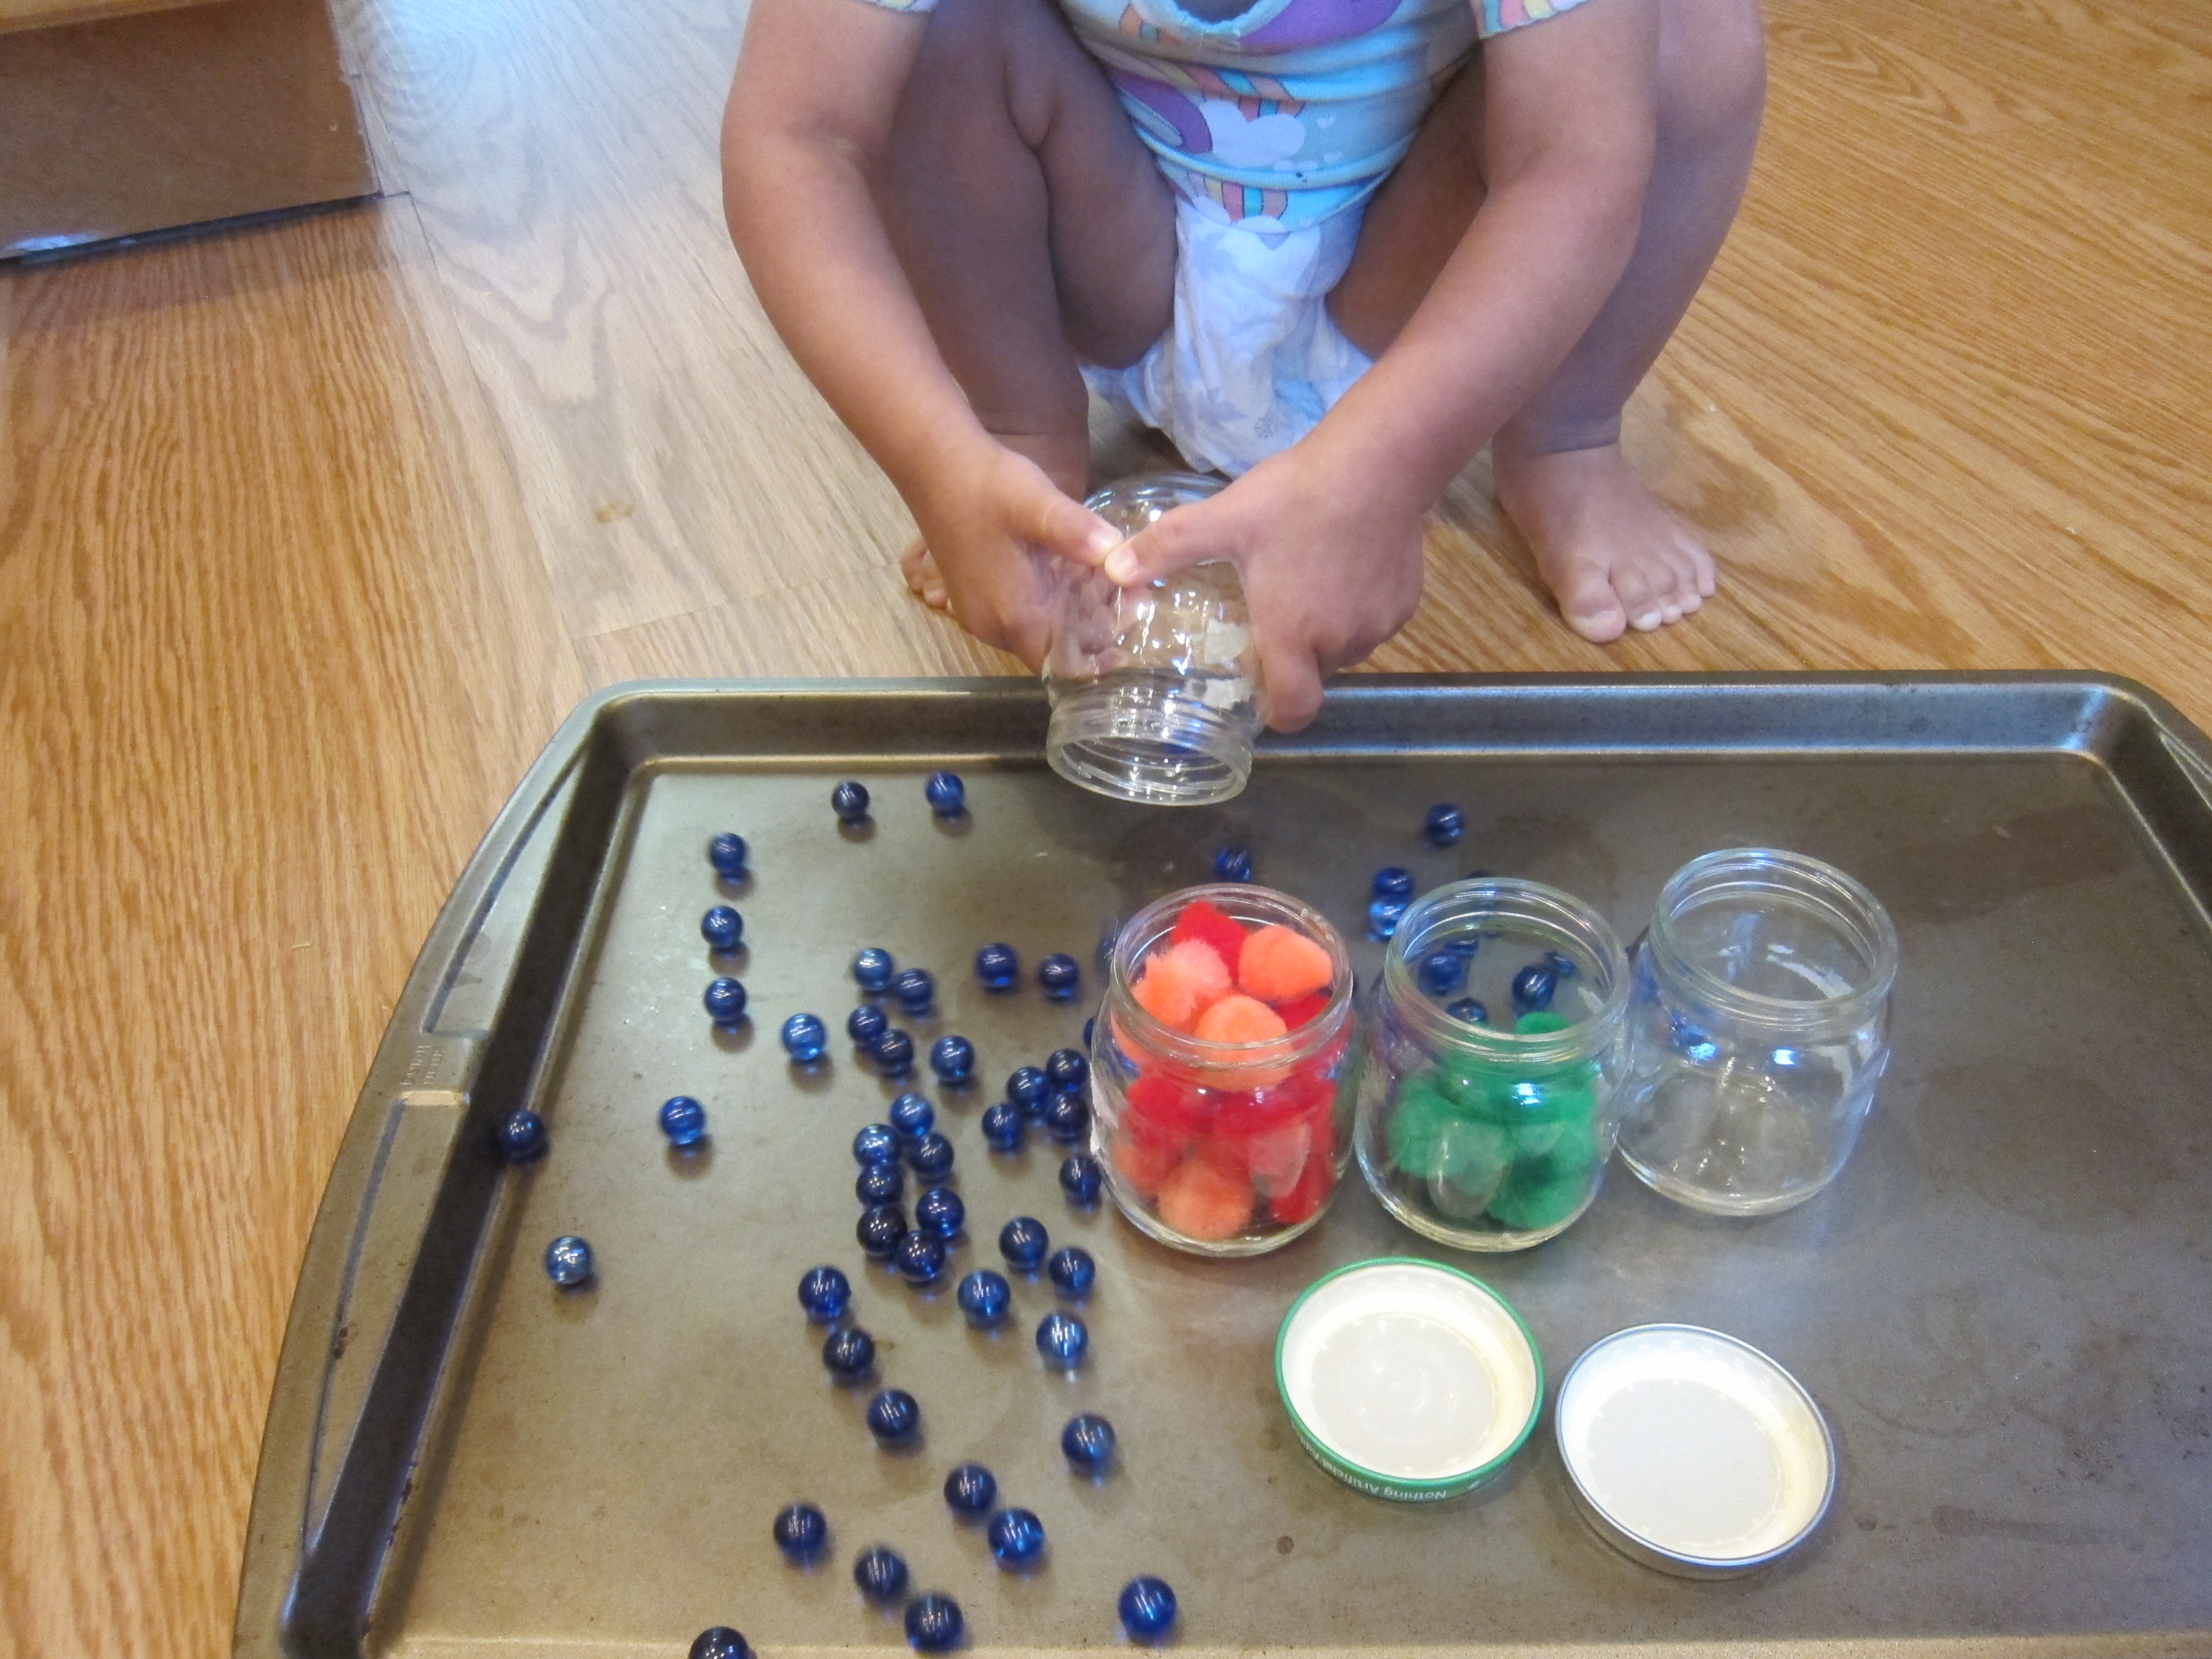
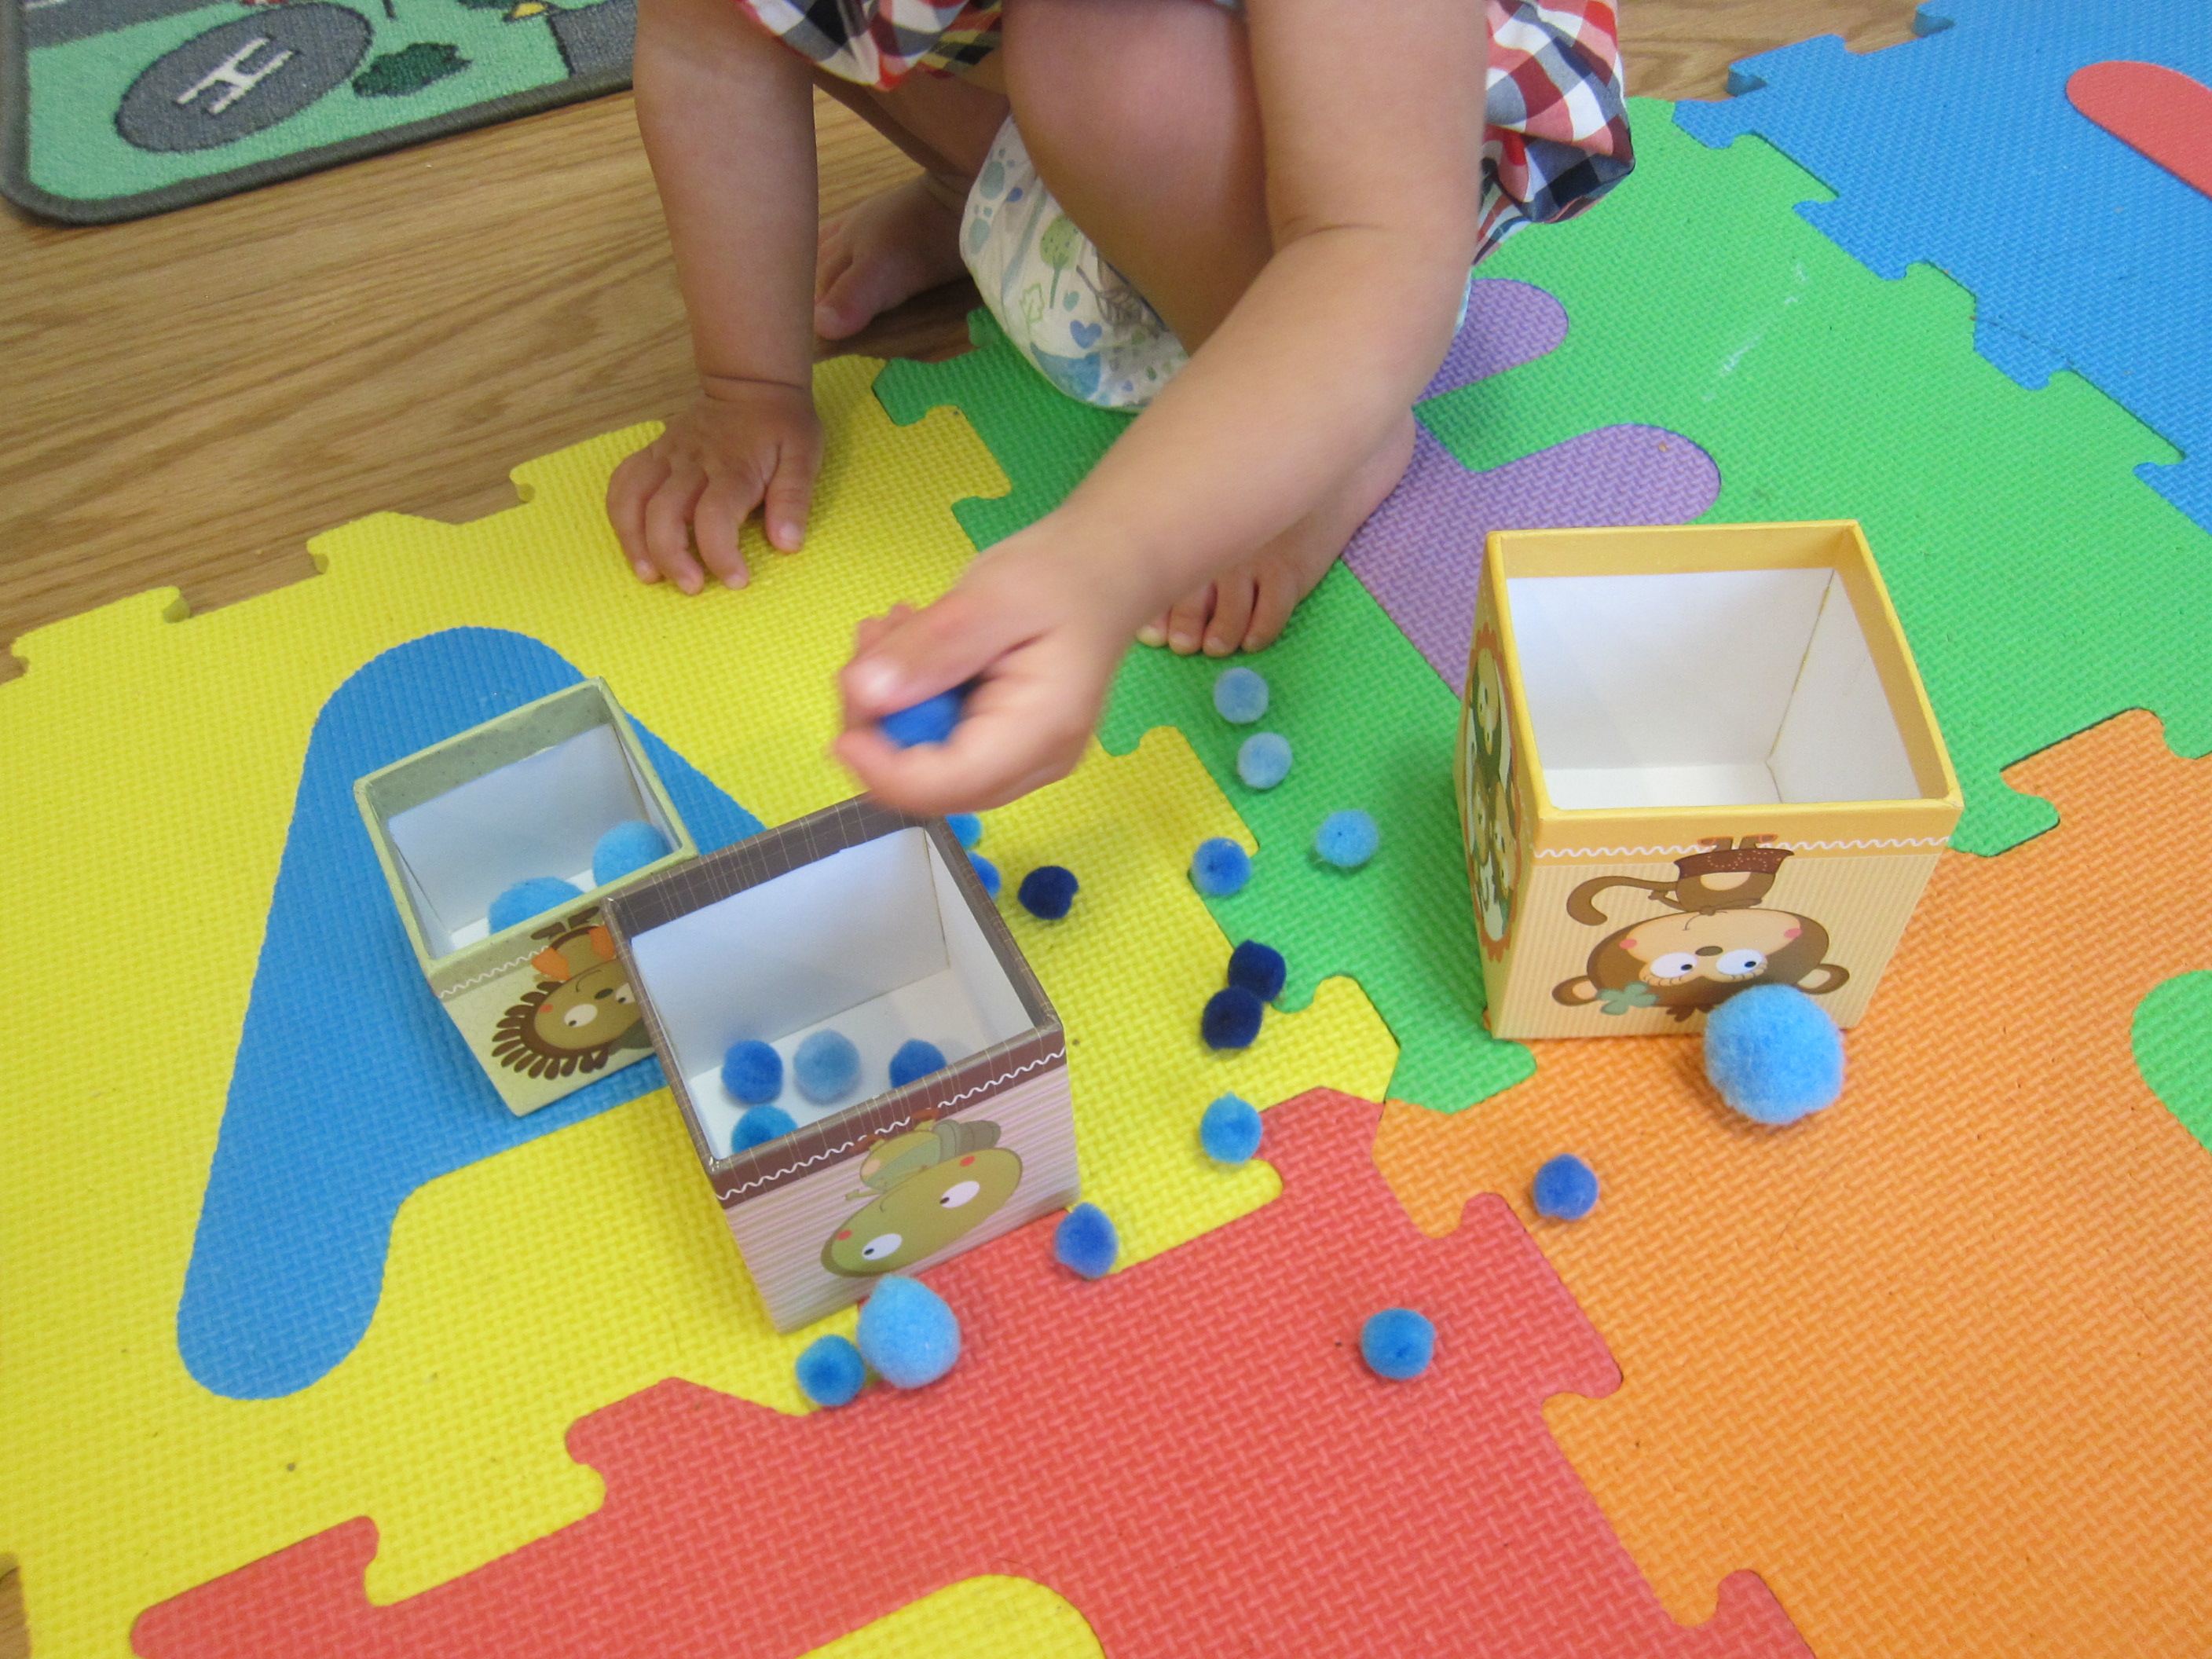
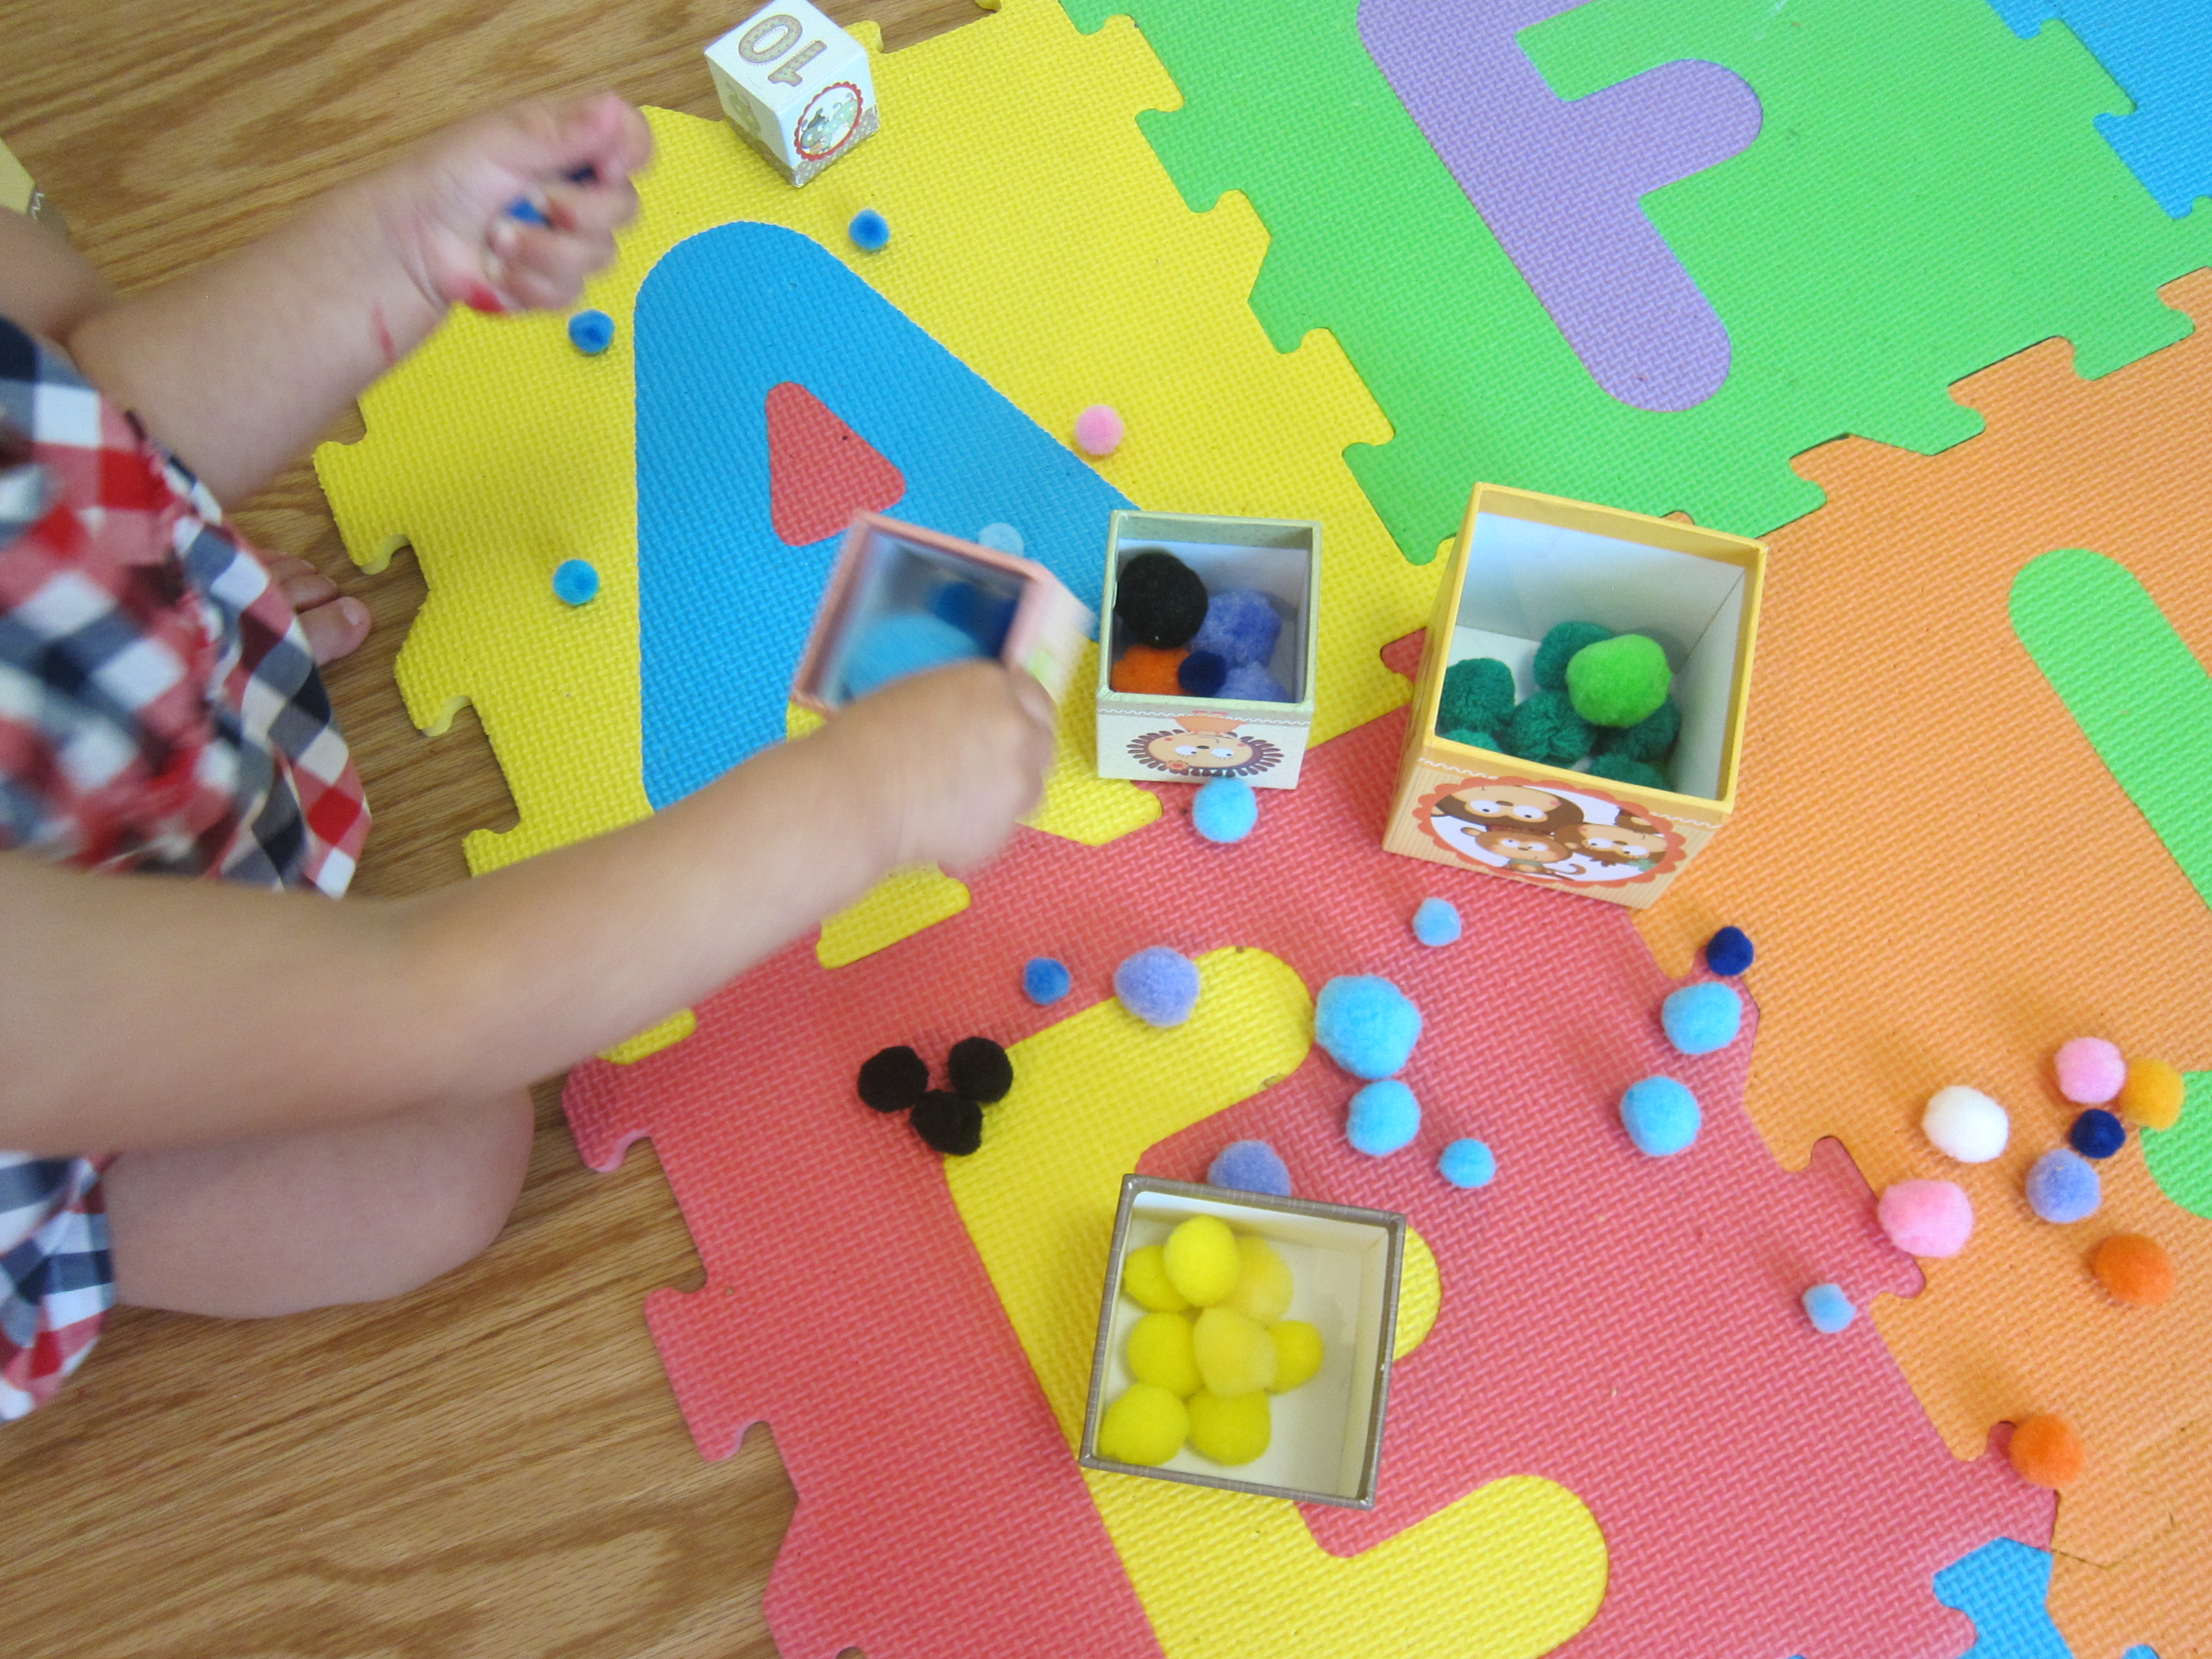
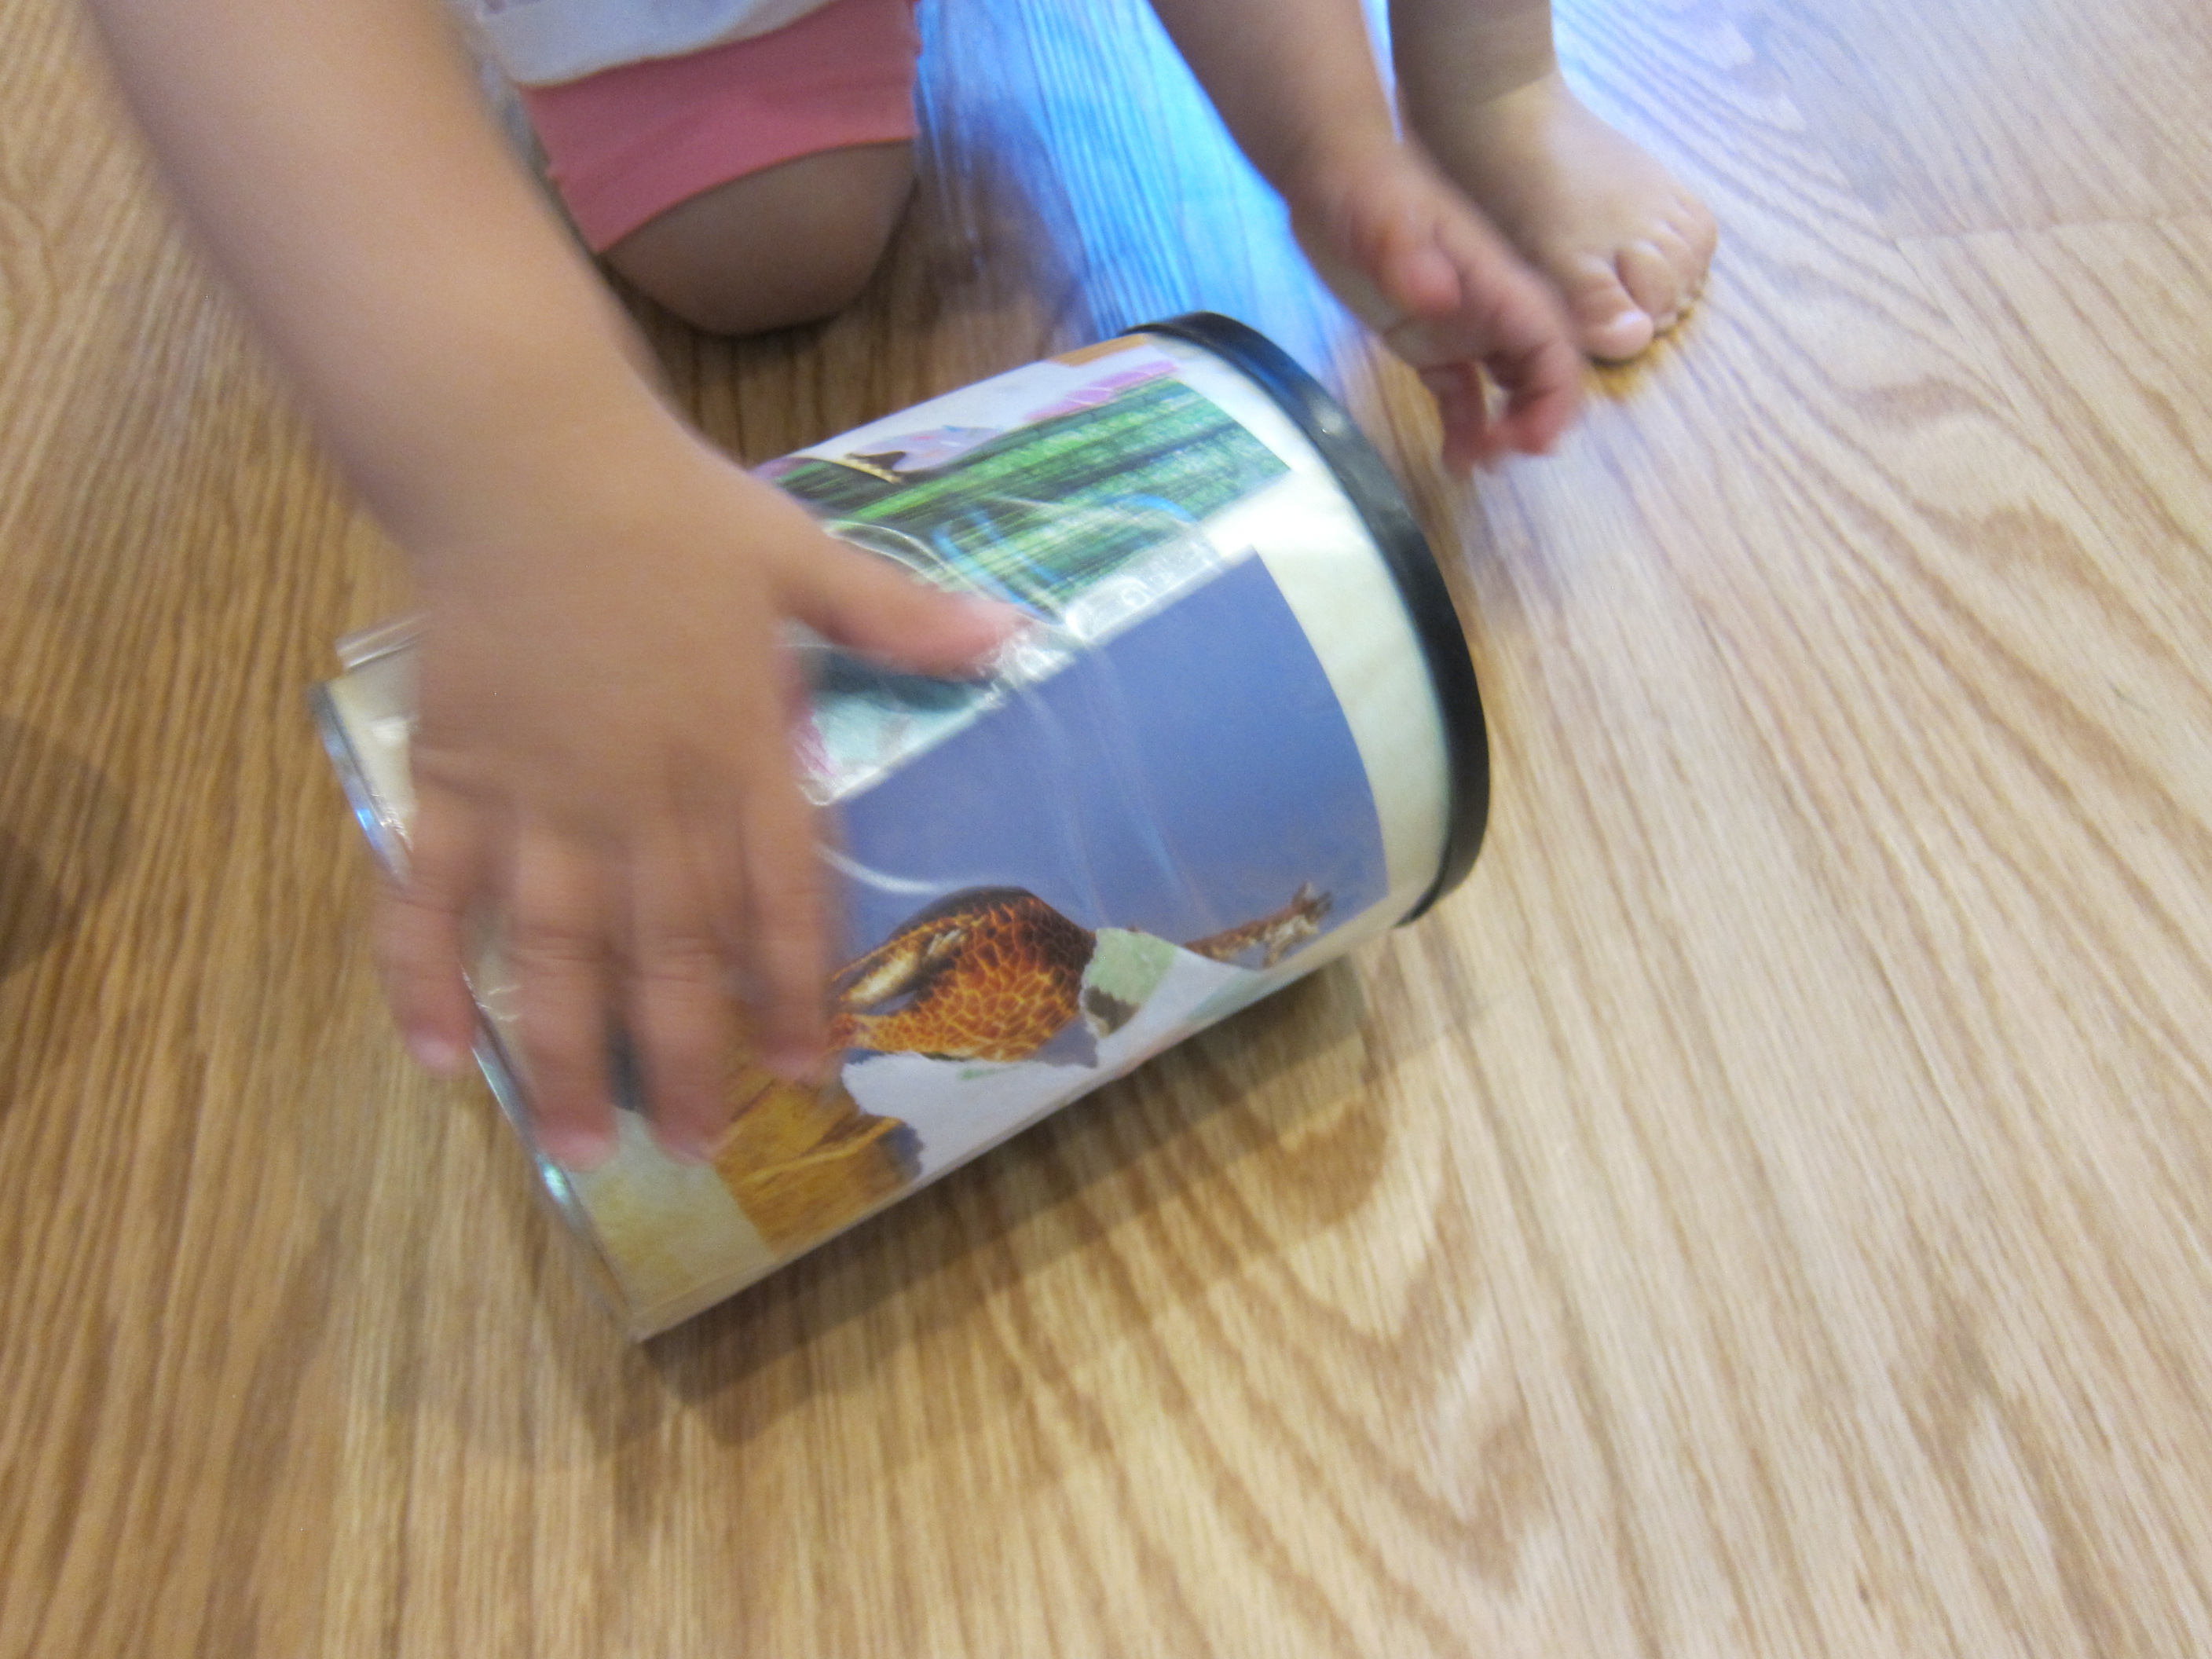
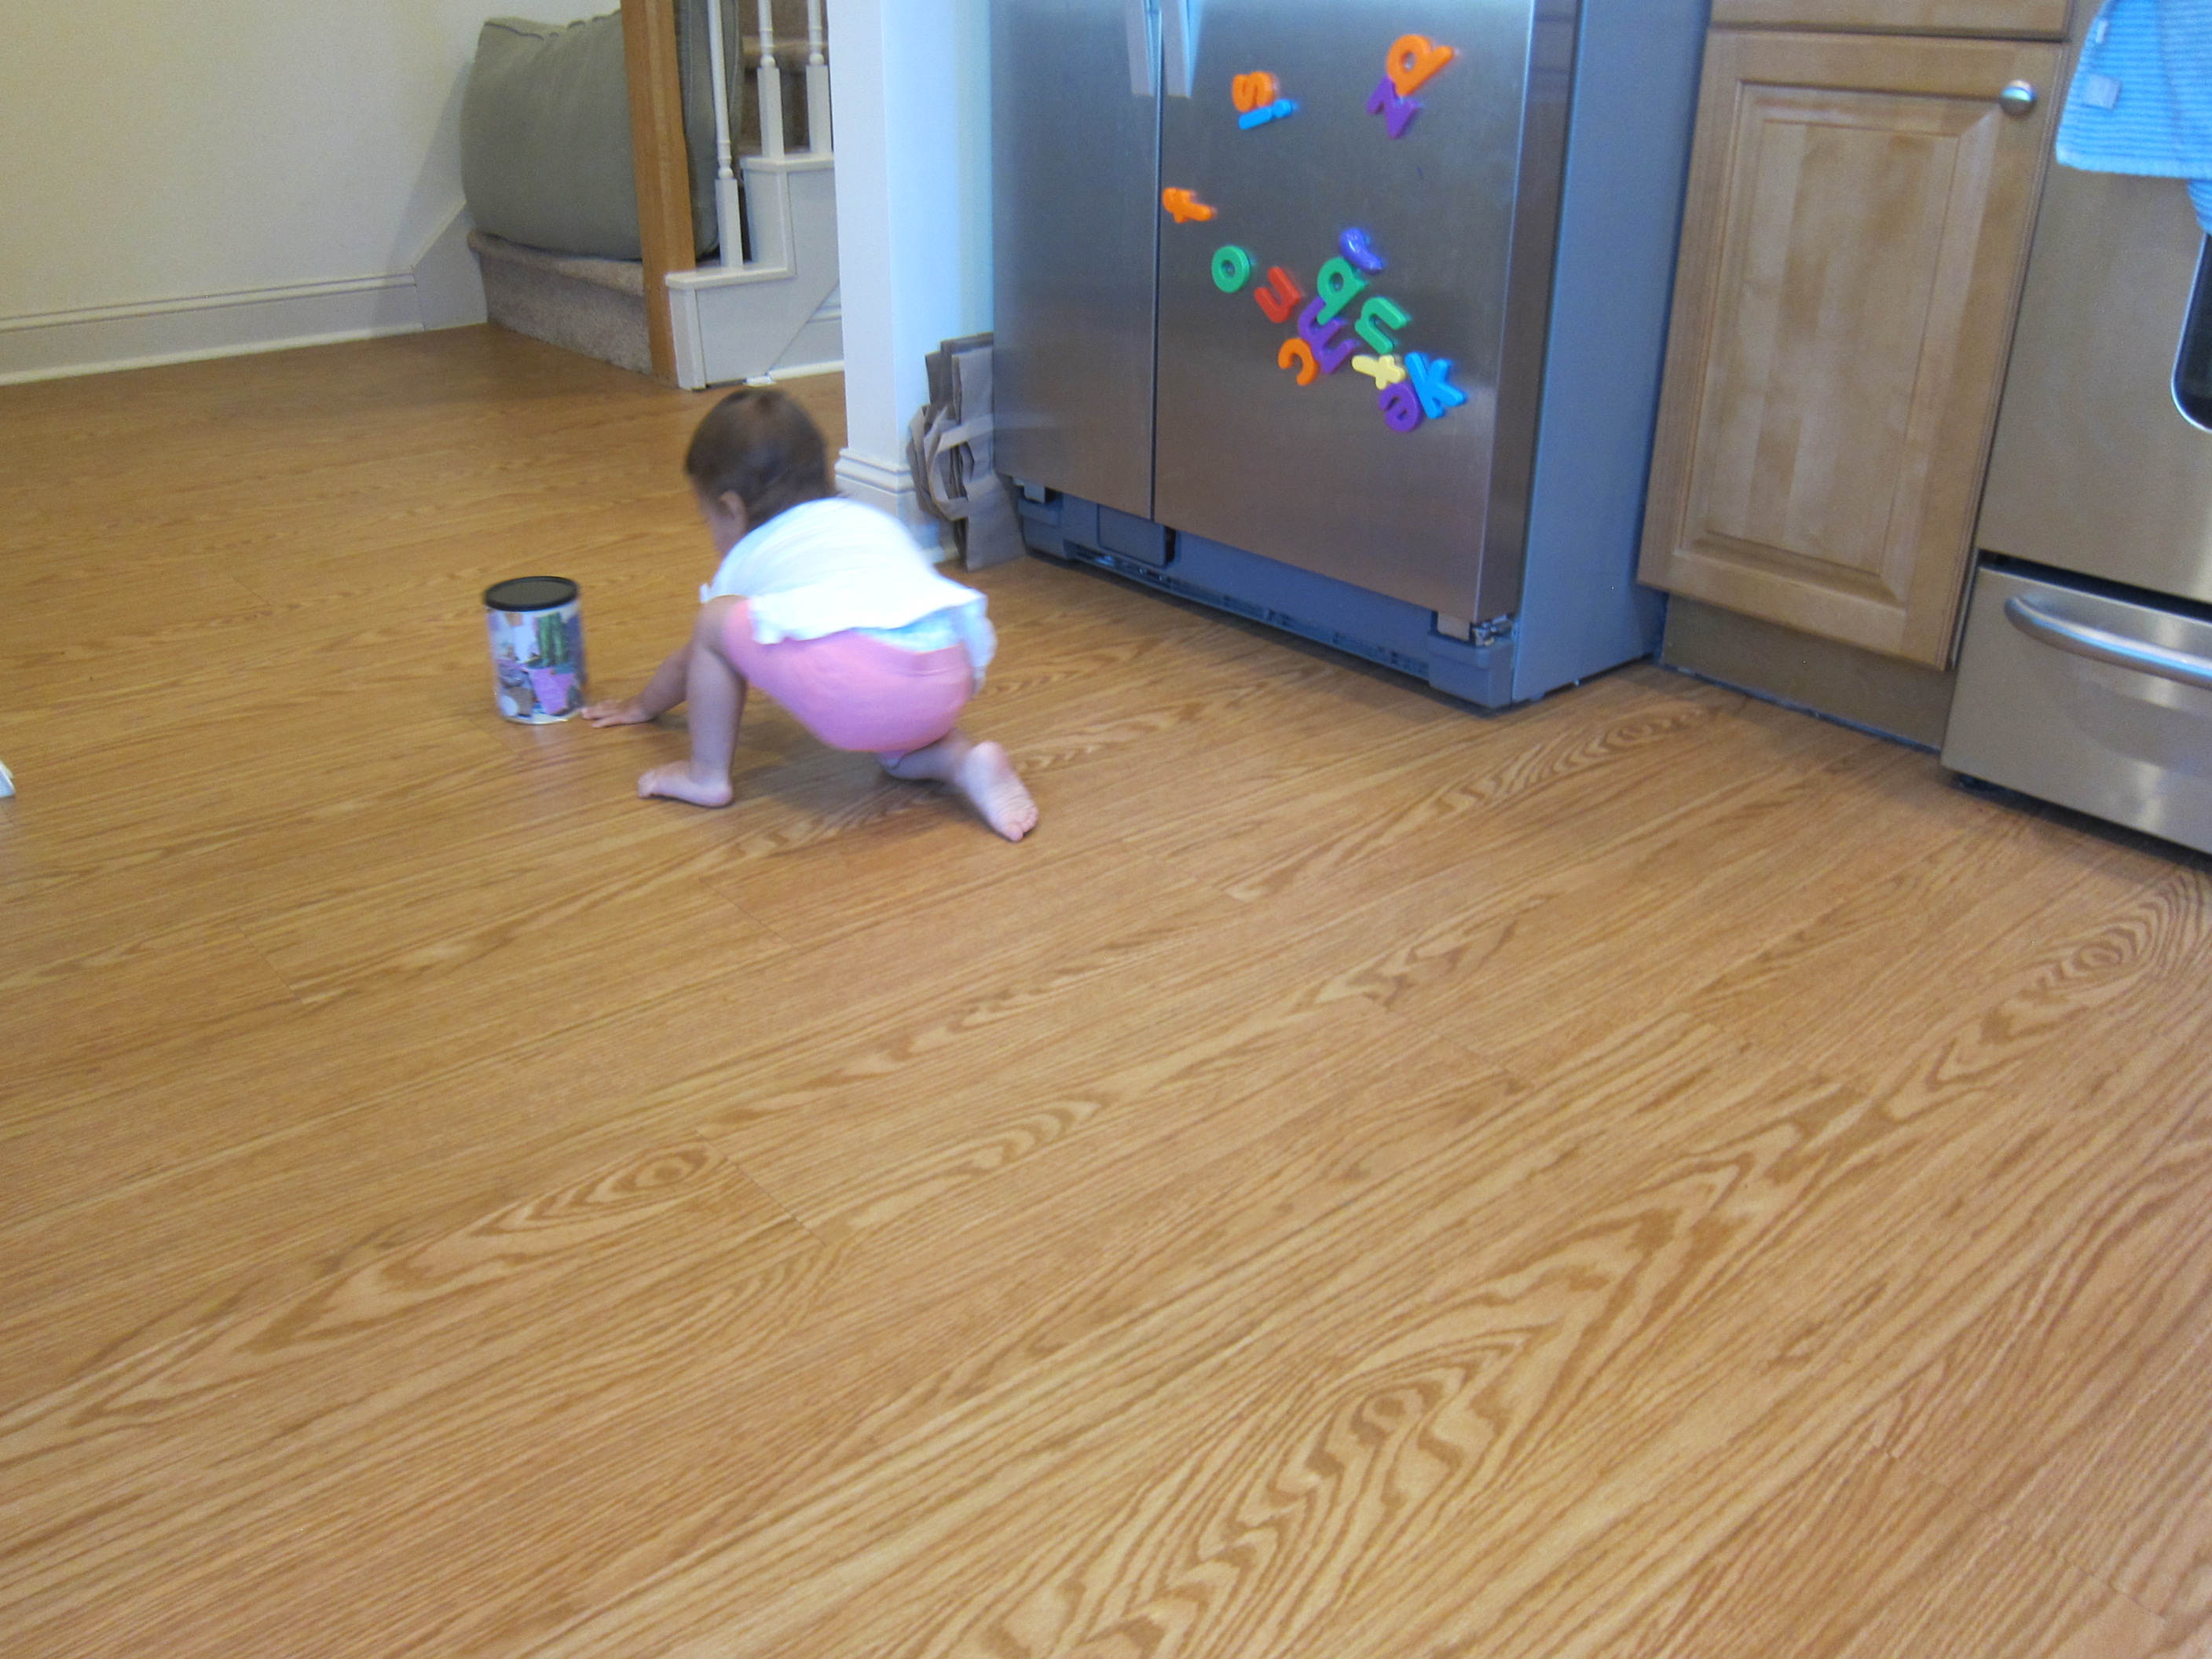
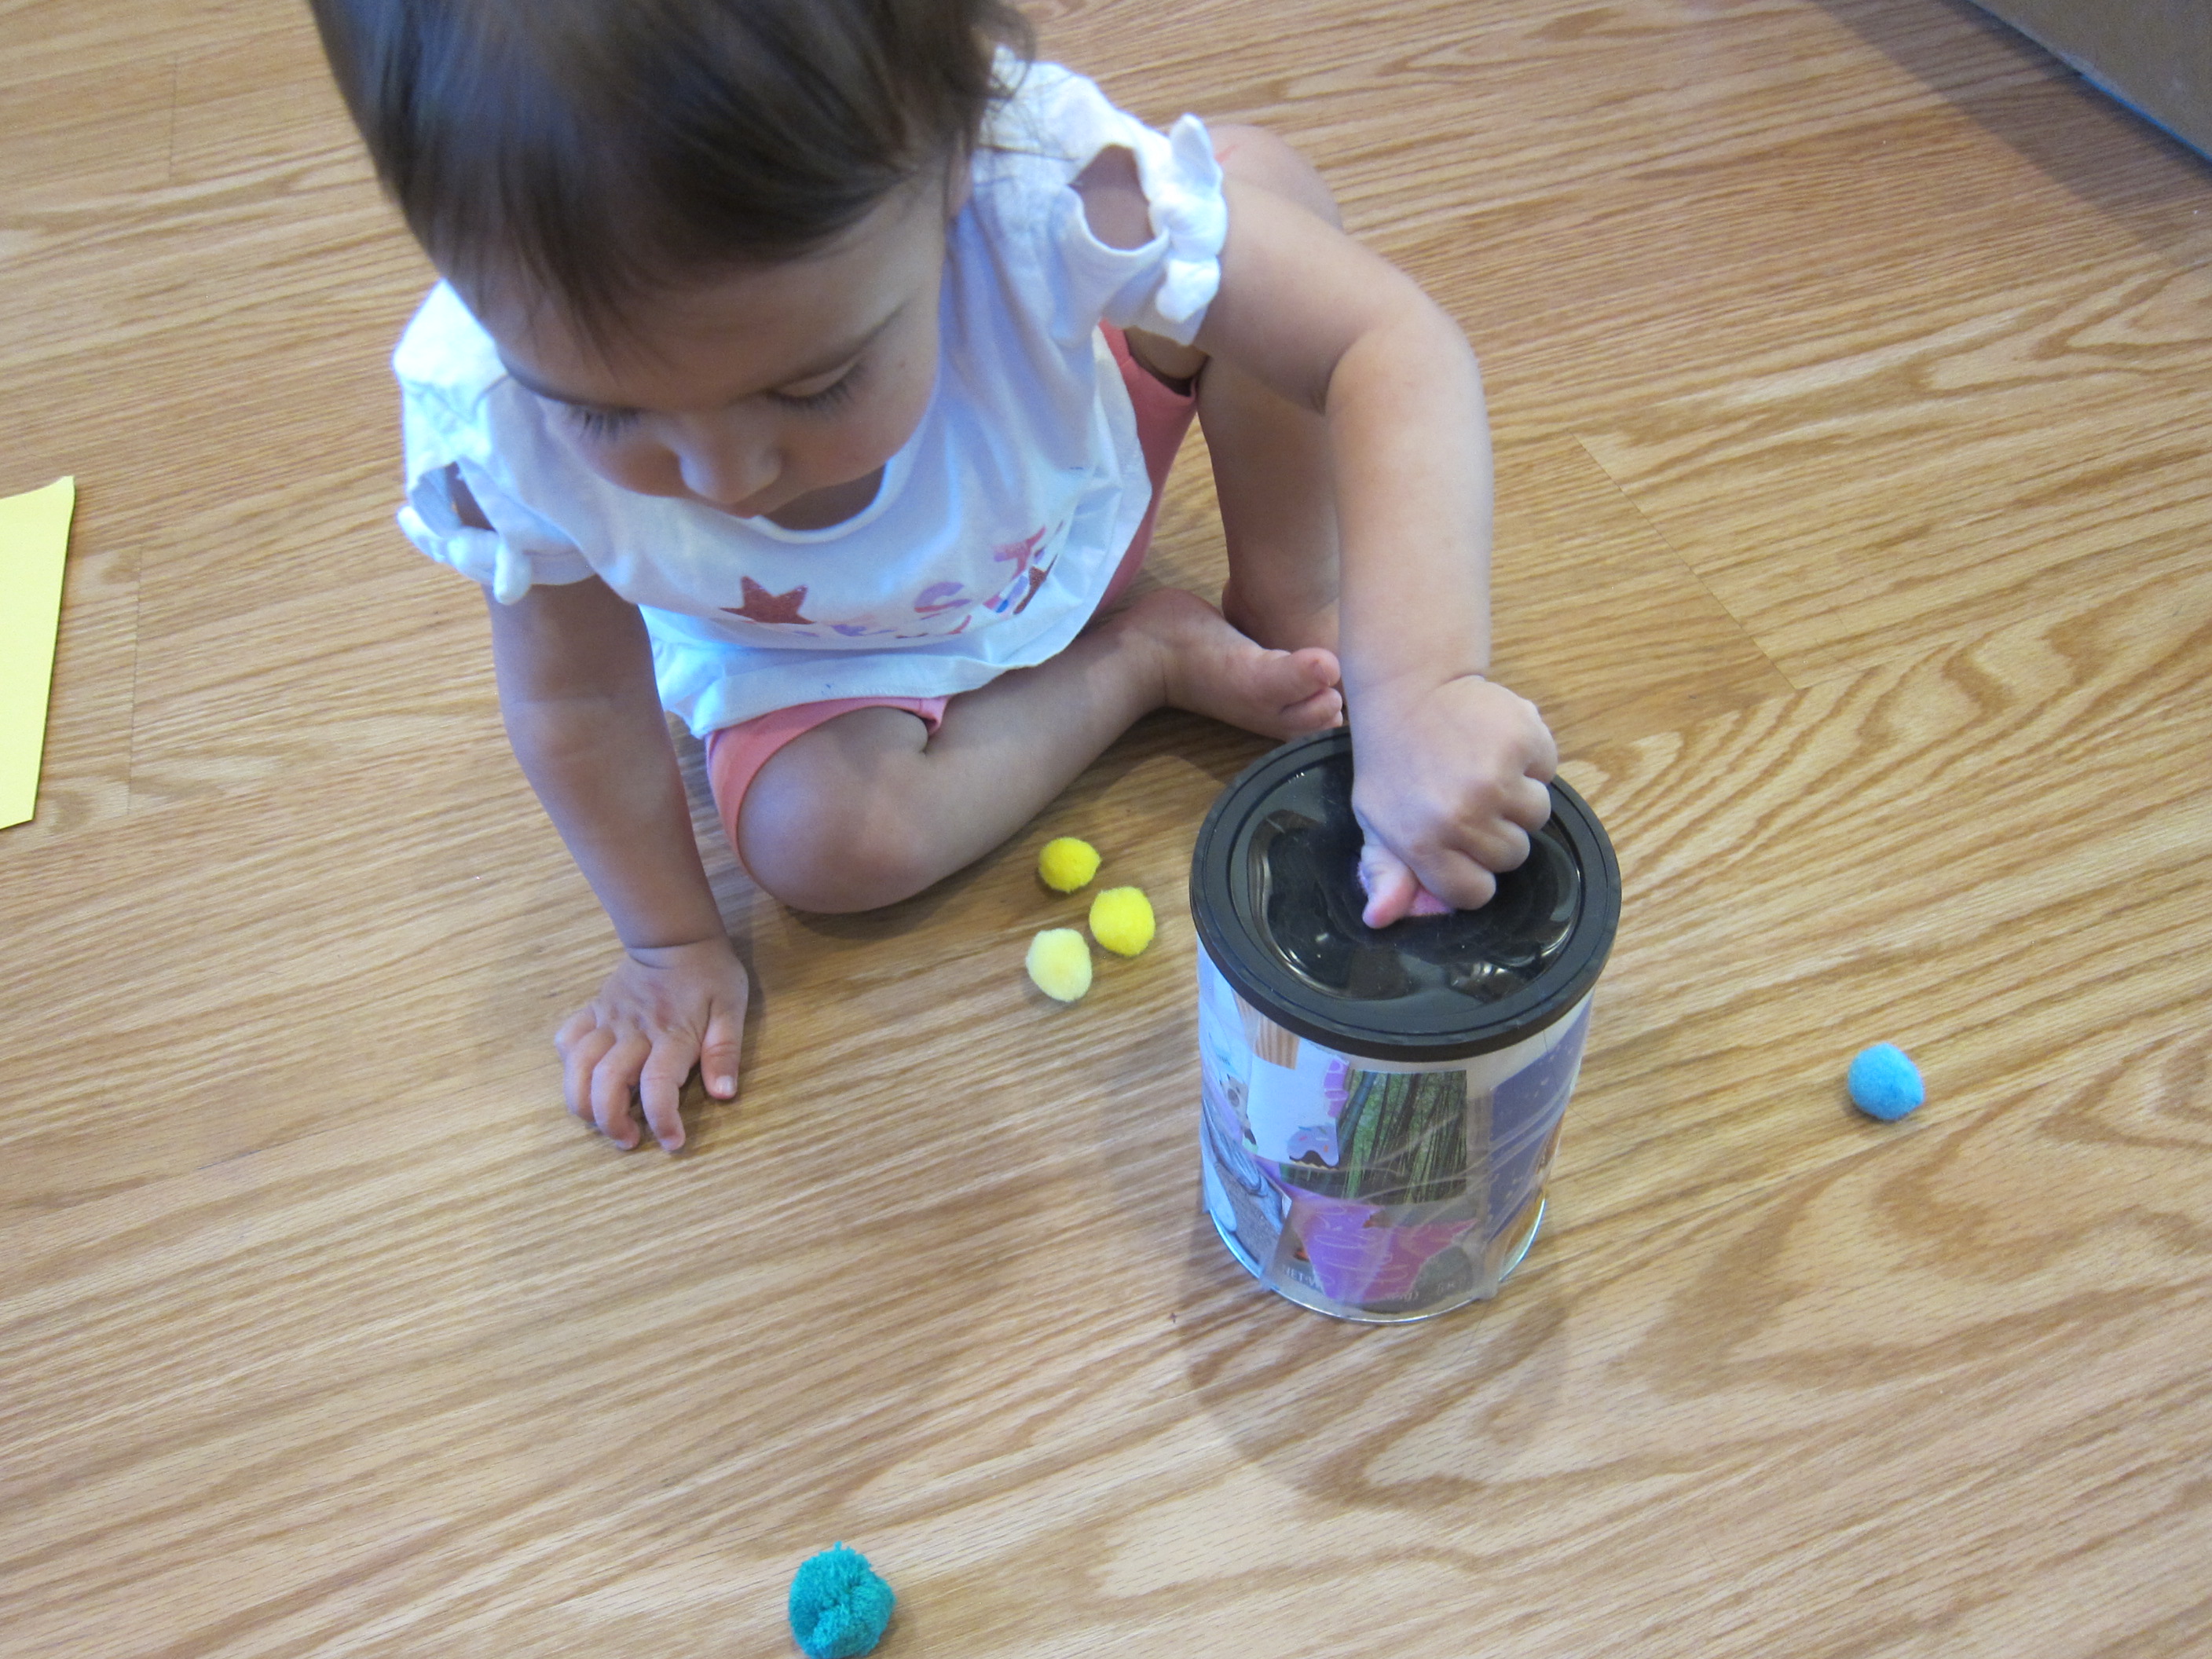
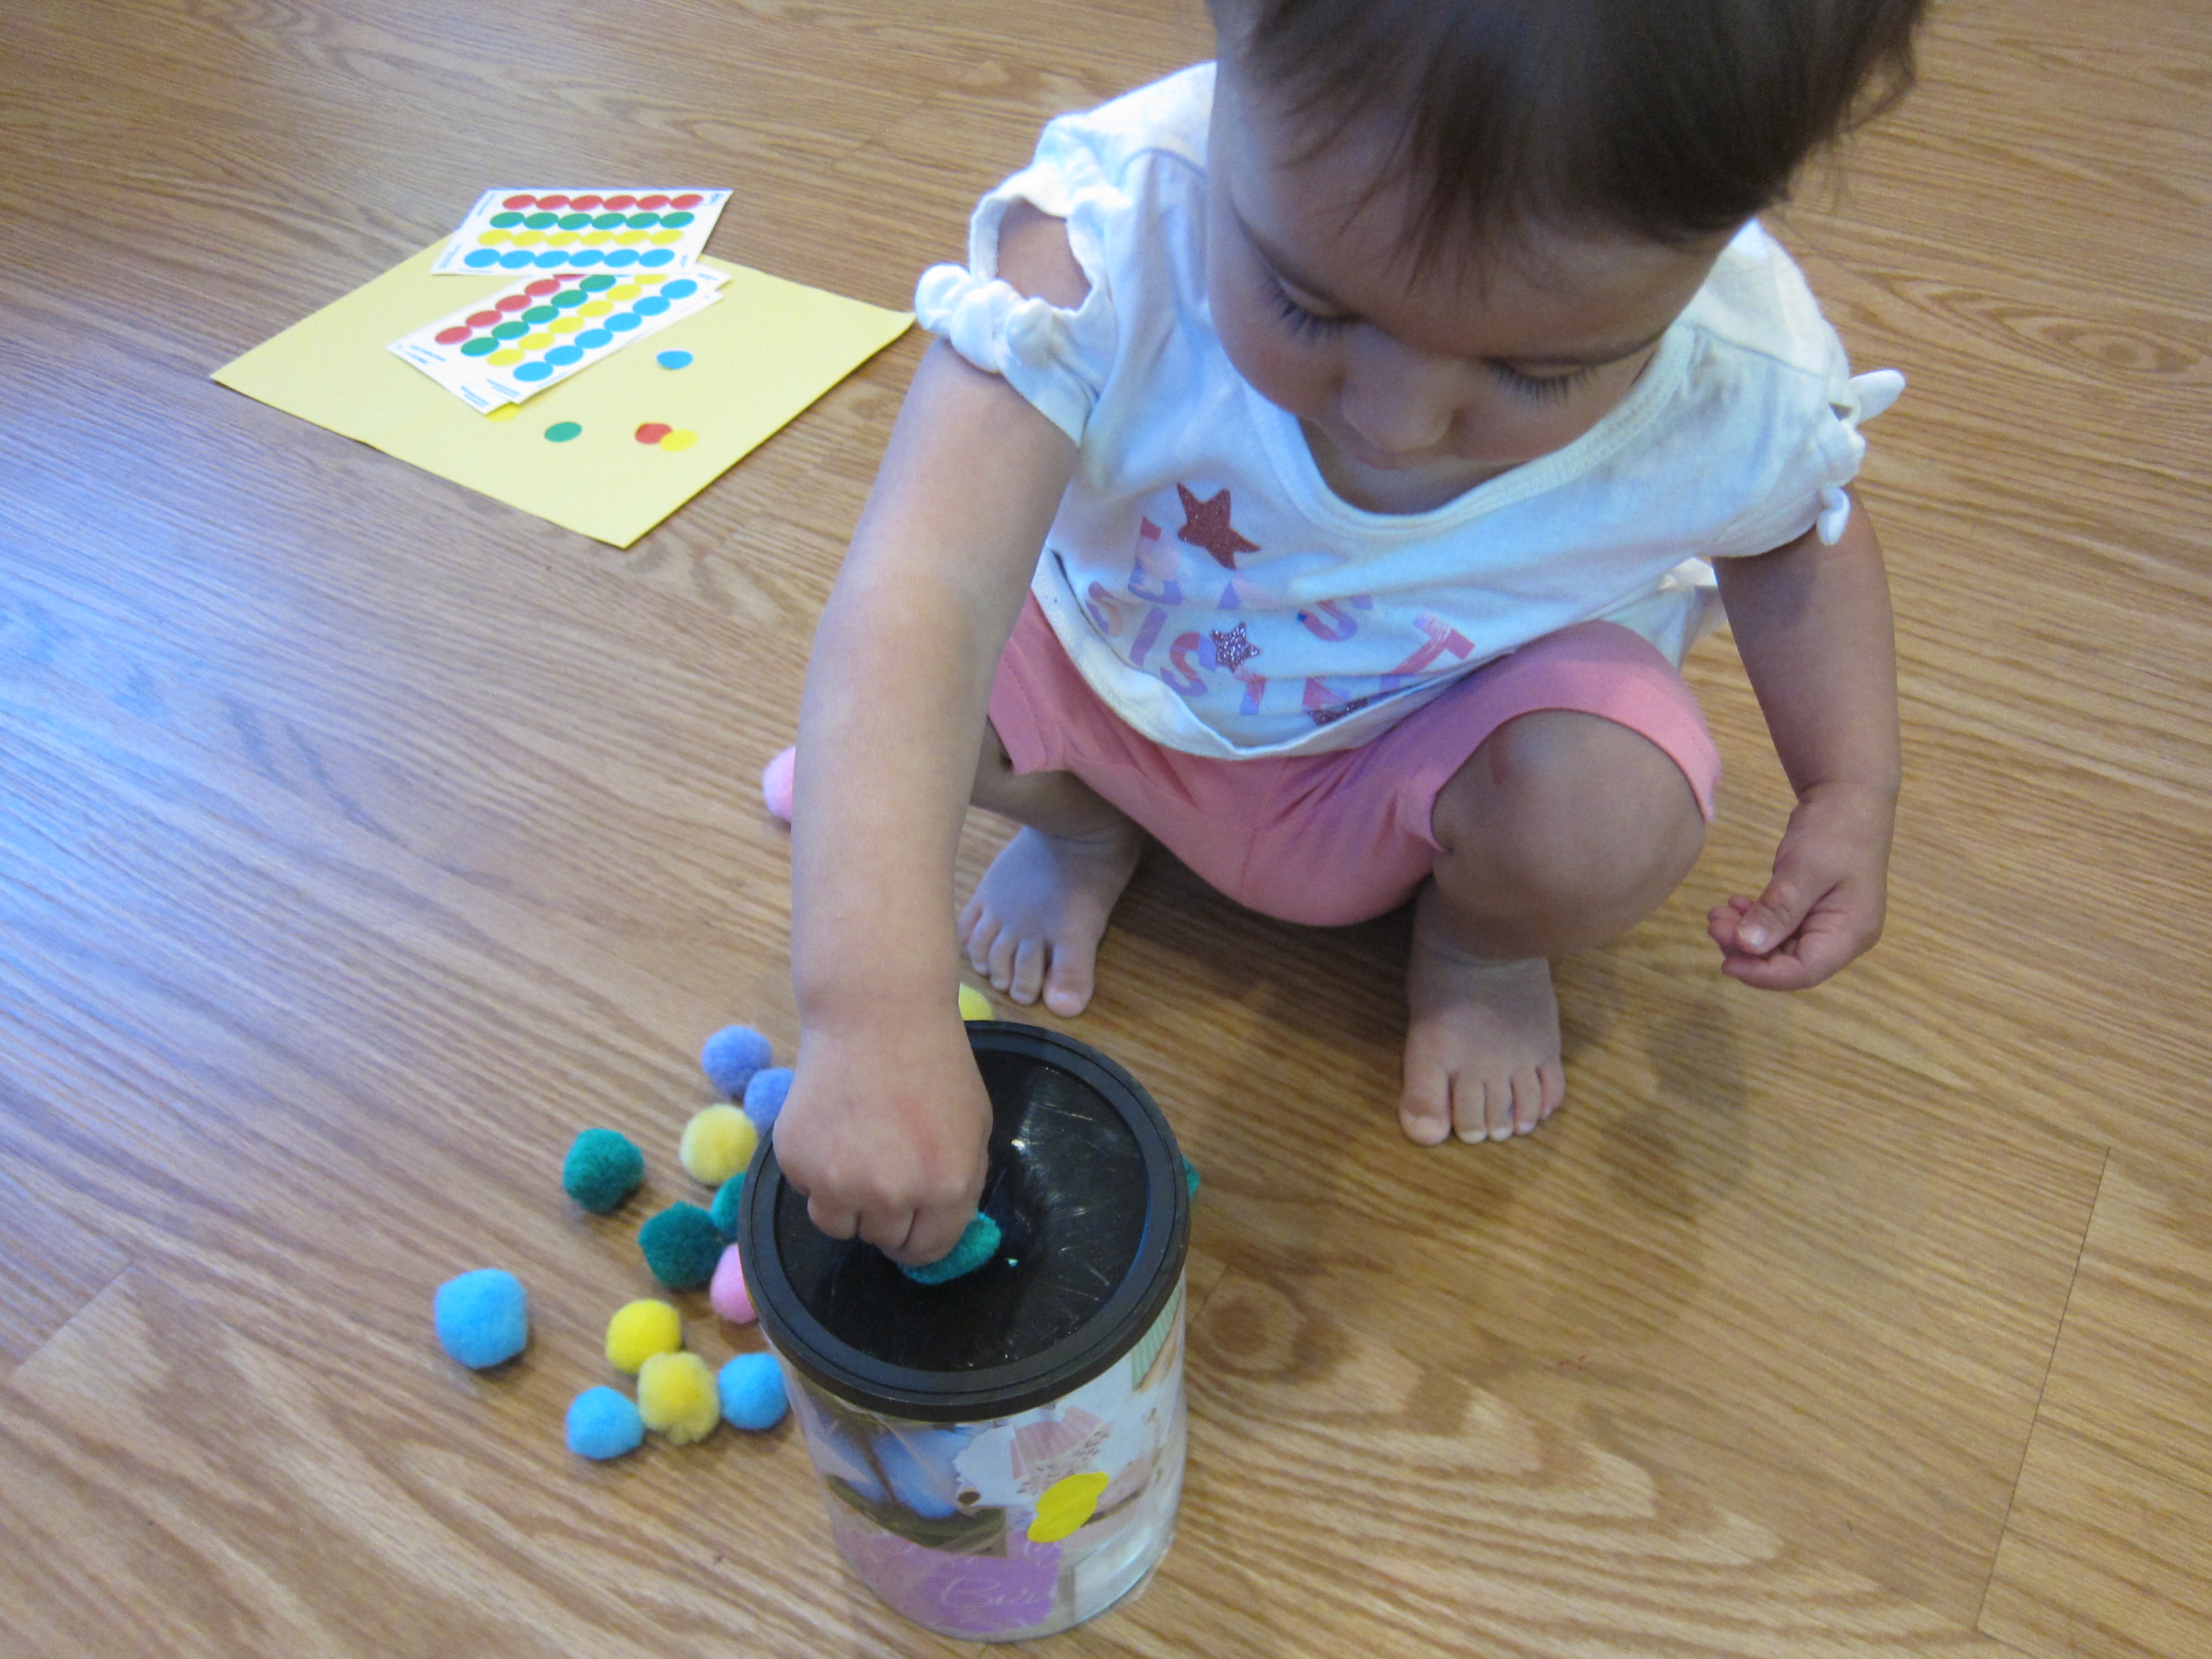
It was hard for her to move the pom poms very far, but she giggled for each one I sent skittering. For a little extra hand-eye-coordination, I set a plastic container in the center, and she started tossing the pom poms in. “Plop!” she said, as she dropped each one.

Pom Pom Target (5)

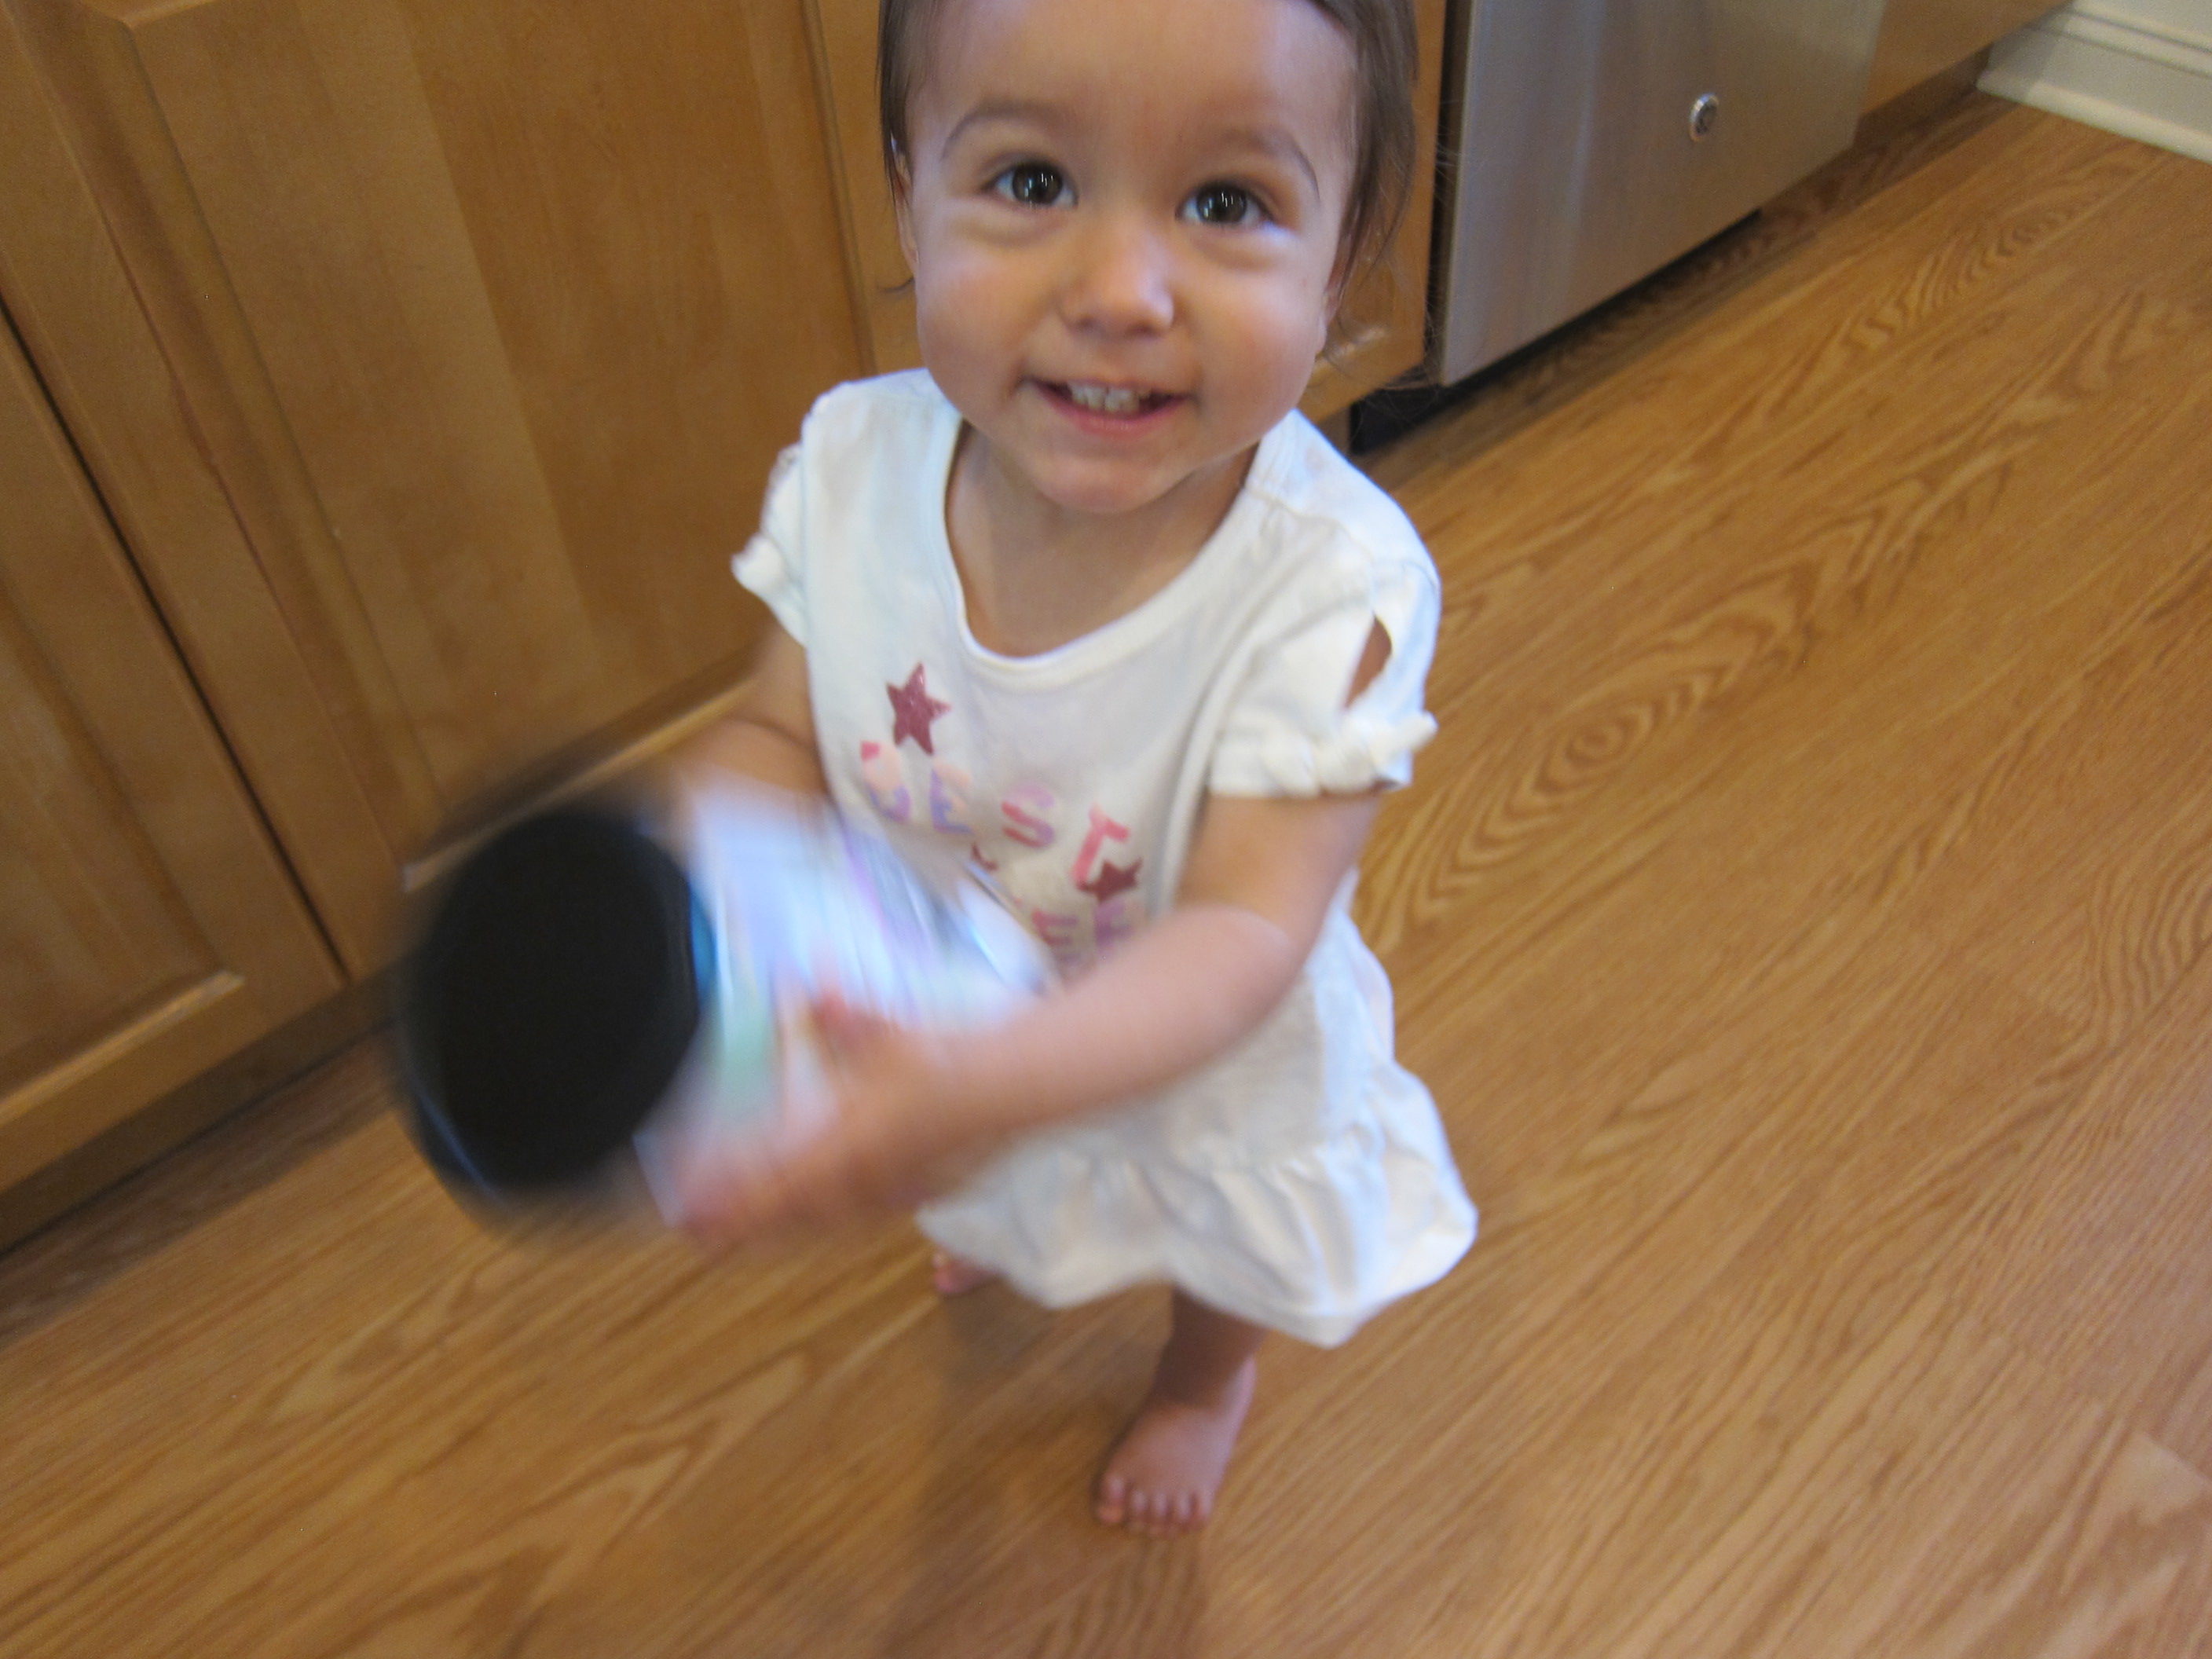
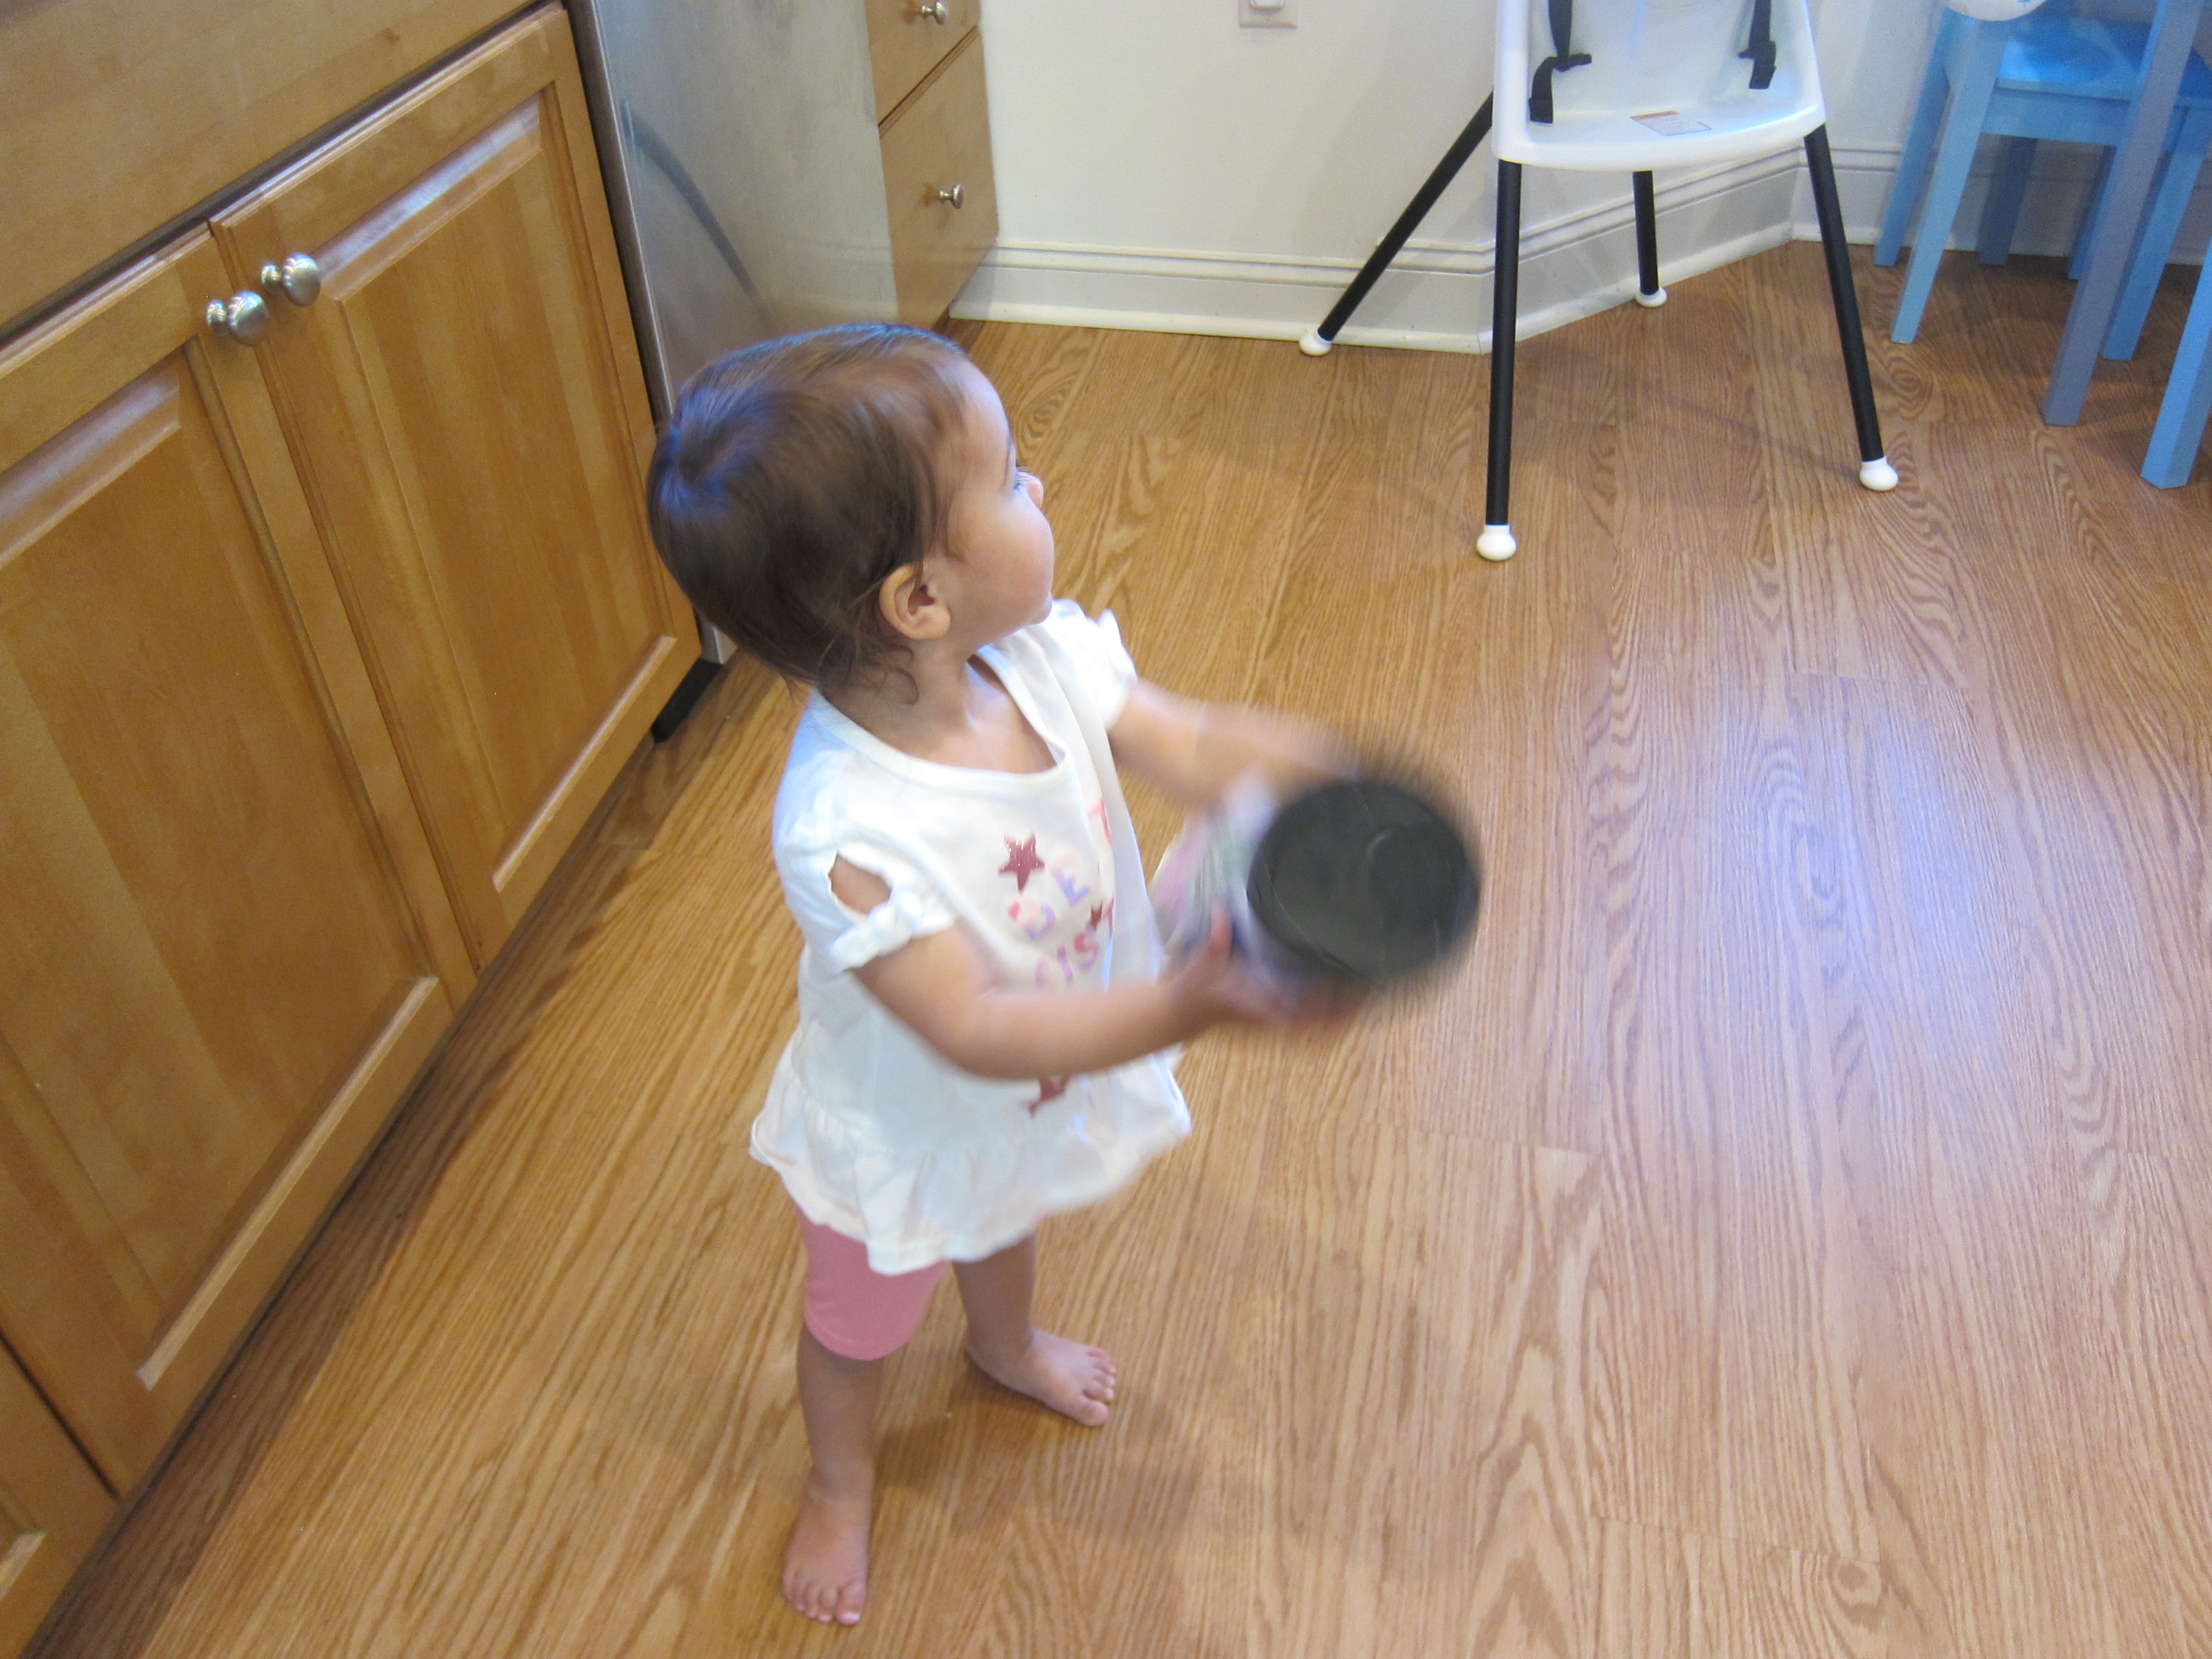
Then she would dump the bin and start over! Whether huffing through a straw or tossing with hands, this game is a great way to hone a toddler’s target skills.

Pom Pom Target (6)

Bunny Tail Pom Pom Painting

Bunnies have those adorable cotton ball tails that kids just love. Today, we painted with the “tails” to make the rest of the bunny, thanks to this cute idea from The House of Burke.

To start, I clipped a few small clothespins onto white pom poms, and set these out for Veronika, along with a plate of black paint. For preschoolers, challenge them to hone their fine motor skills and get the clothespins onto the pom poms solo.

For Veronika, the activity was more about the fun of dipping the “bunny tail” in the paint and dotting onto thick white paper. She also liked dotting two “tails” together!

Little did she know that there was a surprise in store for her once the paper was painted; we were about to turn it into a full bunny head! Let the paint dry, then cut out shapes for the bunny’s head and ears, and glue these down on a construction paper background.

A final pom pom makes the bunny’s nose. Glue down wiggle eyes and add a few details with marker, and this bunny is ready to hop into spring!

Pom Pom Busy Box

Pom Pom Busy Box (1)

I needed a box to keep Veronika busy this morning, and I needed it fast! This one fit the bill. First, I filled a plastic toy bin with pom poms – as many as you can! Be sure to include lots of different colors and lots of different sizes. I then set out a few empty cardboard tubes and some brightly colored straws, thinking these would be great for scooping and stirring.

Pom Pom Busy Box (3)

Veronika very quickly had other plans. She loved the straws and pretended she had a “smoothie”. So I made her one! I showed her how to stuff pom poms into the cardboard tubes like “juice”, then insert the straw.

Pom Pom Busy Box (5)

Now she was running a juice bar!

Pom Pom Busy Box (6)

When she tired of that game, there was still so much more to do. Next, we buried a few favorite small toys in the pom poms. “Where are you bunny?” she called, as she sifted through either with fingers or with the straws.

Pom Pom Busy Box (9)

For older kids, you could even make this more of an ‘I Spy’ search with laminated pictures of every object you hide, but I knew that would be too advanced for Veronika.

Pom Pom Busy Box (8)

Next we had fun watching items drop through the tubes. We could drop a toy down to land with a plop in the soft pile of poms pom. Or just let handfuls of pom poms rain through.

Pom Pom Busy Box (11)

She was frustrated trying this a few times with the largest pom poms, which wedged into the tube instead of slipping through, so it turned into a useful lesson on relative size.

Pom Pom Busy Box (10)

And then sometimes she just wanted to run her fingers through the whole pile for the feel of it, or stir with the straws, or stuff the tubes full of pom poms.

Pom Pom Busy Box (2)

Needless to say, this bin lived up to its name; it was the perfect way to keep her busy.

Pom Pom Busy Box (13)

Tabletop Christmas Tree

Tabletop Christmas Tree (9)

This easy toddler project makes the perfect centerpiece for a holiday table! The little tree is just the right size if you find your family gathering is smaller this year due to COVID-19.

To start, I printed out a Christmas tree template from Hands on As We Grow. Trace the tree shape onto two pieces of cardboard, then cut out from the cardboard. I wasn’t in the mood to wrestle with thick cardboard so used an old cereal box instead. In retrospect, it might have been worth using the thicker kind, since thin cardboard wasn’t entirely sturdy standing up. It also meant we had to paint over the printing on the cereal box.

Tabletop Christmas Tree (2)

Luckily, green paint hid most of the cereal box writing! Veronika helped apply two thick coats of sparkly green paint to both sides of the tree shapes and we set them aside to dry.

Tabletop Christmas Tree (4)

Next, cut slits in the two trees so they can slot together. That means you’ll need to make a slit in the center top of one tree and in the center bottom of the other. Slot together until they sit flush against a tabletop.

Tabletop Christmas Tree (3)

Time to decorate! Veronika helped add lots of white glue, and then we stuck on red and green pom poms and beads.

Tabletop Christmas Tree (7)

Any other holiday items from your craft bin would work great here, too, like holiday stickers or ribbon.

Tabletop Christmas Tree (8)

We think this makes the perfect little Christmas tree.

Tabletop Christmas Tree (10)

Pom Pom Planets

Pom Pom Planets (7)
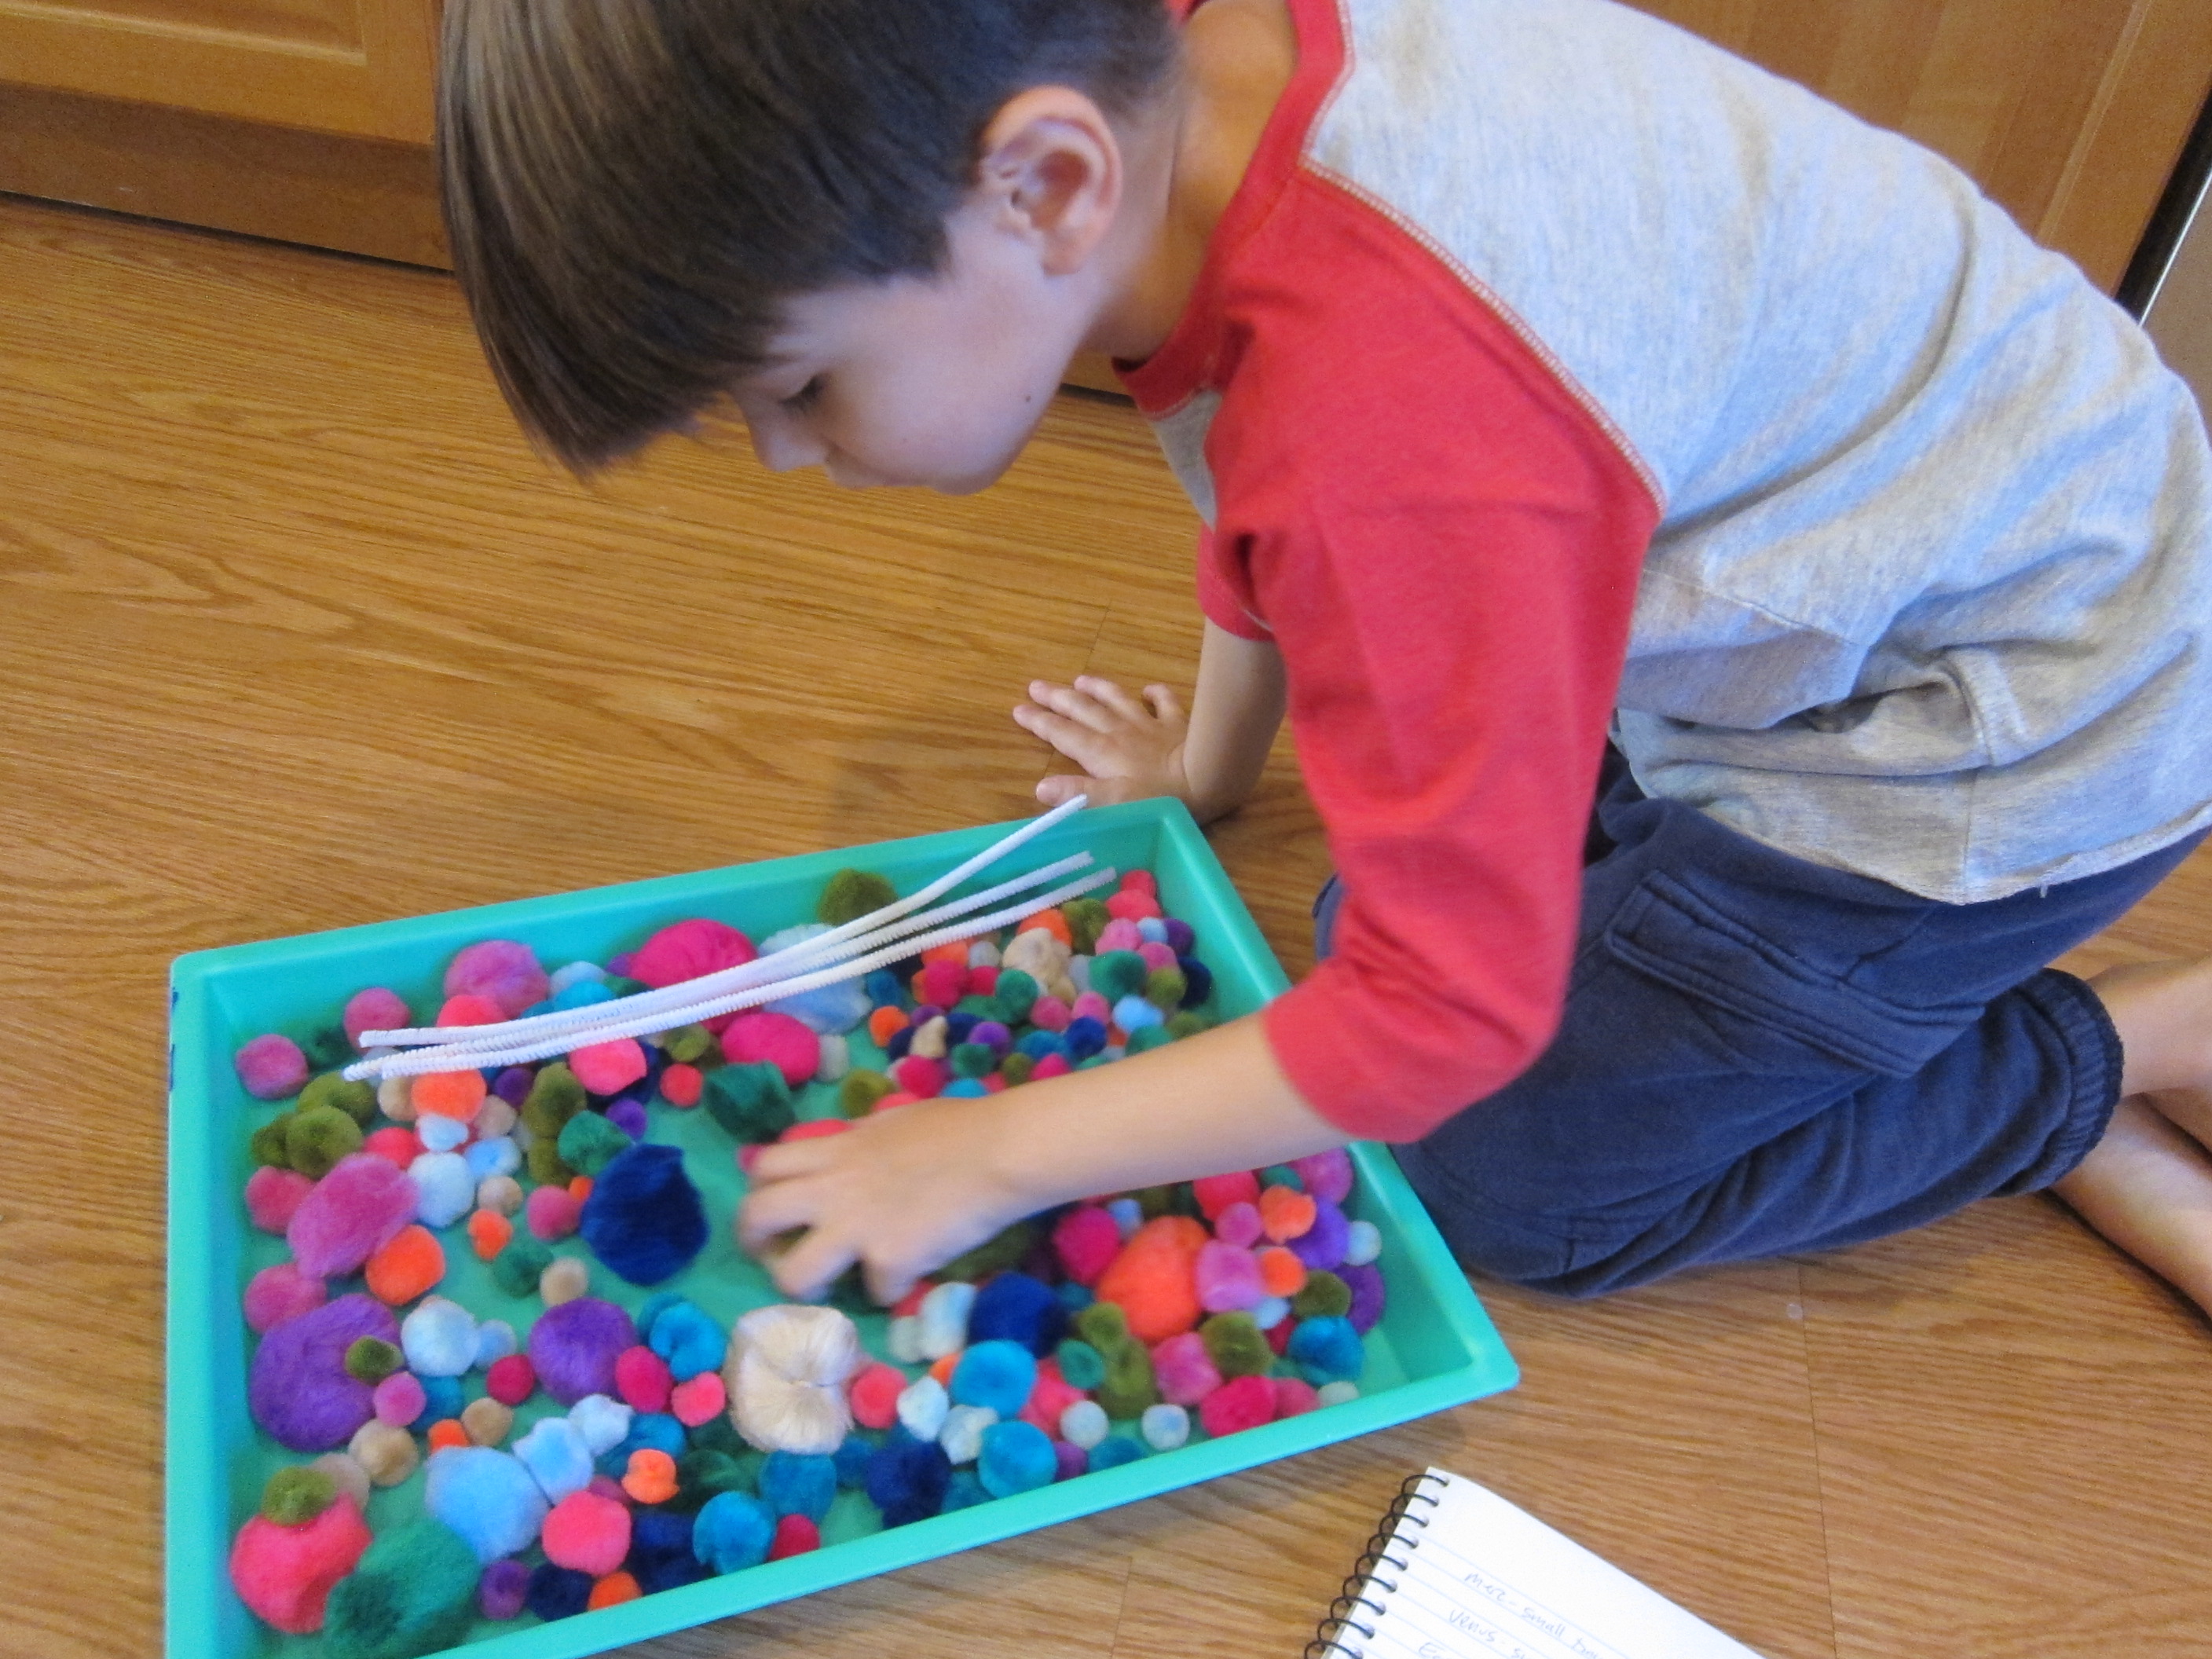
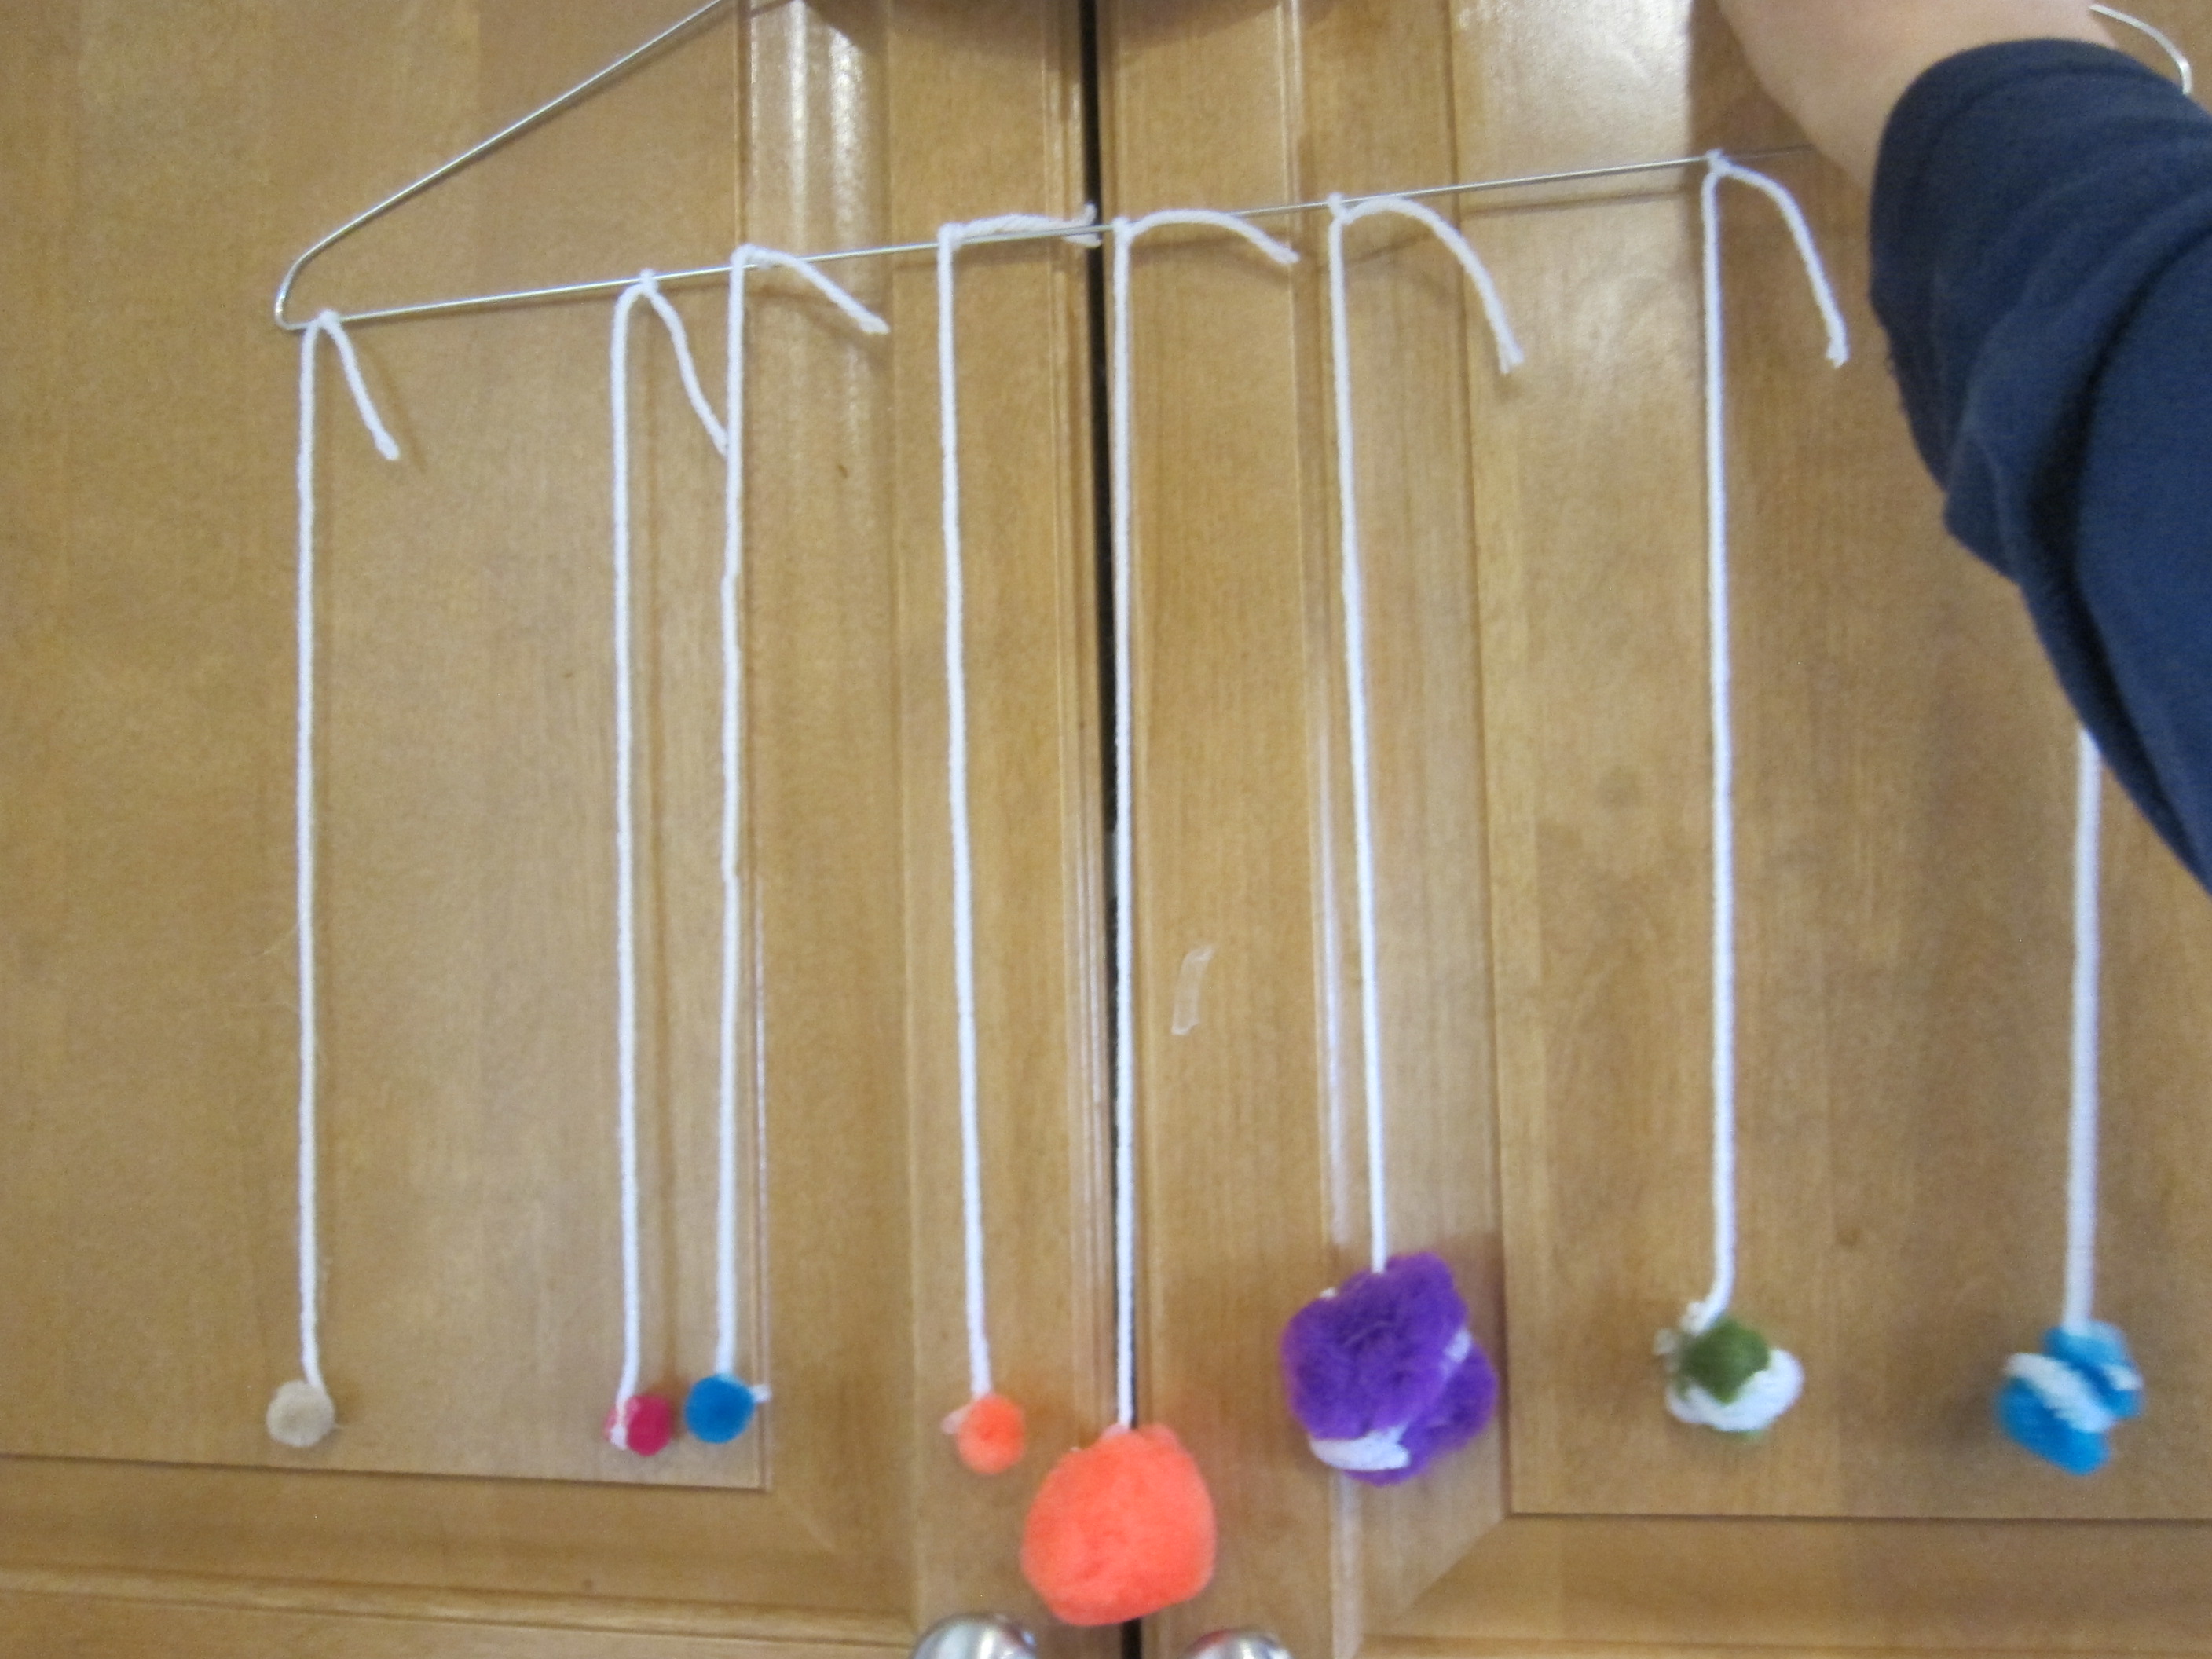
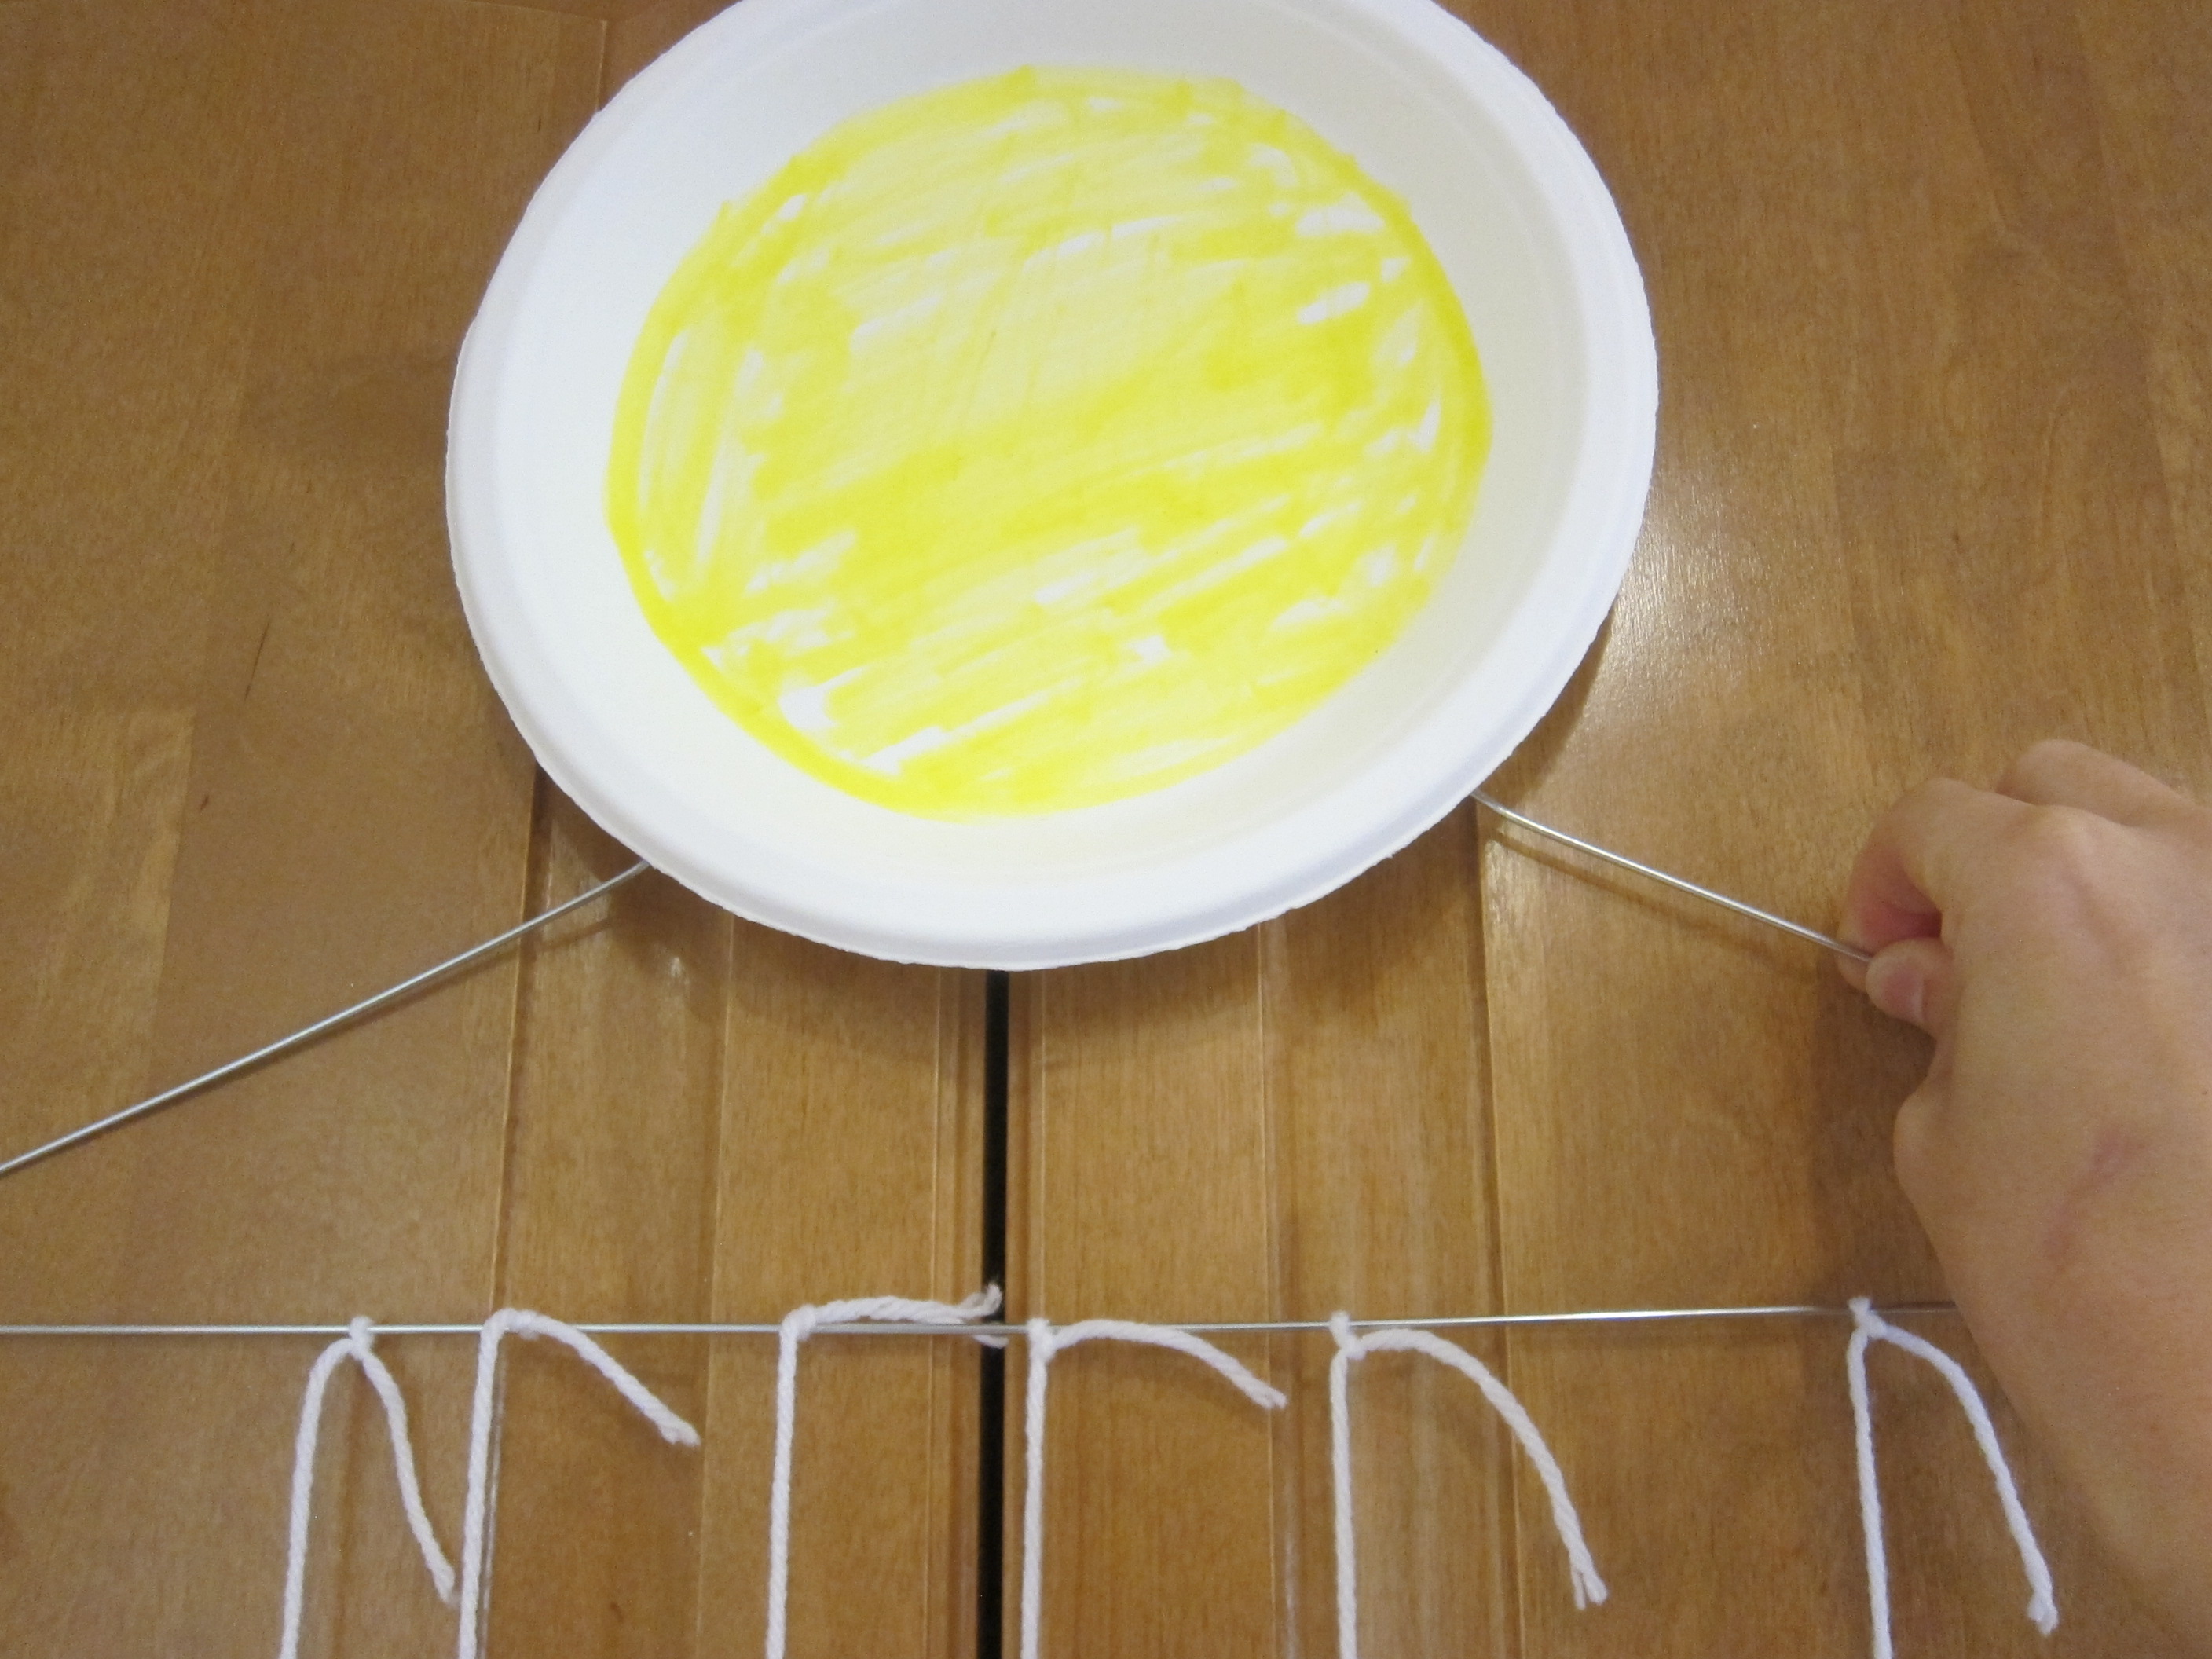
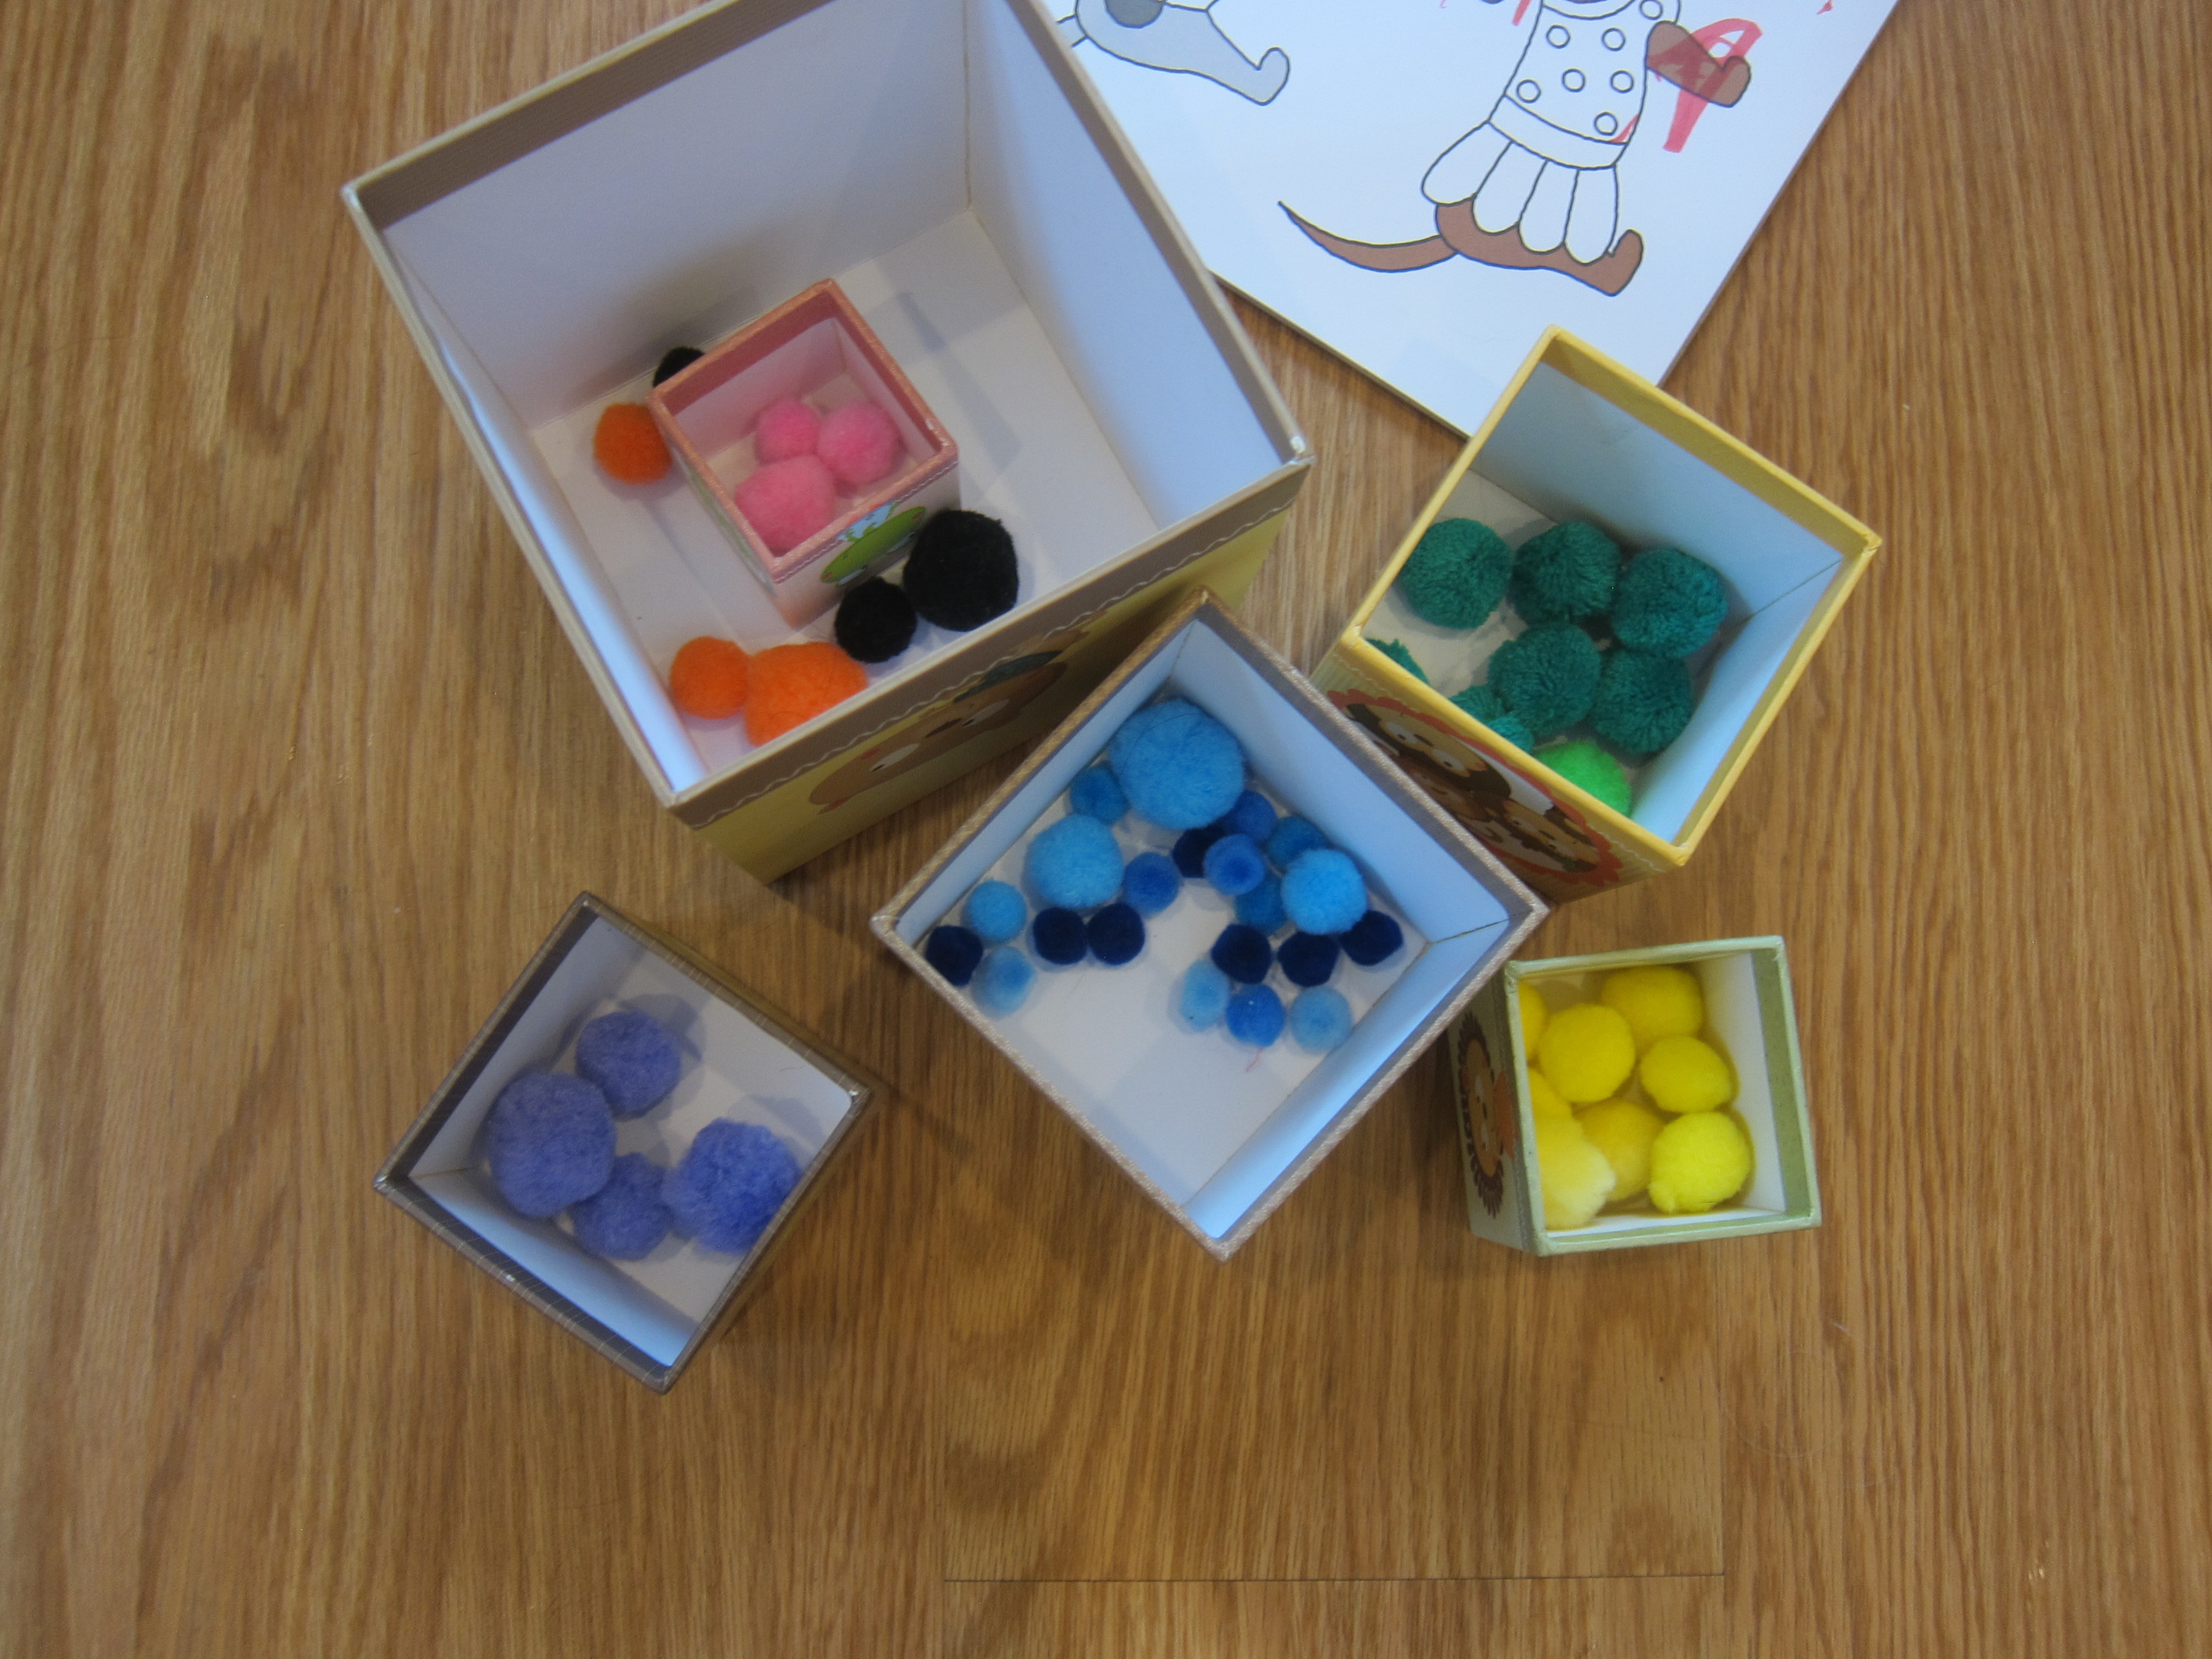
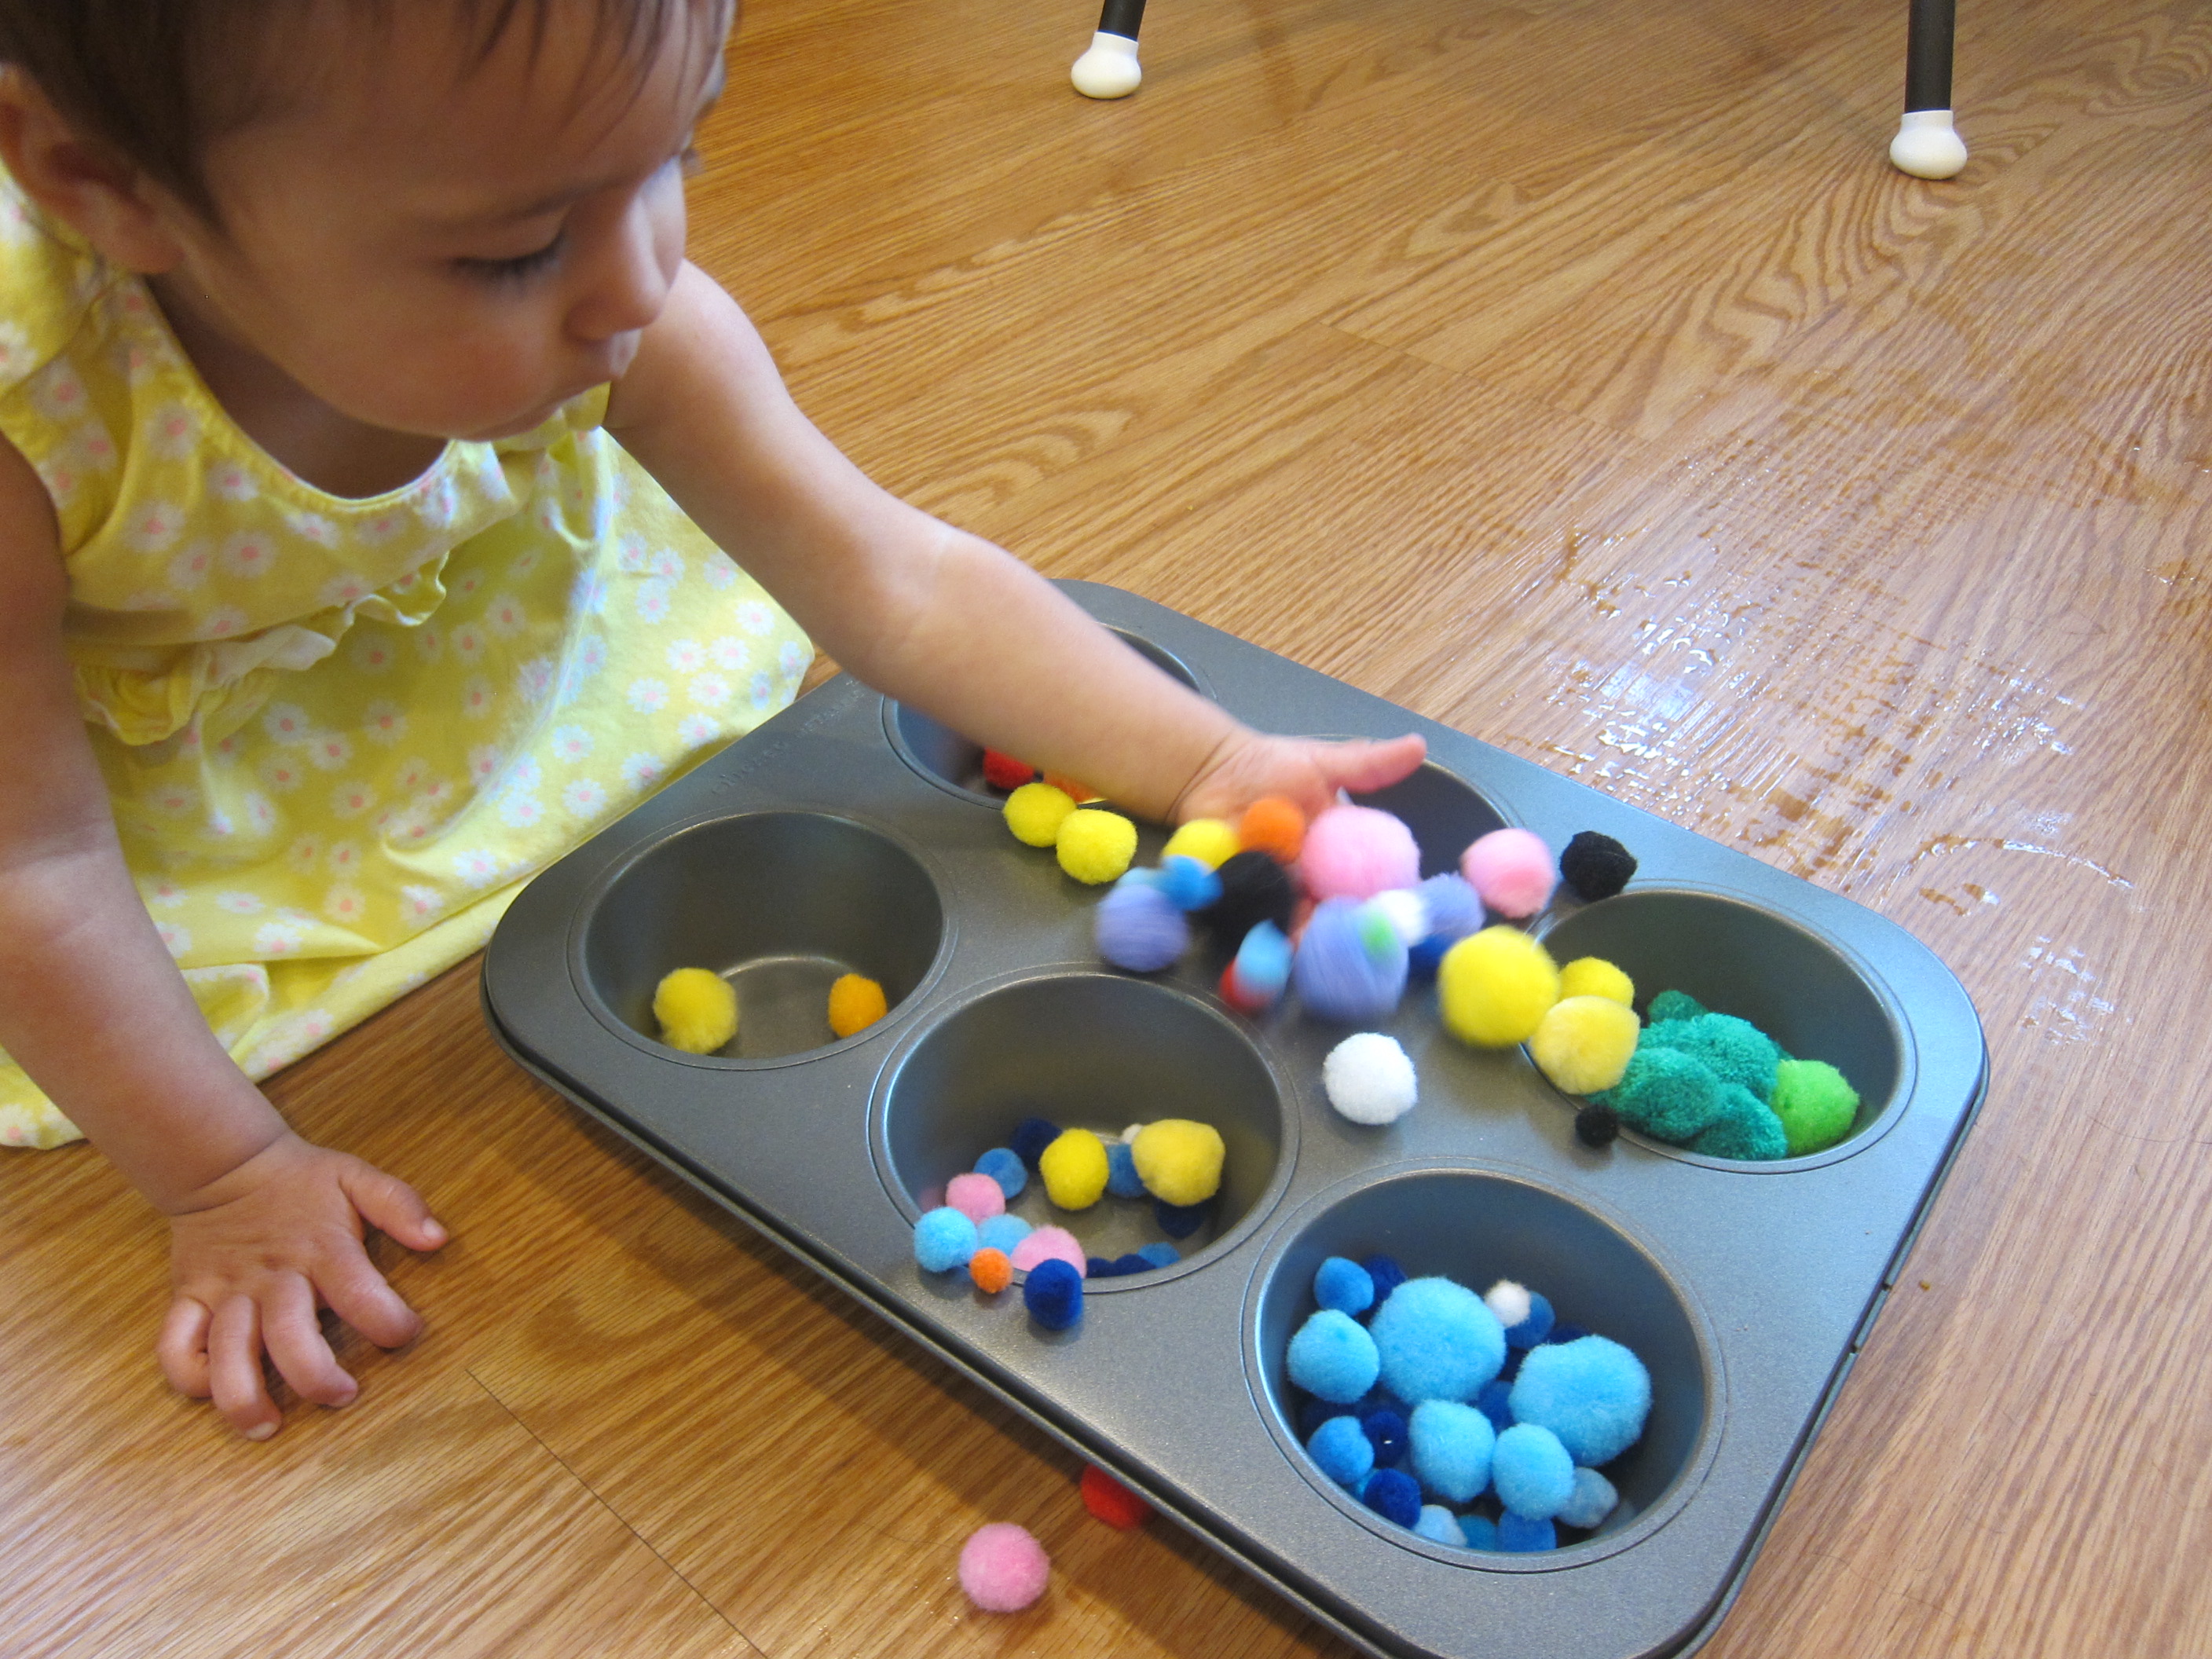
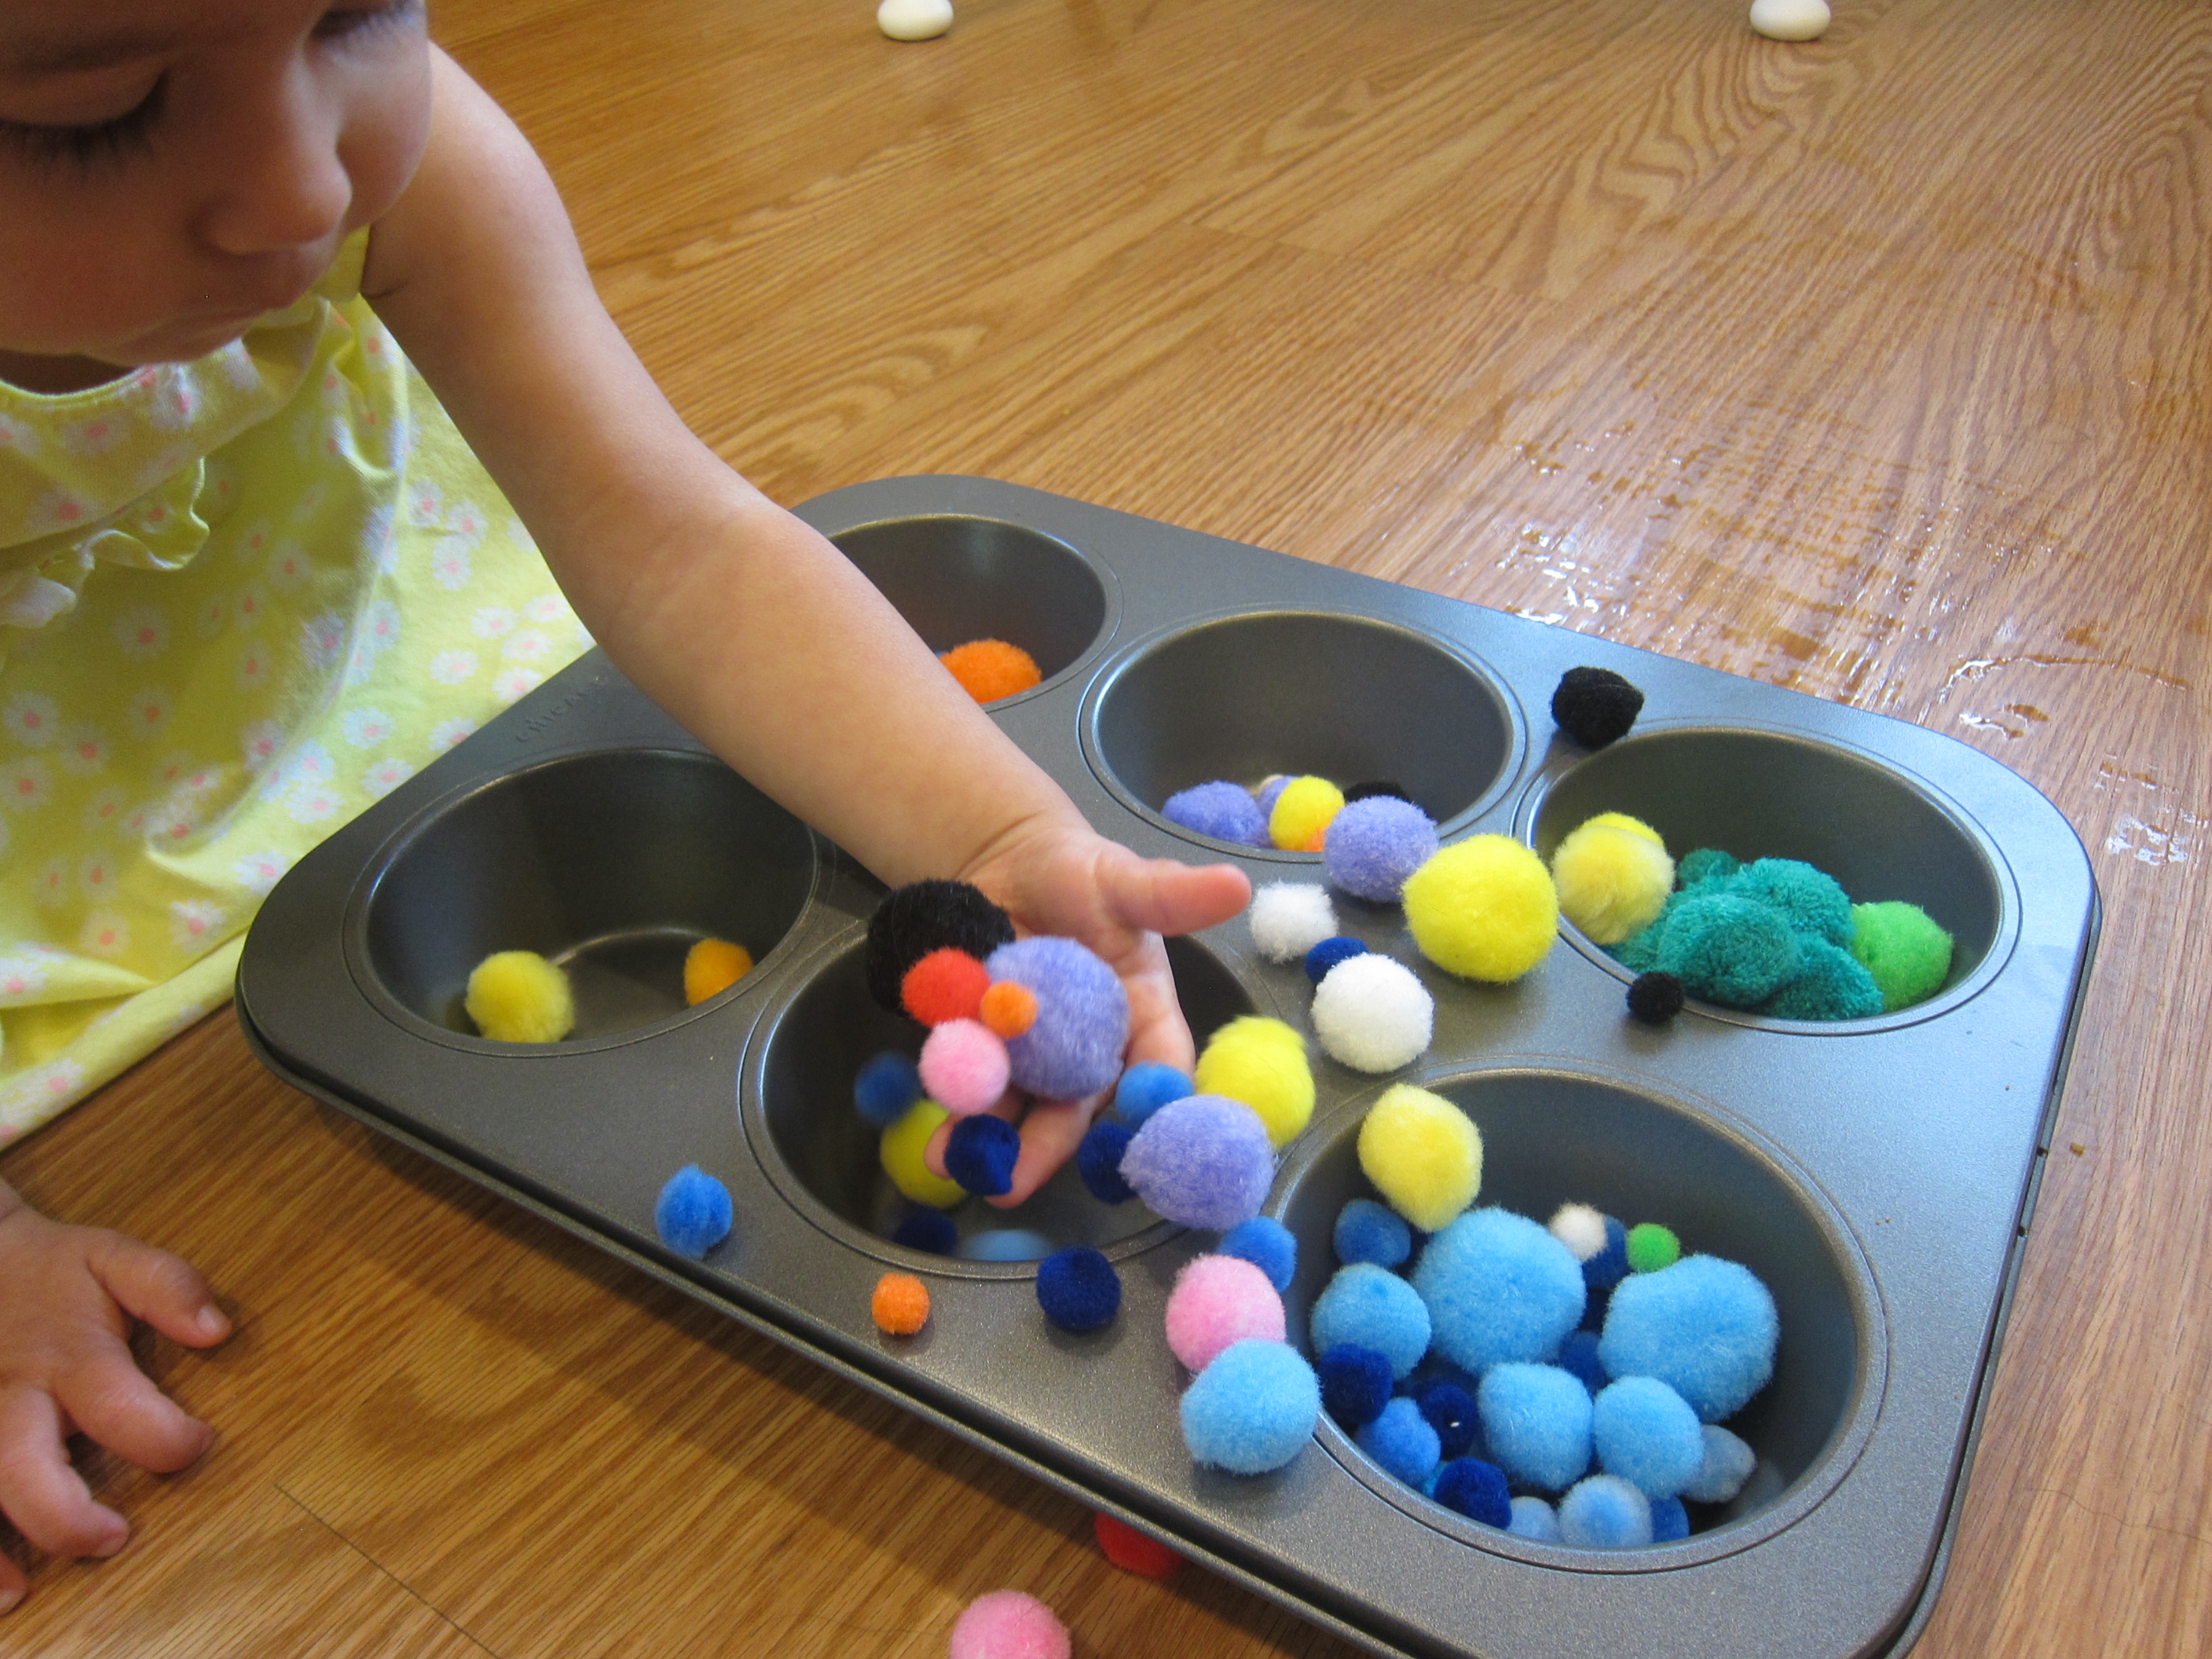
Here’s a quick and cute way to show the scale of the planets (roughly speaking) for kids who are learning about the solar system. Set out an assortment of pom poms in as many sizes and colors as you have, and find the perfect one to represent each of our 8 planets!

I dumped a big bag of pom poms into a craft tray, which immediately created excitement.

Pom Pom Planets (1)

Travis loved searching through this “universe” for each planet. One by one, he located the following:

A small tan one for Mercury

A small pink one for Venus

A small blue one for Earth

A small orange one for Mars

A large orange one for Jupiter

A large purple one for Saturn

A medium green one for Uranus

A medium blue one for Neptune

Note: Your colors and sizes might be slightly different, depending what you have on hand. Gray works equally well for Mercury, and yellow equally well for Saturn. Obviously we wished we had a red one for Mars, but our pack didn’t contain small red.

Pom Pom Planets (2)

We then wrapped Saturn, Uranus, and Neptune with belts of pipe cleaners to make the rings.

Next we cut 8 pieces of yarn, making sure they were roughly the same length. Tie or glue these onto each pom pom.

Pom Pom Planets (4)

It was time to build the solar system. As I tied each one to a wire hanger, I had Travis tell me which planet should come next, working from Mercury to Neptune. This was great review for a topic we haven’t covered in a while!

Pom Pom Planets (5)

I had originally intended to make a star decoration along the top of the hanger, but Travis was adamant that we couldn’t have a solar system without the sun. He colored in a paper plate with yellow marker, and it was soon proudly affixed atop the hanger.

Pom Pom Planets (6)

It looked perfect against his star lamp!

IMG_0001

Jars, Marbles, and Pom Poms

Jars Pom Pom Marble (2)

As long as your toddler is old enough not to put marbles in his or her mouth, they make a great addition to sensory play. Although this particular game lends itself well to solo play, do keep an eye on things because of those marbles.

I used four leftover jars of baby food (cleaned and dried), and set them on a baking sheet. (Note: this is to catch the items as the spill out or roll around). I filled one jar with marbles and two with pom poms (sorted by color), and then left the fourth jar empty.

Jars Pom Pom Marble (1)

Beyond the set-up, I truly had no agenda for Veronika with this game; I just wanted to see how she would play with the materials! First she said, “I want to dump!” The filled jars were just begging to be upended. The marbles made a big clatter as they rolled across the baking sheet.

Jars Pom Pom Marble (3)

Then I showed her that the pom poms were (shhhh) quiet as they rolled out.

Jars Pom Pom Marble (4)

She then was busy transferring items back and forth for a while.

Jars Pom Pom Marble (5)

I had included the jar lids, so she also enjoyed putting those on and taking them off again.

Jars Pom Pom Marble (7)

The marbles were of much greater interest to her than the pom poms. She loved the plink they made as they want back into the jars, and I think she also just loved the smooth feel of them. She carried a few around the apartment all day!

Jars Pom Pom Marble (9)

Then it was back to lots more filling the jars, dumping them out, watching things roll, and having fun!

Jars Pom Pom Marble (8)

Pom Pom Drop + More Pom Pom Fun

Pom Pom Fun (8)

After recent fun playing with pom poms to develop fine motor skills, Veronika enjoyed a few variations on pom pom play today.

First up was a classic: a pom pom chute! I had a mix of empty toilet paper rolls and empty paper towel rolls, so taped these to the wall almost in a maze.

Pom Pom Drop (1)

Some of them were straight up and down and others I taped at an angle so she could experiment with the different ways this made the pom poms fall.

Pom Pom Drop (4)

Some were high, and some were low…

Pom Pom Drop (5)

…and all were a delight to watch a pom pom disappear and then fall through.

Pom Pom Drop (2)

For variation, we also tried pushing through cotton balls. These were fun because we could stuff a few into the tube before they all fell out the bottom, almost like puffy snowflakes.

Pom Pom Drop (9)

As she played with the pom poms, Veronika frequently named the color of the one she was holding, so I thought it might be time to see if she could sort!

Pom Pom Fun (1)

We played two variations on this. First, I gave her one size pom pom, but in all different colors. She named each color as she moved them into bins I had set out, although she didn’t always place like with like.

Pom Pom Fun (5)

Next, I gave her all one color (only blue) but in three sizes: big, medium, and small. I used a big deep voice when placing a big pom pom in a bin, and a tiny high voice for the small ones.

Pom Pom Fun (2)

I didn’t expect her to ace this, but the concept is coming along, little by little!

Pom Pom Fun (6)

As the day went on, I simplified the game so it qualified more as toddler busy play, leaving just one chute and a container at the bottom. I might leave this taped to the wall for several days, so she can return to it at her leisure.

Pom Pom Drop (7)

Rainy Day Busy Box

Rainy Day Busy Box (3)

Veronika has an obsession with umbrellas, so today I put together this little toy bin for her to play with! It was equal parts sensory play and imaginative play, meant to imitate a “rainy day” in miniature. I had to supervise since the mini drink umbrellas we used have sharp points, but older toddlers and preschoolers could play with this solo as a true busy box.

Rainy Day Busy Box (1)

In a small toy bin, I simply put the following: little people figures, blue pom poms as “raindrops”, and a few small umbrellas (like the type you find in tropical drinks).

Rainy Day Busy Box (2)

Veronika was smitten! The actual role play was a bit lost on her, but we “rained” the pom poms down on the people and sang “Rain rain, go away” one of her current favorite songs.

Rainy Day Busy Box (5)

She eagerly popped open the umbrellas! I needed to help her with the mechanics of this a little bit, but once open she could then slide them up and down.

Rainy Day Busy Box (4)

She loved trying to have her little people hold on to them. This brought a big smile to her face.

Rainy Day Busy Box (7)

In retrospect I would have made this bin on a real rainy day, to help emphasize the theme.


Coffee Can Games, Two Ways

Jingle Bell Roller (5)

I had an empty coffee can in the house, and knew better than to recycle it; it would make a perfect prop for Veronika’s play. To wit, we found two great ways to use it today.

First up was a combination of art and musical play. To decorate the coffee can, I wrapped a piece of contact paper around it, sticky side out. I gave Veronika pieces of old gift wrap and old postcards so she could adorn the outside.

Jingle Bell Roller (2)

Once it was decorated perfectly according to her toddler standards, I wrapped a second piece of contact paper on top, sticky side in, to seal her design.

Jingle Bell Roller (3)

I then put small jingle bells inside the coffee can and secured the lid.

Jingle Bell Roller (4)

Shake shake shake! We sang along (admittedly to unseasonable songs like Jingle Bells!) and she had a huge grin on her face.

Jingle Bell Roller (6)

Then she discovered that she could roll the can along the floor and make it jingle. She chased it all around the house this way.

Jingle Bell Roller (7)

The drawback to this game was that she wanted to open the lid and get at the bells inside, but I worried about them as a choking hazard. So we repurposed the coffee can! I cut a slit in the top with an X-acto knife and then rounded the corners slightly so she wouldn’t cut her fingers.

Fine Motor Pom Pom f

Now she could post (a.k.a. push) pom poms through. “Where did green go?” I asked, popping down the first one as a demonstration.

Fine Motor Pom Pom a

She mimicked my words perfectly and talked her way through the entire pile, mostly getting her colors right. “Where did blue go?” “Where did yellow go?”

Fine Motor Pom Pom d

When they were all inside, we opened the lid for the big reveal and dumped them out. And then she wanted to do it again! What a great way to keep busy.

Fine Motor Pom Pom e

What would you do with an empty coffee can? Please share in the comments!

Fine Motor Pom Pom b

Fine Motor Pom Pom Sorting

Fine Motor Pom Pom (4)

There are so many ways that toddlers can play with pom poms, and no doubt Veronika and I will play more complicated games with them down the line. But today we kept it as simple as can be: pom poms, a muffin tin, her fingers, and that was it!

Since she’s learning her colors, my initial idea was to sort the pom poms by color and see if she could help with the process…

Fine Motor Pom Pom (9)

…but Veronika was so eager to get her hands into the mix that my color piles never stayed that way for long!

Fine Motor Pom Pom (3)

She loved the feel of scooping them up from one muffin cup to the other, and seemed very proud of her transferring skills! I wasn’t about to deny her the fun.

Fine Motor Pom Pom (5)

In fact I think she found it funny that I kept trying to arrange the pom poms one way, and she kept messing them about. She said the name of each color pom pom as she picked it up, so it turned into color learning in a different way.

Fine Motor Pom Pom (8)

Picking up pom poms one by one is of course also great for fine motor development.

Fine Motor Pom Pom (1)

She started to move them more deliberately in this way after she tired of big handfuls.

Fine Motor Pom Pom (2)

Eventually  I also handed her a pair of toddler tweezers. She was so proud to move the bigger pom poms from one compartment to another, using this tool.

Fine Motor Pom Pom (6)

This is one of those great ways to keep a toddler busy solo without too many materials or much prep work.

Fine Motor Pom Pom (7)