What’s the Weather? Frame

Weather Frame (6)

Chances are, if your child is in preschool or kindergarten, circle time in the morning involves checking the weather and talking about what it’s like outside that day. This make-at-home frame, care of High Five magazine, is a great way to keep up the routine on weekends or holidays.

To start, peel the backing off 2 magnetic sheets (available at craft stores), and cover with paper, trimming the edges of the paper to fit if necessary.

Weather Frame (1)

Cut one sheet into 4 long strips. These will be the 4 edges of your frame. Travis and I sat down and talked about different kinds of weather. He enjoyed drawing a “sun,” and what he decided was a “purple storm cloud” and some “raindrops” before hurrying to affix them to the fridge. (Kids will love the magnetic component of this project!)

Weather Frame (4)

A quick confession: I was briefly disappointed that Travis didn’t take more care in his coloring, perhaps trying to draw ovals for raindrops, or more of a proper cloud or sun. That said, he was proud of his work, and it was a reminder that “imperfect” art projects are still a great source of learning and creativity for our kids.

Weather Frame (2)

Meanwhile, I drew 4 pictures on the other magnetic sheet with different kinds of weather we might see. Travis asked for: sun, storm, rain, and snow.

Weather Frame (3)

Cut out the weather magnets, and then head to the nearest window to see what it’s like out there. Hang the right magnet inside your frame for the day. Don’t forget to check the weather tomorrow!

Weather Frame (5)

Greater Than and Less Than Gator

Greater Gator (8).JPG

A chomping alligator who can help teach your child the less-than and greater-than symbols? What a cute way to kick off some math for the school year!

This project didn’t work out exactly as planned for us, largely because I had to upcycle egg cartons that were not my own, and as I result used half-dozen cartons, not a full dozen… Needless to say, our final product wasn’t quite a long alligator snout (perhaps more of a hungry dinosaur!) but the lesson remained the same.

Cut apart the tops and bottoms of two egg cartons; paint the tops green and the bottoms white. Let dry completely.

Greater Gator (1)

Here is where things got a little difficult: Punch holes in the green portions, and use yarn to thread first through the holes of the bottom “jaw” and then the holes of the top “jaw.” This is great lacing practice for kids! Tie off with a knot at the end.

Greater Gator (2)

I then hot glued the white “teeth” into each portion of the jaw. (You may need to trim about half a row of the teeth away, for it to nest properly inside the top portion of the carton.

Greater Gator (3)

You now have a hinged puppet who can open and close its mouth to chomp up… numbers!

For our counting game, I affixed block dot stickers to construction paper in various combinations – 2 dots is less than 3; 5 dots is greater than 4; and so on.

Greater Gator (4)

Travis had a bit of difficulty with the actual mechanism of our gator’s jaw, but aside from that, I loved watching him complete each task we put up on the easel. For each, he would count the dots first, then declare which was greater.

Greater Gator (7)

When your child tires of the math lesson, they’ll have a fun gator puppet to play with! Ours was soon involved in superhero games.

Greater Gator (6)

Sign Your Name

SIgn Name (3)

Learning to read and write your name are key pre-K skills, and ones which I know Travis’s teachers are going to emphasize this year. He has name recognition down, but writing it himself is a bit harder. Before school starts tomorrow (!) we made writing practice fun, working on his name in three different ways.

First, tear two strips of paper – colored construction paper made this more exciting than standard white.

Sign Name (1)

Going one letter at a time, I spelled out Travis’s name, and had him copy each letter after me. This was really useful so I could see which letters came easier (T, v) and which were a bit of a struggle (a, s).

Sign Name (2)

Then we upped the ante with a little bit of sensory play. Squirt out fingerpaints (or shaving cream even!) onto paper or another surface, and make a nice smeared frame that you can write in.

Sign Name (4)

Travis used the handle of a paintbrush to trace each letter this time. He got a bit frustrated since not all of the letters showed up clearly, but here was my example version:

Sign Name (5)

Finally, chalk! This method was his favorite of the three, and once again I wrote each letter first, then had him fill in underneath.

SIgn Name (6)

Not only did this reinforce handwriting, but also the order that the letters of his name go in.

Sign Name (7)

What other fun ways does your preschooler practice writing his or her name? Please share in the comments!

Colors Crate

Koala Colors (7)

I was surprised when a color-themed crate arrived from Koala Crate this month. Colors seem so basic compared to other topics our subscription has covered, more like something we’d receive toward the beginning. Happily, we found that the activities and crafts inside were surprisingly complex and engaging. The booklet also felt especially interactive this month, including a color-by-shape page, seek-and-finds, and more.

Koala Colors (1)

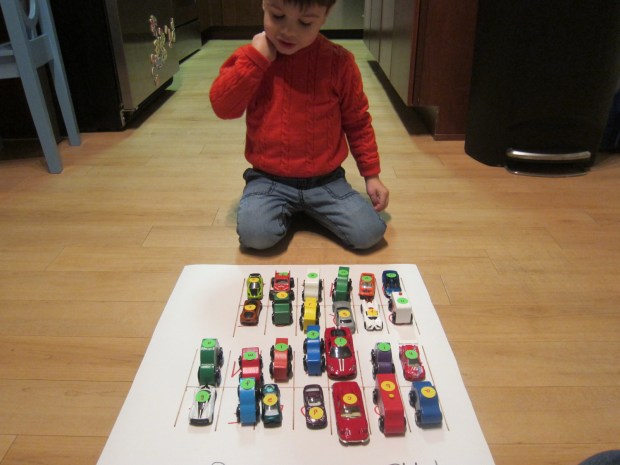
First up was the Color Scavenger Hunt, using colored cellophane squares in all shades of the rainbow and a set of dice.

Koala Colors (8)

Roll one for color and one for the number of objects, then hunt for items around the house. Travis loved this little challenge!

Koala Colors (9)

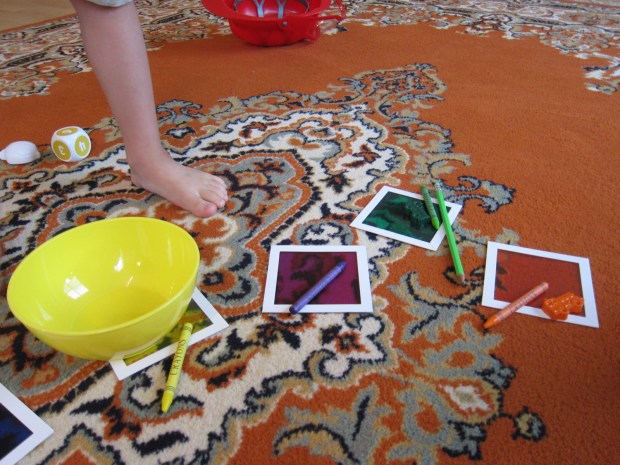
The squares can be used for multiple purposes when your hunt is done. Roll a color and then think of something in that hue. Here’s Travis drawing a few items he thought of, like lettuce and carrots.

Koala Colors (10)

You can also hold the colored squares in front of familiar objects around the house and see how the colors shift, as with this apple.

Koala Colors (11)

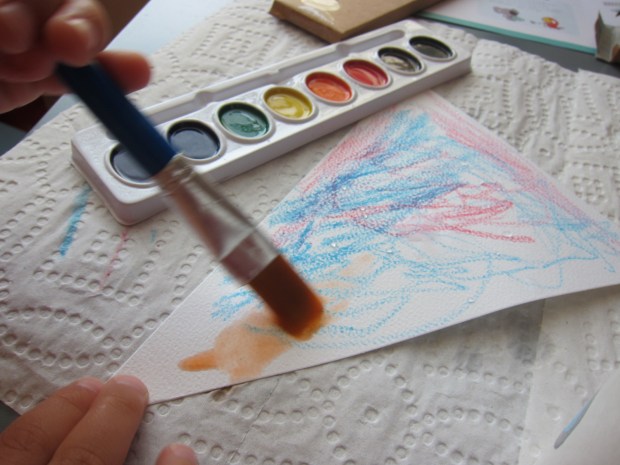
Next we made the Watercolor Banner, which kids decorate first in crayon and then in watercolor (all materials provided in the kit).

We talked about things we see with lots of colors, which soon had Travis drawing nature scenes (flowers, a swamp) on his flags. I added a flag with rainbows and one with stripes.

Koala Colors (2)

Next, use the provided watercolors to paint over the crayons (a neat lesson in “resist” painting techniques).

Koala Colors (4)

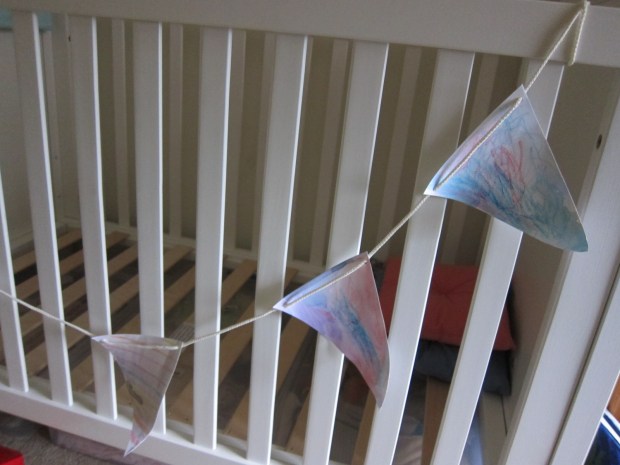
Let dry before threading onto the provided rope, then find a spot to hang your banner. Travis opted for the old nursery!


Koala Colors (6)

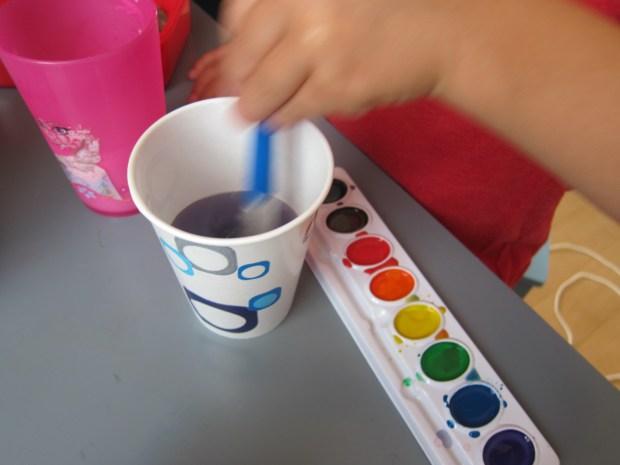
Before you put away the watercolors, have some additional mixing fun. We started with the primary colors (dip your brush in the color, then in a cup of clear water), and I asked Travis what shade he’d like to make. Oh no – he requested white! The only one we couldn’t make. But we mixed up the secondary colors first, and then discovering how to make brown was a big hit.

Koala Colors (5)

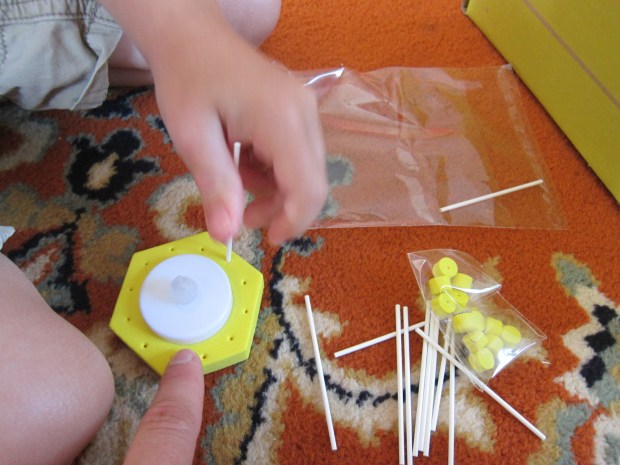
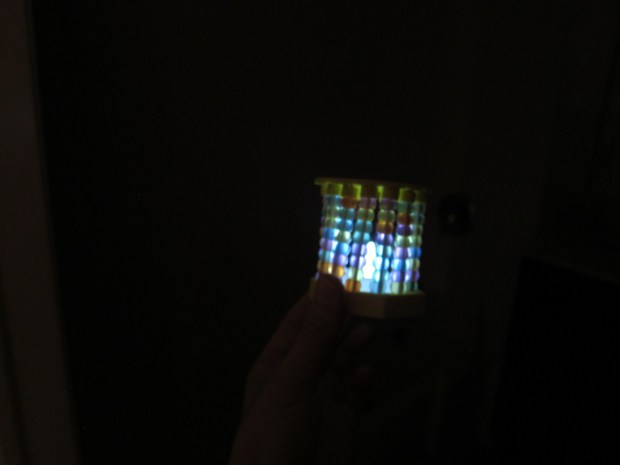
The third craft, a Colorful Luminary, was a hit – and excellent for fine motor skills. Fit the provided tea light into the provided foam base, and add thin craft sticks in a circle around it.

Koala Colors (13)

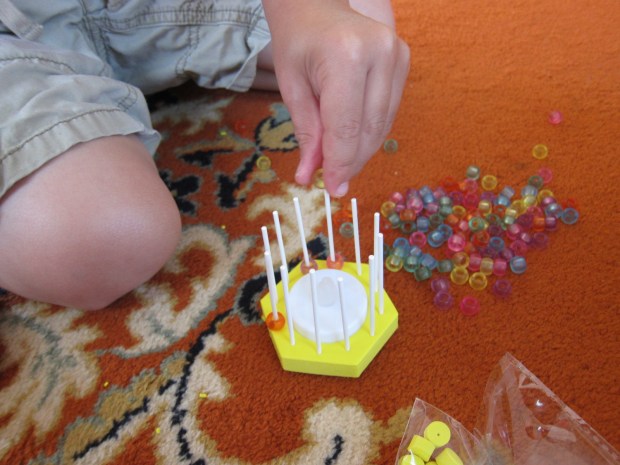
Now add colored beads to each stick. I asked Travis if he wanted to do all one color per stick or arrange them in a pattern, but this was a bit advanced and he preferred randomly threading them onto the sticks.

Koala Colors (14)

Cap each stick with another foam piece to seal the beads in place.

Koala Colors (15)

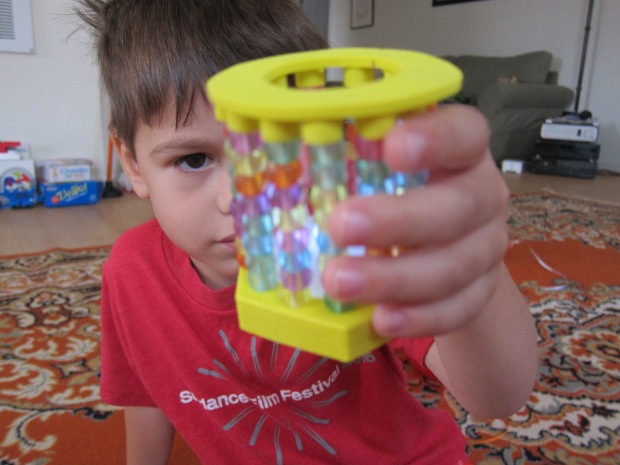
Find a dark spot, and set the tea light ablaze. Beautiful! We talked about the ways the colors changed when the light was lit versus unlit.

Koala Colors (16)

Before we put away the fun, we repeated an old activity, Dyed Flowers, made by dying white carnations with food coloring. This is a great way not only for kids to see fun colors, but also to witness how liquids travel up a plant’s stem. Fill test tubes or small cups with water, and add food coloring to each. Place a white carnation in each tube, and let sit overnight.

Koala Colors (17)

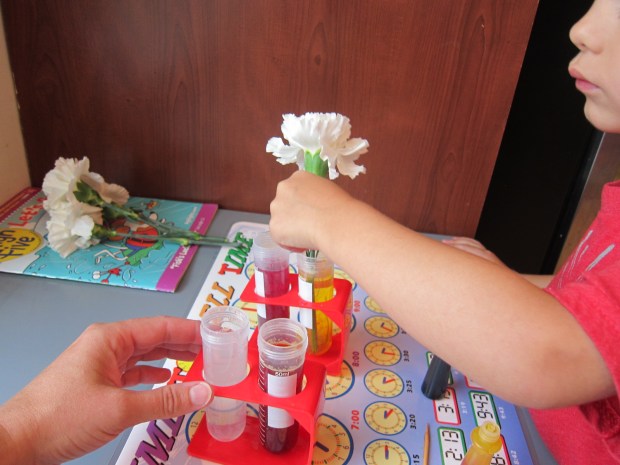
You’ll have a lovely (though faint) color in each flower by morning. Our red worked best.

Koala Colors (18)

In sum, lots of great activities here, including for kids who learned their colors ages ago.


Letter Match Parking Lot

Parking Lot (11)

This game is by far the best way yet I’ve found to get Travis excited about matching upper and lower case letters. He knows his upper case with no trouble, but still mixes up some of the lower case toughies, like d and b, n and u, or p and q. Start your (toy) engines and your little ones will be matching all their letters in no time!

To prepare the parking lot, we first needed to make sure we had 26 cars in the house. I thought we might be a few short, but it turns out we had more than enough – where do all these cars come from? Travis was thrilled when he saw them all lined up.

Parking Lot (1)

Write out the lower case letters on stickers, and apply one to each car; set aside.

Parking Lot (2)

Next I set up the parking lot, drawing 26 spaces on a big sheet of poster board.

Parking Lot (3)

You can use a ruler if you want your lines to be nice and neat. Label each parking space with capital letters, A through Z.

Parking Lot (4)

Now it was time to drive our cars in. Travis has dragged his heels with other letter matching games but to my delight, he thought this was just about the best game in the world. Each car received a driver’s name, and drove proudly to its assigned spot.

Parking Lot (6)

I was happy I only had to correct him a couple of times, on some of those tricky mirror image ones mentioned above. Little m finds a spot!

Parking Lot (8)

He found it a little difficult to locate the right capital letter a few times, especially when the lot was empty at the beginning. It was helpful to sing the ABC song together, so he knew whether the letter would be near the top row or bottom.

Parking Lot (5)

Because you can’t have a game without a hefty dose of preschooler imagination thrown in, he soon decided that it was a snowy parking lot, and all of the cars would need to shovel out.

Parking Lot (10)

No sooner did we park them all than he wanted to do it again!

Parking Lot (12)

What’s your favorite way to match capitals and lower cases with your preschooler? Please share in the comments!