DIY Rainbow Salt Tray

DIY Rainbow Salt (3)

This colored salt activity looks beautiful, is great for sensory play, and is guaranteed to keep your toddler busy.

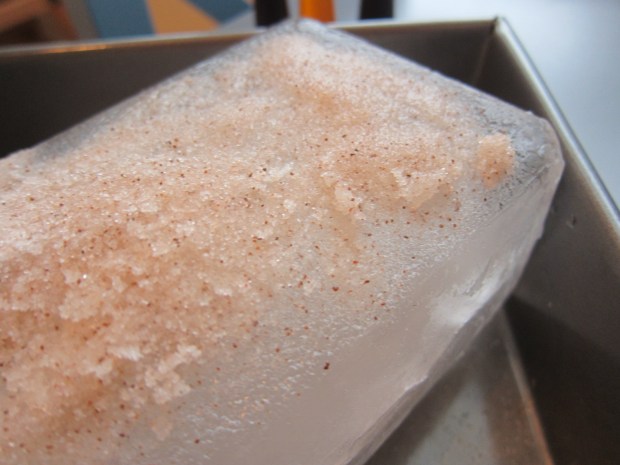
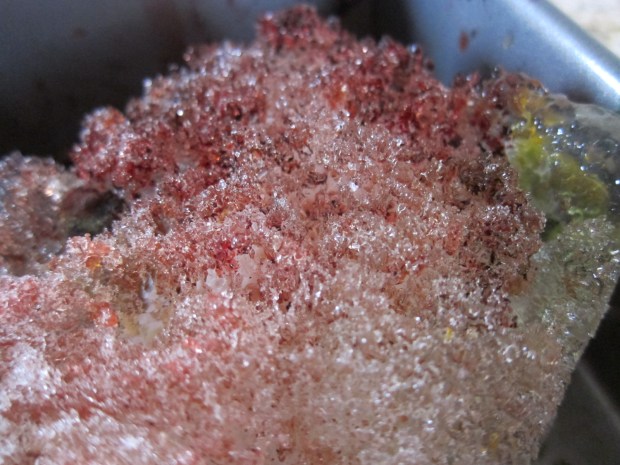
Preparation is remarkably easy. For the best result, you want to use large salt crystals, rather than regular table salt. I used kosher salt, but rock salt would have been even better! I poured a little salt into each of 6 zip-top plastic bags, then added food coloring to each, mixing two colors where needed to result in a full rainbow. Seal the bags and shake to combine. Your toddler might want to help with this part!

DIY Rainbow Salt (1)

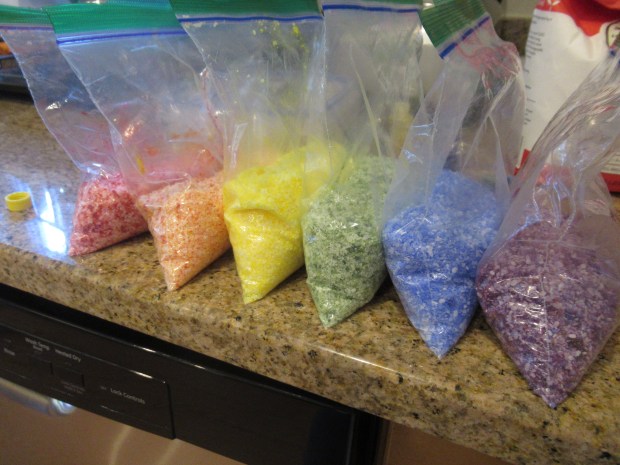
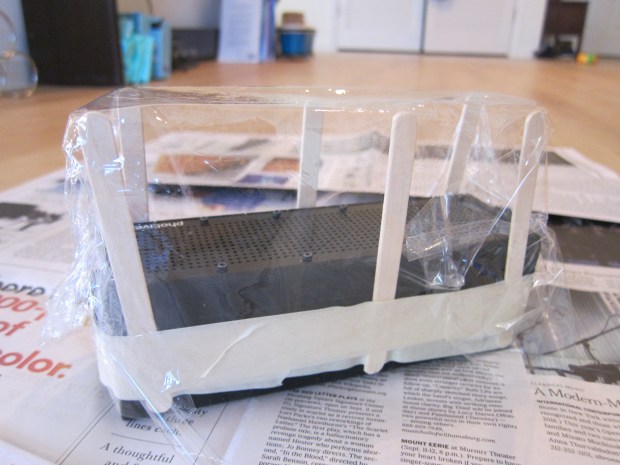
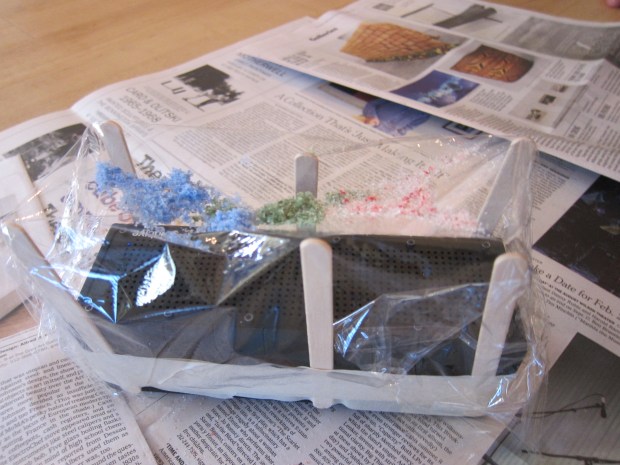
I then arranged the salts in rainbow rows on a craft tray. In remarkably short time (only about 30 minutes), the color on the salt had dried and was ready for play.

DIY Rainbow Salt (2)

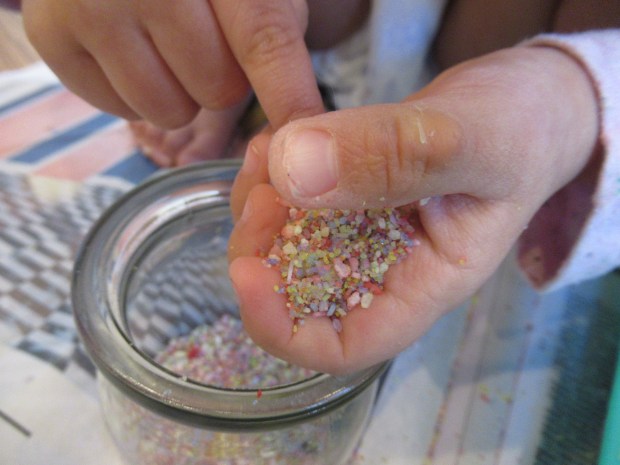
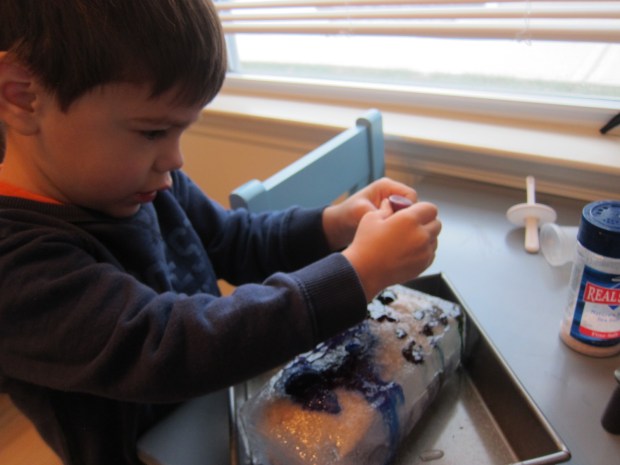
I had no agenda for Veronika other than to enjoy! I set out small glass jars and she immediately was spooning salt into them. She loved seeing or choosing what color was on her spoon…

DIY Rainbow Salt (5)

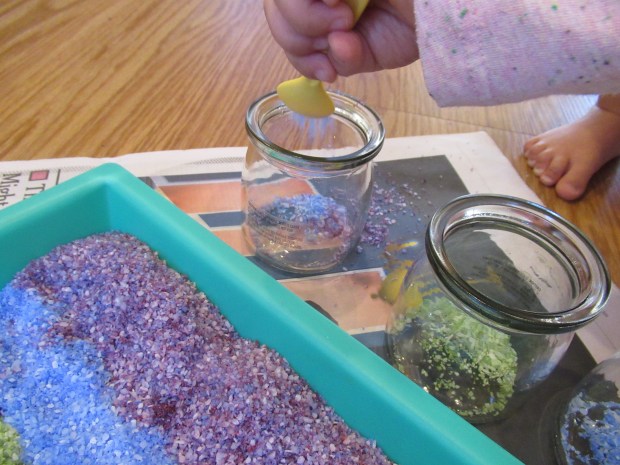
…as well as observing the mix of colors that resulted in the jars.

DIY Rainbow Salt (8)

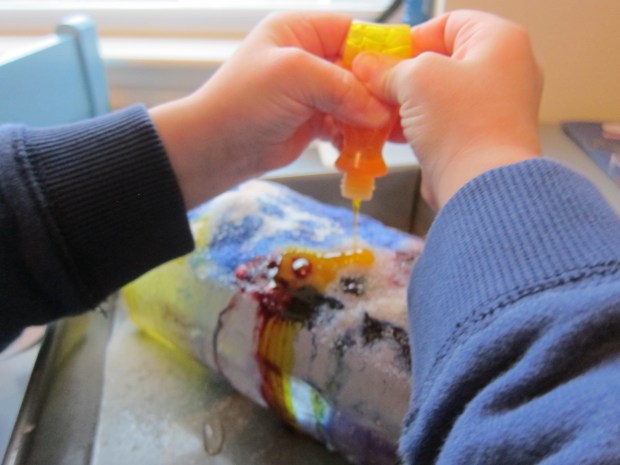
Then she started pouring from one jar to another instead of using spoons, great for her fine motor skills and her concentration!

DIY Rainbow Salt (9)

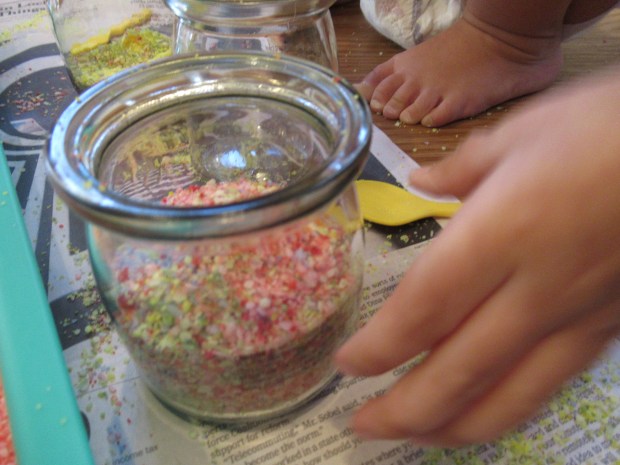
I think she was busy making potions.

DIY Rainbow Salt (7)

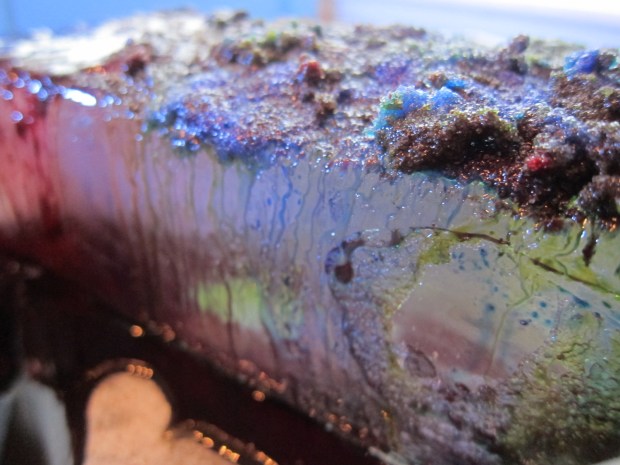
She did sometimes spoon or stir through the salt on the tray, but the jars were the main draw today.

DIY Rainbow Salt (10)

How long did Veronika play solo? Let’s just say I had time to finish the Sunday puzzle page. When she started picking up handfuls of it to scatter on the floor, we called it quits for clean-up!

DIY Rainbow Salt (11)

Salt Painting Ice Sculptures

Salt Sculpture (12)

Not only is this project visually stunning, but it’s a neat way to teach kids why they see salt on the sidewalks and roads in the wake of a snowstorm… bcause the salt helps the ice to melt faster! Bring the concept to life with this fun activity.

First, fill an empty milk container with water and freeze overnight. In the morning, cut away the box (make a slit with sharp scissors, and the rest will peel away) to reveal a huge ice cube.

Salt Sculpture (1)

Travis was quite impressed – the biggest ice cube ever! Place in a baking tray to catch the mess you’re about to make.

Salt Sculpture (2)

Next, sprinkle a healthy dose of salt over the top of the ice cube.

Salt Sculpture (4)

Set out food coloring and invite your child to drip it all over the ice. You’ll soon see runnels of color and salt melting away at the ice block.

Salt Sculpture (5)

The effect is quite stunning! Travis had fun mixing colors, and watching it all run down the sides.

Salt Sculpture (7)

It was his idea to pull out a flashlight; lighting up the rivulets made them appear even cooler!

Salt Sculpture (10)

Of course then we needed to add extra salt and more color a few times. We then left the ice block out all morning, and checked on its progress. I had to pour off the melted water a few times, and then we could watch new pools of colored water form.

Salt Sculpture (13)

The craggy surface was fascinating for Travis!

Salt Sculpture (14)

And it turns out we had perfect timing since we got another snowstorm today – and another chance to see salt out on the sidewalks and pavement.


Dancing Salt

Dancing Salt (5).JPG

Did you know that salt likes to dance along to music? Neither did we until we tried this cool experiment! Sound waves might be invisible, but because they create vibrations, the dancing salt allows kids to see sound in action!

You don’t need to dye your salt with food coloring for this experiment, but it will make it easier to see as it moves.

Dancing Salt (1)

Besides, Travis enjoyed smooshing the color into the salt. We placed 3 portions of salt in zip-top plastic bags and added blue, green, and red.

Dancing Salt (2).JPG

Next you’ll need a bluetooth speaker to make this experiment work. Tape 6 popsicle sticks around the speaker at intervals to create a frame, then top with plastic wrap. Place on a flat surface.

Dancing Salt (3)

Now sprinkle on the salt and watch it shimmy and shake! We found that loading too much salt on the plastic wrap made the action harder to see. Even the amount below was too heavy:

Dancing Salt (4)

So a light sprinkle was the most interesting. Here is our salt grooving to the Beatles – who knew salt had good taste in music?

Definitely a fun one!

Salt Painting with Liquid Watercolor

Salt Painting (7)

My impish three-year-old doesn’t need an excuse to pour a huge pile of salt out of the container – but this project turned the result into beautiful art! If you don’t have liquid watercolors, mix watercolor from a tube with a little water in a bowl before your child starts to paint.

Make sure you cover your work space well for this craft; it’s a messy one! To start, we squeezed a bottle of glue onto watercolor paper to make designs.

Salt Painting (1)

Although Travis normally loves squeezing out glue (which is also excellent fine-motor skill practice), this time he preferred to watch me make designs of actual things. We ended up with a flower and an ant, alongside a few more abstract designs.

Salt Painting (3)

Now for the best part: Place your paper in a tray, and cover the glue with salt; shake any excess salt off into the tray or bin. Repeat with the remaining pictures and let dry for at least 20 minutes.

Salt Painting (2)

I set up several bowls of watercolor for Travis after the glue was dry enough, and he quickly got to work. Encourage your child to dab the color on with a paint brush (a pipette would also work very well), and to watch the color spread along the salt crystals in the most beautiful way.

Salt Painting (4)

At first Travis was making strokes with his brush, but once he got the hang of it, he began dabbing more carefully.

Salt Painting (5)

Here was our abstract take on the solar eclipse!

Salt Painting (6)

Note: This project won’t be a great candidate for hanging on walls or fridges when finished; there is too much potential for extra salt to flake off.