
My impish three-year-old doesn’t need an excuse to pour a huge pile of salt out of the container – but this project turned the result into beautiful art! If you don’t have liquid watercolors, mix watercolor from a tube with a little water in a bowl before your child starts to paint.
Make sure you cover your work space well for this craft; it’s a messy one! To start, we squeezed a bottle of glue onto watercolor paper to make designs.
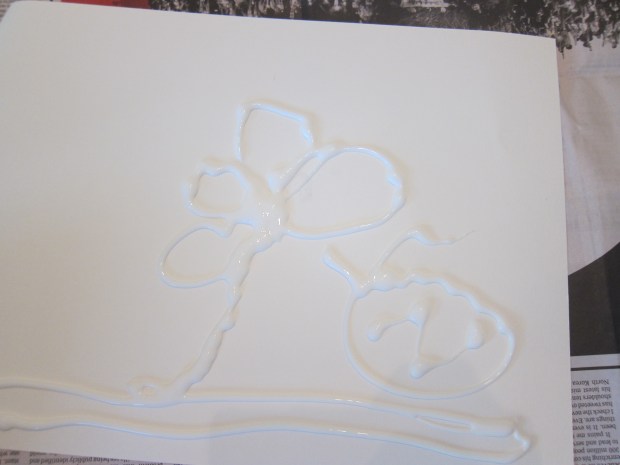
Although Travis normally loves squeezing out glue (which is also excellent fine-motor skill practice), this time he preferred to watch me make designs of actual things. We ended up with a flower and an ant, alongside a few more abstract designs.

Now for the best part: Place your paper in a tray, and cover the glue with salt; shake any excess salt off into the tray or bin. Repeat with the remaining pictures and let dry for at least 20 minutes.

I set up several bowls of watercolor for Travis after the glue was dry enough, and he quickly got to work. Encourage your child to dab the color on with a paint brush (a pipette would also work very well), and to watch the color spread along the salt crystals in the most beautiful way.

At first Travis was making strokes with his brush, but once he got the hang of it, he began dabbing more carefully.

Here was our abstract take on the solar eclipse!

Note: This project won’t be a great candidate for hanging on walls or fridges when finished; there is too much potential for extra salt to flake off.

One thought on “Salt Painting with Liquid Watercolor”