Sandy Play Dough

Sandy Play Dough (10)

This sand-laced play dough requires only 4 ingredients, comes together in moments, and works just like kinetic sand!

To make the “sand”, combine 3 cups flour and 4 cups play sand in a large container. Add 1 and 1/4 cups hot water and 1/4 cup vegetable oil. Stir to mix and then knead with your hands until the mixture comes together like play dough.

Sandy Play Dough (1)

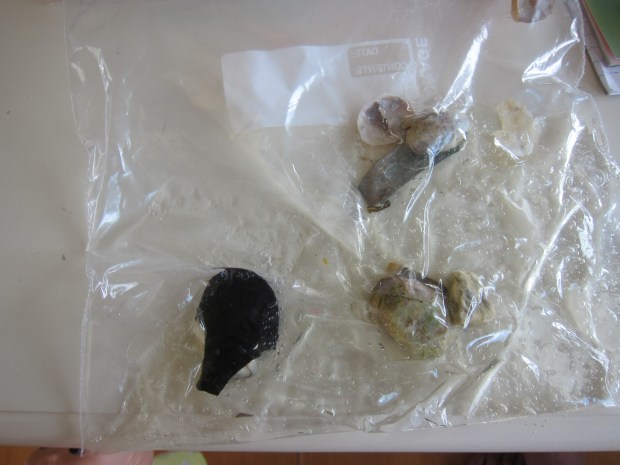
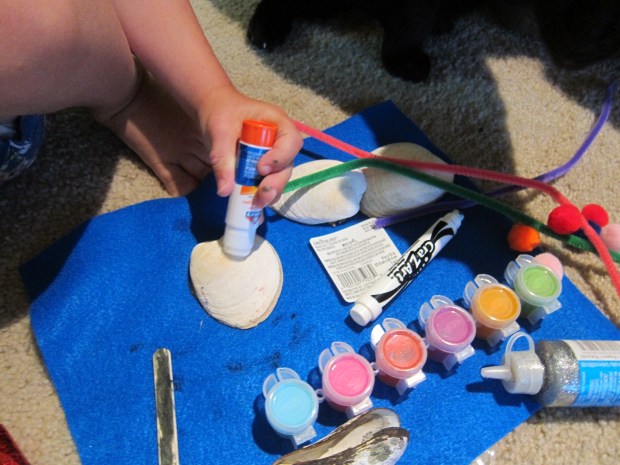
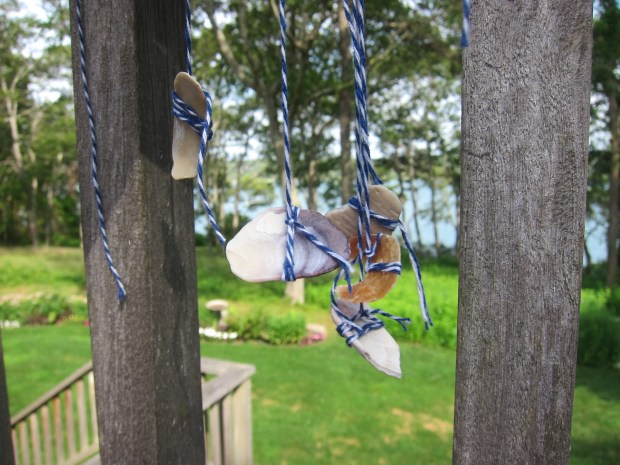
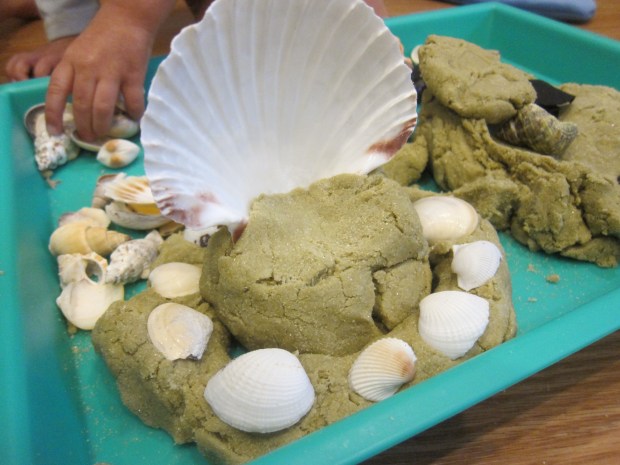
That’s it! I set out this sandy beach with lots of sea shells and let the kids go to town. We could construct sand castles…

Sandy Play Dough (8)

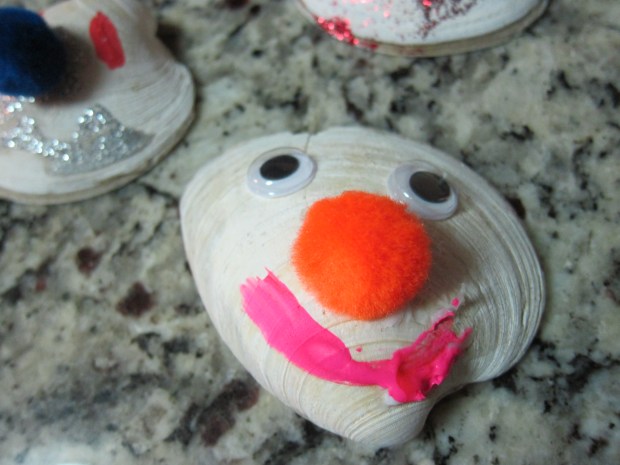
…which needed sea shell decorations of course!

Sandy Play Dough (9)

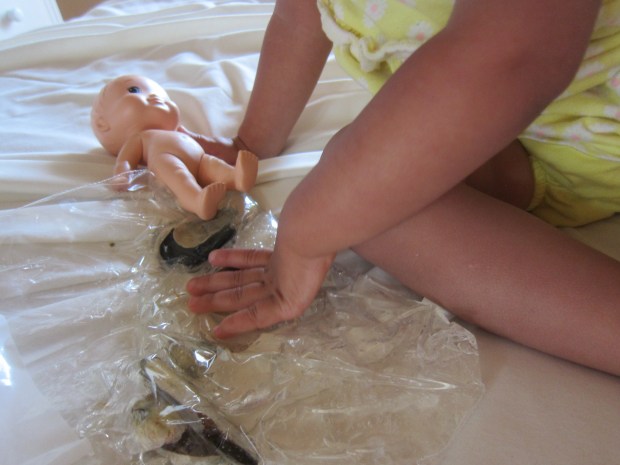
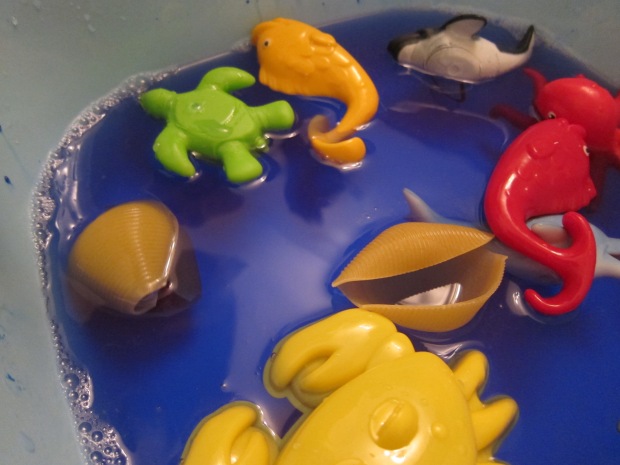
Veronika loved sorting through the shells and arranging them over the play dough best, even more so than working with the dough itself.

Sandy Play Dough (5)

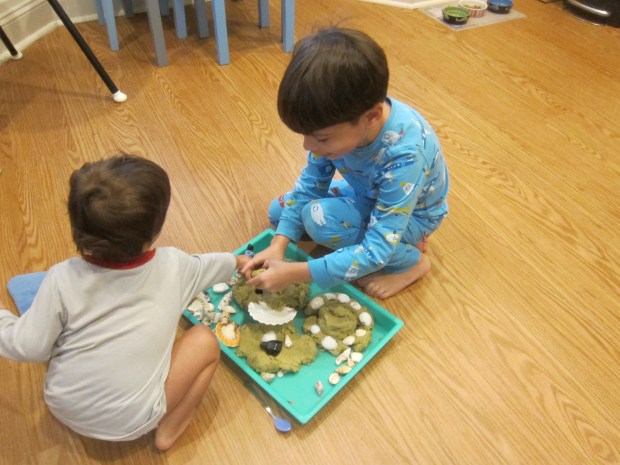
For Travis, meanwhile, it was soon a landscape to play with Lego figures!

Sandy Play Dough (3)

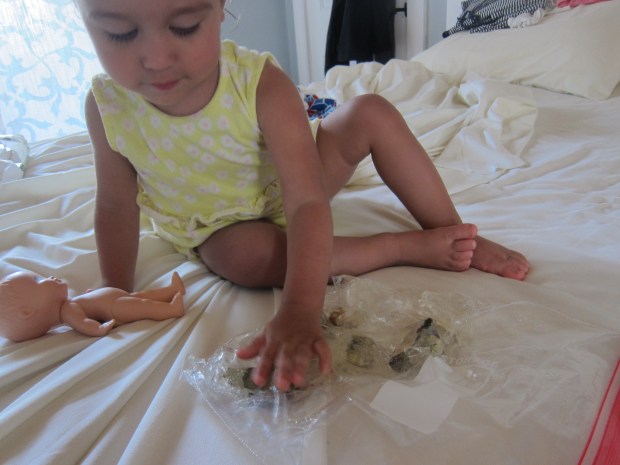
The play dough molds together so easily, so we could make sea snakes or little sand structures, and so much more.

Sandy Play Dough (7)

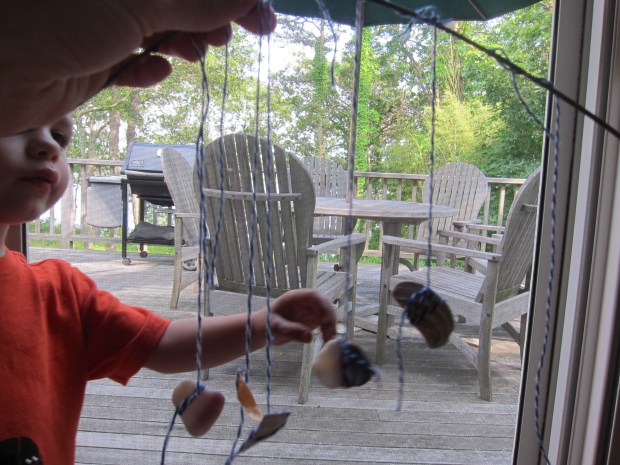
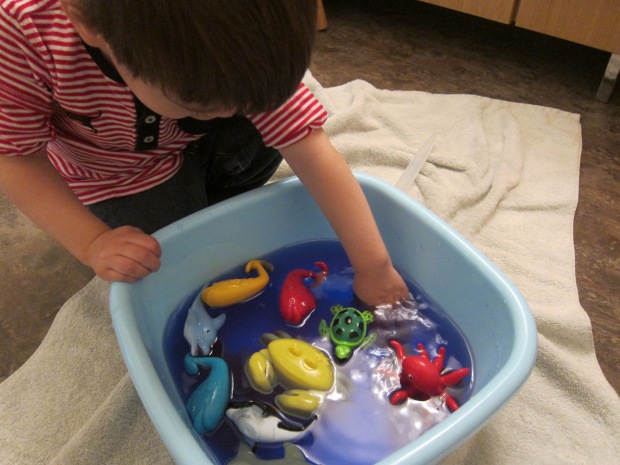
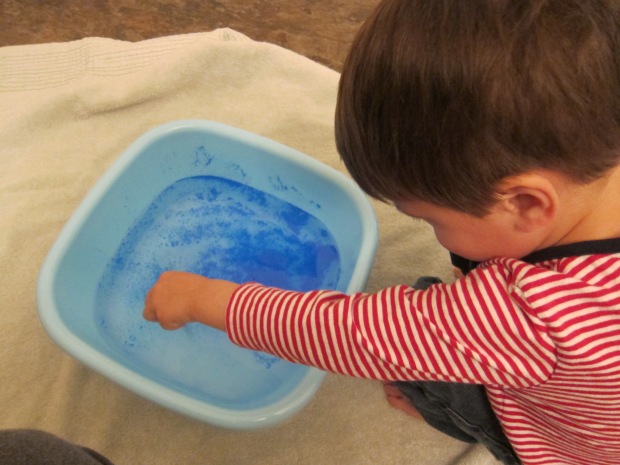
No matter how they engaged with it, I loved watching brother and sister have fun with this hands-on bin together.

Sandy Play Dough (11)

Beach-Themed Sensory Bag

Beach-Themed Bag (6)
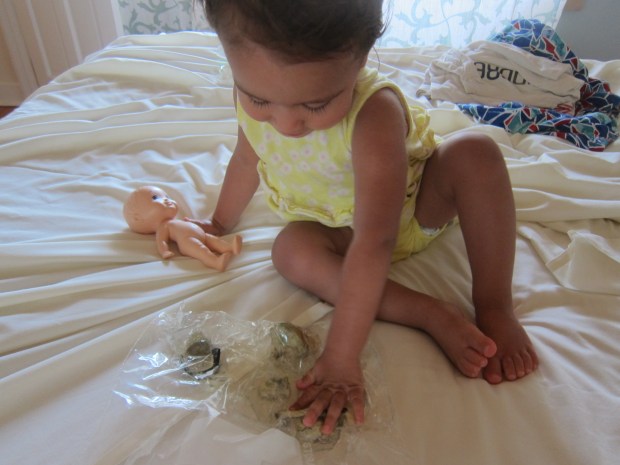
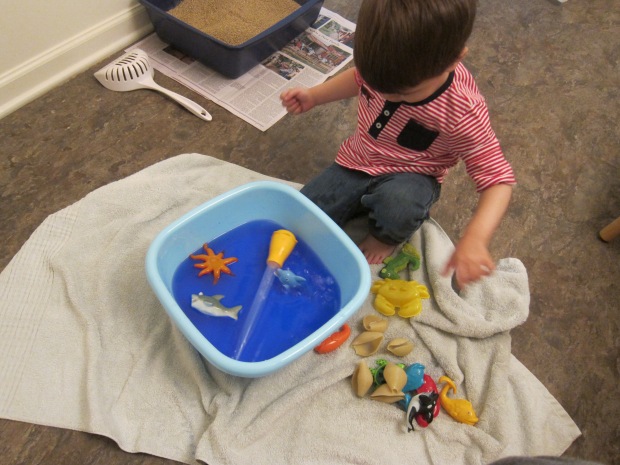
Here’s the perfect way to bring a bit of the beach home for your toddler after a day at the real thing. It’s a great way to extend the sensory play while remembering a day of fun in the sun!

While you’re at the beach, make sure to tuck aside shells or other little treasures.

cape (12)

Once home, I filled a gallon-sized zip-top bag with hair gel. Either leave the gel clear, or add a few drops of yellow food coloring, if desired. Then add your beachy treasures!

Beach-Themed Bag (2)

We had some beautiful finds, including a mussel shell, a razor clam, snail shells, and one that was nearly translucent gold. Veronika loved the contrast between the shells and the gel. “Bumpy!” she said first, followed by “squishy”!”

Beach-Themed Bag (4)

It was fun to watch her move the shells around within the bag. Next time, I might bring home a little bit of the beach itself and add sand, too!

Beach-Themed Bag (8)

Perfect beach house fun.

Beach-Themed Bag (7)

Make a Natural Wind Chime

Natural Chime (6).JPG

I’ve wanted to make this art project for Veronika for quite a while but wanted to wait until we were in our new home before doing so. With the unpacking done, it was time to get crafty!

Some of this wind chime was trial and error, but an eight-month-old baby doesn’t mind a few quirks in the end result.

To make the chime, first make a hole in small shells, whether those collected at the beach or ones from the craft store.

Natural Chime (1)

Instructions suggested that I could do this by twisting a pair of sharp nail scissors against each shell, but they were far too tough. Next I tried tapping them with a screwdriver, using gentle pressure with a hammer. But I wasn’t gentle enough, and any open-faced shells like clams shattered.

Natural Chime (2)

Turns out the screwdriver method worked great with any curled snail shells, though!

Natural Chime (3)

Once I had enough shells with holes, I threaded them onto gold string. Tie these to the arms of a decorative starfish. If you don’t have a starfish, a piece of bamboo or driftwood would be pretty, too.

Natural Chime (4)

I suspended the star fish from a low branch of a tree outside, and clicked the shells together for Veronika to hear the beautiful sound.

Natural Chime (7)

She was immediately entranced and wanted her own chance to clack the strings and shells together.

Natural Chime (8)

Next we lay down on a towel underneath the tree to enjoy way the shells looked from up above. We could watch the strings move and the leaves dance in the tree, and I talked about everything she could hear and see. All in all, this was a beautiful project!

Natural Chime (10)

Seashell Friends

Seashell Friends (5)

After a week at the beach, we’ve come home with treasures galore to turn into crafts! Some of our best clam shells were the perfect base for making these little “friends”, and now they are a fantastic reminder of the summer fun we had at the shore.

Start with any relatively flat, whole shell as your base – clams worked great, but we tried a mussel shell that we’d found as well.

Seashell Friends (2)

After a week away, Travis couldn’t wait to get his hands into our craft bin, meaning this was a before-breakfast undertaking!

Seashell Friends (1)

Use anything in your craft box to make silly, friendly faces on the shells – I thought pipe cleaners or ribbon would make great smiles, but Travis had more fun adding mouths in sparkly glitter glue and paint.

Seashell Friends (4)

Pom poms made adorable noses, and googly eyes were the perfect finishing touch.

Seashell Friends (6)


Beach Memento Wind Chime

Beach Wind Chime (4).JPG

If your summer plans take you to the beach, bring a bit of the beach home with you with this neat project!

The first step of course is finding your treasures, so the next time you head to the beach, bring a shovel and pail; take a walk in the sand to comb through for the prettiest finds. We only found small pieces of shell at this particular beach, but they were a gorgeous assortment of colors – purples and whites and even gold!

Beach Wind Chime (1)

At home, find a sturdy stick and use twine to wind around your treasures, and then knot onto the stick. Travis loved “helping” with the winding and knotting.

Beach Wind Chime (2)

Once we had our treasures dangling in a row, we hung them outside where they could click and clack against each other.

Beach Wind Chime (3)

A super windy day made this project even better!

Beach Wind Chime (5)

Ocean Sensory Tray

Ocean Tray (4)

What do you do on a summer day when you plan to go to the ocean, but the weather doesn’t cooperate? Bring the ocean to you of course!

Arguably the best part of this game for Travis was dyeing the water blue, so food coloring is a must. I set up a bin of water in the bathroom, and he loved dumping in the blue color, swirling it around until we had ocean water.

Ocean Tray (1)

Now it was time to add all our ocean toys!

If you have shells from a recent excursion to the shore, be sure to add those as well. Since we didn’t have any, large pasta shells worked in a pinch!

Ocean Tray (2)

Travis loved putting all our sea treasures in and out of the bin several times.

Ocean Tray (5)

He also loved filling a baster up with the ocean water and creating ocean storms and waves.

Ocean Tray (3)

Overall, this was a nice diversion indoors – and you could certainly play it outside on a hot day, too!