Spaghetti Spider Web Craft

Spaghetti Spider Web (11)

Thanks to some recent sensory play with Veronika, I’ve learned a few tricks about how best to make sculpture from spaghetti. I realized the same method could be used to add to our Halloween decor, because it would result in perfect “spider webs”.

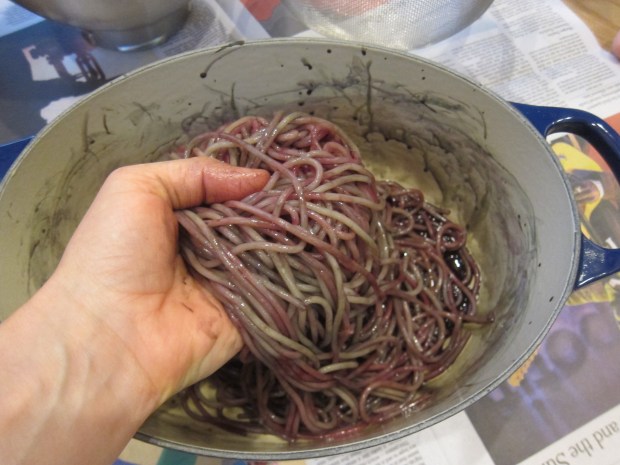
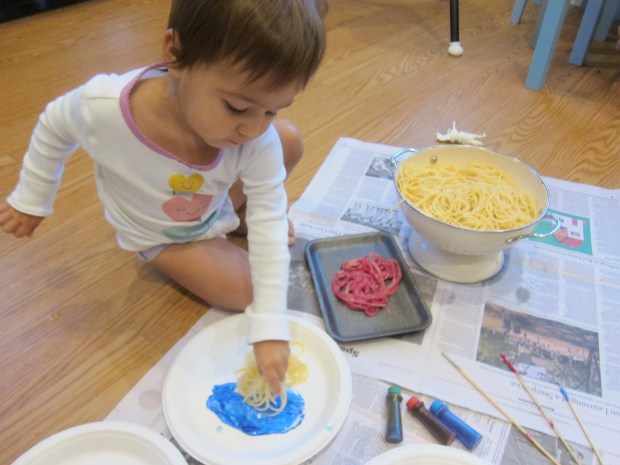
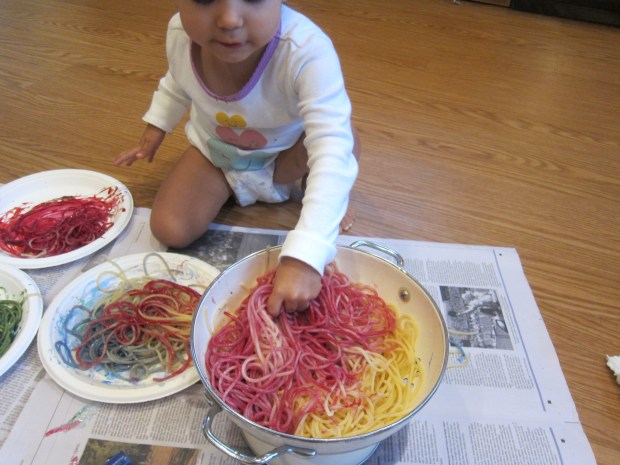
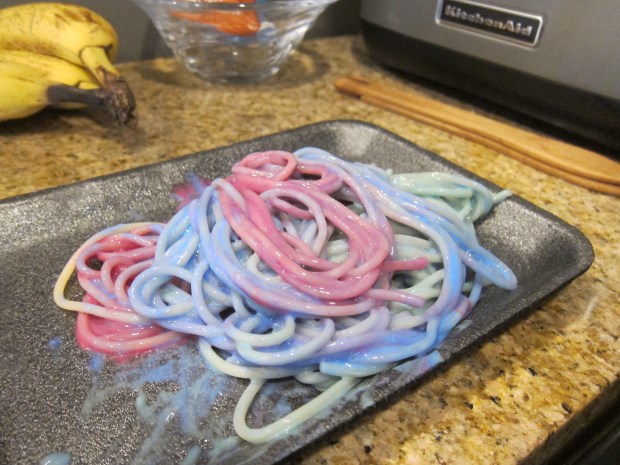
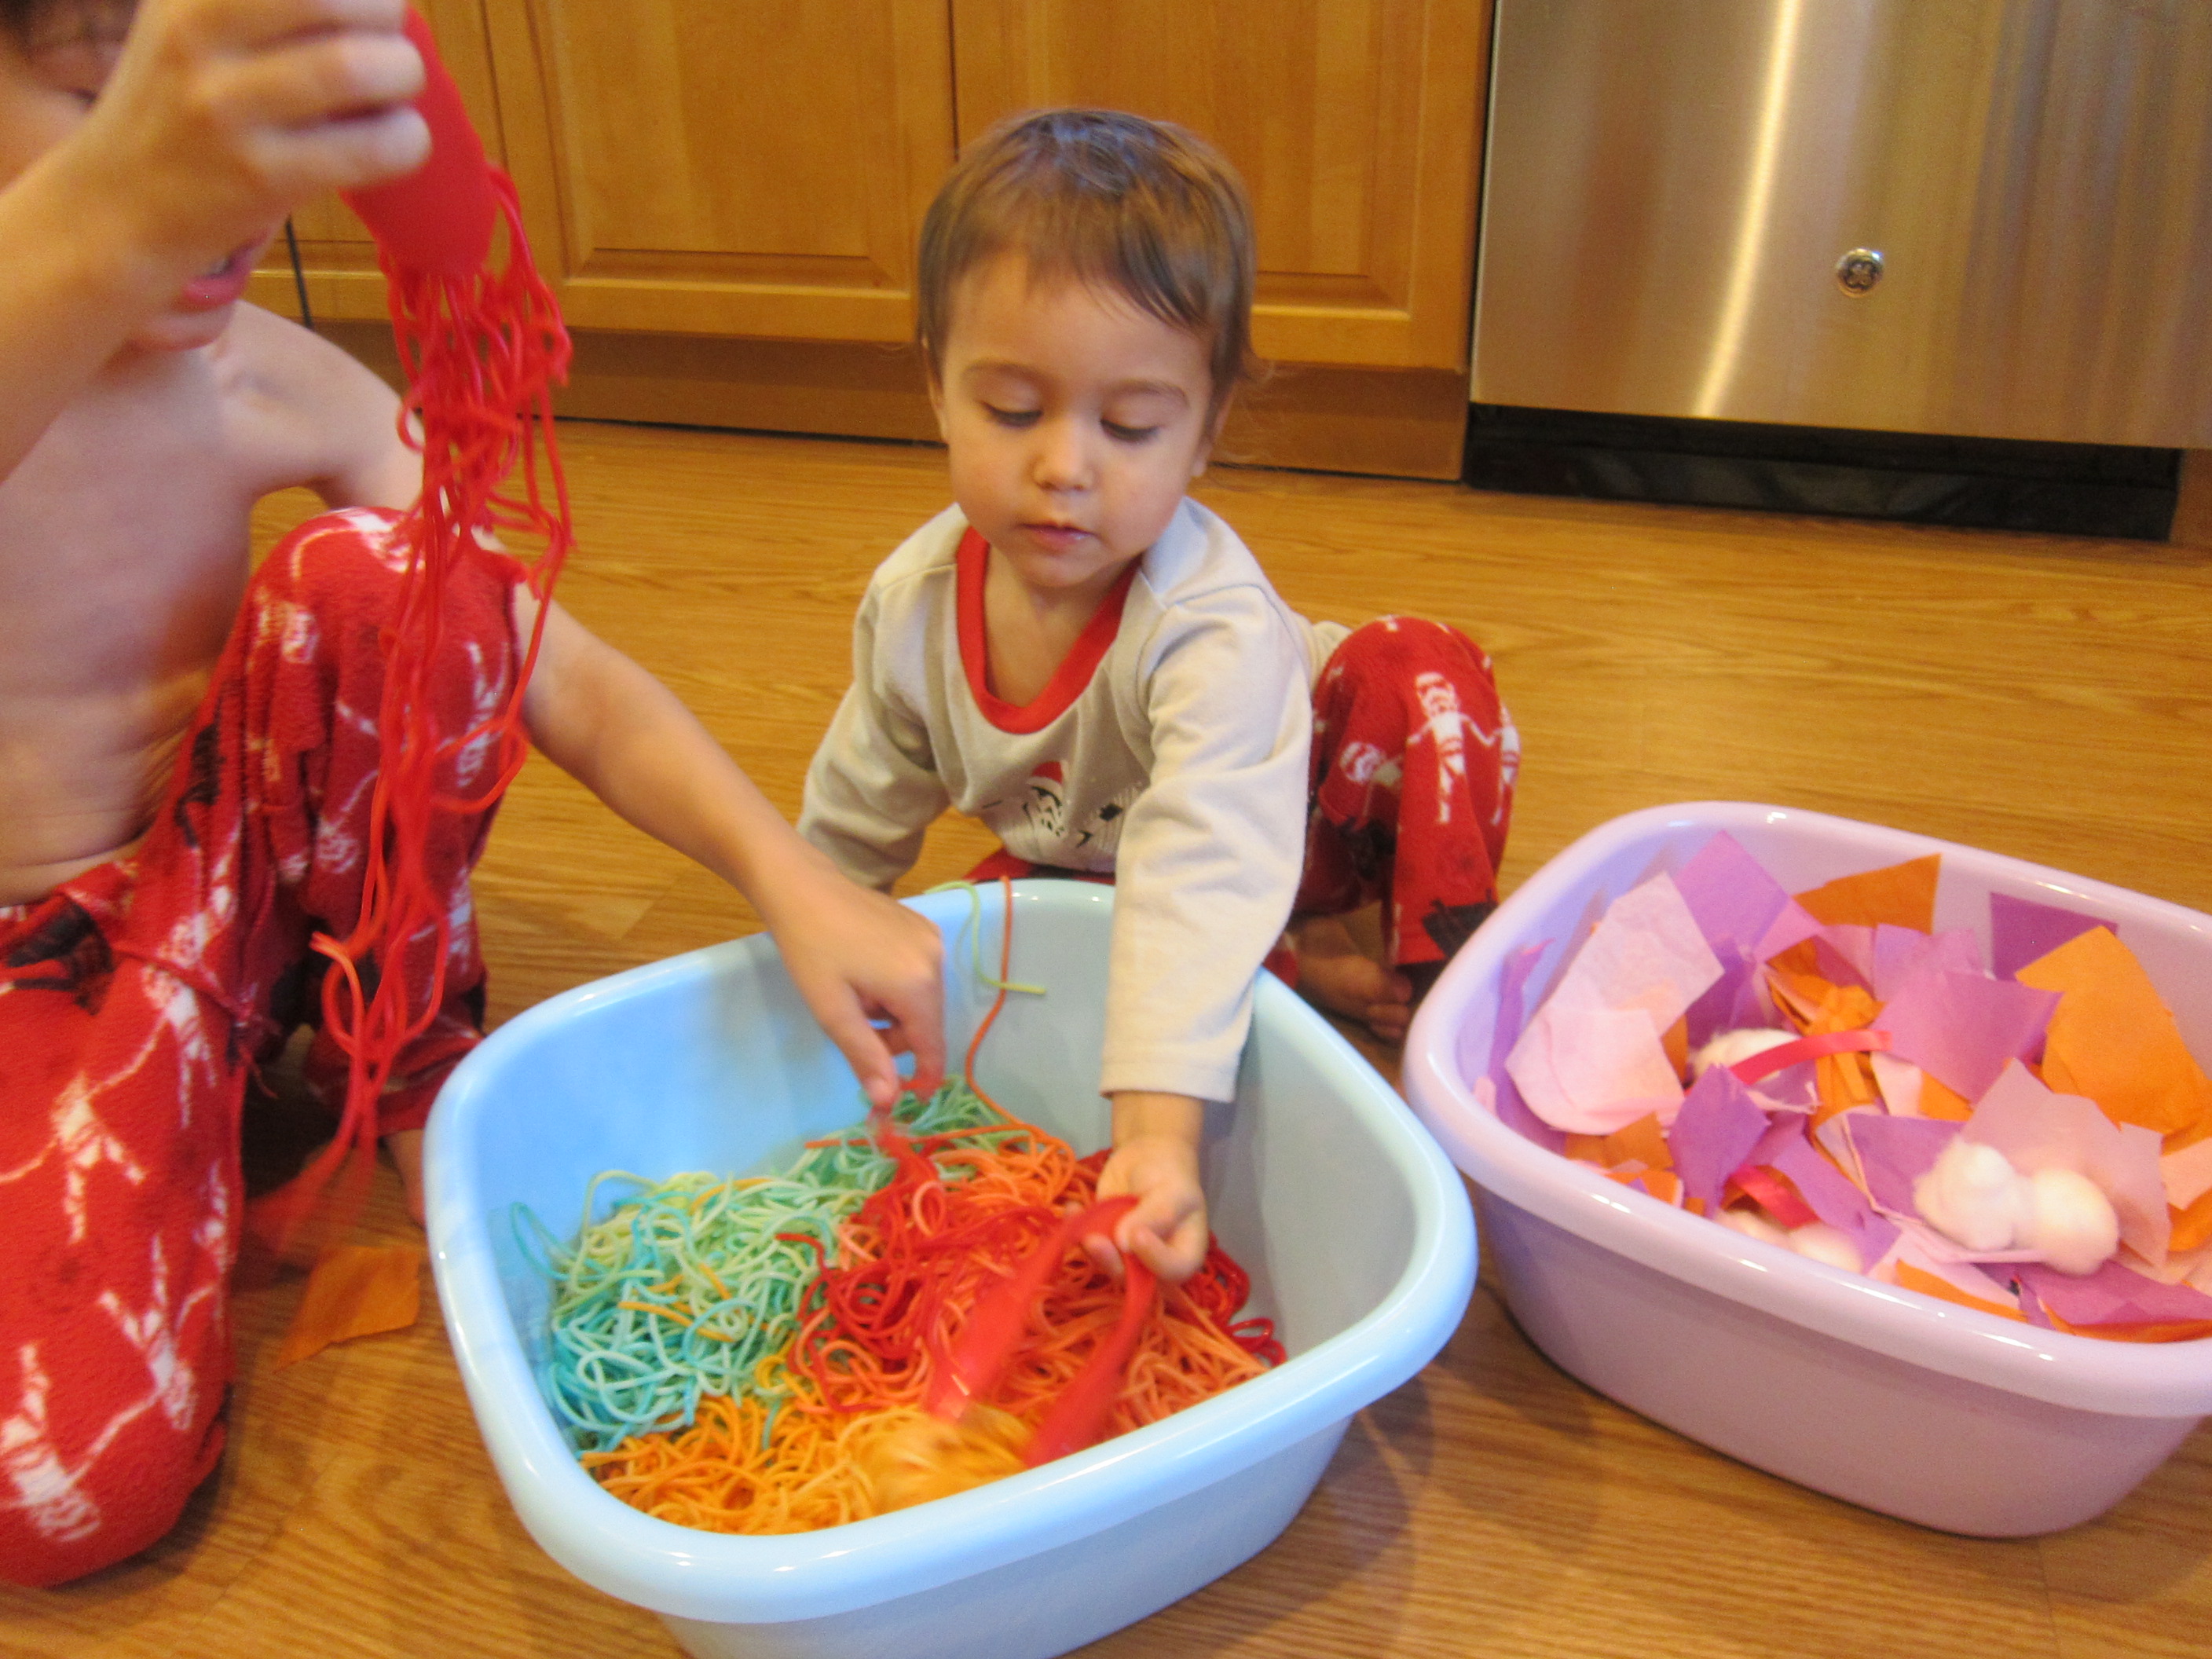
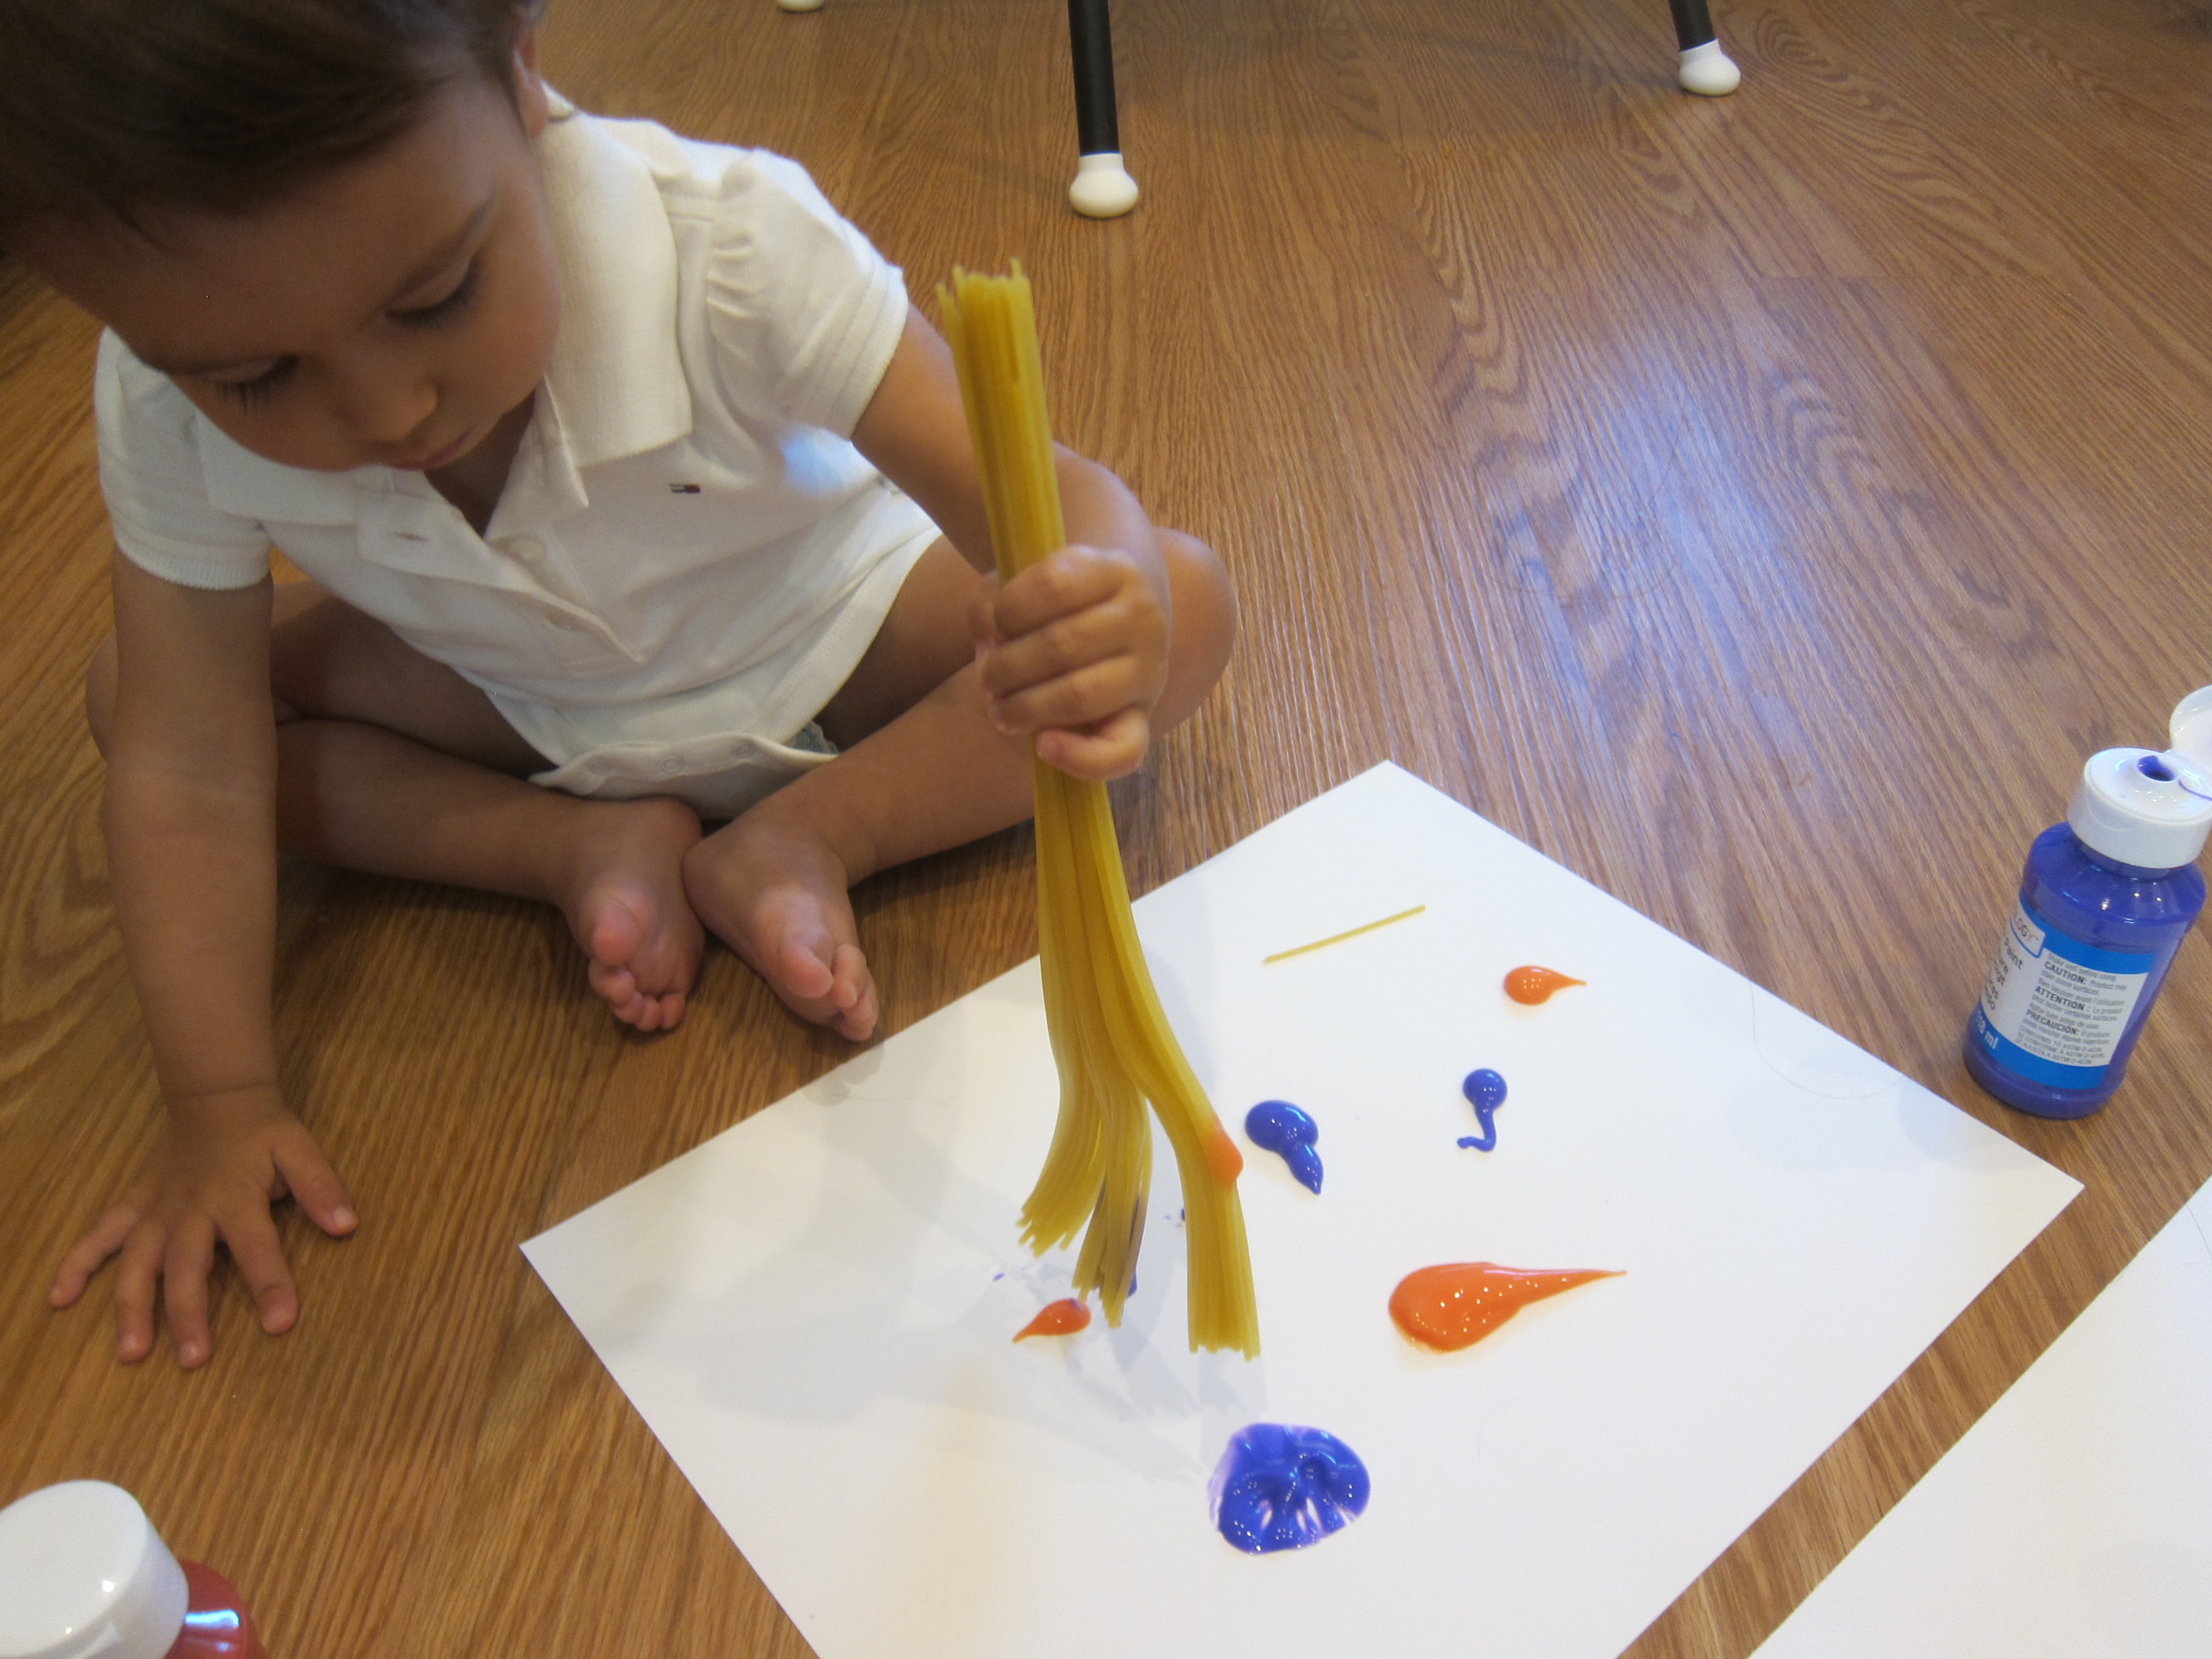
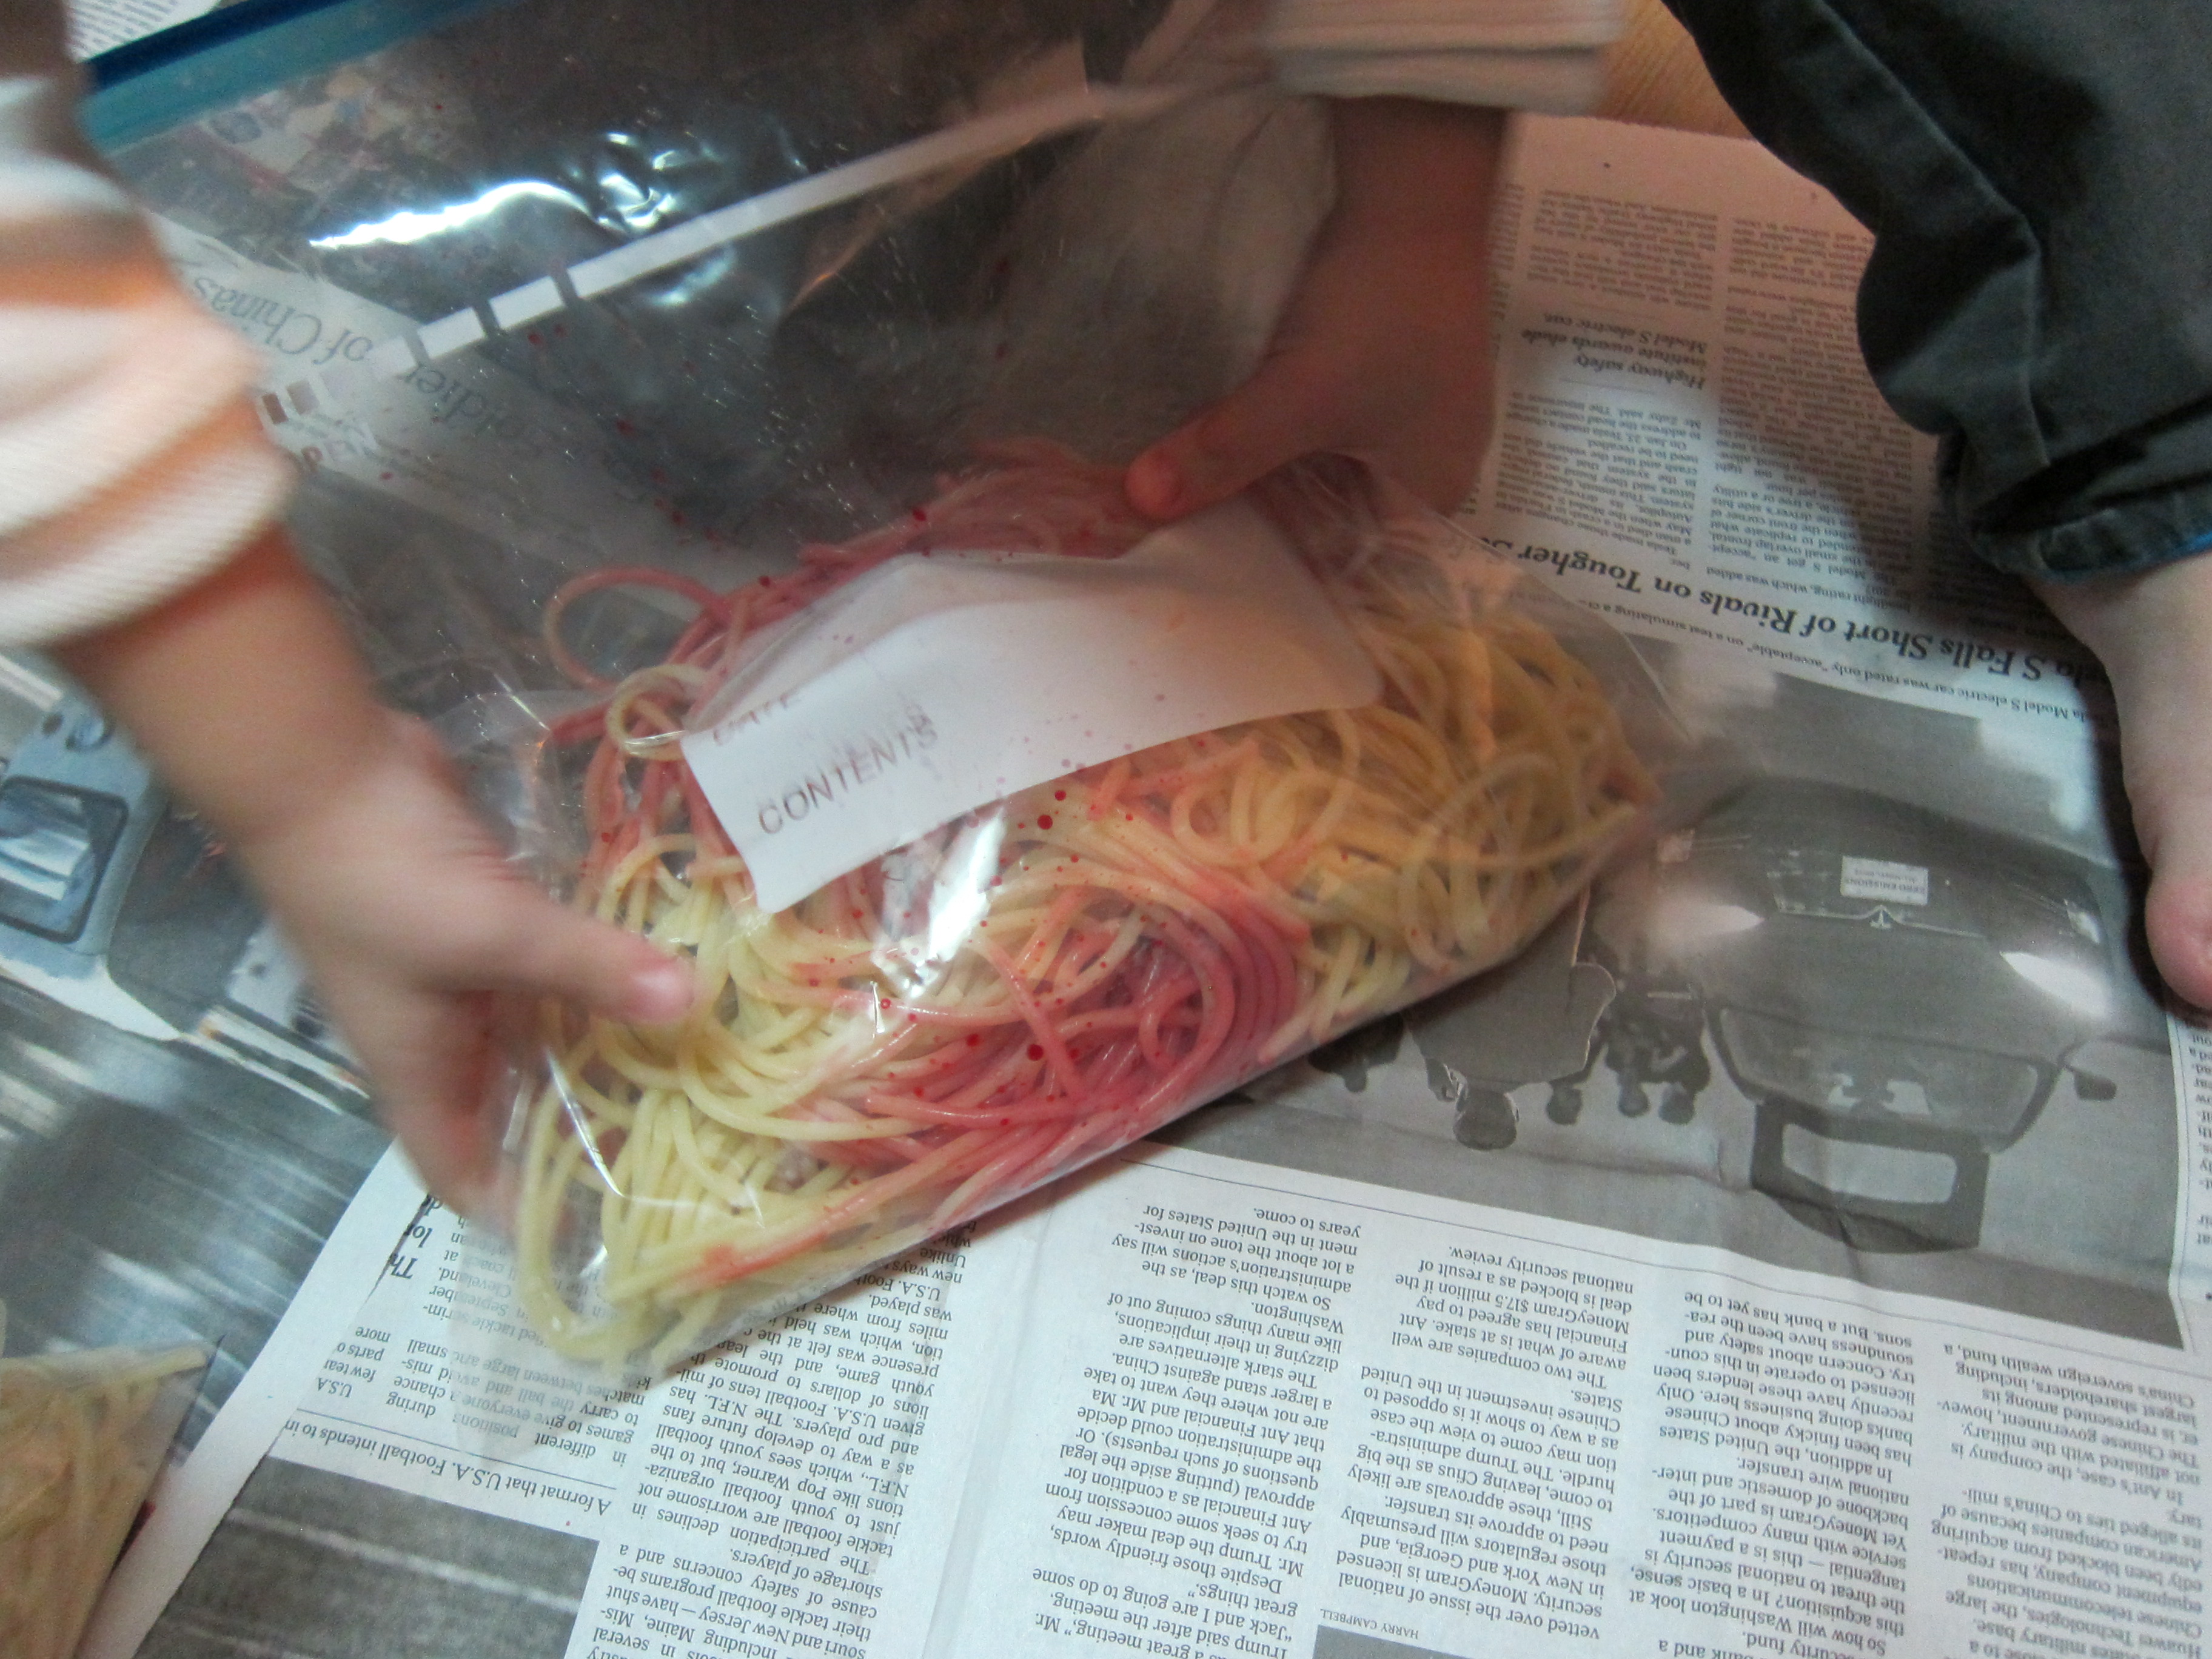
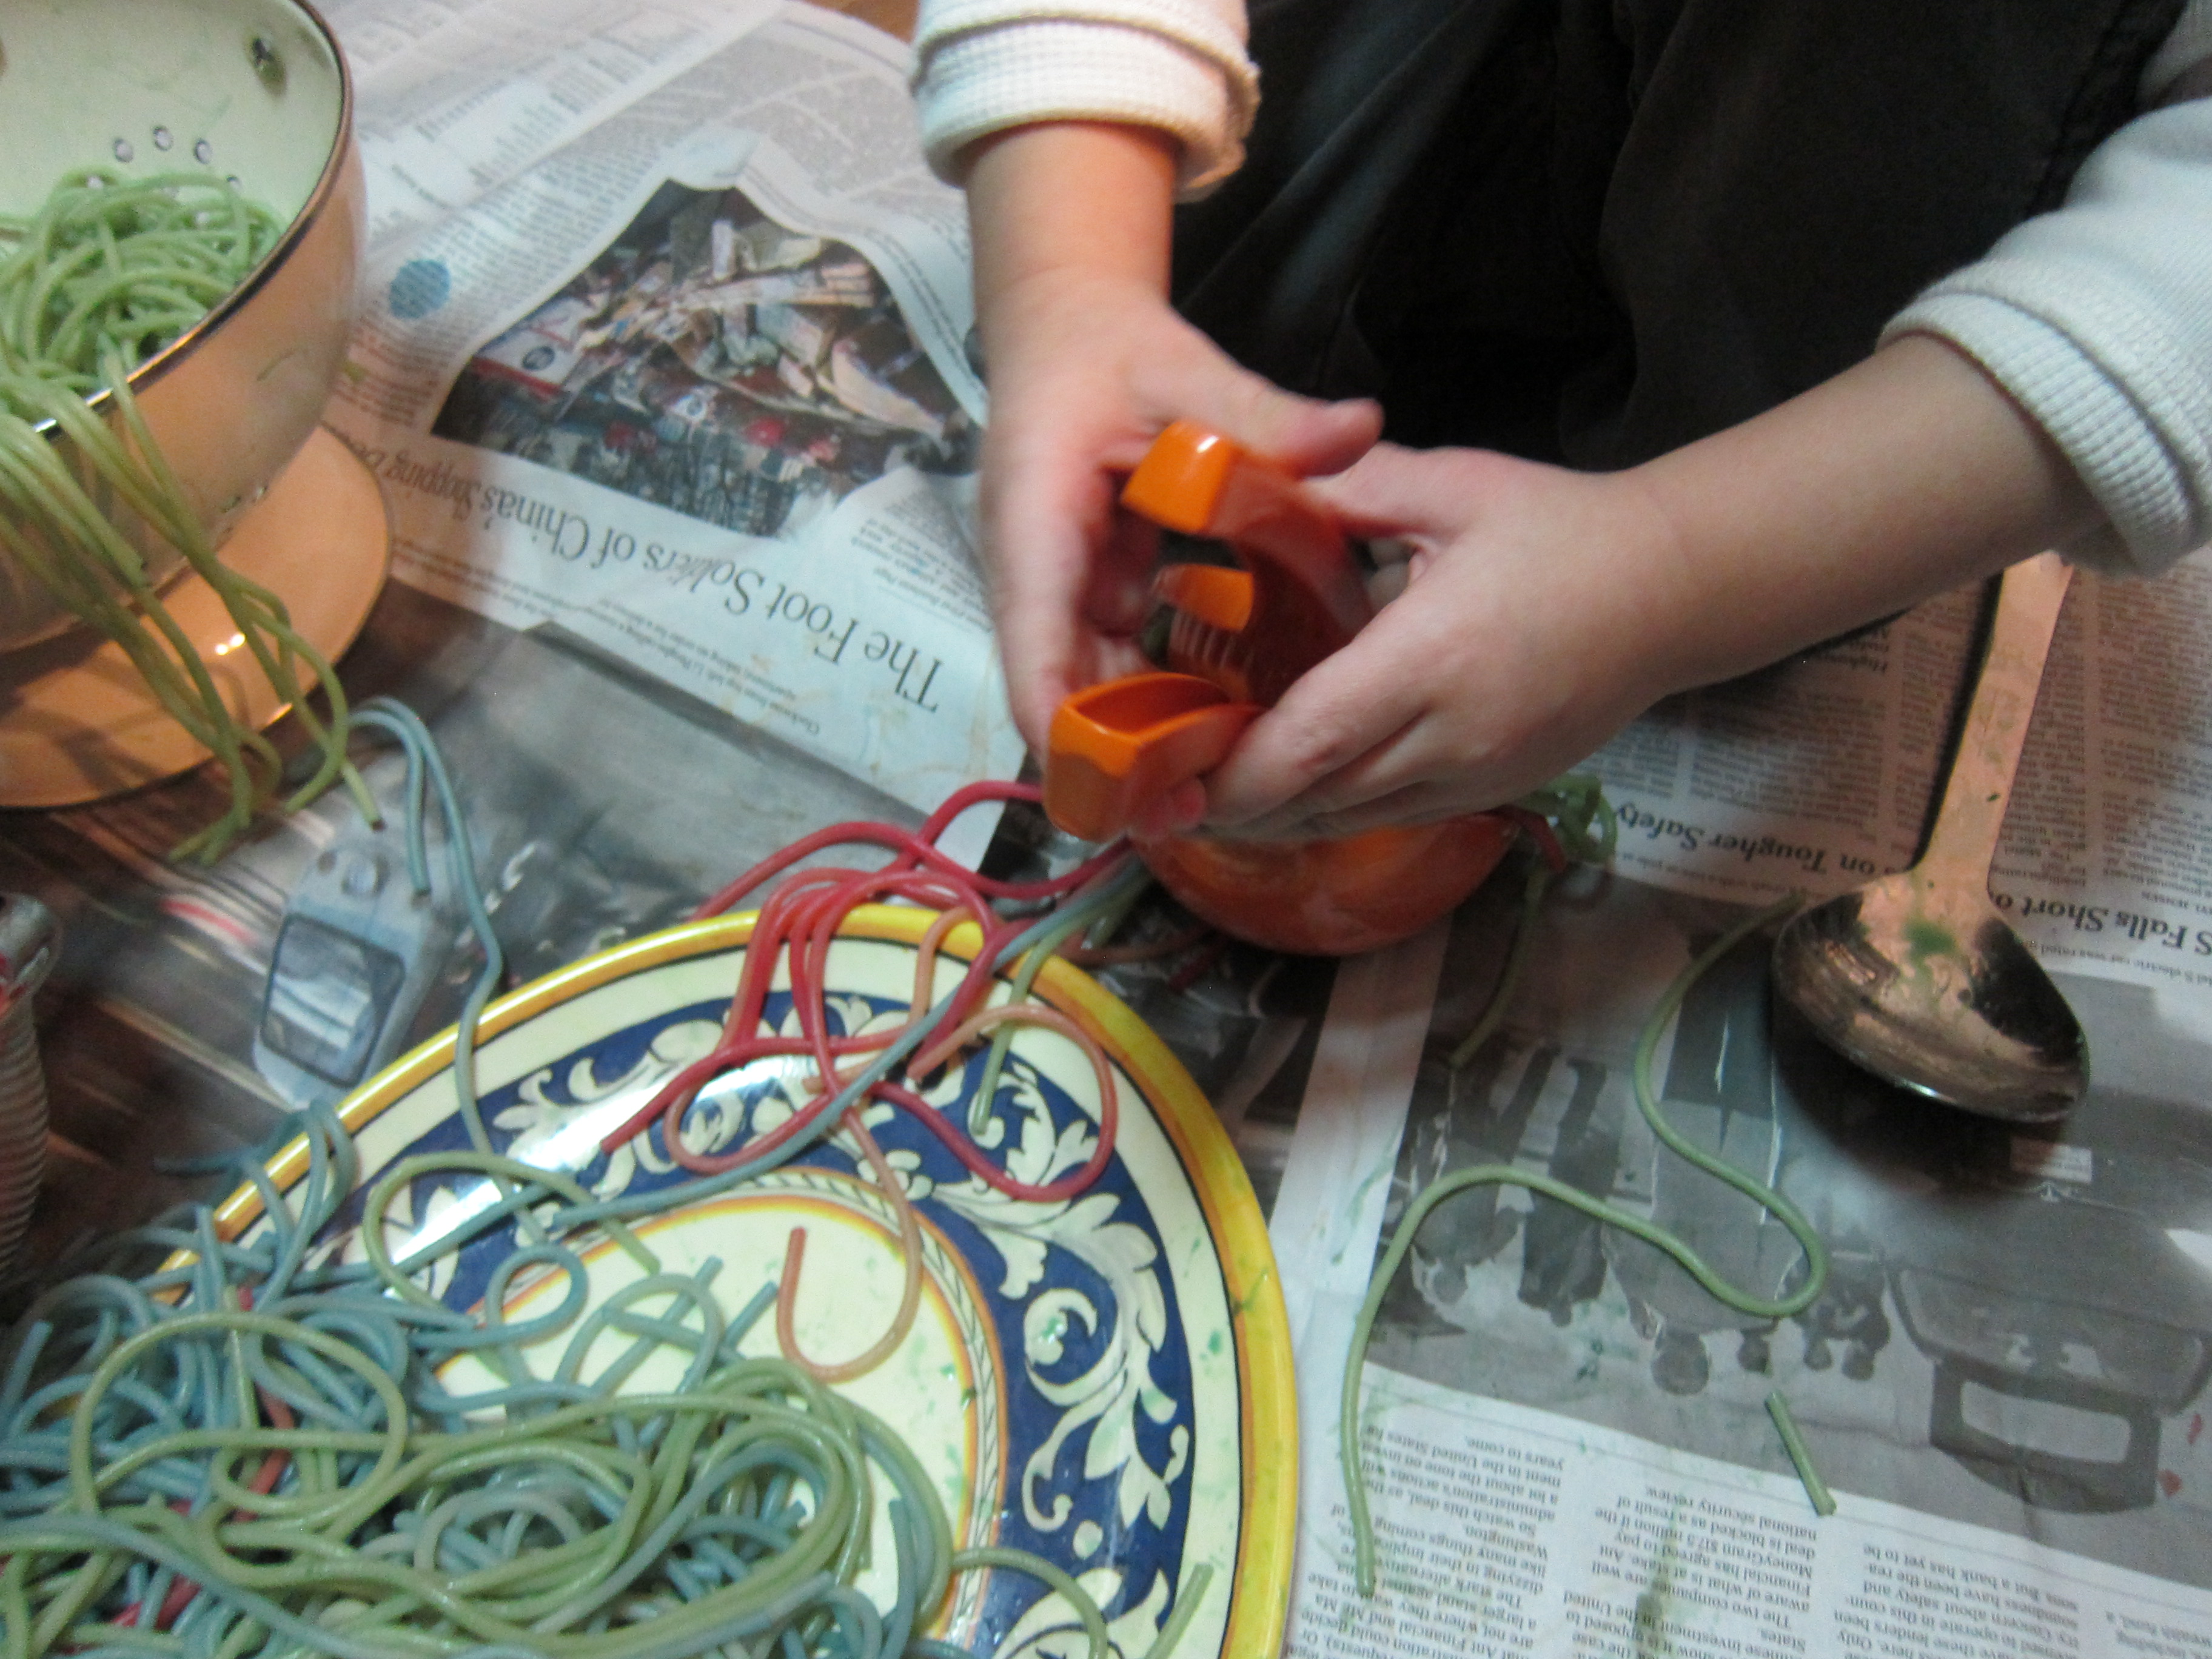
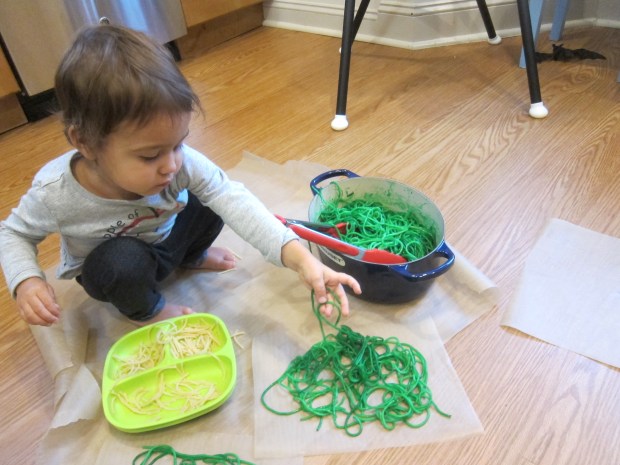
To start, mostly this activity was just spaghetti sensory play again. This time, I tinted a big batch of spaghetti a witchy green hue and instead of adding glue, I added corn syrup.

Spaghetti Spider Web (1)

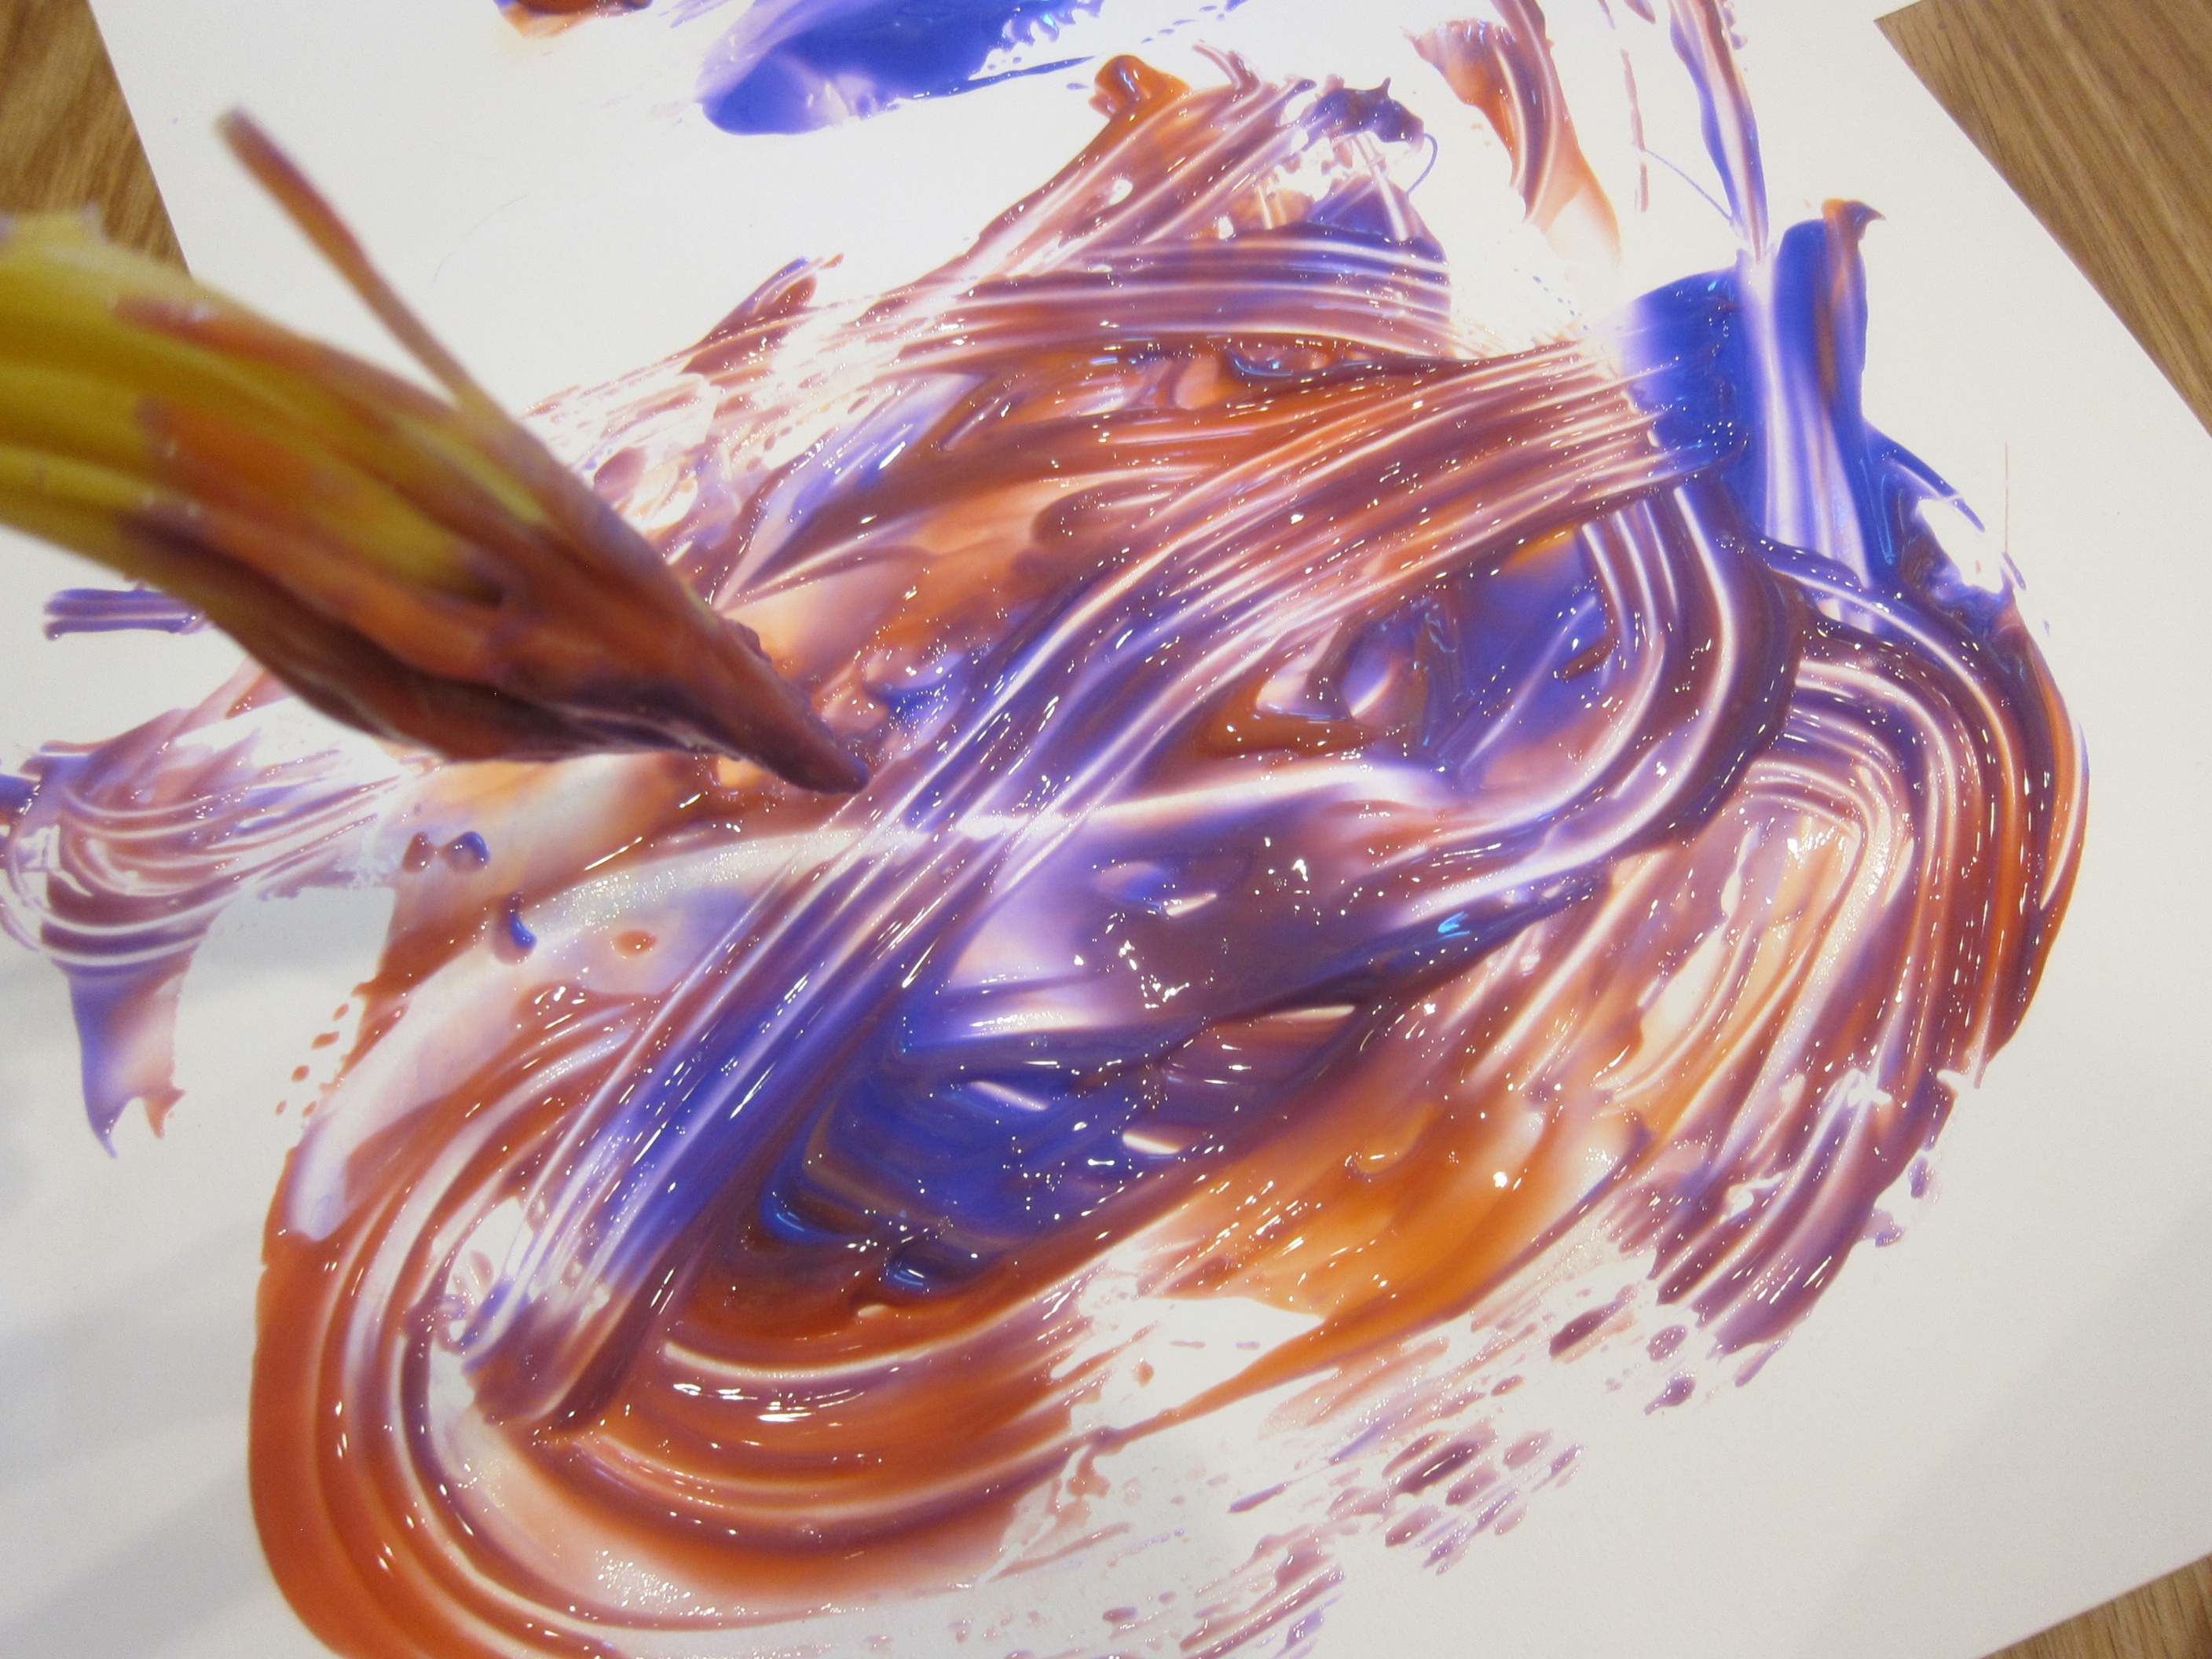
Just pour it on until you have a nice coating over the noodles. This not only means the noodles won’t clump together as your child plays, but also means the final artwork can still dry like glue, but stay edible.

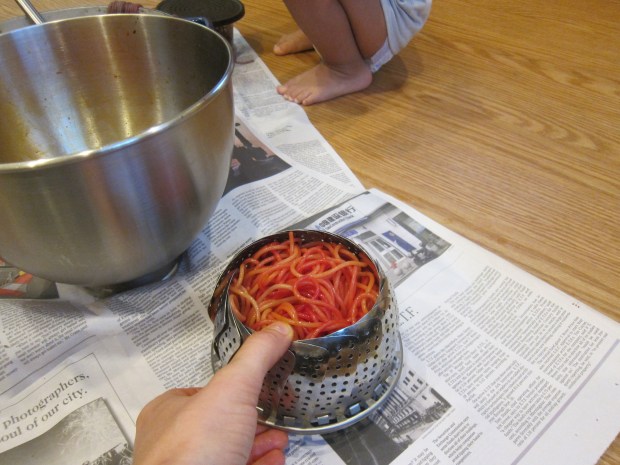
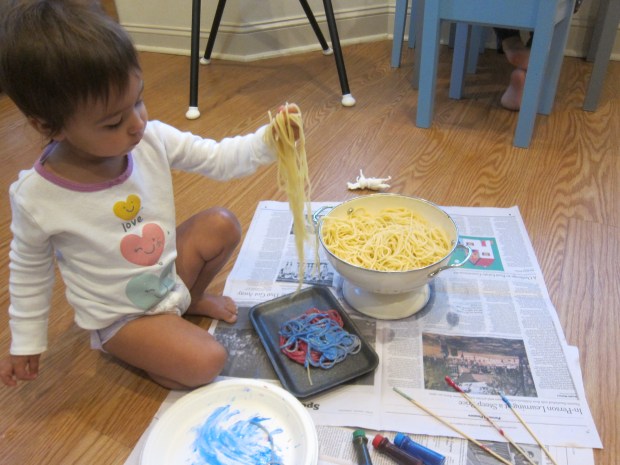
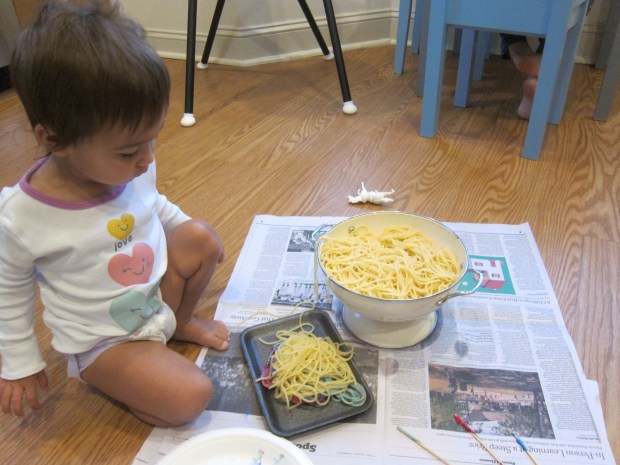
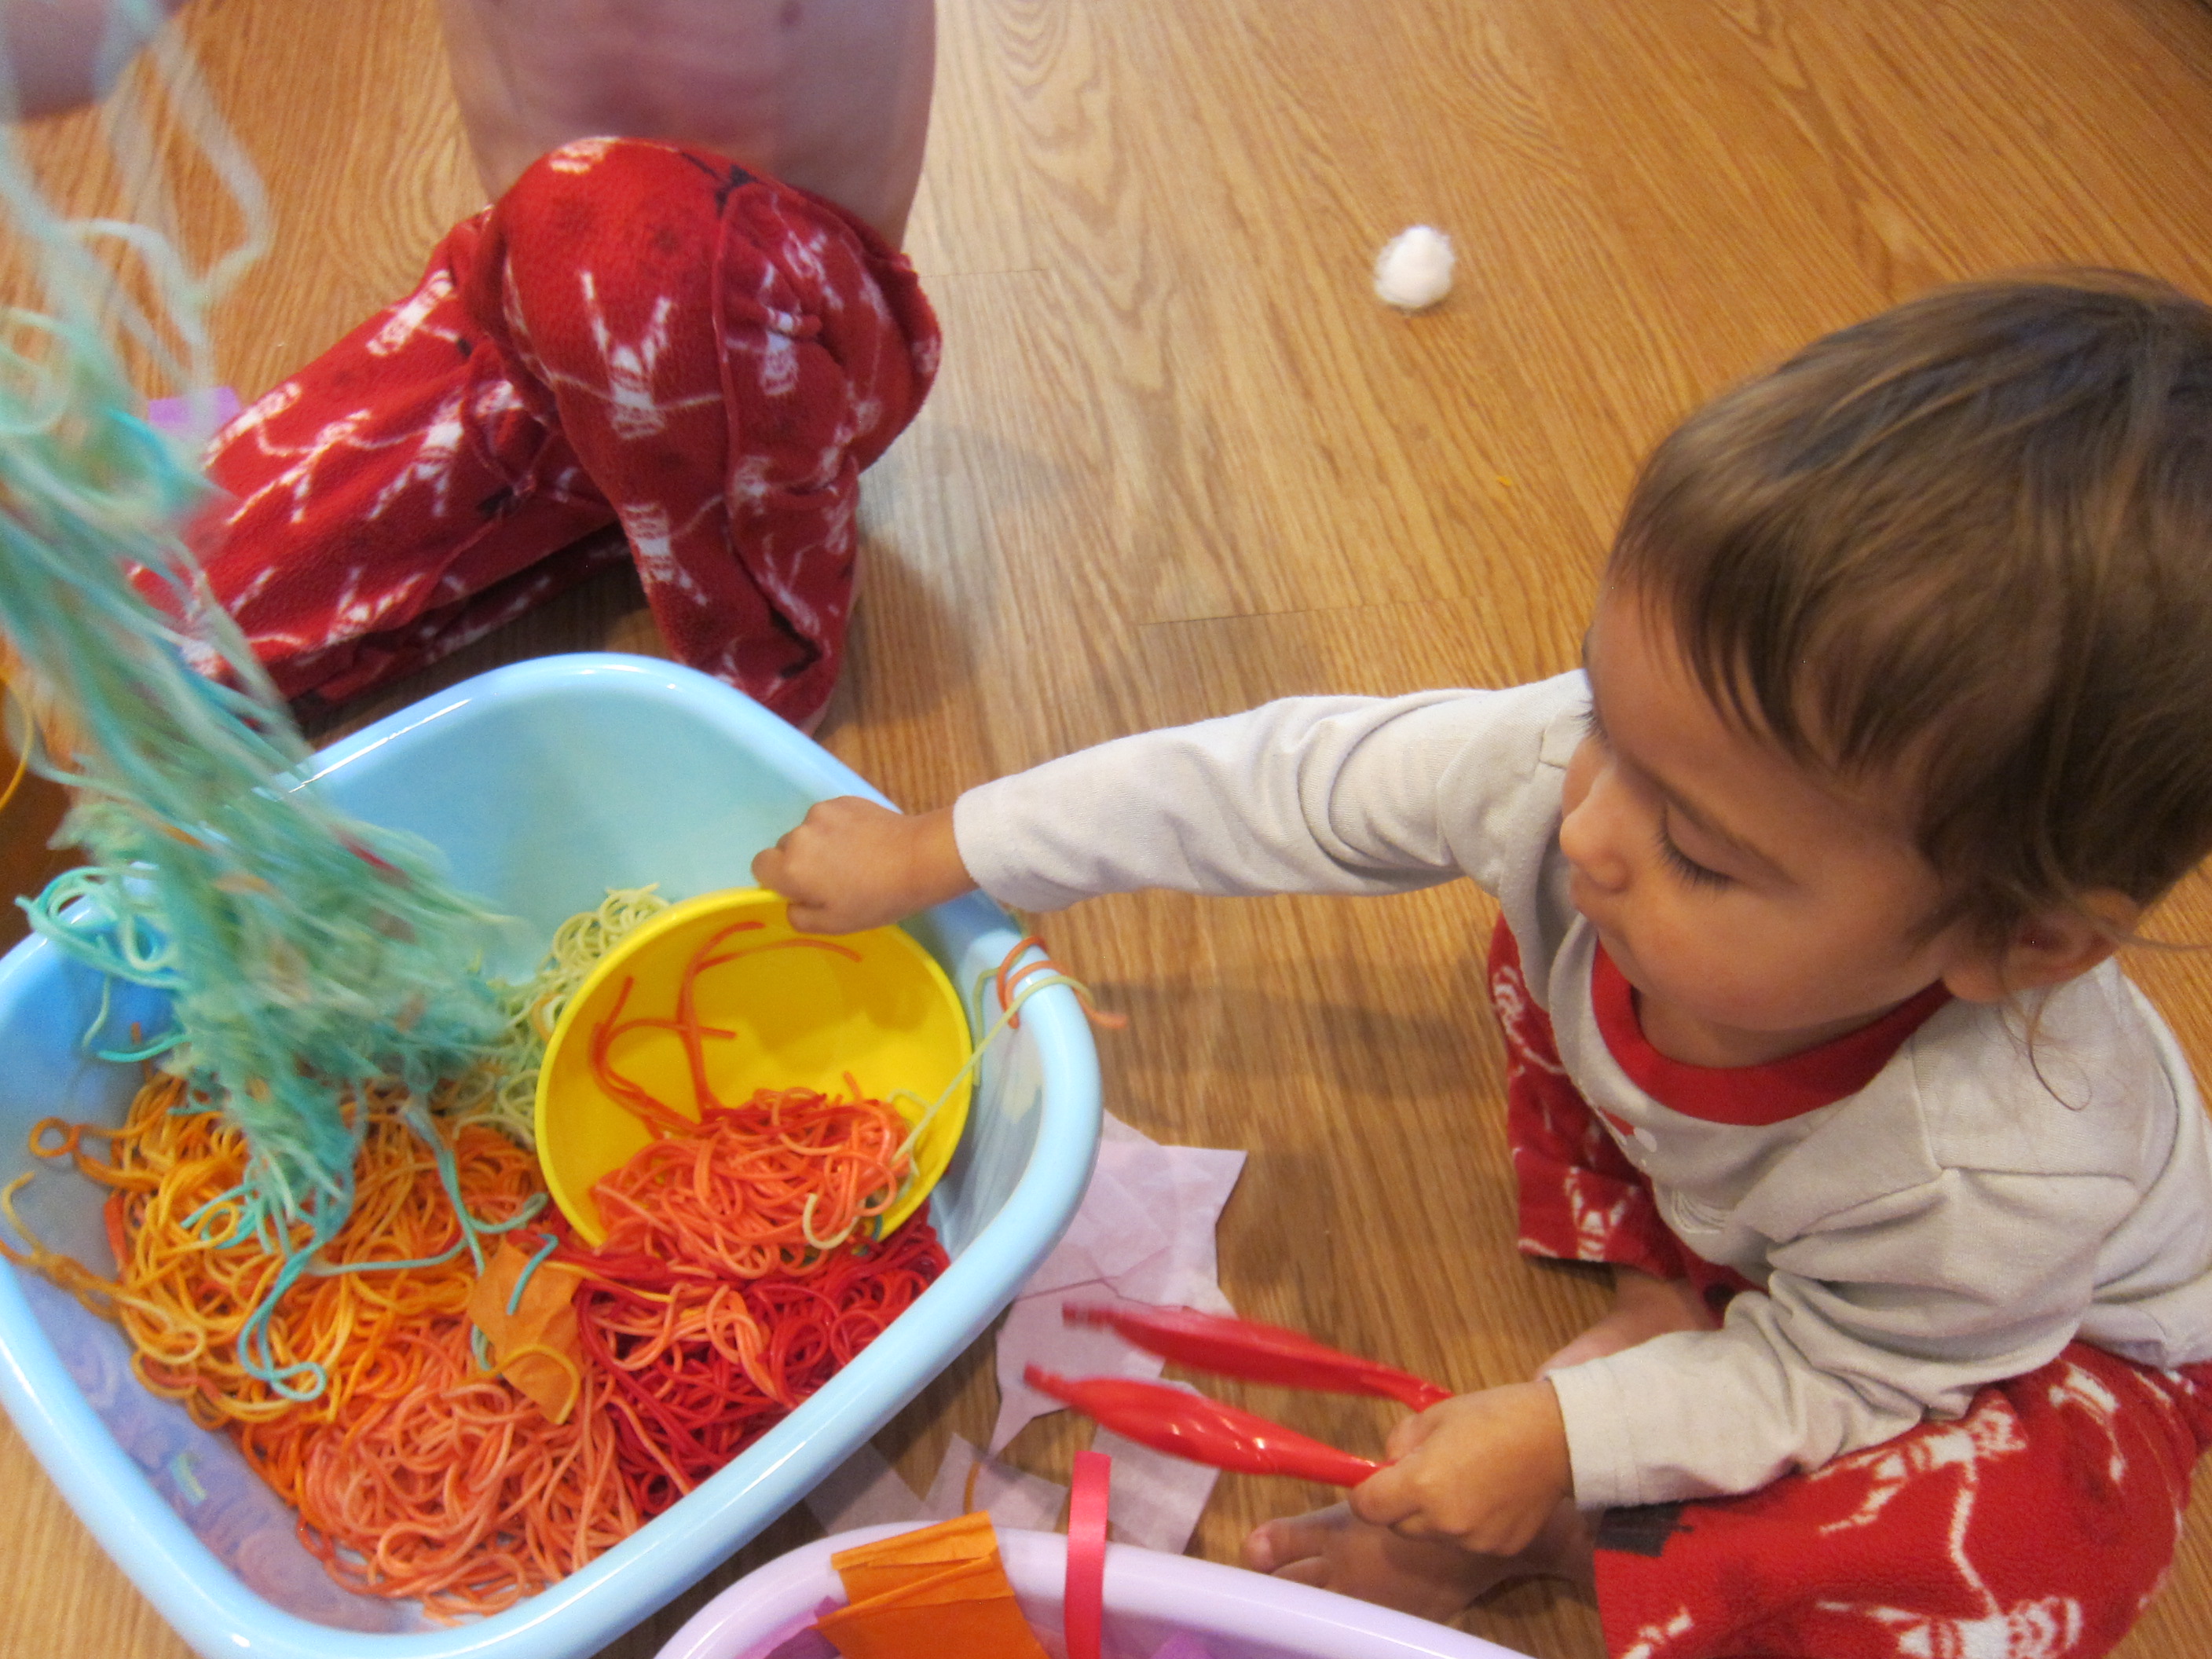
And good thing, because Veronika was in the mood to nibble on pasta today! I gave her a small dish of plain noodles, but she ate big handfuls of the green stuff right from the pot!

Spaghetti Spider Web (2)

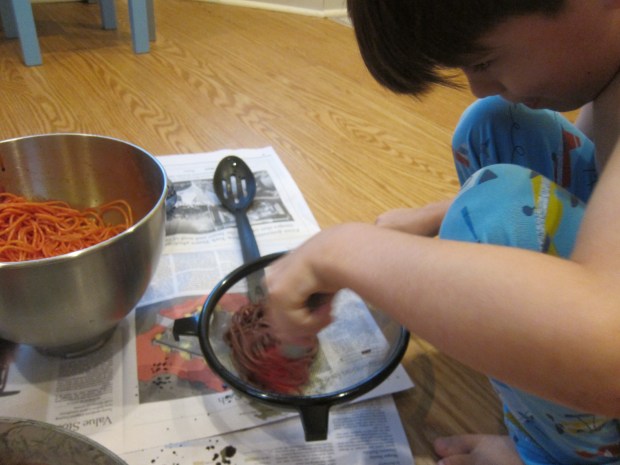
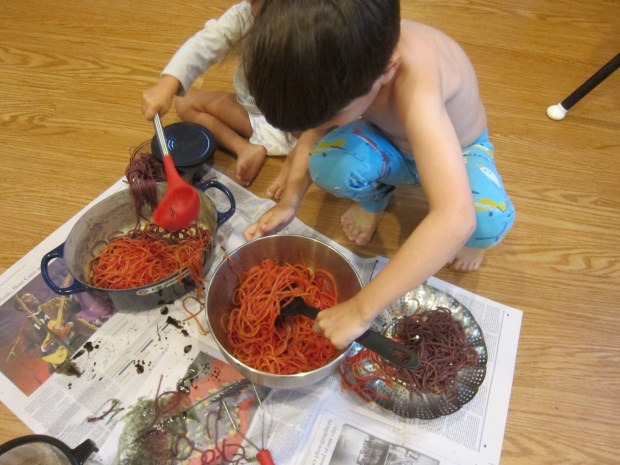
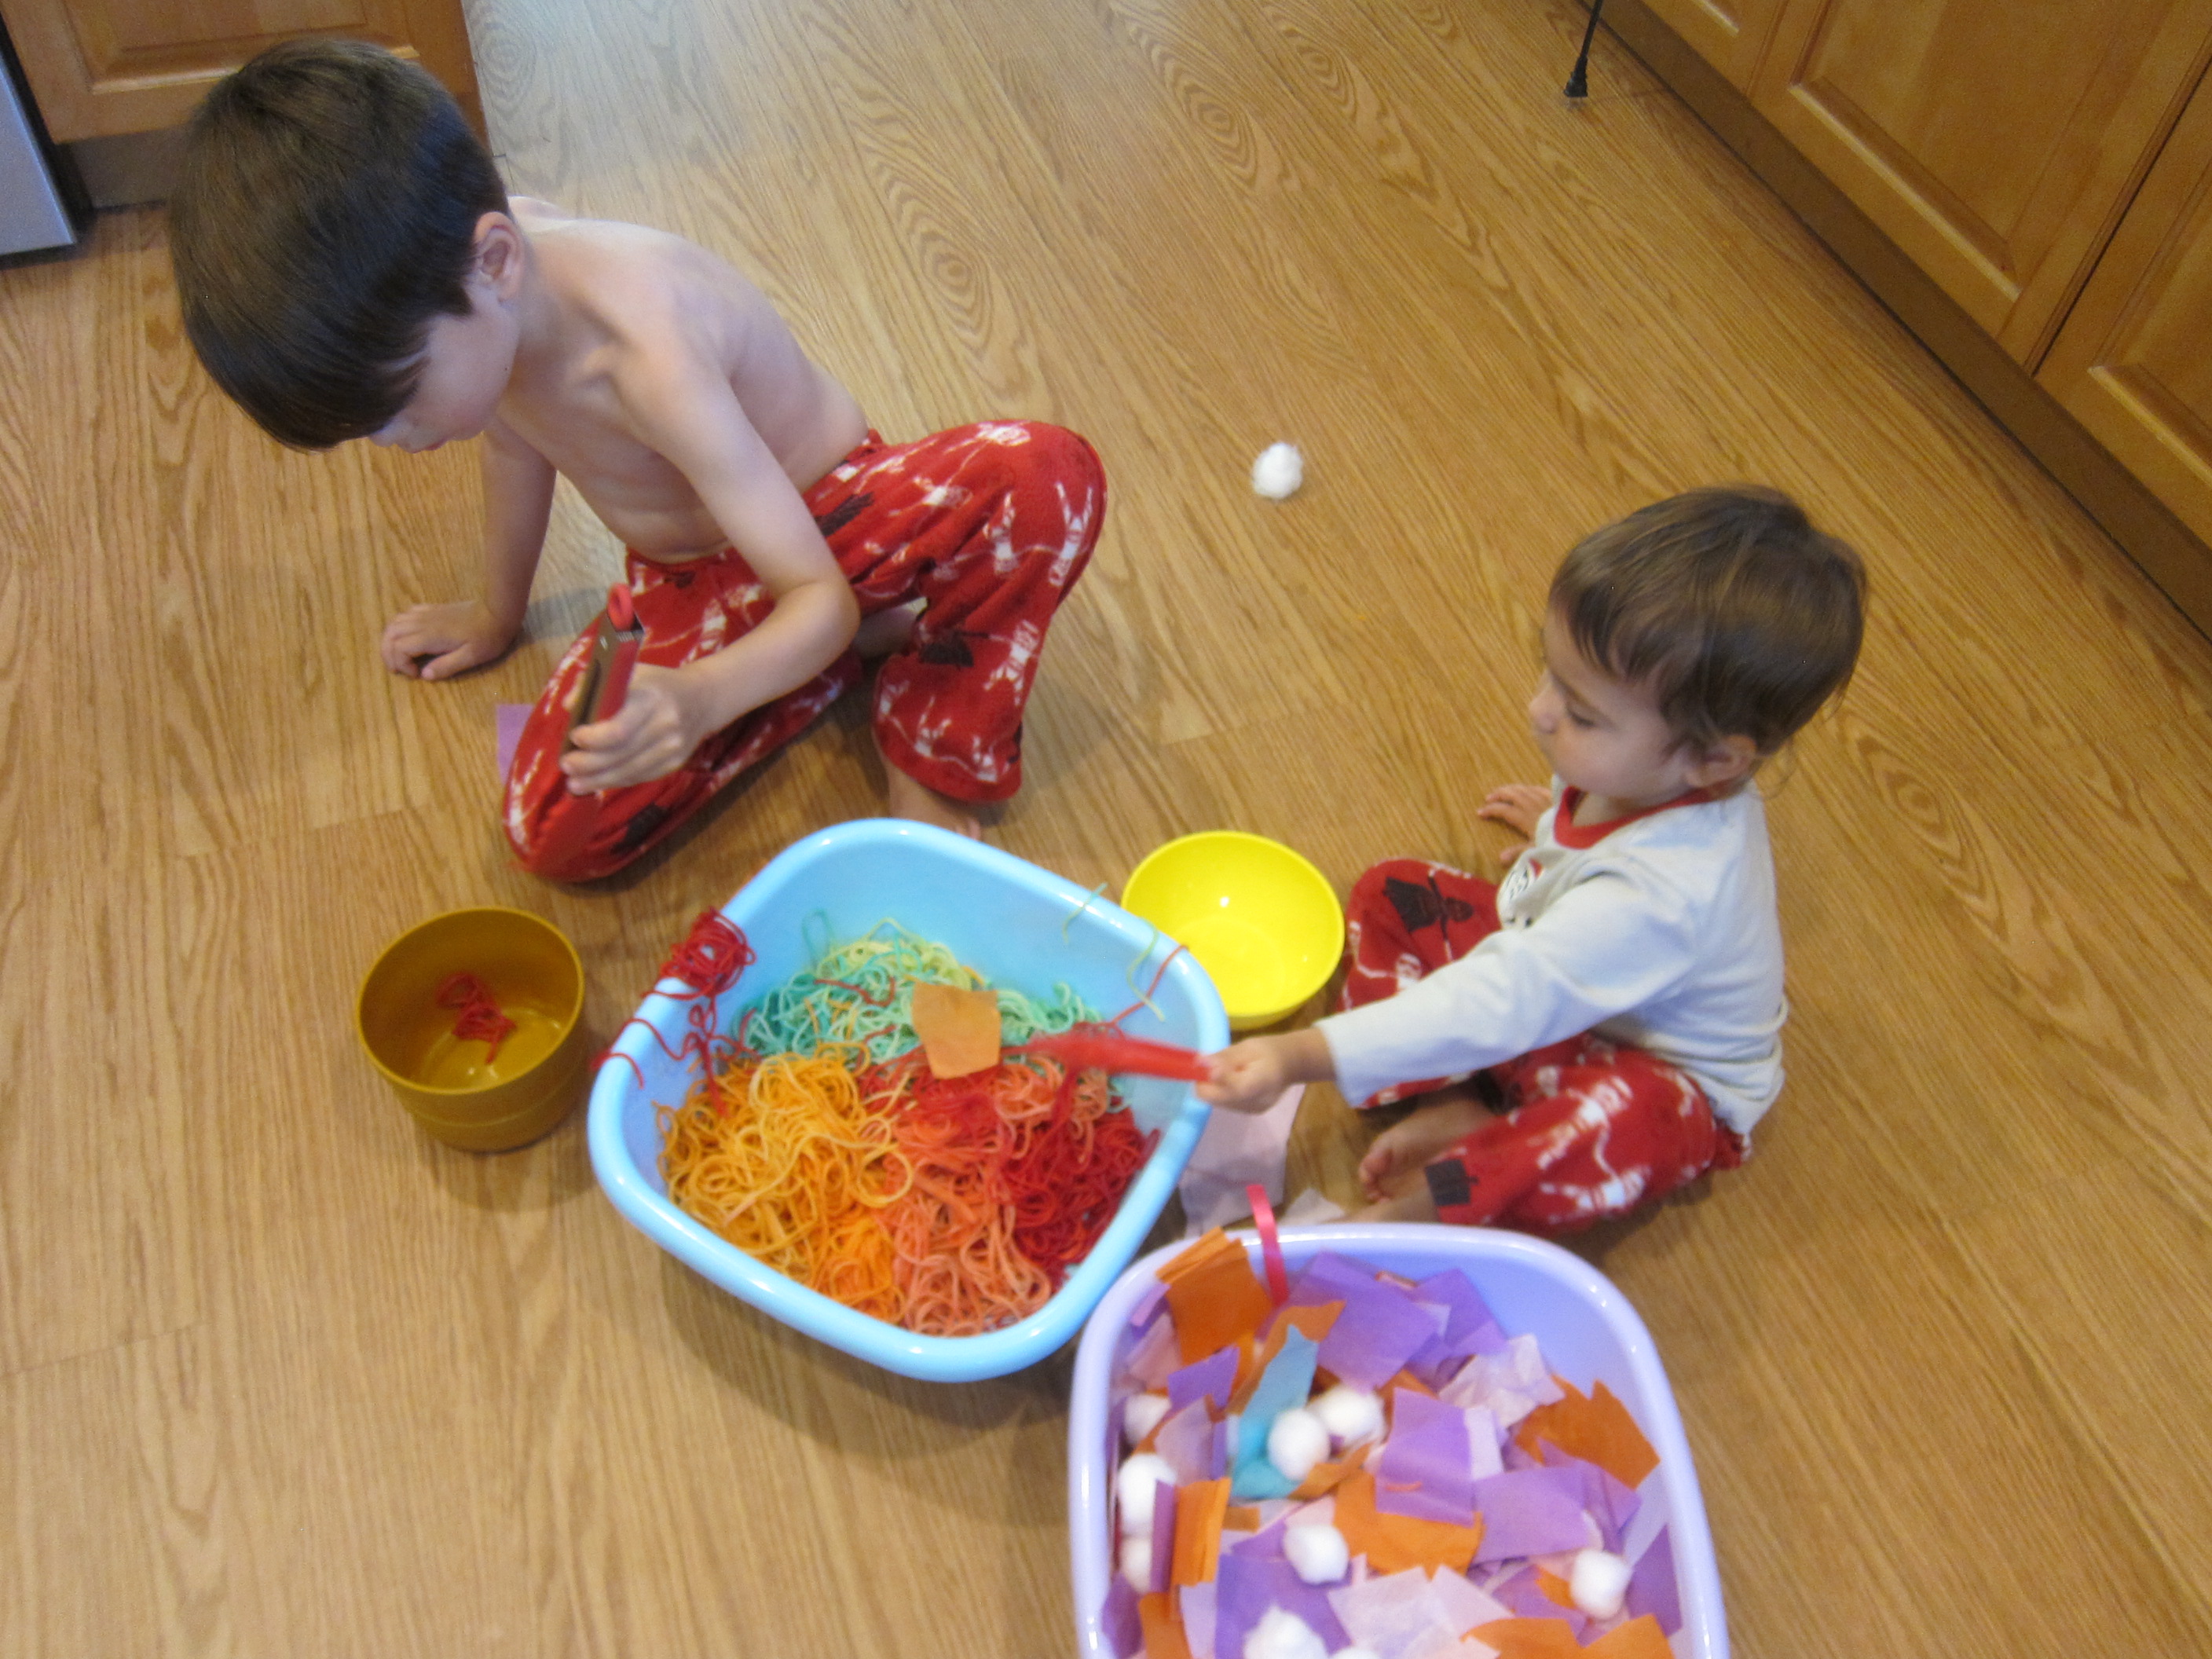
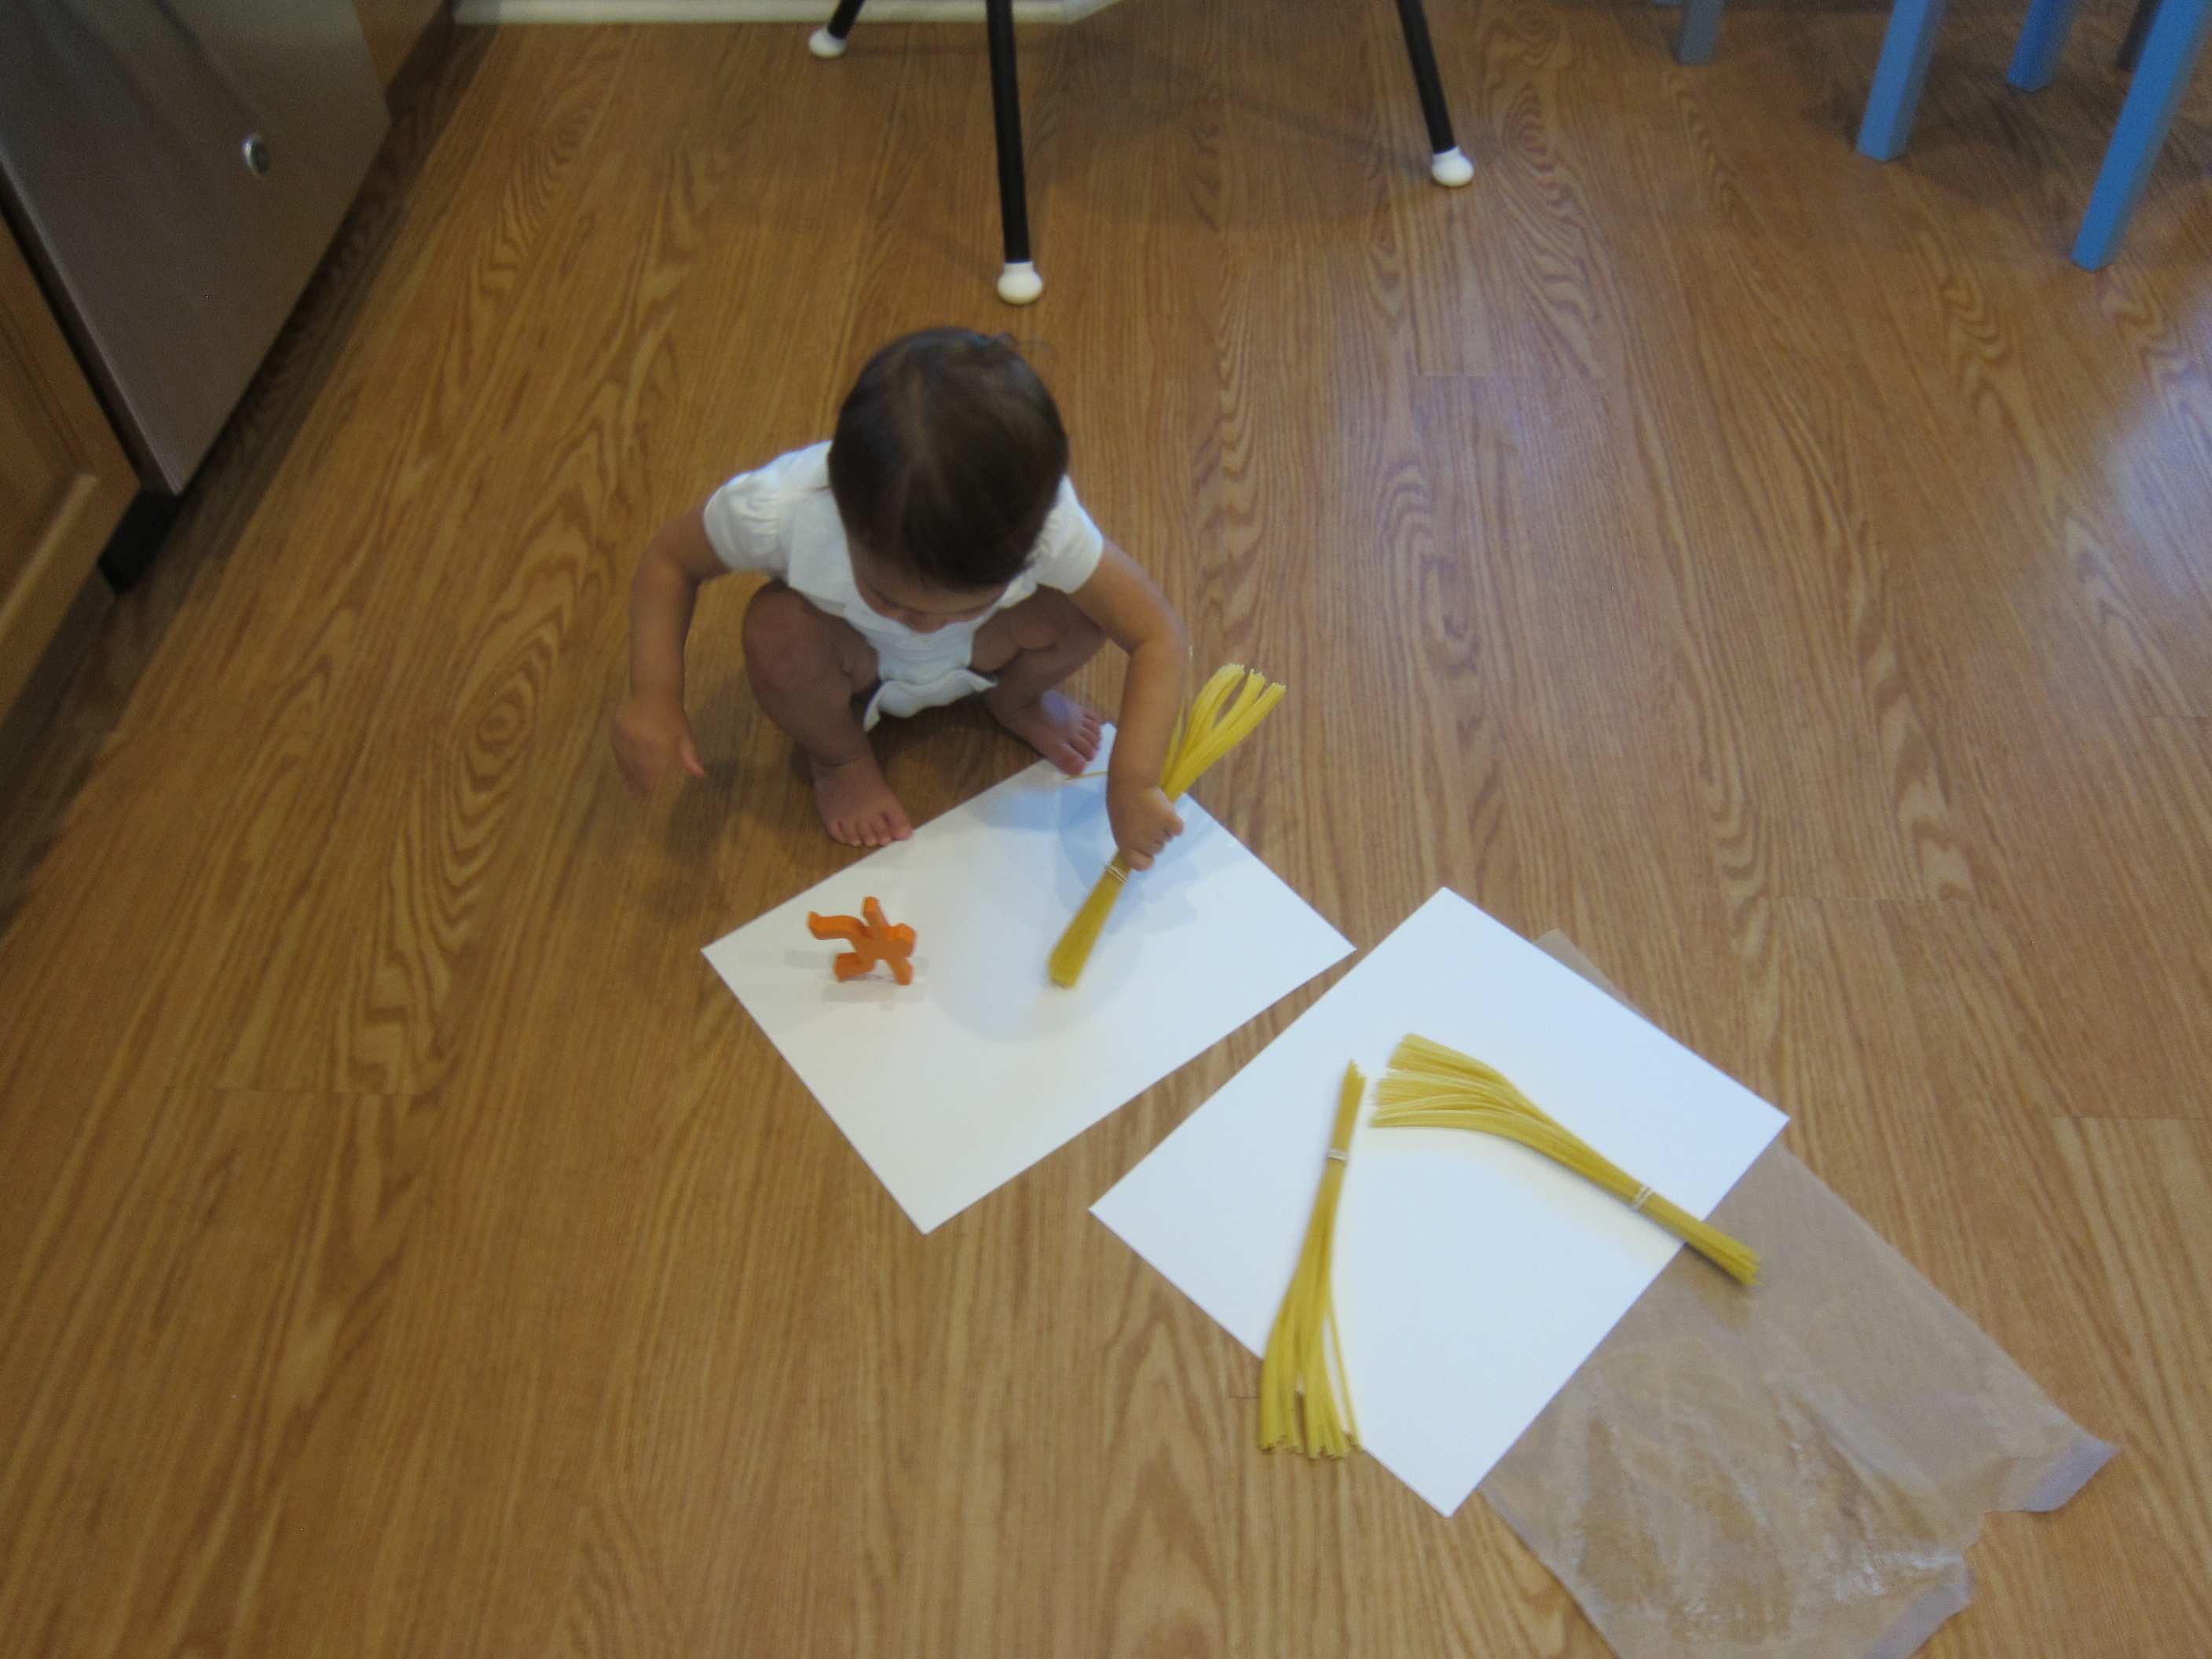
Eventually I diverted her attention from eating noodles to making the spider web craft. Lay out squares of wax paper and help your toddler arrange noodles in a circle. The thinner the overlap of the noodles, the faster and better these webs will dry.

Spaghetti Spider Web (4)

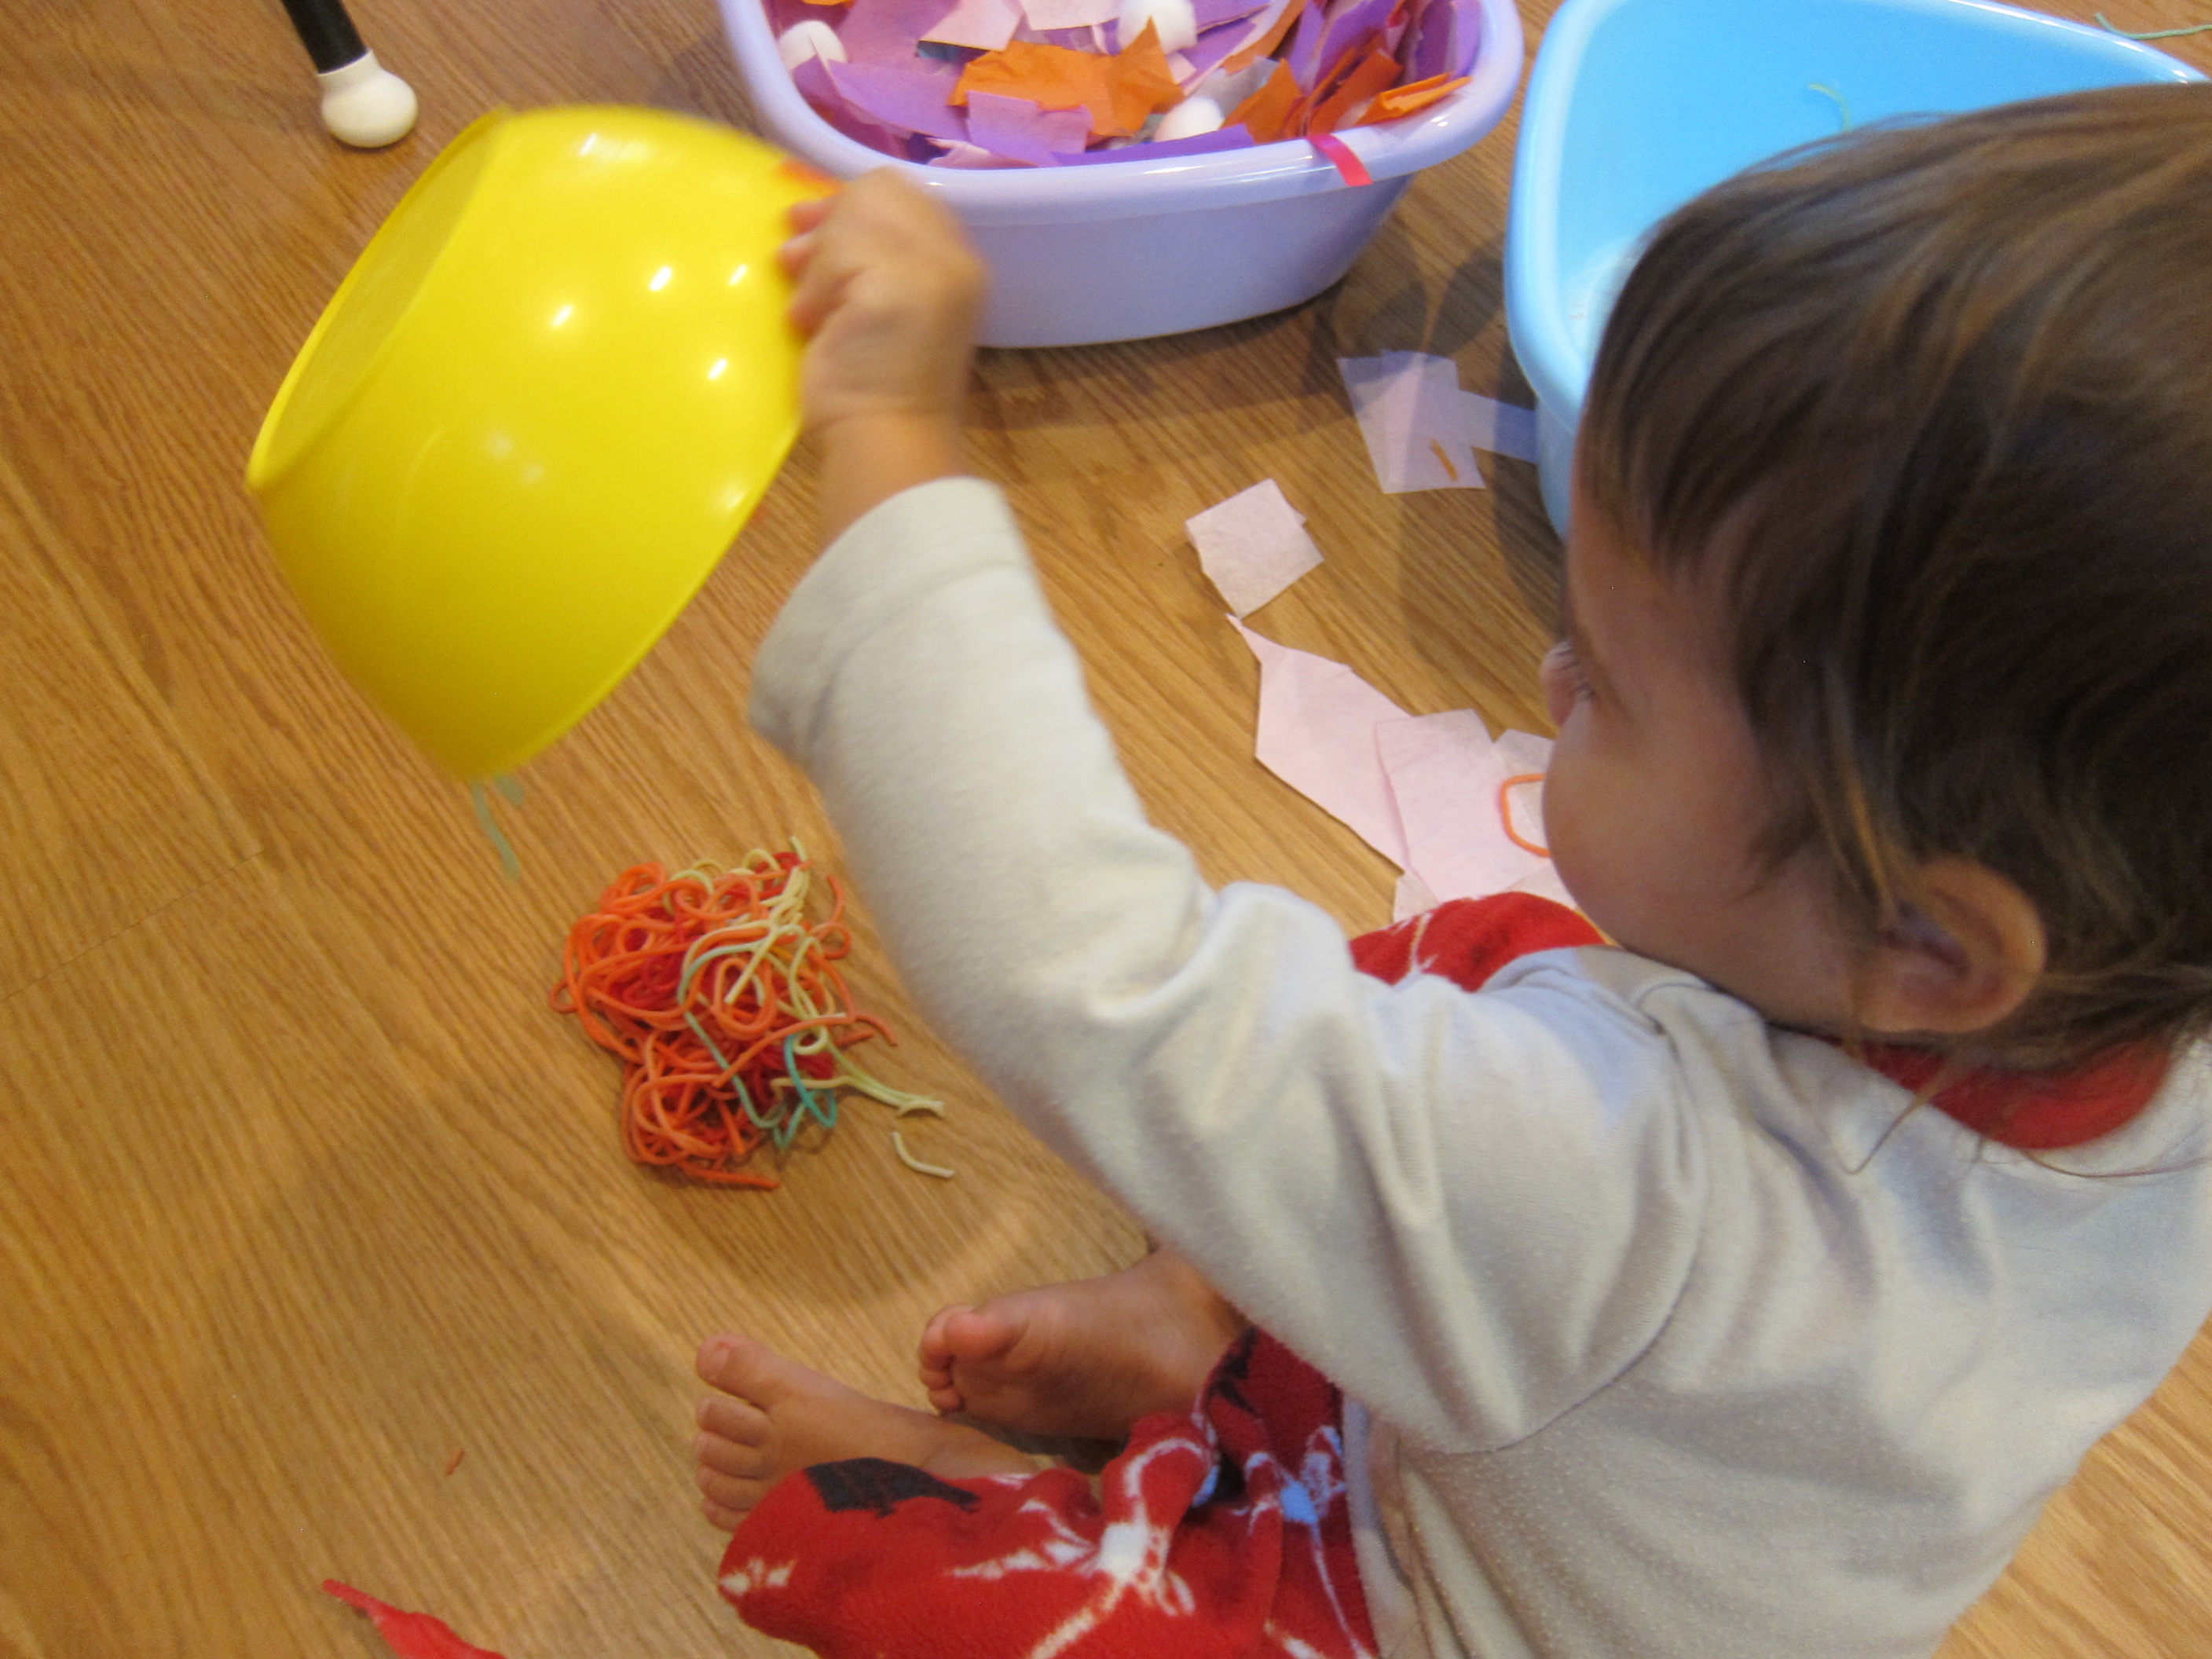
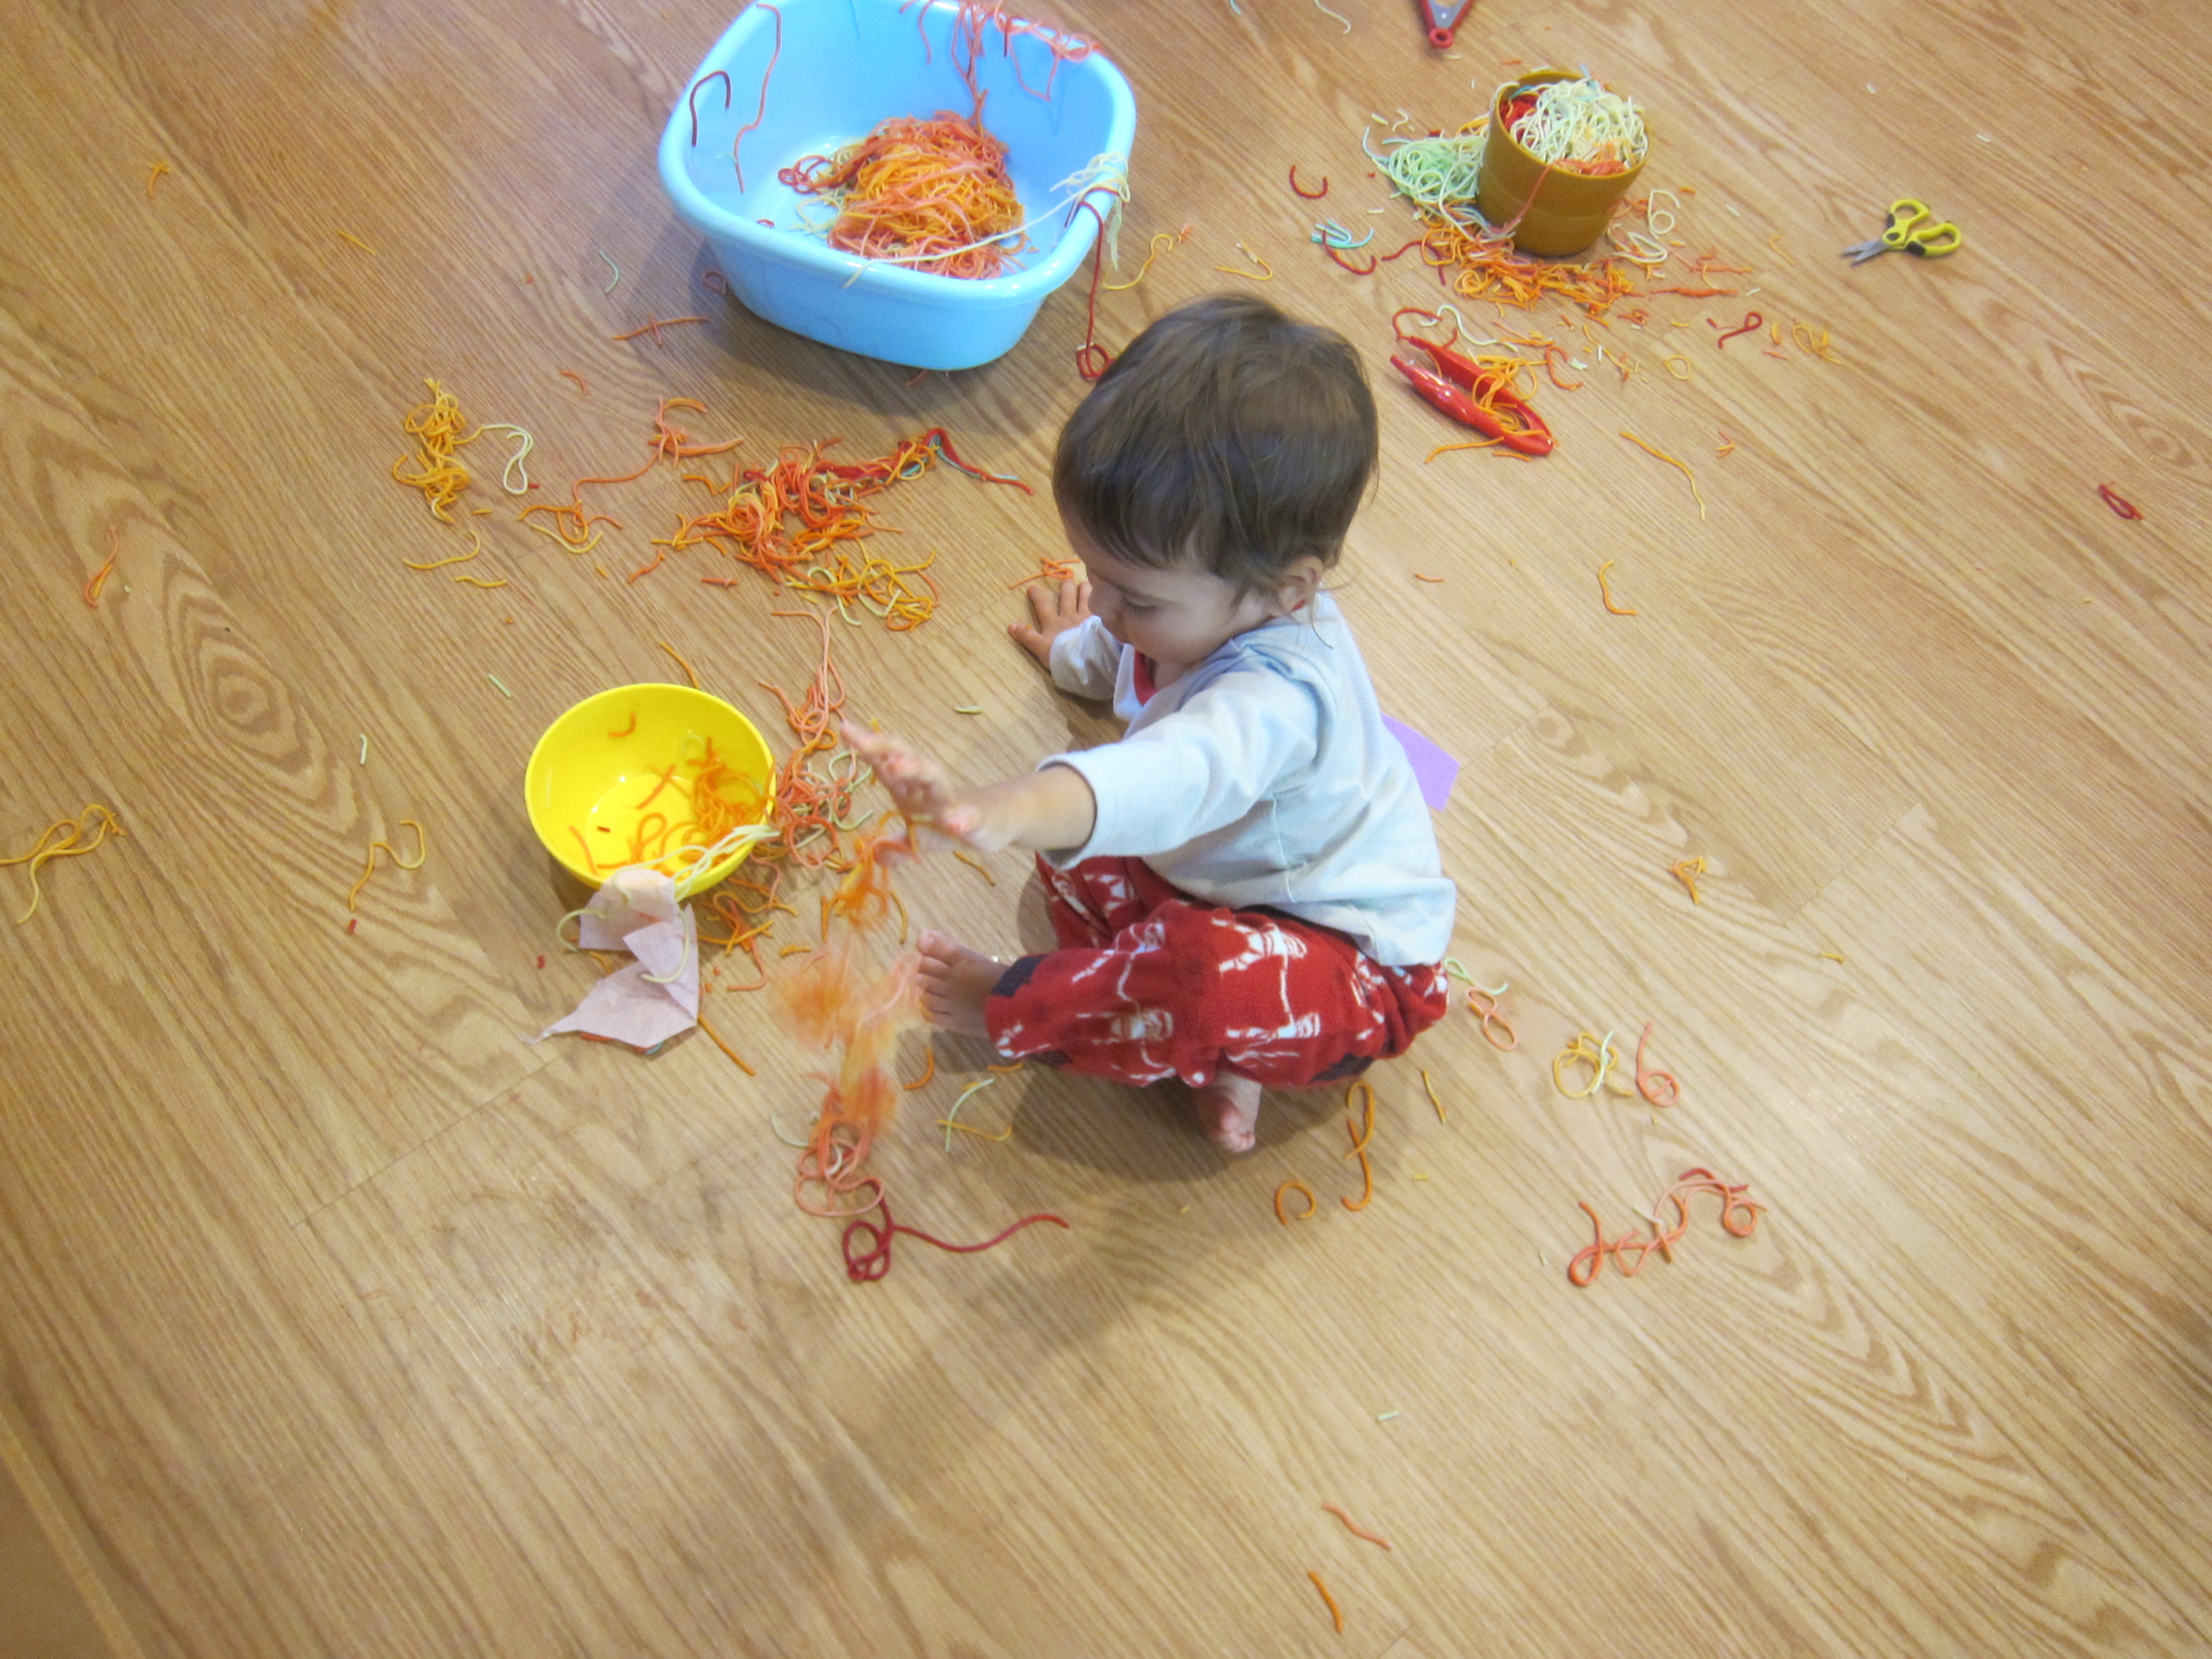
Being a toddler, of course she also wanted to make big gloppy piles of noodles, which was half the fun.

Spaghetti Spider Web (5)

She loved calling them webs, though, as she worked.

Spaghetti Spider Web (7)

Once we had three neat web shapes, I placed them on a baking sheet and put in the oven at 175 degrees F for 2 hours. This was sort of a guess, but it worked perfectly. The webs came off from the wax paper without tearing or breaking at all.

Spaghetti Spider Web (9)

Thread yarn through the top of each “web” and hang in spooky corners or windows. Bonus points for plastic spiders to live in each web!

Spaghetti Spider Web (10)

Slimy Spaghetti Sensory Activity

Spaghetti Potion (6)

Veronika enjoyed a recent craft with spaghetti so much that I thought we’d do a repeat today, this time with more of a Halloween theme!

Spaghetti Potion (1)

I cooked a package of spaghetti and divided it in half. My intention was to tint one half orange and one half black with food coloring. Because I had to mix colors to achieve black, it was more of a deep bluish purple, but that was just as eerie and witchy in its own way!

Spaghetti Potion (2)

That was it! I set the two big bowls (er, cauldrons) of spaghetti “slime” in front of Veronika, along with a few other kitchen tools like colanders and sieves.

Spaghetti Potion (3)

She immediately was busy ladling, scooping, and transferring.

Spaghetti Potion (5)

Spaghetti bubbling up from the steamer basket looked like little worms!

Spaghetti Potion (7)

She kept the colors together for a while, but soon was mixing and matching.

Spaghetti Potion (8)

I knew Veronika would love this, but I hadn’t counted on big brother Travis wanting to get involved! He immediately wanted his own ladle and whisk and began making batches of witch’s brew.

Spaghetti Potion (4)

I had put newspaper on the floor, so believe it or not, clean-up was a breeze.

Spaghetti Potion (9)

Luckily our all-natural food coloring washes off hands easily, too, so a quick wash and the fun was done.

Spaghetti Mobiles

Spaghetti Mobile (11)

We started the day with some messy food fun! This activity makes for great sensory play, plus nets you a cool piece of artwork at the end.

I cooked up a big batch of spaghetti (although in retrospect I didn’t need a full package), and set it out in front of Veronika. She was immediately thrilled to dip her hands in.

Spaghetti Mobile (1)

She was even more excited when I set out three paper plates and poured a little glue in each. We tinted them red, blue, and green with all-natural food coloring.

Spaghetti Mobile (2)

I showed her how to dip a few strands of the spaghetti in one of the colors, then transfer to a foam tray (like the kind some vegetables are sold in at the supermarket).

Spaghetti Mobile (3)

Continue to dip and layer, helping your artist “arrange” the strands of spaghetti. Veronika loved talking about the colors as she worked!

Spaghetti Mobile (4)

When she started tossing big piles of spaghetti that weren’t covered in colored glue on top, I knew it was time to set the mobile safely aside to dry. But she wasn’t done yet!

Spaghetti Mobile (5)

She loved picking up big handfuls of the spaghetti and making them go “splat!” At one point I saw her trotting off toward the playroom with a huge handful, and quickly redirected her to the kitchen.

Spaghetti Mobile (7)

We were out of glue, but we could still add more food coloring to the spaghetti on each paper plate. “It’s pink-y! It’s blue-y!” she said of each pile with delight.

Spaghetti Mobile (9)

Meanwhile, back to the glued spaghetti:

Spaghetti Mobile (10)

As long as your child hasn’t piled it on too thickly to dry properly, you’ll be able to stretch it up off the tray once the glue has dried, thread yarn through, and suspend it from a hook. A rather novel piece of modern art!

Messy Wading Pool Play

Spaghetti Splash (6)

We’re about to store away the inflatable wading pool that’s been on the patio all summer, so it was time for a messy last hurrah! On a final hot morning, I dressed Veronika in her bathing suit and we headed outside for two games.

First up was Spaghetti Splash. The night before, I cooked up a box of spaghetti. You could even use two or three packages of spaghetti if you really want to make an impact with this game.

Toss the spaghetti into the baby pool, along with 1/4 cup vegetable oil and a few drops of food coloring. We chose blue! Mix it all up with your hands.

Spaghetti Splash (1)

Veronika loved getting her hands right into the mixture. She would reach for a big handful…

Spaghetti Splash (2)

…and then make it splat onto the bottom of the pool.

Spaghetti Splash (3)

And of course lots ended up on the patio.

Spaghetti Splash (4)

If your child wants to, encourage him or her to climb right in! Veronika was hesitant though, and much preferred using her hands for this game. So then it was time to segue-way to the next messy game: Jell-O Jumping!

Spaghetti Splash (7)

Out went the spaghetti and in went 4 packages of prepared vegan jel dessert (try Simply Delish). This time, not only was Veronika willing to put her feet in…

Jello Jump (1)

…she loved it! She stomped through it and squished it between her toes.

Jello Jump (2)

Before I knew it, she plopped right down. “I’m lounging,” she announced, and she sure was. She delighted in scooting her bare legs and toes all through the jello.

Jello Jump (3)

Believe it or not, even the clean-up was fun because we pulled out the hose. Hose down the tub (and kids!) and then tuck that wading pool away until next summer.

Jello Jump (4)

Sensory “Salads”

Sensory Salad (11)

We found an old play set with components to make a pretend salad: fake lettuce, croutons, olives, etc. Veronika loved it so much I thought it would be fun to help her make a few more “salads”. These two methods were quite different, but both so enjoyable.

Sensory Salad (3)

For the first version, I put together odds and ends from the craft bin that she could toss like the ingredients of a salad. We had tissue paper “lettuce”, cotton ball “croutons”, strips of ribbon (bell peppers perhaps?) and pieces of crepe paper.

Sensory Salad (4)

I gave her toy tongs as well as real tongs to toss the ingredients around. The tongs were arguably as interesting as the sensory materials!

Sensory Salad (7)

Then we moved on to an edible sensory version. The night before, I made a batch of Kool-Aid dyed pasta. To keep it edible, just in case Veronika wanted to take a nibble, I diluted each pack of Kool-Aid in 2 tablespoons hot water (as opposed to rubbing alcohol). Place 1 cup of cooked spaghetti in a gallon-sized zip-top bag for each color that you’ve prepared. Pour in, seal, and shake to distribute the color evenly. Open the bags and let the pasta dry out overnight.

Sensory Salad (2)

In the morning, I heaped together all the colors of noodles in a craft bin for a big “salad”, and once again handed over the tongs.

Sensory Salad (9)

This was an instant hit! She needed a little help at first since the noodles were sticky, but then loved scooping them into a smaller bowl.

Sensory Salad (14)

Big brother immediately needed in on the action, too. He soon had created a big spaghetti “cake”!

Sensory Salad (15)

Then he wanted to try snipping the spaghetti with scissors, which is how bits began ending up all over the floor.

Sensory Salad (11)

Veronika, meanwhile, was narrating her play, something about trucks and cars. She was pleased as punch with whatever she thought she was “making”.

Sensory Salad (16)

And then she discovered the joy of simply throwing the spaghetti on the floor to make it go splat.

Sensory Salad (17)

My two crazy sous-chefs did then decide to sample the salad. “It’s tasty!” Veronika announced. They told me blue was the yummiest. I was glad it was just a few nibbles.

Sensory Salad (18)

Clean-up was a bit more of a pain than usual. Next time I would probably do this activity outside and hose down the patio afterward, or lay an old shower curtain liner on the floor if doing it indoors. But worth it? Yes!

Sensory Salad (13)


Paint with Spaghetti Brooms

Spaghetti Brooms (7)

The kids have payed with cooked spaghetti, but never before have we used it to paint. Veronika loved that these looked like miniature brooms!

To make a broom “paintbrush”, secure a bundle of uncooked spaghetti together with a rubber band near one end.

Spaghetti Brooms (1)

Cook the spaghetti bundles in boiling water, but use caution only to heat the bottom portion of the noodles, not the “handle”. I held on to the part with the rubber band so the rubber wouldn’t melt or singe, and let the “broom” tips soften in the water for only about 2 minutes. This is definitely a grown-up step, and make sure to avoid the steam. You can cook your noodles longer, but I knew Veronika would have an easier time painting if they were a bit firm.

Spaghetti Brooms (2)

Once cooled, I showed Veronika the brushes. She loved exploring them before there was even paint.

Spaghetti Brooms (3)

We then blobbed craft paint onto poster board, and I showed her how to “sweep” the color. My little happy helper took right to this version of painting!

Spaghetti Brooms (4)

She loved testing out the different bundles, swirling the colors, and more.

Spaghetti Brooms (6)

The individual noodles leave neat textured tracks through the paint, an effect even Veronika could master at 20 months.

Spaghetti Brooms (8)

A cute project, with surprisingly little mess!

Spaghetti Brooms (5)

Spaghetti Fun

spaghetti-fun-8

We haven’t played with cooked spaghetti in quite some time – so I was curious to see if Travis would interact differently with the game this time around. Low and behold, things were very dissimilar.

Unlike last time, now Travis was old enough to help with set up, too. First, I cooked a full box of spaghetti, and divided it into three bags. Travis helped me add food coloring to each bag, and loved squishing the bags until the color was dispersed.

spaghetti-fun-2

I set up an area on the floor with colanders, trays, and kitchen utensils, and let Travis have at it. Surprisingly, he didn’t want to touch the spaghetti this time around, always using either a utensil or asking me to help pick it up. But that didn’t deter him from experimenting with stirring:

spaghetti-fun-6

rolling pins:

spaghetti-fun-3

and mashing with a mallet. His favorite was to squeeze a portion of the spaghetti in an orange juicer and make “pies,” and he had fun telling me which colors to add to each pie e.g. “Red and green for this one!”

spaghetti-fun-5

I thought maybe the spaghetti was too sticky for his hands since I didn’t coat it with any oil, so he helped me drizzle on a little canola oil. Even then he didn’t want to touch the stuff. Oh well, it still made for great exploration!

spaghetti-fun-7

Overall, the game was very different from his play at 20 months old, when he just used his hands to transfer spaghetti back and forth. This time we talked a lot about the colors, and used our imaginations for a fun spaghetti bake shop.

spaghetti-fun-4

Spaghetti Monsters

spaghetti-monster-7

If ever there was a time for oopy goopy fun, Halloween is it! Travis is too young for classic Halloween gags like a bowlful of spaghetti “brains,” but it’s the perfect time to play with cooked spaghetti and make friendly “monsters” instead.

Present your child with a bowl of cooked and cooled spaghetti. Demonstrate how to take a handful of spaghetti, dip it in a shallow plate or pie tin filled with tempera paint, and then smear onto construction paper.

spaghetti-monster-2

I thought Travis might be hesitant to get so messy, but he dove right in! He had so much fun dipping the spaghetti in the paint that I had to remind him to transfer over to the paper on occasion.

spaghetti-monster-4

When the paint is dry, finish your friendly “monsters” with googly eyes and any other scraps you have on hand, like ribbon, yarn, or fabric.

spaghetti-monster-6

The silly looking monsters are a nice way to decorate with non-threatening creatures around the house, making sure the holiday isn’t too scary for little ones.

spaghetti-monster-8