Kids will love the puzzles and brain games in this crate from Kiwi Co, which features projects ranging from engineering to art and back again. And parents will go wild when they realize the game you build is based on classic Tetris!

Travis was perplexed as we worked through the first project, wondering what exactly we were making, and I’ll be honest, so was I. In retrospect, I would tell him first that the goal was to engineer a dispenser that let out one playing tile at a time. That way the process of engineering would have been more inherent to the project, instead of just following the steps. But with that preamble aside…
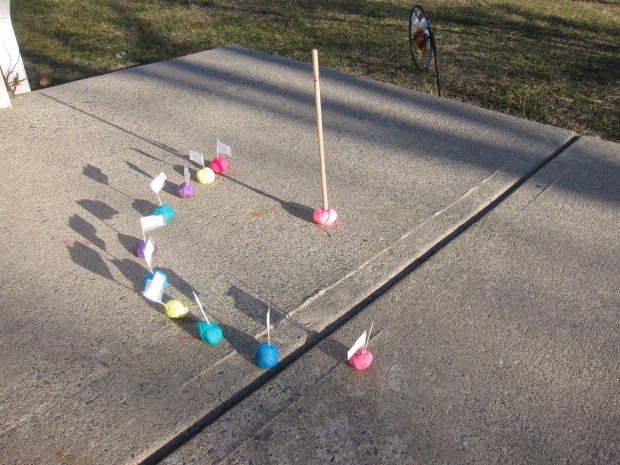
…the first project was to make a Shape-Stacking Puzzle. To make the game board, fold the plastic stand along the line in the middle so it stands upright.
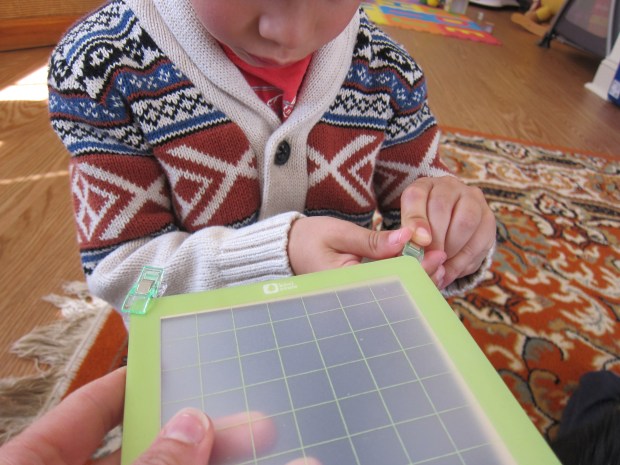
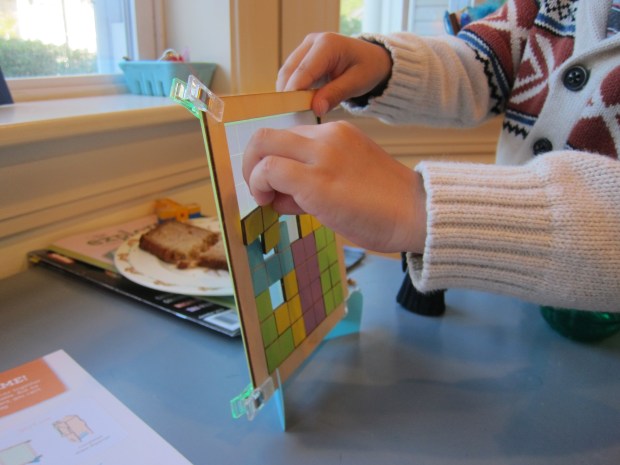
Attach the provided grid paper to the provided wooden frame using a clip in each corner. (Travis liked these clips so much he was bummed there weren’t extras!). Set the frame on the stand and set aside.

Preparing the shape dispenser was much more complicated and a touch delicate (our foam tore in a few places, so it didn’t always work correctly). Slot together wooden pieces as side panels and secure with elastics.

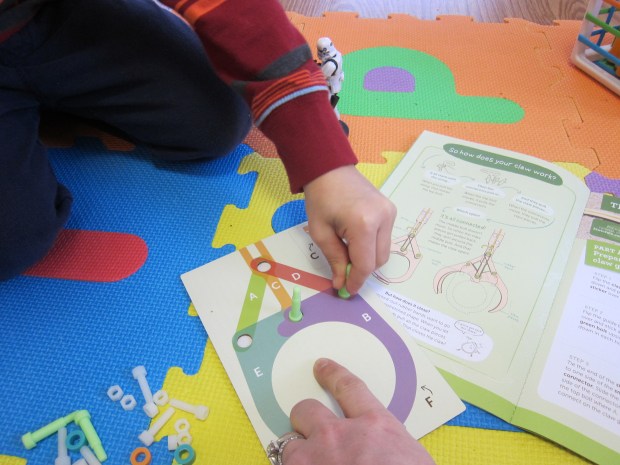
Slip the green “doors” into the slots of a foam piece. This goes into the wooden frame and is secured in place with sticky foam dots.

Now add one playing tile to each green door.
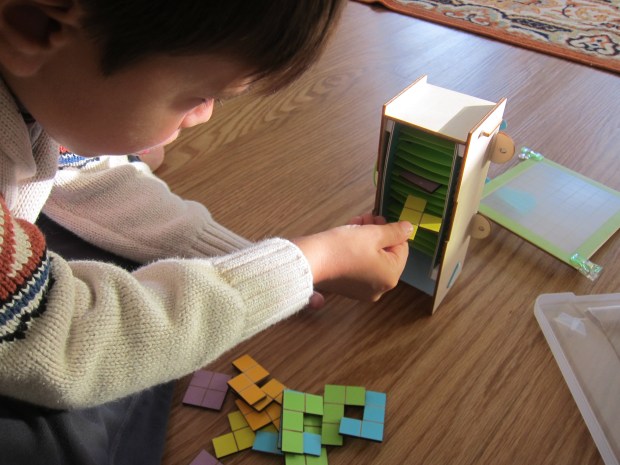
As you pull out the bottom green door (and this is key) the tile will fall (thanks to gravity). It won’t work, obviously, if you pull a door near the top, because then the playing piece would only land on the green door below.

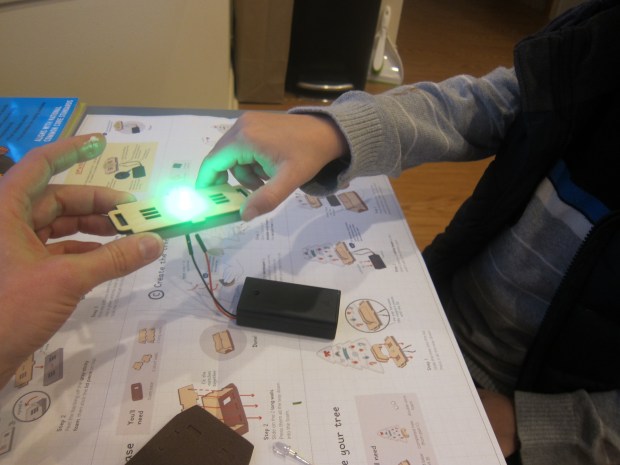
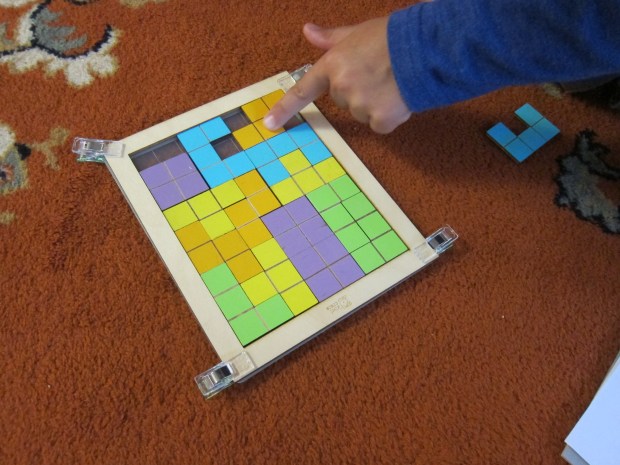
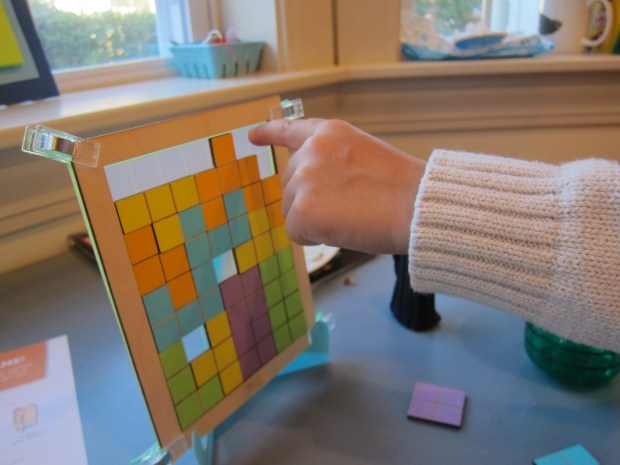
Now it was time to Play a Puzzle Game! I loved watched Travis assemble the resulting Tetris board on his game grid.
I remember my brain doing the same quick thinking as a child, deciphering which direction a piece could rotate so it fit just right.

The goal is to have the least number of blank squares possible. Travis counted up his squares each time, and his record was 4!
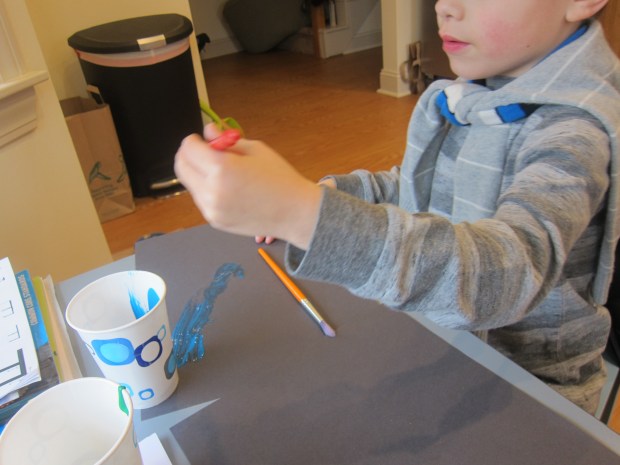
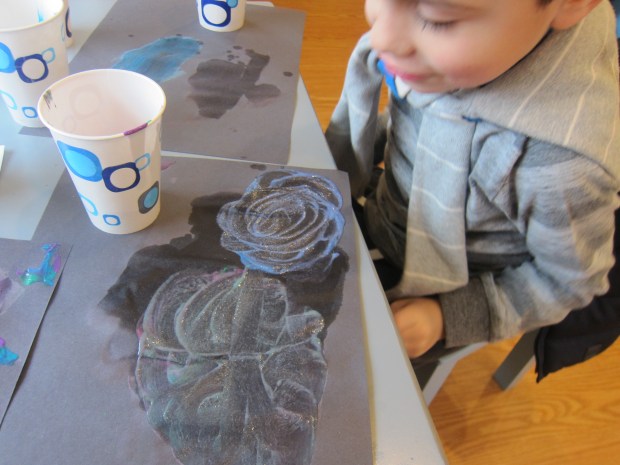
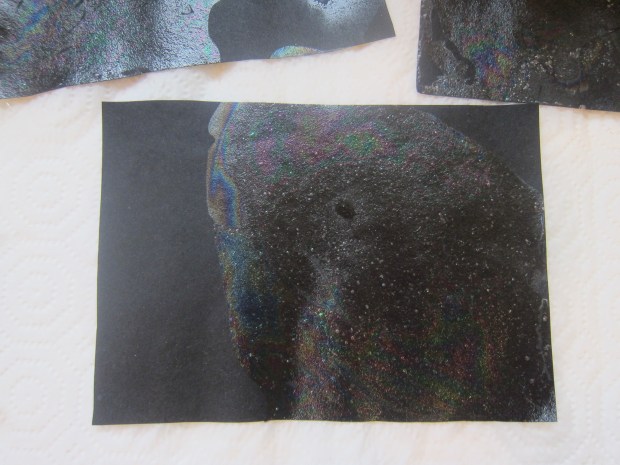
With all that engineering done, it was time for the A part STEAM: making Puzzle Pictures. Arrange some of the playing tiles on the provided foam mat. You can make random designs or follow the suggested pictures. Travis chose a robot!

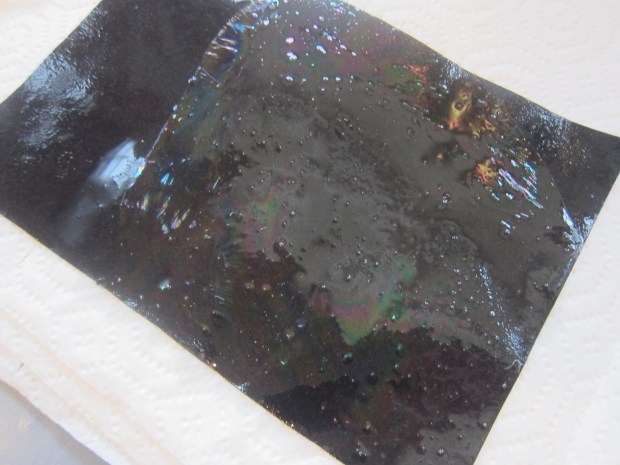
Cover with paper and rub with a crayon to reveal your image.

After using the tiles, we tried rubbing over other items, like yarn and coins, and testing which came out best.

You can also challenge your child to copy the booklet’s designs for a car, dragon, and even Steve the Kiwi, but these were tough for Travis.
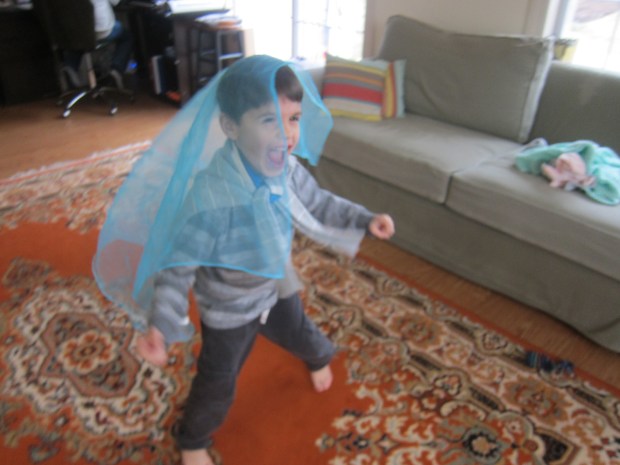
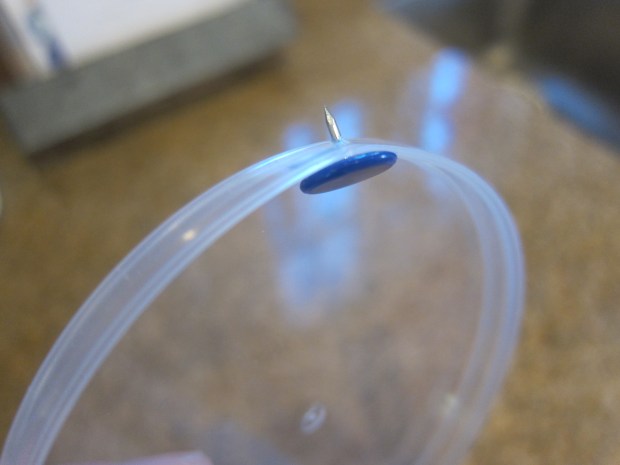
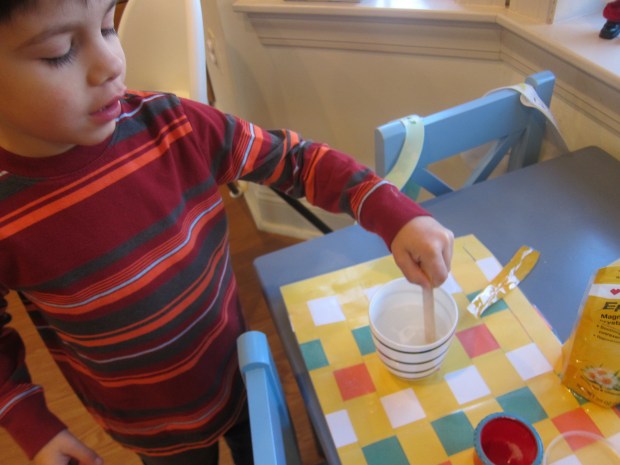
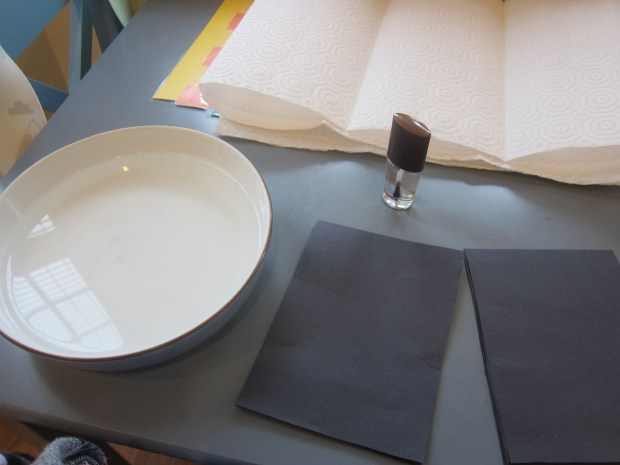
We weren’t done yet because Explore magazine had lots of brain games to test his gray matter. First up: Cup Confusion. Fill 3 clear plastic cups with water and place them next to 3 empty cups. Can you make a pattern of full-empty-full-empty-full-empty by touching only one cup?
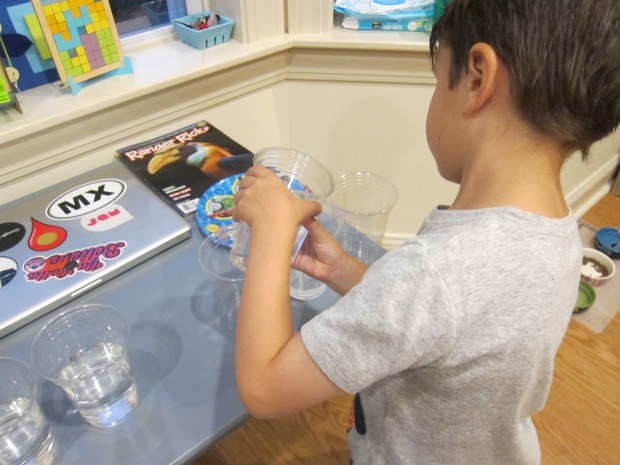
I was so proud of Travis that he immediately knew to pour water, rather than shuffling cups around.

And clearly he was proud, too!
Next we did a Connect-the-Shapes challenge in which lines can’t cross…

…followed by Fish Sticks. Rearrange these 8 toothpicks so the fish…

…changes direction. The catch is that you can only touch 3 toothpicks.

He needed a bit of a guiding hand, but our fish turned.

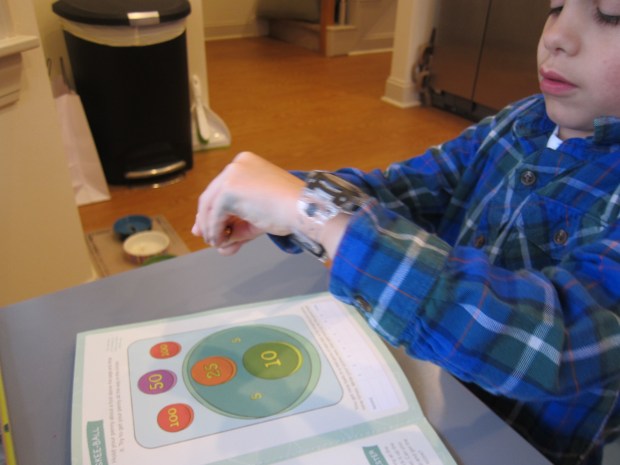
Finally, play Shape Shifter: see if your child can tell which of these pictures isn’t made with two trapezoids.

Travis guessed, and then we tested it out!

You can also print out a set of tangrams and try to fill in the outlines drawn in the magazine.

This task was advanced for my kindergartner, but he could look at the answer key and then build the puzzle with our set.
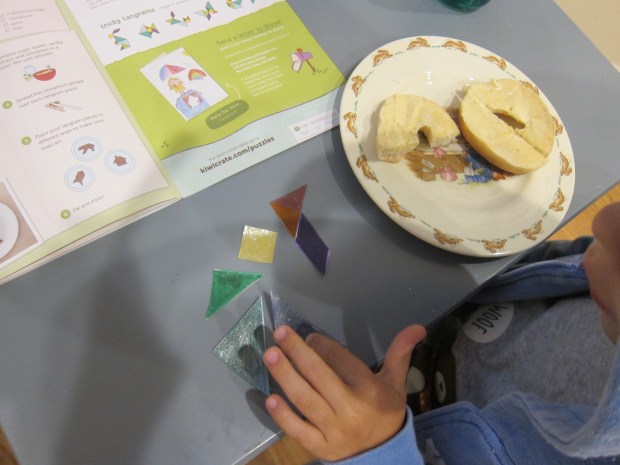
A camel!

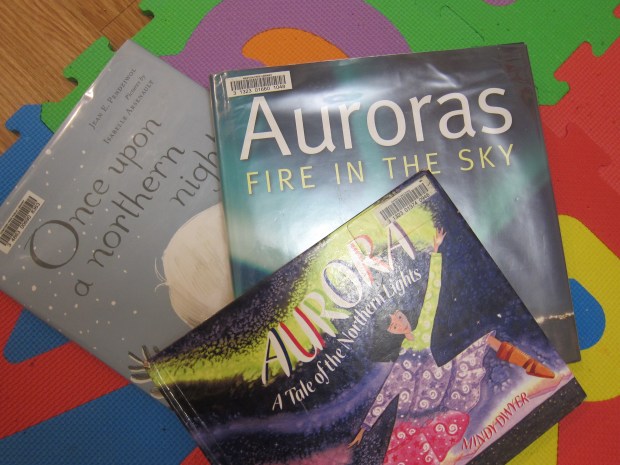
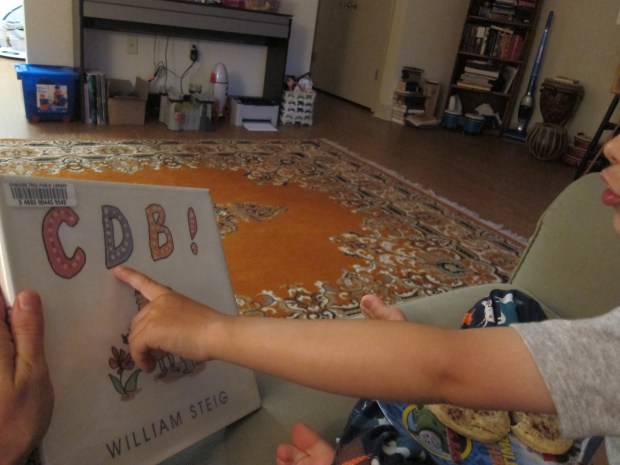
Explore magazine didn’t have any recommended reading this month, but I picked up two fantastic puzzlers from the library. CDB by William Steig had him laughing out loud as he read the letters on each page to decipher a full sentence.
We finished up with The Eleventh Hour, a puzzle mystery book I read in my own childhood!

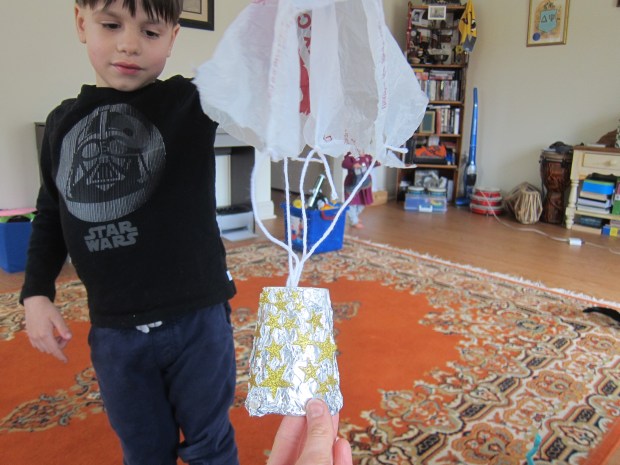
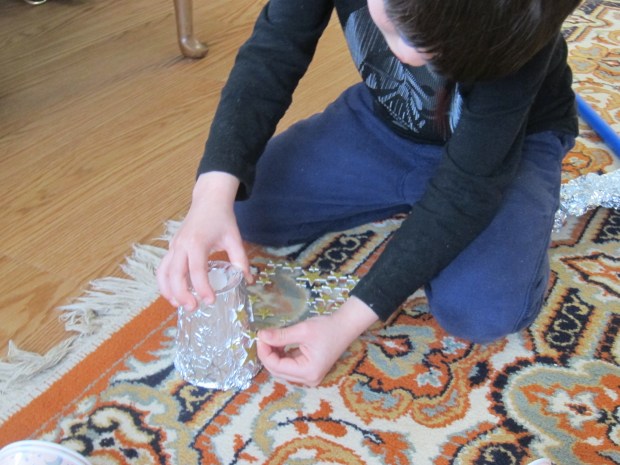 Cut a square from a plastic shopping bag, and then use a hole punch to make a hole in each of the four corners (you may need to rip the bag a little bit, too, to help the hole punch through).
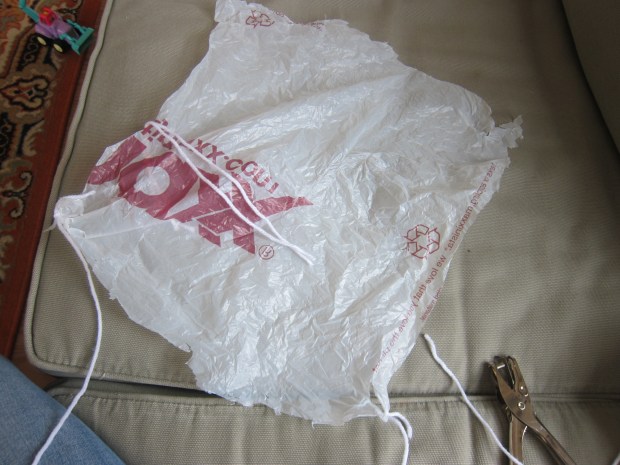
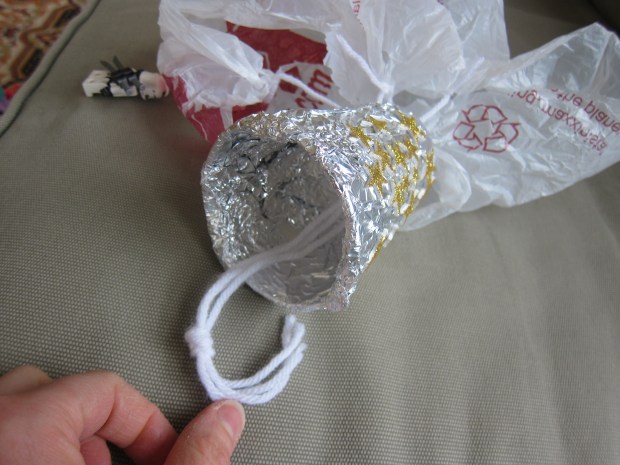

 Of the various ways Travis and I have made a