Christmas Sparkle Cloud Dough

Christmas Cloud Dough (10)

Cloud dough is a great alternative to homemade play dough since it comes together from just two ingredients. Plus it’s one of those great sensory materials that you can vary only slightly to make it fit each season!

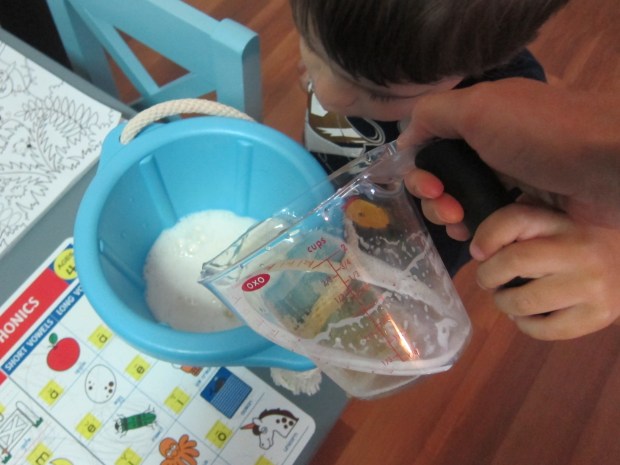
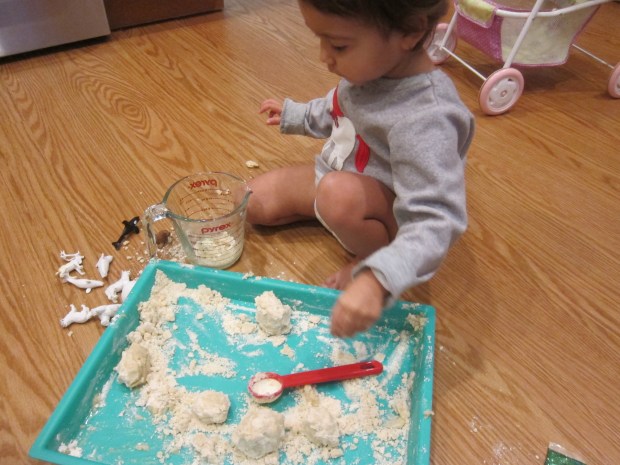
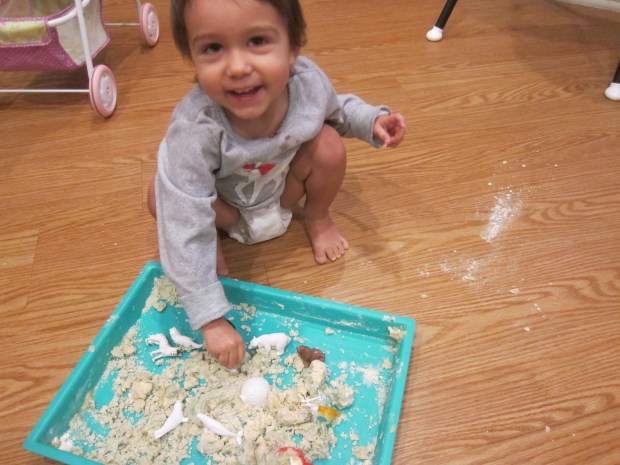
To wit, today it was time for sparkly Christmas cloud dough. I added 2 cups flour and 1/2 cup vegetable oil to a craft tray, and simply mixed it all together with my hands. (Note: You can use an equal amount of cornstarch in place of the flour if you want the dough to be a more pure snow white).

Christmas Cloud Dough (2)

We then added green glitter for some Christmas spirit! Veronika was thrilled to see the sparkles and began spooning through the mixture with a little scoop.

Christmas Cloud Dough (3)

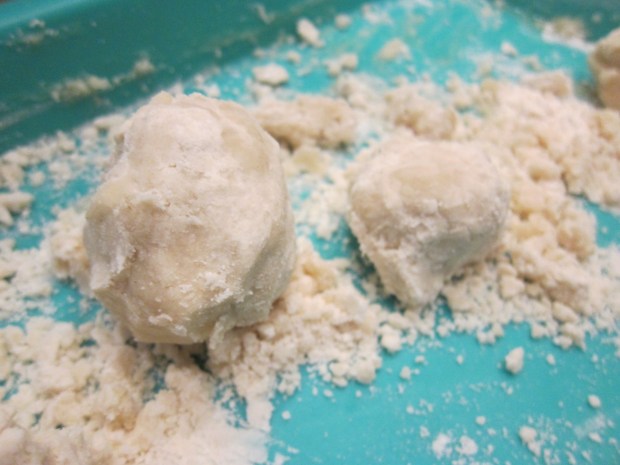
I showed her that she could squeeze it into balls, which we called “Christmas cakes”.

Christmas Cloud Dough (5)

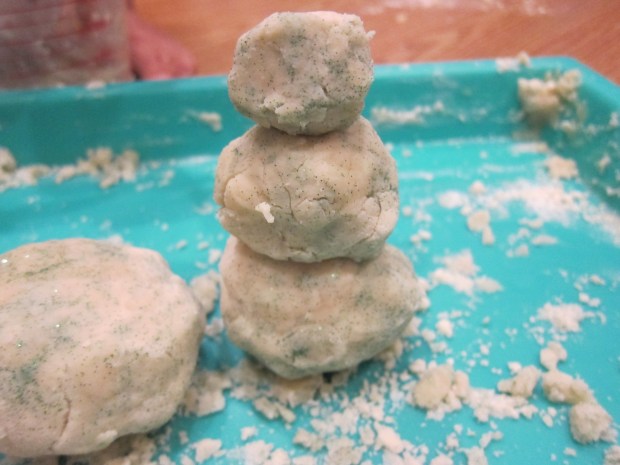
It also made great snowmen if we piled a few atop each other.

Christmas Cloud Dough (6)

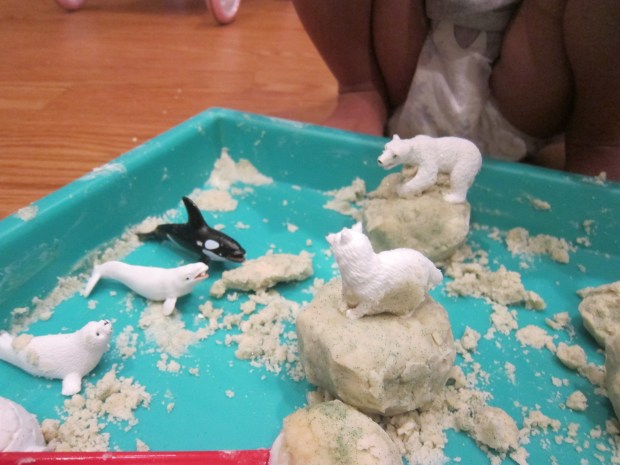
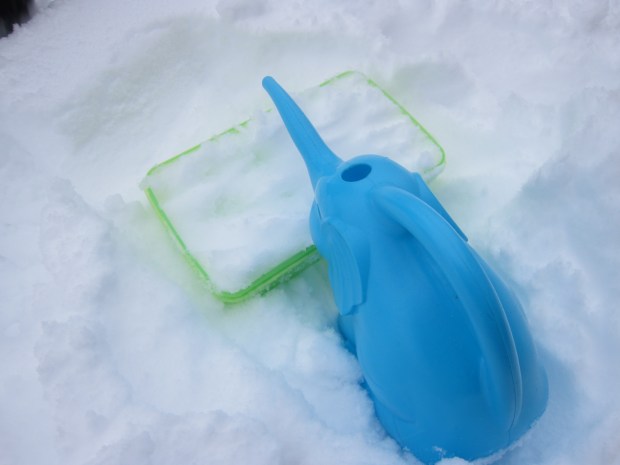
We then pulled out an arctic set of plastic animals she loved tromping them through the dough, adding an imaginative element to the sensory play.

Christmas Cloud Dough (7)

Overall, this was very simple but clearly great fun!

Christmas Cloud Dough (8)

Snowy White Play Dough

Snowy White Play Dough (5)

I love making homemade play dough with a seasonal theme, and this snowy white version is perfect now that winter is near and snowy days are ahead! The secret to that pure white is to use cornstarch instead of regular flour.

To make this silky-smooth play dough, combine the following in a bowl:

1 and 1/2 cups cornstarch

1/2 cup salt

1 tablespoon vegetable oil

1 tablespoon cream of tartar

Add 1 cup boiling water and stir until combined. Let cool.

Place the dough on a craft tray and knead to the right consistency. You may need to sprinkle with a little extra cornstarch. We also then added a little bit of silver glitter, which made it sparkle just like fresh-fallen snow.

Snowy White Play Dough (2)

Now it was time to play! Veronika had so much fun with this snowy-themed dough. First we simply rolled out snowballs or snowmen. Red beads made fun decorations!

Snowy White Play Dough (9)

It was also great as pretend cookie dough, and I gave Veronika star- and snowman-shaped cookie cutters to keep with our seasonal theme.

Snowy White Play Dough (1)

Her favorite use for it, though, was pretending it was a layer of arctic ice (or, as she called it, the snowy beach). I pulled out a set of arctic animals who could romp through this wintry land.

Snowy White Play Dough (8)

“Seal is on the beach!” she would say with delight, or, “Orca is in the water!”

Snowy White Play Dough (12)

The play dough is also great for leaving animal “tracks” in the snow. She loved hopping along an arctic hare or stomping along the wolf and fox.

Snowy White Play Dough (14)

After spending some time with the play dough together, it was great for her solo play, too; I loved seeing her imagination and senses at work.

Snowy White Play Dough (11)

Winter Picnic

Winter Picnic (4)

We’re in the final stretch of winter, and if you’re equally sick of being indoors and dying to get your toddler outside, here’s the perfect idea: Don’t wait! Throw a winter indoor picnic instead.

While Veronika was napping, I set the whole stage including big blankets on the floor, soft balls to throw and play with, and a picnic basket full of little lunch items.

Winter Picnic (1)

When she woke up, she immediately needed to check everything out. The balls were a blast to play with, and soon she and big brother were happily devouring their meal.

Winter Picnic (2)

We invited a few “babies” along, and Veronika loved putting them in and out of the picnic basket!

Winter Picnic (5)

Older kids might have fun talking about favorite warm weather memories as they eat. My two were just thrilled with the change of location from the kitchen table! Did they eat as much as usual? No, but we sure had fun.

Winter Picnic (3)

Easy Nature Sensory Bag

Nature Sensory (6)

You could do this easy sensory activity with a toddler in any season, but it was particularly nice to fit in a little bit of nature in the winter. An unseasonably warm day meant our snow melted and Veronika and I headed outside briefly to find wintery treasures.

We returned inside with a pine cone, pine branches, a few leaves, and acorns. I filled a gallon-sized zip-top bag with just a bit of water, then added our treasures.

Nature Sensory (3)

Veronika was immediately intrigued when I handed it to her at her high chair tray (older toddlers might liked this taped down to a table). We talked about the different textures, especially the hard, round acorns.

Nature Sensory (2)

Because the colors were a bit drab this time of year, I ended up slipping inside a few tiny red jingle bells to mimic the look of red berries. Ok, so they were not really from nature, but they added quite the pop! She loved poking these around through the water with one finger.

Nature Sensory (8)

We can’t wait to do this activity in the spring, and see how different our nature bag looks!

Nature Sensory (7)

Brighten Dark Winter Nights

Brighten Nights (3)

We are loving winter so far, with snow to play in and forts to build. The key, I have learned, to loving this darkest season is to keep things cozy. Here are four fun ways we’ve found to brighten the nights that begin as early as 4 p.m.!

First, we had an extra string of Christmas tree lights, and I gave Travis permission to hang them in his room.

Brighten Nights (1)

He loved that these had the option for flashing or steady modes, and he could control it with a button.

Brighten Nights (4)

Next, we made glow-in-the-dark paintings. Your kids can be deliberate or artsy with this activity…

Brighten Nights (10)

…Or just blob on the paint, as Travis did. He wanted maximum glow!

Brighten Nights (9)
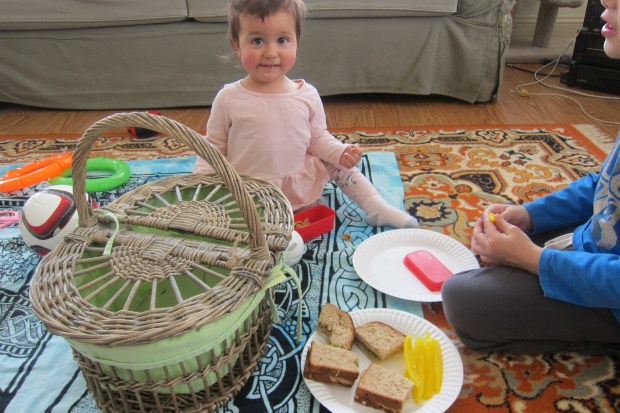
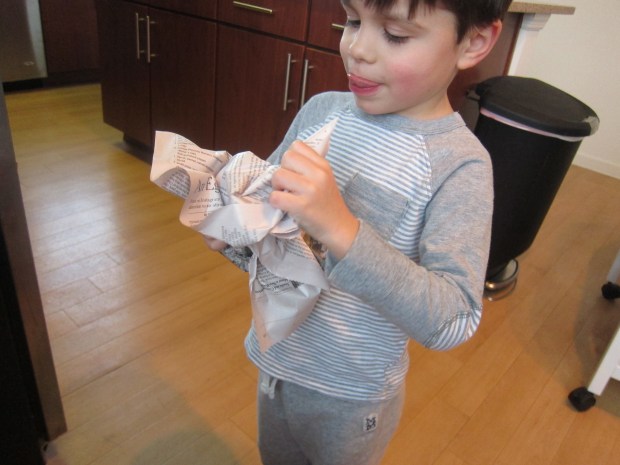
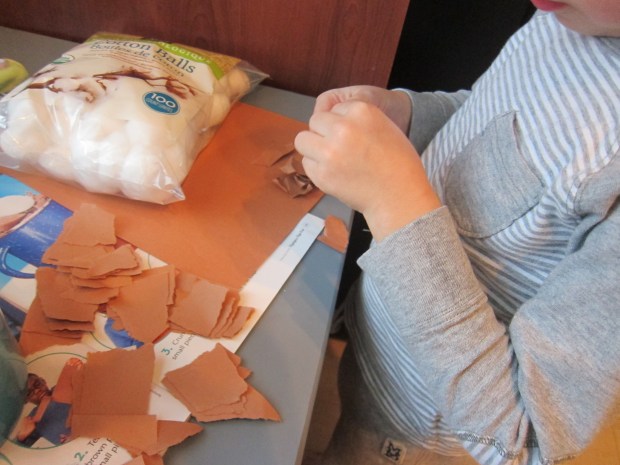
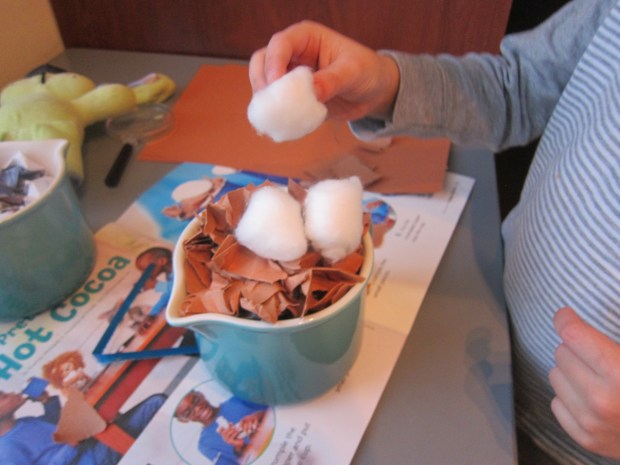
Next, we made a campfire. We scribbled brown marker on paper, rolled the paper up, and taped shut for quick “logs”.

Brighten Nights (6)

All our battery-powered tea lights in the house provided the perfect glow for reading Christmas stories and singing carols. A winter camp out!

Brighten Nights (7)

While we were at the “campfire”, we made sure to act out stories with shadow puppets, too.

Brighten Nights (8)

In sum, we’re staying cozy and happy, and excited for dark nights to come.

How to… Build a Snow Fort


Snow Fort (g)

It’s only the third day of December and Travis is on the second snow day off from school. That meant we had to test out Highlights magazine’s tips for making the best snow fort!

Highlights recommended first delineating an area for your fort with a stick. We used a shovel instead, making a big square on our patio and then mounding up the walls to give us a base.

Snow Fort (a)

To make bricks for the walls, fill a rectangular container with snow. Drizzle with a little water, than add a final layer of snow on top.

Snow Fort (3)

Depending on the consistency of your snowfall, you may or may not need that extra water. We soon found that we did not – today anyway! Continue building until you have several layers of “bricks”.

Snow Fort (h)

We even tried adding windows.

Snow Fort alt.JPG

Simply twist an empty soup can to drill a little peephole.

Snow Fort var

Even more fun was adding food color to a spritz bottle; now we could decorate our fort’s walls with art (though I wish Travis hadn’t opted for orange!).


Snow Fort (f)

Travis loved being in charge of the “moat”, shoveling a long path away from our fort.

Snow Fort (d)

And we even armed ourselves with ammo, in case enemies (i.e. neighborhood friends) happened to storm the castle!

Snow Fort (i)

Don’t forget a side door to sneak out of! What special activities to you do on a snow day off from school? Please share in the comment!

Snow Fort (j)

Pretend-Play Hot Cocoa

fake cocoa (6)
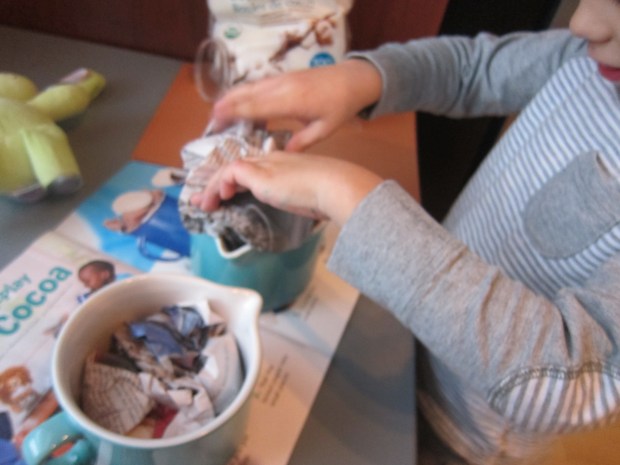
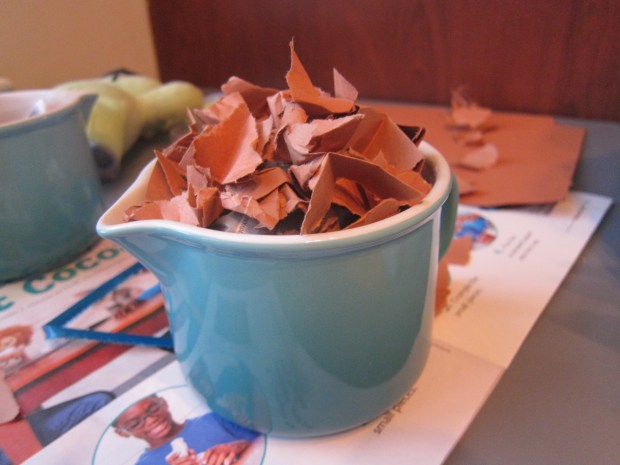
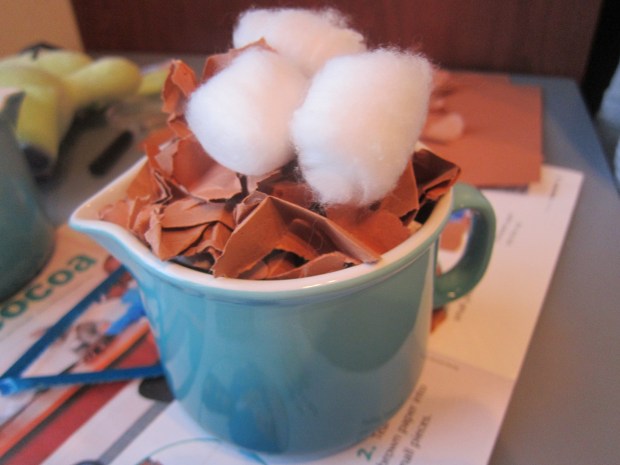
Ok, so this cute little craft won’t really warm the kids up during the polar vortex, but it will get their imaginative juices flowing! We loved this pretend play idea from High Five magazine.

I set up a table for Travis with all the materials we’d need: newspaper, brown paper, cotton balls, and big mugs for our “cocoa”.

First we needed to wad up a piece of newspaper for each cup.

fake cocoa (1)

Stuff in a mug to make a base.

fake cocoa (2)

Next, rip brown construction paper into pieces; smaller is better. Once you have a lot of pieces, crumple each up.

fake cocoa (3)

Add these pieces to your mug, and you’ll have a chocolaty cup of cocoa!

fake cocoa (4)

Travis loved adding “marshmallows” (soft cotton balls).

fake cocoa (5)

We thought it would be neat to trick his dad with this one, telling him we’d made him cocoa. Surprise! It wasn’t really meant to drink.

We also set up a little cafe for a few stuffed animal friends.

fake cocoa (7)

Travis did tire of the game rather quickly after that, but some kids may want to run their “hot cocoa stand” for a while. Have fun serving up drinks, making a full cocoa cafe, and more. I’d love to hear about it in the comments!


Picture Frame Winter Scene

Picture Frame Winter (5).JPG

Here’s one of those crafts that didn’t exactly turned out as I imagined! My little artist had his own plans, but the whole point was the fun and the crafting moment together, not perfection.

To start, you’ll need a simple frame (you can find these cheap at a craft store, measuring about 5×7 inches). Travis loves the mechanics of removing the back off a frame, so was delighted to discover our project enabled him to do so.

Picture Frame Winter (1)

Cut a piece of leftover holiday wrapping paper to fit the glass of the frame, and insert.

Picture Frame Winter (2)

I set out acrylic paints and invited Travis to draw any winter-themed scene that would fit nicely with our Christmas tree background. He chose white for snow, and I encouraged him to paint a snowman, thinking of how the body is made up of various circles.

Picture Frame Winter (3)

Travis had his own plans, making a big snowy blanket of white. “It’s covering the trees,” he insisted.


Picture Frame Winter (4)

Luckily at this point I snapped a pic, because he soon decided he needed to “snow” over the trees completely with white paint. I laughed but didn’t tell him this rather negated the point of having wrapping paper inside the frame.

He then wanted to mix other colors over his white. “I’m an artist!” he declared, doing swirls of paint.

Picture Frame Winter (6)

Well, we didn’t end up with a winter scene, but we did end up with a good time!

Picture Frame Winter (7)

I encourage you to have fun with these, though. Your children could paint something quite beautiful in front of the wrapping paper background, whether snowmen or ornaments or anything else that fits the season. I’d love to hear what they come up with in the comments!

Scarf Play

Scarf Play (1)

Here’s a variation on dangling toys for a winter baby – turn the tassels of your warm scarf into the latest fascinating object to watch!

First, I simply dangled my scarf, and let Veronika look at the tassels.

Scarf Play (4)

Seeing her wide-eyed excitement, I next held the tassels closer to her fingers. Sure enough, she clasped her fingers around them once in reach.

Scarf Play (2)

I then held the tassels very still within arms-length, to see if she would reach out. Yes indeed!

Scarf Play (3)

She also seemed to enjoy it when I made the tassels “jump” down to her belly and back up again.

Scarf Play (5)

What an easy and delightful game! It was just right for a few moments of one-on-one play, and perfect for the season.

Jack Frost

Jack Frost (5)

Frosty windows in July? As a follow-up to a recent “Christmas in July” event we attended, it was fun to be silly and bring a little winter to our hot summer home with homemade frost.

The concoction for this game is decidedly adult, so as a warning, do supervise closely to be sure that none of it is ingested.

First, mix together 5 tablespoons Epsom salts and 1 cup beer. The mixture gets so foamy right away – fun!

Jack Frost (1)

Let the mixture stand for 1/2 an hour, then head on over to a window to make frost. Note: I recommend covering the floor or any window sills with an old towel.

Jack Frost (2)

Using a sponge, dip into the mixture and dab onto the windows. Travis loved this part.

Jack Frost (3)

We then dabbed with a wet paper towel, before letting the mixture dry. To be honest, the final sparkling effect was not as noticeable as I had hoped, but we did have little streaks that looked like winter morning frost!

Jack Frost (4)

And then perhaps the most enjoyable part for my little helper, we got to wipe the windows clean.

Jack Frost (6)