Christmas Tree & Presents Matching

Christmas Tree and Presents Matching (9)

Here’s a fantastic way to get a little learning out of those scraps of leftover holiday wrapping paper you surely have at this time of year: turn them into a matching activity for toddlers!

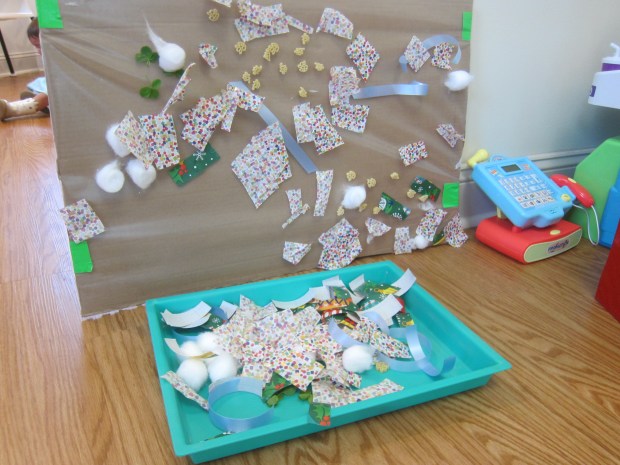
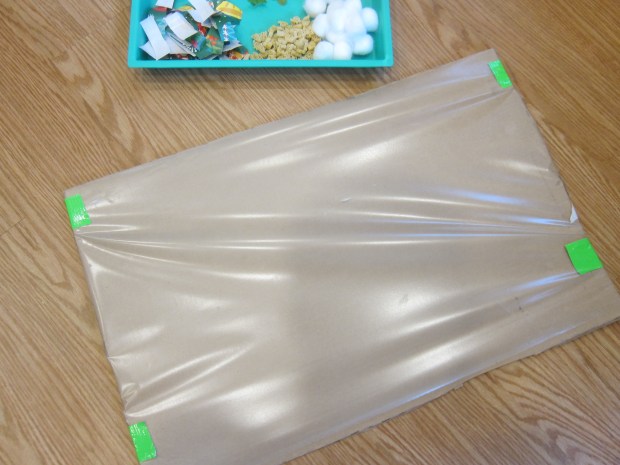
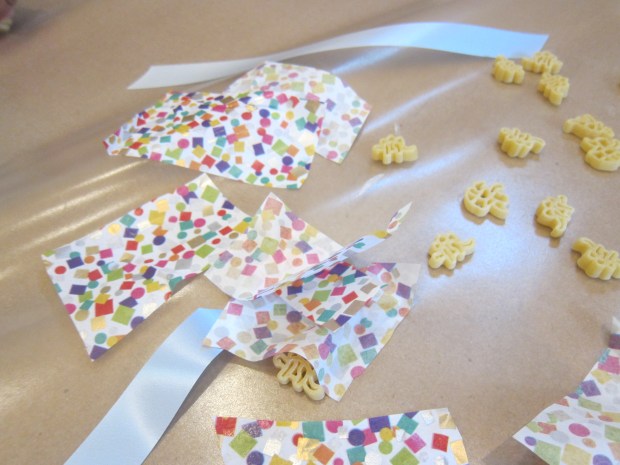
I started by cutting a Christmas tree shape from each of three different wrapping paper patterns and taped these to a larger piece of craft paper on our floor.

Christmas Tree and Presents Matching (2)

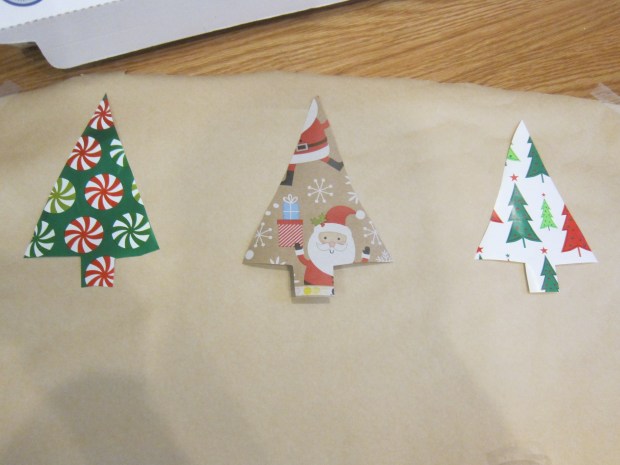
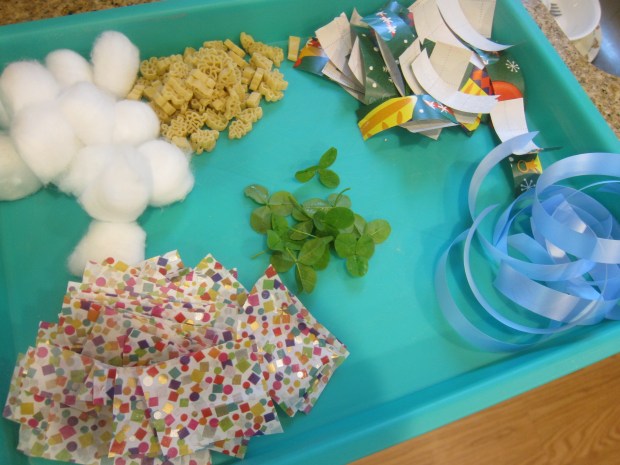
I then cut additional squares and rectangles from each pattern to be little “presents”. Now it was Veronika’s job to match each gift to the corresponding tree!

Christmas Tree and Presents Matching (3)

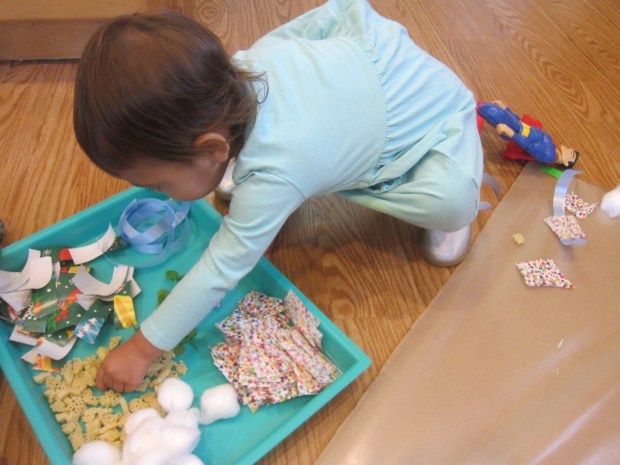
I showed her how the game worked for the first few examples. “The peppermint-print present goes under the peppermint-print tree!” I told her with excitement. She quickly understood that she was looking for a match.

Christmas Tree and Presents Matching (5)

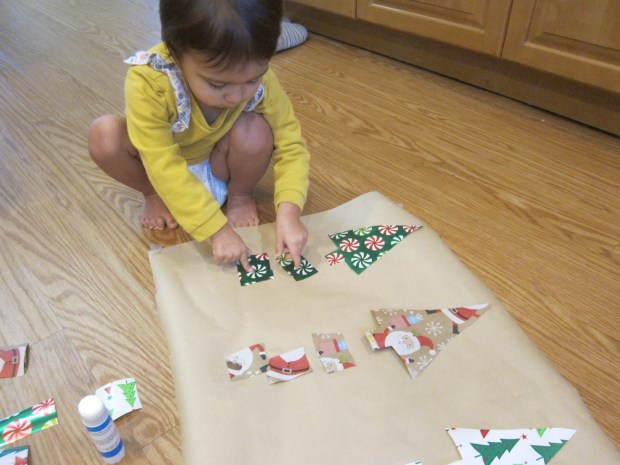
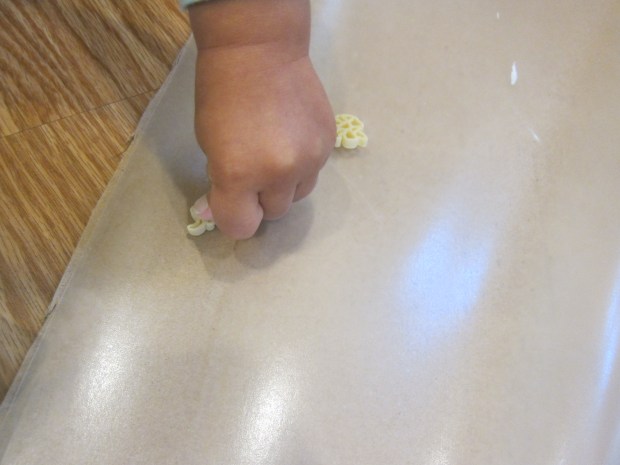
Still, she simultaneously understood the game and had her own agenda. She loved using a glue stick to attach the wrapping paper squares down anywhere she pleased, which of course was just fine.

Christmas Tree and Presents Matching (4)

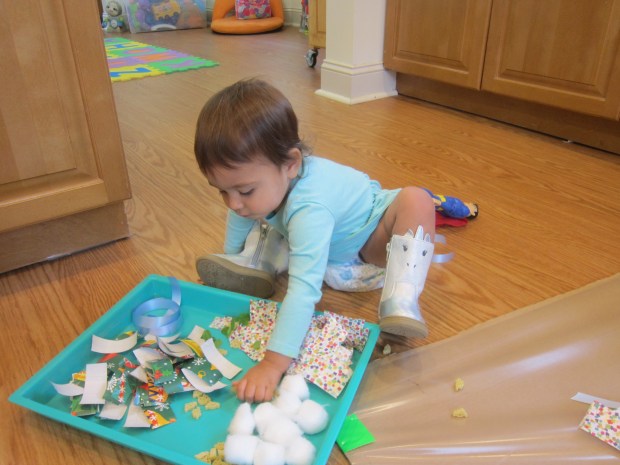
But if I prompted her directly, she could place a square under the “correct” tree.

Christmas Tree and Presents Matching (8)

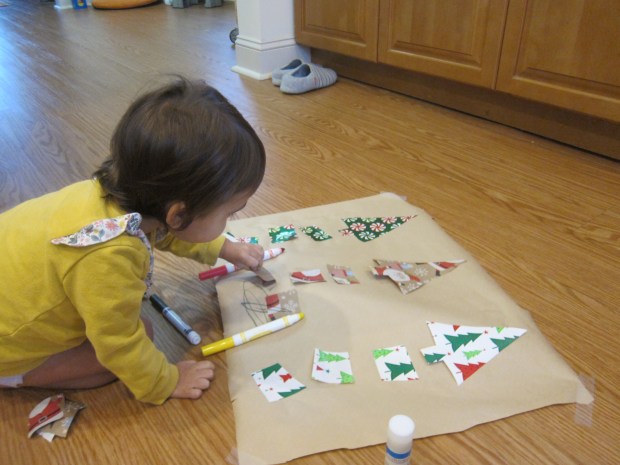
This activity was a nice mix of learning and just letting her play her own way.

Wrapping Paper Stocking

Wrapping Paper Stocking (8)

As you wrap gifts this holiday season, no doubt you’ll end up with just as many scraps and small bits of wrapping paper as I do. So after some early gift wrapping today, I gave Veronika the leftovers!

She loved looking at all the different patterns before we even started crafting with them, particularly seeing images of Santa Claus and Christmas trees.

Wrapping Paper Stocking (1)

I then gave her a glue stick to smear all over a piece of green construction paper and showed her how to add the scraps of wrapping paper any which way.

Wrapping Paper Stocking (4)

I made sure to leave a little space blank at the top, but other than that, all the placement was up to her!

Wrapping Paper Stocking (5)

Once the glue dried, I cut out a simple Christmas stocking shape, and wrote her name at the top.

Wrapping Paper Stocking (6)

This makes a great decoration to hang around the holidays and is great for early name recognition, too!

Wrapping Paper Stocking (7)

Toddler Collage

Toddler Collage (11)

It’s near the end of the month, which means time to empty out odds and ends from the craft bin as we stock up for next month. I knew exactly who would be a willing partner in my clean-out… my toddler!

I wanted Veronika to have a large “canvas” to work with for this project, so taped a piece of contact paper, sticky side out, to the largest piece of cardboard I could find in the house. You could also do this on a smaller scale, but whether big or small, the cardboard is nice because it means your toddler can leave the project and come back to it later. The same can’t be said if you tape the contact paper to the floor.

Toddler Collage (2)

I set out a tray with all the craft bin odds and ends, including: wrapping paper pieces, tissue paper squares, cotton balls, strands of ribbon, plus some clover from outside (flowers would be pretty, too!). I also added uncooked dinosaur-shaped pasta pieces.

Toddler Collage (1)

Veronika immediately needed to investigate all of the components of the tray of course!

Toddler Collage (3)

It turned out that the dinosaur pasta was the big hit. She loved sticking it to the contact paper, either by tossing on big handfuls, or by pressing one piece in carefully at a time.

Toddler Collage (6)

The ribbon was also fun, because the ends curled up until she pressed the length of it with her finger to secure it down.

Toddler Collage (10)

She was less interested in the cotton balls and tissue paper than I thought she would be!

Toddler Collage (5)

When she initially tired of the activity, I tucked the cardboard and the tray aside, waiting for her next creative impulse.

Toddler Collage (9)

By the end of the day, we had a masterpiece.

Toddler Collage (12)

Handprint Wrapping Paper

Handprint Wrapping (10).JPG

Parents and grandparents will love any gift that your child gives them – but make it extra special with this fun hand- and footprint paper. The paper itself may very well charm them more than the gift inside!

First, I set up everything for footprints, the messiest part of the project. I recommend using tempera paint, and having a pack of baby wipes right next to you to wash off messy feet.

Handprint Wrapping (1)

Note: you can use acrylic paint, but it will simply require a more thorough scrubbing with soap and water.

Travis sat in a chair in front of a large sheet of butcher paper (alternatively, you can cut open brown bags from the supermarket so they lie flat), and giggled as I brushed paint onto his feet.

Handprint Wrapping (2)

I held his hand as he walked across the paper, leaving tracks behind. He loved peeking back over his shoulder at his trail!

A quick wipe, and then we were on to the hand prints. Travis was giggling again for a nice coat of Christmas red.

Handprint Wrapping (3)

He loved pressing his hands down, making sure each print had all 5 fingers.

Handprint Wrapping (5)

We left the paper to dry, then used it to wrap a package for daddy.

Handprint Wrapping (4)

If multiple children are decorating the same sheet of wrapping paper, you can add names and the date next to their prints.

Handprint Wrapping (7)

A Christmas surprise for under the tree!

Handprint Wrapping (9)

Sponge-Print Wrapping Paper

Sponge Wrapping Paper (8).JPG

Enlist the kids help with gift wrapping this year… not just to wrap up the presents, but to make the wrapping paper first. Not only will they enjoy making this easy DIY gift wrap, but they’ll be so proud when they see gifts presented to loved ones in the paper that they made.

To start, cut sponges into shapes and glue onto old jar lids – the sponge should be cut until about the same size as or smaller than the lid. Simple shapes like triangles and squares are easiest, but get fancy if you’re handy with a paring knife!

Sponge Wrapping Paper (1)

I spread out a leftover roll of craft paper, and Travis immediately set to dipping his sponge stamps into paint…

Sponge Wrapping Paper (5)

…and dotting all over the paper. He liked making “patterns” as he worked.

Sponge Wrapping Paper (4)

Sometimes he spaced the stamps far apart, and sometimes he liked clustering them, so we ended up with a final product that was decidedly his creation.

Sponge Wrapping Paper (7)

We also had fun swirling together blue and white paint to make a light blue.

Sponge Wrapping Paper (9)

Once the paint is completely dry, it’s gift wrapping time!

Sponge Wrapping Paper (10)

What fun wrapping ideas have you used this holiday season? Please share in the comments!