Straw Fountain

Straw Fountain (5)

Here’s a quick STEM experiment that will technically teach your kids about centrifugal force (i.e. the same technology used in commercial water pumps, such as a laundry machine when it’s draining). But even the science is too advanced for your child, there’s the pure fun of spraying water!

To put together the “fountain”, cut a straw to about 2/3 of its length. Snip two holes at even intervals, sniping into but not through the straw, so it now has three segments.

Straw Fountain (1)

Poke a hole in the middle of the center segment with a needle, and then insert a skewer. Fold the other two segments down toward the tip of the skewer; you now have a triangle. Tape it all in place.

Straw Fountain (2)

Fill a glass with water and head some place where it’s okay to get wet! Our patio was perfect. To activate the fountain, just roll the skewer between your palms.

Straw Fountain (4)

Unfortunately it was really hard to capture photos of the fountain in motion, because Travis couldn’t quite master the trick of rolling the skewer quickly enough to make the triangle spin. When I showed him how to do it, on the other hand, our fountain worked fantastic but Travis kept stepping back to avoid getting wet and didn’t take any pictures!

Straw Fountain (3)

Still, it was well worth the effort to make this craft. The D.I.Y. “sprinkler” was just right for a warm spring morning!

Super Quick Sticker Art

Quick Sticker Art (3)

Looking for a quick way to occupy a toddler’s endlessly curious hands? Look no further than the top drawer of your desk for office supplies!

To wit, Veronika loves the stickers in her big brother’s home school workbook, but I can’t let her have them. Thinking quickly to avoid a tantrum today, I pulled out office dot stickers, the kind you can buy in bulk from any drugstore or office supply store.  And that was it!

Quick Sticker Art (1)

I gave her a few sheets of colored construction paper and just let her start sticking stickers all over.

Quick Sticker Art (2)

Older toddlers might want to be deliberate with their stickers, either grouping them by color, or making a pattern, or lining them up in straight rows. You can even encourage sticker piles, aiming to have your child place one circle directly atop another. For Veronika at a year and half old, this activity was just about pulling them off the sheet and pressing them onto the paper.

Quick Sticker Art (4)

She was so happy to do so!

Quick Sticker Art (5)

When she seemed on the verge of losing interest, I added anther office supply: pens and markers!

Quick Sticker Art (8)

At first I showed her how to draw right on the dots. But okay, this was too advanced for her coordination. Instead, she loved using the markers all around the dots.

Quick Sticker Art (7)

She even tried using two markers at once!

Quick Sticker Art (9)

And best of all, she was very busy.

Quick Sticker Art (10)

Sponge Bath

Sponge Bath (5)

Veronika recently painted with sponges, and since we had leftovers from the pack, we decided to continue the fun in the water!

A sponge is the perfect cheap toddler bath toy. First there’s the obvious fact that it’s, well, a sponge! It will hold a large amount of water and toddlers love squeezing them out. Veronika delighted in the squishy sound that it made whenever she did this, as well as the bubbles that foamed up if she squeezed them under water.

Sponge Bath (4)

Then there’s the fact that they stick to the side of the tub. It’s almost like playing with big wet stickers!

Sponge Bath (3)

Plus sponges play right into your toddler’s love of cleaning. My tub was sparkly clean by the end of Veronika’s bath!

Sponge Bath (6)

For learning fun, cut the sponges into shapes before adding them to the tub. It can be a bit tough to cut into thick sponges, but luckily Veronika didn’t mind that my circle and heart were a little crooked.

Sponge Bath (2)

We also talked briefly about the different colors, but honestly I mostly sat back and let her play! An extra long bath never hurts.

Sponge Bath (1)


Kindergarten Home School Week 12: Monday

Home School 60 a

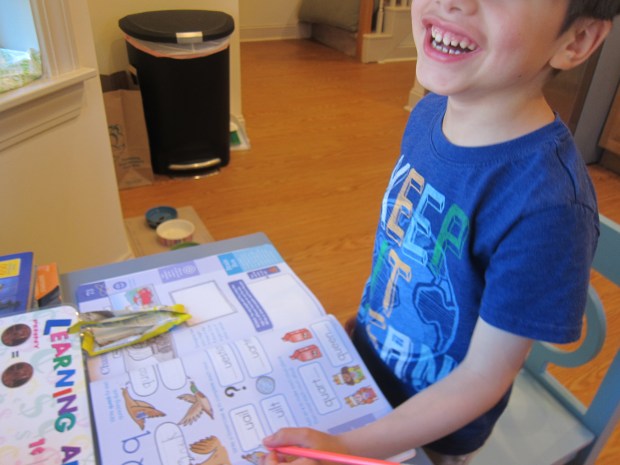
Don’t let the big grin in the photo above fool you; it was one of those home school days that felt two steps forward, two steps back. But we got through it!

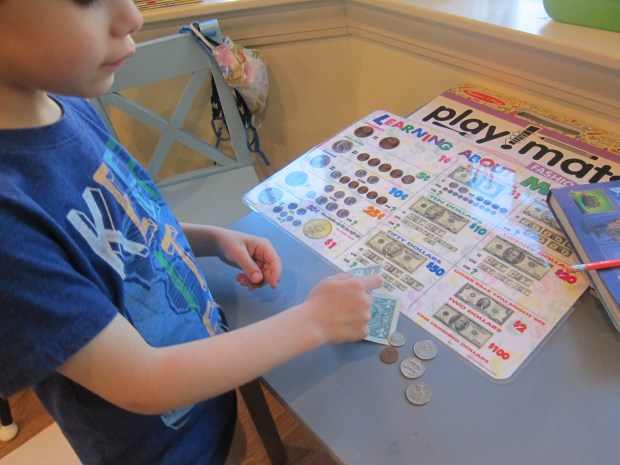
8.30-9: Letter Q/Quarters: After a workbook page focusing on letter Q, I seized the opportunity to play up q for quarters, since Travis still struggles with coin values. We reviewed the various denominations and then of course he wanted to play with all the coins in mommy’s wallet!

Home School 60 b

9-9.30 History. His second workbook page focused on past and future. First Travis drew an imaginary future car. Then he had to write about how people used fire in the past.  I thought it might be fun to turn it into a mini lesson on the Oregon Trail, checking out his encyclopedia page on the American West and a video about cowboys, He wasn’t at all interested, leading to tantrums, meaning we switched gears and headed on to…

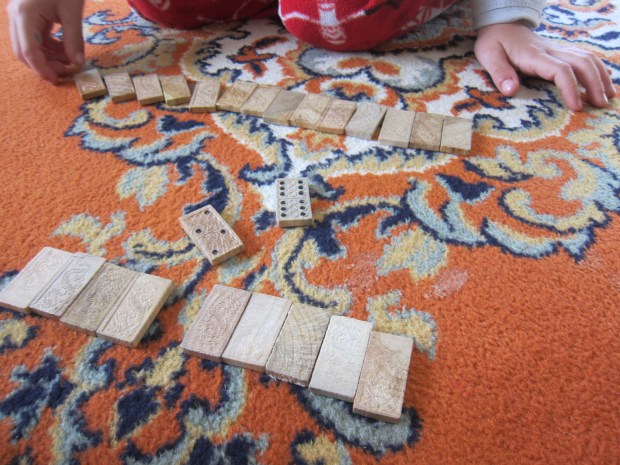
9.30-10: Math. After two Star Wars workbook pages about estimating, we estimated the number of dominoes in a pile. Travis provided remarkably adept at this for his first try. Since we had the dominoes out, we then played with them in two ways. First: could he make a math sentence about each one (i.e. 5+5=10, 6+2=8).

Home School 60 d

Then we played War but with dominoes instead of cards. This part he enjoyed, and he grew very fast at tallying up the pips.

Home School 61 k

10-10.30: Snack/recess. Much needed!

Home School 60 e

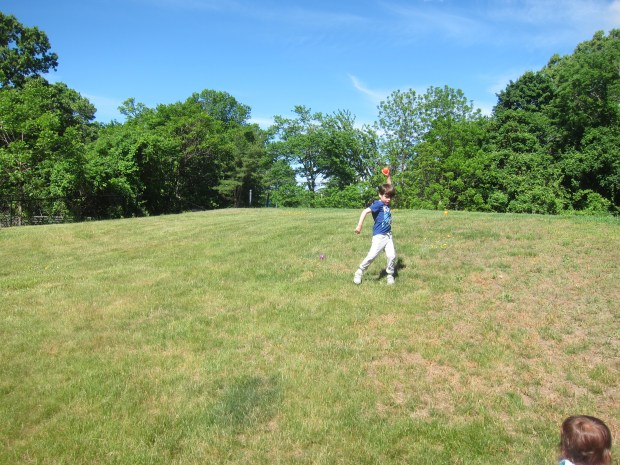
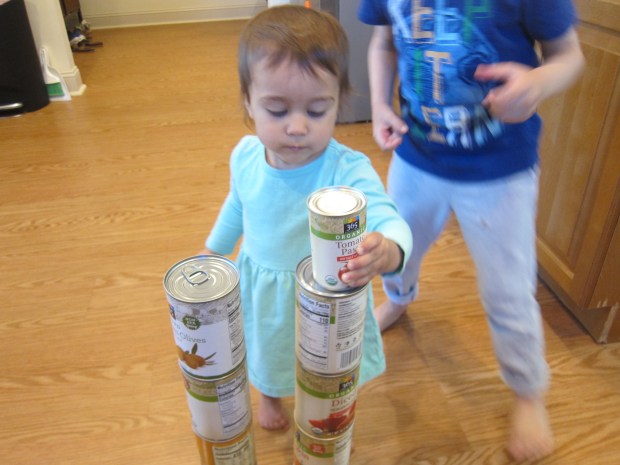
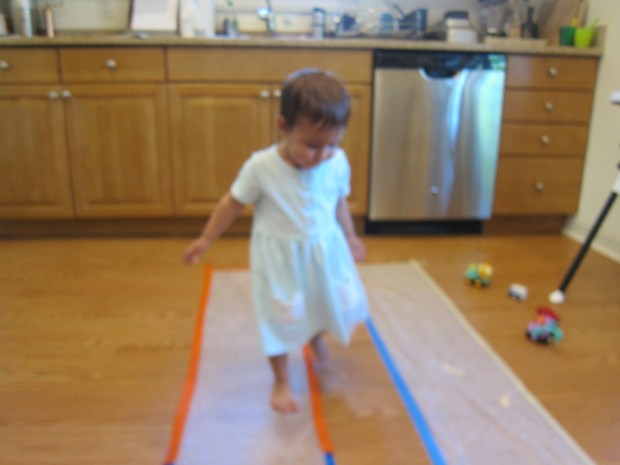
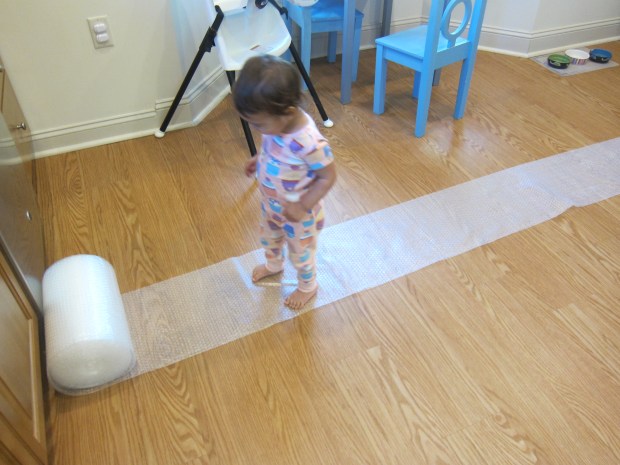
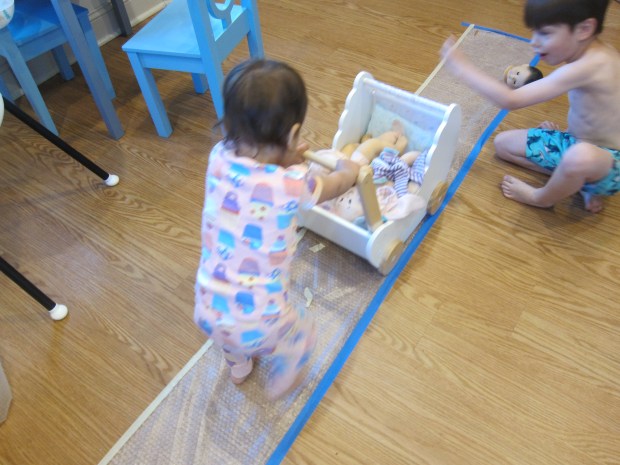
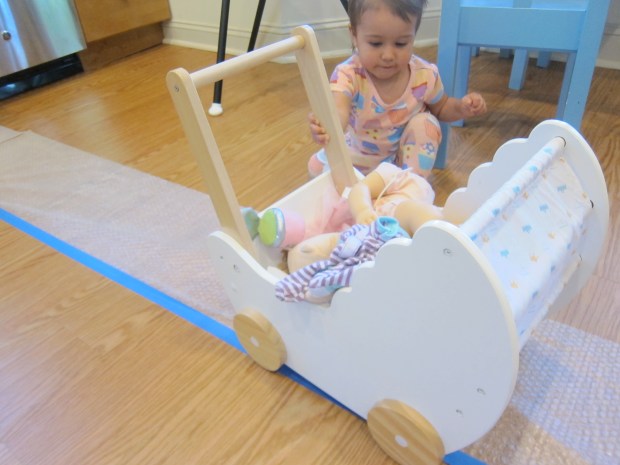
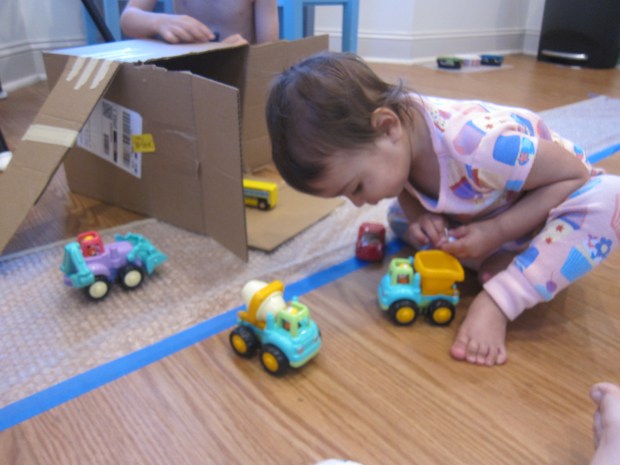
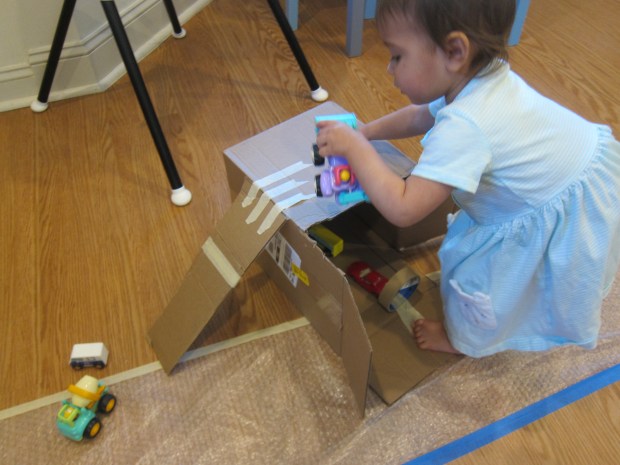
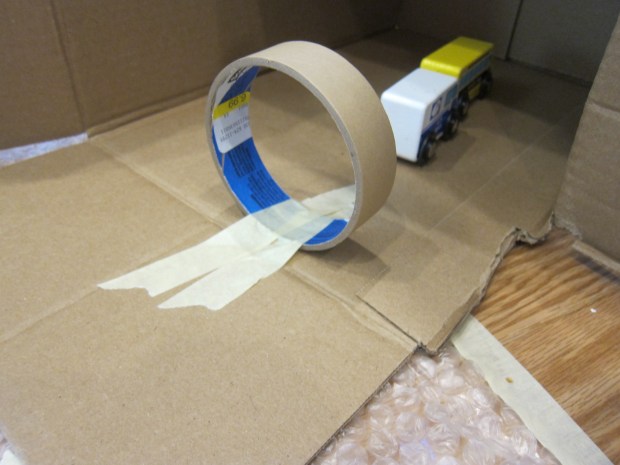
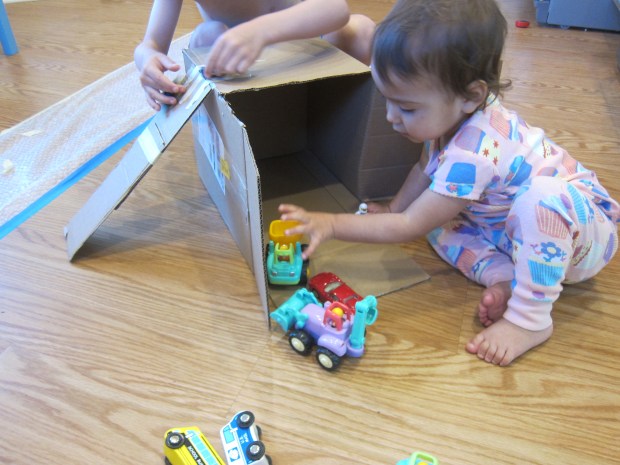
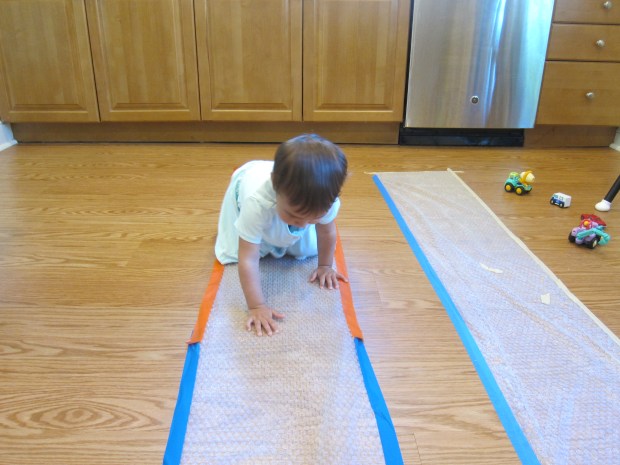
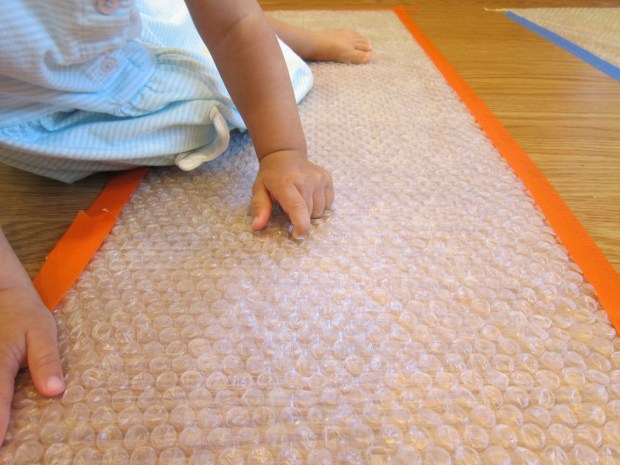
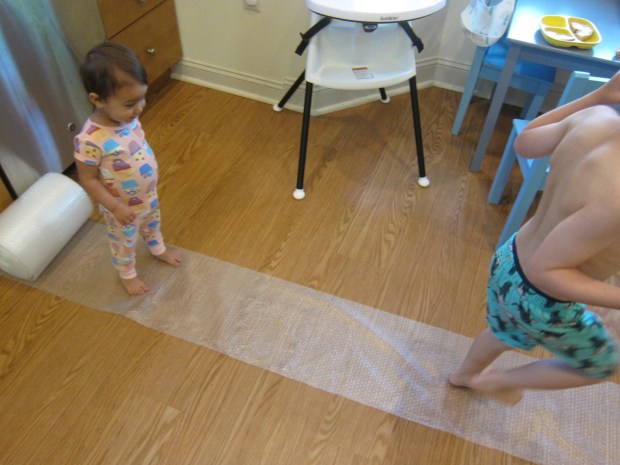
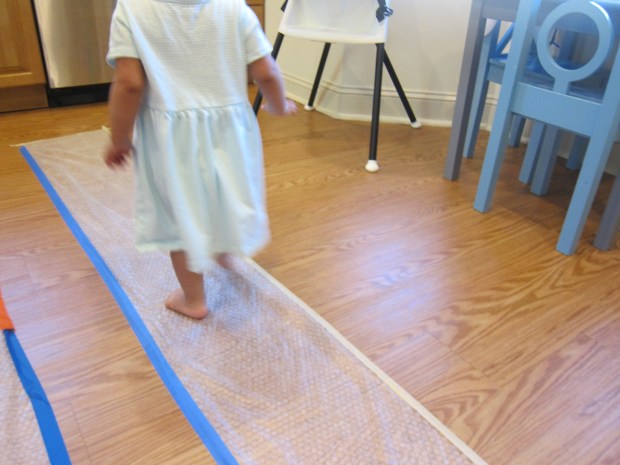
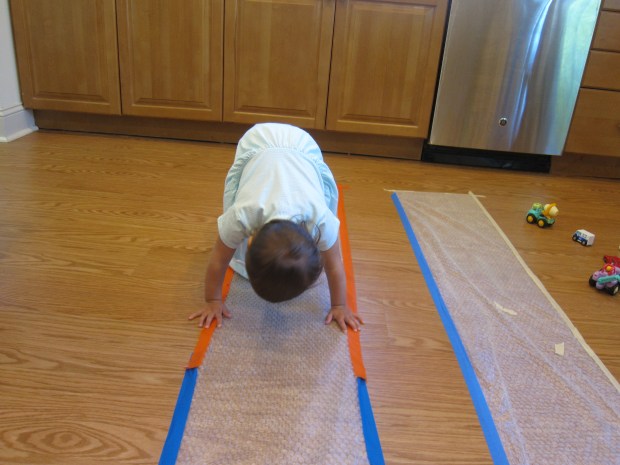
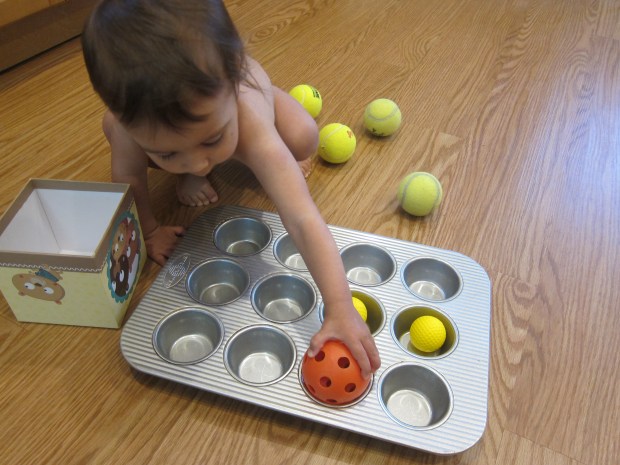
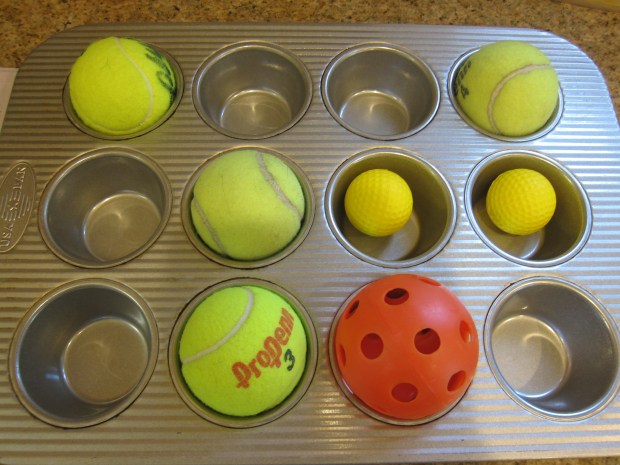
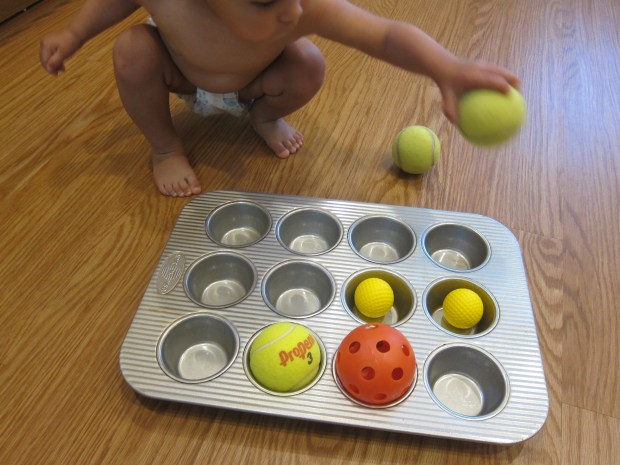
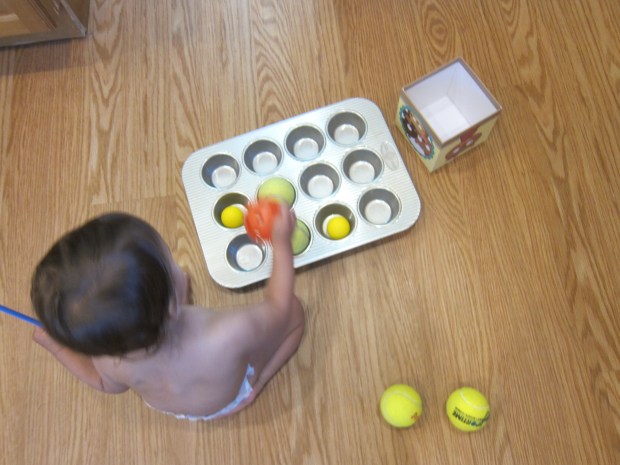
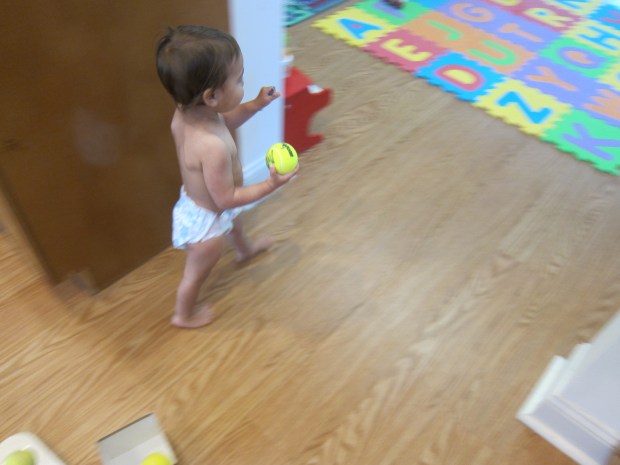
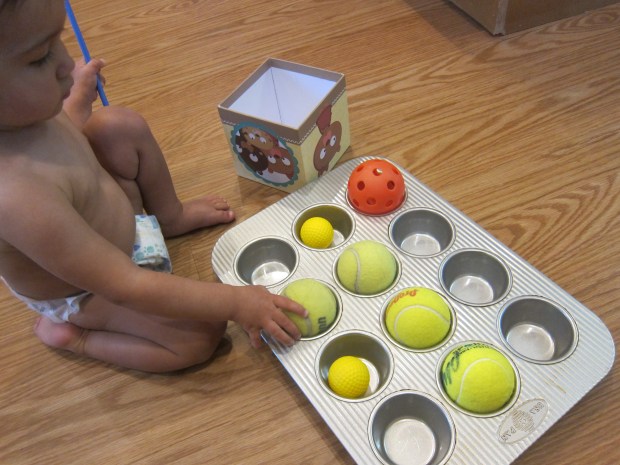
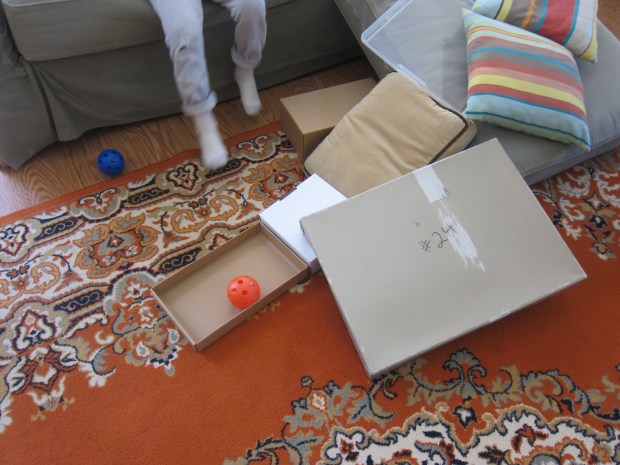
We rolled balls downhill outside on a relatively chilly day, then detoured back inside to design a ball course. Could he lead a ball from the couch down to a box, without touching it?
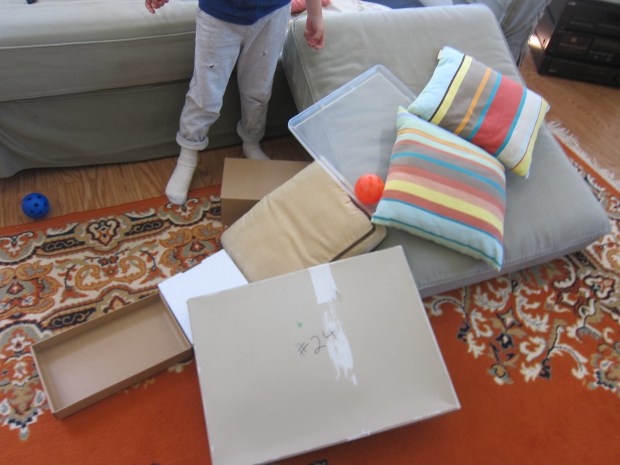
Home School 60 g

Success!

Home School 60 h

10.30-11: ELA. Travis wrote an ‘Over the Weekend’ sentence, the first time he’s done this class assignment in weeks. He also did 20 minutes on Lexia.

Home School 60 i

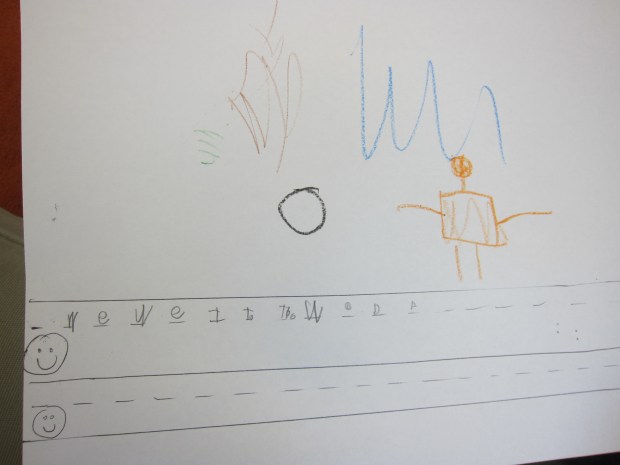
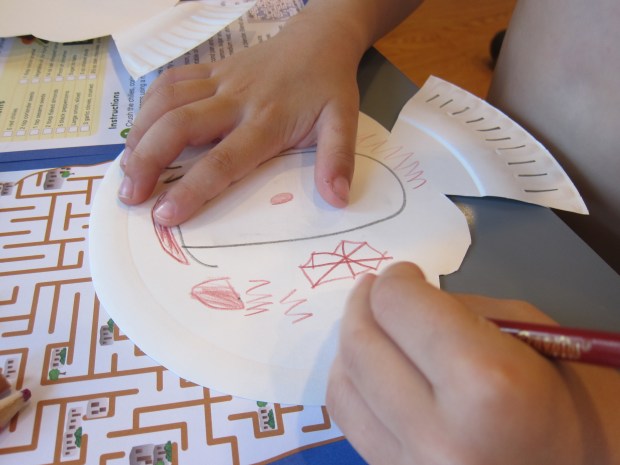
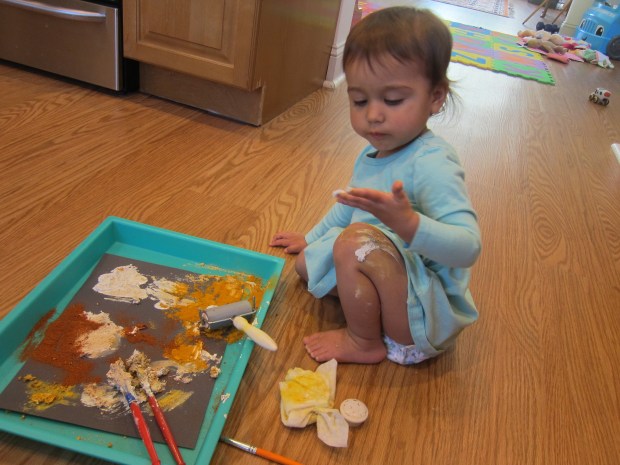
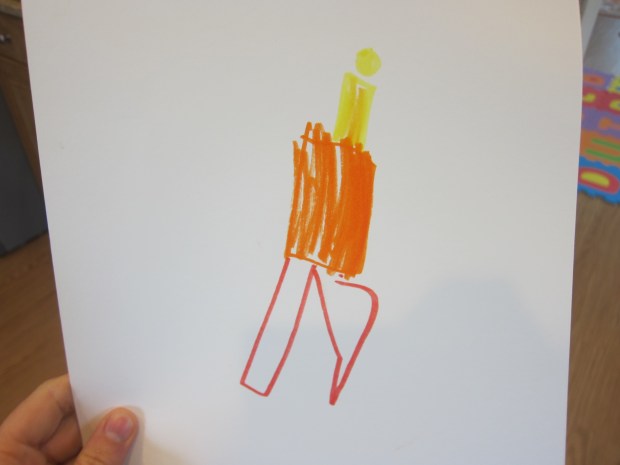
11-11.30: Specials. For Art, he drew his self-portrait, a monthly classroom activity. We can’t believe this is the last one for kindergarten! He also watched a video about Buenos Noches/Buenos Dias in Spanish.

Home School 61 j

11.30-1.30: Lunch/free play.

1.30-2: Class Zoom. He was reluctant to sit for this group session again today, and grew very angry by the end. I diverted his mood with…

2-2.30: Games. We played a board game (Zingo), and then played “what’s my rule?” If I sorted something from the craft bin, he had to guess the defining characteristic of each group. This was hard for him to grasp at first so I was proud he stuck with it.

Home School 60 j

2.30-3: Exercise. We needed to get moving to shake out his bad mood. A little Star Wars yoga was in order.

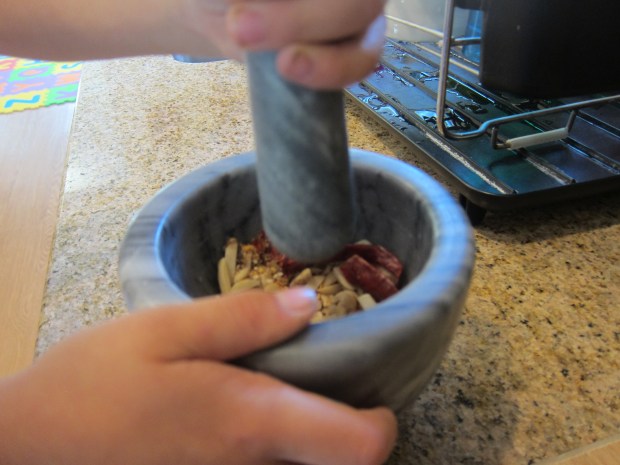
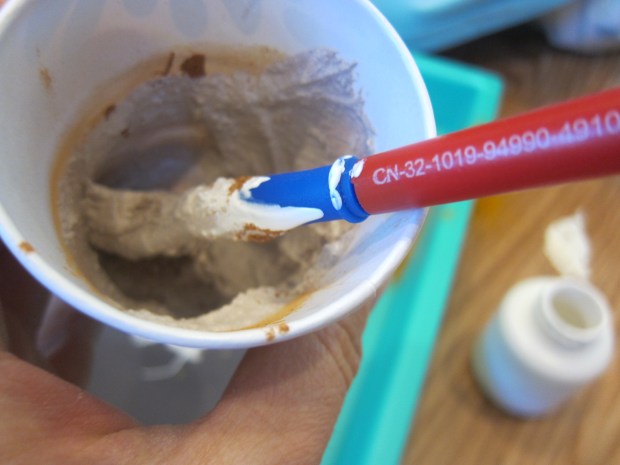
3-3.30: Cooking. We made mole sauce for dinner to round out a unit on Mexico.

At story time tonight (A Second is a Hiccup), we made sure to locate the title and author on the front cover before reading, and then searched for sight words as we went through the story.

I’ve forgotten to mention a few recent reads, including: The Very Hungry Caterpillar; Where the Wild Things Are; Beautiful Oops; Castle: How it Works; and Separate is Never Equal.

The day was overly busy, since I was trying to balance requests from his teacher with lessons I thought he’d enjoy. Perhaps tomorrow we will aim for less-is-more.

Little Passports: Mexico

LP Mexico (22)

We may not be able to travel right now, but Travis journeyed to Mexico this week thanks to Little Passports! He was thrilled when the package arrived, so we wasted no time setting off on the virtual journey. He added stickers to his map, suitcase, and passport as I read him “Sam and Sofia’s” letter from the country.

LP Mexico (1)

The booklet was just shy of too advanced for a kindergartner. He was proud to solve a tricky maze, and enjoyed information about Mexican animals. Online activities included learning familiar Spanish phrases and completing a tricky dot-to-dot with points 1 through 85 of a Mexican landmark.

LP Mexico (14)

Souvenir:

The kit contained a D.I.Y. pinata; any activity that involved candy got a big thumbs up from Travis! The pinata was tricky to put together, so turned into more of a mommy project, following instructions to fold the cardboard cactus shape and glue on strips of provided tissue paper.

LP Mexico (7)

We made beautiful flowers, too, by rolling tissue paper around a pencil tip, then removing from the pencil and pressing down to bend the “petals” outward.

LP Mexico (6)

Travis proudly selected candy at the store to fill the cactus for a mini fiesta. Here he is gearing up for the big hit.

LP Mexico (9)

Even little sister wanted a turn taking a whack.

LP Mexico (10)

Candy! I loved that we did this on a random school night, without waiting for a special occasion, which made it feel extra fun for the kids.

LP Mexico (11)

Further Activities:

Next up we followed instructions for Day of the Dead Masks. Mark a paper plate in such a way that it forms an 8-wedged pie, then draw cheek ovals on two of those pie pieces nearest the bottom. Cut out around the inner rim of the paper plate.

LP Mexico (12)

Travis was so proud of his decorations!

LP Mexico (13)

Tape to a craft stick for an instant fiesta mask.

LP Mexico (16)

Next we headed outside for Sunshine Art, which was the bonus add-on for this country package. Arrange items on top of the provided plate and special blue-tinted paper, and then lay in the sunshine. You’ll have an image within two minutes!

LP Mexico (17)

We played around with which items worked best. I had hoped Travis would get into the idea of putting together a whole collage, but he lost interested rather quickly.

LP Mexico (19)

Next up was Aztec Guacamole. Travis was thrilled when I came home from the grocery store with 5 ripe avocados. We scooped the flesh into a bowl, and he was in charge of mashing!

LP Mexico (20)

Add 1 chopped tomato, 1 small finely chopped red onion, 1/4 cup minced fresh cilantro, the juice of 1 lime, and 1/2 teaspoon garlic salt. Serve with tortilla chips!

LP Mexico (21)

Finally, he colored in the Mexican flag for our garland; this was by far the most intricate flag to date, and he was so proud!

LP Mexico (18)

Recipe:

Who doesn’t love the thought of chocolate for dinner? Travis was quite excited when he learned we’d be making a chocolate sauce (mole); unfortunately we used red chilies that were very spicy. Look for mild red chilies for more kid-friendly results.

Mole Recipe (2)

Ingredients:

  • 5 red chilies
  • 2 teaspoons coriander seeds
  • 1 teaspoon sesame seeds
  • 2 tablespoons slivered almonds
  • 5 black peppercorns
  • 1 large onion, sliced
  • 3 garlic cloves, minced
  • 1 tablespoon cocoa powder
  • 2 tablespoons canola oil
  • (14-ounce) can diced tomatoes
  • 1/8 teaspoon cinnamon
  • 1 tablespoon sugar
  • 5 ounces vegetable broth
  • 1 (3-ounce) dark chocolate bar, chopped
  1. Place the chilies, coriander, sesame seeds, almonds, and peppercorns in a mortar. Crush with a pestle. Transfer the spice mixture to a small skillet over medium heat and dry-fry for 1 minute. Set aside.
  2. Meanwhile, heat the canola oil in a large skillet over medium-high heat. Add the onion, garlic, and cocoa powder; cook for 2 minutes.
  3. Add the tomatoes to the onion mixture, along with the spice mixture, cinnamon, sugar, and vegetable broth. Bring to a simmer, then continue to cook for 25 minutes.
  4. Transfer to a blender and process until smooth. Pour into a bowl and stir in the chocolate, stirring until melted. We served the sauce over vegan chick’n!

Mole Recipe (4)


Spice Painting

Spice Painting (5)

Having recently enjoyed a sensory game where she smelled items from the pantry, I thought Veronika might like marrying that game to another favorite: Painting!

To set up, I set out white paint and then chose spices with scents across the board, from spicy to sweet to earthy and back again. Our lineup included:

  • cinnamon
  • black pepper
  • turmeric
  • paprika
  • ginger

Spice Painting (1)

For each spice, I poured a little white paint into a paper cup and then tapped in some of the spice. It was hard to get the mixtures to turn out exactly as I wanted. Too little spice and they just looked like flecks in the white paint. Too much and it became too dry to spread.

Spice Painting (3)

Of course Veronika wasn’t bothered about the consistency! I held each cup up to her nose and described what she was smelling. Cinnamon was sweet, paprika was spicy, and so on. Even though we could also smell the paint, she seemed to enjoy it!

Spice Painting (4)

Then she began smearing the paints all over a piece of black paper (which I thought would look best against the white paint). Whoops, she managed to dump some spices out, too, before I screwed the lids back on tightly.

Spice Painting (7)

Older kids can be more deliberate and careful with the activity, either making a guessing game out of it, or making brushstrokes of each paint on the paper and labeling them.

Spice Painting (6)

It wasn’t long before Veronika tested out some of the spicy paint on her legs, too. Which meant it was time for clean up!

Canned Food Blocks for Toddlers

Canned Food Blocks (4)

I had a rather ridiculous number of food cans after this week’s grocery shop, and when Veronika spotted them on the ground, she trotted right over. An instant toy! She immediately wanted to build with them.

Canned Food Blocks (2)

At first it was simply a matter of building towers up and I loved watching her carefully balance the cans. There were two single-serve oatmeal containers as well, along with a smaller tomato paste can, and she zeroed in on these as perfect for the top of the tower.

Canned Food Blocks (7)

Her expression was so intent and serious as she worked.

Canned Food Blocks (3)

Then she took everything apart and started over.

Canned Food Blocks (6)

This kept her busy for a while, until one of the towers fell over and she realized that the cans could…roll!

Canned Food Blocks (10)

Well then of course we needed to go “bowling”. I grabbed a few empty plastic bottles from the recycle bin to be our pins, and our cans went rolling towards them.

Canned Food Blocks (11)

Honestly though, she was less interested in knocking pins down and more interested in just chasing around a rolling can or two.

Canned Food Blocks (13)

Soon this involved throwing. She was very proud of herself, so I didn’t stop her right away. Definitely only allow this part of the game over a padded surface, if you don’t want heavy cans thrown on your floor.

Canned Food Blocks (9)

One note of caution: From the moment she started building, I was worried about her little toes, and yes, one can did fall on her. In retrospect, I would have put shoes on at the beginning!

Canned Food Blocks (8)

Luckily we only had a brief moment of tears before Veronika was up and building again.

Canned Food Blocks (5)

Bubble Wrap Roads and Runways

Bubble Wrap Fun (11)

Having recently made a tape road, today’s giant road for Veronika was made out of bubble wrap instead! First, I taped a long rectangle of bubble wrap to the kitchen floor, securing it with painter’s tape.

Bubble Wrap Fun (1)

I encouraged Veronika to stomp on it with her feet to pop the bubbles, but she doesn’t weigh quite enough. Thinking quickly, we pulled out her heavy doll carriage.

Bubble Wrap Fun (4)

Now she got to enjoy hearing that pop pop pop! She zoomed the carriage back and forth a few times.

Bubble Wrap Fun (3)

Since we had moved on to vehicles, I pulled out additional cars and trucks for her to roll over the bubble road.

Bubble Wrap Fun (6)

Then, to add to her “city”, I cut a cardboard box into several pieces so we could make it into more of a parking garage, including a ramp along one side.

Bubble Wrap Fun (9)

She loved vrooming her cars off the road and into this garage. The empty roll from the painter’s tape made a great tunnel!

Bubble Wrap Fun (8)

If you want to get really creative, add additional boxes and have the bubble wrap road go right up and over them!

Bubble Wrap Fun (5)

When the car play was done, we went back to using the bubble wrap as a runway for our bodies. I showed Veronika how to crawl on it, and her little knees were rewarded with bubble pops.

Bubble Wrap Fun (10)

Next she sat down and tried popping individual bubbles with her fingertips. This is great for muscle strengthening!

Bubble Wrap Fun (14)

Big brother Travis wanted a turn running along our runway, too!

Bubble Wrap Fun (2)

I taped down a second rectangle, thinking the kids might want to race side by side. If your kids are close in age, you could even turn this into a competition to see who pops all their bubbles first, or whose runway is the loudest.

Bubble Wrap Fun (12)

However you play, bubble wrap is a great way to get out some energy inside!

Bubble Wrap Fun (13)


Fun with Balls

Fun with Balls (3)

Today I gave Veronika a game with the easiest set up ever: balls + an empty muffin pan.

Having recently played with pom poms in a muffin tin, I knew she would like the concept. This time, I filled the tins of a standard 12 cup muffin pan with balls of various sizes. I included golf balls, tennis balls, and a few toy sensory balls.

Fun with Balls (1)

I deliberately left some of the compartments empty so she could transfer from one to another, making this almost like toddler whack-a-mole. She immediately got busy!

Fun with Balls (2)

I also placed a small box to the side so she could gather up the balls if she wanted to, but she preferred moving them either from tin to tin or directly onto the floor.

Fun with Balls (4)

She has never really played with tennis balls before, making these the most novel part of the game, and was delighted when she realized they bounce. So after that it became a game of chasing tennis balls all around the first floor of our apartment.

Fun with Balls (6)

What simple but pure fun!

Fun with Balls (5)

Take-Along Cereal Snack

Take Along Cereal Snack

Dried fruit adds a nutrition boost to plain old cereal, making this a great snack option for growing toddlers.

Ingredients:

  • 3 cups o cereal (such as Cascadian Farm)
  • 1 cup diced dried apple
  • 1/2 cup freeze-dried strawberry pieces
  1. Combine all of the ingredients in a large zip-top bag. Transfer to smaller bags for individual on-the-go servings.