Food-Coloring Painted Cards

FOod Color Painting (8)

This novel painting method makes a lovely piece of art. You can either mount the artwork on the wall for display, or use them like we did for Mother’s Day cards!

To start, I filled a few plastic cups with a little water, then added about 5 drops of food coloring to each, resulting in rich, bold colors.

Food Color Painting (1)

Set these “paints” out for your toddler, along with two novel “canvases” for painting: paper towels and coffee filters.

Food Color Painting (2)

The colors bleed through the tissue of these papers in such beautiful ways. Veronika loved mixing the colors, too, which meant our bright primary colors soon turned to new shades.

Food Color Painting (4)

We decided we liked the result on the paper towels better than on the coffee filters, so once the color had dried, I glued these onto construction paper backgrounds.

Food Color Painting(6)

Add a note for your recipient, and it’s ready to send. We’re wishing a happy Mother’s Day to all the moms out there!

Playdough Cars

I’d been saving up a variety of household items for a while with this project in mind, all of which meant this morning I could delight Veronika with a full town for her to drive playdough cars through. This project can easily be tailored to multiple ages; older kids can be a part of some or all of the set-up, depending on their age, while the youngest tots will simply enjoy playing in the result!

To start, I drew roads on black construction paper, adding white crayon for the dividing lines, and taped them down as a ring road around our coffee table.

Next, green tissue paper went in the center as the grass. I then stuffed additional sheets of tissue paper into the tops of empty paper towel tubes and toilet paper tubes, for trees of varying heights.

For little people, simply draw smiley faces on clothespins.

Now our little town just needed cars! Veronika helped shape play dough into long ovals, and then we added “wheels”, which were a variety of juice and soy milk caps I’d been saving up.

She loved chugging these along the road.

And also loved putting little people inside for a car ride.

Uh oh, traffic jam!

This little make-believe neighborhood was so easy to put together, and yet such a delight!

Little Passports: Spain

Travis was off to Spain with Little Passports this month, eagerly cracking open the envelope from “Sam and Sofia,” pinpointing the country on the map and adding his suitcase sticker.

In terms of our unboxing review, though, the booklet this month was tough. It included tricky tasks like a crossword and a grid to copy a Picasso painting, both of which were beyond his 1st grade level. Travis did help tally up treats from a Spanish market on another page, but overall seemed a bit overwhelmed by the booklet.

Souvenir:

On the other hand, the souvenir was a mosaic art sticker kit, based on the mosaics of Antoni Gaudi, and I’ve never seen Travis so into an art project! He insisted on completing the lizard shape he chose, meticulously working his way through the color-coded foam stickers.

He was relentless until every square was filled!

Further Activities:

Based on Little Passport’s blog, it looks like the Spain package used to include a craft for felt tomatoes, to mimic the annual La Tomatina festival. We cut circles of red felt, topped them with a tablespoon of dry lentils (dry rice would work too), and hot-glued a second circle of felt on top for a quick version.

Take aim at each other with your fake tomatoes, and watch them splat!

We also wanted to further explore Picasso, so made a quick craft that was a riff on his painting La Punchinello.

Cut out semicircles for heads and triangles for the bodies, arms, and legs, then arrange on construction paper and glue down. Travis added facial features with colored pencil to complete his funny little clown!

The recommended add-on for this kit was the Barcelona: City Trails guide book, filled with facts and info about the city. Instead of purchasing it, we checked out a copy from the local library! Of course, throw on some flamenco music to listen to during all of the above, and you’ll have loads of Spanish ambiance in your home.

Recipe:

We couldn’t leave Spain without trying tapas, of course. You can make this dish part of a larger spread, with items like Spanish olives or sliced vegan chorizo, for a complete meal.

Ingredients:

  • 6 red potatoes
  • 1/4 cup olive oil
  • 1 teaspoon salt
  • 2 tablespoons vegan mayonnaise
  • 1 teaspoon paprika
  • 1/8 teaspoon garlic powder
  • 2 tablespoons water
  1. Cut the potatoes into bite-sized pieces and place in a large bowl. Drizzle with the olive oil, stirring to coat.
  2. Spoon the potatoes onto a baking sheet lined with foil and sprinkle evenly with the salt. Roast at 375 degrees F for 30 minutes.
  3. In a large bowl, whisk together the mayonnaise, paprika, garlic powder, and water. Add the potatoes and toss to coat. We decided these were best served warm!

Vegan Fish Tacos

Use the fishless filets from Gardein (or other favorite vegan seafood of choice) for this fun spin on taco night. If you want to up the heat, add 1 seeded and chopped jalapeno pepper to the sauce.

Ingredients:

  • 1/2 cup non-dairy sour cream
  • 1/2 cup vegan mayonnaise
  • 1/2 teaspoon dried dill
  • 1/2 teaspoon dried oregano
  • 1/4 teaspoon salt
  • 2 limes, divided
  • 1 (10-ounce) package vegan fish
  • 1 (10-ounce) package coleslaw mix
  • 8 corn tortillas
  1. To prepare the sauce, whisk together the sour cream, mayonnaise, dill, oregano, salt, and juice from 1 lime in a bowl. Set aside.
  2. Arrange the vegan fish in a baking dish and squeeze with the juice of the remaining lime. Bake at 425 degrees F for 20 minutes, turning halfway through. Cool slightly and then cut into bite-sized pieces.
  3. Meanwhile, heat the coleslaw mix in a skillet over medium-high heat to desired tenderness. Toss the wilted coleslaw with the sauce.
  4. To assemble, warm the tortillas according to package directions. Arrange the fish and coleslaw mixture over each tortilla to taste, then fold up and serve!

Destructive Artsy Things to Do

Toddlers love to destroy things, and that’s not necessarily a bad thing! Those destructive urges often hone creativity, fine motor skills, imagination, and more. Many thanks to Bounce Back Parenting, which was the inspiration for most of the following ideas, all of which led to a great morning of destruction.
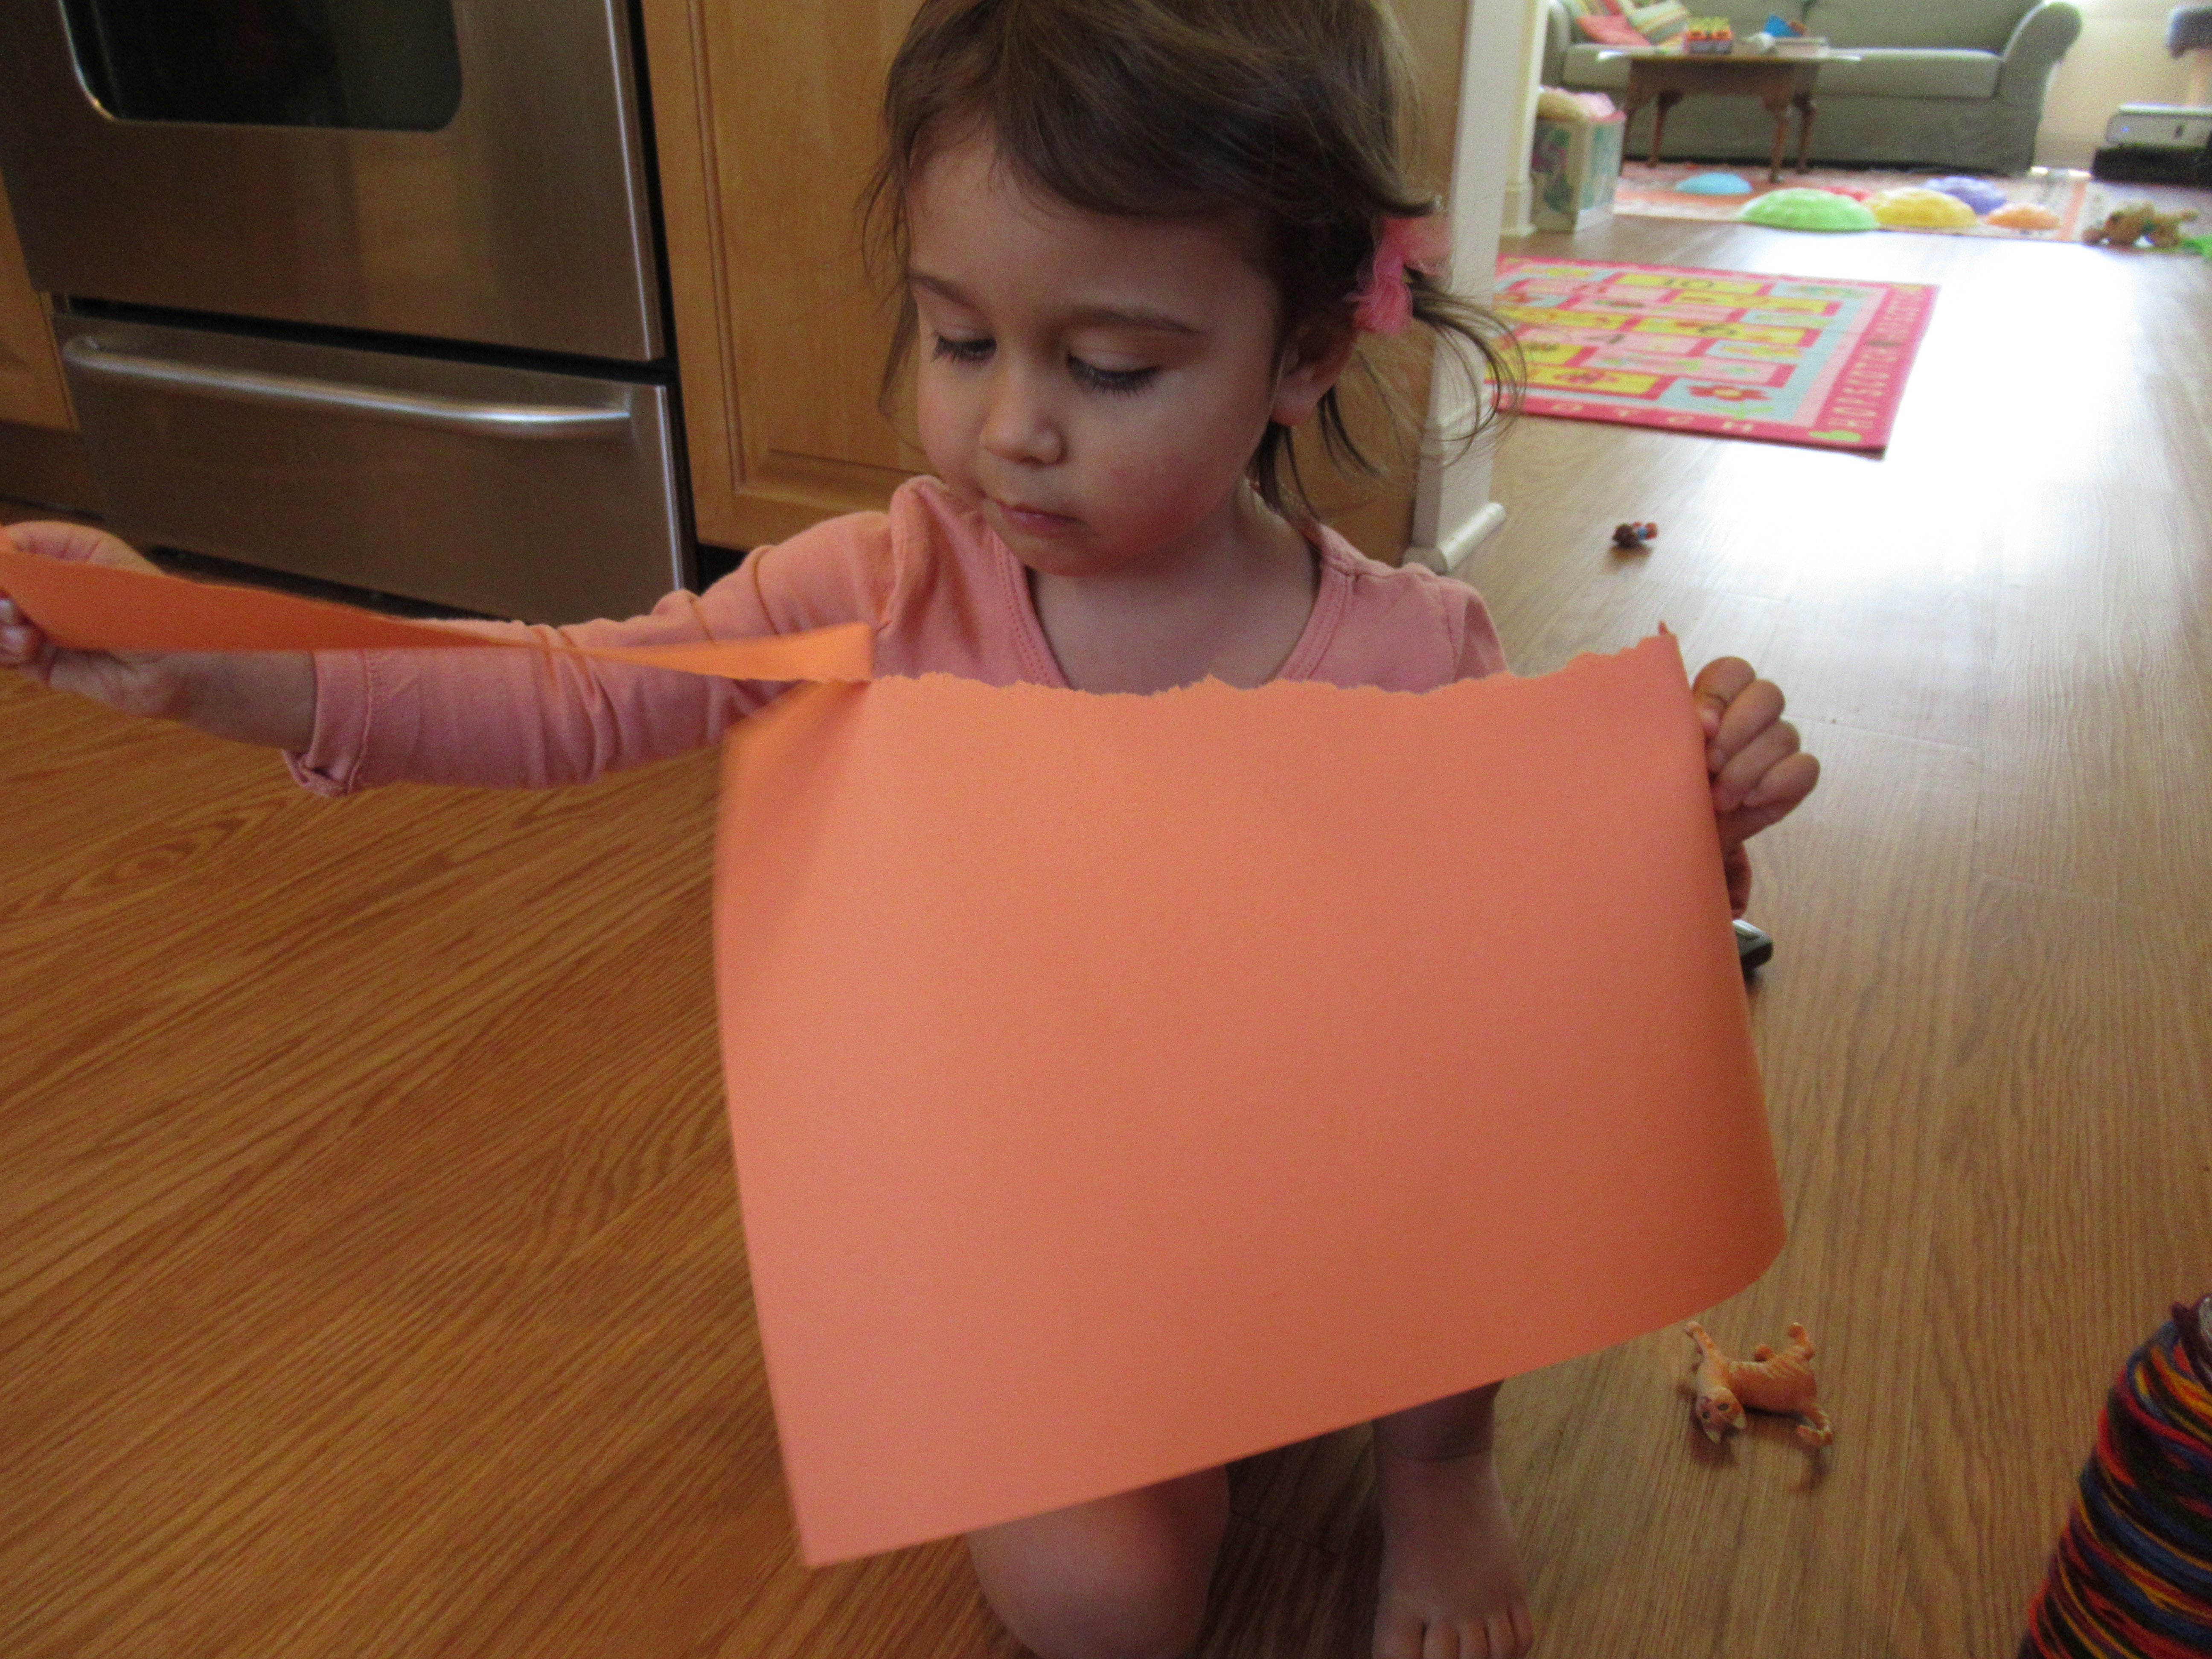
One: Rip Up Paper

First up was ripping paper, and I find that it’s easiest for Veronika if I make a small tear, then let her finish it. The ripping is great fun and it led right to…

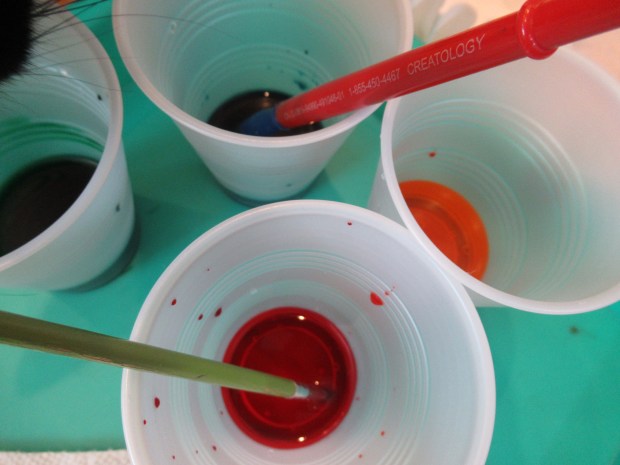
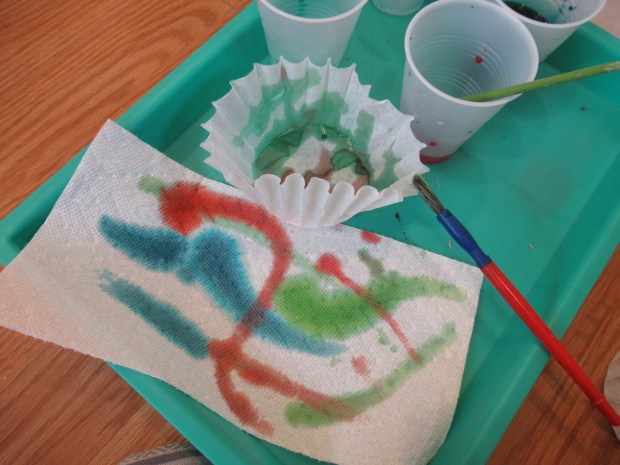
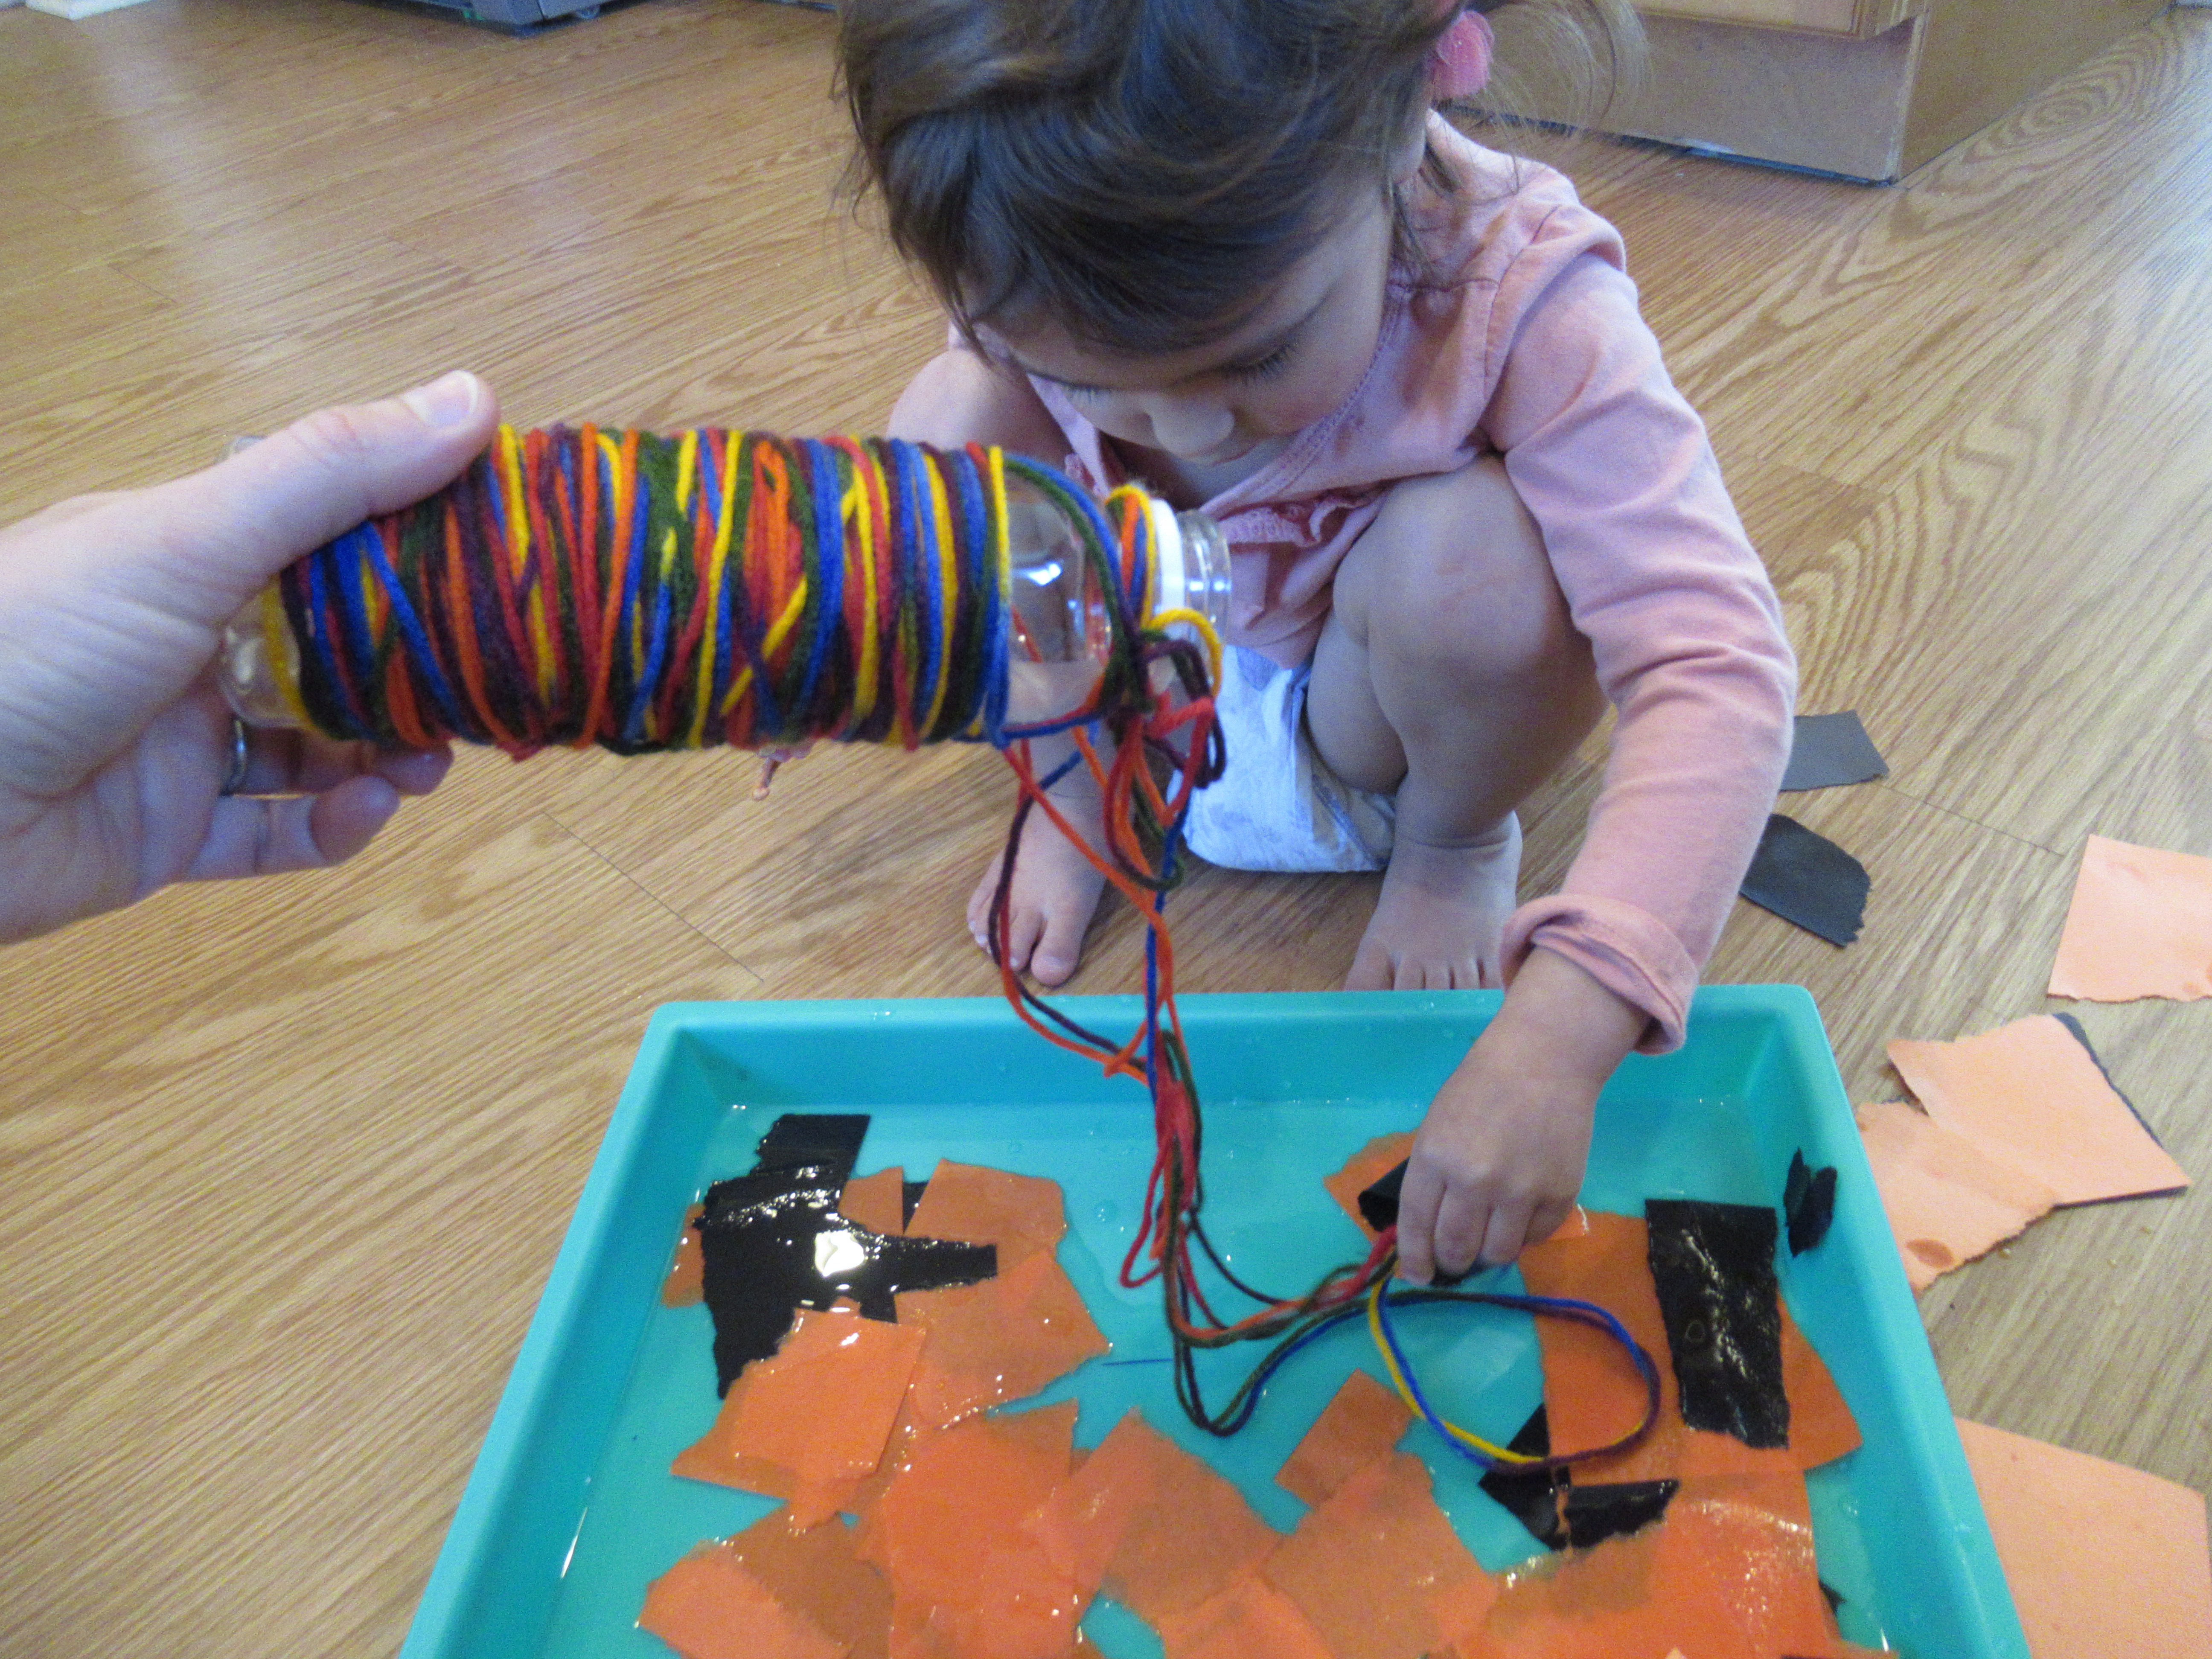
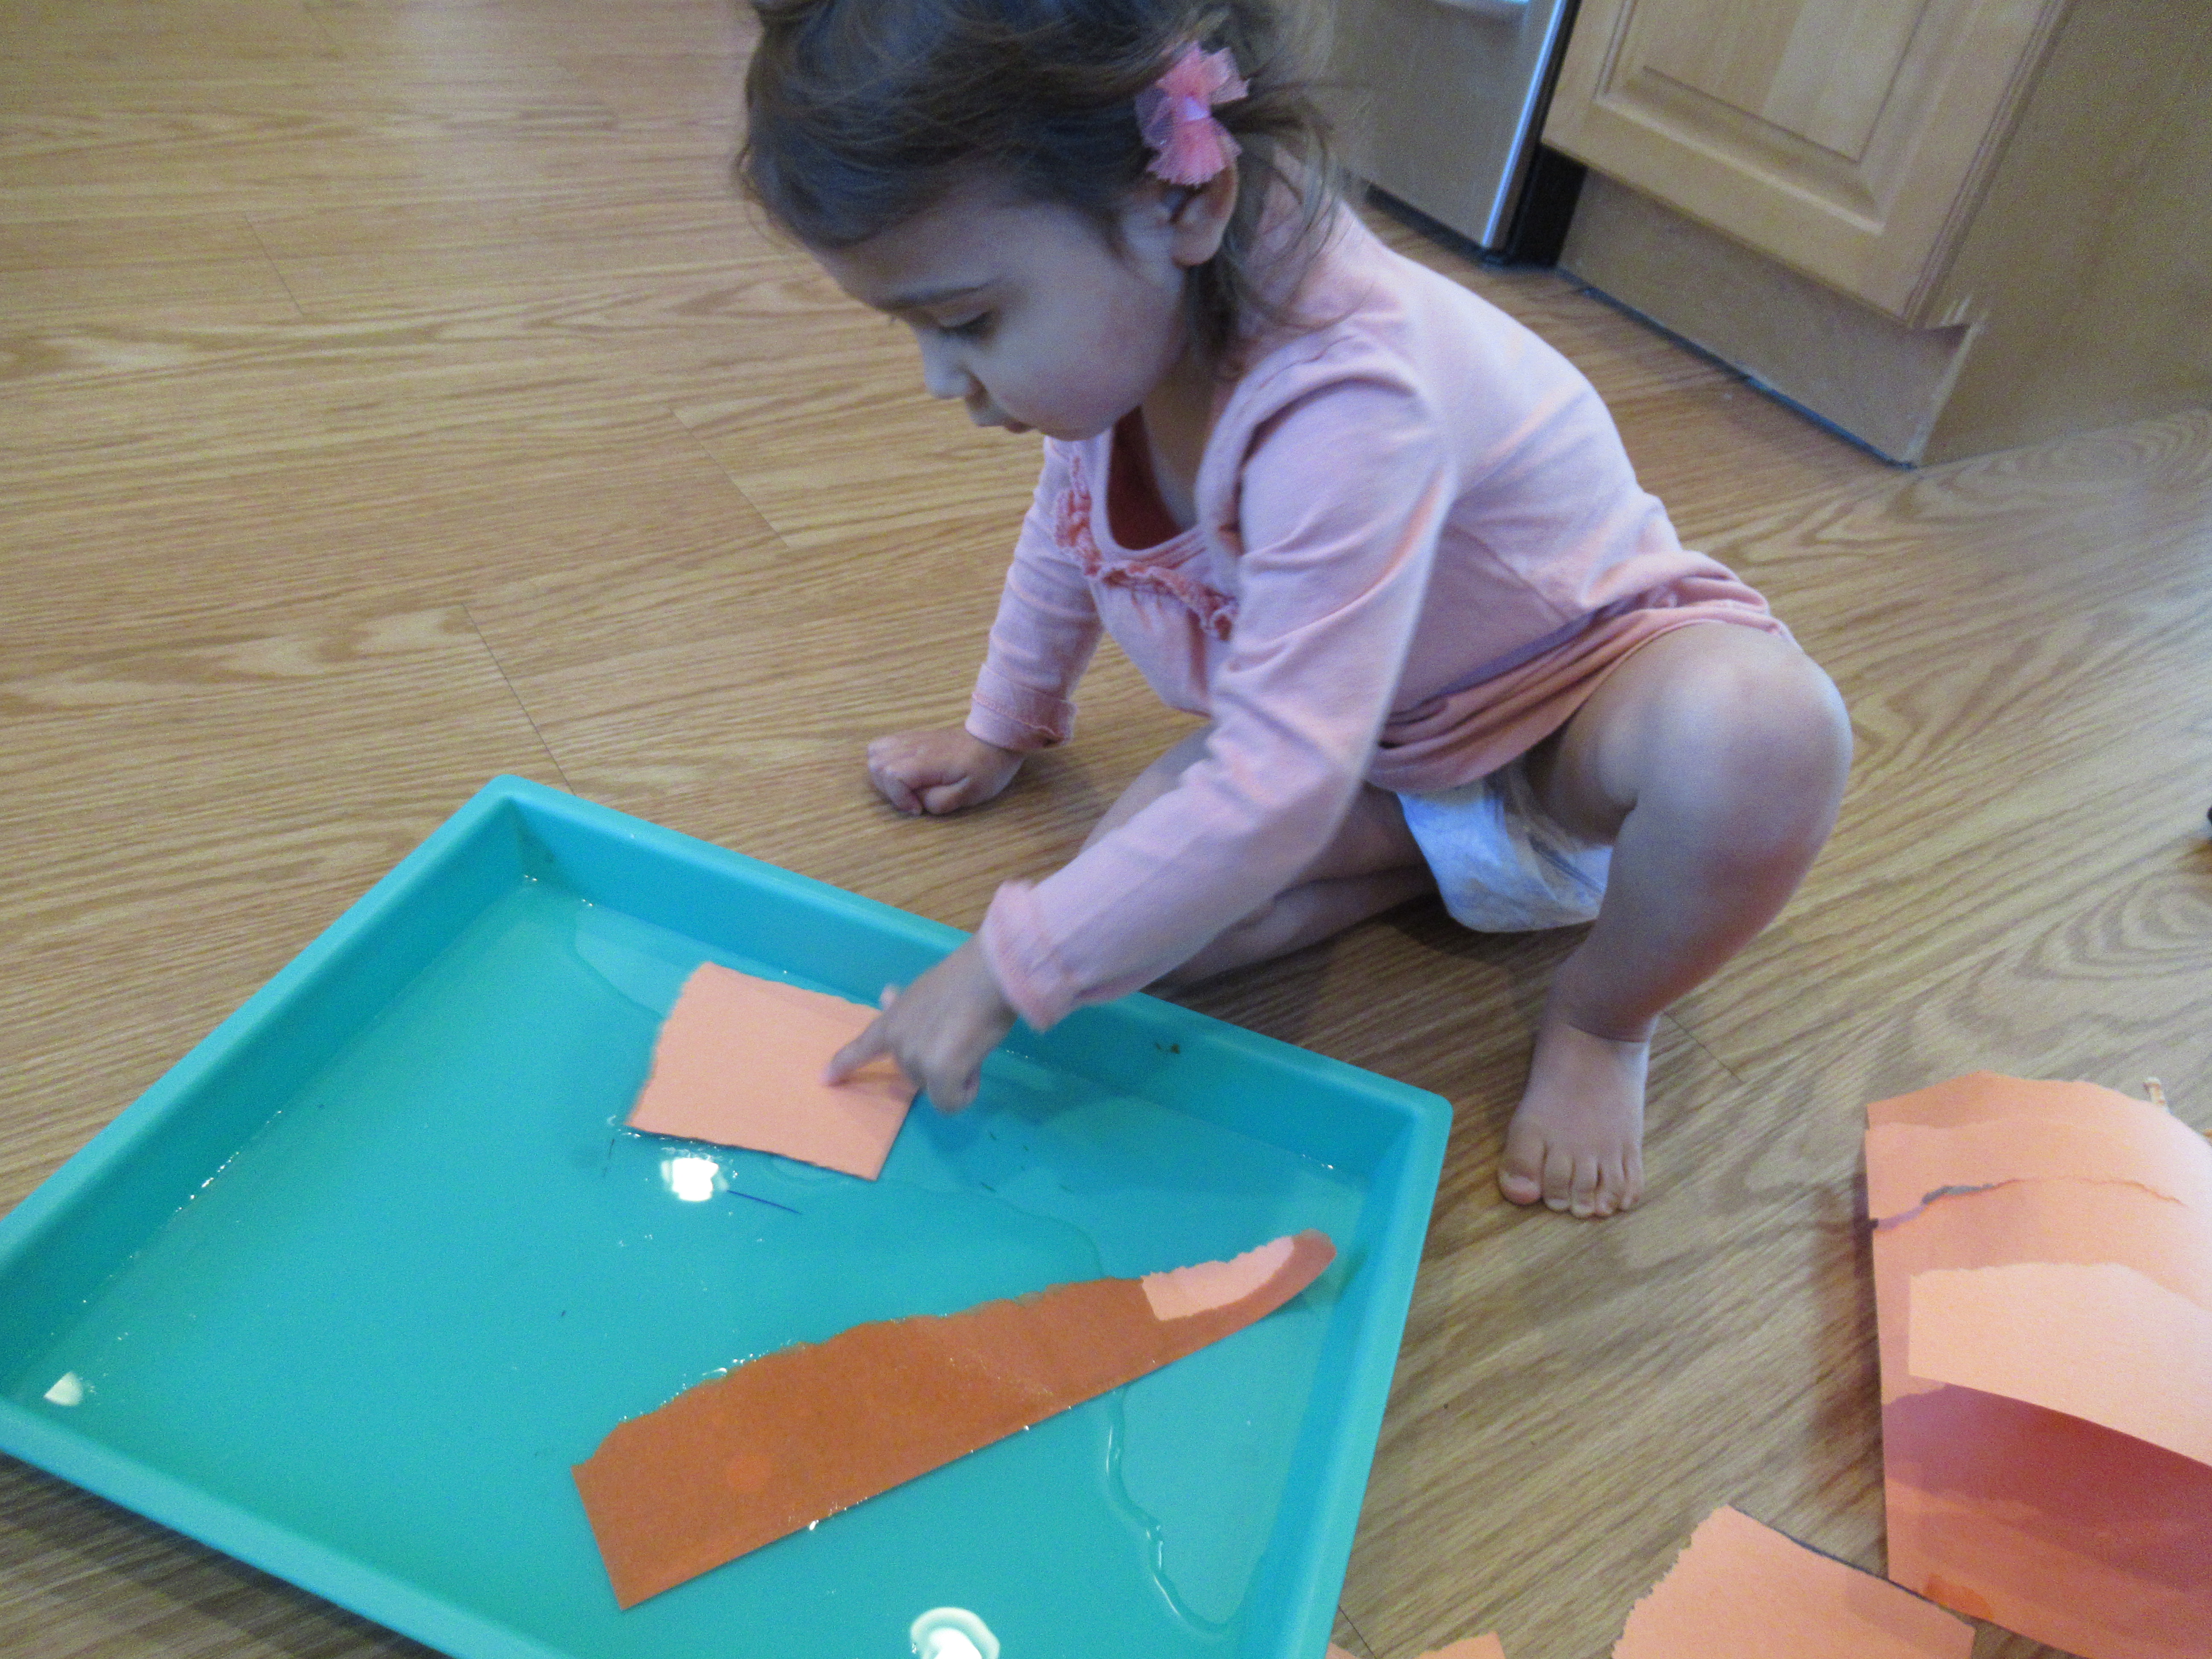
Two: Dip Paper in Water

Veronika loved watching the changes that took place as soon as the paper hit the water. The texture changes, the color gets darker, and we even discovered that it was easier to rip! While she was at it, she wanted to pull something else apart, which led to…

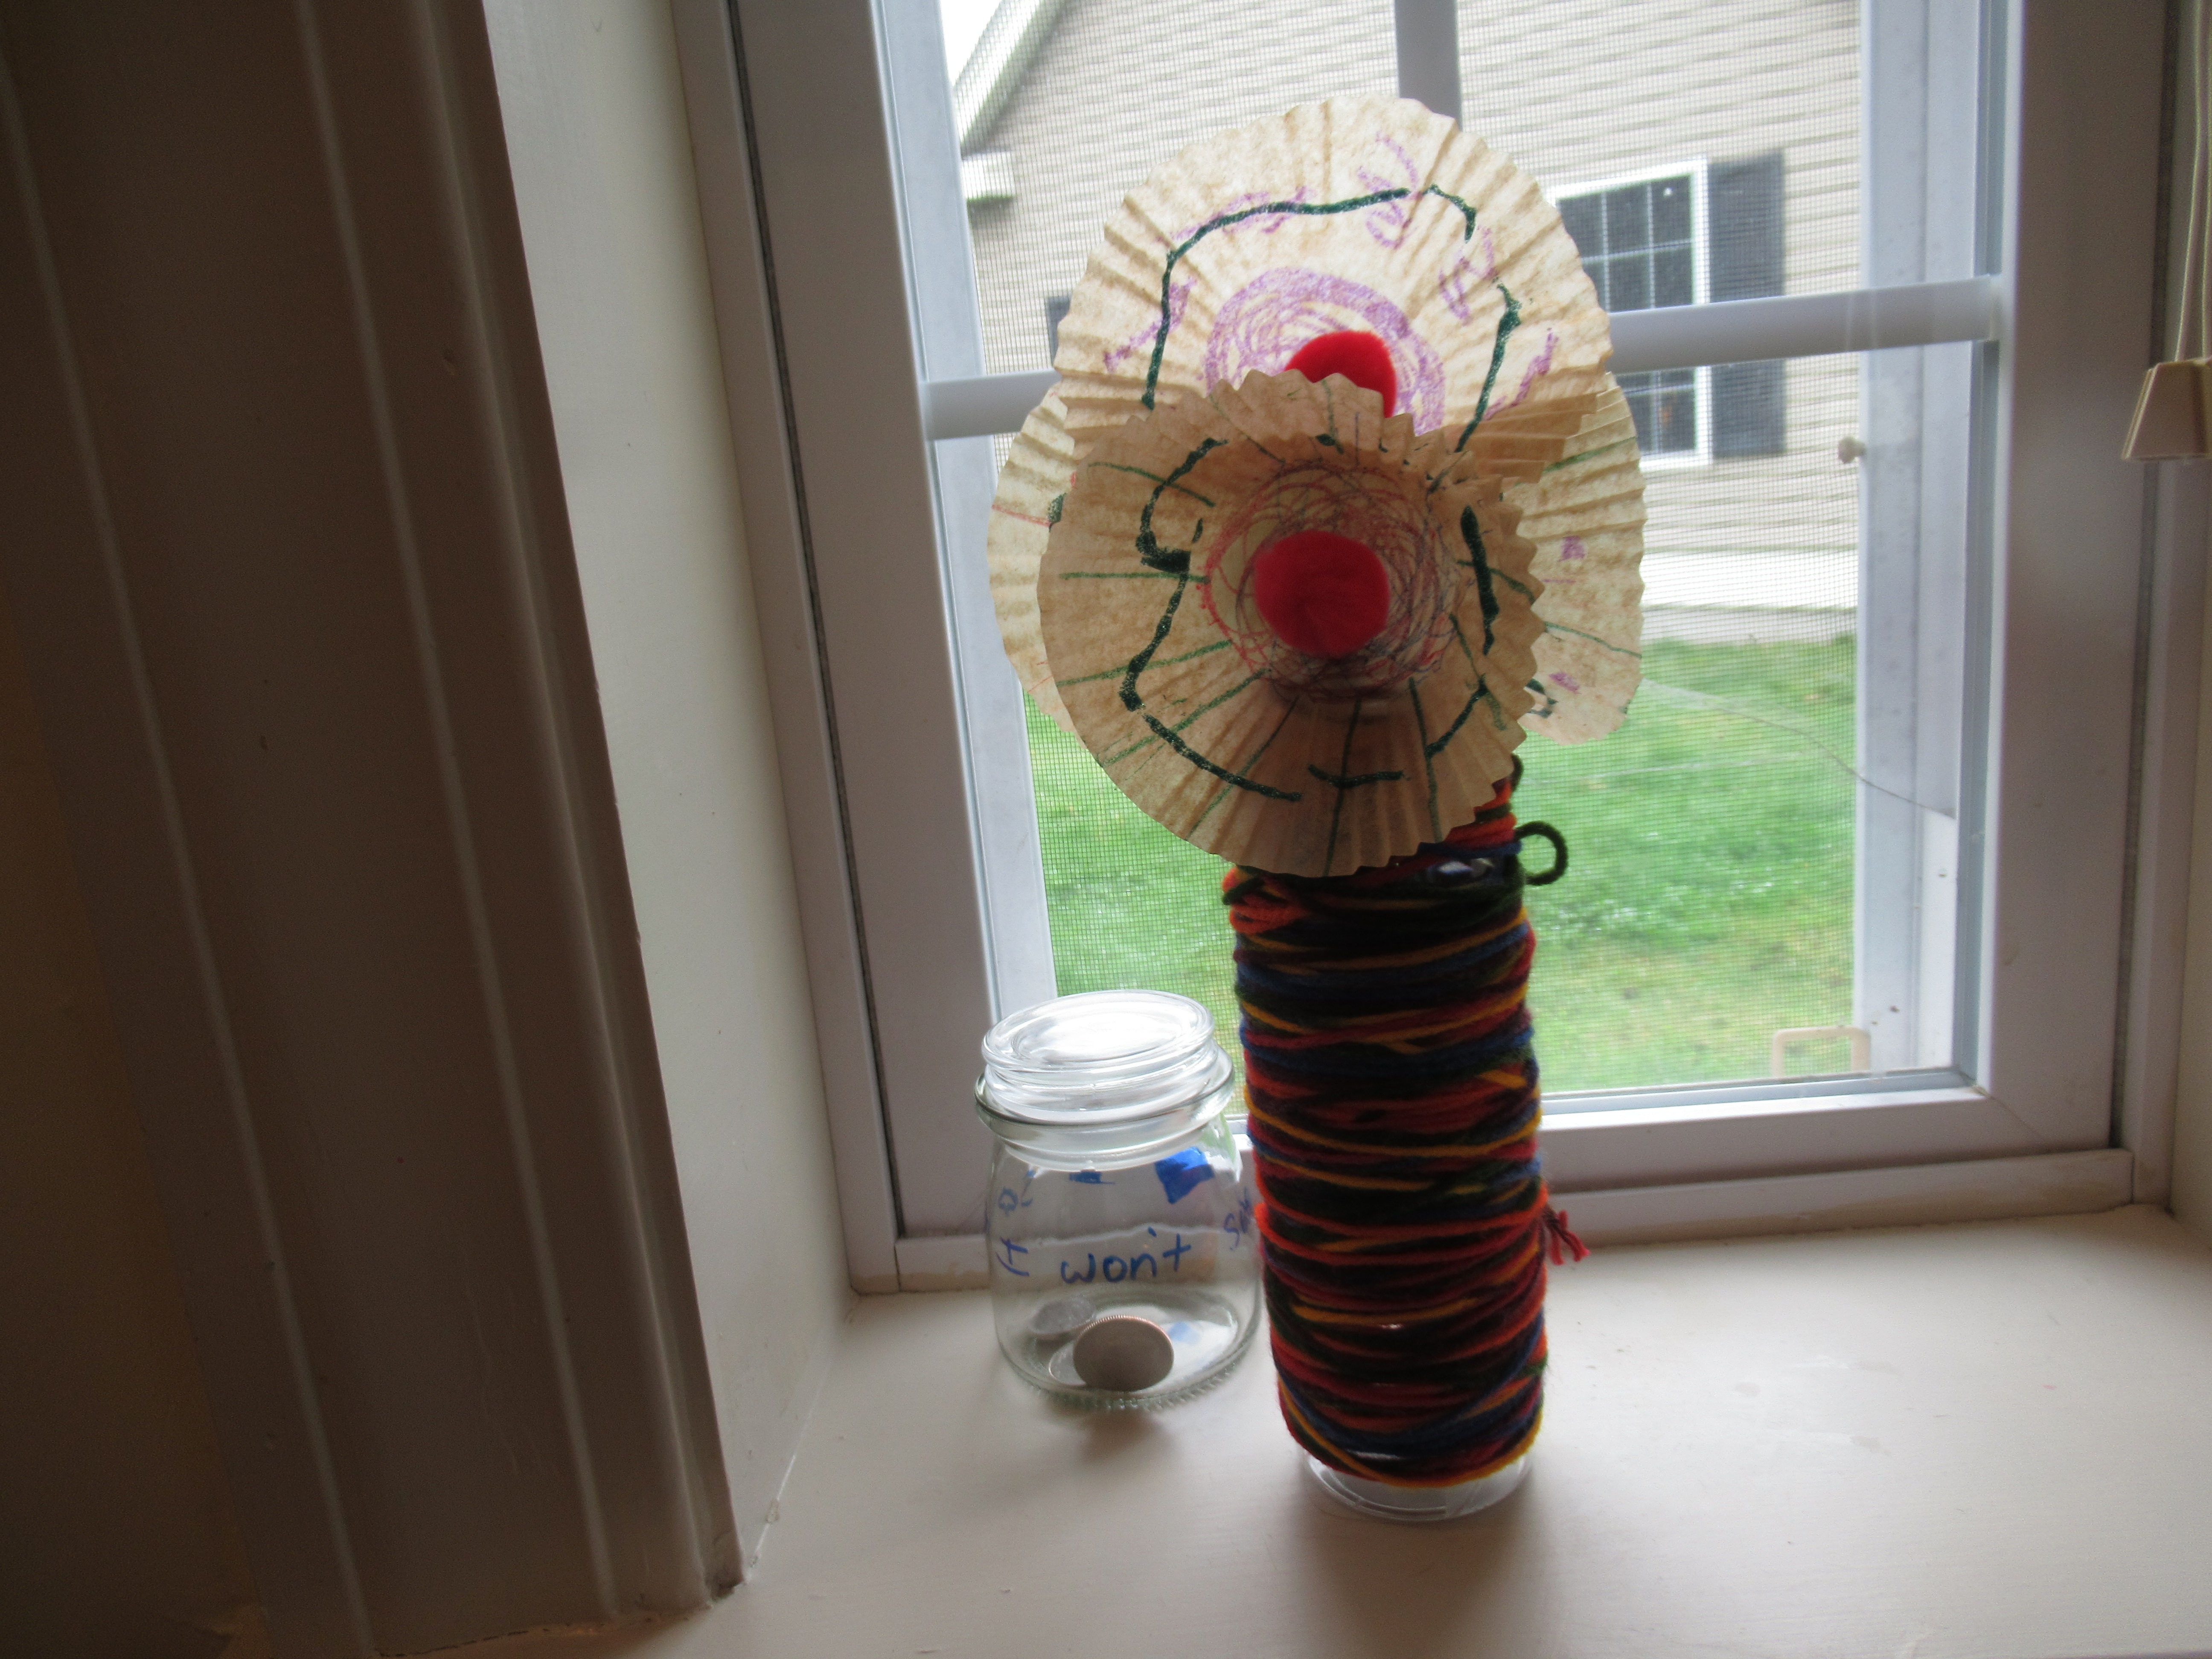
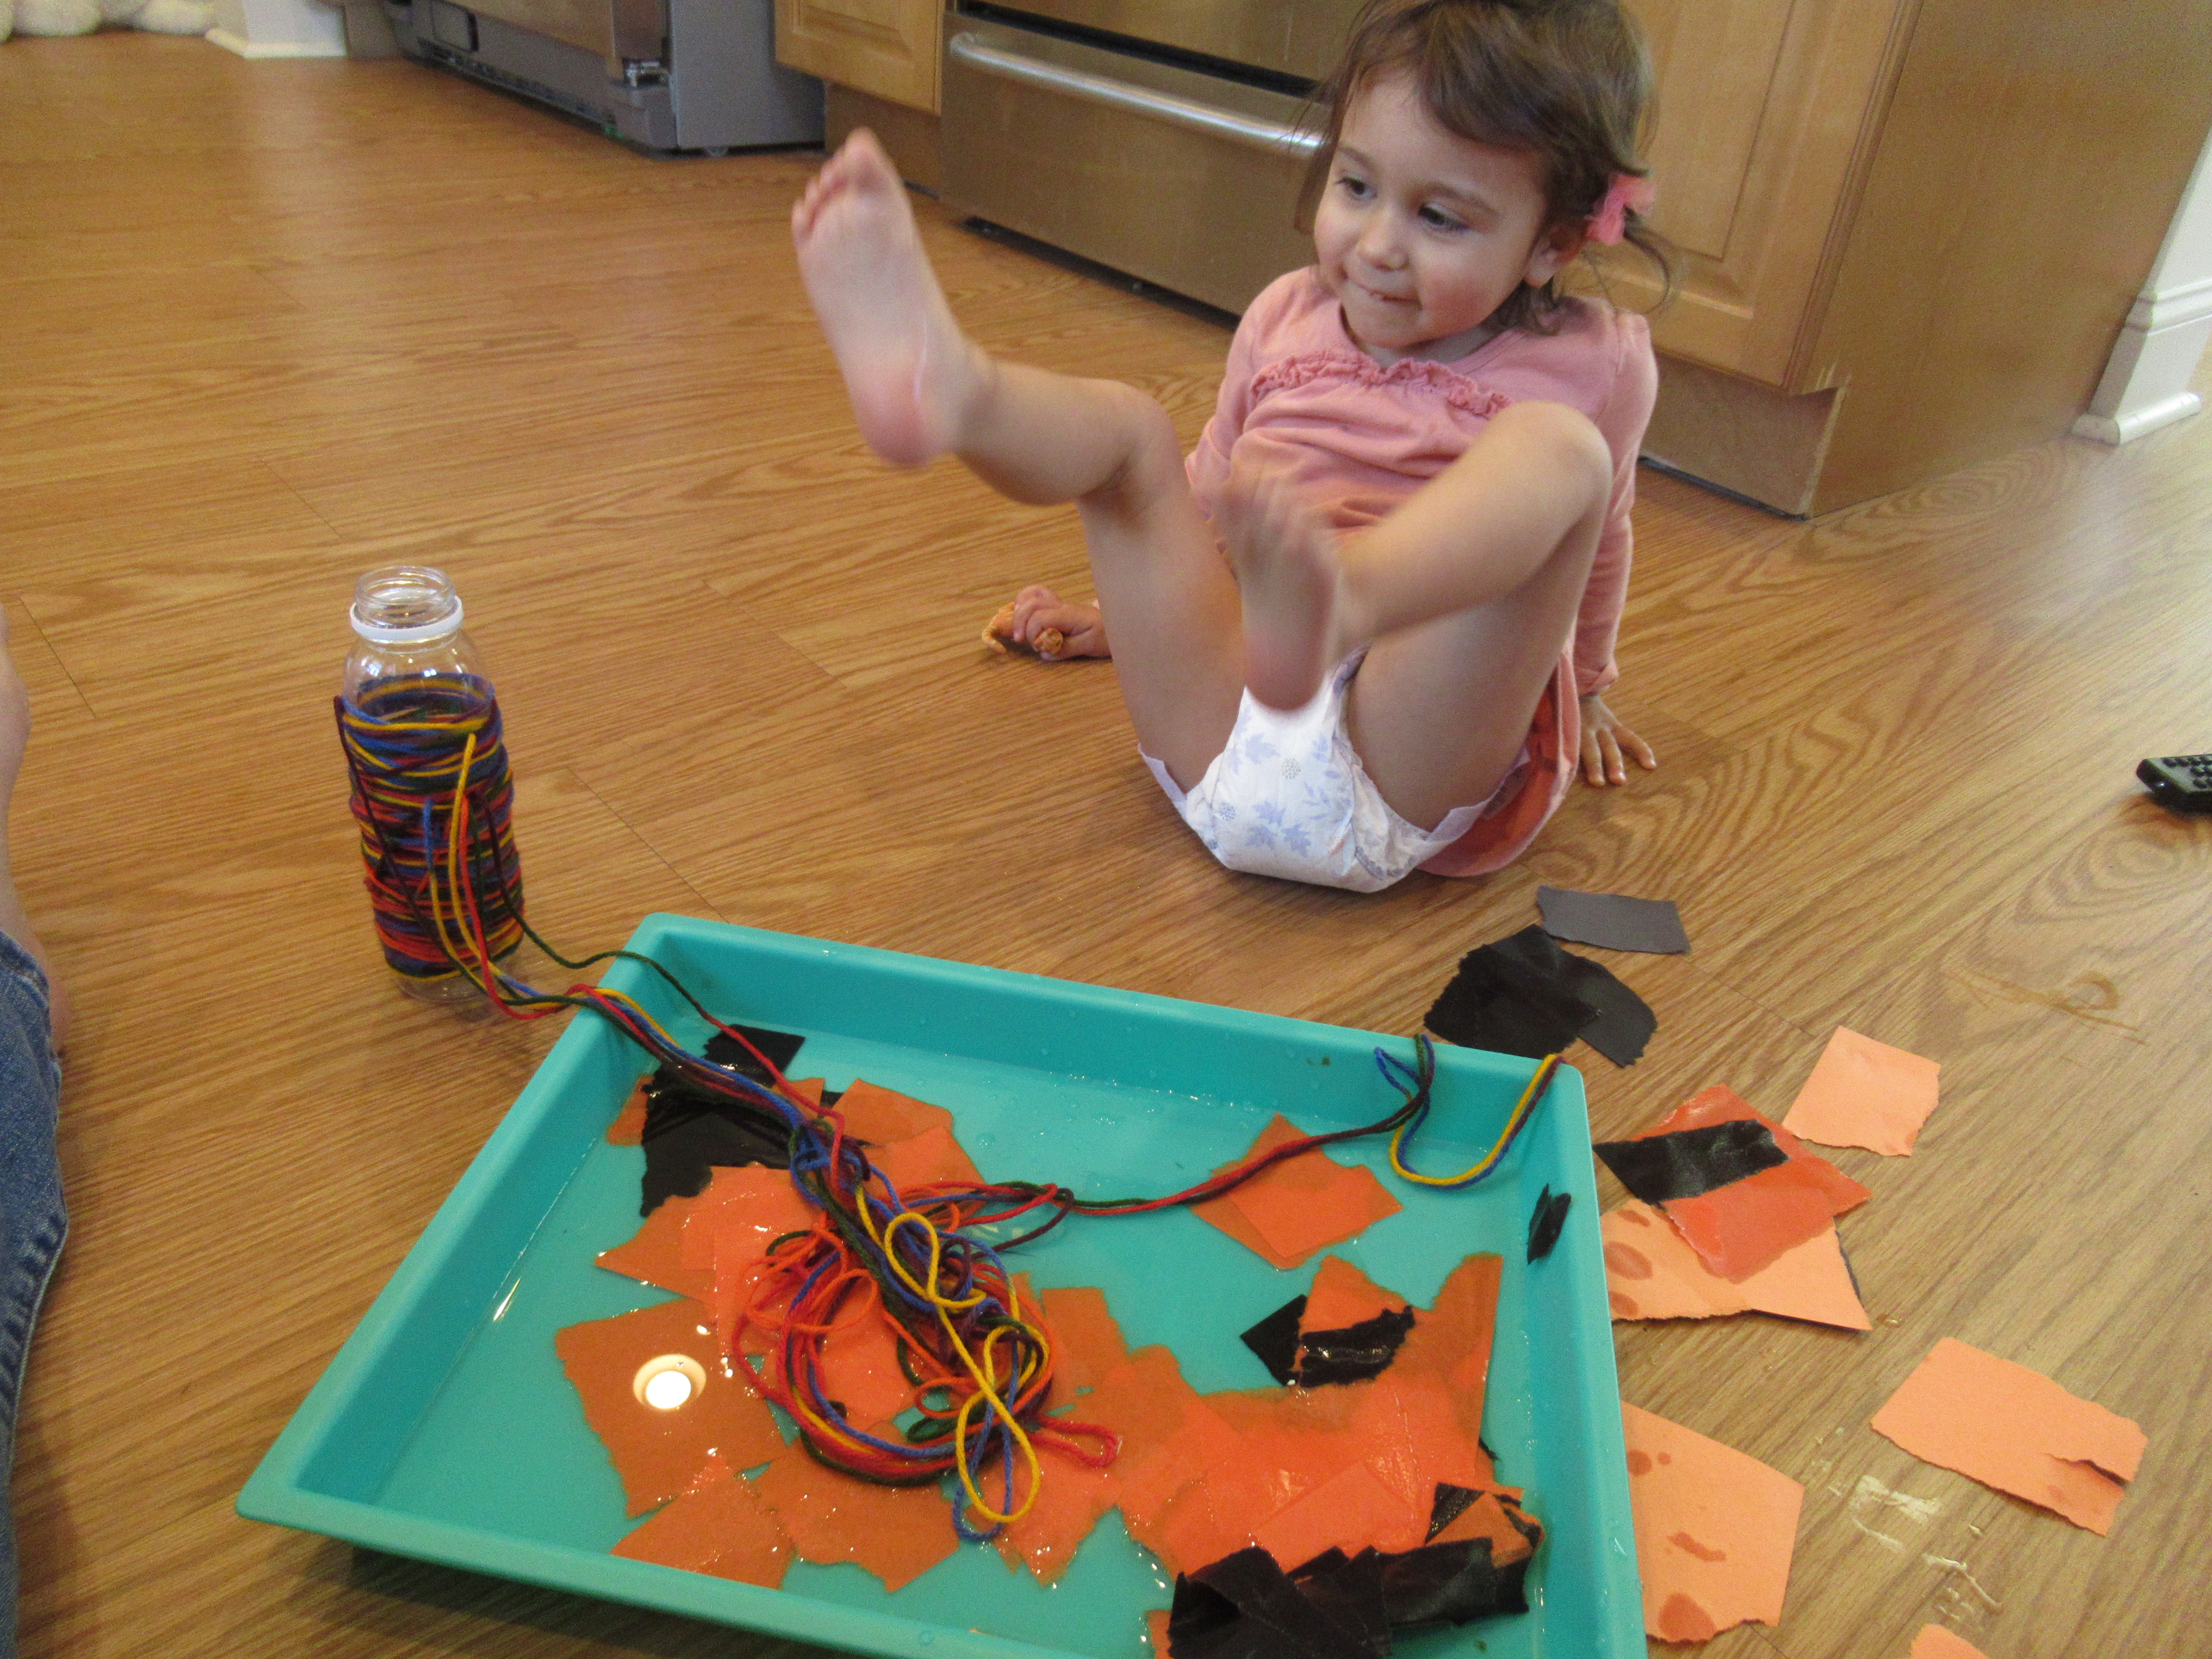
Three: Tear up an Old Art Project

She couldn’t resist pulling the strands of yarn off a recent project, and then of course needed to see how those felt once wet, too. Pretty soon that led to wet fingers and toes. “It’s like a sprinkler!” she said. We quickly mopped up and headed to the living room for something a little less wet.

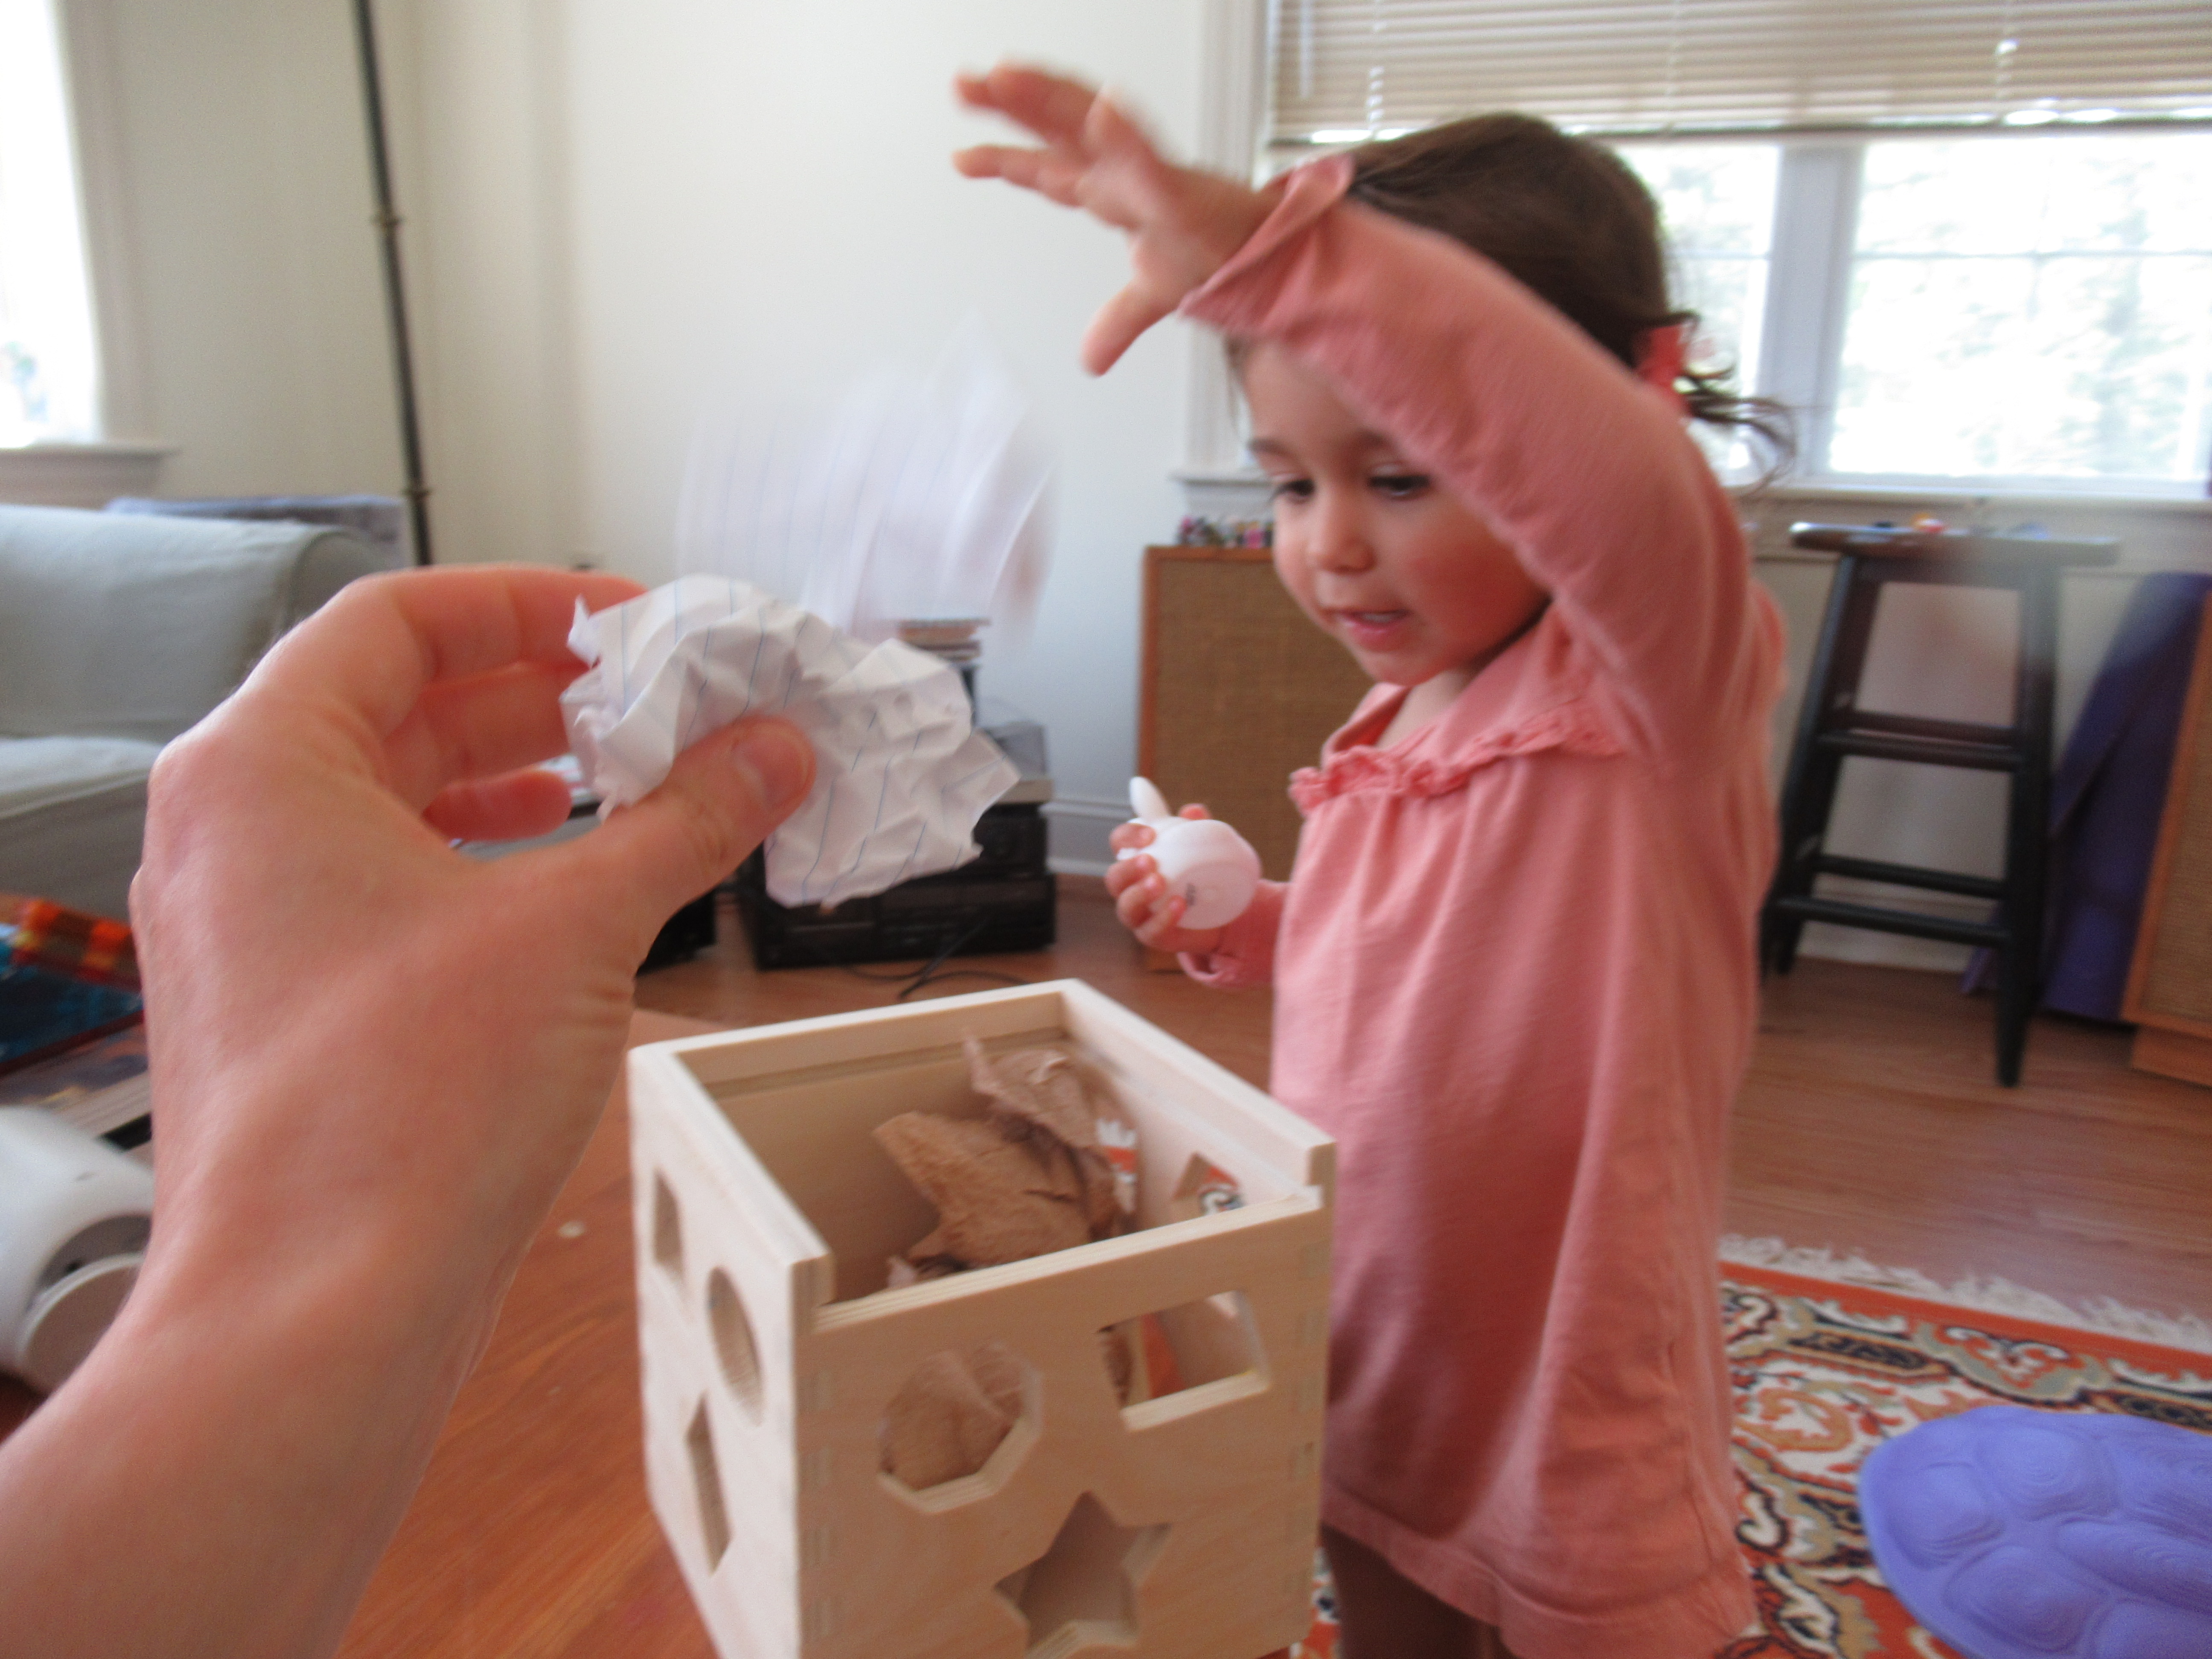
Four: Crumble Paper for Target Practice

I gave Veronika a few types of paper (paper towels, notepad paper) to crumple into little balls, the tinier the better. Then we could slam dunk them into a toy bin!

While that notepad was out, it was time to…

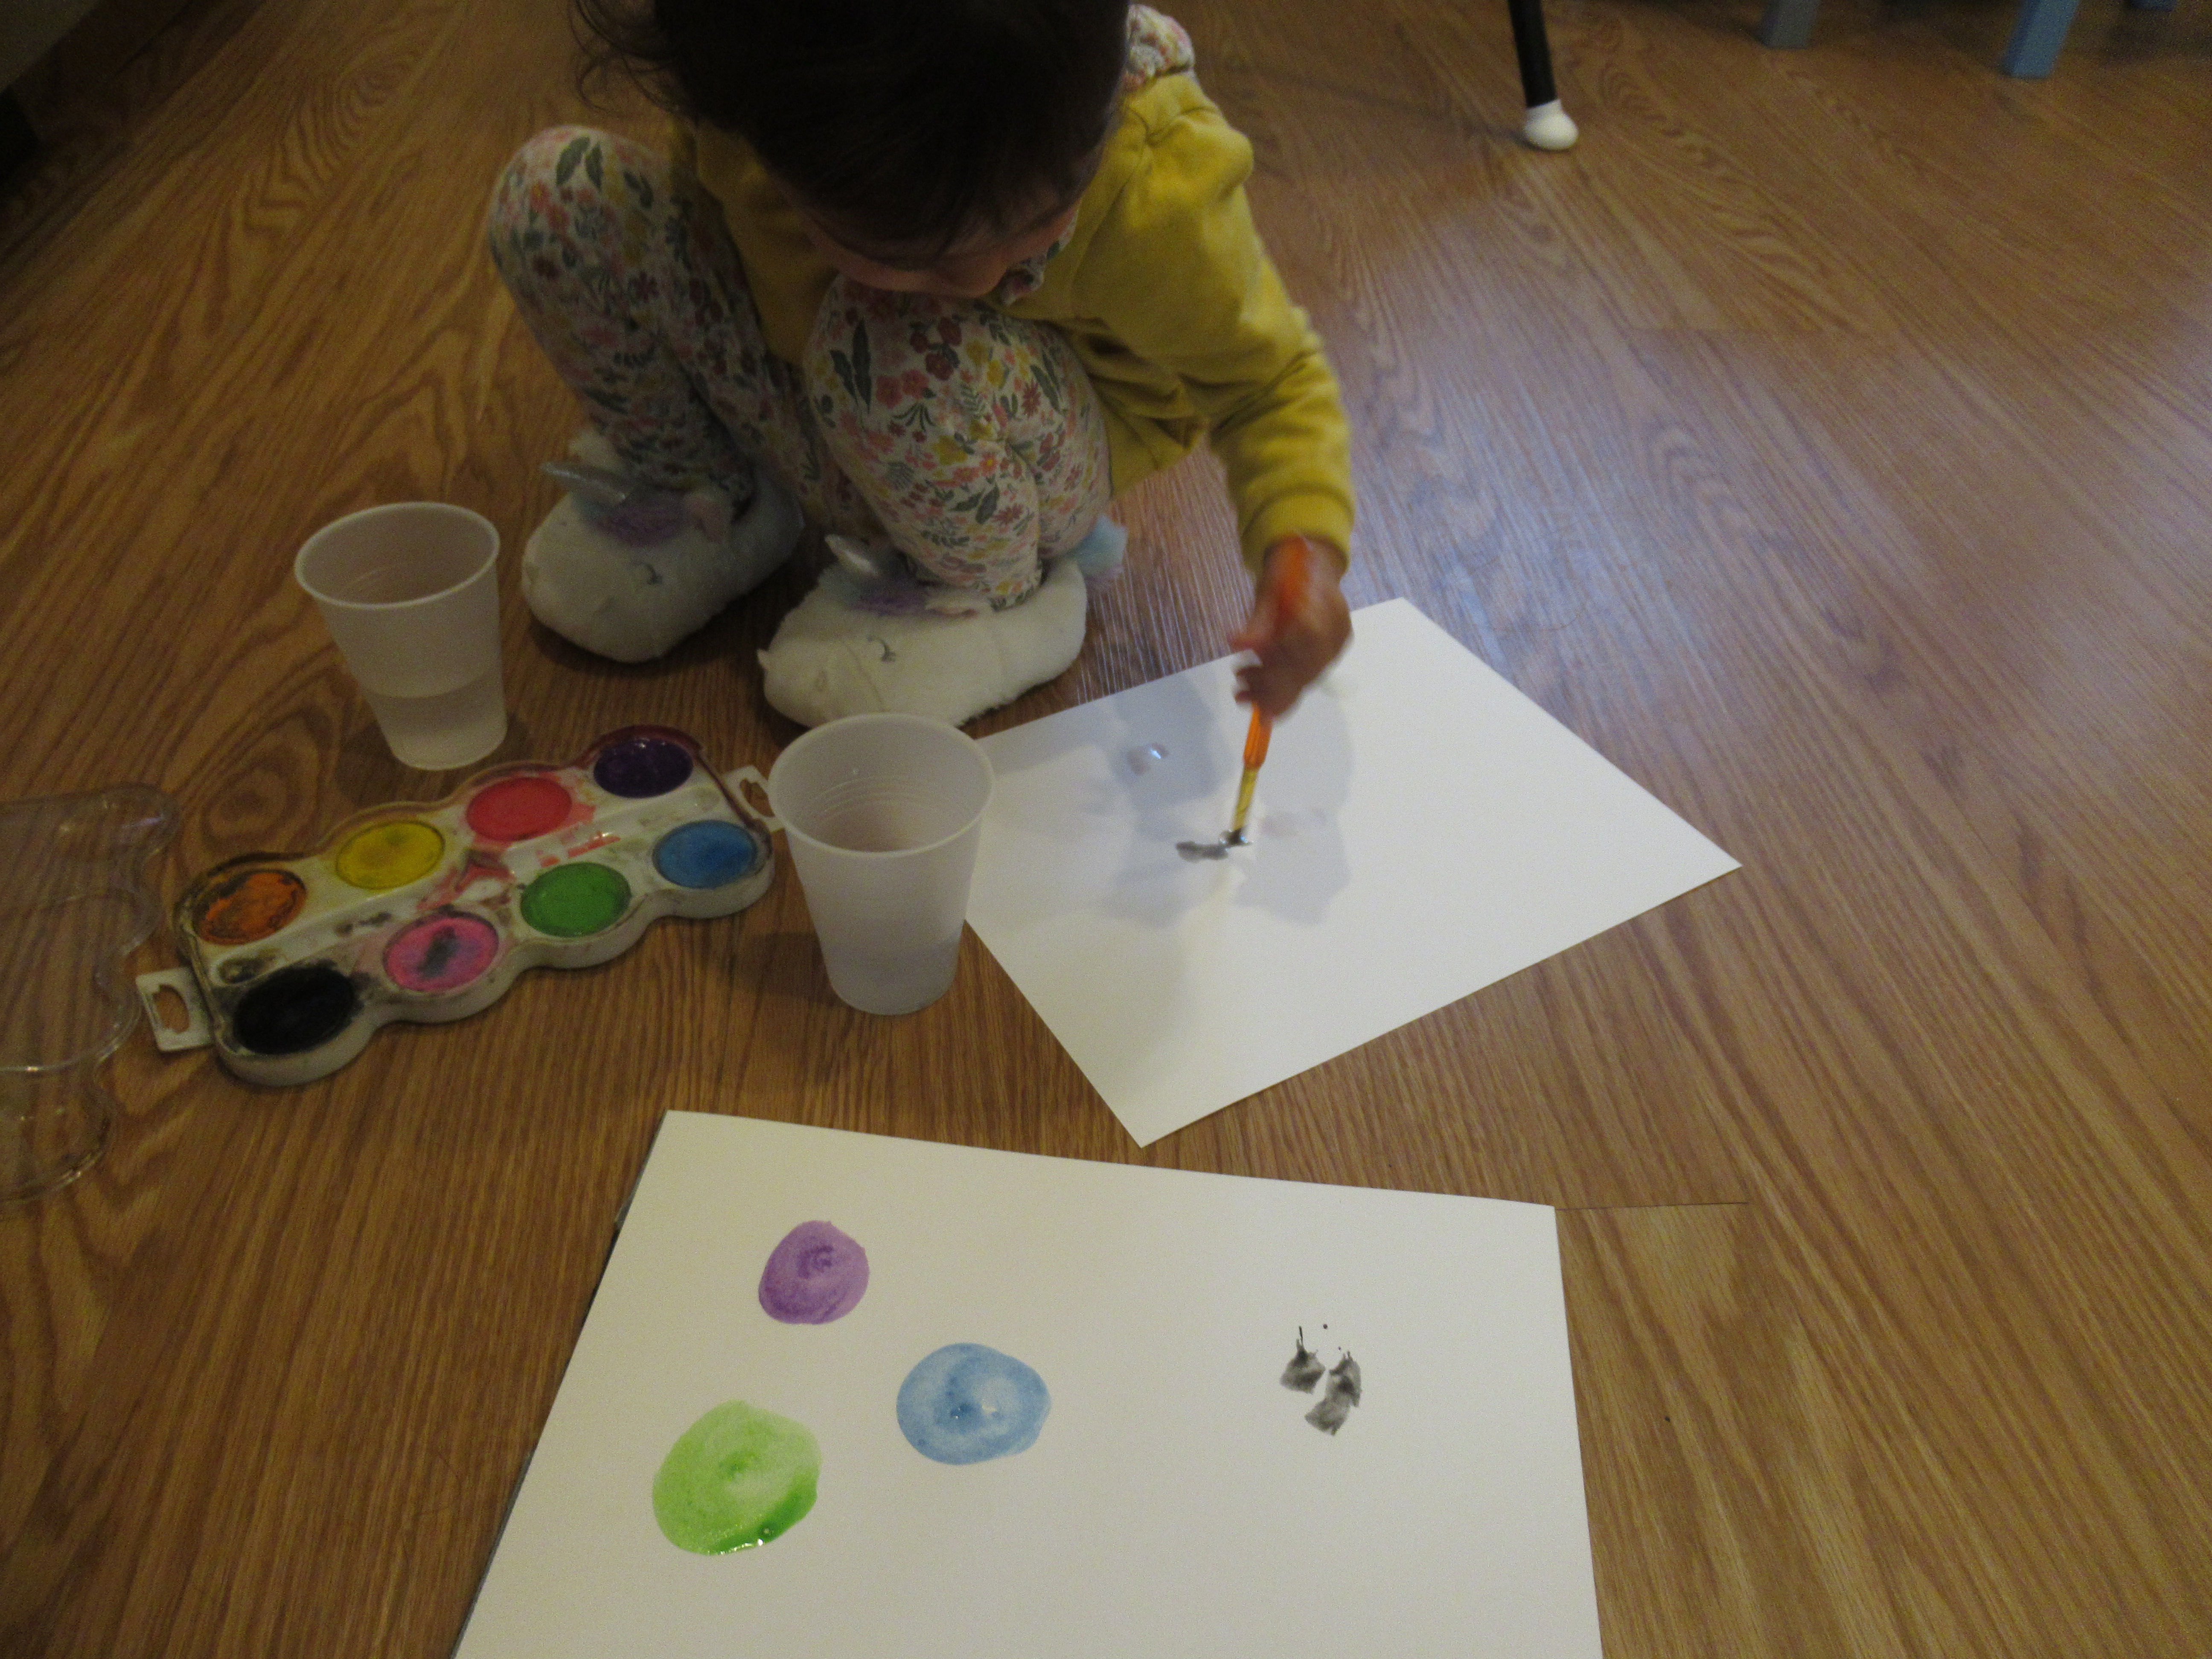
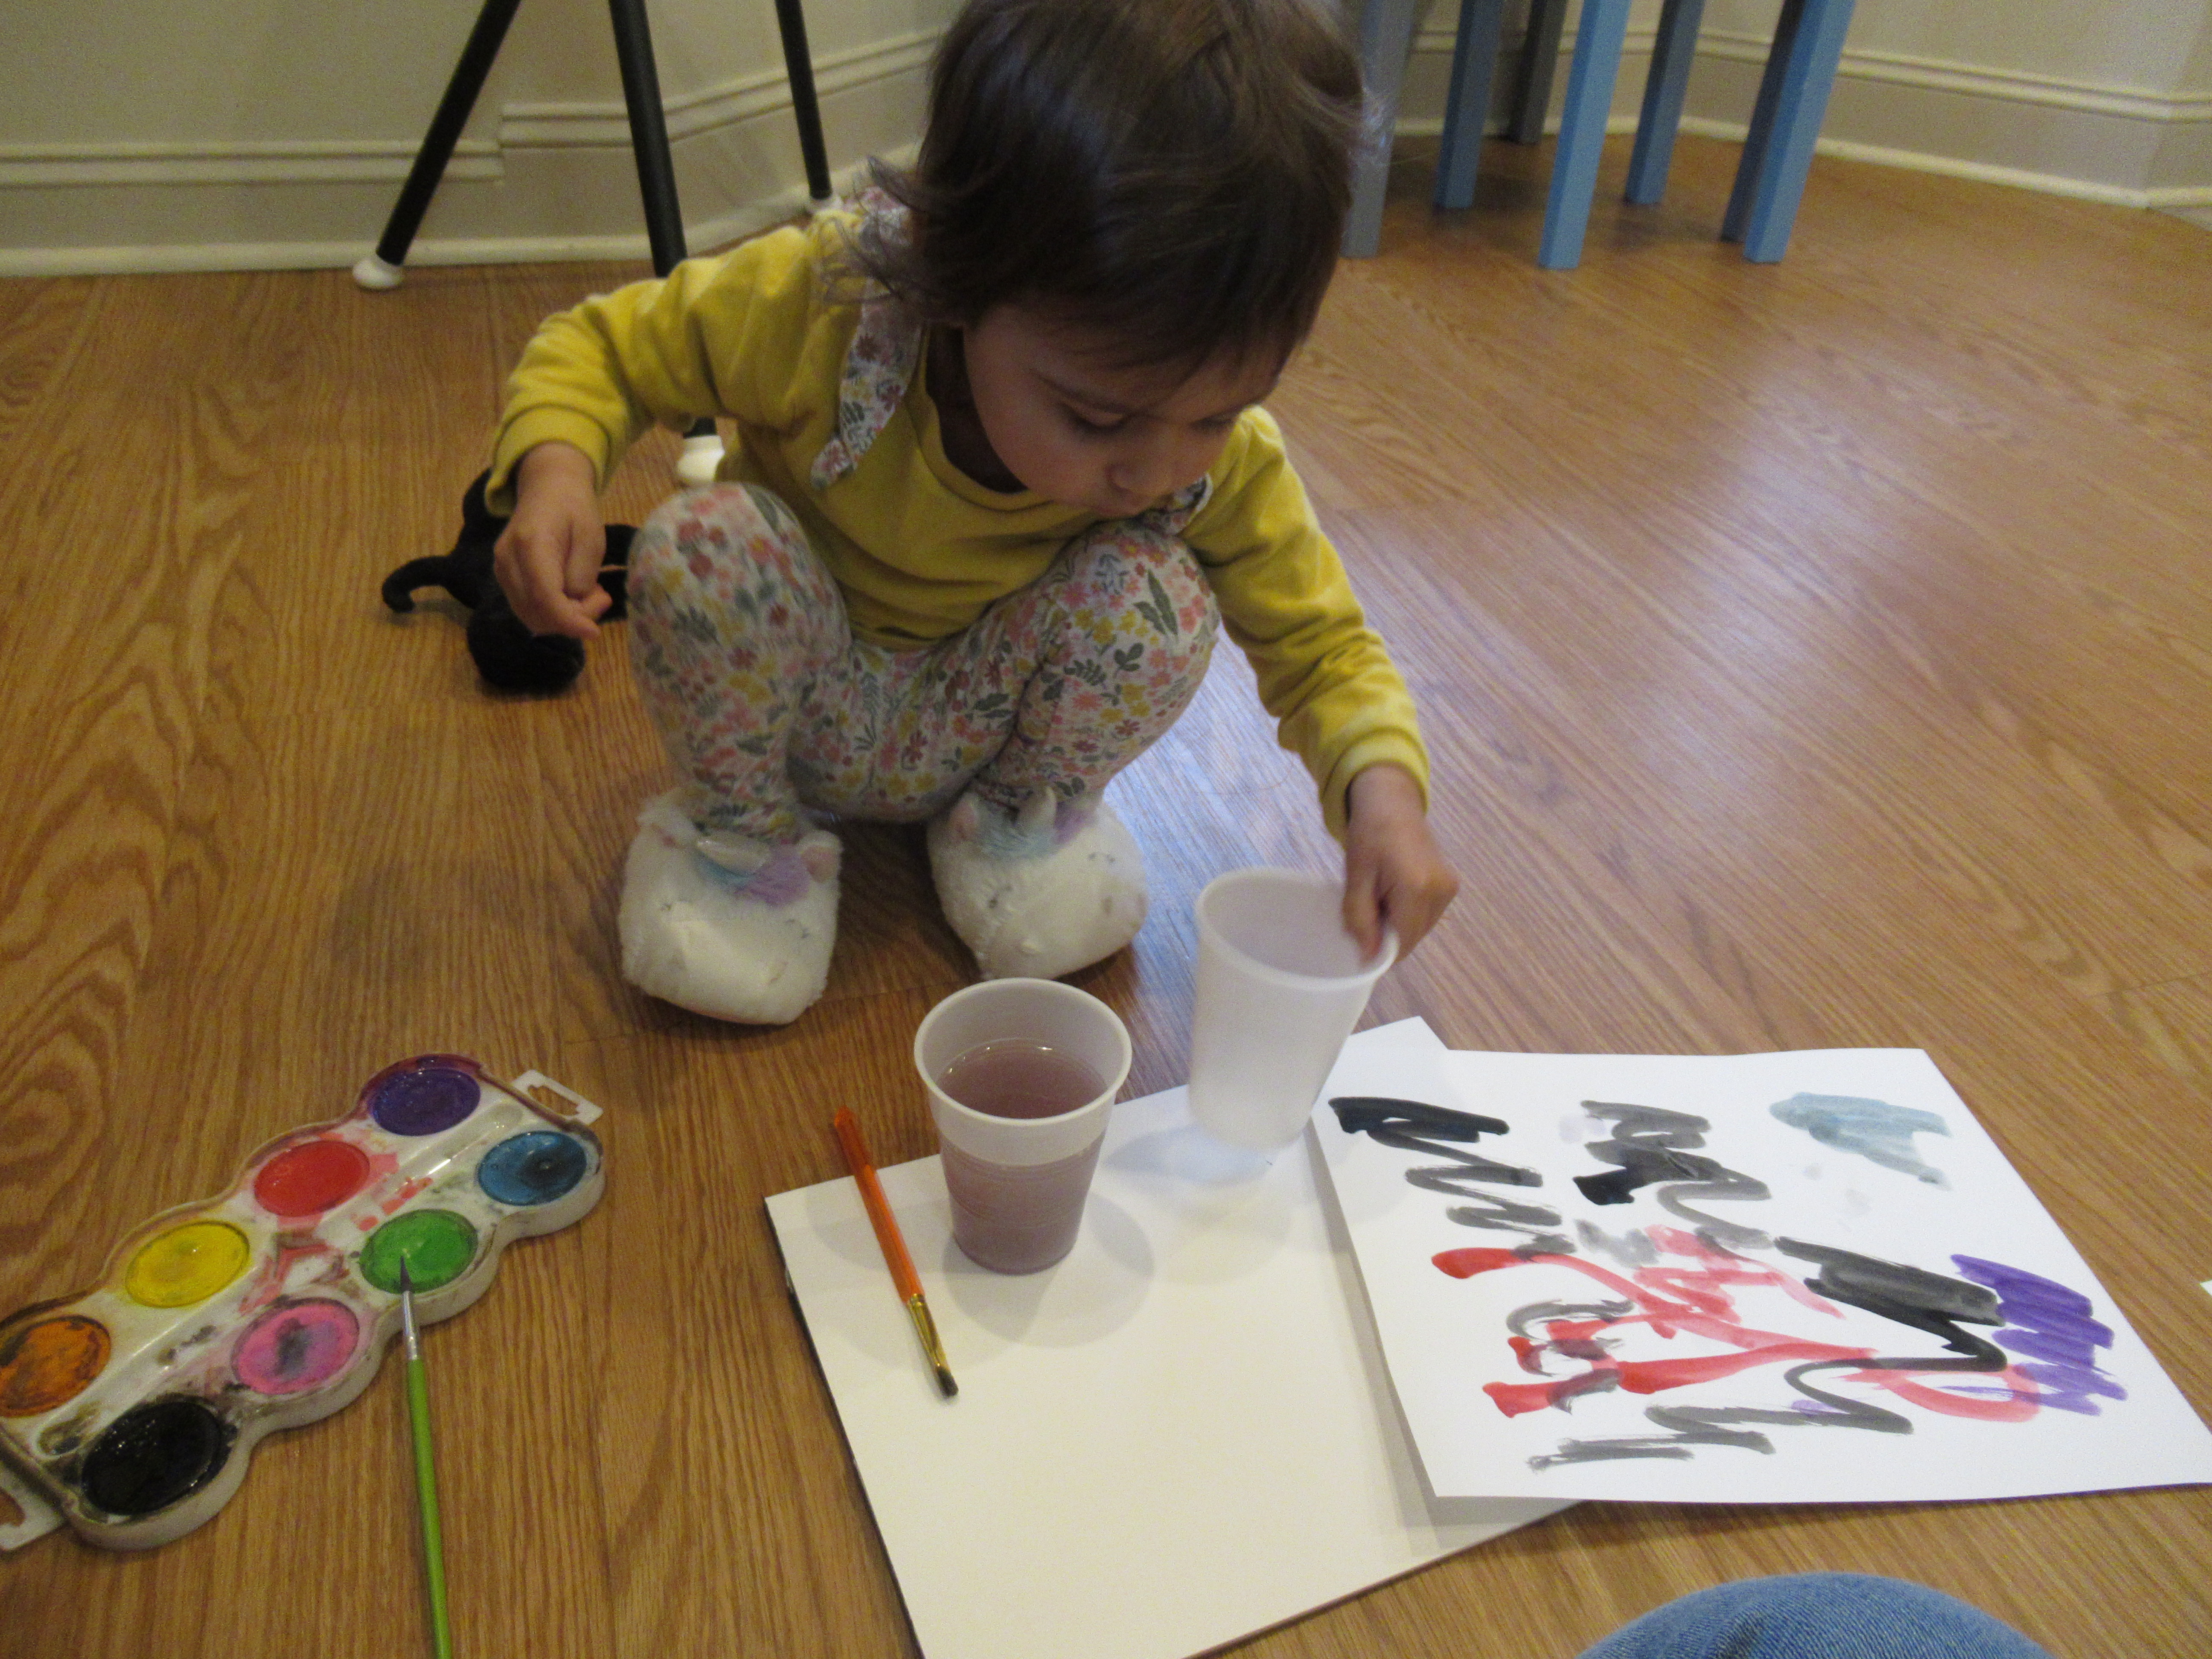
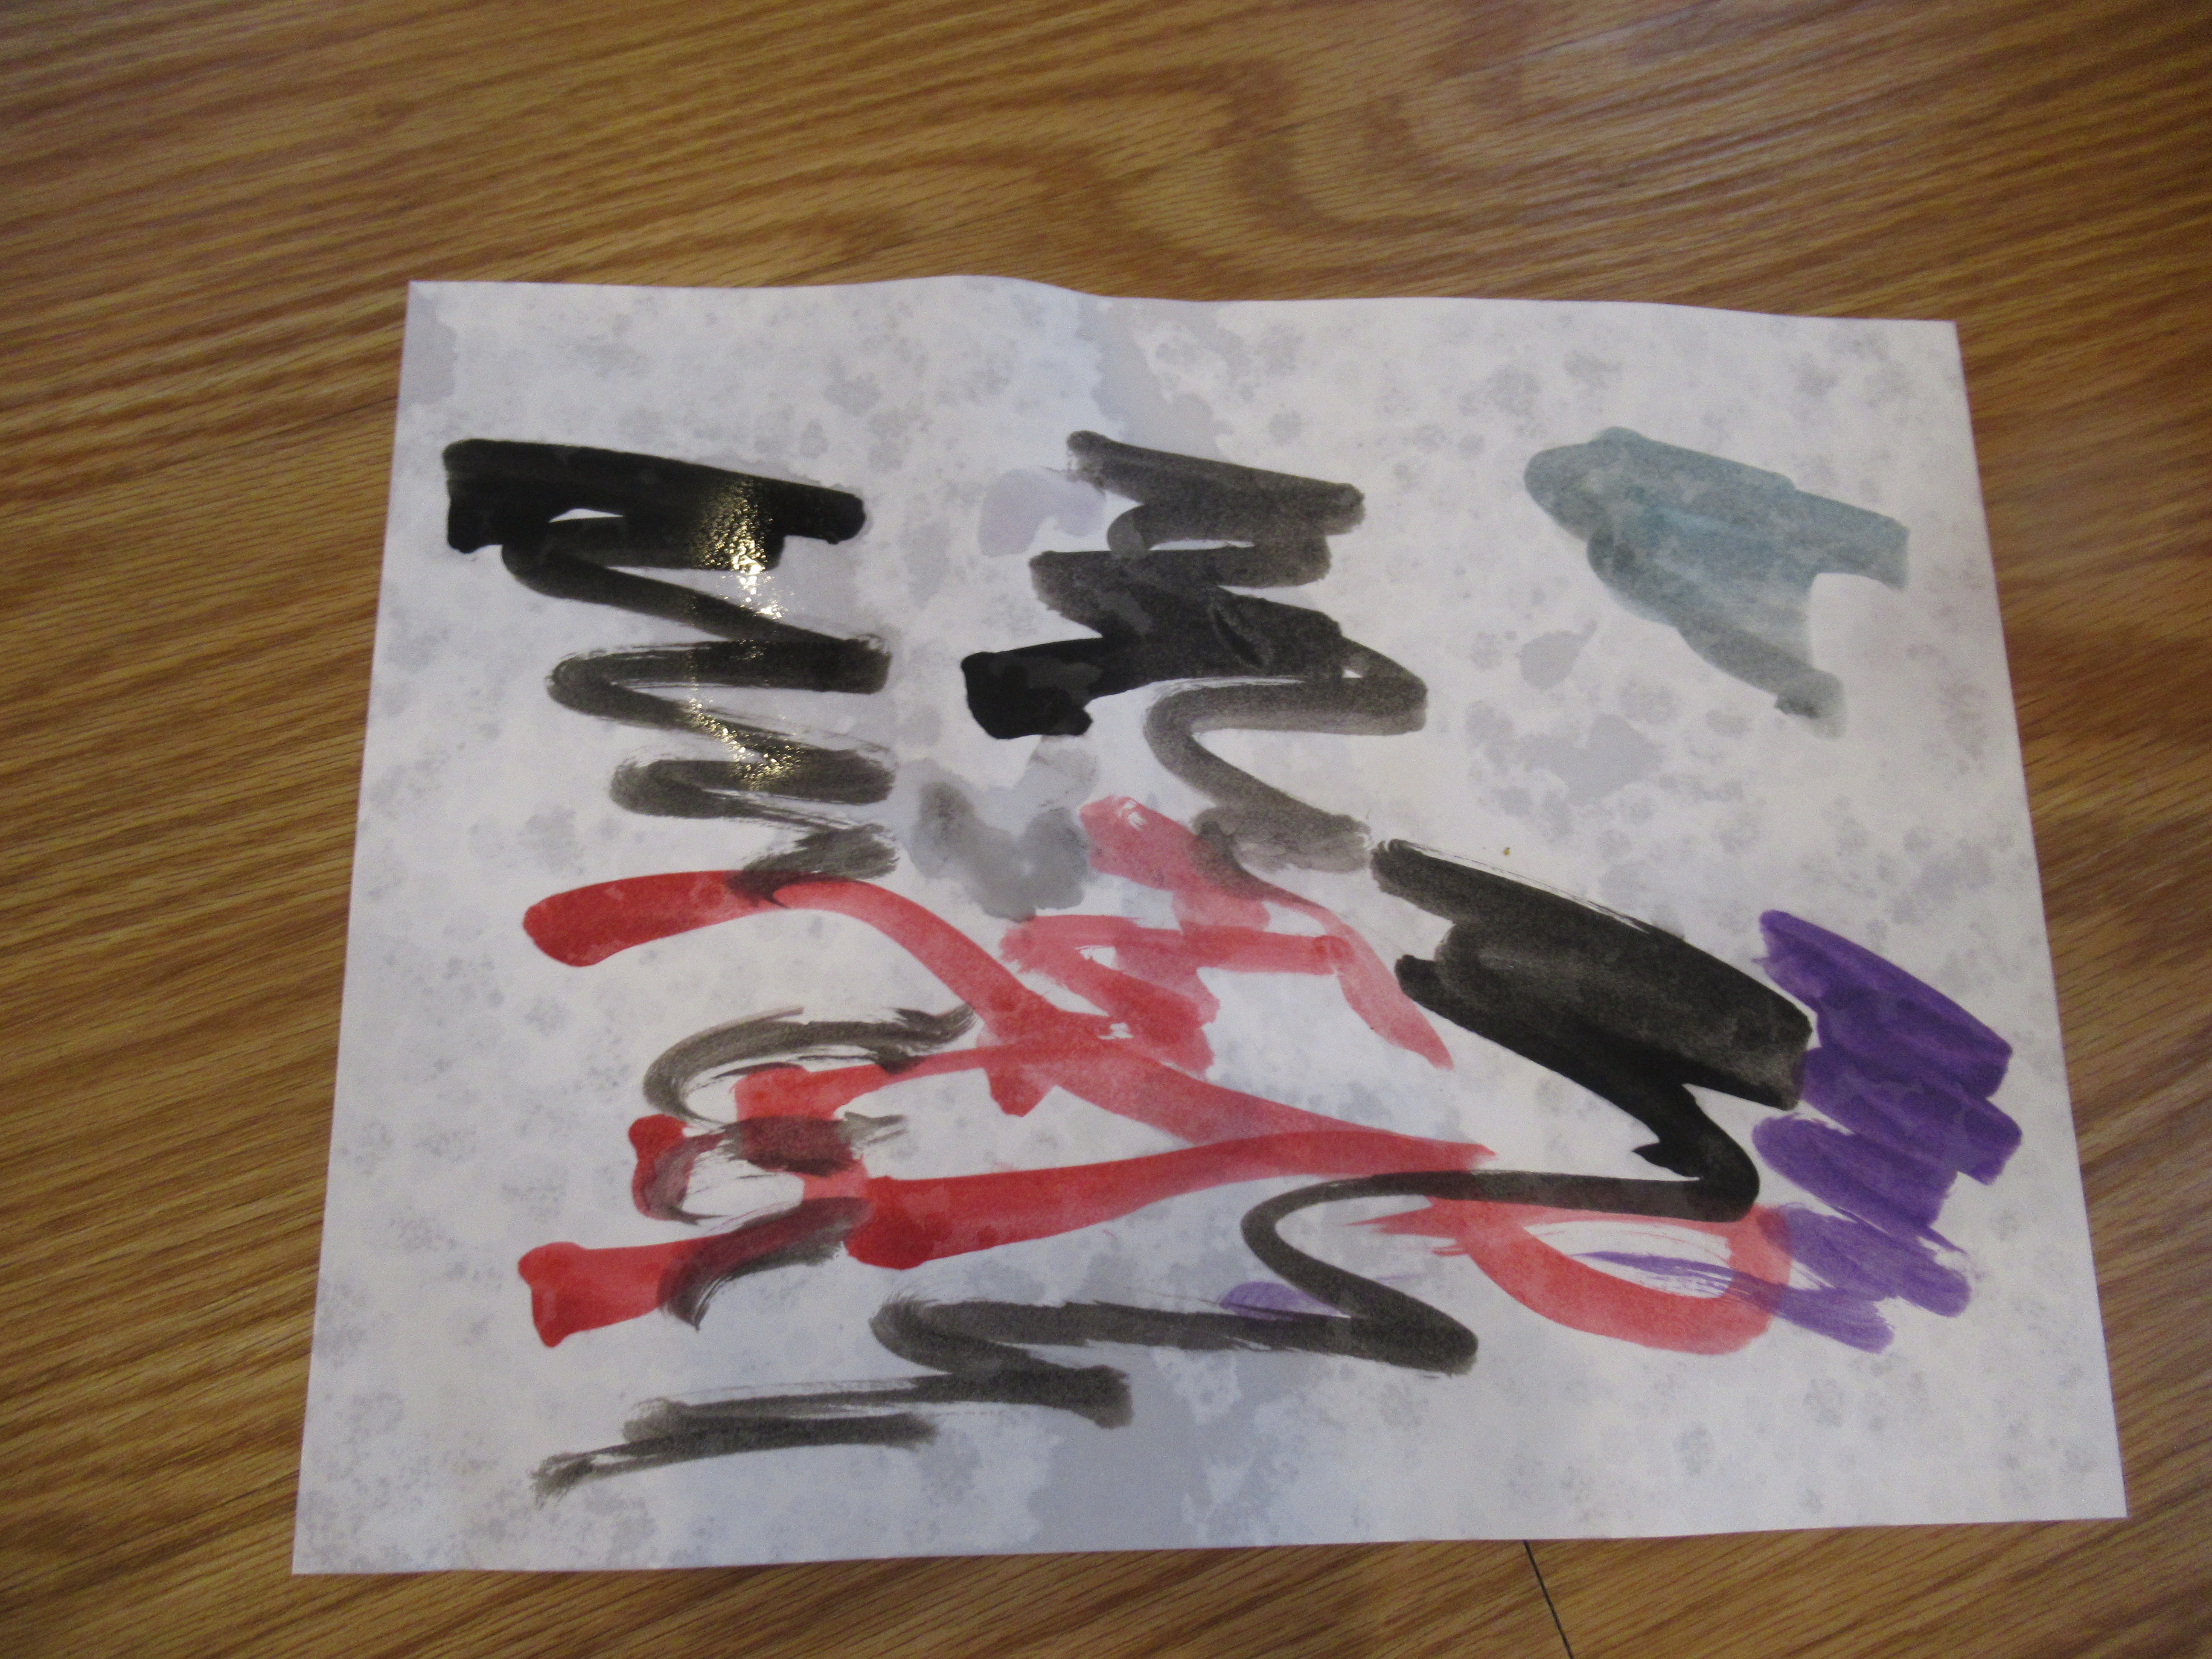
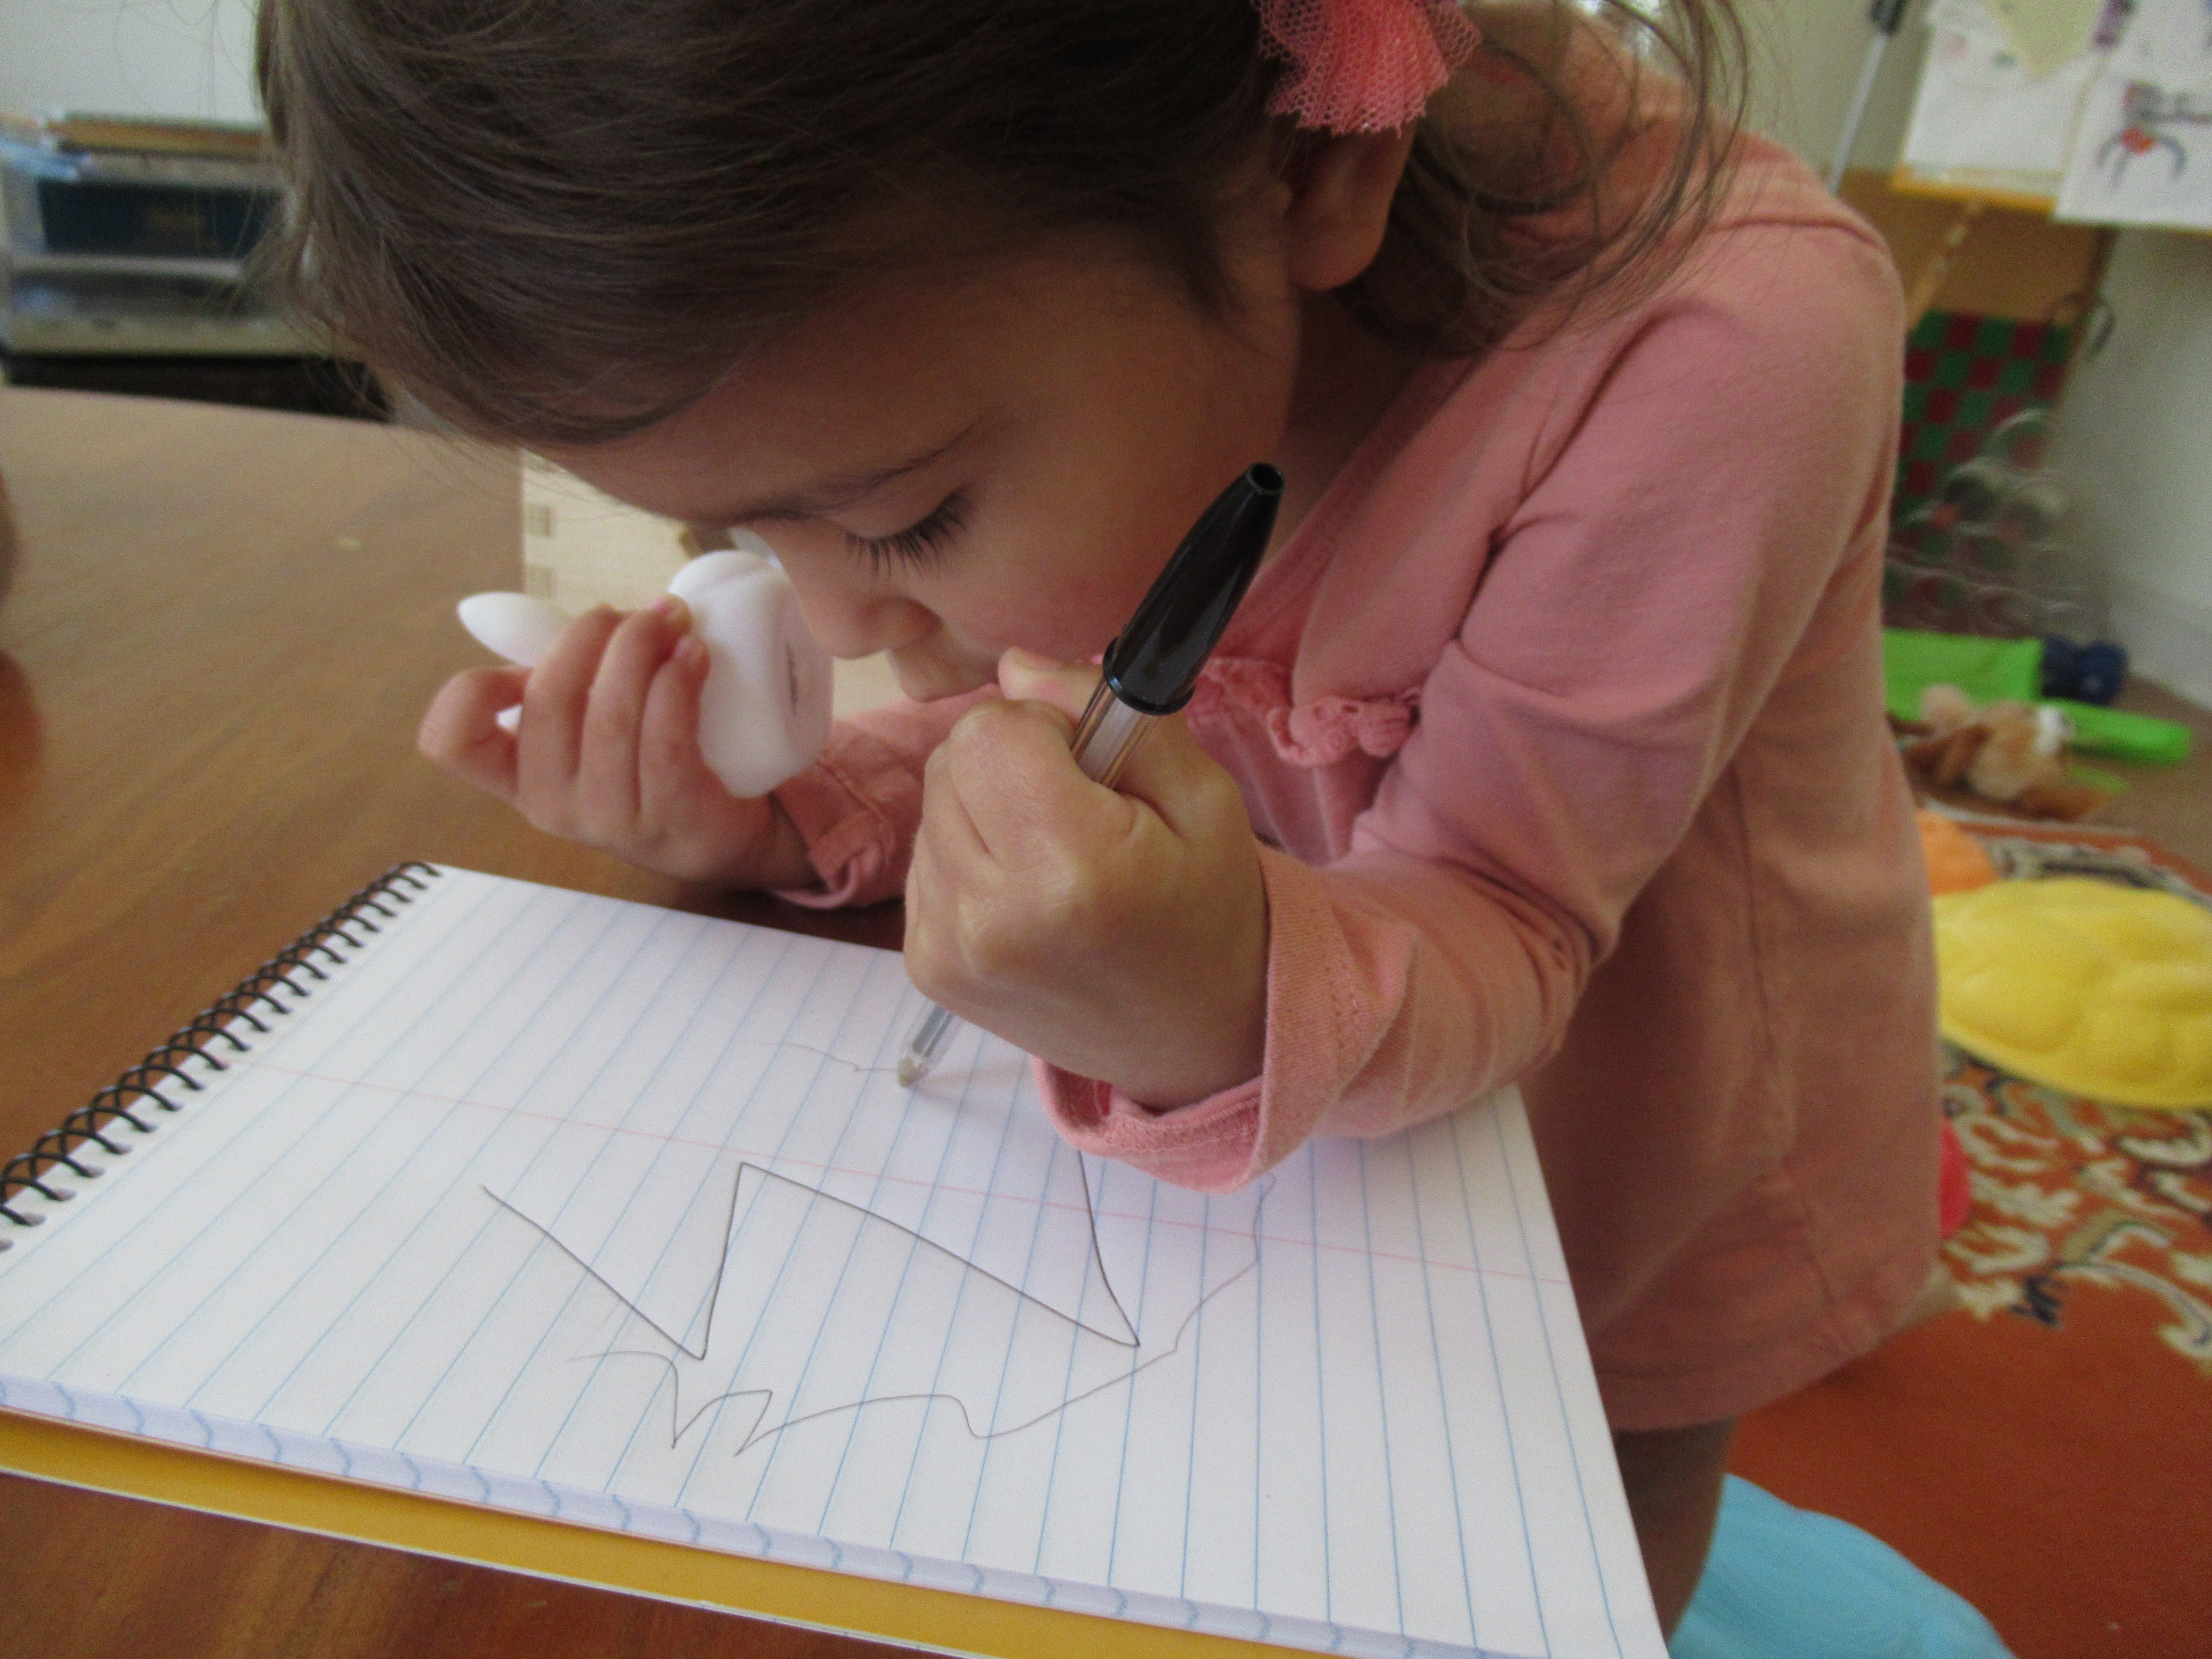
Five: Scribble on a Scribble

I made one line with a pen, then invited her to add to the drawing! Veronika loves to draw like this, so seriously that she looks like a mini studio artist. “I’m not done yet,” she told me, adding more squiggles and lines.
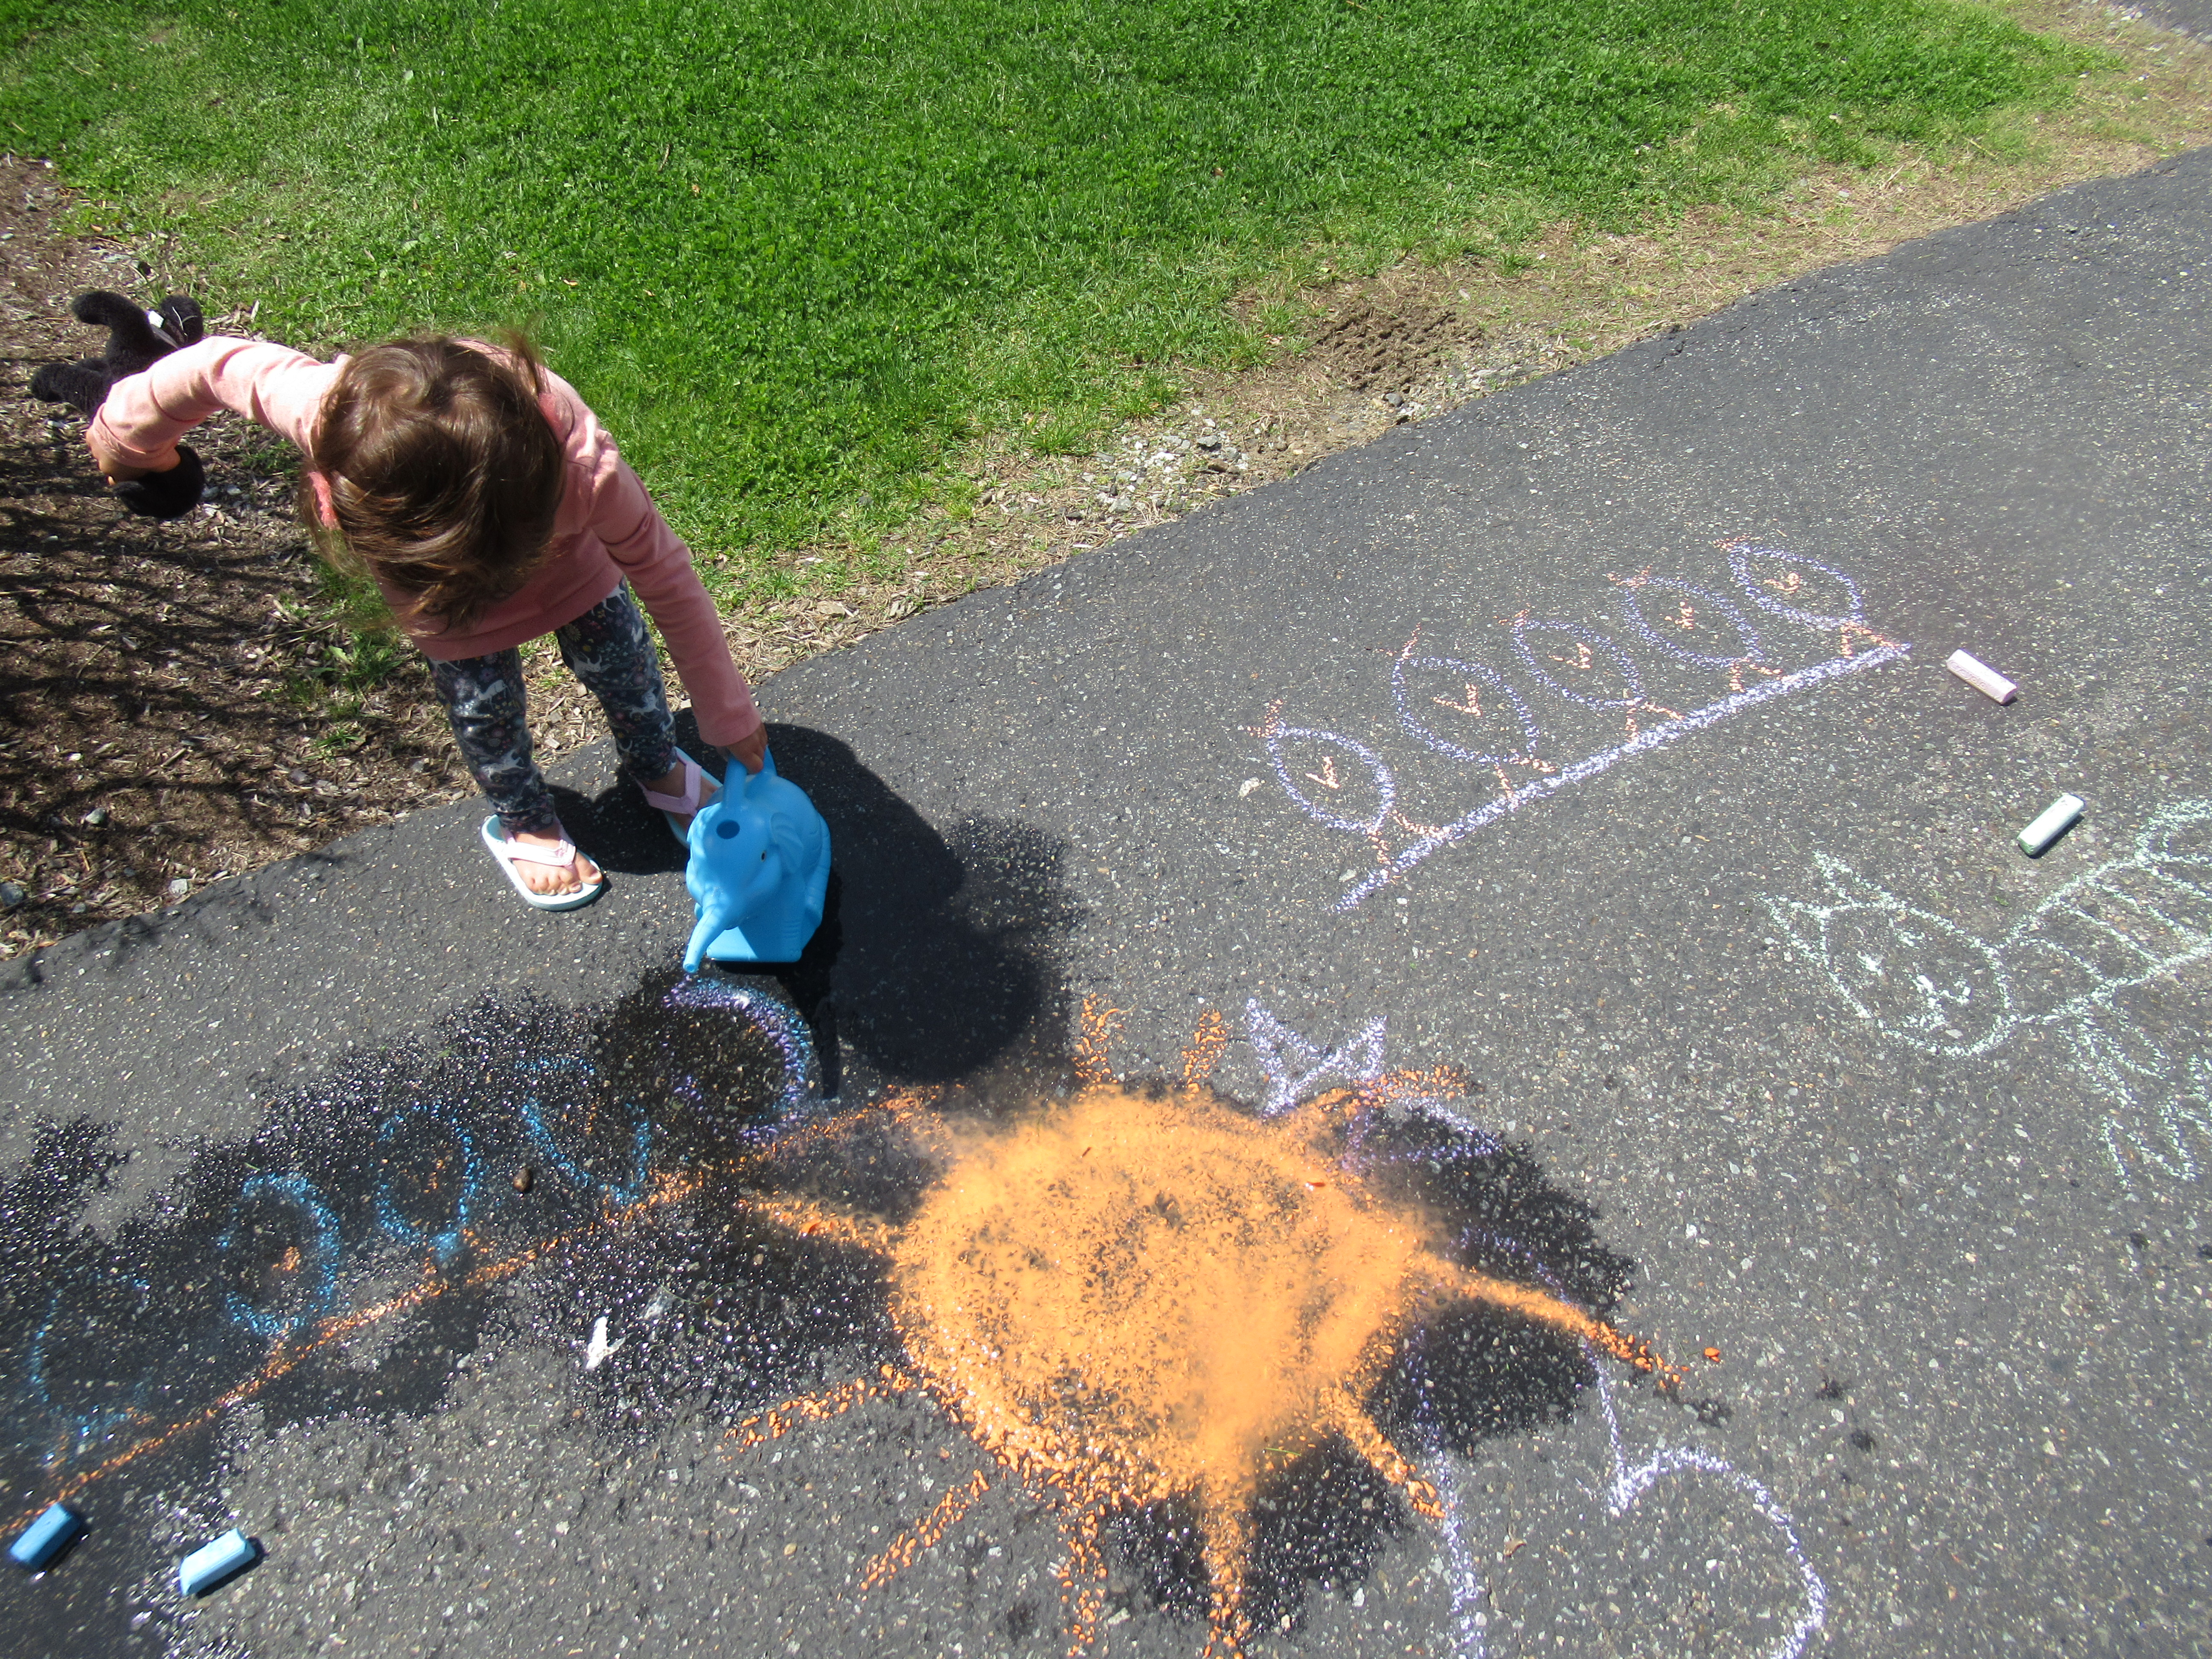
Six: Water on Chalk

The sun was shining, so we took our next bit of destruction outside. Chalk is fantastic because your child the instant satisfaction of watching chalk marks instantly disappear under just a little water. As a bonus, chalk is really fun to use on wet pavement.

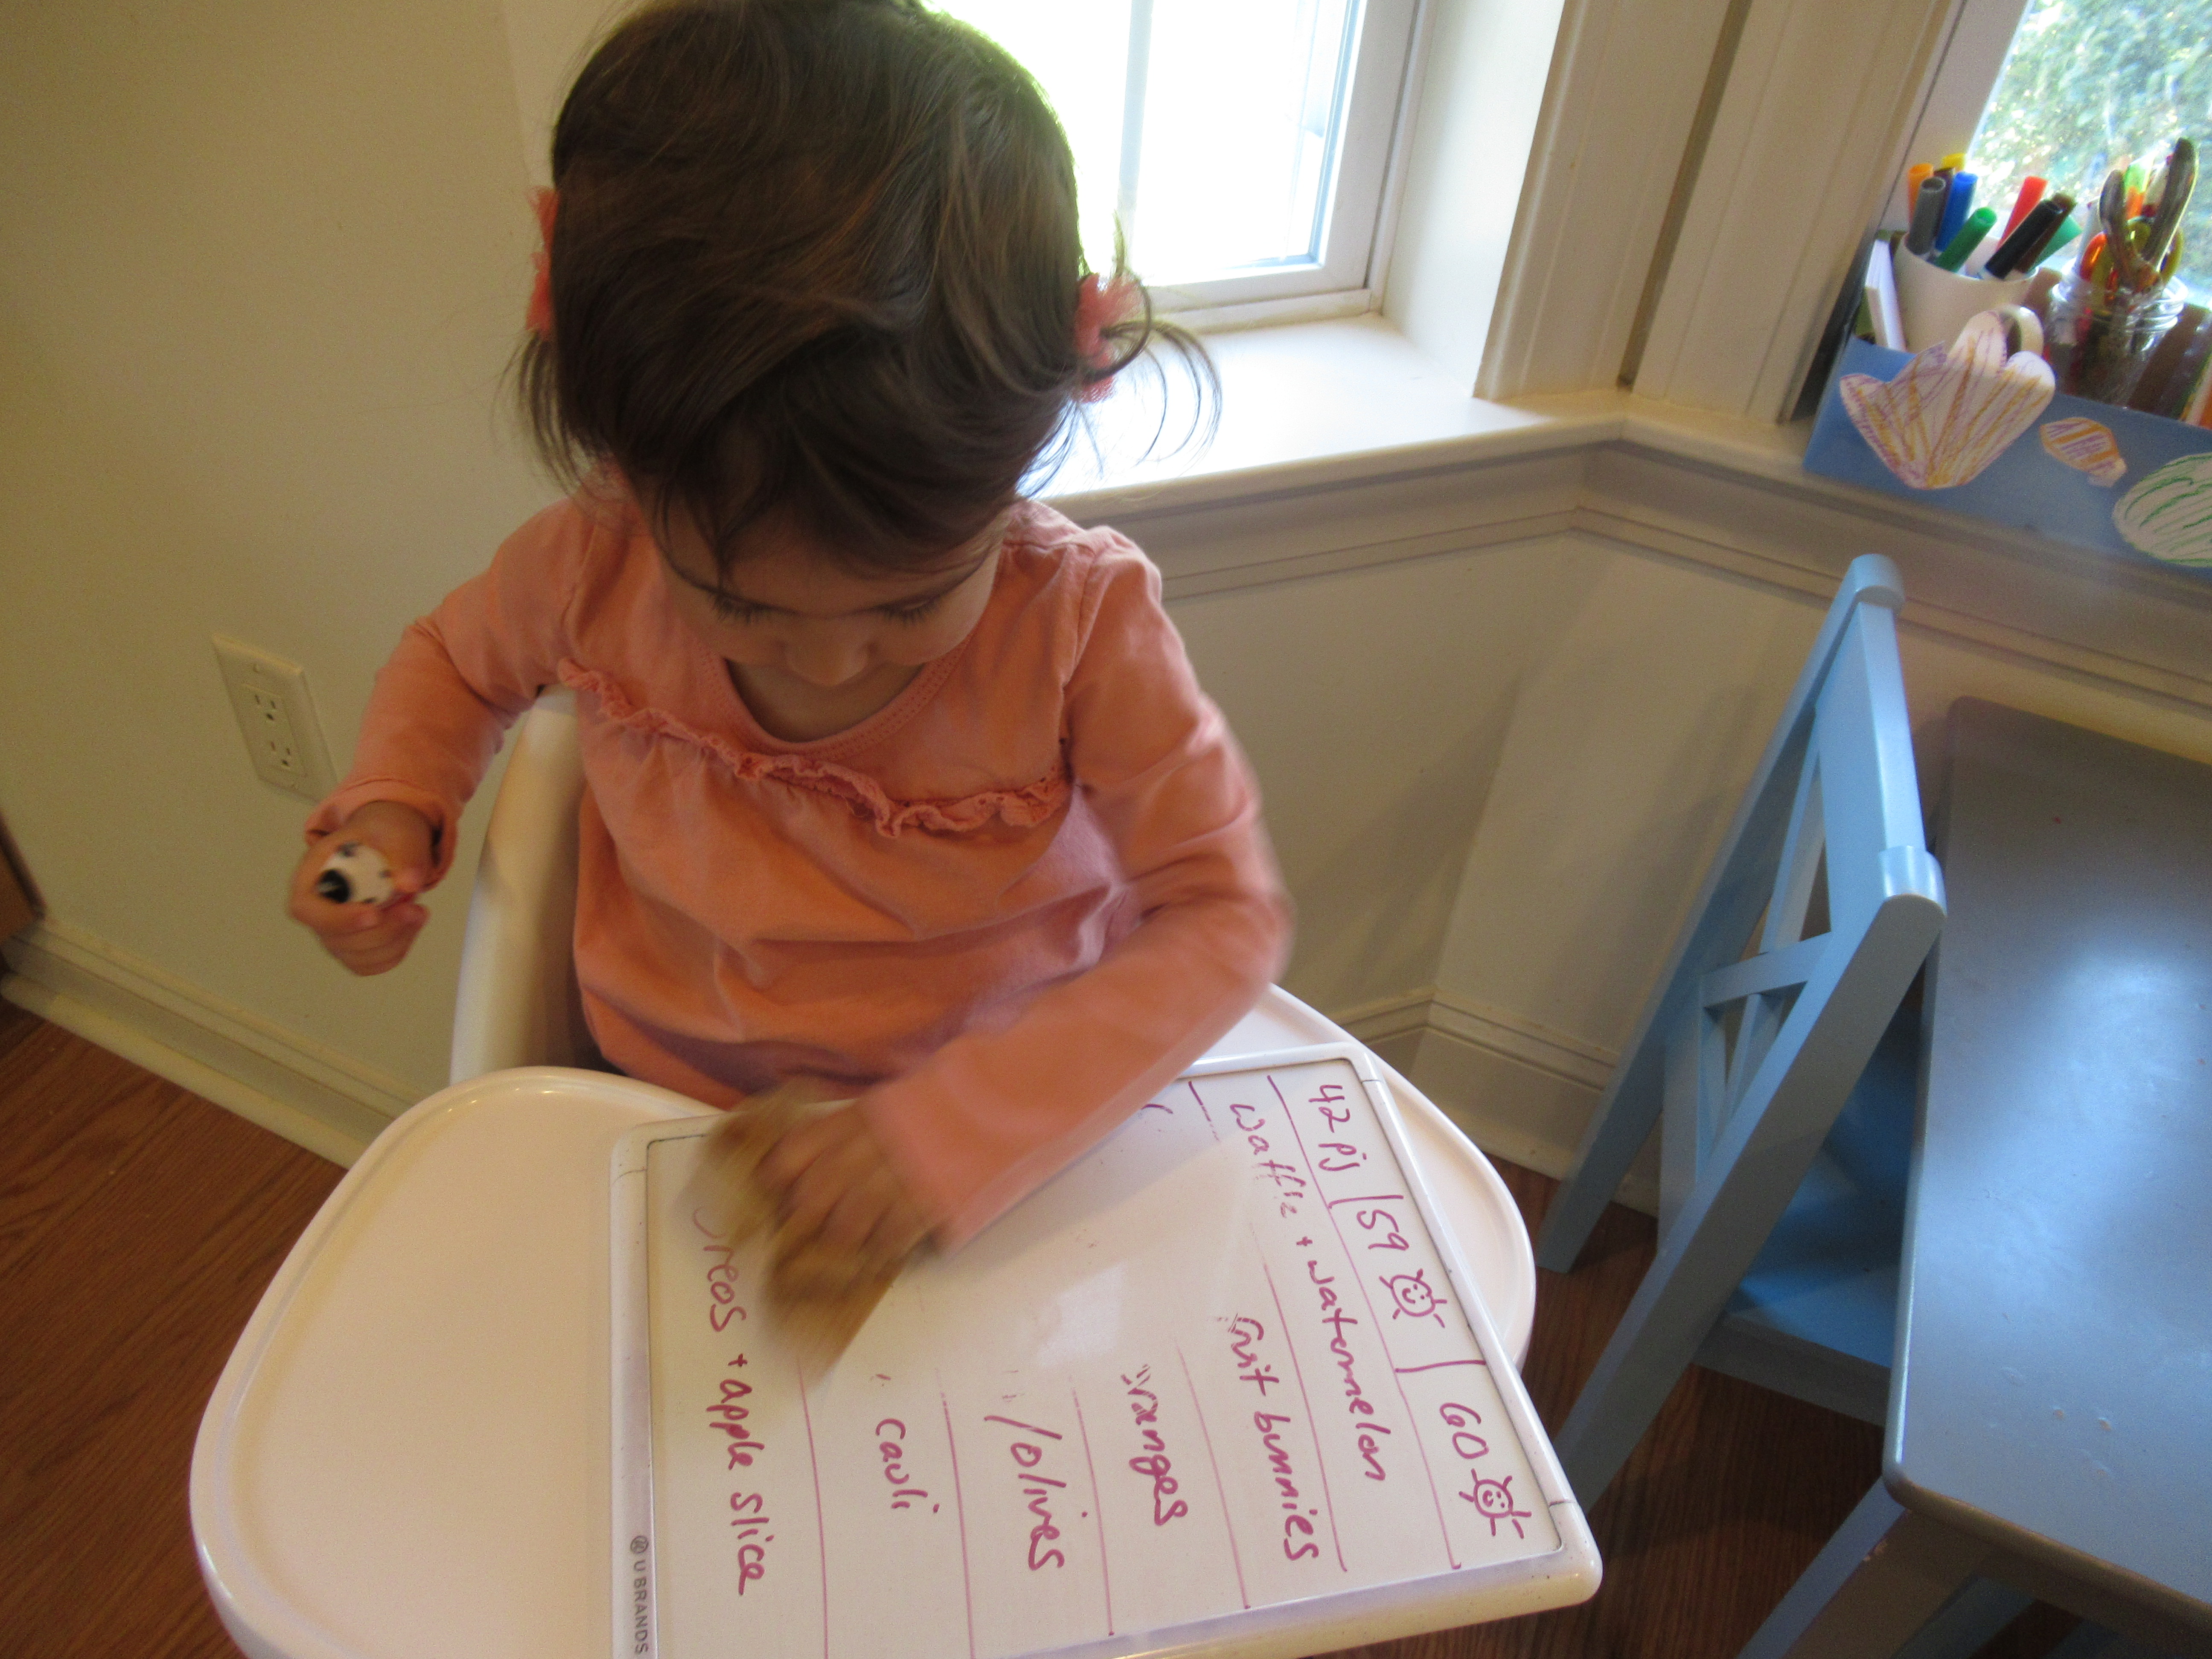
Seven: Dry-Erase Board

Along the same vein as erasing chalk with water, other things are fun to erase, too! We headed back inside and I showed her how she could magically swipe away mommy’s dry-erase board with a paper towel.

Since she was already seated in the highchair, that led to…

Eight: High Chair Tray Scribbles

Yup, I let her draw right on that high chair tray! Use washable markers and watch your child’s eyes pop when he or she is allowed to scribble directly on the tray.

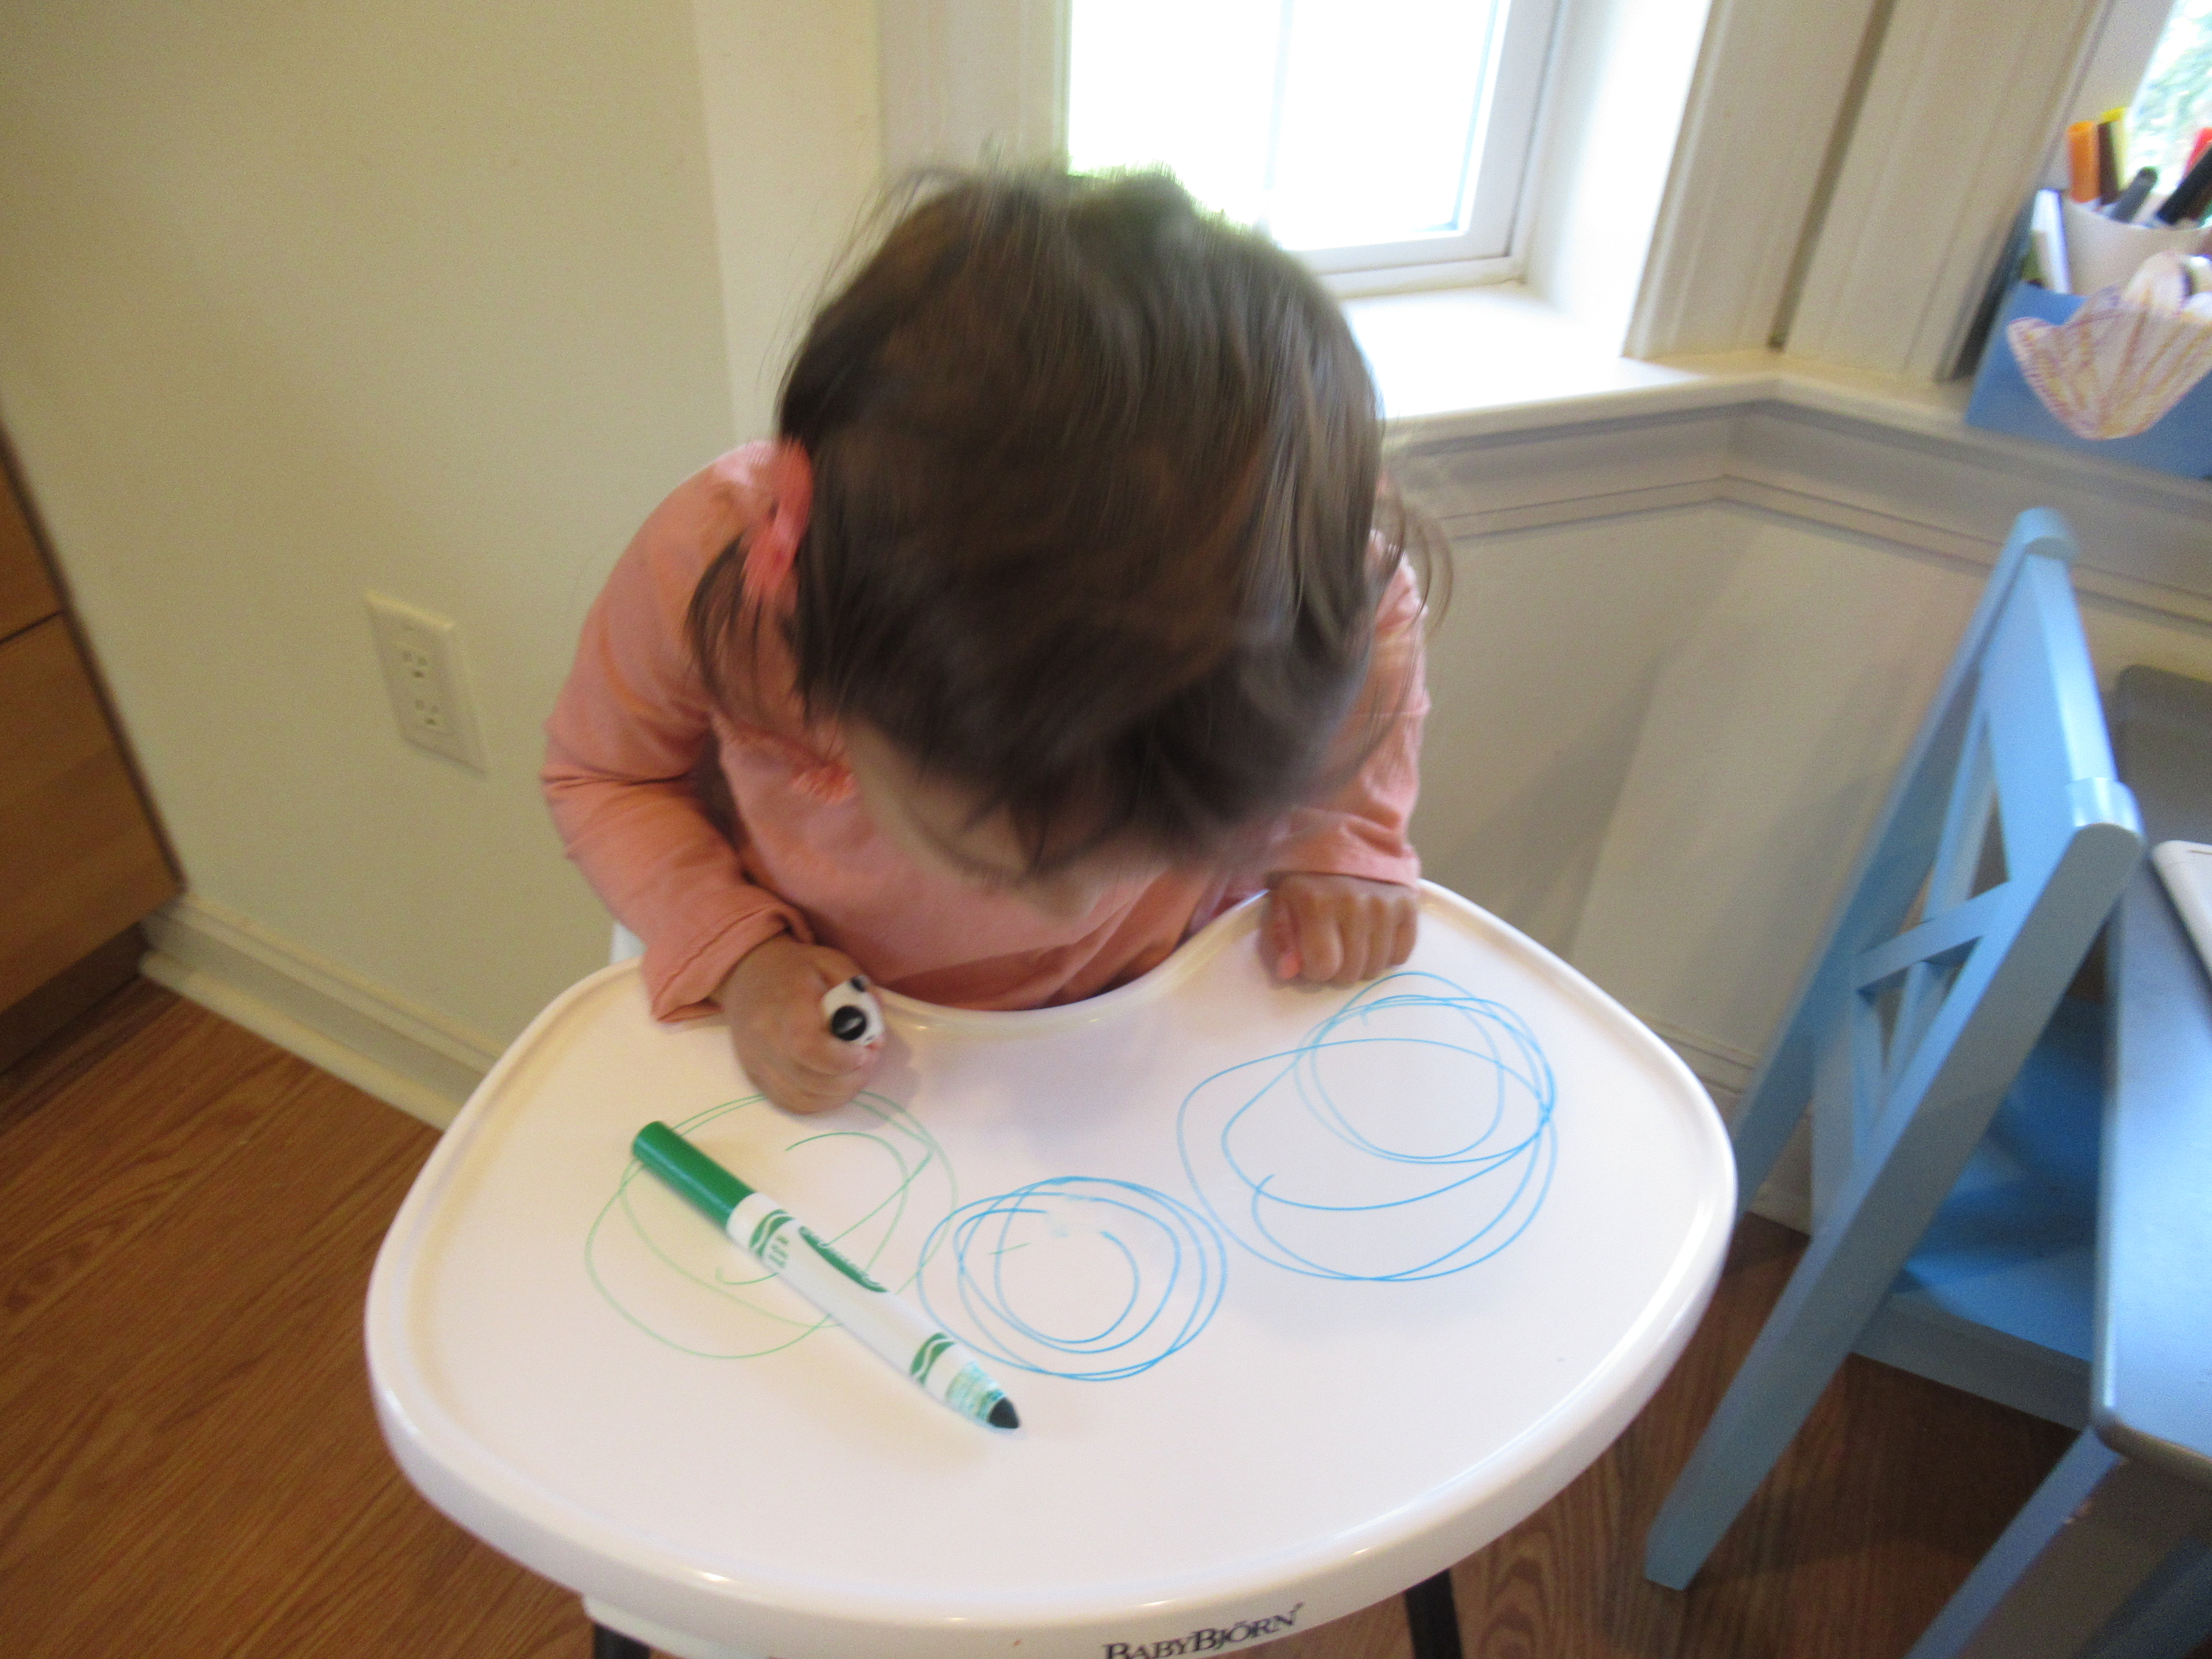
Then, simply hand over a damp paper towel, and watch the marker magically swipe away.

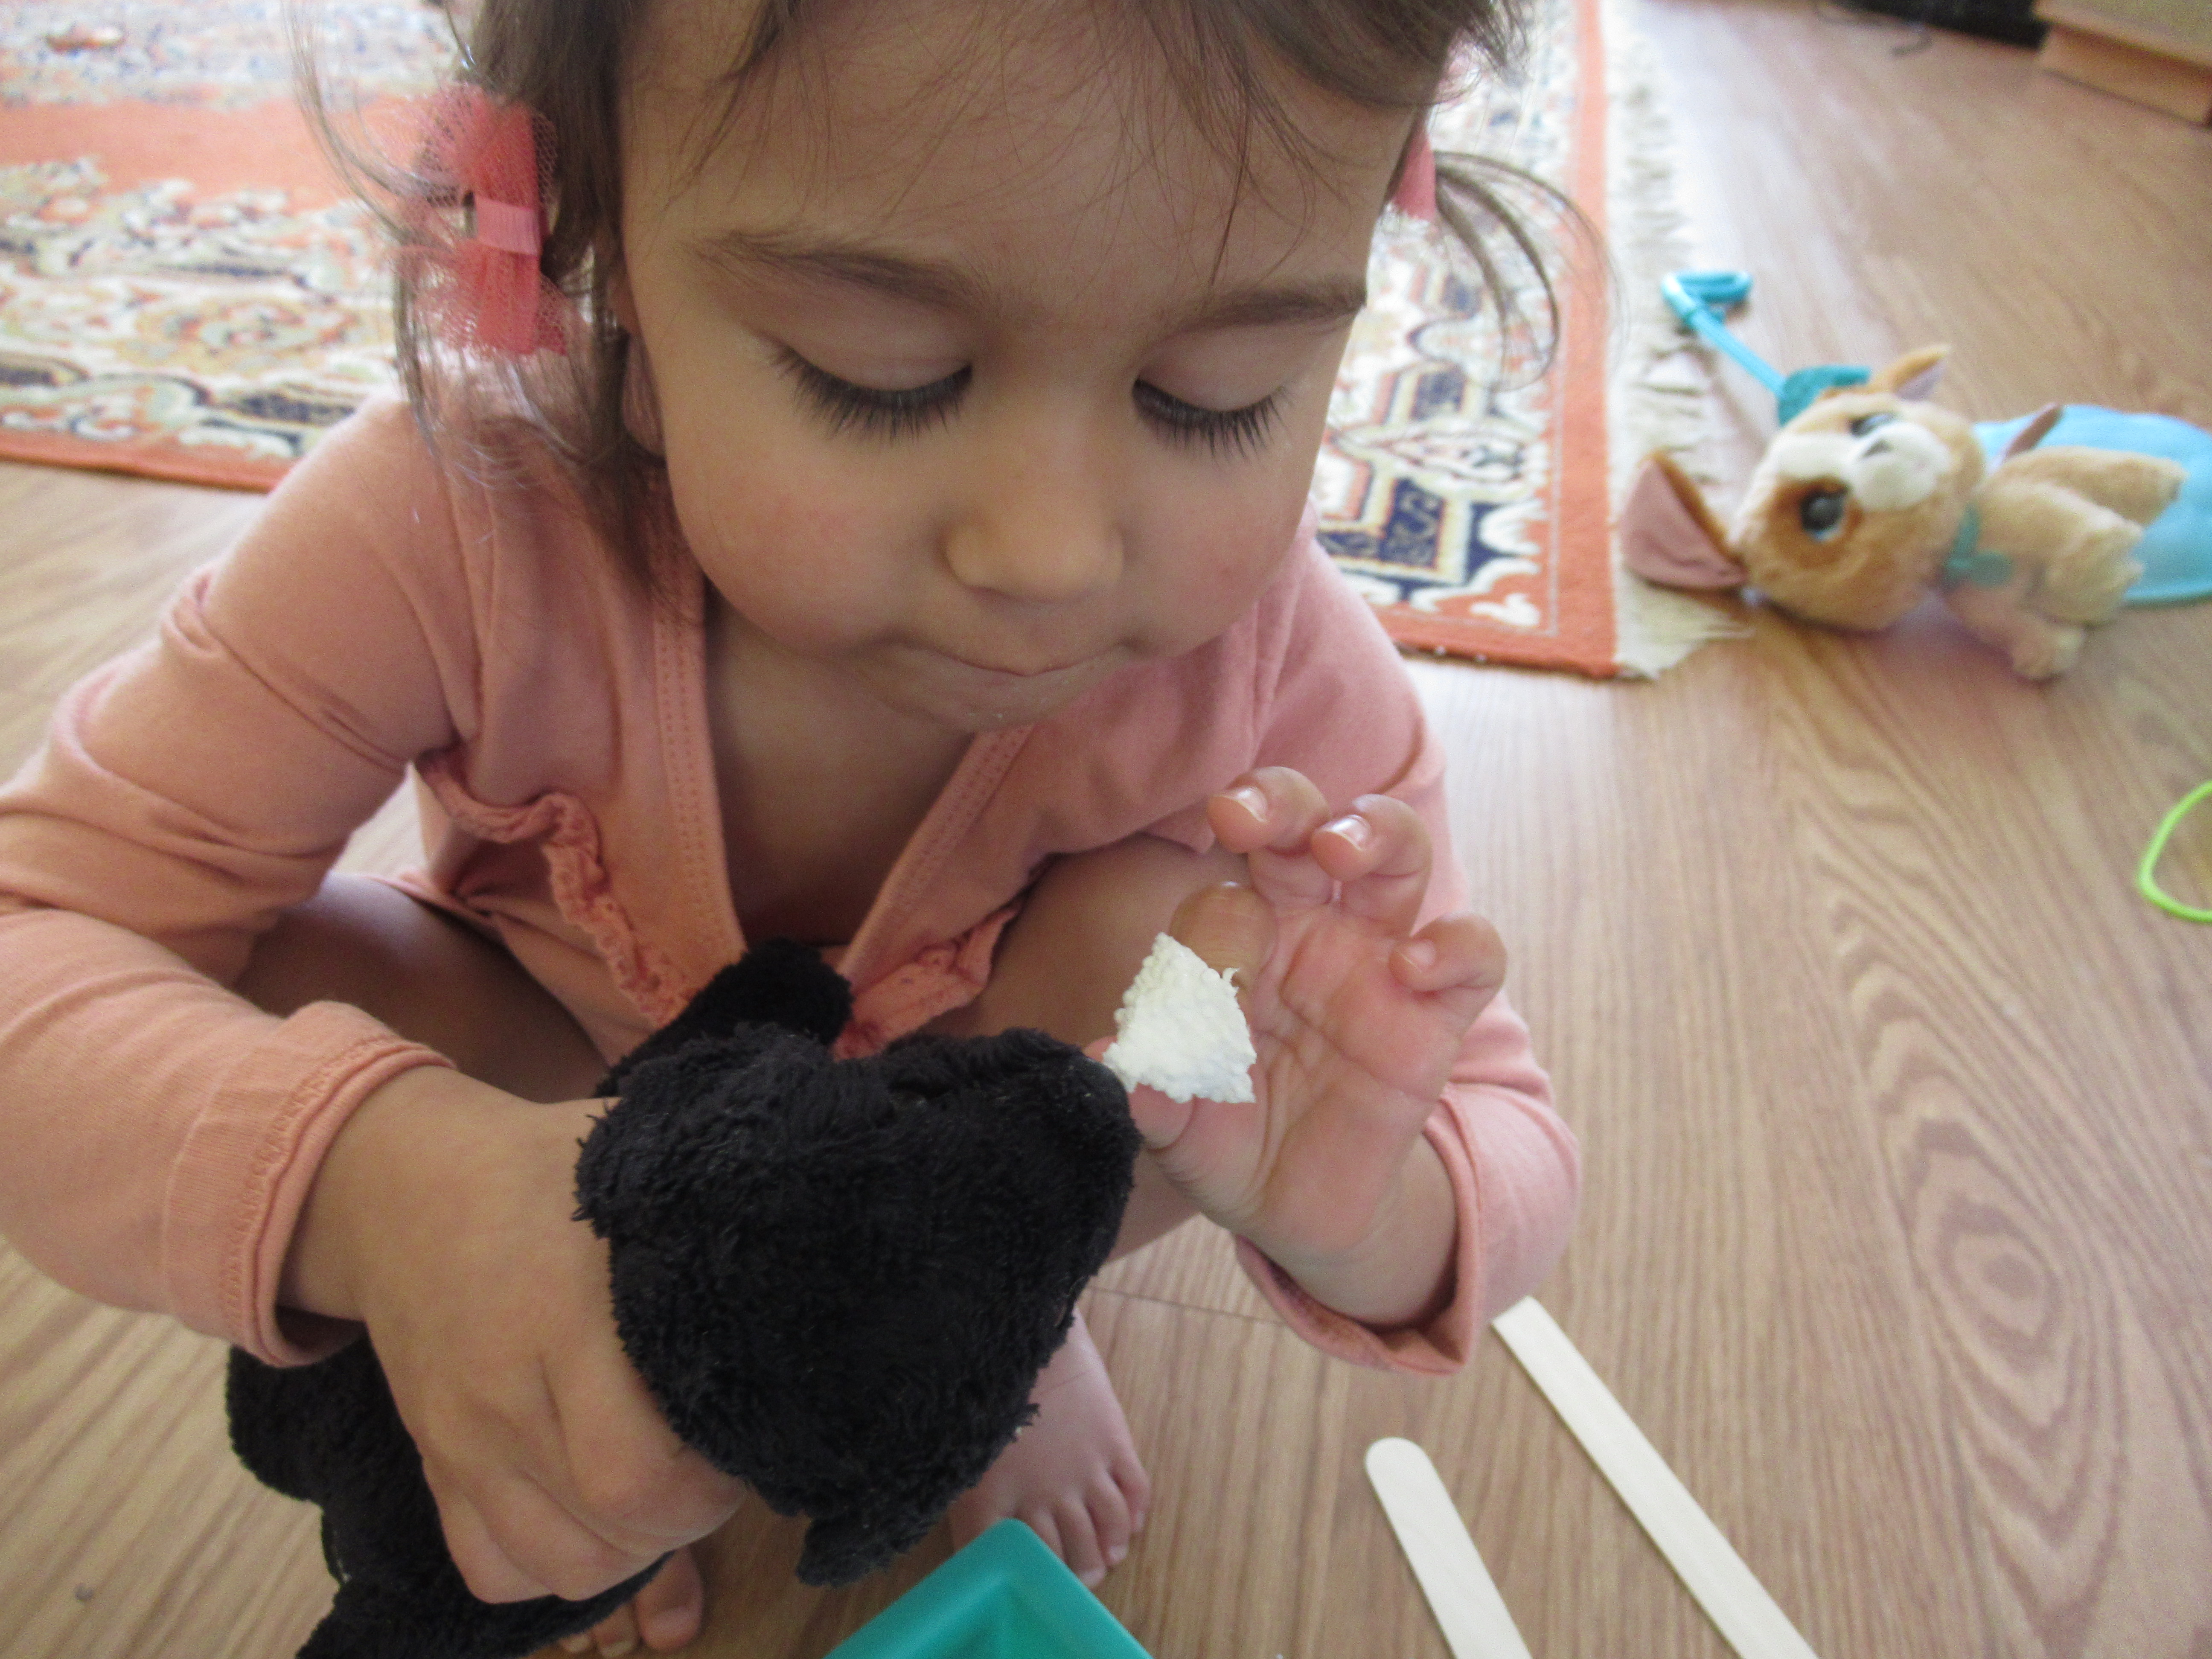
Nine: Styrofoam Destruction

For the grand finale in our day of destruction, I set up a block of Styrofoam on our craft tray, along with her toy tools, and told her she could chisel away. It as tough for her to crack into the block, so I made a few divots and holes and then she could work on making them deeper. She even tested out the real screwdriver (but be sure to supervise any play with grown-up tools closely).

She loved the tiny pieces that resulted, more so than the act of destruction, pretending to “feed” them to her stuffed puppy.

Chances are that toddlers will love clean-up from this activity, too, when it’s time to pull out the vacuum and get up all those Styrofoam bits!

What’s your favorite destructive thing to do with a toddler? Please share in the comments!

Dirt Day!


Armed with a giant bag of potting soil, Veronika and I had a day all about dirt! Here are three ways we played.

We started out inside, with a giant Mud and Dirt Sensory Box. Pour in dirt (or the above-mentioned potting soil), and add a few items that are fun to get, well, dirty! That meant a few of Veronika’s toy construction trucks, plastic cups for scooping and dumping, and some marbles.

First she explored with the trucks. She loved digging through the dirt with the bulldozer and then dumping into one of the cups.

We then pretended that the marbles were little seeds for planting, perfect imaginative play for springtime! She loved digging holes with a spade and pressing the marbles down in the dirt. Then we decided to make some of the dirt into mud; simply pour in a few cups of water and stir. Veronika marveled at the new consistency, as well as the earthy smell that resulted right away! When you’re done, take that sensory bin outside for a rinse down with a hose.

But we weren’t done yet with the dirt! I made a few circles with chalk on the back patio, labeled with point values. Older kids can play a classic game of bullseye, with concentric circles. For Veronika, I spaced the circles all over the patio with different point values based on their size.

Now we needed mud! I scooped some potting soil into a cup and we poured in water. Veronika was in charge of stirring until it was thick and goopy.

Big kids can now stand back, pick up handfuls, and take aim!

Veronika preferred to scoop up the mud with our spade and dribble it over the point values, delighting in the splat of the mud hitting the patio.

Bullseye!

Finally, we took some of that mud and decided to make art! I divided the mixture among 4 plastic cups and we squirted a generous amount of food coloring into each.

Dip in paintbrushes, and brush onto thick white paper. This made surprisingly beautiful colors, from vivid yellow…

…to a deep blue.

Veronika loved pouring and mixing the “paints”, too, or sometimes pouring them directly over the paper and then scribbling through with a paintbrush.

Older kids (and grown-ups!) can have fun making artistic paintings, like this little fishy fellow.

In sum, we had fantastic fun on this dirt-y day!

Fruit Salad Trio

Here are three very different ways to whip up fruit salad, all delicious, and all quite different! I’ve arranged them in order from most parental prep to most kid-involvement!

Fruit Salad in a Shell

This one is all grown-up work, thanks to lots of chopping and a classic presentation in a scooped-out watermelon!

Ingredients:

  • 1 mini watermelon
  • 1/2 cup finely chopped cantaloupe
  • 1/2 cup finely chopped honeydew
  • 1/2 cup finely chopped pineapple
  • 1/2 cup thinly sliced strawberries
  • 1/2 cup blueberries
  1. To start, scoop the flesh from half of a mini watermelon. Chop the flesh to equal 1/2 cup and reserve the remaining watermelon for another use.
  2. Combine the watermelon pieces in the shell with the remaining ingredients, stirring gently.

Needless to say, the kids loved looking at this one almost as much as eating it!

1-2-3 Fruit Salad

For the next version we made, care of High 5 magazine, not only was Veronika involved, but she got to practice counting!


Ingredients:

  • 1 teaspoon agave nectar
  • 2 teaspoons raisins
  • 3 tablespoons plain non-dairy yogurt
  • 4 grapes
  • 5 banana slices
  • 6 cantaloupe chunks
  • 7 kiwi slices
  • 8 strawberry slices
  • 9 blueberries

After combing all that in single-serving bowls, we gave the fruit salad 10 stirs! I loved setting out index cards for each ingredient, making this culinary math at its finest.

Veronika read me each number before we added that item, and I helped her select out the right number to plink into her bowl.

You can see that the tasting began before the counting was complete though!

Canned Fruit Salad

For this final version, Veronika got to be in charge! Purchase snack fruit cups of pineapple, peach, and pear pieces, and all your toddler has to do is dump and stir.

In a bowl, combine the canned pineapple, peaches, and pears to taste. Let your toddler use a butter knife to slice a banana, and add to the bowl, along with a (grown-up) chopped apple. Now spoon a carton of vanilla non-dairy yogurt on top as the dressing! Stir to combine.

Note: If you can’t find individual snack cups, simply purchase one can of each fruit. In this case, you will need to do some grown-up slicing!

Painting with the Rain

The next time you have a rainy day, take advantage of it for this art project! There are two “artists” who will complete each painting: your child and the raindrops!

To start, I set out cups of water and watercolors so Veronika could paint all over thick white paper. To be honest, she was much more interested in the cups of water today; after just a few swirls on the paper, she turned her attention to swirling the water around in the cups!

I made a second painting with big dots of watercolor, too, so we’d have two pictures to set outside for the next step.

Now we made a quick foray out into the rain and placed down our paintings. It’s useful to secure the paper in place with rocks or pebbles, especially if your rain storm is accompanied by wind.

Wait until the pages are covered in raindrops, then bring back inside! The rain makes neat effects, sometimes diluting our colors, sometimes making them run together, and no matter what resulting in a pretty final work of art.

Rice Sensory I Spy Bag

This activity is part sensory bag and part “I Spy” game, and a great option to take in the car for long rides!

The goal is to hide a few trinkets in a bag of rice, but you’ll need to take a picture of those items, first. You can use a variety of items (think buttons, thimbles, pennies etc.), but I decided to make the game about color, too. That meant I used all one item (flower-shaped beads) but in different colors.

Thanks to a recent gift of a Zink jet printer, I snapped a pic and was able to print it right from my phone, saving the need for a trip to the one-hour photo!

Next, I poured 1 cup rice into a small zip-top plastic bag, then added the flower beads from the picture. Press out the air, then seal and shake to distribute. Place this bag inside a second zip-top bag (for security against rips and tears); seal and then add an edge of colored duct tape for a finished look.

Now, I handed the Veronika the bag, along with the picture! She picked a color from the picture, then searched for that matching bead in the rice. Or sometimes she did the reverse, spotting a bead and then looking over at her picture to see which one matched.

To make this easy to take along in the car, punch a hole in the corner of the picture and in a corner of the bag, then attach them together with a small length of yarn or string.

Flower Power

Just in time to fill a homemade flower vase for Mother’s Day, today Veronika made cupcake-liner flowers!

You’ll want to use green straws as the stems to start, but since I couldn’t find green ones at the store, a quick coat of green paint did the trick! We left the stems to dry and turned our attention to the flower petals.

If you have brightly colored or patterned cupcake liners, those would look beautiful just the way they are. I only had standard cupcake liners, so we decided to add a little flair. Veronika loved that she was allowed to use permanent marker for this step, making swirls and dots all over.

Of course then they needed a few squirts of glitter glue! Finally, we put a dot of glue in the center of each cupcake liner and added a pom pom.

Flatten the end of each green straw slightly, and apply a drop of glue. Press onto the back of the cupcake liner and let dry. (Note: you can also use tape for this step if your little one is impatient).

Set into a vase and the flowers are ready to present to a special someone this Mother’s Day!

In fact, I might just keep these around the house since there’s no shame in orchestrating your own Mother’s Day gift!