Baby’s First Foods

Baby Grabs Spoon (3)

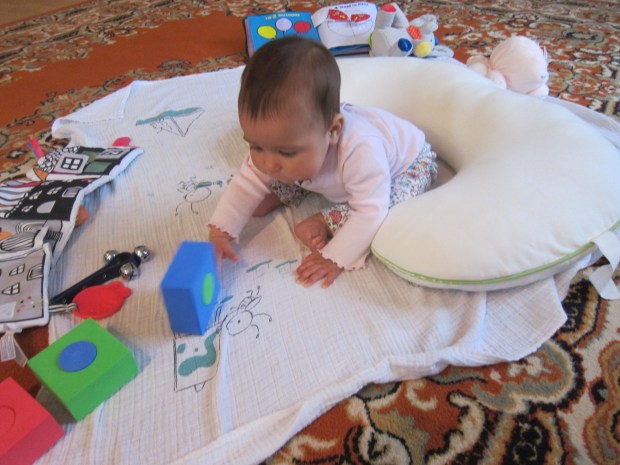
Starting at five months old, I began introducing Veronika to… food! It quickly became apparent she preferred Baby Led Weaning; this girl wanted to be in charge of her spoon and hold food with her hands! But I am still supplementing with purees, to help her learn the fine arts of pushing food back with the tongue and swallowing. A baby’s nutrition at five or six months should still come almost entirely from breast milk or formula anyway, to the tune of about 24 to 32 ounces a day, so I consider all the recipes below to be “practice.”

Travis’s first meal was mushy peas, but for Veronika, I went with bananas.
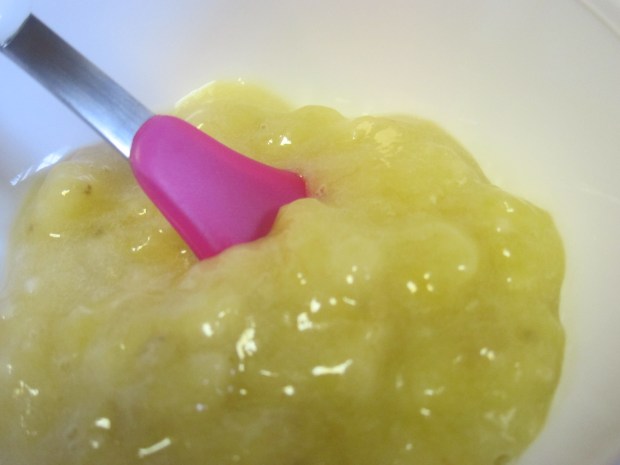
Banana Mash

Peel one ripe organic banana and cut in half (reserve the other half for another use, or a hungry sibling!). Mash until very smooth with a fork.

Banana Mash (3)

Squash Puree

Peel, seed, and chop one organic butternut squash to yield 1 cup cubes. Steam in a steamer basket for 10 minutes, until very soft. Puree in a food processor, adding additional cooking liquid until very smooth.

Squash Puree (2).JPG

Baby’s First Rice Cereal

Mix 1 tablespoon of a store-bought prepared rice cereal with 4 tablespoons breast milk (or formula). This makes a very soupy mixture. Once baby seems to like it, make the mixture thicker by using less milk.

First Rice Cereal (2)

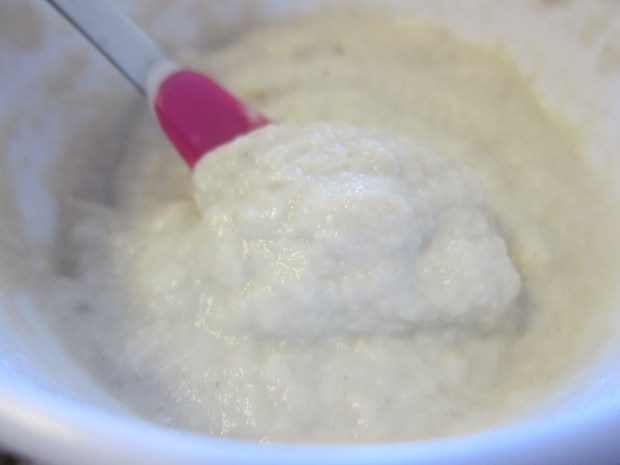
After the first few tries, I began making the cereal with hemp milk, since this is the milk I hope Veronika will graduate to once she weans. My preference for a rice cereal? Earth’s Best Organic.
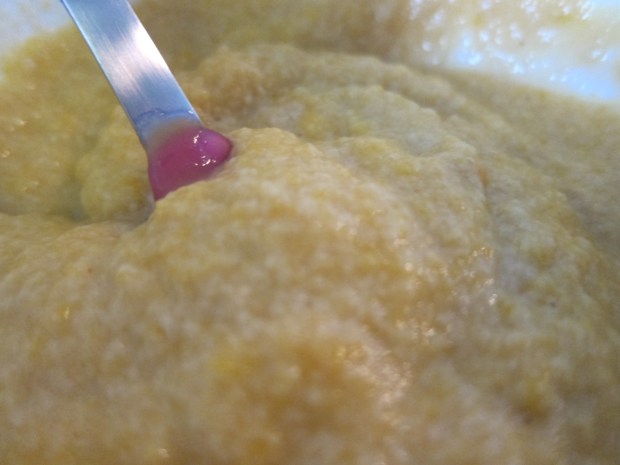
First Rice Cereal.JPG

Sweet Potato Puree

Peel and cube 1 medium organic sweet potato. Bring a pot of water to a boil and add the potato; cook for 10 minutes, until tender. Transfer the sweet potato to a food processor and process until smooth, adding enough reserved cooking liquid to make a thin puree.

Sweet Potato Puree (2).JPG

Note: Of all the veggies she tried in her first month, this was Veronika’s favorite!
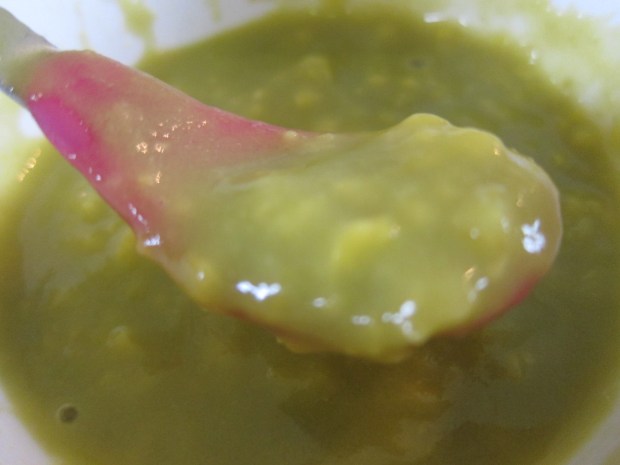
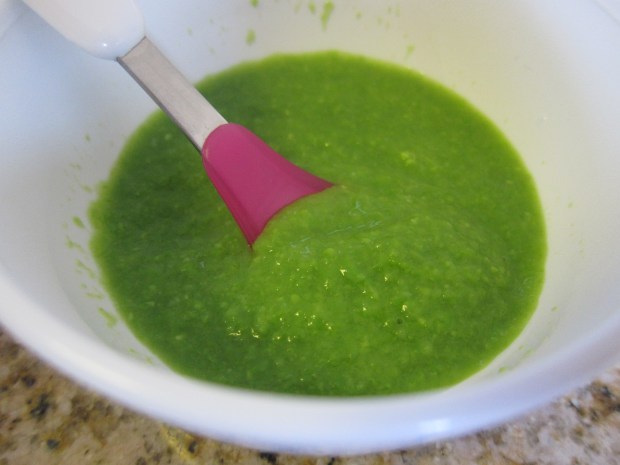
Sweet Pea Puree

Steam 1 cup frozen organic peas in about 1/4 cup water for 10 minutes. Transfer the mixture to a food processor and process until smooth. I recommend straining this one through a fine-mesh sieve before serving.

Sweet Pea Puree (1).JPG

Apple Puree

Peel and chop 2 organic apples. We tried this recipe with Red Delicious, Braeburn, and Gala apples – all are nicely sweet!

Place the apples in a saucepan with 2 tablespoons water; cover and cook over medium-low heat for 10 minutes. Transfer to a food processor and puree until smooth

Apple Puree.JPG

Avocado Mash

This is the easiest “recipe” of all time! Halve 1 organic avocado. Scoop the flesh from one side, reserving the other half for another use (or tomorrow’s mash). Mash with a fork until very smooth.

Avocado Mash.JPG

Green Bean Puree

Steam 1 cup organic green beans in 1/4 cup water for 10 minutes. Transfer the mixture to a food processor and process until smooth. As with the peas, strain this one through a fine-mesh sieve before serving.
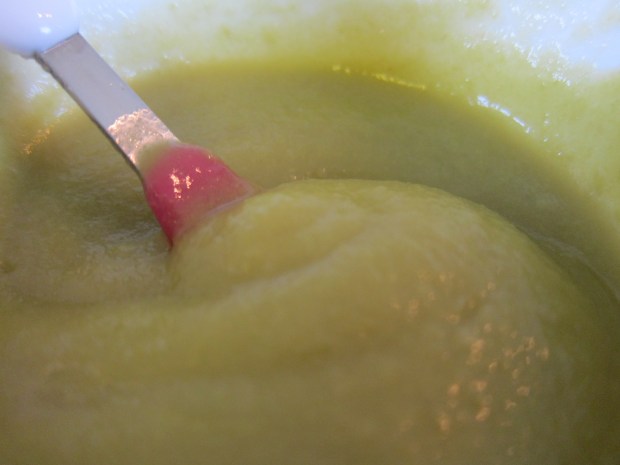
Green Bean Puree.JPG

Pear Puree

Peel and chop 2 organic pears. Place in a saucepan with about 1/4 cup water and cook for 5 minutes, until tender. Transfer to a food processor and process until smooth.

Pear Puree

Dried Plum Puree

Combine 2/3 cup pitted prunes in a food processor with 3 tablespoons water; process until smooth.

Dried Plum Puree.JPG

If they are in season, use fresh plums instead! Just peel and chop before adding to the food processor.

fresh plumPeach Puree

I recommend using frozen peaches, since the season for stone fruits is so fleeting, unless you happen to be making this for your baby in the early summer months. Otherwise, thaw 1 cup frozen organic peaches. Combine in a food processor with 2 tablespoons water and process until smooth.

Peach Puree.JPG

Apricot Puree

Peel and pit 4 apricots. Combine the apricots in a food processor with 2 tablespoons water, and process until smooth. If apricots are out of season, use dried ones instead; just simmer for about 8 minutes before adding to the food processor.

Apricot Puree

Mango Puree

Peel 1 mango, and cut the halves from the pit. Chop and transfer to a blender, along with about 2 tablespoons water; process until smooth. Note: Frozen (thawed) mango slices work in a pinch!

Mango Puree

Papaya Puree

Cut a papaya in half, and scoop out the seeds. Spoon the flesh out from one half, reserving the other papaya half for another use. Transfer to a bowl along with 2 tablespoons breast milk or other milk of choice; mash with a fork until very smooth.

Papaya Puree

For her first combo food, we made:

Apricot and Apple Puree

Soak 1/2 cup organic dried apricots in water overnight. Transfer to a saucepan and simmer in the same liquid for 25 minutes. Let cool. Meanwhile, peel and chop 2 sweet apples. Simmer in a little water for 10 minutes.

Puree the apricots and apples in a food processor, working in batches if necessary.

Apricot and Apple Puree.JPG

It’s a good idea to wait about 3 days after introducing each food, to make sure your little one has no allergies. But after that, it’s time to mix and match! For all the recipes below, stir together 2 tablespoons from each recipe. Where pumpkin is listed, I simply crack open a can of organic pumpkin puree from the store! Just make sure you’re using pure pumpkin and not pumpkin pie mix, which is loaded with sugar.

Here are a few ideas:

2 tablespoons prepared Rice Cereal with…

  • 2 tablespoons pumpkin and 2 tablespoons Pear PureePumpkin Pear Rice.JPG
  • 2 tablespoons Green Bean PureeGreen Bean and Rice.JPG
  • 2 tablespoons Mango Puree and 2 tablespoons Peach PureeMango Peach Rice.JPG
  • 2 tablespoons Green Bean Puree and 2 tablespoons Mango PureeGreen Bean Mango Rice Cereal.JPG
  • 2 tablespoons Banana Mash and 2 tablespoons Sweet Pea PureeBanana Pea Rice.JPG

2 tablespoons prepared infant Oatmeal (such as Earth’s Best Organic) with…

  • 2 tablespoons Banana MashBanana Oatmeal.JPG
  • 2 tablespoons Papaya Puree and 2 tablespoons Pear PureePapaya Pear Oatmeal.JPG
  • 2 tablespoons Banana Mash and 2 tablespoons Apricot PureeBanana Apricot Oatmeal.JPG
  • 2 tablespoons Apple PureeApple Oatmeal
  • 2 tablespoons pumpkin and 2 tablespoons Peach PureePumpkin Peach Oatmeal
  • 2 tablespoons Papaya Puree and 2 tablespoons Apple PureePapapya Apple Oatmeal.JPG

2 tablespoons prepared barley cereal (for this one I like Earth’s Best Multigrain, or you can puree your own barely until it is about as fine as barley flour) with…

  • 2 tablespoons Avocado MashAvocado Barley.JPG
  • 2 tablespoons Dried Plum Pureeplum barley cereal
  • 2 tablespoons Apricot Puree and 2 tablespoons Dried Plum Pureeapricot plum barley
  • 2 tablespoons Apple Puree and 2 tablespoons pumpkinApple pumpkin barley

A few further ideas to mix and match. Use 2 tablespoons of each ingredient:

  • Avocado Mash with Banana MashAvocado Banana Mash.JPG
  • Pear Puree with Mango PureePear Mango.JPG
  • Papaya Puree with Banana MashPapaya Banana Mash
  • Apricot Puree with Pear Pureeapricot pear ish.JPG
  • Sweet Pea Puree with Apple PureeSweet Pea Apple.JPG
  • Peach Puree with Avocado Mashpeach avocado.JPG
  • Mango Puree with Apricot PureeApricot Mango.JPG
  • Avocado Mash with pumpkinavocado pumpkin
  • Dried Plum Puree with Pear Pureedried plum pear (1)
  • Peach Puree with Pear PureePear Peach.JPG
  • Banana Mash with pumpkinBanana Pumpkin Mash.JPG
  • Green Bean Puree with Avocado Mashgreen bean avocado.JPG
  • Sweet Pea Puree with Mango PureeSweet Pea Mango.JPG

Arrange a Toy Swap

Toy Swap (11).JPG

No matter what age they are, kids can get bored if they see the same toys day in and day out. New toys not only add excitement, but also stimulate the brain in new ways. But of course you can’t always run out and buy new things; there’s the problems of expense and the practical matter of space!

So here are a few of my favorite ways to keep things novel, all of which involve minimal to no cost.

First, check out a local library playtime. Our library hosts a “play date” for specific age groups. At the one for the littlest babies, Veronika gets to play with novel toys and observe other kids. A win-win!

Toy Swap (1)

She loves sampling new instruments and roly poly balls.

Toy Swap (4)

Or, have a toy swap with a friend whose baby is about the same age! You could make this a true party where you invite multiple parents (consider asking everyone to bring 5 sanitized items) or keep it more informal. I put together a little bag of a few items Veronika had lost interest in…

Toy Swap (5)

…and she loved the bunny and other items she received in exchange!

Toy Swap (10)

Finally, you can check out a toy lending service. We love the online Toy Library. For a minimal cost, we “rent” two toys each month, then send them back and receive two new ones. Veronika was so interested in the first batch to arrive. The cow made lots of neat animal sounds…

Toy Swap (12)

…and the book talked as she turned the pages.

Toy Swap (13)

How do you keep toys and playthings novel for your little one?

Toy Swap (14)

Please share in the comments!

Toy Swap (8)

Whirling Toy Windmill

Whirling Windmill (4).JPG

When Veronika was quite tiny, I took her outside to marvel at a pinwheel. A mere few months later, she’s so much more aware and alert. We played this indoor version today, and I loved seeing her fascination with and exuberance for a pinwheel!

Whirling Windmill (1)

First, I simply sat her down and blew on the pinwheel to show her the motion. Her eyes went wide immediately!

Whirling Windmill (3)

There are two ways you can keep the fun going. First, I let her hold the handle, while I blew and we watched the colors spin.

Whirling Windmill (2)

But she was way more interested in the second method: I held the handle, and she used her little hands to flick the pinwheel around and around.

Whirling Windmill (6)

It was quite quickly her favorite toy of the day, occupying her solo play for long stretches. What a simple and yet perfect toy.

Whirling Windmill (5)


Newton’s Tower


Newton's Tower (3)

Yesterday, Travis and I marveled at some good old laws of physics and inertia, making pennies fall into a cup. We wanted a repeat of this magic today, so made this tower named in honor of Isaac Newton and his first law of motion: that an object will stay at rest unless acted upon by an external force.

The idea here is to hit only the bottom box in a tower of boxes. The bottom box is moved by an external force, but not so the others. So what would happen to these higher boxes?

You’ll want to use small boxes for this experiment. I had some old gift boxes that were probably about as big as you want to go; smaller would be even better.

Newton's Tower (1)

To make them pretty, I wrapped each in a separate shade of construction paper.

Newton's Tower (2)

To start, Travis and I tested if we could make the experiment work only three levels high. Zoom! The orange got whacked away with a dowel, and the red and yellow stayed put.

Newton's Tower (4)

Could we make it work with four? It worked perfectly – not the orange box off to the side, now.

Newton's Tower (6)

Notice the orange off to the side there.

Newton's Tower (7)

Needless to say, Travis loved a science experiment that involved whacking things with a stick. I taught him that the secret is to whack the bottom box as hard and as fast as you can. Finally, we challenged ourselves with all 5 boxes.

Newton's Tower (8)

Boom!

Newton's Tower (10)

As always, there’s something a bit magical about this every time it works.

Animal Magic

Animal Magic (14)

We have a cat who hates everyone on earth… except my two kids, thank goodness. I had read about this phenomenon before my eldest was born, that cats will guard a home against “outsiders”, but will immediately protect those who live within the home, so I never worried about introducing the cat to the babies. From the moment they came back from the hospital, he was their protector and nursemaid. He parked himself by the bassinet at nap time, sat by their feet during tummy time, and curled up by their side whenever they nursed.

The affection between family pets and babies runs both ways. It turns out babies love watching cats almost as much as cats love watching baby. Pets can fill kids with wonder, and are often their first exposure to the animal world. Today, Veronika and I took some time to truly appreciate and marvel at the cat.

As you can see, he loves to join playtime.

Animal Magic (2)

At six months old, Veronika is truly aware of him now, and loves petting his fur (this is a great time to introduce words like “gentle” to your little one).

Animal Magic (12)

If you’re worried that your baby will grab on to the fur too tightly, try rubbing feet into the fur instead.

Animal Magic (11)

As she sat on my lap, I let Veronika stroke the cat, and we also listened for his noises, his meows and his purrs.

Animal Magic (10)

Because we don’t have a dog, I also sought out a few chances for her to see canines in action. We headed to the local dog park and heard barks and yips.

Animal Magic (5).jpg

We also saw some dogs getting groomed while at the pet store!

Animal Magic (9)

If you don’t have a pet at home, consider a similar outing, or go to a friend’s house for some animal magic. Here Veronika got to check out some birds!

Animal Magic (6)

I recommend sitting your baby on your lap if you’re unfamiliar with the animal. Needless to say, you should always supervise animals and babies closely, even at home.


Dance to Different Tunes

Different Tunes (1)

Dancing with baby never gets old, as evinced by the blogs I’ve already posted on the topic. Today, for variation with Veronika, I deliberately selected a few types of music with different rhythms and tempos in order to expose her to a range of sounds.

First up was marching! For this, my go-to music is Sousa marches. Put on some good old Stars and Stripes, and march around.

Different Tunes (5).JPG

For added fun, I gave Veronika some bells to jingle as we marched about the apartment to the beat of the drums and brass instruments.

Next up, a slow song! As the intro chords played, I held her close and we swayed side-to-side. Warning: you might get a little verklempt during this part of the activity.

Different Tunes (4)

Then it was time to bounce around. We put on an exuberant upbeat song (from one of big brother’s favorite TV shows!) and just had some good old dancing fun.

Different Tunes (3)

Try this game with any style music you like, making sure to mix it up, and have fun feeling the rhythm.

Different Tunes (2)

Motion Magic

Motion Magic (%)

You’ll stun your kids with the way a penny doesn’t move in these games, a fantastic illustration of inertia. You can give a quick physics lesson – basically, things that aren’t moving want to stay put – but whether they grasp the concept or not, they’ll be amazed by the results.

We tried out the motion magic in two ways. For the first, we cut a square of cardboard as a base (using a bit of our Kiwi Crate from the Disk Launchers set). Place the cardboard over a glass, and put a penny on top.

Motion Magic (2)

Quickly flick the cardboard away (from the side, not from underneath). The cardboard will fly away but the penny…

Motion Magic (3)

…falls in the glass! This got a whoa from Travis, who then tried himself and was so proud it worked.

There is something sort of magical about inertia, even for grown-ups. Logically we want that penny to fly away, and every time we heard the clink of the penny in the glass, we were excited.

For the second method, we cut a strip from cardstock. Form it into a circle and staple the edges.

Motion Magic (1)

Place the circle over the glass, with the penny on top.

Motion Magic (6)

Very quickly, put a finger inside the cardstock circle and flick it out of the glass. Where did our penny go?

Motion Magic (7)

Down inside!

Motion Magic (9)

Want to really up the wow factor? Try the classic trick of pulling a tablecloth out from under a plate (you might want to use a paper plate, just in case).

Motion Magic alt.JPG

Is it magic? Nope, it’s inertia of course.

Learning to Reach

Reaching Game (6).JPG

Veronika is six months old! This is such an exciting age for babies, with so much that happens right around now: rolling if your baby hasn’t already; sitting up unaided; and making the first moves toward crawling.

We do lots of tummy time with Veronika, which is one way to encourage crawling. Right now she pushes with her legs but arches her arms back like a swimmer doing the butterfly and screams when she can’t reach something. She’ll figure it out eventually!

Reaching Game (10)

Another way to encourage crawling, other than tummy time, is to have your baby sit and lean forward. This not only builds the abdominal muscles for sitting, but can actually turn into a crawl, if a reach forward turns into a belly flop.

Today, I sat Veronika up with a supportive pillow, and placed a few tantalizing toys just out of reach.

Reaching Game (1)

We soon found that this worked best with her foam blocks.

Reaching Game (4)

She really wanted to reach them.

Reaching Game (5)

As she reached, I gave lots of encouragement. Resist the urge to move the blocks or toys closer, and let your baby truly stretch.

Reaching Game (9)

One time she did flop forward onto her belly and looked quite surprised, but then happily was at her target. The other times, she was simply stretching as far forward as possible, so happy and so determined.

Reaching Game (7)

I can say with 100 percent certainty that this game was the difference between a day where she was still sitting with a wobble, and the next day where she suddenly had the muscle control to stay steady. Will it lead to crawling next? I’ll report back once we have a crawler!

Balloon Propeller

Balloon Propeller (6)

We were dealing with big stuff for a four-year-old today! After our disk launchers from Kiwi Co introduced Travis to physics in a way even a preschooler could grasp, now we were talking about Newton’s laws of motion. Full disclosure: this required some review for mommy, who hasn’t touched this kind of material since college!

Here’s my quick recap: Newton’s third law of motion states that for every reaction, there is an equal and opposite reaction. So if the air from a balloon is escaping in one direction, the balloon will try and move forward in the opposite direction, making it spin, in this case.

Here’s how we set it up:

Slightly tug on a balloon and partially inflate it, just to loosen it up – don’t tie off. Now tape the balloon securely to the end of a straw (on the non-bendy side).

Balloon Propeller (1)

Travis immediately wanted to test out if he could blow up the balloon through the straw – neat!

Balloon Propeller (2)

Hold the straw on your fingers to identify the point where the straw balances. This is where you’ll insert a straight pin. Poke the pin all the way through the straw, then down into the eraser of a pencil.

Balloon Propeller (3)

Now blow up the balloon. Have your child hold the pencil, making sure their hand and arm won’t interfere with the motion of the balloon.

Balloon Propeller (5)

Let go and watch! The balloon will deflate, which causes it to spin around on the pin (Note: You may have to tug on the pin or spin the propeller by hand a few times to loosen things up enough).

Balloon Propeller (7)

We did this experiment over and over – a great visual of forces and energy, understandable even at the preschool level!

Balloon Propeller (8)

Mirror Play

Mirror Magic (2)

There are so many ways to play with babies and mirrors, and they just keep getting more fun as your little one gets older! Today – on Veronika’s six month birthday! – we tried out a few new variations.

First, I sat her down in front of a mirror to do some body part and language learning. To the tune of “Here We Go Round the Mulberry Bush,” I sang:

This is what I call my head,

Call my head, call my head.

This is what I call my head,

Listen, look, and see.

Repeat for other body parts, making sure to touch each one as you sing about it.

Mirror Magic (3)

For the final verse, I sang:

Now I know the parts of me,

Parts of me, parts of me.

Now I know the parts of me.

Listen, look, and see.

Mirror Magic (1)

From there, we played around with some of those parts! Once we’d identified the tongue, for example we could wiggle it around.

Mirror Magic (5)

Once we’d identified the cheeks, we could puff them up with air.

Mirror Magic (7)

Once we’d identified the mouth, we could blow a big kiss. Big brother Travis loved helping with these demonstrations!

Mirror Magic (6)

If your baby happens to make a silly expressions, copy that back to him or her!

Mirror Magic (4)

We finished off the day’s mirror play by bringing in a stuffed animal friend. Use any favorite toy or stuffed animal for this part, and have it talk into the mirror or interact with baby.

Mirror Magic (9)

Veronika got a big kick out of this!

Mirror Magic (10)