Picture Sort

Veronika and I are working on the concept of making a “match”, so here was a new way to turn the idea into a game!

To start, I cut images from magazines that could be sorted into pairs. These weren’t exact copies of each other, although you could make them so if you have a double copy of one magazine. Our pictures included: 2 shoes, 2 houses, 2 chairs, 2 images of flowers, and so forth.

Glue all these images onto index cards. For a more durable version of this game, you can try a few suggestions from The Toddler’s Busy Book. One option is to cover the cards with contact paper. To take it a step further, glue each image to a round metal lid, as from a frozen juice can, before covering with contact paper.

I kept things simple with the index cards, though, and set them out in a scrambled pile in front of Veronika. Her job was to make each match! When she picked up one shoe picture, I asked, “Can you find it’s match?” She quickly did so, showing that she’s grasped the concept.

Once the cards were all sorted, she had fun simply playing with them and looking at the images for a while. Next time, I might add magnetic strips to the back of the index cards so she can move them around like magnets on the fridge.

Rain Catcher

With two days of rain in the forecast, we took advantage and decided to make a rain catcher. This version is especially fun for toddlers since it involves a little “person” standing guard in the rain.

To set up, cut an empty plastic water bottle apart about two-thirds of the way up with a craft knife. Turn the top portion upside down so it forms a funnel down into the bottom portion, and then add masking tape along the rim to cover any sharp edges.

To make the person, mark off 1/2-inch increments on a wooden spoon with permanent marker. Add character with wiggle eyes and additional features in permanent marker. Travis decided our fellow should be called Dave.

We set the handle of “Dave” into the bottle, then placed him out in the rain. And just in time! Within a few hours, there was already half an inch of water in the bottom. Then, this happened:

Yup, snow in mid April! It was a wonderful and unexpected chance to show Veronika how several inches of snow melted down into only about 1/2 an inch of water, once the temperature warmed back up.

By the end of the evening, the water was nearing Dave’s two inch mark. But oh no, then the wind picked up… and knocked Dave and all our hard work over!

How much rain can you collect in your rain catcher? Please share in the comments!

Toppling Turtles

This adorable idea from Kiwi Co’s website brings Dr. Seuss’s story of Yertle the Turtle to life. It requires a bit of grown-up prep, but nothing too complicated. Ahead of time, I saved up bottle caps until we had 12. It would have been a bonus if they were green to begin with, but a quick coat of tempera paint solved the problem.

Meanwhile, I traced out turtle shapes on green felt around each bottle cap, (you just need a head and four limbs extending off the round body), and then cut out.

Use hot glue to add a green bottle cap in the center of each body and 2 wiggle eyes on each head.

Now it was time to watch the story! This was the perfect snuggle time on a rainy day, but the book was only halfway finished before the kids were trying to stack their turtles just like the ones in the tale.

Oh no, this tower toppled over at only seven turtles!

Veronika simply delighted in stacking a few before knocking them down on purpose. Clearly these turtles were a hit!

Travis, meanwhile, was the champion. He carefully began stacking…

…and managed to stack 10 turtles before his “king” hit the ground.

This was a wonderful way to make the book come alive.

Color Cube

This giant color “dice” is a fun way to play with toddlers or preschoolers for a variety of color games. Even better, all you need to make it is two upcycled cartons (I used soy milk).

Clean and dry the cartons completely, then cut each one in half. You can now nest them together so they form a perfect cube.

Cut squares of construction paper in a different color for each side, and glue onto the cube. Let dry overnight. The next morning, Veronika couldn’t wait to give the dice a few rolls the moment she spotted it.

Then we started adding in some color challenges. Depending what color landed face up on the cube, I had her run to fetch an object of that color.

Her favorite was a version where we matched the cube to crayons. After each roll, she selected a crayon from our set, and then of course wanted to color on the corresponding side of the cube. Pretty soon we had a decorated dice!

You can play lots of variations on these games, whether having your child hunt for a color object, race to see who can bring back the correct color fasted, have your child hand you a corresponding color of construction paper, and more! Next time we might try a shape cube for a shape hunt instead.

Decorate a Castle

This might not have been the most intricate castle we’ve ever put together, but a few large boxes are all any child needs to be king or queen of the realm for the day!

I recommend starting this project the night before, unless you want very impatient kids waiting for paint to dry. We used a big bristle brush to slather the sides of 4 cardboard boxes with paint. Because it was a lot of surface area to cover, this quickly needed to become a multi-colored castle, but the kids loved the result.

In the morning, it was time to assemble. I cut a few holes in some of the boxes for various purposes; some were small holes to be windows; some were large for Veronika to be able to crawl from box to box; and one was cut out on three sides but still attached at the bottom, to be the drawbridge of course! Be prepared for kids already crawling through and playing while you work. Chances are you won’t be able to keep them away.

You can leave the tops of the boxes straight, or cut out a few crenelations.

To make a working drawbridge, just attach a string or rope to the drawbridge flap that your child can pull on. Now Veronika could safely guard against intruders (like a certain big brother).

For window curtains, I hot-glued a few fabric scraps to a wooden dowel, then hot-glued the dowel over the smallest cut-out.

The queen was ready to rule! Having recently discovered that chalk works great for coloring big boxes, this proved to be a much cleaner method for her to decorate than painting. Veronika loved scribbling, and wanted me to add rainbows and sunshine, too.

I loved watching her take charge of the decorations!

I recommend leaving up big creations like this for at least a week, so your child can revisit it, continue to decorate, and play in new ways. What will your child’s castle look like? Please share in the comments!

Little Passports: Kenya

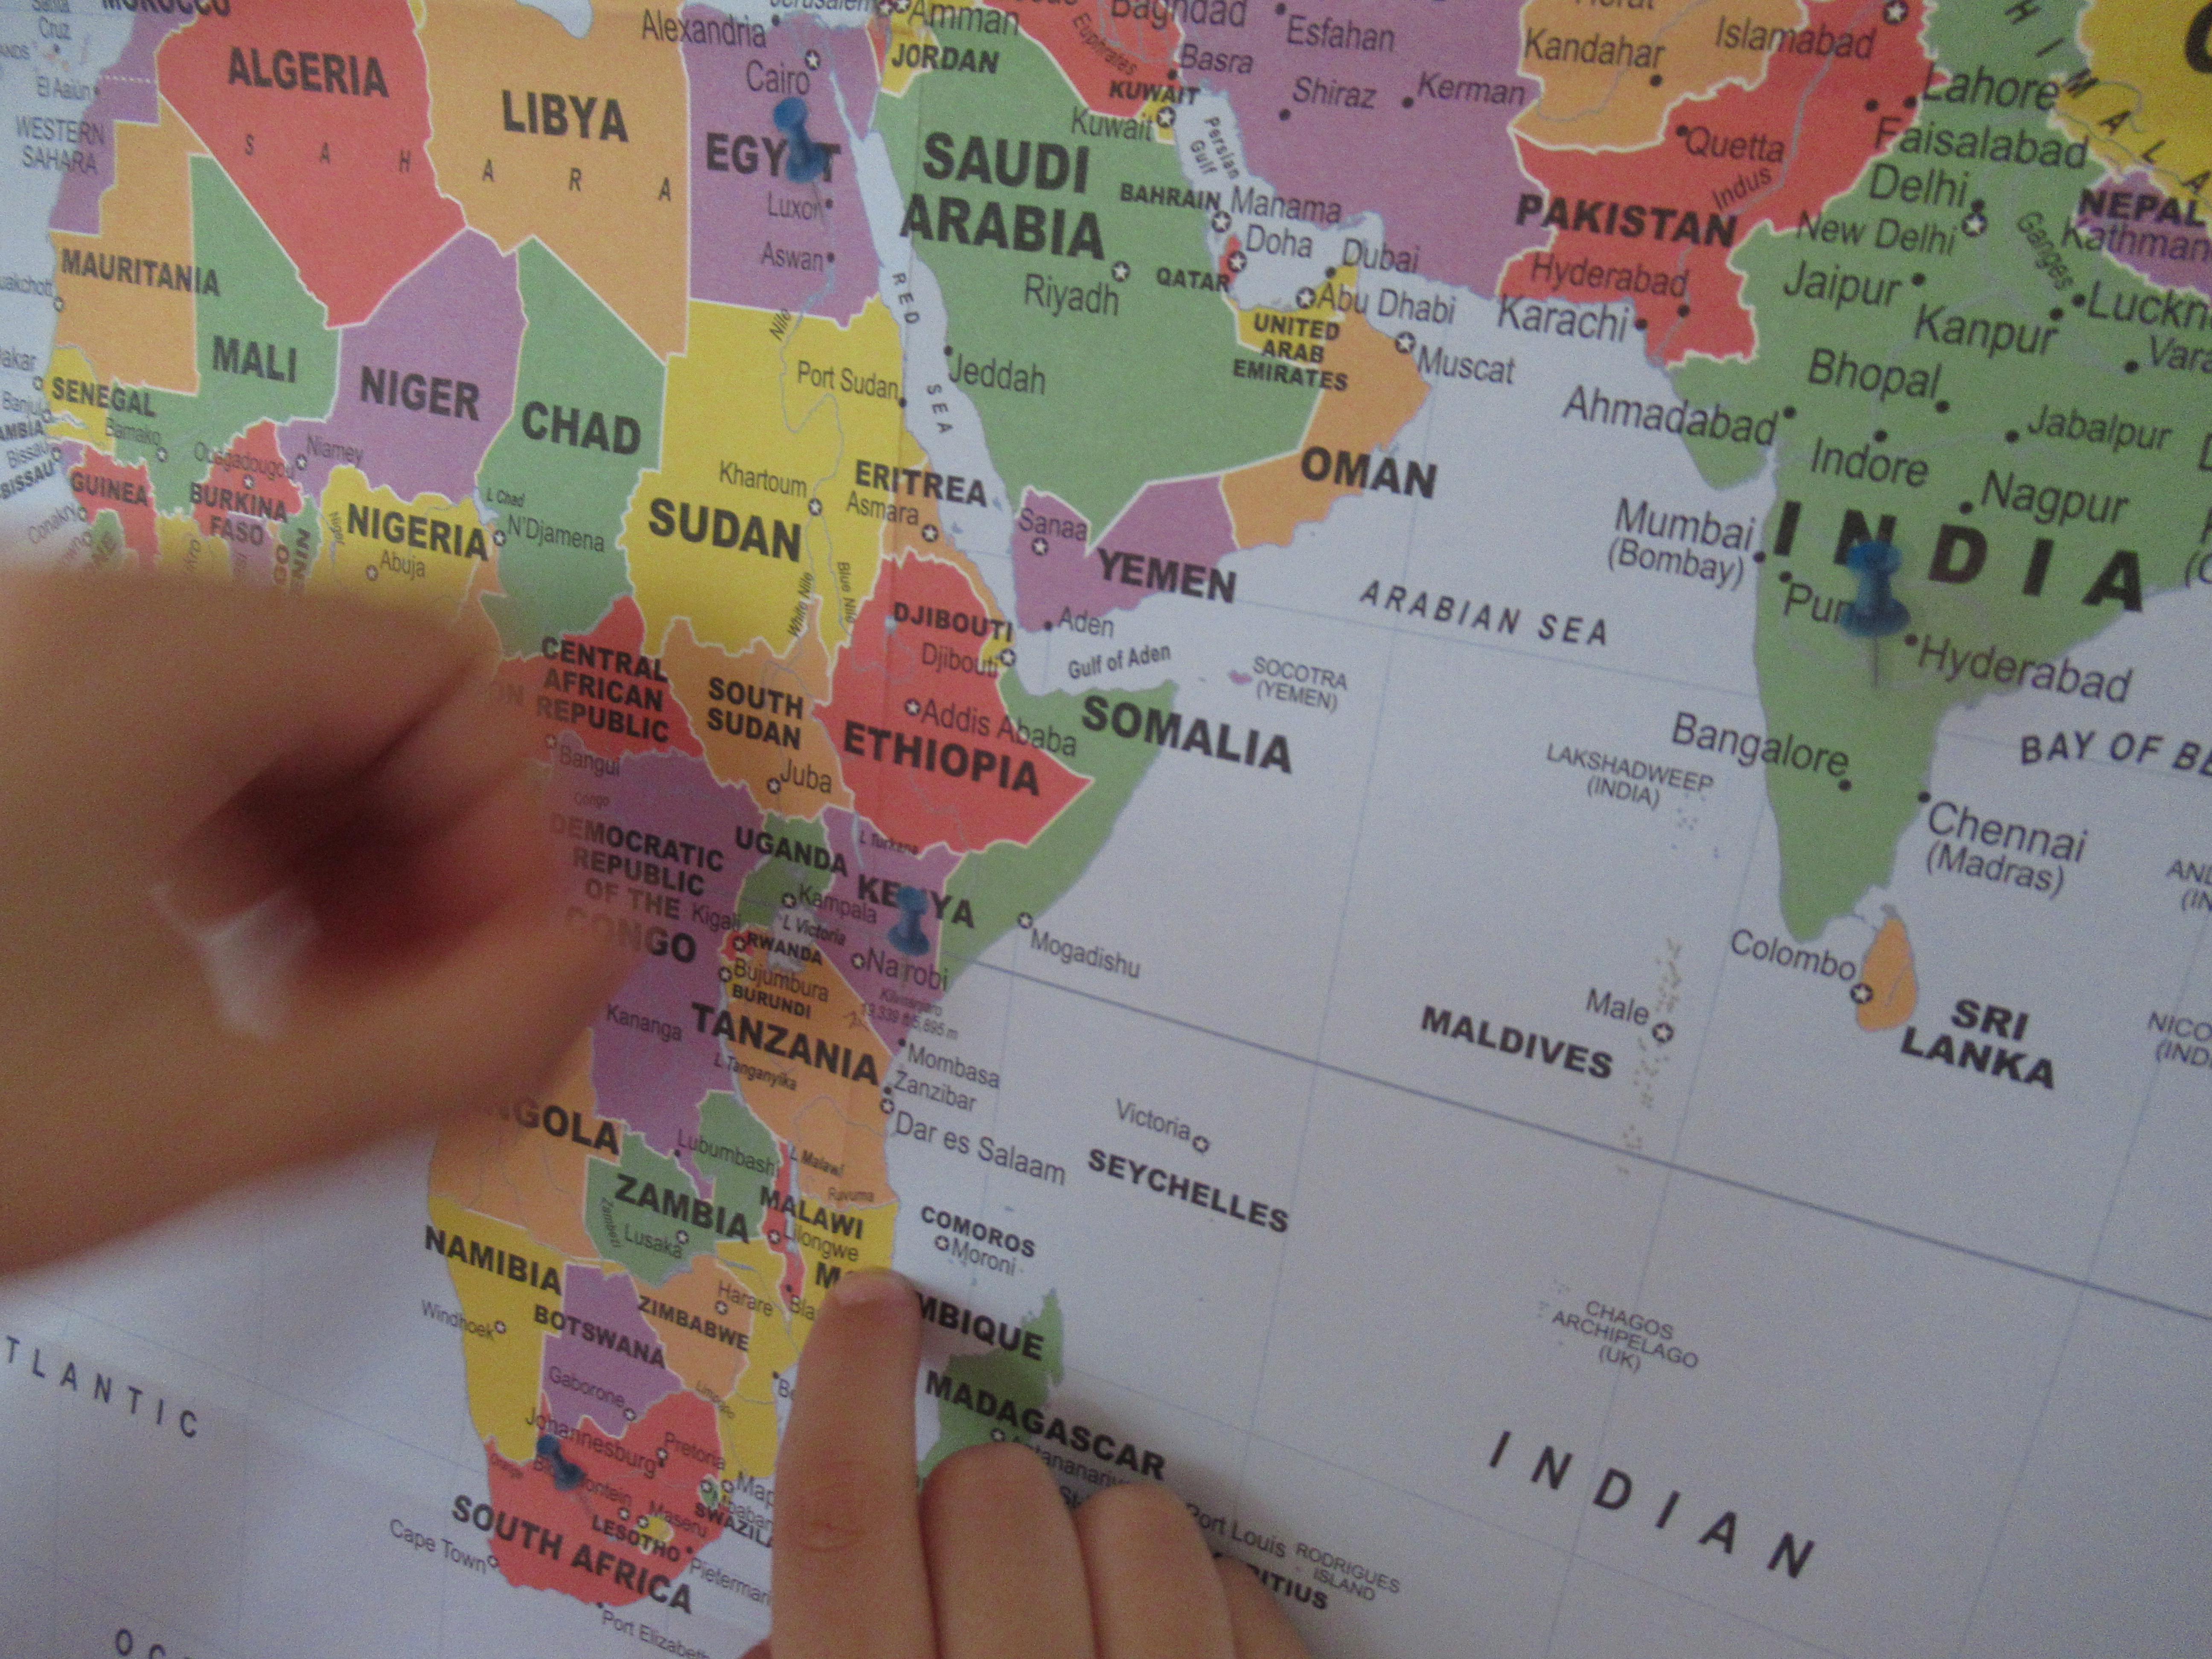
We were off to Africa with Travis’s latest delivery from Little Passports, specifically Kenya. After pinpointing the country on his map, Travis checked out the booklet, including facts about Maasai jewelry, riddles about the country’s wildlife, and info about the capital city of Nairobi.

Souvenir:

The included souvenir got a big “wow”: a 7 million year old piece of petrified wood from one of Kenya’s national parks! Travis immediately knew this was a keeper for his treasure box.

Further Activities:

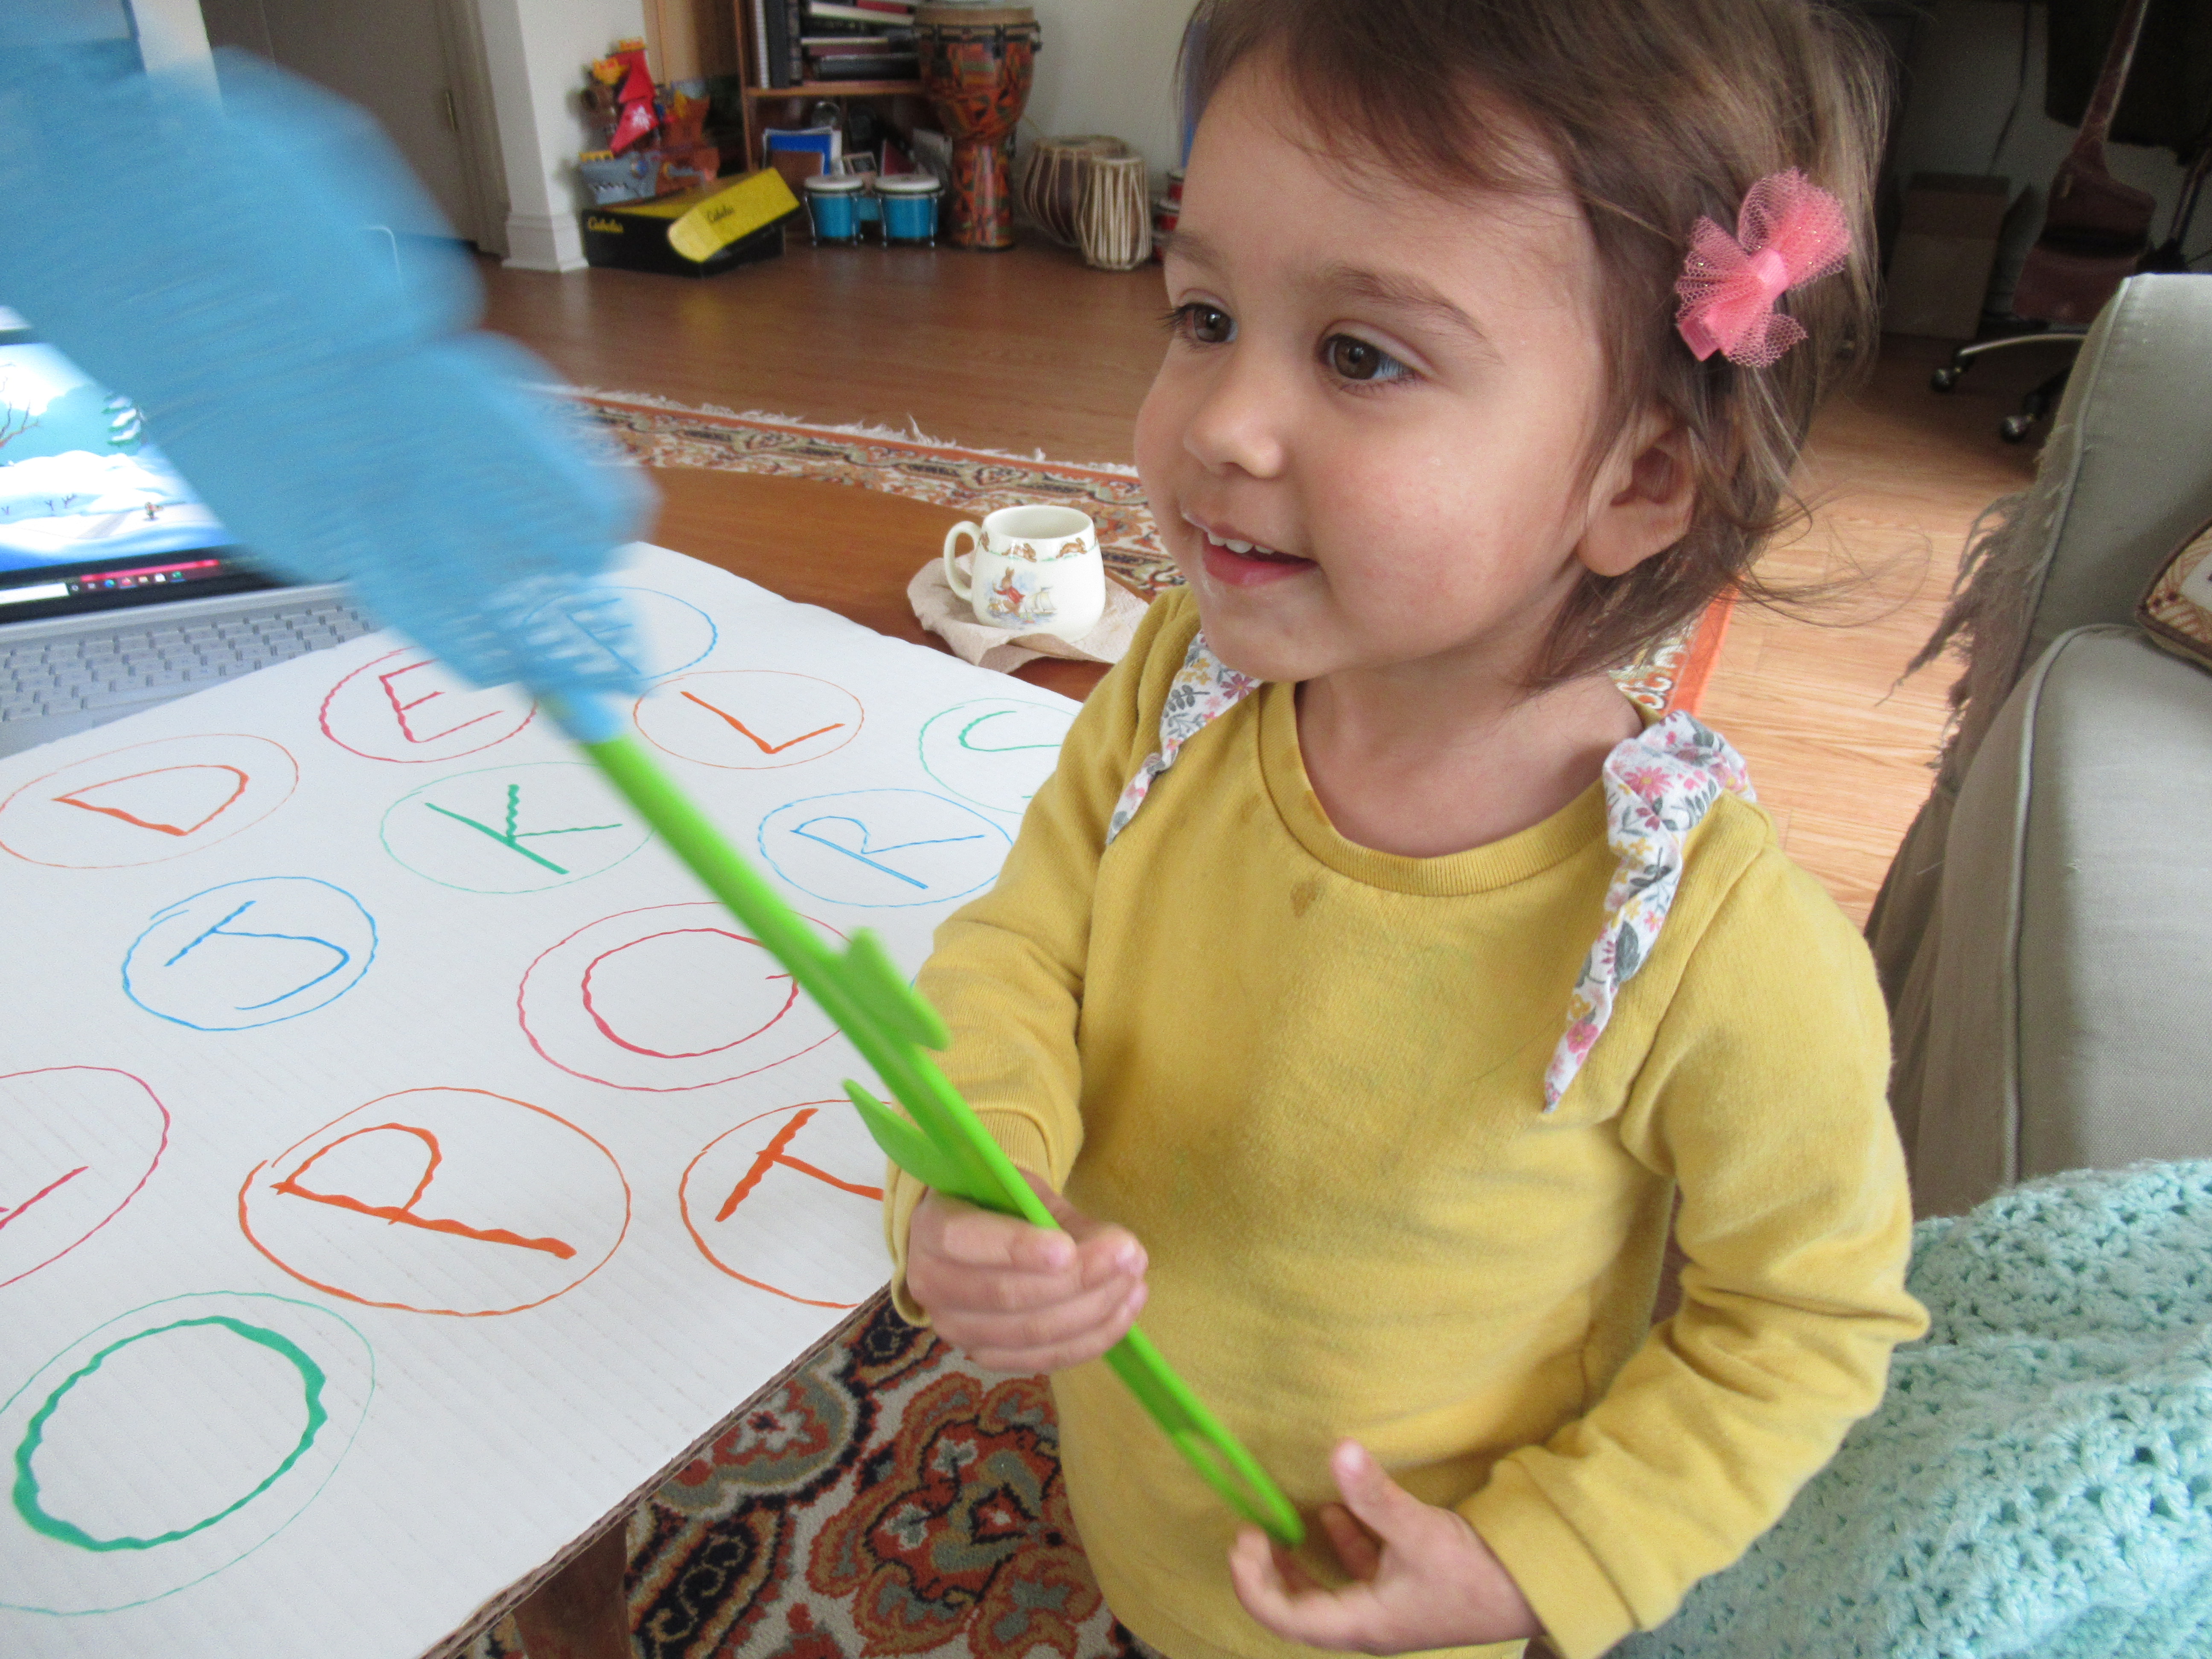
The booklet also included instructions to make a Bao board, a popular game which you may also know as Mancala. We used an egg carton leftover from Easter decorations as the base. Cut off the lid and cut it in half, then tape to the bottom of the carton so the two halves form bins at either end. Time to decorate with markers!

Little Passports helpfully posted the rules for Bao online so Travis and I could enjoy a few rounds! All you need are marbles, stones, or beads for playing pieces.

The website also had beautiful photos from the country, the chance to learn a little Swahili, and a tribal name word search. Although this last was a touch advanced for a first grader, it prompted us to delve deeper into Kenya’s many tribes.

An entry from Little Passport’s blog made it seem that the Kenya kit used to include a tribe mask craft. We found a similar version online to continue the fun: Start with paper plates and cut out eye holes for each. Use torn pieces of magazine or newspaper to shape a nose and mouth.

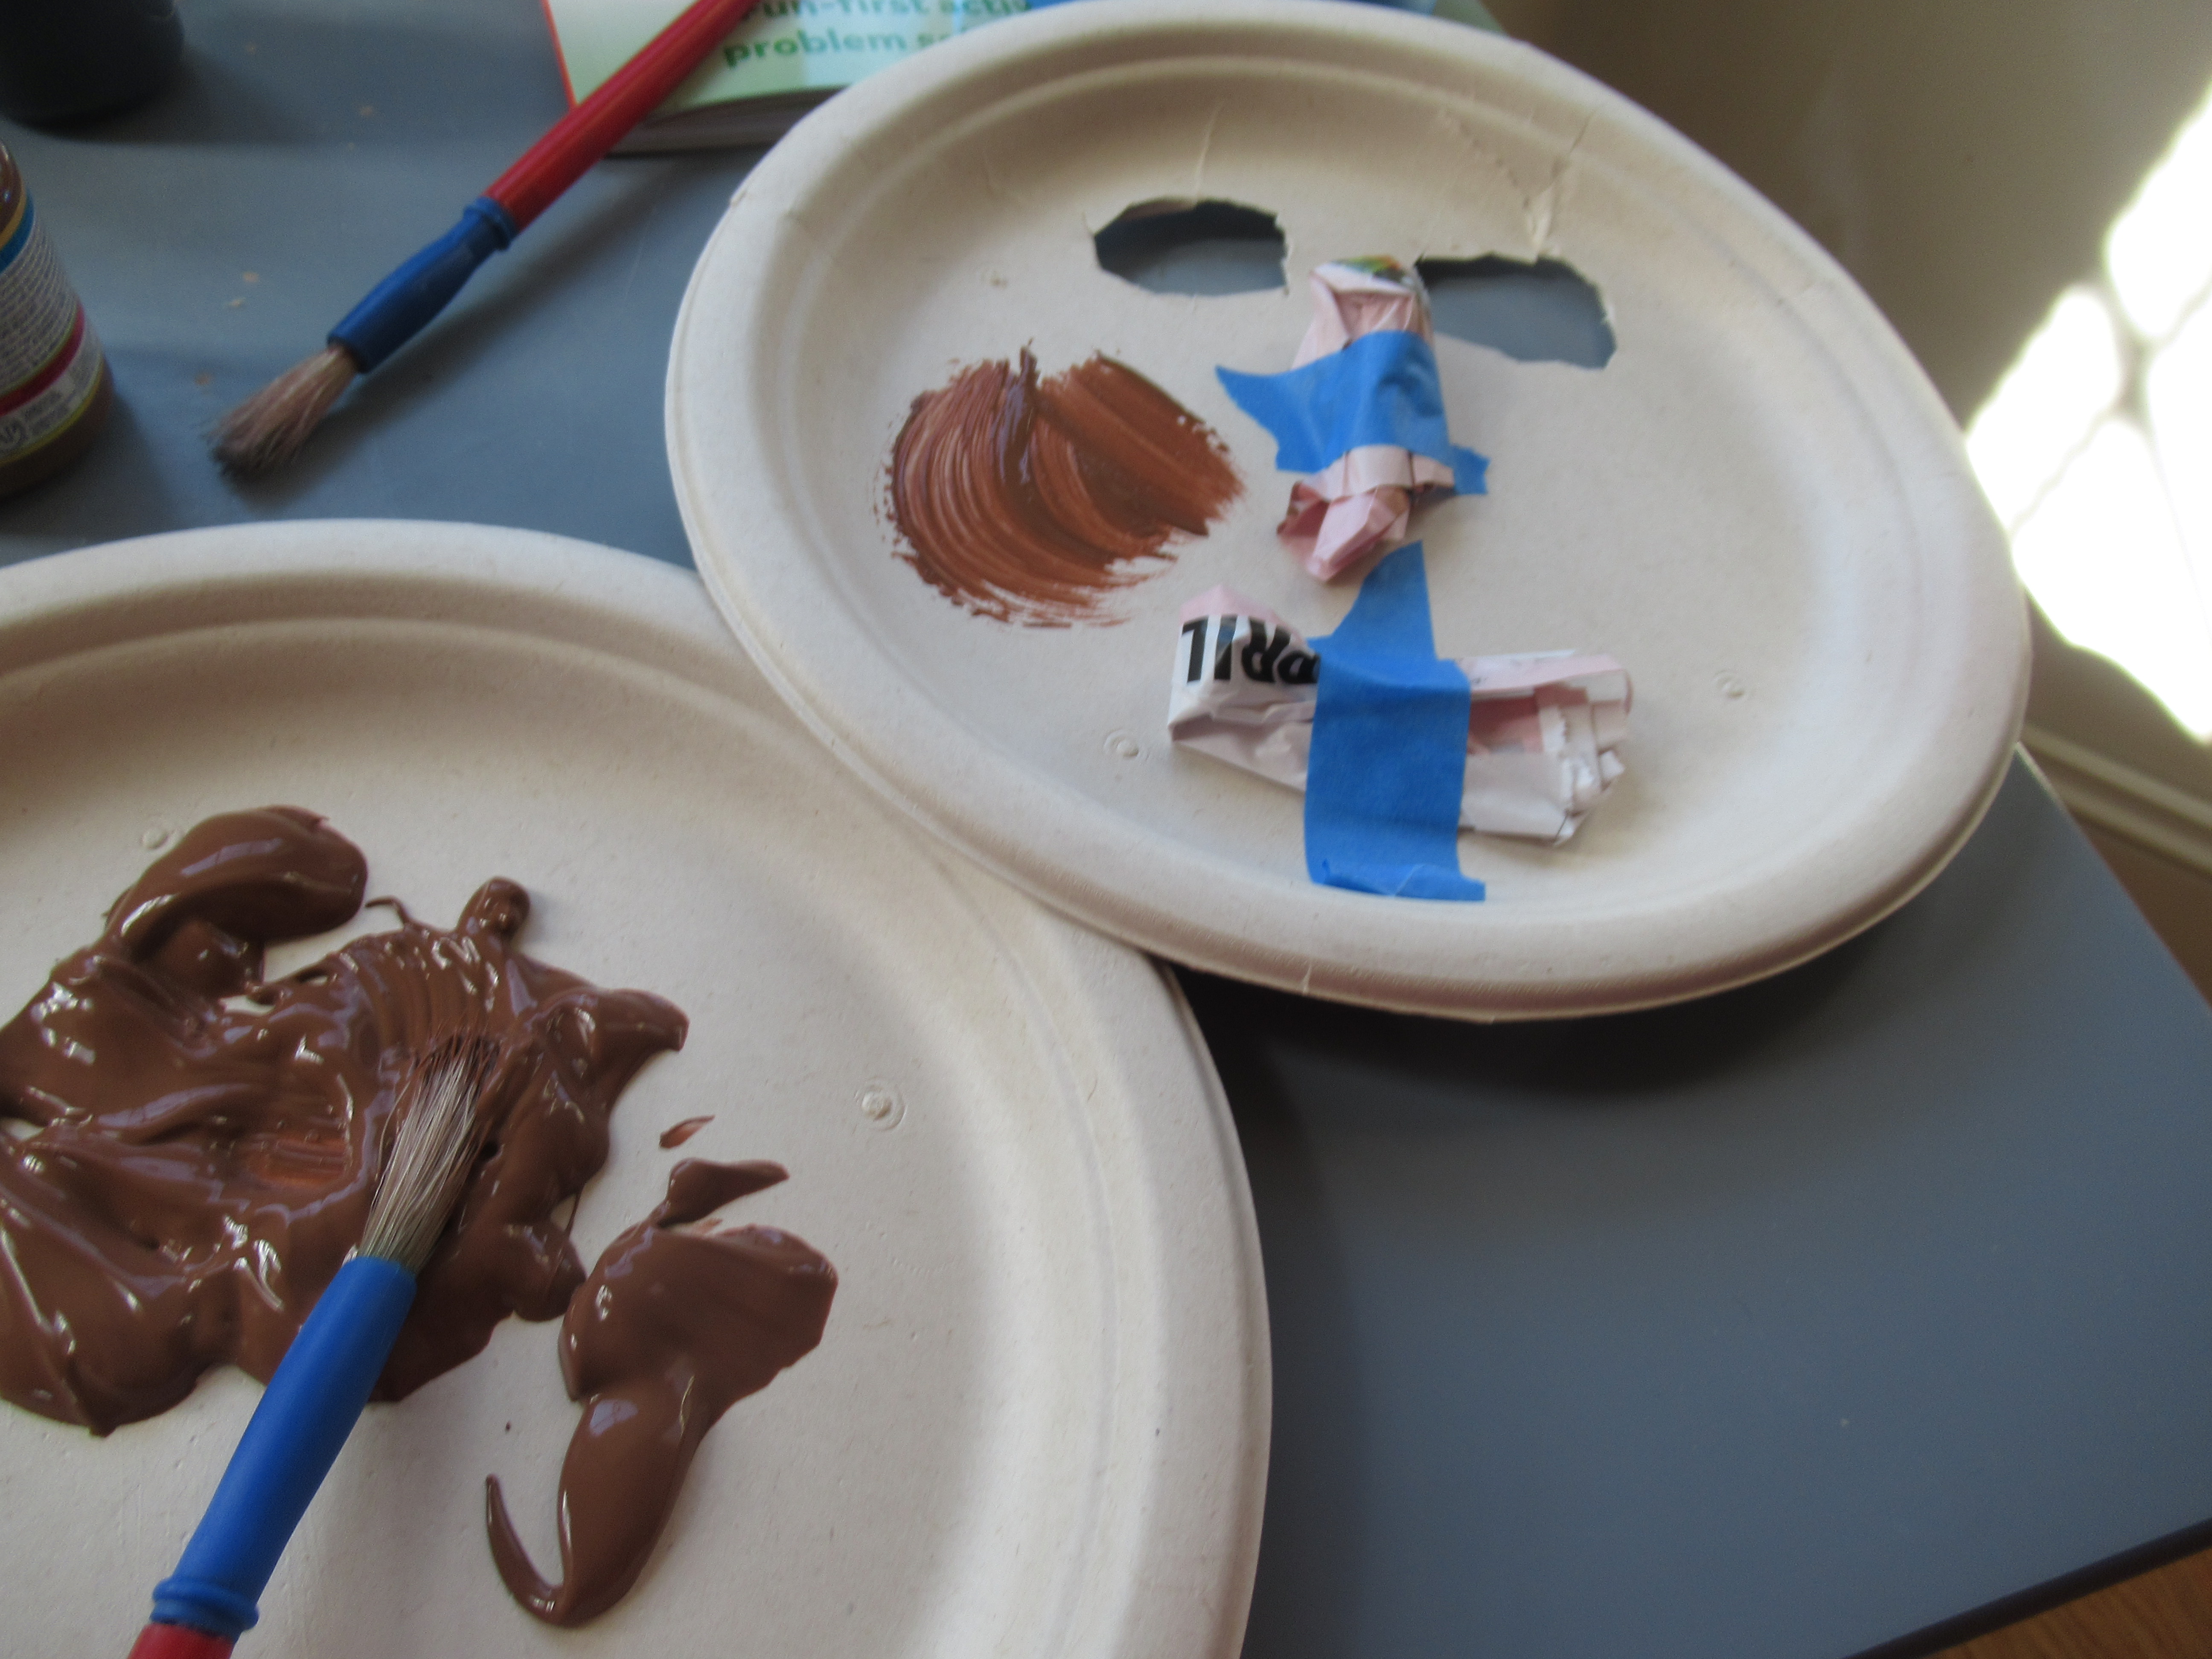
We gave the plates a coat of brown paint to look like clay, then added stripes in additional paint colors and “hair” from construction paper.

Recipe:

We were initially surprised to see that the included recipe was for chapati, which normally makes me think of India. It was neat to learn that this flatbread is popular in Kenya, as well.

Ingredients:

  • 3 cups flour
  • 1 teaspoon salt
  • 1 teaspoon sugar
  • 2 tablespoons canola oil, plus more for cooking
  • 1 and 1/2 cups warm water
  1. Place the flour in a large bowl. Set aside.
  2. In a small bowl, mix together the salt, sugar, 2 tablespoons oil, and 1 cup warm water, stirring until the sugar dissolves. Add to the flour mixture, then add the remaining warm water and stir to form a soft ,sticky dough.
  3. Turn out onto a floured surface and knead until elastic. Return to the bowl and let rise for 40 minutes to 1 hour.
  4. Divide the dough into 10 portions. Working with 1 portion at a time, roll into a disc about 1/4-inch thick. Cook in oil in a skillet over medium-high heat for about 3 minutes on each side, until lightly browned. Repeat with the remaining dough.

As you can guess, the recipe was time consuming, since we could only cook one chapati at a time in our skillet. It would be far easier if you have a large griddle surface! To be honest, we called it quits about 4 dough portions, which already had taken about half an hour. Still, it was a fun culinary adventure, and we served the chapati with curried lentils and veggies in keeping with the spirit of the meal!

Tofu Pasta Shell Casserole

I love jumbo stuffed pasta shells, but the effort of making them is wasted on my kids since I just need to cut the pasta into smaller pieces. This recipe relies on small pasta shells instead, for a kid-friendly riff on a grown-up favorite.

Ingredients:

  • 1/2 onion, chopped
  • 3 carrots, chopped
  • 1 zucchini, shredded
  • 3 tablespoons olives oil
  • 3 cups marinara sauce
  • 1 (16-ounce) package shell pasta
  • 1/2 cup minced artichoke hearts
  • 8 ounces extra-firm tofu
  • 1 tablespoon nutritional yeast
  1. Heat the olive oil in a large saucepan over medium-high heat. Add the onion, carrot, and zucchini; saute for 3 minutes. Add the marinara sauce and cook for 10 minutes, until heated through; set aside.
  2. Meanwhile, cook the pasta according to package directions; set aside.
  3. In a bowl, combine the minced artichokes, tofu, and nutritional yeast; mash with a fork until crumbly.
  4. Spoon about 1/2 cup sauce into the bottom of a 9×13-inch baking dish. Top with the pasta, followed by the tofu mixture, and add the remaining sauce on top. Bake at 350 degrees F for 30 minutes.

Sorting and Comparing, Two Ways

With Veronika a little under the weather, we were looking for low-key activities that would keep her engaged without much physical effort. Here are two fun ways to play with early toddler math concepts: comparing two or more things; and sorting things according to some characteristic.

First, we played a classic game of Large and Small. I gave her a set of objects from around the house, with one item big and one smaller, including: spoons, crayons, socks, and toy bunnies.

For each, she was always able to select which was bigger…

and which was smaller, with no problem.

Sometimes I mixed it up and used words like “longer” or “shorter”, to throw her a curve ball! This made her pause and think a bit longer before picking which item fit the bill.

You can then encourage your child to sort the objects into two piles, with all the big items to one side and the small items to the other. This led us right into the next game: Sticker Sorting!

This time, I taped up sheets of colored construction paper to the wall that matched a set of dot label stickers. She simply had to decide where each sticker should go.

Sometimes she wanted to cover a piece of paper with every dot in that color, as for favorites like red and purple.

Other colors she was content to put only one or two stickers.

But whether a few stickers or lots, she sorted them correctly by color each time.

Turntable Fun

Veronika was feeling a little under the weather with a sniffle today, so I was on the hunt for games we could play while cozy on the couch. What could be lazier than a lazy Susan?

If you don’t own a lazy Susan (or similar turntable in your kitchen), there’s no need to purchase one just for this game. I simply grabbed the spinning turntable out of the microwave and put it to a different use!

To set up, you’ll need a double set of images. First, I put colored dot stickers onto index cards that Veronika could hold in her hand. Then, I taped colored squares of construction paper with the same color dot sticker around the rim of the turntable, as shown below. Time to spin and make a match!

For each color in her hand, we spun the turntable around until that particular color was closest to her, and she placed down her corresponding index card.

She aced the entire test without a single error, and loved the way that the whole contraption could spin.

This was a cute way to keep her busy and squeeze in some learning while staying cozy! Don’t feel obligated to stick to dot stickers, either. Any set of matching images or objects will work for this game.

Find the Letter and Swat It

Veronika loved painting with a fly swatter last summer, and today we took that same tool and used it for a little learning instead! To start, I wrote out the alphabet on a large piece of cardboard (poster board would work too), making the letters bright and bold.

Then I simply handed over the swatter. She loves to say “splat!” every time it lands down, and I told her today we were going to “splat” the letters. We played in a few different ways. First, I asked her to swat at a specific letter, choosing those I know she is familiar with, as with S and V. She happily obliged.

Then I asked her to choose a letter, and name it for me as she swatted it. Sometimes she swatted down but stayed silent, which was a good chance to remind her the names of a few less familiar letters.

We also sang through the whole alphabet together, tapping each letter with the swatter as we sang its name.

Needless to say, she was a happy alphabet learner today!