Summer Bucket List Part II

Summer 2 (c)

About a month ago, we came up with a bucket list of activities to enjoy before summer ended. Turns out it didn’t take us long to tick through the whole list – we already have ideas for next summer! But before I get ahead of myself, here’s a run-down of the fun we had.

June 4 – Catch a Minor League Sports Game

Thanks to discount tickets through our local library, we were quickly motivated to check this one off the list, taking in a minor league baseball game. The game didn’t start until 7 p.m., meaning this was a treat to stay up late, drink lemonade, and watch some ball while the sun set!

Ducks (1).jpg

June 6 – Dye Your Hair with Kool-Aid

The final week of nursery school featured “crazy hair day”, so how could we not try out the kool-aid method? We followed the instructions from Down Home Inspiration, which unfortunately didn’t work quite as well on short boy hair as on long hair.

Summer Bucket (1)

But we got a hint of dark color that lasted just long enough for the school day, and Travis got a kick out of it!

Summer Bucket (2)

June 9 – Go Berry Picking

Travis was officially out of school for the summer, and we celebrated with berry picking at a local organic farm.

Summer 2 (b)

Since we picked blueberries last year, this year was all about strawberries!

June 9 – Eat Dinner al Fresco

We capped off a busy summer day (see berry picking above) with food and drinks on the patio. Eating al fresco for kids always feels slightly taboo, slightly invigorating, and definitely full of summer.

Summer 2 (f)

June 16 – Spot Shapes in the Clouds

One of our favorite words from the recently-published Big Words for Little Geniuses is nephelococcygia or “finding familiar shapes in clouds,” so we were psyched to spot shapes over a weekend vacation with big cousins. Some of the kids thought this was a man o’ war or a fish.

summer bucket (7)

We even spotted a T for Travis!

summer bucket (5)

June 16 – Temporary Tattoos

Having the whole family together meant everyone got a temporary tattoo – moms, uncles, aunts, and kids included!

summer bucket (6)

June 19 – Play Hopscotch

When I first pulled out the chalk, Travis wanted to do his own thing, drawing buildings and then spritzing them with water.

summer bucket (11)

Meanwhile I drew us a hopscotch board. I finally coaxed him into tossing little tokens and jumping his way to them, at which point he declared, “I didn’t think I’d like this game, but now I do.”

summer bucket (12)

He got a kick out of watching mom jump, too!

summer bucket (14)

June 30 – Visit a Local Farm

For us, a farm has to mean a sanctuary, the perfect way to show vegan kids (or any kids!) that animals can live out their natural lives under human care. We’re lucky enough to have one just 15 minutes up the road. He loved the turkeys best.

farm (5)

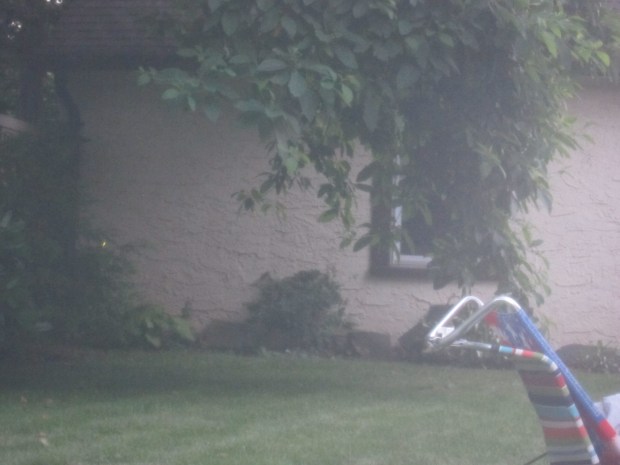
June 30 – Catch Fireflies

The suggestion to go backyard camping from Ranger Rick Jr. was a perfect excuse to cross another item off our list – fireflies! We didn’t catch any that night, but we loved watching them from the tent, and I even managed to catch a spark on film.

camping (10).JPG

Wouldn’t you know, a few weeks later we had a firefly in the house, and got a chance to observe it before sending it back outside.

summer bucket (20)

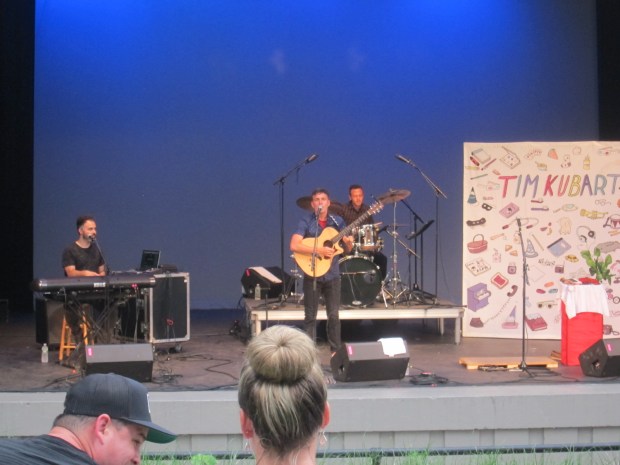
July 3 – Enjoy an Outdoor Concert

Check your town’s local listings; there is almost certain to be music or kids’ entertainment somewhere in a park near you before the summer is over. We had a magical evening at a local park, including a fun performance from a Grammy-winning kids’ song writer, Italian ice, and warm summer breezes.

summer bucket (17)

July 8 – Paddle a Canoe

Alas, this one was not a hit. We canoed across a beautiful lake in New Hampshire, and here’s Travis excited before we began!

summer bucket alt.JPG

Soon, though, he was terrified, so it turned into paddling across as fast as we possibly could.

NH (17)

July 8 – Skip Rocks

Better than that darn canoe was skipping rocks once we reached the pebbly beach at the lake’s other side! A moment of peace with Daddy and one of life’s simpler pleasures.

summer bucket (19)

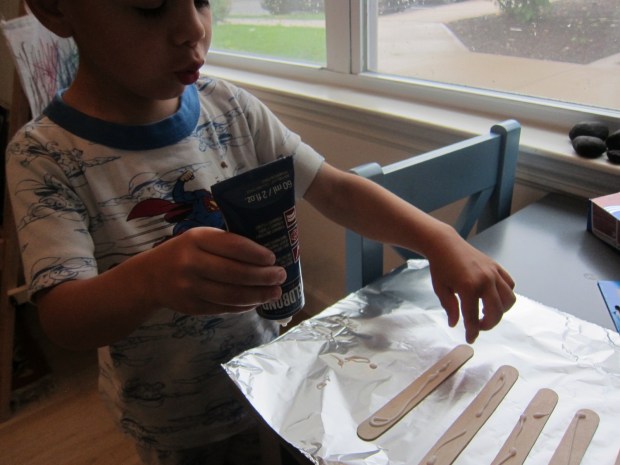
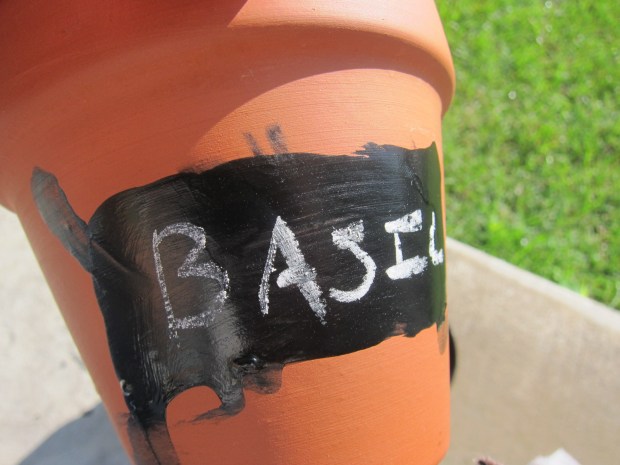
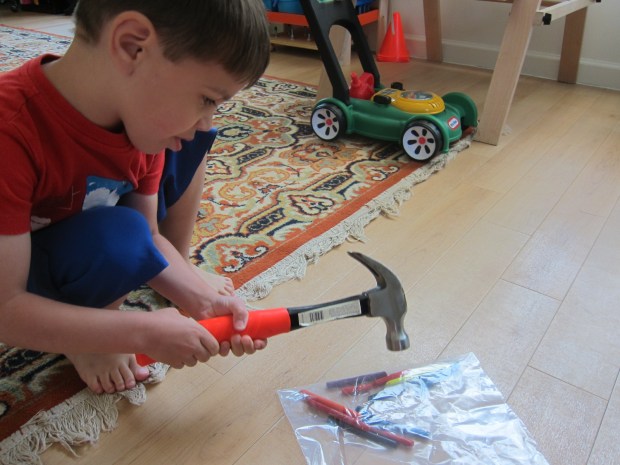
July 13 – Plant Something and Watch It Grow

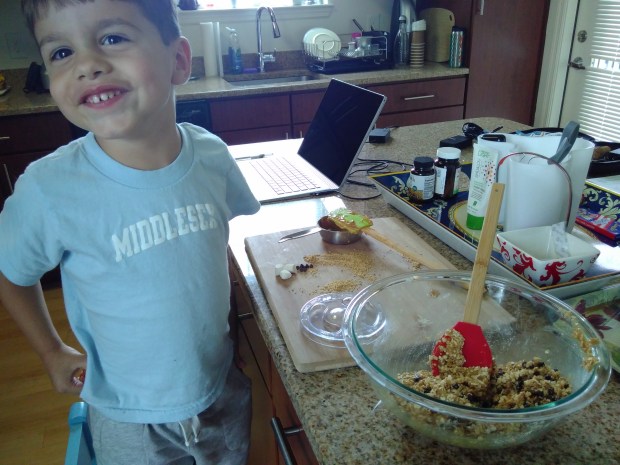
The final notch in our summer belt was to do some planting. We love ladybugs (and are firm believers that they bring good luck) so thought these ladybug seed bombs would be perfect on our patio.

Summer Bucket (23)

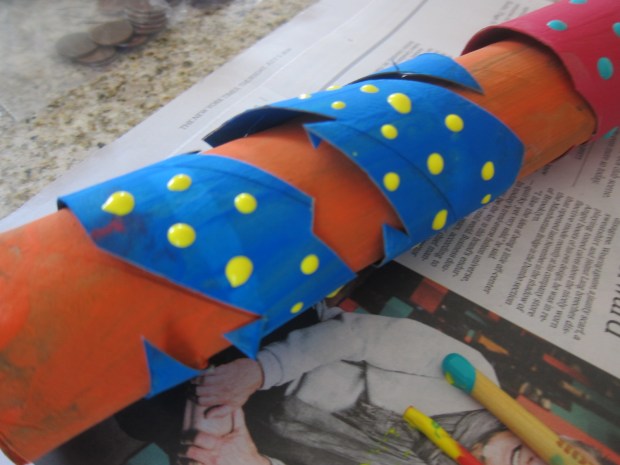
We also planted a few flower bulbs into recently decorated pots, and Travis sported his new kid-sized gardening gloves. Our patio has never looked prettier!

Summer Bucket (21)

Clay Animals

Clay Animals (3)

After a recent snacktime story in High Five magazine about clay animals, Travis couldn’t wait to make our own. “Let’s do it right now!” he begged – good thing I had colored clay on hand!

Clay Animals (1)

We started out copying the animals from the story – a yellow chick, red crab, and green frog.

Clay Animals (5)

But soon Travis was off and running with his own ideas, proudly holding them up for me. A snail!

Clay Animals (2)

A starfish!

Clay Animals (4)

We used clay that won’t dry out since we weren’t concerned about keeping our creatures, but do use air-dry clay if your kids will want things a bit more permanent.

To add some fun, you can snip pieces of pipe cleaner to attach heads to bodies, as well as arms and legs. We tried out this method on a little bunny.

Clay Animals (6)

Mushing colors together made… a robot!

Clay Animals (11)

Toothpicks are great for adding details like mouths and eyes, or even chick feathers.

Clay Animals (8)

Travis soon decided the toothpick was a mosquito biting the animals, so then we needed clay band-aids.

Clay Animals (9)

Great fun on a rainy day!


Jeweled Garden Sticks

Jewel Sticks (5)

We’re proud of the little garden we’ve managed to create on our patio this summer (a goal from our Bucket List!), with everything from chalkboard planters to little coiled snakes as decorative guests. Now we wanted to make sure pests stayed away, and I read a tip online that shiny items act as a deterrent.

Travis was a pure imp putting this project together, but luckily I had our work surface well covered! First, cover jumbo craft sticks with glue.

Jewel Sticks (1)

Add sequins or any other shiny items (such as beads or buttons) from your craft bin. I thought Travis might want to place pieces on deliberately or in a pattern, but no… dumping the bag of sequins was much more fun!

Jewel Sticks (2)

This method worked surprisingly well. When we shook off the excess, we had shiny jeweled sticks left over.

Jewel Sticks (3)

Let dry completely before heading outside to put in the dirt near any plants you want to protect.

Jewel Sticks (4)

We’ll see if it works!

S’more Brownies

Smore Brownies (4)

Want s’more fun with summer’s favorite trio of chocolate, graham cracker, and marshmallows? In addition to our s’more energy bites (which have all been gobbled up), we made these easy s’more brownies. Hint: the recipe starts with a mix!

Mix together one package of your favorite vegan brownie mix according to package directions. Spread half of the batter into the bottom of a 9×9-inch baking dish.

Smore Brownies (1)

Top evenly with graham cracker pieces, then spread with the remaining batter.

Smore Brownies (2)

Sprinkle the top with Dandies mini marshmallows – the more the gooier! You’ll notice that Travis was too busy licking the batter from the bowl to help sprinkle on the marshmallows.

Smore Brownies (3)

Bake according to package directions.

If brownies aren’t your favorite, try this twist on the s’more trio:

Layer chocolate pudding, broken graham cracker pieces, and mini Dandies marshmallows in a glass. Repeat the layers, and top with a final layer of pudding. Refrigerate at least 4 hours (this will help the graham cracker pieces soften).

S'more Parfait.JPG


Summer Garden Zoodles

Summer Zoodles

Zoodles (zucchini noodles) can make ho-hum summer squash seem so much more fun. The addition of beans and almonds makes this version hearty enough to be a full meal – no cooking required! If you have a spiralizer, make your own zoodles from 1 large zucchini.

Ingredients:

For the pesto:

  • 1/2 cup fresh basil leaves
  • 1/4 cup cashews
  • 1/4 cup olive oil

For the zoodles:

  • 1 (12-ounce) package zoodles
  • 1 (15-ounce) drained and rinsed can cannellini beans
  • 1 cup halved yellow cherry tomatoes
  • 1/4 cup chopped roasted almonds
  • 2 ounces crumbled creamy vegan cheese
  1. To prepare the pesto, combine the basil, cashews, and olive oil in a food processor; process until smooth.
  2. Combine the pesto in a large bowl with the remaining ingredients except the cheese, tossing to coat.
  3. Divide evenly among 4 plates. If desired, top each serving with cheese crumbles (we like the creamy cheeses from Treeline for this one).

Mini Pepper Guacamole Dippers

Yellow Guac (1)

Miniature anything is fun for kids. Dipping anything is fun for kids. Ergo here is the perfect summer snack!

Whip up a batch of your family’s favorite guacamole – anything from mild to spicy. For my picky preschooler, this is sometimes just as simple as squeezing a little lime juice into freshly mashed avocado. Sometimes we get a little fancier.

Big kids can dip mini bell peppers right into the guac. Slice the peppers into strips for smaller kids.

Kids don’t like guacamole? Try stuffing the mini pepper halves with non-dairy cream cheese instead.

Zucchini Pizza (1)

Happy dipping!

Yellow Guac (2)

DIY Chalkboard Planters

Chalkboard Planters (4)

Chalkboard paint is practically like magic – paint a coat over just about anything, and soon you have a chalkboard surface.

We had plans to plant flowers and herbs in pots on our back patio, so it was the perfect excuse to break out the chalkboard paint!

You could either make a big stripe to be the label…

Chalkboard Planters (1)

…or do as Travis did and paint the whole pot.

Chalkboard Planters (2)

We decided this large surface would be great for drawing in pictures of the plants with chalk, in addition to simply writing their names.

Chalkboard Planters (3)

Let dry overnight, then use chalk to write in the name of whatever will be in your pots. Happy planting!

Chalkboard Planters (5)

Sun-Melted Crayons

Sun Crayons (6)

You probably know that you can melt old crayons in the oven – but in the summer, you can also let the sun do the work!

This craft is the perfect use for all those old or broken crayons in your house. Remove the paper liners and place the crayons in a zip-top bag. Smash into pieces with a hammer.

Sun Crayons (2)

Travis couldn’t believe he got to use the grown-up hammer!

Sun Crayons (1)

Select cookie cutters and place on a baking sheet lined with foil or parchment paper. Fill with the crayon pieces to about 1/2-inch deep.

Sun Crayons (3)

Place in a sunny spot for at least 6 hours, or until melted.

Sun Crayons (4)

Although our crayons got very soft, they never did melt together all the way (we ought to have taken advantage of last week’s 95 degree heat wave, instead of our 85 degrees today!) so we ultimately popped them in the oven to finish the process. This only took 5 minutes (at 170 degrees F) since they were already so soft.

Let cool before popping out of the cookie cutters.

Sun Crayons (7)


S’more Energy Bites


Energy Bites alt

Camping out and making s’mores got us thinking about other ways to combine the timeless combo of graham crackers, chocolate, and marshmallows. My husband loves these before a run, and my son loves them for dessert. Sure to be a family crowd-pleaser!

Ingredients:

  • 1 cup rolled oats
  • 1/2 cup peanut butter
  • 1/2 cup graham cracker crumbs
  • 1/3 cup agave nectar
  • 1/4 cup non-dairy mini chocolate chips (such as Enjoy Life)
  • 8 to 10 Dandies mini marshmallows
  1. Combine all ingredients except the marshmallows in a large bowl; chill for 30 minutes.
  2. Shape the mixture into balls, placing a mini marshmallow inside each. You’ll have enough for 8 to 10 servings, depending how large you make them.

Energy Balls (1)

Fun to make and fun to eat!

Energy Bites var

Cardboard Tube Coiled Snakes

Cardboard Snakes (8)

This is a fun craft to put together, and the adorable final product can be used either to play with or to occupy a cute space in your garden!

First, paint toilet paper tubes with paint on the insides and out. We liked selecting fun bright colors for this project!

Cardboard Snakes (1)

If you intend to set the snakes outside in the garden, be sure to use acrylic paint. Painting the inside was a bit tricky for Travis, so I did that part and neatened up the outside of his blue one. Let dry completely.

Cardboard Snakes (2)

Cut each tube into a coil shape. I confess that I found this step tricky, so our snakes only have about 4 loops each. I saw others online that were cut into very thin little spirals – by all means go ahead if it doesn’t hurt your wrists as it hurt mine!

Cardboard Snakes (4)

Coil your snakes around a longer tube (like an old paper towel roll) to hold them steady and add colorful dots using the handle of a paintbrush rather than the bristles – a novelty!

Cardboard Snakes (5)

Let one side dry completely before you flip the tubes and dot the other side.

Cardboard Snakes (6)

For a final touch, we glued on triangle “tongues” made from red paper and two googly eyes.

Cardboard Snakes (7)

Travis was so excited by the way the snakes stretched out! Great for imaginative games.

Cardboard Snakes (9)

When it’s time to find your snake a place in the rainforest (er, I mean garden), choose a cozy spot and nestle them in.