Valentine Garland

Valentine's Garland (6).JPG

Much as with the Paper Snowflakes I made to decorate our home for Christmas, this project is really more a grown-up craft to make the house feel festive for Valentine’s Day, and Travis was a bit too young to help. Preschoolers on up, however, might love to help cut out the hearts with you!

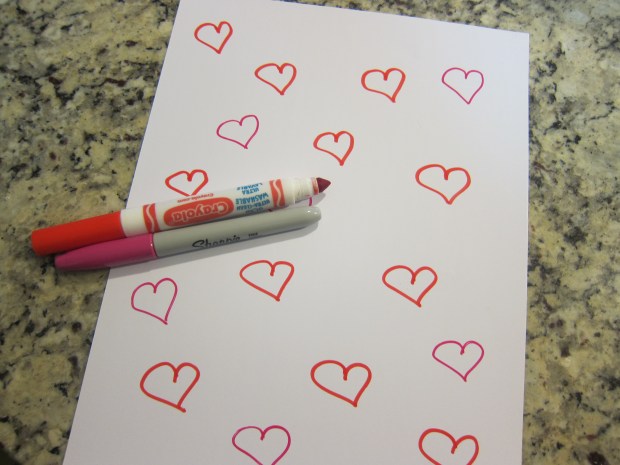
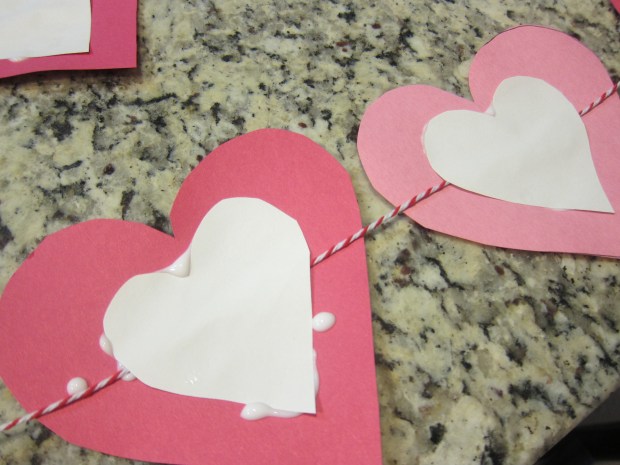
To set up, I cut hearts from pink and red construction paper, and then smaller hearts from white paper to fit in the centers.

valentines-garland-1

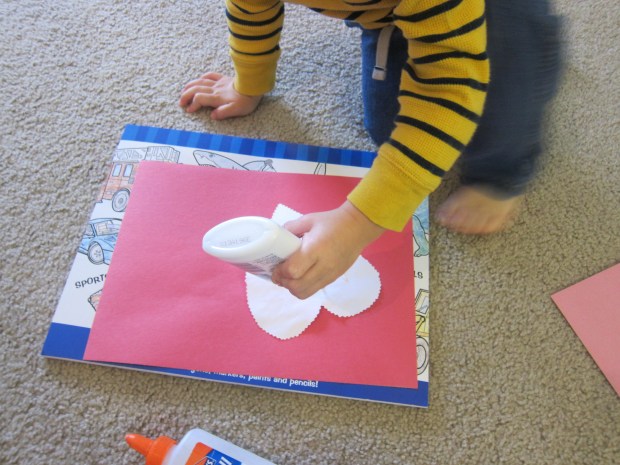
Arrange your larger hearts on a work surface and squirt glue in the middle of each – I did briefly enlist Travis to help with this task!

valentines-garland-3

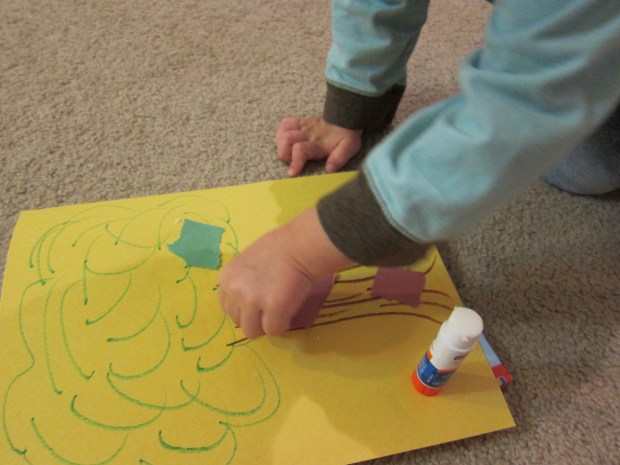
Lay a length of red-and-white twine across the gluey hearts, making sure to leave enough twine at each end for hanging your garland, and then press the white hearts down on top.

valentines-garland-4

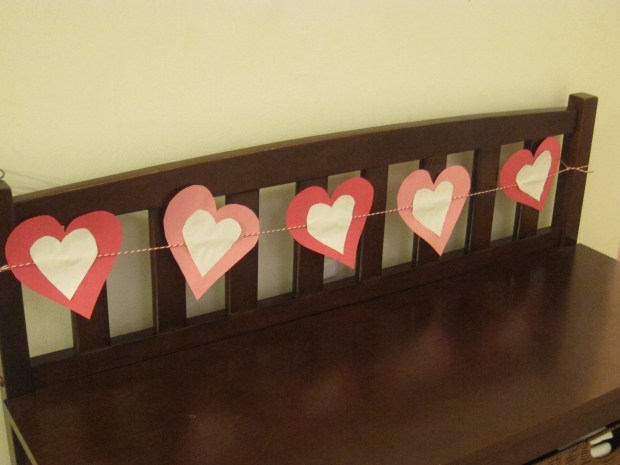
Once the glue dries, adorn your home with hearts! Travis did enjoy helping me select the location for our garlands, including our front door and hallway bench. You can repeat this simple craft as many times as you like to decorate all the areas of your home.

valentines-garland-7

Shaving Cream Polar Bear

Shaving Cream Polar Bear (6).JPG

We’ve just come through a blizzard and we were snowed in for a couple of days. So what better animal to make than a snowy white polar bear? I decided we needed sensory paint for this one, not boring old regular paint.

I wish I could tell you what ratio of shaving cream to glue we used, but to be honest I just let Travis have a blast squeezing both ingredients into a foil pie plate.

shaving-cream-polar-bear-1

My guess would be a roughly 1:1 ratio. Mix together until you have a creamy sticky paint.

shaving-cream-polar-bear-2

I didn’t even tell Travis to start painting – he just began glopping the mixture onto the paper plate that I had set out for the polar bear’s face.

shaving-cream-polar-bear-3

Travis being a toddler, it wasn’t long before he discovered how awesome the mixture felt on his hands, too!

shaving-cream-polar-bear-4

I loved how this paint made a nice imitation of fluffy polar bear. We set the plate aside to dry overnight.

shaving-cream-polar-bear-5

In the meantime, I cut one cup from a recycled egg carton and we painted it black for the nose. Set that aside to dry, too.

Travis had sort of lost interest in the polar bear by the next morning, so I was a solo act to glue on two googly eyes, white cotton pads for ears, and our black nose.

shaving-cream-polar-bear-7

Once he saw the face, though, he loved the new friendly polar bear in our house, and carried him around for quite some time. He also loved that it smelled like his dad’s shaving cream!

Be careful, that black nose will be hard for toddlers to resist pulling off…

“Be Mine” Fro-Yo Bark

Be Mine Bark (3).JPGA pink-hued frozen treat that’s just right for Valentine’s Day, the base of this “bark” is made with non-dairy yogurt. For an even healthier twist, use plain unsweetened yogurt (such as Nancy’s) and then stir in pureed fresh raspberries for the pink coloring. However, I took a shortcut and used the soy raspberry yogurt from Stonyfield Farm. There are lots of steps that kids will love helping with – crushing the strawberries and sprinkling on the toppings, especially!

Ingredients:

  • 1 and 1/2 cups non-dairy raspberry yogurt
  • 3 tablespoons agave nectar
  • 3/4 cup freeze-dried strawberries
  • 1/4 cup vegan chocolate chips
  • 2 tablespoons shredded coconut
  1. In a bowl, whisk together the yogurt and agave. Spread the mixture into a thin rectangle on a baking sheet lined with parchment paper.
  2. Place the strawberries in a zip-top bag and seal; pound with a mallet until crushed.
  3. Sprinkle the strawberries evenly over the yogurt, along with the chocolate chips and coconut.
  4. Transfer the baking sheet to the freezer and freeze for 3 hours.
  5. Break the bark into about pieces, and then quickly transfer to a zip-top plastic bag. Store in the freezer until ready to share with your Valentine.

A super sweet recipe idea from Parents magazine!

be-mine-bark-1

I Heart You Stickers

i-heart-stickers-8
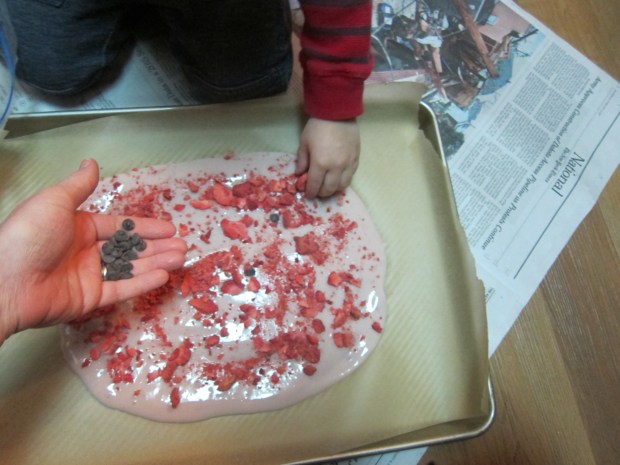
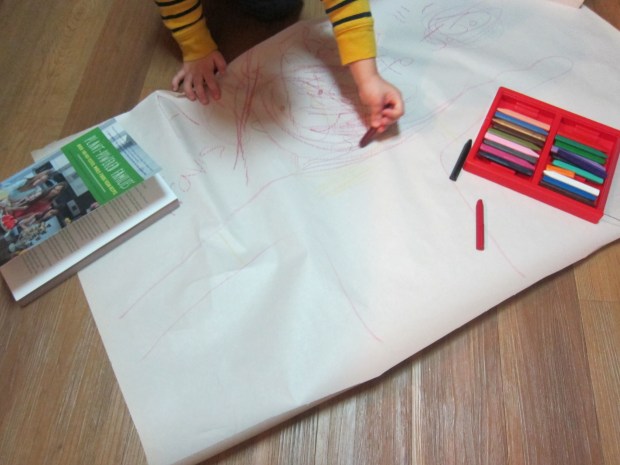
We always love the craft ideas that come in our High Five magazine, and this month’s was perfect for Valentine’s Day! Before you begin, you’ll need to buy sticker paper, which can be found at any craft store.

On the sticker paper, I drew the outlines of several hearts.

i-heart-stickers-1

Now it was up to Travis to color them in with pink and red crayons or colored pencils. This was great practice for coloring inside the lines!

i-heart-stickers-3

(Note: Big kids can not only color in their hearts, but draw the outline of the shape as well).

i-heart-stickers-2

I cut out the heart stickers, and Travis helped peel off the backing to attach to index cards, which I had folded in half. We added extra heart stickers from the store as well – the more the merrier.

i-heart-stickers-5

On the inside of the index card, we wrote Valentine’s notes to all of his cousins. Travis grabbed a colored pencil and told me he was writing “Love Travis.”

i-heart-stickers-6

Although I filled in most of the actual detail on these cards – the words, adding enough stickers to each – I could tell Travis was so proud to be making something special for his loved ones, and that’s part of what I wanted to teach him as to what Valentine’s Day is all about.

i-heart-stickers-7

Don’t forget a special trip to the post office to send your Valentine’s cards on their way!

Send a Hug

send-a-hug-5

What could be sweeter than receiving a hug in the mail from a loved one far away? Although we made this craft for Valentine’s Day, you could send your hug any time of year to grandparents or other special people in your child’s life.

Have your child lie down on a large sheet of butcher paper, and trace their torso with arms outstretched as if they’re about to give a hug. Kids will love the tickly feeling of being traced by a crayon or colored pencil!

send-a-hug-1

Now it’s time to fill in the details. Travis didn’t want to draw the face, so I asked him to tell me where the eyes/ears/etc. should go, and filled them in.

send-a-hug-3

He then gave himself a “purple shirt,” even though his purple crayon didn’t land exactly where the torso outline was! Part of the beauty of this project is that it will end up how your toddler wants it to.

send-a-hug-4

Across the top, I wrote to our recipient that the picture was “a hug from Travis.” Now fold it up and send it in the mail to someone you love.

This wasn’t Travis’s favorite of the crafts we put together for Valentine’s Day, but I sure thought the end result was the cutest.

Handprint and Footprint Hearts

footprint-heart-7

We kicked off our Valentine’s Day projects today! As with the handprint wreath we made for Christmas, I love holiday projects that incorporate the current size of your child’s hands – they serve as an adorable reminder as years go by. For this craft, we added in feet, too!

Let your child paint one hand (preferably in red or pink), and then help him or her paint the other hand.

footprint-heart-1

Press the hands onto white paper like a stamp, and ideally you’ll get a heart shape. Travis didn’t exactly keep his hands still, which meant our “heart” is open to interpretation in this one!

footprint-heart-4

The feet, believe it or not, turned out better. While he sat on a stool, I painted the bottoms of his feet red – which he loved, giggling the whole time. We then pressed the feet down one at a time for a very successful “heart.”

footprint-heart-2

Once the paint dries, cut a heart shape around your hand or foot prints. Scalloped scissors make a nice decorative edge. Travis helped glue these onto larger pieces of pink and red construction paper as backing. I then trimmed these into a final, largest heart.

footprint-heart-5

As a finishing touch, you can write your child’s name and the date.

footprint-heart-6

Volcano for Toddlers

volcano-5

Big kids can purchase D.I.Y. volcano models and witness a bubbling eruption at home, but why should big kids have all the fun? All you need to make a version that will delight your toddler is a little but of playdough (as long as you don’t mind sacrificing that particular portion of playdough), baking soda, and vinegar.

Shape your playdough into a roughly conic shape resembling a volcano, and place in a tray. Hollow out a small portion in the center of your volcano for the crater.

volcano-1

Travis was intrigued as I worked, and couldn’t wait to help spoon baking soda into the center of the crater, already excited about what reaction might occur.

We then spooned in a small amount of red food coloring to make our volcano look like real bubbling lava, although this step isn’t necessary.

volcano-2

Finally, I poured on vinegar – any kind will work, and I used rice vinegar since that was all I had at home. Now enjoy the bubbling!


volcano-6

Travis wanted to do this again and again, which we proceeded to do until my baking soda and vinegar ran out. He even took over dumping on the vinegar himself.

volcano-7

Once our ingredients were gone, he played with the leftover lava “goop” in the pan for quite some time, shoveling rivulets down the sides of our volcano, and breaking the playdough volcano into small pieces. So half the fun was in the mess we created!

volcano-8

Matching Color Tree Art

matching-color-tree-2

This project turned out to be a little too simplistic for Travis, although I thought he’d love it since he’s very into glue sticks these days. As a result, I recommend it for younger tots just learning their colors, since Travis practically rolled his eyes at me (a hint of the teenage years to come!)

Still, I’m glad we did the project since it was simple and cute. I drew a tree on paper with brown marker for the trunk and green marker for the leaves, and set it aside.

I then enlisted Travis’s help tearing up a sheet of green and brown construction paper, which is always enjoyable of course.

matching-color-tree-1

Next it was time to smear the whole tree with a glue stick.

matching-color-tree-3

I then asked Travis which squares of torn paper should go where, green or brown for the trunk, and green or brown for the leaves?


matching-color-tree-4

Cue the above-mentioned eye rolling, but Travis did dutifully glue down the torn strips where they were supposed to go.

matching-color-tree-5

He liked the end result of the project, so we hung it on the fridge. But again, this one is probably better for tots just learning their colors.

matching-color-tree-6

Mitten Mania

mitten-matchup-6

We played two games this week with mittens as the theme – perfect for this time of year when you can’t walk out the door without mittens on your hands! Both are very easy to D.I.Y with a few materials.

For the first, you’ll need felt in multiple colors. I traced a mitten template and then cut one mitten from each color of the rainbow. Finally, cut a circle from white felt to be your snowball.

hidden-snowball-1

Place all of the mittens on the floor and have your child close his or her eyes. Hide the snowball under one mitten, and now it’s time to guess which color is hiding the snowball!

hidden-snowball-2

Travis loved the feel of the felt, so it was a delight to lift each mitten and see if the snowball was hidden there. We talked about the colors as we played, and did a few rounds before Travis got bored.

hidden-snowball-3

The second game came to us in February’s High 5 magazine, and is an introduction to the classic game of Memory. I cut mittens from fancy sheets of patterned paper (although you could also use plain construction paper in multiple colors).

mitten-matchup-1

Travis was a big help using the glue stick to attach each pair of mittens to black construction paper, which I had previously cut into squares.

mitten-matchup-2

Arrange all of the squares, mitten side down, on the floor, and take turns selecting two cards. If you get a match, keep them! Otherwise, turn them back to black and it’s the next person’s turn. Whoever gets the most matches wins.

mitten-matchup-3

Travis is still a little young to entirely grasp the concept of turn-taking and game rules, but he loved finding a “match” or a “mis-match” as he reached among the cards, and played with the mittens for quite some time after while I was busy making lunch.

mitten-matchup-4

This is definitely a game we’ll return to as he gets older and grasps it more each time.

mitten-matchup-5


Water Bead Sensory Play

water-bead-3

I never knew water beads existed until this game, but I’m so glad we discovered them. The soft, squishy beads – which are intended for use in planters, and are available at craft stores – start out the size of tiny pearls and expand in water. From there, the ideas for play are almost endless. You’ll definitely want to play this game with a child who is past the stage of putting items in their mouth.

Part of the fun was the magic of watching the beads expand. Before bed, Travis helped me dump the packet of beads into water, and we watched them inflate a bit – quite quickly in fact. In the morning, even I was surprised how large they had grown!


water-bead-2

Travis was so excited that he couldn’t even wait until after breakfast. I gave him a small dish of the beads to stir through while he dined.

water-bead-4

Then it was time to really play! I drained off the excess water and transferred the beads to a large bin where Travis could have at them – with a shovel, with a rake, and with our hands. Adults, jump in there! The soft squishy beads feel almost therapeutic.

water-bead-6

One of our favorite ways to play was to shovel them into an ice cube tray.

water-bead-7

Later in the day, we decided to add a batch of red beads, which we’d been watching expand all morning. Travis loved the way the colors mixed, since the pink and blue began to look purple once stirred together. We even hid Duplo people under the beads for him to uncover.

water-bead-8

Full disclosure: your child will probably discover that the beads bounce and roll. I let Travis experiment with this capability in a contained environment so that the beads didn’t become a health hazard to our cat. So do be sure to supervise water bead play closely, no matter your child’s age.