Halloween Countdown Day 7: Make “Gourd-geous” Faces

Halloween 7 Gourdgeous Faces (7)

One week into October, the kids are loving our daily countdown towards Halloween. Older kids can help put together this quirky craft, while younger ones will definitely need your assistance. That said, the materials turn the project into sensory play, with a little bit of learning and imagination thrown in!

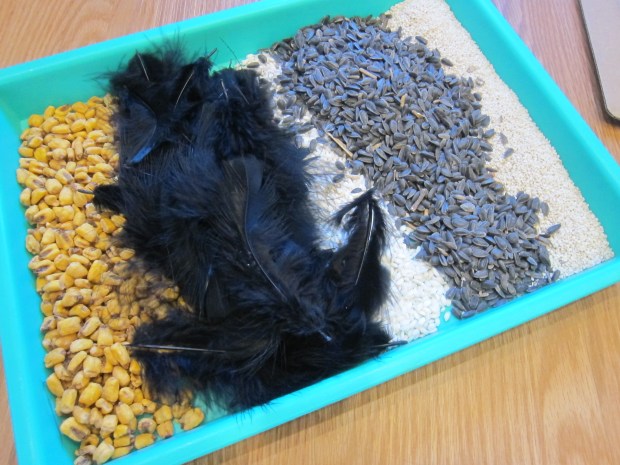
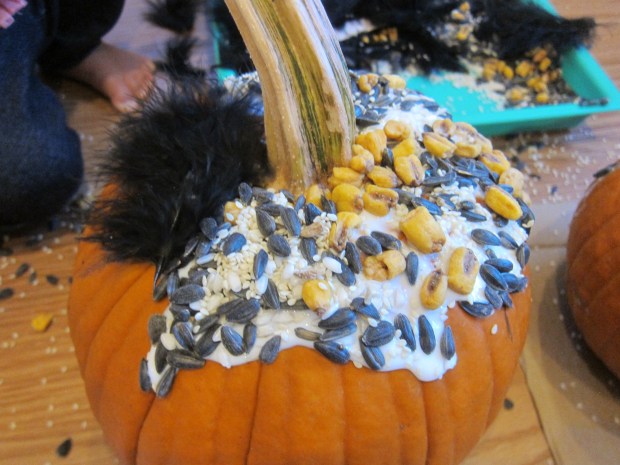
To make each face, round up a collection of gourds from a local farm or market, and then use items from your craft bin to turn those bumpy silly shapes into little creatures.

Halloween 7 Gourdgeous Faces (1)

You can talk about the shapes of the gourds as you work, or ask your child to spot the biggest one, the smallest one, or the one with the most colors.

Halloween 7 Gourdgeous Faces (2)

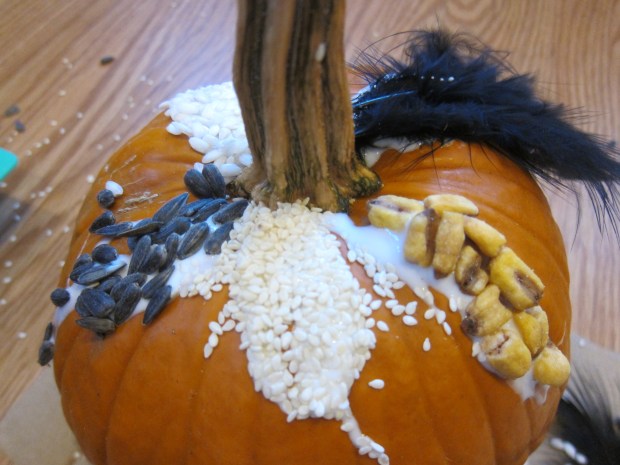
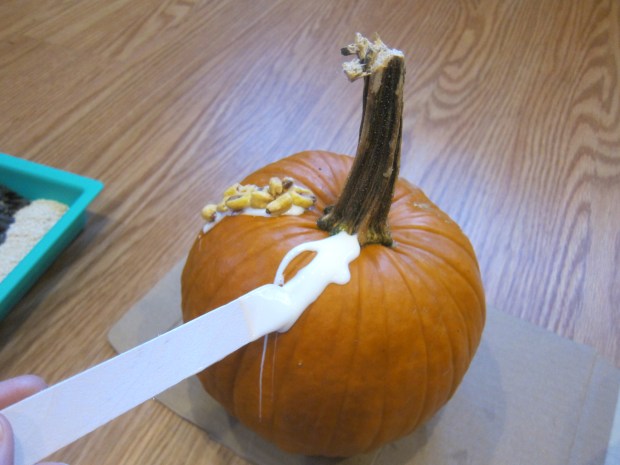
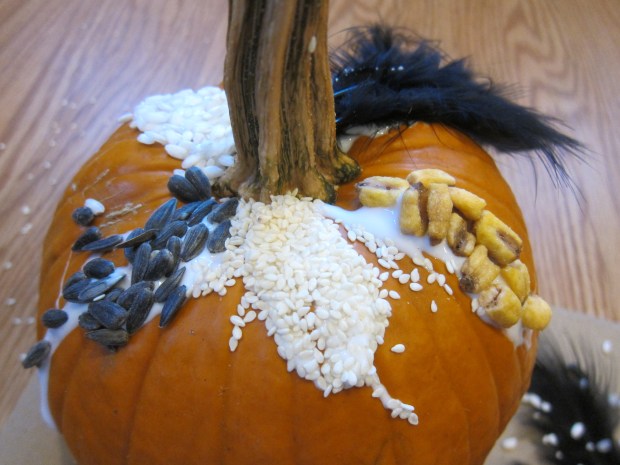
I added wiggle eyes, bead noses, and red felt mouths to each of our gourd friends with hot glue.

Halloween 7 Gourdgeous Faces (3)

One had a decidedly lopsided look!

Halloween 7 Gourdgeous Faces (4)

Meanwhile, Veronika was busy with all those materials, and I could tell she was mimicking my motion of “gluing” the items on.

Halloween 7 Gourdgeous Faces (6)

When the gourds were done, Veronika immediately dubbed the smallest one the “baby”. She loved pretending to add cheeks to it with additional beads, and pointed out its features. “She has eyes!” she said with delight.

Then she tucked it into bed under a piece of extra red felt. “She’s warm and dry,” she told me.

Halloween 7 Gourdgeous Faces (8)

So there you have it: Halloween gourds are so much more than just decoration, but great for playing pretend, too!

Sensory Pumpkin Decorating

Sensory Pumpkin Decorating (8)

This activity is half sensory bin, half a way to decorate a pumpkin with your toddler without pulling out the carving knives. Which adds up to 100% fun!

I wanted an assortment of items to decorate our pumpkins, aiming for a variety of textures. I also wanted to stick to a white and black color scheme for Halloween. So in a shallow craft tray, I lined up: dried corn, black feathers, uncooked white rice, black birdseed, and white sesame seeds.

Sensory Pumpkin Decorating (1)

You can mix and match based on what you have on hand, but aim for a nice variety of texture and size. Veronika immediately wanted to dig through the items in the tray with little plastic cups, so things didn’t stay in their “area” for long.

Sensory Pumpkin Decorating (2)

But I loved watching her explore all the texture. She especially seemed to like those fluffy craft feathers!

Sensory Pumpkin Decorating (5)

Meanwhile, I set to work making the first pumpkin for her. Add big dabs of glue to a pumpkin with a craft stick, working around the stem. I then sprinkled one of our sensory materials on each portion.

Sensory Pumpkin Decorating (3)

These made a neat ring around the stem once I had finished, and now she could feel along them for a great sensory experience.Sensory Pumpkin Decorating (4)

I left the decorating of the second pumpkin entirely up to her. She poured the glue around the top in a full ring, then used her little plastic cup to scoop and pour.

Sensory Pumpkin Decorating (7)

The end result was a neat mishmash of all the items.

Sensory Pumpkin Decorating (9)

I loved that the sensory play was part of both the decorating process and the final product.

Sensory Pumpkin Decorating (10)

String Painting

String Painting (6)

We’ve used string to help spread paint lately, but for this craft, yarn actually becomes the bristles of a brush. These long wobbly “paintbrushes” are sure to delight any toddler. Just one note of caution: there is a high probability that paint is going to splatter! In other words, it’s an activity best done in an old t-shirt and diaper.

To make the brushes, I cut about 5 strands of yarn per brush, and taped them securely to the end of a craft stick. Your yarn can be all one color, but I have a multi-hued ball of yarn that gave us some fun rainbow pop.

String Painting (1)

Place out a big sheet of craft paper and paints (Veronika requested yellow) and you’re ready to go!

At first Veronika was going to dip the handle end of her craft stick in the paint, but I quickly showed her how to dip in the strands of yarn instead.

String Painting (2)

She loved it! The yarn creates beautiful stringy lines, and she enjoyed seeing the results of her work.

String Painting (5)

As you paint, the yarn will start to clump together. This means you’ll get thicker lines, plus color mixing if you have more than one color of paint set out in front of your child.

String Painting (8)

As with a recent pumpkin painting activity, Veronika sat in the middle of the paper while she worked, so I loved watching the string marks appear all around her.

String Painting (9)

Needless to say, the yarn was fun for her to splat down on the paper, which sends drops of paint flying. But again, plan ahead, dress for the mess, and the messiness becomes half the fun!

String Painting (7)

Pumpkin Fun with Washi Tape

Washi Tape Pumpkin (8)

Here’s a great for even little kids to help decorate pumpkins, since there are no carving knives required.

I had a pack of decorative washi tape that’s been sitting around forever, so I pulled out all the rolls and broke off pieces of the various colors, arranging them around the sides of a craft tray.

Washi Tape Pumpkin (1)

In this way, I figured Veronika would be able to grab a piece and stick on a pumpkin (we used white ones!) without constantly needing me to rip a new piece for her.

Washi Tape Pumpkin (2)

Sure enough, she set to work right away.

Washi Tape Pumpkin (3)

Through trial and error, we determined tricks for how best to washi tape a pumpkin. At first, the pumpkins were a little wet from having rinsed the dirt off, which meant the tape didn’t stick well. So make sure your pumpkins are dry!

Washi Tape Pumpkin (4)

We also discovered that the edges of small tape pieces would curl up; long strips wrapped from stem to bottom worked best. At a certain point, I took over, but Veronika was an eager helper!

Washi Tape Pumpkin (6)

This was a great even-a-toddler-can-do-it way to decorate pumpkins.

Washi Tape Pumpkin (7)

Halloween Countdown Day 6: Paint with Pumpkins

Halloween 6 Paint with Pumpkins (8)

We’ll be doing lots of pumpkin decorating now that Halloween is fast approaching, but for today’s build up to the big fright night, it was time to paint not on a pumpkin, but with a pumpkin!

Yup, pumpkins can be your “brush”, instead of just your canvas. I rolled out a big piece of craft paper and set out a tray with all the colors we’re seeing outside right now: orange, yellow, red, and green.

Halloween 6 Paint with Pumpkins (1)

I showed Veronika how to hold a mini pumpkin by the stem, dip it in the paint, and then press onto the paper.

Halloween 6 Paint with Pumpkins (2)

“Let’s try yellow!” she said.

Halloween 6 Paint with Pumpkins (3)

“Let’s  try orange!”

Halloween 6 Paint with Pumpkins (5)

Because she had seated herself squarely in the middle of the craft paper, she soon had pumpkin marks all around her, just like a little pumpkin patch!

Halloween 6 Paint with Pumpkins (4)

You can also roll the sides of the pumpkins in the paint, and then roll them across the paper. But be careful, this gets a bit messier!

Halloween 6 Paint with Pumpkins (6)

Of course then Veronika wanted to get her hands in the paint. She dipped in curious fingers, and then smeared the colors across the paper.

Halloween 6 Paint with Pumpkins (9)

This was wickedly fun!

Halloween 6 Paint with Pumpkins (10)

If you have older kids, perhaps you’d even dare to try painting with full-size pumpkins. What happens, I wonder, if you roll them across the paper!

Halloween 6 Paint with Pumpkins (11)

Pizza Pasta

Pizza Pasta

Combine two kid favorites (pizza and pasta!) in this quick meal. I had originally intended to use wagon wheel pasta, but opted for sea-themed shapes instead, like boats and sea horses. Any fun-shaped pasta adds to the dish’s whimsy.

Ingredients:

  • 2 tablespoons olive oil
  • 1 (8-ounce) package button mushrooms, sliced
  • 8 ounces fun-shaped pasta
  • 1 cup marinara sauce
  • 1 cup shredded non-dairy mozzarella
  1. Heat the olive oil in a large skillet over medium-high heat. Add the mushrooms and saute until tender, about 8 minutes. Transfer to a large bowl.
  2. Meanwhile, cook the pasta according to package directions. Drain and add to the bowl with the mushrooms.
  3. Add the sauce and mozzarella, stirring to combine.

Halloween Countdown Day 5: Giant Chalk Pumpkin

Halloween 5 chalk pumpkin (5)

In today’s run-up to Halloween anticipation, tell your kids they’re about to grow the biggest pumpkin in the world. Yes, bigger than the county fair winners; yes, bigger than the Great Pumpkin. How, you ask?

With chalk!

Head to your driveway or any similar large surface and pull out the orange and green chalk. Really the only limit was how much space we could color in with our one stick of orange. But we got nearly a patio-sized pumpkin.

Halloween 5 chalk pumpkin (3)

Bigger kids can help with the actual pumpkin; younger siblings will love scribbling with chalk alongside you.

Halloween 5 chalk pumpkin (1)

There was a sort of nostalgia to this project, too, since it’s likely a farewell to sidewalk chalk until spring.

Halloween 5 chalk pumpkin (2)

We’ll love looking out at our “pumpkin patch” for the next few days, until rain washes it away.

Fall Squishy Bag

Fall Squishy Bag (3)

This quick sensory bag was very similar to a recent sensory bottle I made for Veronika, except this time it was in squishy form!

To start, fill a large zip-top bag with clear hair gel. I added yellow food coloring for the perfect autumnal hue.

Fall Squishy Bag (1)

Next I added leaves and acorns. You have two choices here: opt for silk leaves and plastic acorns if you have them from the store. And if not, simply use the real thing! We sure have lots of acorns and leaves from recent nature walks, so we went with the real deal.

Fall Squishy Bag (2)

Veronika really seemed to enjoy the contrast between soft leaves, squishy gel, and hard bumpy acorns.

Fall Squishy Bag (4)

She picked it up to see if it made shaky noises, but then realized this one was better suited to squishing around with her fingers.

Fall Squishy Bag (5)

She also tested out standing on it!

Fall Squishy Bag (8)

The bag was gorgeous sparkling in the light when the sun hit it mid-afternoon. In sum, a easy sensory bag, just right for autumn.

Fall Squishy Bag (7)

Monster Headbands

Monster Headbands (4)

Here’s a fun costume craft from Travis’s latest Highlights magazine, perfect for spooky dress-up in October! We made two of the four suggested versions.

To start, wrap craft feather boas around plain headbands from the drugstore. You can simply wrap the boas, or use hot glue or adhesive dots to secure at the ends for more security.

Monster Headbands (2)

Our first monster had three big eyes on top. Glue black felt pupils onto white ping pong balls, and hot glue on top. If you want the eyes further above the head (which we did not do), attach them to the ends of boa-wrapped pipe cleaners instead.

Monster Headbands (3)

For the second monster, we made one big cyclops eye. I glued a large piece of felt onto a thin piece of cardboard, with two pipe cleaners glued in between. Add two more colors of felt, followed by a black felt pupil. Wrap the pipe cleaners around the top of the headband to secure.

Monster Headbands (1)

Note: You could also use this method of felt-glued-onto-thin-cardboard to make horn shapes, too, another version that we skipped.

Monster Headbands (5)

Travis loved making silly monster faces.

Monster Headbands (6)

And we even had an appearance from Baby Monster!

Monster Headbands (7)

Toddler Gymnastics

Toddler Gymnastics (14)

One of the things I lament most about restrictions during coronavirus is that Veronika can no longer attend toddler gym classes in person. But that doesn’t stop us from practicing toddler-style gymnastics at home!

We don’t have giant mats for rolling and climbing, but there are plenty of ways to do gross motor movements without all that. So today we staged a mini gym class right in the living room – starting with just running circles around the room!

Toddler Gymnastics (9)

Next, I encouraged Veronika to gallop (moving sideways with legs open and then shut). She loved to say the word “gallop” as she did so.

Next up were somersaults! Veronika loves to do these other over a big soft chair…

Toddler Gymnastics (11)

…or right on the floor!

Toddler Gymnastics (10)

You can also put down a line of masking tape for an instant balance beam. Veronika loved to take careful steps across this.

Toddler Gymnastics (12)

The one investment I did make for our home gym was a plastic toddler slide. Within five minutes, Veronika had mastered the art of climbing the steps…

Toddler Gymnastics (15)

…getting both feet facing forward at the top…

Toddler Gymnastics (16)

…and zipping down.

Toddler Gymnastics (17)

Then she would run around to do it again! What toddler gymnastics moves do you work on at home? Please share in the comments!

Toddler Gymnastics (13)