Teach Your Child To…Wash the Dishes

How to Wash Dishes (3)

I love Parents magazine’s new feature with a “Teach your Child to…” each month. Last month, my big kid tackled tying his shoes. This month, it was Veronika’s turn, teaching my 2 year old (yes!) to wash the dishes, or at least the rudiments behind the task.

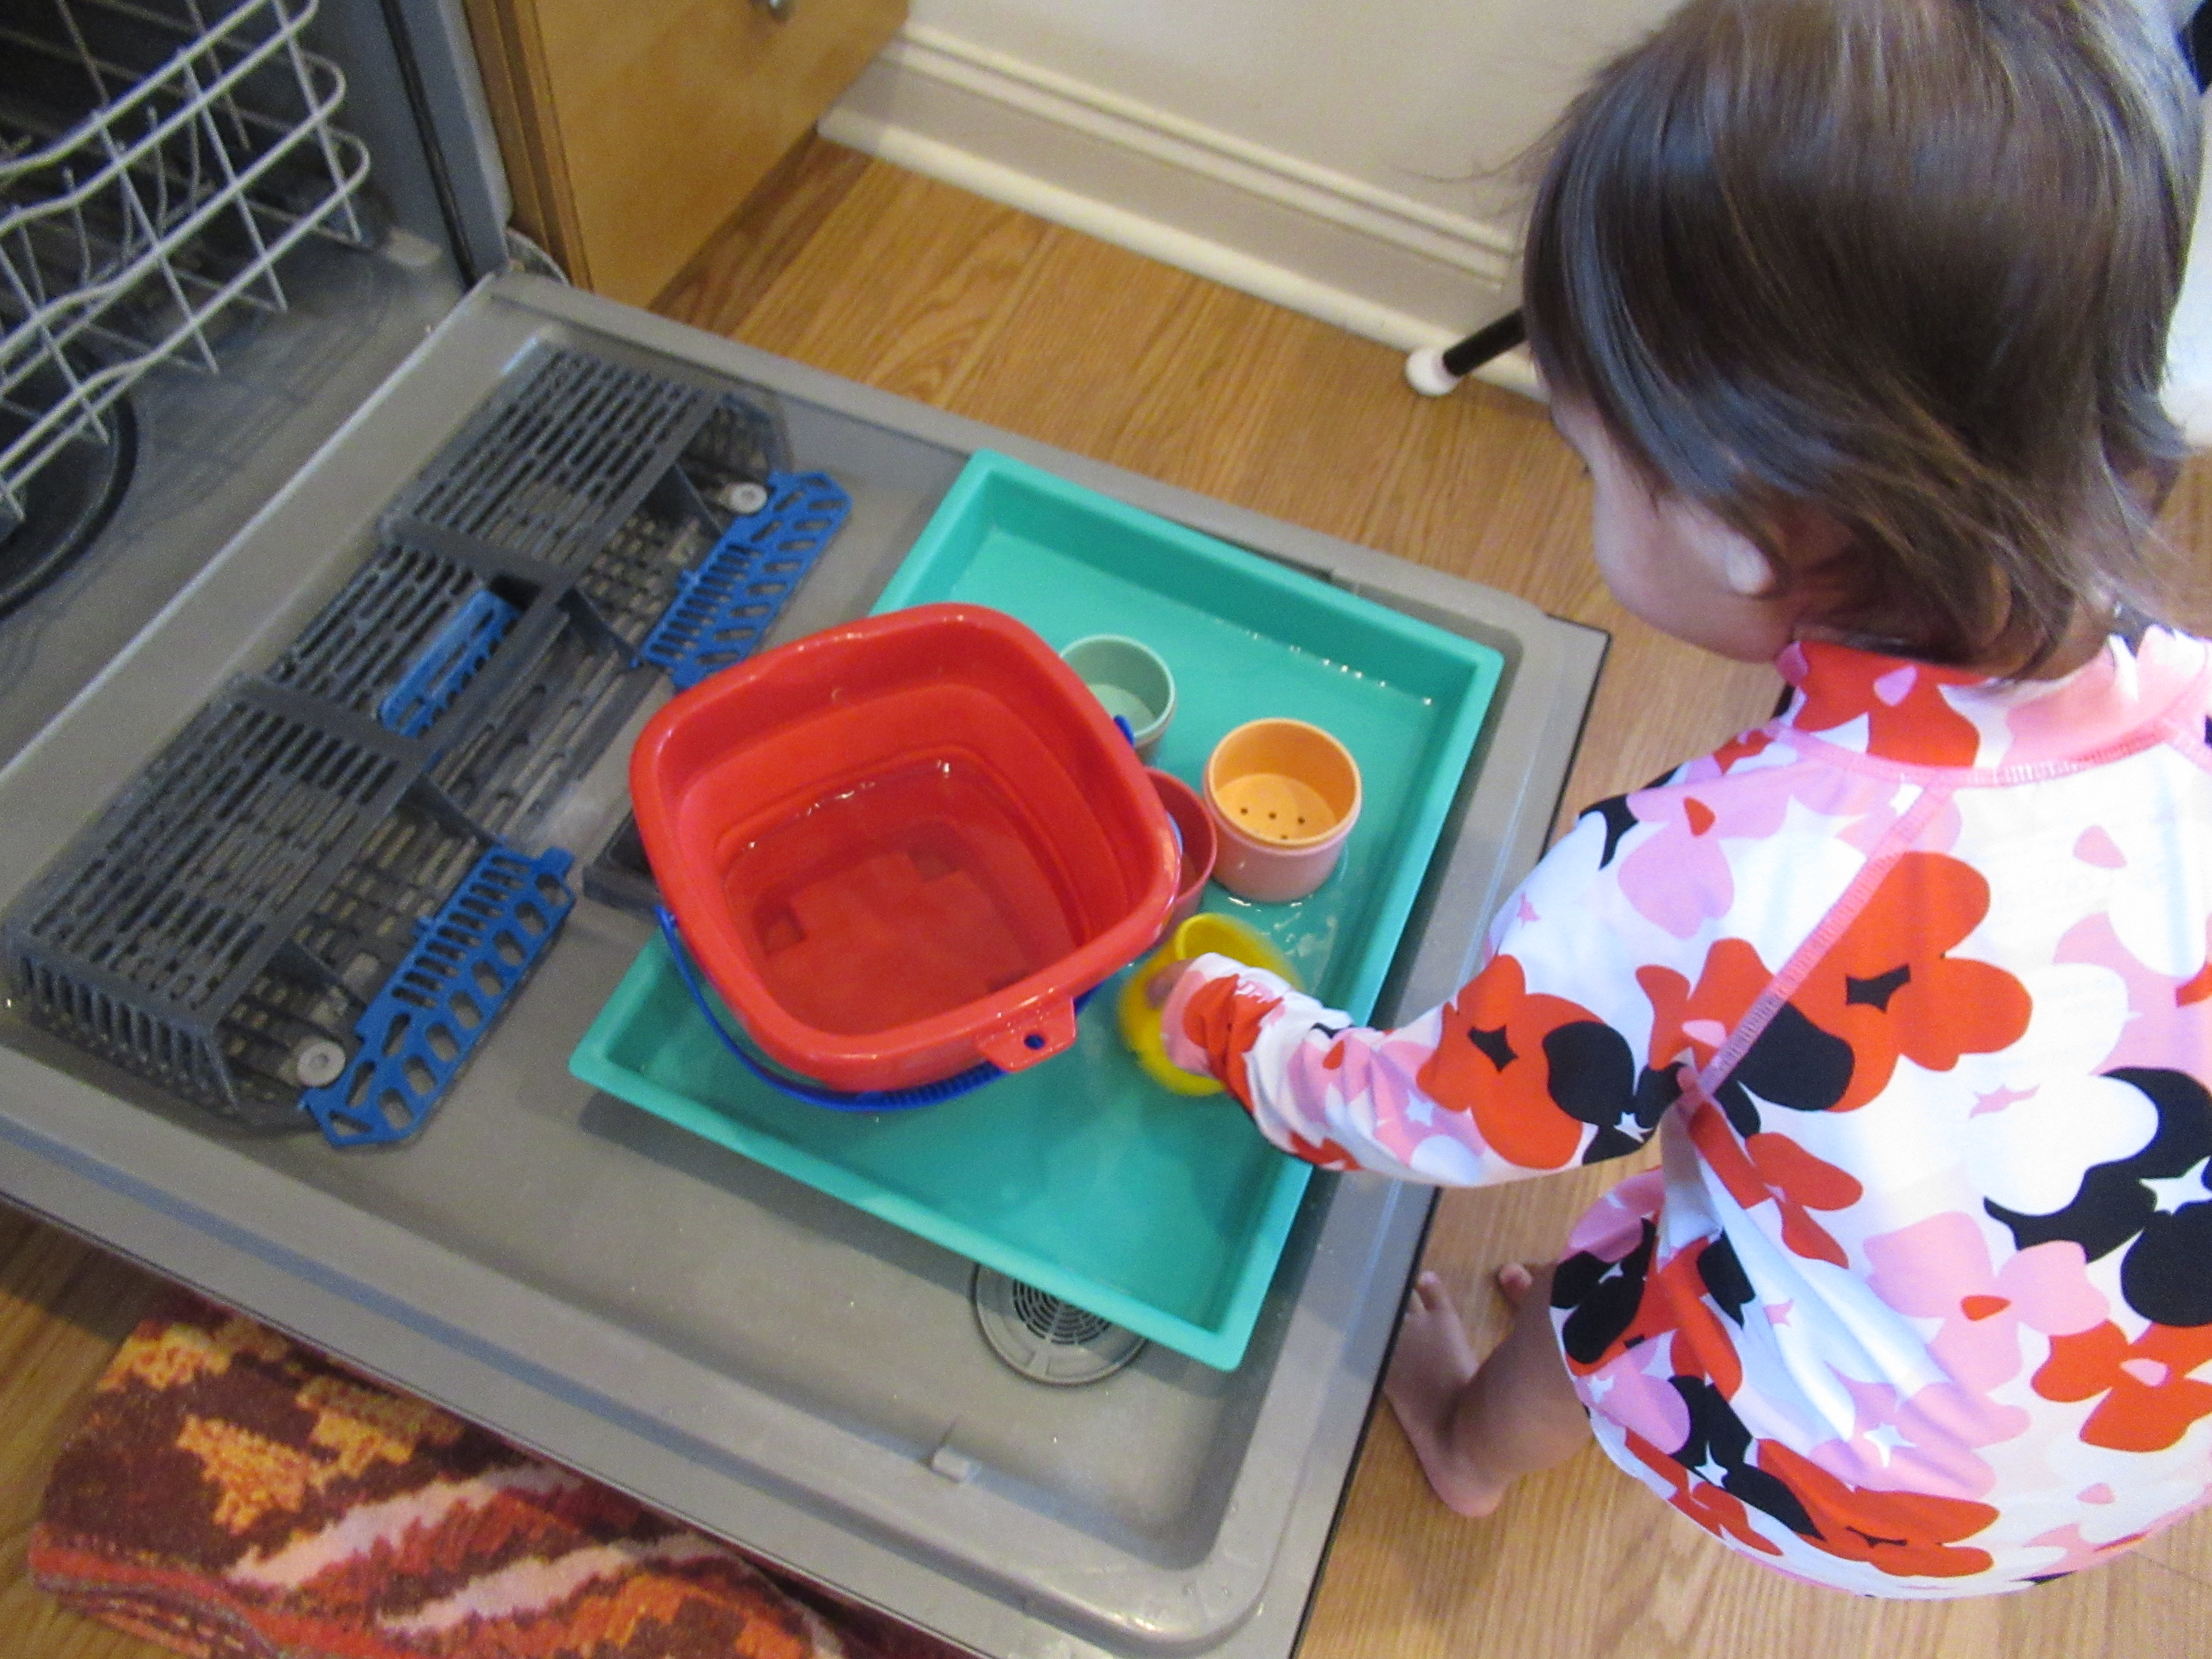
Don’t expect sparky plates to come out of this activity; the idea is simply to introduce your toddler to this daily chore, and have some family fun in the kitchen while you’re at it. To start, I cut a regular sponge into a smaller piece; this was much easier for her little toddler hands to hold! Veronika seemed mesmerized the moment she spotted a mini sponge waiting for her right next to mommy’s bigger sponge!

How to Wash Dishes (1)

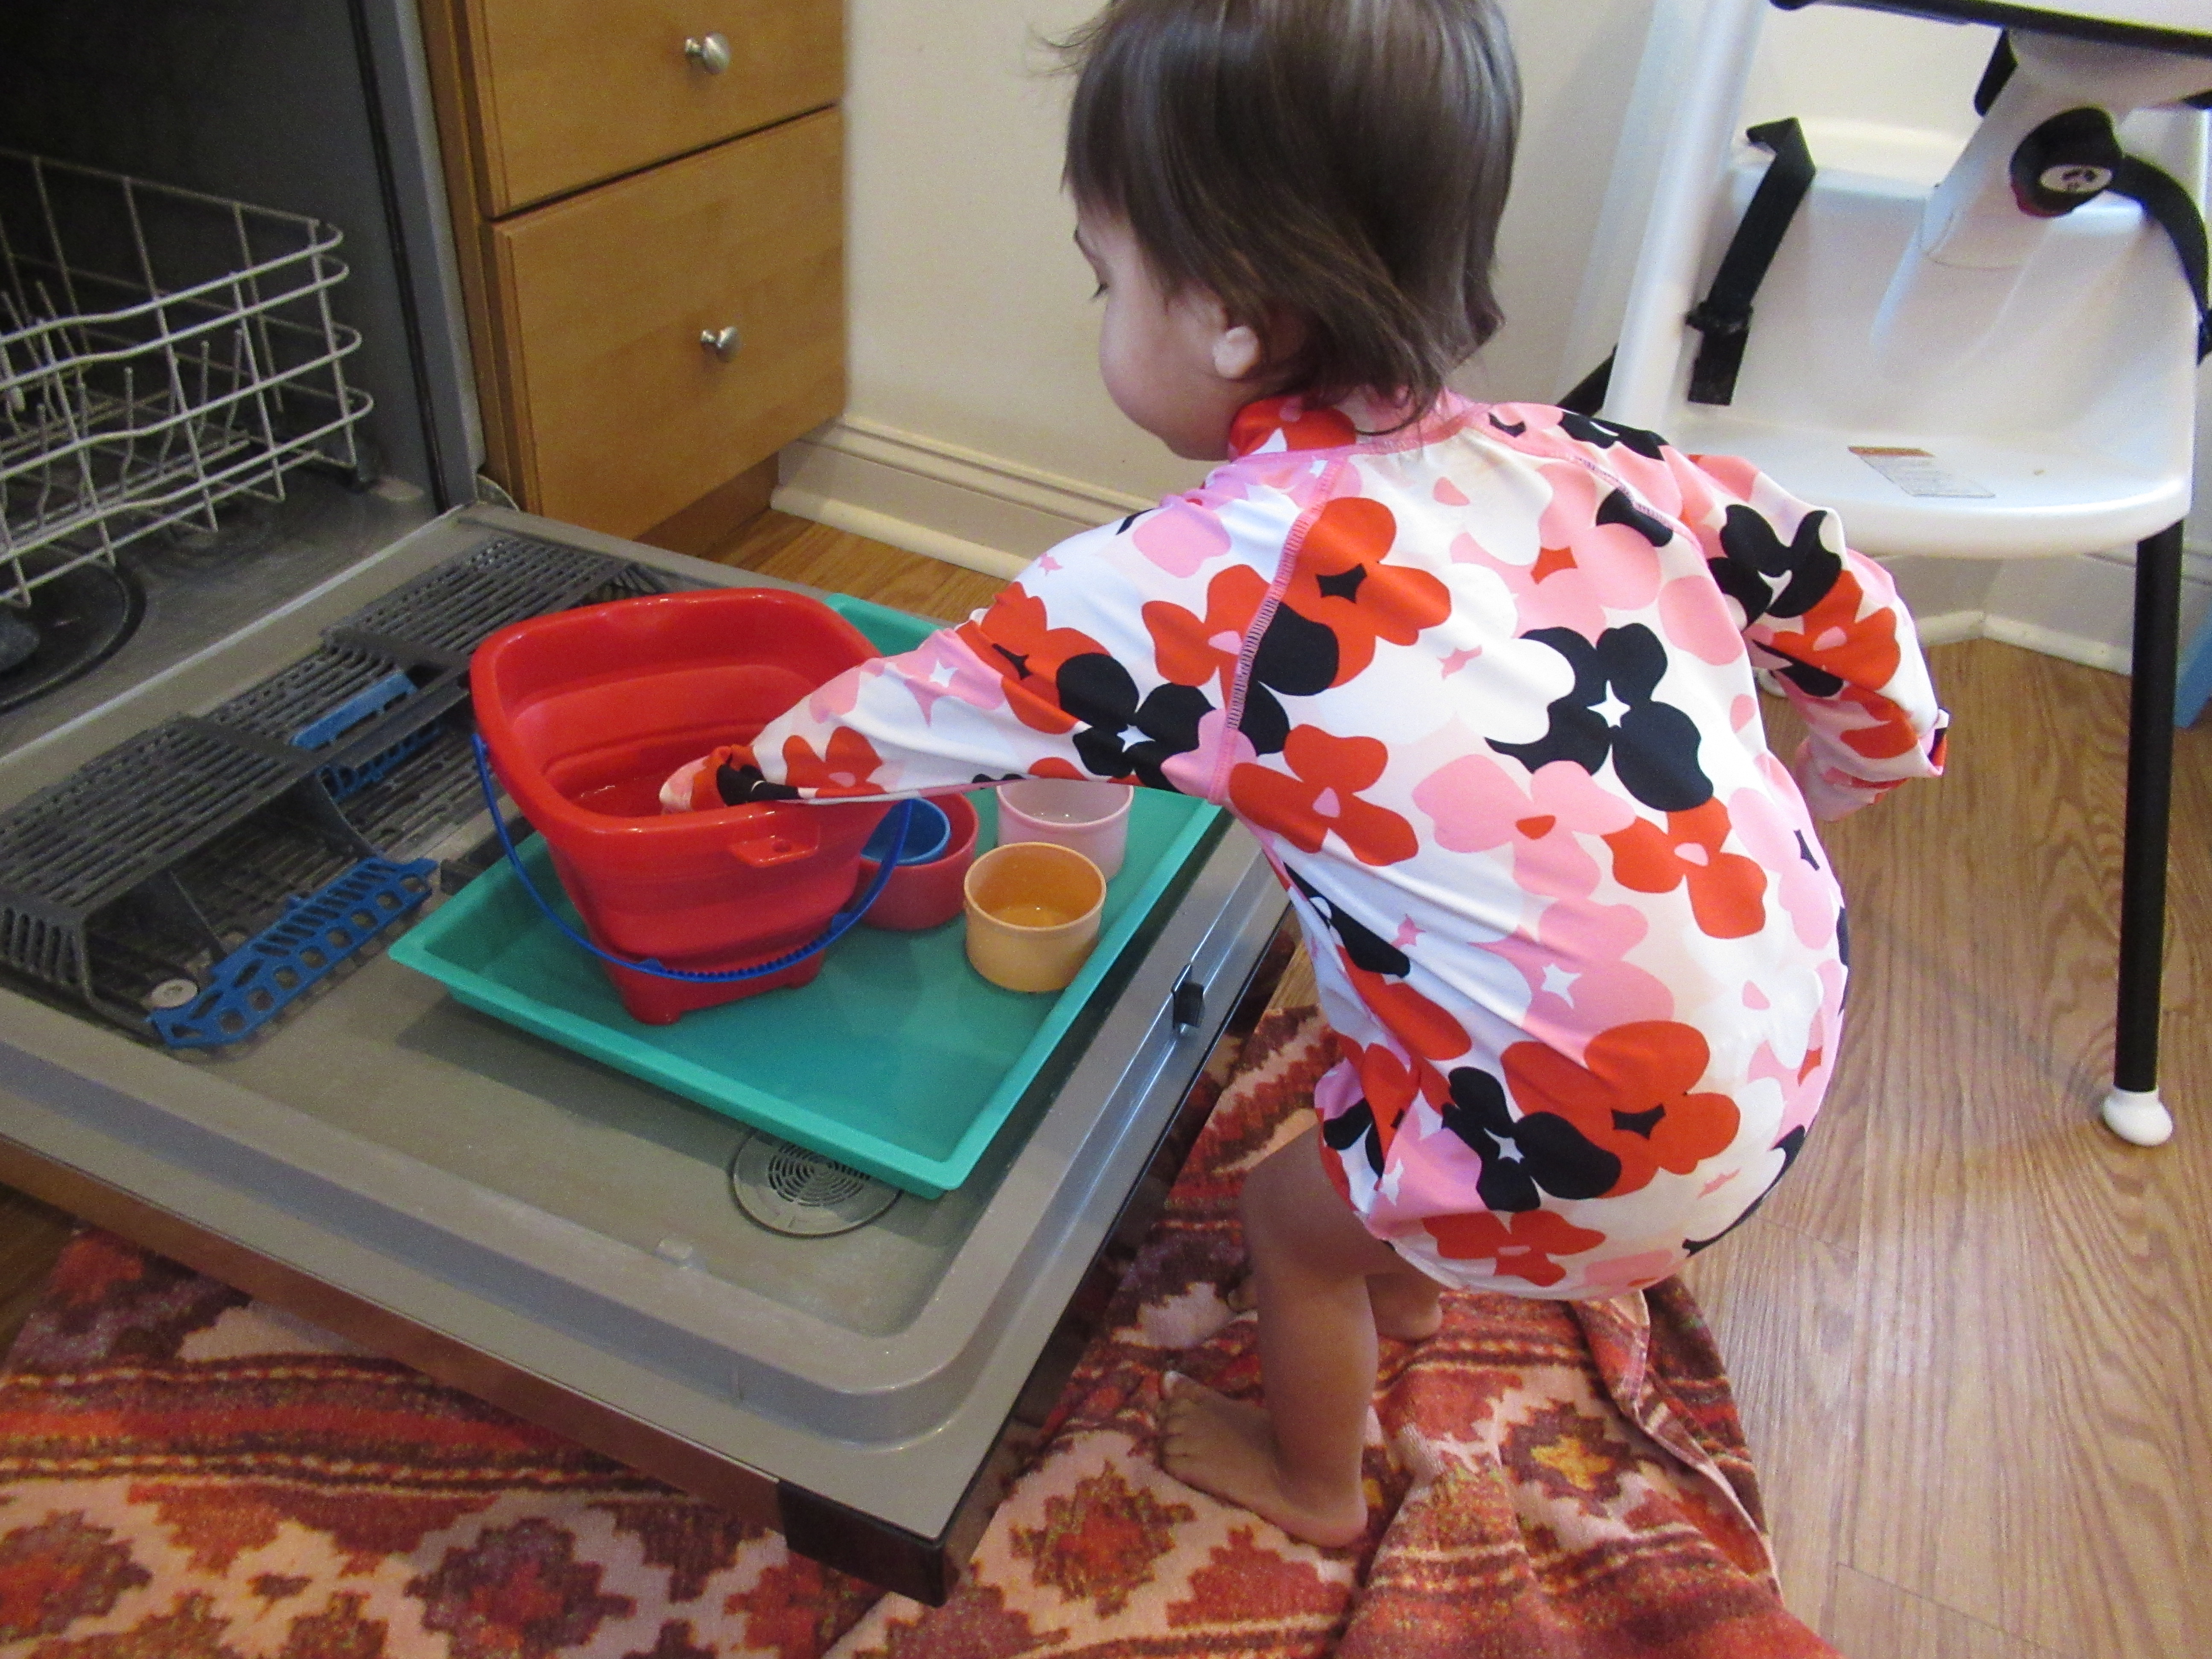
I filled the sink with a few dishes (think rubber spatulas or small metal pans for this first foray into the task, not breakable items), and then stood Veronika up on a chair so she could reach. She felt like such a big girl!

How to Wash Dishes (2)

Together, we started washing the dishes. I showed her how to add soap to her sponge and scrubby-scrub-scrub on the dishes.

How to Wash Dishes (5)

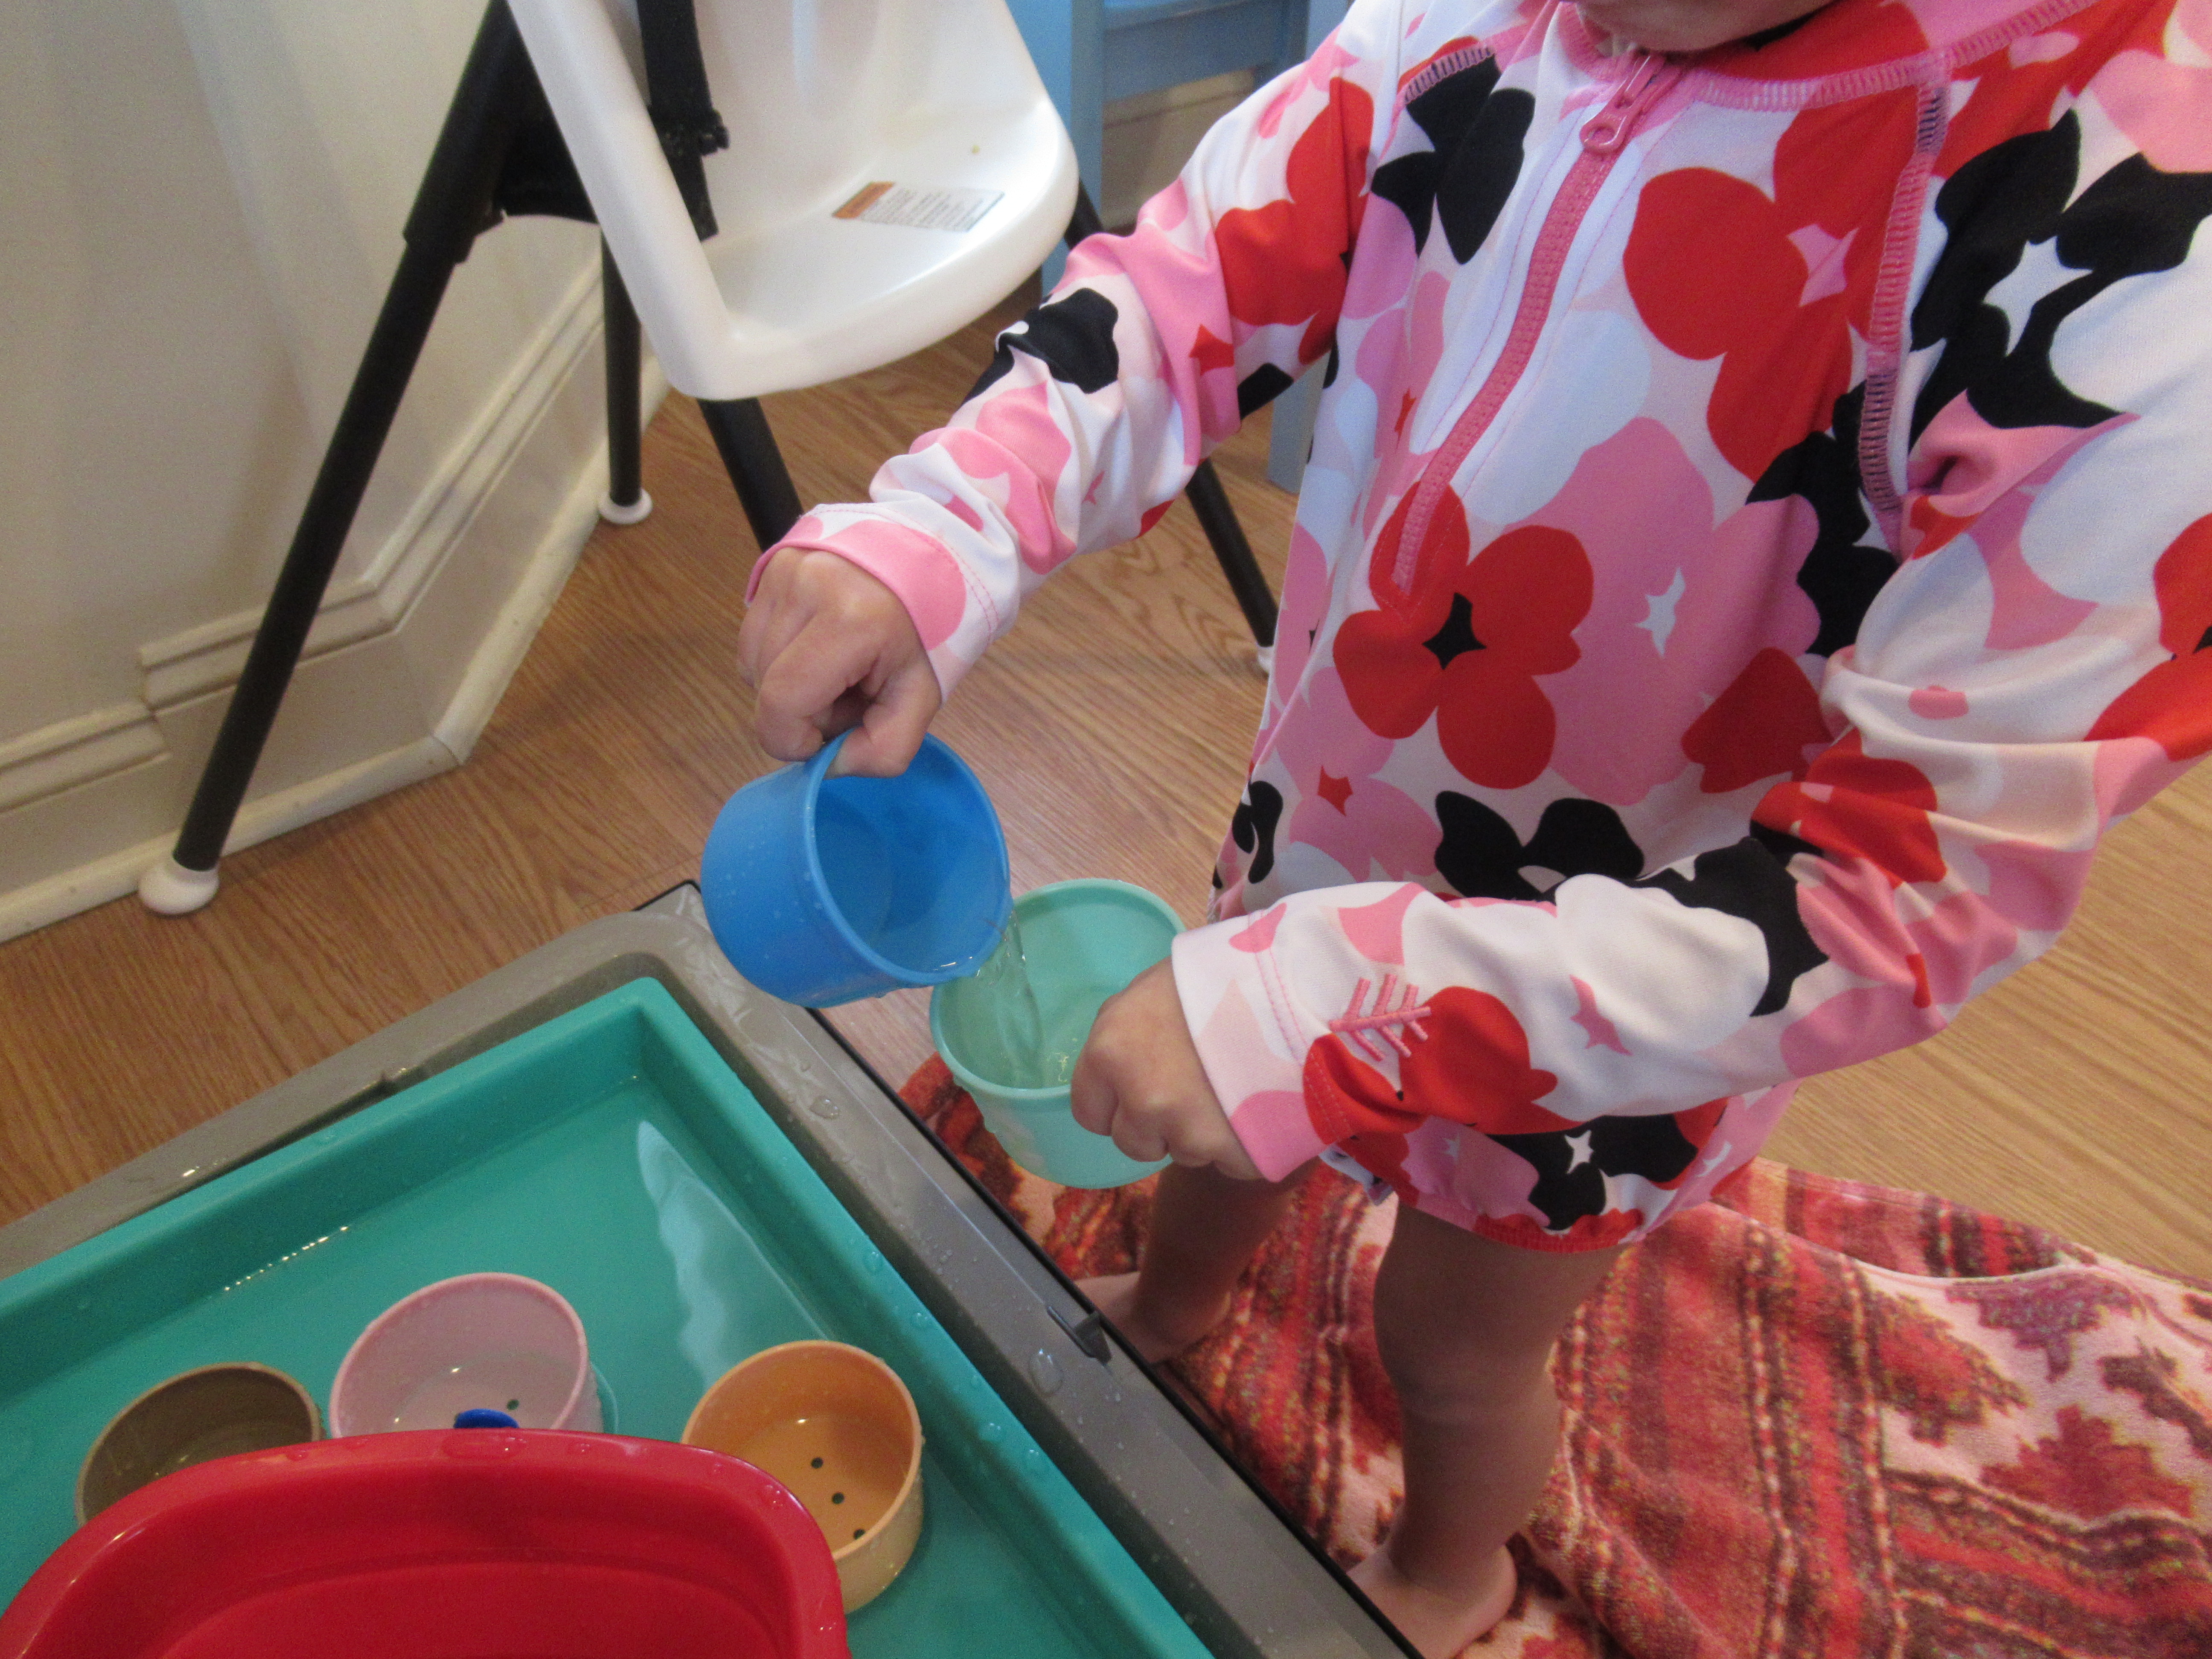
After each one was sudsy, we gave it a good rinse, which she loved!

How to Wash Dishes (4)

She also loved squeezing the sponge to make more dish soap bubbles, and then rubbing those bubbles all over her hand. “I need a rinse!” she would tell me each time she got soapy.

How to Wash Dishes (6)

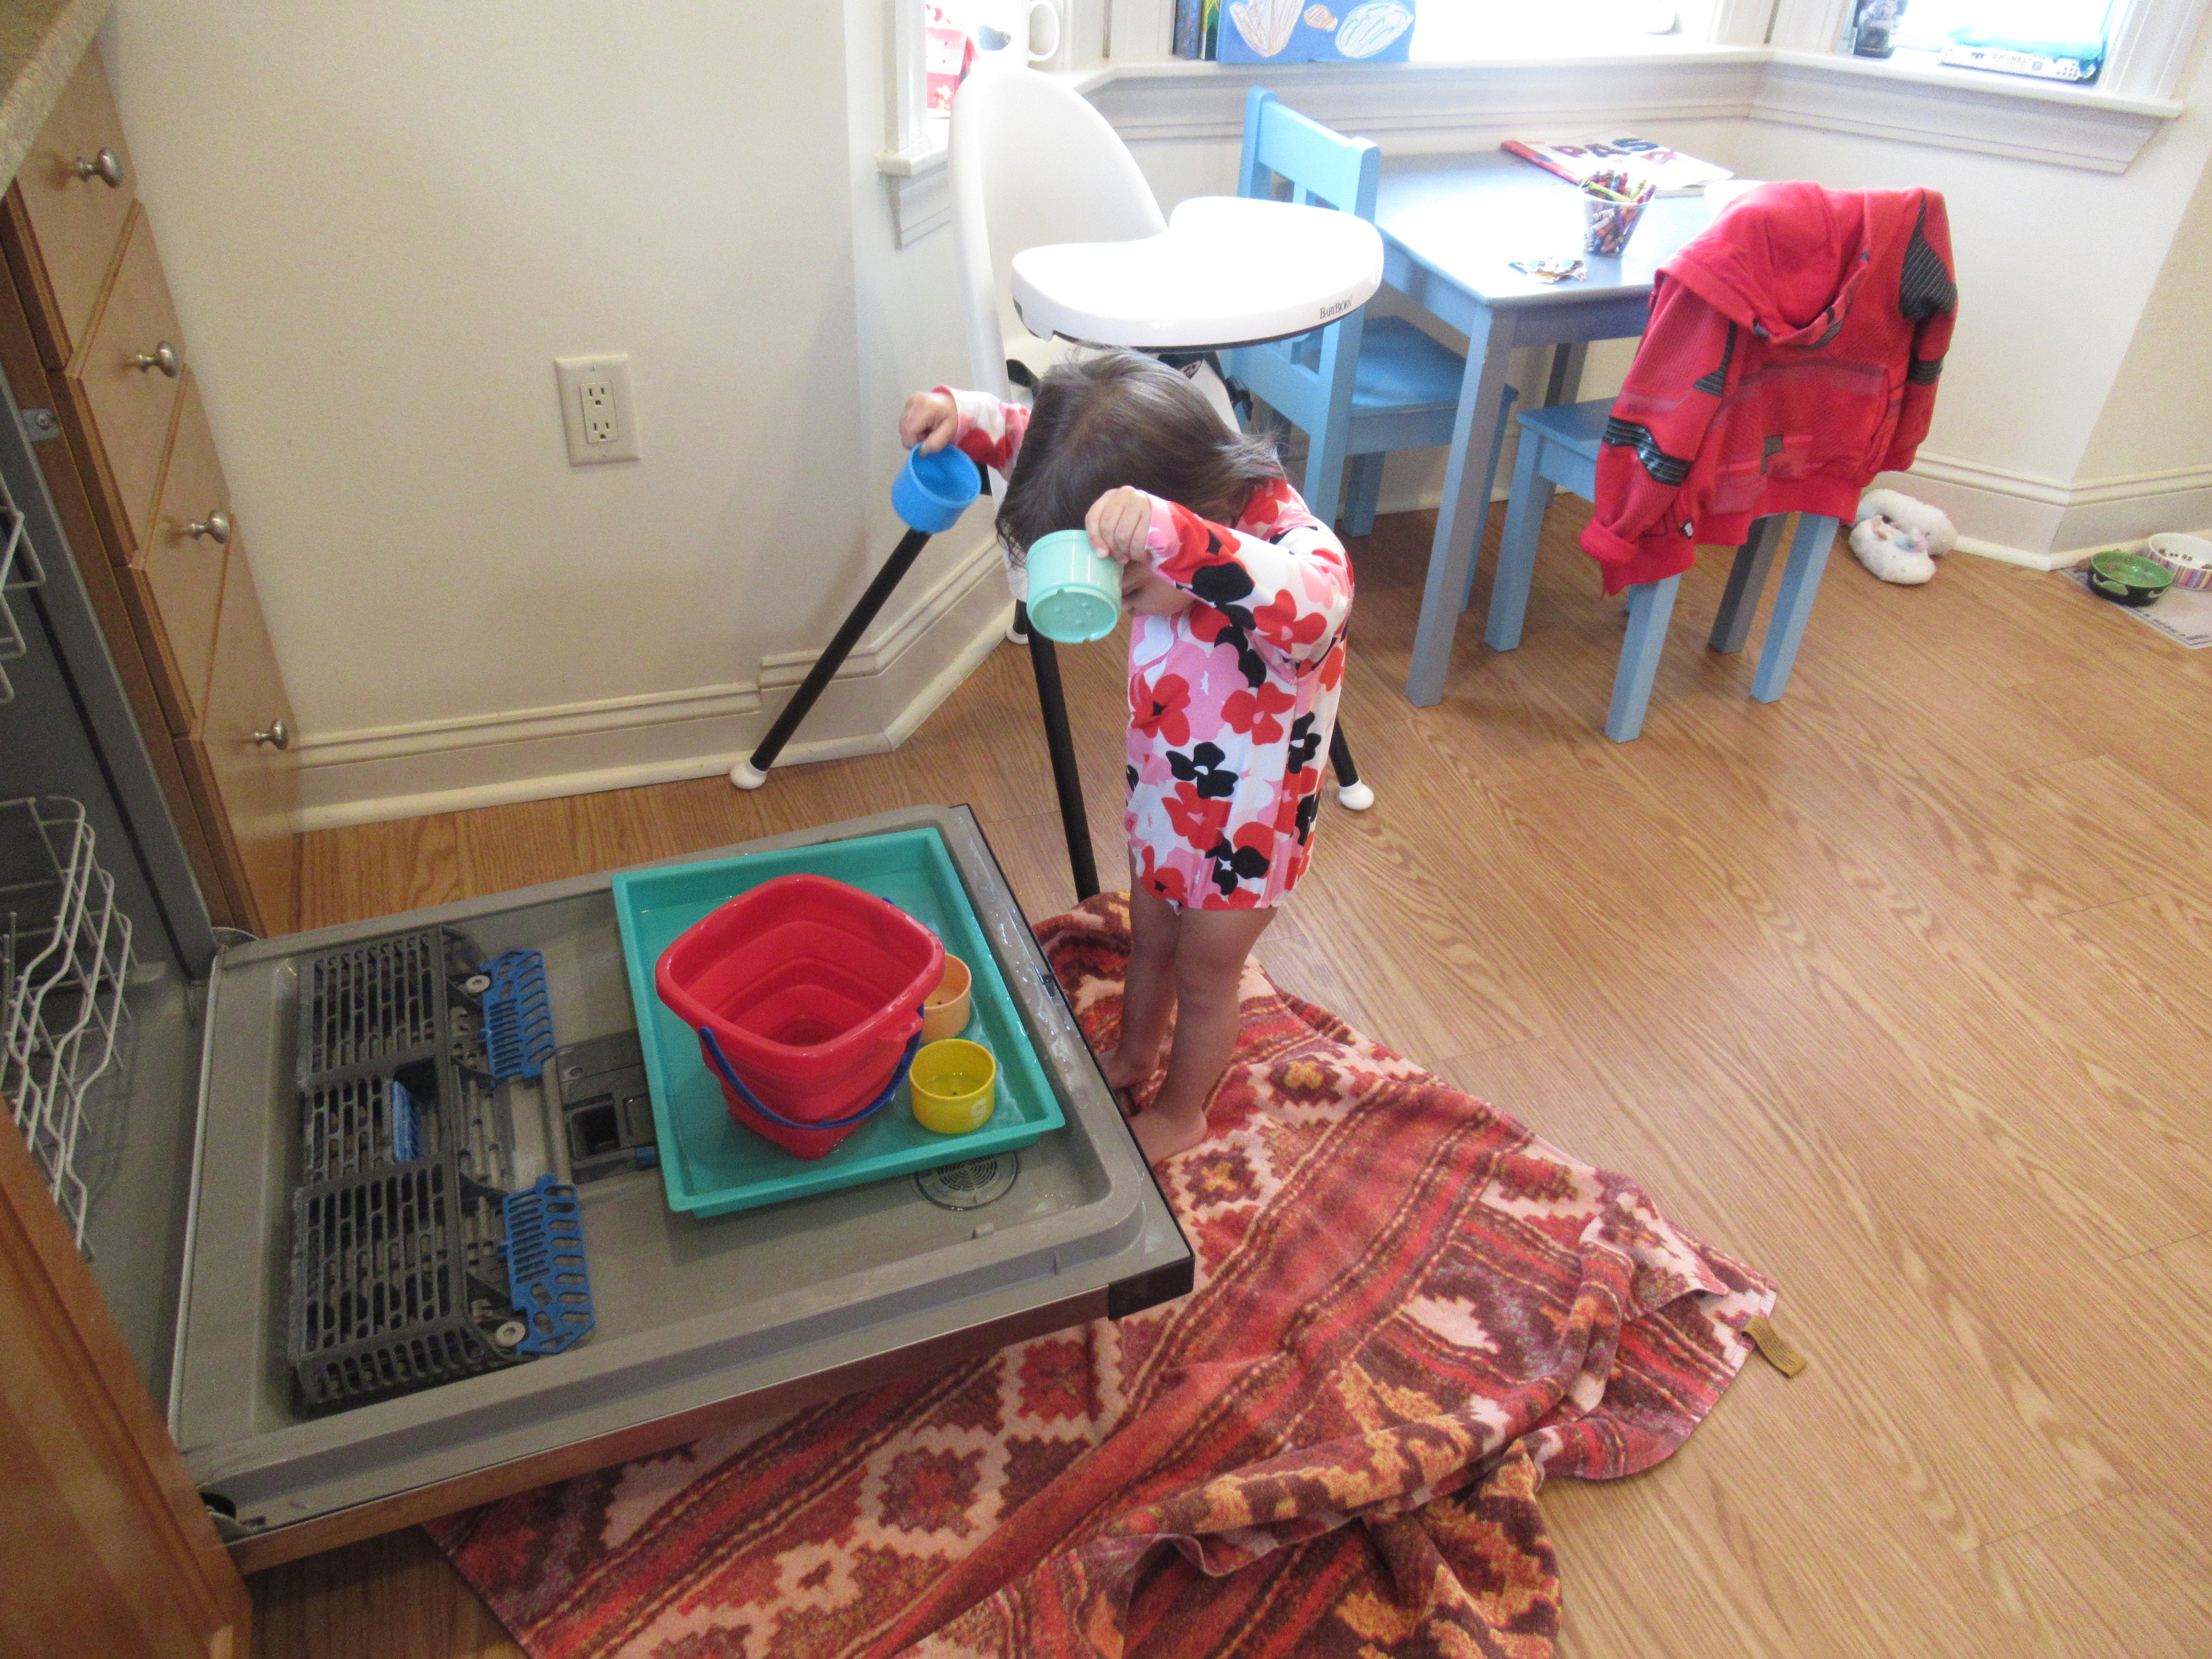
When the dishes were clean, I showed her how to set them aside in the drying rack, and her lesson was done. But Veronika wasn’t finished! She loved her little sponge so much that she wanted to scrub down the chair, too.

How to Wash Dishes (7)

Winter Water Table

Dishwasher Water Table (1)

When it’s obviously too cold outside for water table play, here’s a fantastic hack to create a water table right in the warmth of your kitchen. Simply tilt open the door of an (empty) dishwasher, and you have a shelf at the perfect height for a toddler. All that’s left to do is to arrange a few items on the shelf like a bucket of warm water, cups for pouring, scoops, and other water toys.

Dishwasher Water Table (3)

To heighten the summer feel of the activity, I dressed Veronika in her favorite bathing suit and laid a fluffy beach towel underneath the open dishwasher. This towel was perfect not just for catching any spills, but also keeping her bare feet warm! She immediately began playing, needing no instruction for this activity. There was lots of happy scooping, pouring, and dumping.

Dishwasher Water Table (4)

She loves cups with holes that make water “rain” down a little at a time. Then she was busy for a while pouring water from one small cup to another.

Dishwasher Water Table (5)

Such concentration!

Dishwasher Water Table (6)

And of course sometimes she got impish, lifting the cups up high for a big waterfall that splashed down!

Dishwasher Water Table (7)

After about 20 minutes she was ready for warm dry clothes, but this was a great way to fit in water play in the middle of winter.

Pipe Cleaner Shapes

Pipe Cleaner Shapes (4)

This easy project is a great way to help little ones develop the hand-eye coordination to color within the lines. In this case literally, thanks to bumpy raised lines made from pipe cleaners.

As Veronika played with a few extra pipe cleaners, I arranged others in simple shapes like triangles, squares, and circles on sheets of construction paper, and then taped them down.

Pipe Cleaner Shapes (2)

Then I simply showed her how to use crayon to color within the shapes. She loved choosing which color to use in which shape.

Pipe Cleaner Shapes (3)

It was neat to watch her reaction when her crayon came up against the pipe cleaner “bumper”, forcing her to stay within the lines. I could see her brain working as she realized she had to stop her crayon before it ran over he edges.

Pipe Cleaner Shapes (5)

In sum, this is a great early lesson on pen control, which is the first step towards drawing all those shapes…down the line.

Tube Fun

Tube Fun (5)

The last time I was at the hardware store, I stocked up on a few items that could make a quick activity for a toddler once put together. A snowy day at home was the perfect moment to pull out those items, and this “toy” came together in moments!

First up was a length of clear plastic tubing, which is usually available in bulk at the store and you can ask to have it cut to size. I asked for two feet, although next time I might make it closer to three feet. Make sure your tubing is wide enough for marbles to roll through; that’s about 1 inch for regular marbles, but I have small decorative marbles at home that fit in 1/2-inch tubing.

Tube Fun (2)

Next, I used hot glue to attach a rubber cork (also available at hardware stores) into one end of the tube. Fill the tube with the previously-mentioned marbles or beads, then glue a second rubber cork in the other end. The toy is ready!

Tube Fun (1)

Veronika actually managed to pull the second cork off, but luckily the hot glue had created enough of a seal that the tube still worked without the marbles rolling out. From here, she loved holding it up to watch the items slide around.

Tube Fun (6)

She also turned it into a belt.

Tube Fun (8)

Or kitty ears, or a necklace!

Tube Fun (4)

If you prefer, you can add a little vegetable oil into the tube before gluing on the second cork; just make sure your corks are very secure if you choose to go this liquid route.

Tube Fun (7)

Snack Switcheroo

Snack Switcheroo (7)

Veronika had to work for her snack today! Kids seem to universally love that old magician’s trick of hiding an item under a cup and then making it “disappear”. This variation involves hiding a snack under a cup before shuffling cups around, but the point is for your toddler to find it at the end. Doing so actually helps hone your toddler’s visual tracking skills, and the bonus to this version is the yummy reward to eat!

Any small snack will work fine for the game; I used crackers, but raisins or pieces of cereal are other good options.

Snack Switcheroo (1)

I first hid a cracker under one cup in a cluster of four, making sure she saw where it was, then said to Veronika, “Where’s your snack?”

Snack Switcheroo (2)

I slowly shuffled the cups (you don’t want to make this too hard for a 2 year old), then took my hands away and repeated the question.

Snack Switcheroo (3)

She was instantly a little ham and loved the theatrics involved in the game! “Is it under this cup?” she would ask, lifting up for a reveal.

Snack Switcheroo (5)

She giggled when the cracker wasn’t there…

Snack Switcheroo (4)

…and was consistently surprised and delighted when it was. Her surprise showed me that she still hasn’t learned to visually track the correct cup, but clearly today the game was about her enjoyment and theatrics. All in all, it turned snack time into an activity that fed both bellies and brains!

Snack Switcheroo (6)

Big Mouth Game

Big Mouth Game (4)

Here’s another classic from the Toddler’s Busy Book, a game I played with Travis when he was so young this blog didn’t even exist yet! All you need to get started is a medium-sized cardboard box.

First, I drew a face on one side of the box with markers. No doubt your toddler will want to help out with this part; Veronika sure did!

Big Mouth Game (2)

I then used a craft knife to cut out the mouth shape. For the final touch, we rubbed a glue stick all over the top and attached strips of tissue paper to be the hair. The big mouth is hungry and ready to eat!

Big Mouth Game (3)

You can use just about anything as balls for the target. Tennis balls were just a touch too big to easily fit, but sock balls were the perfect size.

Big Mouth Game (5)

We also had extra tissue paper and Veronika loved crumpling these into balls and tossing into the mouth.

Big Mouth Game (6)

“He’s so hungry!” she said with delight every time she added to the box. When it was full, she could pull everything out and start all over again.

Big Mouth Game (8)

This game is sure to keep toddlers busy and delighted.

Helium Balloon Fun

Helium Balloon Fun (8)

Who says balloons are just for birthdays! The helium tank in our garage had some leftover gas from back in the fall, and our gray February staycation day needed a boost; what better way to lift the spirits than balloons!

To start, I simply inflated a few balloons for Travis and Veronika, and attached strings that they could easily reach. I showed Veronika how to tug on the string so the balloon came down to her…

Helium Balloon Fun (2)

…and then to let go and watch it bop back to the ceiling!

Helium Balloon Fun (1)

This alone was a delight for a while.

Helium Balloon Fun (4)

Next we drew puppy dog faces on them. Now the balloons were little friends to take for a walk on a “leash”. Travis turned another one into an alien!

Helium Balloon Fun (13)

The kids were soon running around, chasing after, and bopping their balloons in glee.

Helium Balloon Fun (12)

We set them aside for a while, and when we returned, there was just enough less helium that now they hovered in midair. This was double the fun, with the kids setting them to hover and pretending they were making lunar landings on the moon!

Helium Balloon Fun (9)

I loved seeing their joy for one of the simplest toys out there. Never underestimate a good old balloon.

Helium Balloon Fun (7)

Musical Animals

Musical Animals (1)

Here’s a fun riff on Musical Chairs, although there are no winners or losers here: just music and stuffed animals and a way to get moving indoors!

To start, I set up several of the kids’ stuffed animals in a circle on the floor. Note: You can also sit every stuffed animal on a chair if you have enough chairs in your home. But the floor worked just fine in a pinch.

Musical Animals alt

Since our circle was on the floor, I opted for stuffies that could mostly “sit up” on their own, although that’s not a requirement. Then I set some jazzy music playing and told the kids to run around the circle of animals.

Musical Animals (2)

When the music stops, everyone freezes and sits with the nearest stuffed animal in his or her lap!

Musical Animals (5)

There’s no element of elimination to this game, as in normal musical chairs, but between music, freezing, and giving big stuffed animal hugs, this game is a reward in itself.

Musical Animals var

Soon, the kids found some extra pillowcases in the closet and were tucking the stuffed animals into little “beds”. Veronika even leaned in to give this one a kiss!

Musical Animals (4)

So it turned into a very cozy way to pass a cold morning.

Musical Animals (3)

Natural Ice Boats

Natural Ice Boats (3)

I love finding ways to make the kids marvel at the beauty of winter, even on the coldest days, and these all-natural ice boats were the perfect activity! Technically you could make the boats any time of year, but the colder it is outside, the longer your ice boats will last!

To set up, freeze water in Tupperware containers until solid. Any size container is fine, although obviously smaller ones will freeze faster and cut down on waiting time if your kids are impatient. Before freezing, I added a stick to the center of each container as the boat’s mast; hold in place with a pipe cleaner twisted around the middle until the water begins to freeze.

Natural Ice Boats (1)

Once the boats were frozen solid, it was time to set them afloat! I considered driving to the nearest pond to set them sailing in a truly all-natural location, but couldn’t think of a way to keep the ice frozen in the car. Instead, we made a “pond” on a craft tray in the snow just off our back patio!

Natural Ice Boats (2)

For sails, we attached a few leaves from an evergreen bush, a nice pop of green against all the winter white.

Natural Ice Boats (5)

The kids loved seeing the little boats sail among the sea of snow.

Natural Ice Boats (4)

Even though it was below 30 degrees, the sun was strong enough that the boats melted on the patio once we set them down. That meant this turned into a little STEM lesson at the end as we watched solid turn back to liquid. And of course there’s zero cleanup with this activity!

Natural Ice Boats (7)

Water, sticks, and leaves all went right back to nature.

What Can Be a Hat?

What Can Be a Hat (5)

Veronika currently loves a little story from Hello magazine about babies wearing various hats, some that really are hats and some things that simply can be a hat (think baskets, buckets, or even old shoe boxes). That prompted this silly game as I was prepping dinner and needed to keep the kids briefly occupied.

What could they find in the kitchen that could be a hat? Pretty soon, the kids were modeling strainers…

What Can Be a Hat (6)

…and colanders!

What Can Be a Hat (3)

Travis loved that the colander was like a warrior’s helmet.

What Can Be a Hat (4)

Veronika loved looking stylish with the strainer at a jaunty angle! This led them to dig through the dress-up box for other favorite hats and head pieces. All of which meant, everyone was soon laughing and had stopped asking when dinner would be ready.

What Can Be a Hat (1)

What else in the kitchen could be a hat? Please share what your kids come up with in the comments!