Stop That Germ!

ST science (1)

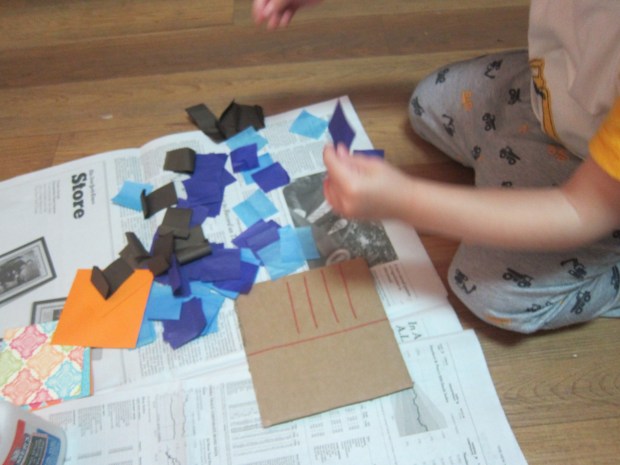
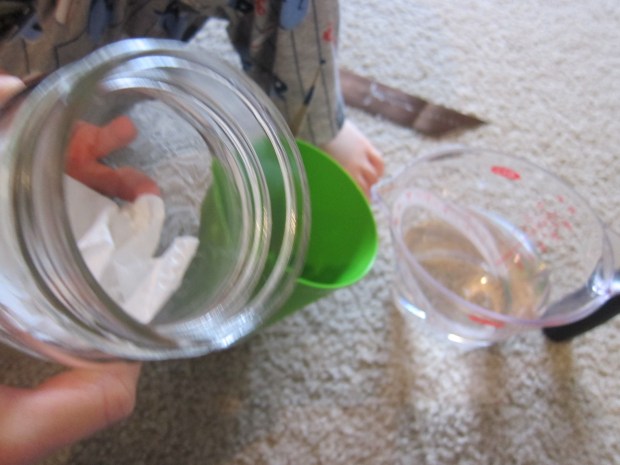
This game gives an adorable visual to kids who are learning about germs, or when to wash their hands, or good hygiene. I recommend doing the game soon before bathtime – you’re going to need to clean off after, anyway!

When I told Travis we were going to play with glitter, he couldn’t wait to start. I asked him what makes us sick, only half expecting an answer, and was so pleased when he announced, “Germs!”

I told him our glitter was going to represent germs, and we were going to see how quickly they spread. Pour glitter onto your child’s hand, and then shake hands with them. Oh no, now mommy is sick with germs too!

ST science (2)

Of course we had to repeat with a second color of glitter on his other hand.

ST science (3)

And then we had to dump glitter on the ground for a while. Eventually, we got to the key part of the lesson. How could we stop the glittery germs from spreading? By washing our hands of course!

ST science (5)

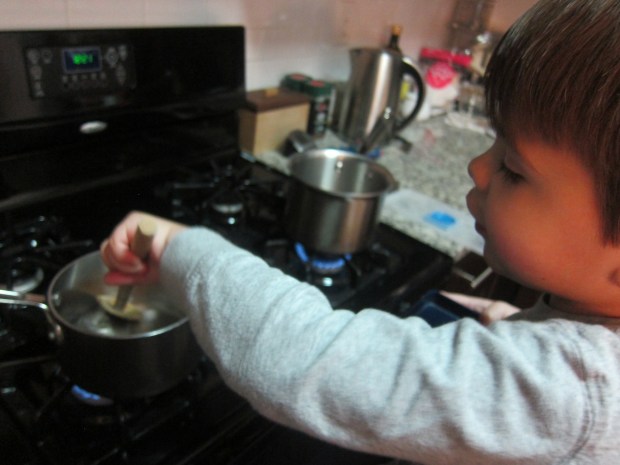
You can keep up the play with other variations. Fill a spritz bottle with water, pretend to sneeze, and spritz your child. It’s another great, visual lesson on how quickly germs can spread. How will you stop the germs this time? By covering your mouth when you cough or sneeze!

ST science (4)

Stamp Pad & Eraser Art

Stamp Eraser (1)
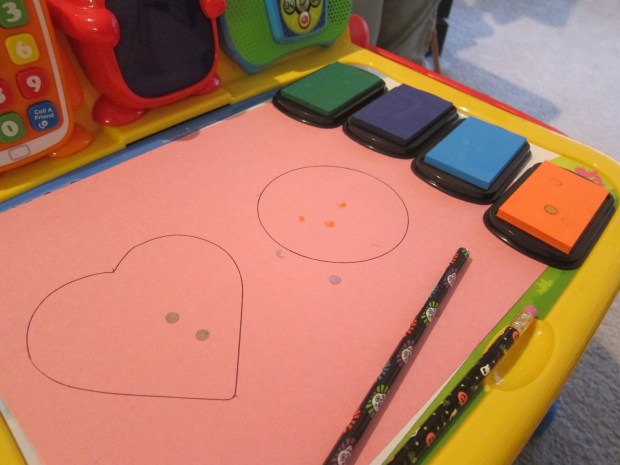
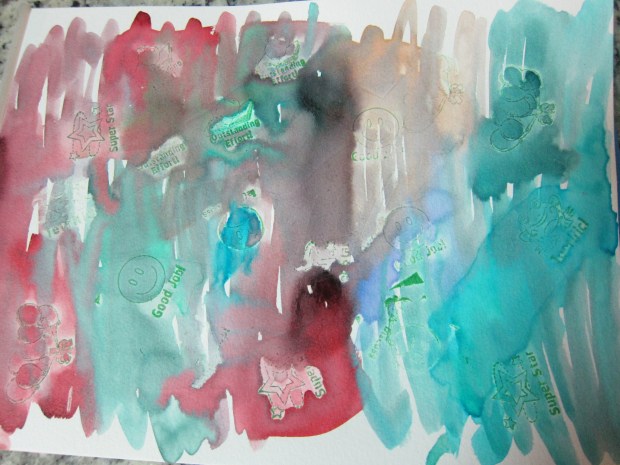
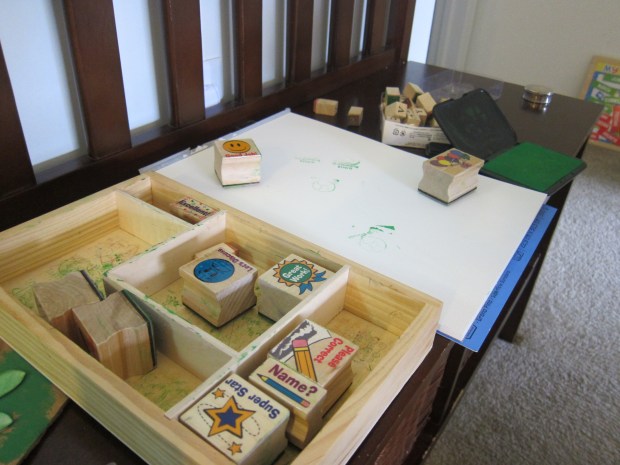
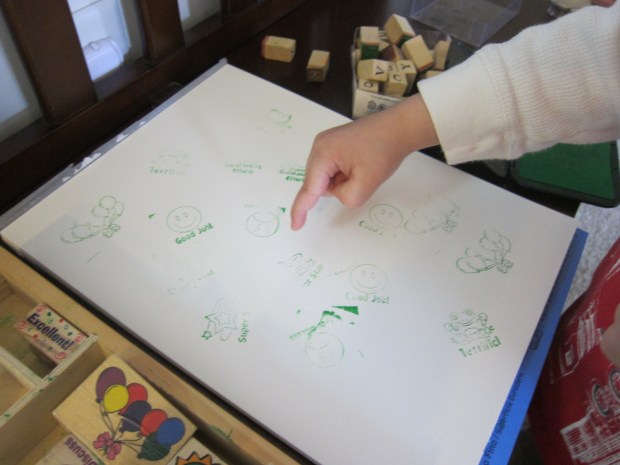
We’ve been playing with stamps a lot this week, including in a few new colors of washable ink. Travis literally greeted me first thing with a demand to use our new ink pads (note to self: don’t leave the ink out where he can see it from his bed), so I wiped the sleep from my eyes and dove into this novel stamping game. I thought the cute variation on dot markers would delight Travis!

First, outline a few shapes on paper for your child with cookie cutters – this part is optional, as of course you can just dot the paper at random, but the shapes mean you’ll have a nice craft at the end.

Stamp Eraser (4)

I set Travis up with a couple of pencils (unsharpened, but with good erasers!) and our washable ink in various colors, and he quickly took to pressing the eraser into the ink before transferring over to the shapes.

Stamp Eraser (3)

The craft turned out to be a little tricky for his hands! Most times he only pressed down a half-circle of eraser, instead of achieving a full circle. Also, you never realize how tiny a pencil eraser is until your child is trying to fill in a cookie cutter shape! When he got bored, I filled in a few final dots.

Stamp Eraser (5)

These looked pretty hanging in our window! Had we done them in the winter, they might even make cute homemade ornaments.

Stamp Erase r (6)

Ice, Water, Vapor

Ice Steam (2)

It’s been quite some time since I hopped over to Hands on As We Grow, but glad I stumbled upon this experiment and remembered what a treasure trove the site is for games and learning!

Parents, use your discretion before embarking on this activity. Kids will need to stand near a burner and hot pot on the stove. If you think they will reach out, wait until they are older. However, if you’ve started to include them as a little sous-chef in the kitchen and they understand the basics of kitchen safety, they are likely ready for it.

Travis loves playing with ice, and today I told him we’d take ice cubes all the way from frozen to steamy vapor. He was so excited to see how it would happen!

First, have your child help you count ice cubes into two pots. There really was no need to use two, except that it doubled the excitement of watching what happened during the experiment.

Ice Steam (1)

We placed the pots on the stove, where the ice quickly reached the next phase – water! I gave Travis a big wooden spoon to stir with so he could feel the difference between the chunky ice cubes and smooth water.

Ice Steam (3)

Very quickly, our pots started bubbling and we waited for the steam to appear. We had two ice cubes left over, and added them to the pot when it was at its hottest – Travis couldn’t believe how quickly they melted!

Ice Steam (4)

A great intro to states of matter.

Cardboard Postcard

Cardboard Post (6)

For kids interested in stamps and letters, this project is fantastic. Not only do they get to make a unique creation, but you can really mail it!

For sturdy backing, we made our postcards on cardboard, which I simply trimmed from a package that had arrived earlier in the week. Travis decorated with a “message” – he loves pretending to write words these days!

Cardboard Post (2)

I made sure to leave room on the side for lines and the address of our recipient.

Cardboard Post (1)

Turn the card over and decorate – we used glue and cut up pieces of tissue paper.

Cardboard Post (3)

If you like, use a paintbrush to deal your design with an additional layer of glue; this gives your creation a better chance of making it through the mail intact… though I confess we skipped this step!

Cardboard Post (7)

Once the glue dried, we were off to the post office! I think we made the clerk’s day when we showed her what we wanted to mail. Now your lucky recipient will receive a surprise in the mail!

Cardboard Post (8).JPG

Rock On!

Rock On (3)

As any parent of a rock collector knows, rocks pretty much, well, rock! We’re always finding great stones to add to our collection, but I loved this project from High Five magazine because it upped the stakes a little – we needed to find flat rocks in order to make the project work.

Luckily an outdoor foray yielded just enough smooth flat ones to build a sculpture.

Rock On (8)

The first step was to paint them. I thought we’d use all three primary colors, but yellow didn’t show up very well on the dark gray rocks, so we mostly had a blue and red result.

Rock On (6)

This mama was particularly proud of a green shade she mixed, until a toddler came along and turned it brown – such is motherhood!

Rock on (9)

Let your rocks dry completely.

Rock On (1)

Once dry, we used our largest rock as the base and began gluing them together into a sculpture.

Rock On (2)

And of course what sculpture doesn’t need a healthy heaping portion of extra glue on top?

Rock On (4)

Overall, a very cute twist on rock collecting. What does your sculpture look like? Please share in the comments!

Stamps and Watercolors

stamp watercolor (11)

This mixed media project was perfect for a lazy Sunday morning – no special equipment required, very hands on, and with a neat little twist that kids will love.

It started when Travis requested his set of stamps, so first we simply dotted them all over a piece of watercolor paper.

stamp watercolor (1)

Our ink is running out just a tad, but this almost made it more interesting – Travis was quite intrigued that some stamps came out “full” and some only “half” if the ink had faded.

stamp watercolor (3)

Then I asked him if he wanted to use watercolors over the stamps, which received an enthusiastic yes! He’s very deliberate about choosing colors lately, and loved selecting which watercolor to use before applying to the paper.

stamp watercolor (6)

The twist is that the watercolor will run off the stamped areas quite quickly – the same effect as when you paint over waxy crayon – which had him so excited he was nearly shaking with enjoyment.

stamp watercolor (7)

He proceeded to choose which color should go over which stamp for some time.

stamp watercolor (8)

The end result is a bit messy and haphazard, but still a delight!

stamp watercolor (9)

Overnight French Toast

Overnight French Toast (4)

I adapted this recipe slightly from High Five magazine to veganize it. It’s a great recipe that will have kids whisking, mixing, arranging, and pouring batter – so many great steps, and Travis wanted to do them all!

First, adults should cut a 16-ounce loaf of day-old French bread into 1-inch thick slices; set aside.

In a bowl, have your child whisk together: 2 Ener-G eggs, 2 tablespoons chia seeds, 1 and 1/2 cups hemp milk, 1/2 cup non-dairy creamer, and 1/3 cup maple syrup.

Overnight French Toast (2)

Now it’s time to arrange the bread slices in a baking dish. Travis placed his slices in very importantly; I did a little tidying up once he had finished just so the slices were in an even layer.

Overnight French Toast (3)

Help your child hold the bowl to pour the batter evenly over the bread slices. Cover with foil and refrigerate overnight.

In the morning, remove the dish from the fridge at least one hour before baking. Bake at 375 degrees F for 35 minutes.

To serve, combine 2 tablespoons melted Earth Balance butter with 2 tablespoons maple syrup and drizzle evenly over the slices.

Overnight French Toast (5)

Exploring Seeds

Exploring Seeds (6)

My goal with this project was to show Travis the life cycle of a seed, from dried and hard, to sprouting its first green shoot. Alas, it didn’t entirely work out, but we still had fun!

We started out simple, feeling the bean seeds both before and after we soaked them in water for about an hour.

Exploring Seeds (2)

It was very cool how quickly the skins become wrinkly.

Exploring Seeds (1)

The next morning, the beans were soft enough to split apart with a finger. Travis was really interested in how the soaked beans looked compared to a new set of dried ones – much softer and nearly twice the size.

Exploring Seeds (4)

Select several of your soaked seeds to sprout (not any of the ones you have split in half). Line a mason jar with a paper towel on the bottom, and add about 1 inch of water, swirling to soak the paper towel. Repeat until the paper towel is completely wet and you have about 1 inch of water above it. Add your seeds, placing them between the wet paper towel and the side of the jar.

Exploring Seeds (5)

Now place it some place sunny and wait!

Whether because we’ve had very gray weather and little direct sunlight or because I have no green thumb and drowned our beans, I can’t say… but one way or another, our beans disintegrated instead of sprouting. I will try a different method next time, but this was still a neat nature lesson for a toddler!

Exploring Seeds (7)


Salt Dough Dinosaur Fossils

Salt Dough Fossil (4)

Ok, this is our last dinosaur project for a while, I promise! But I’ve become a big fan of salt dough lately, and Travis never tires of mixing flour and water, so we gave this project a quick go!

In a bowl or basin, have your child combine the following:

1 cup flour

1/2 cup salt

1/2 cup water

Mix with your hands, and add more flour if it seems too sticky. Show your child how to knead the dough – a neat little lesson if you ever intend to bake bread with them later on!

Salt Dough Fossil (1)

Then it was time to roll our dough out. We rolled ours a bit too thin – aim for 1/2-inch thick for the best dinosaur imprints.

Salt Dough Fossil (2)

Cut circles from the dough with a cookie cutter, and then press toy plastic dinosaurs into the dough to leave an imprint. Travis loved using the cookie cutter to make circles within circles, while I set aside our finished “fossil” imprints.

Salt Dough Fossil (3)

We let our fossils air-dry this time around, although you can speed up the process in the oven.

Salt Dough Fossil (6)

Now your budding archaeologist can dig up dino fossils any time he or she likes!

Chocolate Chip Cookie Fossil Dig!

Chocolate Chip Dig (1)

Digging for dinosaurs might be fun… but digging for chocolate? Even better!

We had some purely indulgent fun with this game, having talked a lot this week about digging for fossils and archaeology. I presented Travis with two chocolate chip cookies (one thin, one thick, for nice variation) and invited him to excavate the chocolate chips.

Chocolate Chip Dig (6)

Possible tools include toothpicks, forks, or toddler-safe knives.

The fork turned out to be the fast favorite.

Chocolate Chip Dig (4)

Although hands were a close second place!

Chocolate Chip Dig (3)

Did we eat our discoveries? But of course.

Chocolate Chip Dig (5)