DIY Star Wars Sun Prints

Lego Sun Prints (3).JPG

Travis has been obsessed with Star Wars lately, so we used a favorite summer art activity (sun prints) to make DIY room decor!

Print out templates of your child’s favorite characters heads. Favorites around here include Darth Vader and Kylo Ren, but many of the character’s heads or helmets will make iconic shadows.

Cut out the templates and place on colored construction paper. Set in the sun for at least a few hours – the longer the better!

Lego Sun Prints (1)

Travis loved the shadowy images we achieved and proudly hung them in his room.

Lego Sun Prints (4)

Don’t forget you can play this game with plenty of other objects, too. Cookie cutters make cute decor for Veronika’s side of the room.

Lego Sun Prints (2)

Faces of the Moon

Face of Moon (10)

If you’re looking for the most delicious way under the sun (er, moon!) to teach your kid the names for all the moon’s different phases, this quick lesson plan from Raddish Kids has you covered. Hint: It involves Oreo cookies.

But before I let Travis eat cookies, we focused on a little moon information. I asked Travis what he pictured when he thought about the sky; he came up with ‘blue’ and ‘clouds’. Two great daytime picks! But what about focusing on the nighttime sky, I asked him.

Face of Moon (1)

We watched two quick background videos on moon phases and I also made him a chart (which earned a “thanks Mom!”). This was his first introduction to some great science words, like waxing, waning, and gibbous.

Face of Moon (2)

Now it was time to show him the moon phases with three neat projects.

To make the first, a moon phase viewer, cut a black rectangle from construction paper. Fold the paper in half and open back up again. Cut a white square from white construction paper that fits in the folded black rectangle, leaving a long tab on either end so you can pull the white paper side to side.

Trace a coin on the black paper, pressing firmly so the imprint is visible on the white paper below as well. Cut out both circles.

Face of Moon (3)

Now line up your viewer and slide the white paper to see it change from gibbous to half to crescent to new and back again!

Face of Moon (4)

For the second moon viewer, you’ll need two plastic cups. Glue or tape a yellow circle onto black construction paper and insert into one plastic cup; tape into place.

Face of Moon (6)

On the second cup, label a place for full, waning half, new, and waxing half moons. Now rotate your yellow circle and color over it with black sharpie as appropriate to form each moon phase, leaving the full moon with no sharpie. Travis loved spinning this one!

Face of Moon (5)

The third version is where he had the real fun! I set out eight cookies (we like Newman O’s) on a diagram and it was Travis’s job to scrape the right amount of frosting off each to form the eight phases.

Face of Moon (7)

Needless to say, there was much nibbling along with the scraping!

Face of Moon (9)

I had to help him with some of the trickier ones (gibbous, crescents), but he was a pro at half and new moon.

Face of Moon (8)

We finished off with a read of The Moon Book by Gail Gibbons.

Face of Moon (12)

Consider making craters in a clay moon if your kids want to continue the fun!

Face of Moon (11)


Eat the Alphabet

Eat Alph main.JPG

What better way to conclude an almost-kindergartner’s summer alphabet lessons than to eat your way through it? Each day for 26 days at snack time, I gave Travis a food starting with a letter, in alphabetical order. He had to make that letter first, then – yum – gobble it up! Without further ado, Travis nibbled his way through:

A for apples

Eat Alph A

B for banana slices

Eat Alph B

C for cereal

Eat Alph C

D for dates

Eat Alph D

E for eggplant

Eat Alph E.JPG

F for Fritos

Eat Alph F

G for grapes

Eat Alph G.JPG

H for Hippies (chickpea puffs)

Eat Alph H.JPG

I for ice cream cone

Eat Alph I

J for jelly

Eat Alph J.JPG

K for kiwi

Eat Alph K.JPG

L for licorice

Eat Alph L

M for marshmallows

Eat Alph M

N for nuts

Eat Alph N

O for Oreo cookies

Eat Alph O.JPG

P for pretzels

Eat Alph P

Q for quesadilla

Eat Alph Q

R for raspberries

Eat Alph R

S for Sour Patch kids

Eat Alph S.JPG

T for Twizzlers

Eat Alph T.JPG

U for Utz chips

Eat Alph U.JPG

V for veggie stix

Eat Alph V

W for watermelon

Eat Alph W

X for two x-ed bell pepper stix

Eat Alph X

Y for yams

Eat Alph Y

and Z for zucchini!

Eat Alph Z

Melted Crayon Suncatchers

Crayon Suncatcher (8).JPG

It’s so fun to harness the power of the sun when you make art in the summertime. Travis and I used melted crayons in a project once before, but that one relied on the indoor heat of a hairdryer. This time, we put the sun’s heat to work!

To set up, lay a piece of black construction paper on a baking sheet. The dark surface and the metal will help absorb as much of the sun’s heat as possible. Cut two equal sheets of wax paper, and place one on the black paper.

Crayon Suncatcher (1)

The next step was a bit tricky: remove the paper wrapper from crayons and use the edge of a craft stick to shave off bits of wax. Travis found this to be quite difficult, and in all honesty, I did too.

Crayon Suncatcher (2)

After he’d tried for a bit, I made sure our wax paper was covered with enough shavings. Cover that with the second piece of wax paper.

Crayon Suncatcher (3)

Now place in direct sunlight (just like we did with a solar oven a few days ago)! Depending how hot the day is, your crayons may need anywhere from 1 hour to several in order to melt. You can press down, on occasion, to help the process along.

Crayon Suncatcher (5)

To turn it into a suncatcher, cut the wax paper into rectangles or other shapes, and punch a hole in the top of each piece.

Crayon Suncatcher (6)

Thread them onto a dowel (or attach with string), and hang up in the window to catch the sun.

Crayon Suncatcher (7)

What beautiful sunshine!

Crayon Suncatcher (9)


Sundial

Sundial (12).JPG

Last summer Travis helped make two DIY versions of a sundial, but he was really too young to understand how we were tracking the sun. This year, he was ready, and our model a bit more precise!

First, he traced a circle on a piece of sturdy poster board.

Sundial (1)

Cut out and find the exact center of your poster board by measuring halfway lengthwise and crosswise.

Sundial (2)

We used a dowel as our centerpiece, and used clay to hold it in place; Travis pressed down the clay, and then made sure the dowel was nice and secure.

Sundial (4)

We headed out the next morning as soon as sunlight hit the patio, and I showed Travis how to trace a straight line along a ruler following the dowel’s shadow.

Sundial (6)

I pointed out how looong the shadow was this time of day, too, and challenged him to notice how that would change as the day went on.

Sundial (7)

We missed a few morning hours because we were out and about! But by 1 p.m. we were steadily marking on the hour. As we had guessed, the dowel’s shadow was much shorter in the middle of the afternoon, then began to lengthen again.

Sundial (8)

After 5, we lost our sunlight on the patio!

Sundial (9)

So now it was time to head inside and decorate the sundial. Dot markers were the perfect tool for the job!

Sundial (10)

Travis loved the way it looked and now has a neat visual of the sun’s path across the sky each day.

Sundial (11)


Exploring Stars Kiwi Crate

Kiwi Stars

The topic of Travis’s Kiwi Crate this month (stars and the solar system), is one of his favorite topics, so I had no doubts he would enjoy the projects. The crafts themselves proved to be a little faulty, but we still had galaxies full of fun. What a perfect coincidence that his recipes from Raddish Kids were star-themed this month, too.

First up: a Constellation Lantern. Travis knows quite a bit about constellations, so happily set about making a few pretend versions with the provided black star stickers on the lantern paper.

Kiwi Stars (10)

I made a few real star patterns for him, including Leo the lion (his astrological sign) and some funny ones (Darth Vader’s helmet!).

Kiwi Stars (11)

He popped open the paper lantern frame.

Kiwi Stars (12)

Insert the slots at the bottom of the frame into the provided paper base; fold and then tape to secure shut. Open the paper lantern insert and put this inside the first frame. The pages he had decorated with stars now fit in between these two.

Kiwi Stars (13)

“I can do it myself!” he said confidently, not wanting any assistance.

Adhere the provided foam circle into the bottom of the lantern. Insert the provided tea light (make sure it is on!) and then add the paper lantern lid. A pipe cleaner threaded through holes in the top makes a handle.

Kiwi Stars (14)

From here, we were off to the darkest room we could find in the house to check it out!

Kiwi Stars (16)

Travis loved being in the dark and seeing the stars “glow”.

Kiwi Stars (15)

Next up was a Solar Spinner, a kid-friendly version of an orrery.

Two interlocking wooden gears are inserted into the provided base and secured with brads. As with the lantern, Travis loved doing all these fine motor skills by himself.

Kiwi Stars (1)

Once the gears were between the two base plates, Travis screwed them together with kid-friendly plastic nuts and bolts.

Kiwi Stars (3)

He gave the machine little test, and watched the wooden gears spin around together. Now we just needed to add the provided sun, Earth, and moon. There are teeny tiny green stickers that kids can add to the blue Earth circle.

Kiwi Stars (5)

The “sun” is a light inserted into a plastic case.

Kiwi Stars (4)

All three orbs attach to the orrery with sticky foam dots.

Kiwi Stars (8)

Travis was smitten with the model he’d made! It also fantastically illustrates to children why sometimes it’s day and sometimes night, as well as why sometimes we see a full moon and sometimes no moon (a new moon). Full moon…

Kiwi Stars (7)

New moon!

Kiwi Stars (6)

Finally, we put together a Making Moonlight model. Stick the sharp end of a pencil onto a Styrofoam ball (not provided in the kit); this will be your moon. Turn on a flashlight; this is your sun!

Making Moonlight (1)

Now we headed into a dark room and I had Travis spin while I held the “sun.”

Making Moonlight (2)

When the flashlight hits the ball, it appears to glow; but of course it’s not really glowing, just reflecting the flashlight. The idea is to show that the moon doesn’t make its own light, but looks “full” when the sun shines on it, and looks “new” when sunlight does not hit it.

Making Moonlight (3)

Travis loved adding lots of “craters” to his moon before he was done with it.

Making Moonlight (4)

As mentioned at the top of this post, the projects were a little faulty in this kit. In order to turn off the lights in both, you had to disassemble them a little. This constant take-apart-and-put-back-together-again meant that neither project lasted long. The top of the lantern and pipe cleaner were soon crumpled and broken, and the model sun no longer adhered to our model solar system.

But we at least got to enjoy both for a short while!

Oddly, there were no suggested books this time around, but it was easy to find some fun reads at the library, including Whose Moon is That by Kim Krans and Zoo in the Sky by Jacqueline Mitton.

Kiwi Stars books

Meanwhile, we can’t wait to explore further with Travis’s real telescope on an upcoming vacation. Our plans include making up our own pictures with what we see in the night sky; comparing how the sky is way out in the countryside versus near a city; and looking for craters on the moon!

Snack Math


Snack Math (6)

Summer is winding to a close and I’m sneaking in a few final math games before the start of (!) Kindergarten. Today Travis did a quick math review  at snack time. Ideal foods for this game are small snacks your child eats a lot of: Annie’s bunny grahams, cereal pieces, pretzel sticks, etc. We played with Earth Balance vegan cheddar squares!

Write out the numbers 1 through 10 on post-its or index cards. Before eating, Travis had to place the correct number of cheddar squares on each post-it.

I had him start with 10 knowing that working up to larger numbers would be more daunting. Instead, it got easier as he went along.

Snack Math (2)

Unexpectedly, he loved the game! He tried to make each pile into vertical stacks, and thought it was hilarious when they toppled over.

Snack Math (3)

This was a great way to keep a math lesson light.

Snack Math (4)

He also thought it was hilarious to eat any broken cheddar squares he found, a quick lesson on fractions and halves even if he didn’t know it!

Snack Math (5)

And then at the end, he got to knock down all the towers and gobble them up.

Snack Math (7)


Nature “Size Hunt”

Nature Size (4)

This mini scavenger hunt will inject some math into your next nature walk. We had a  beautiful family afternoon along a local trail, and I challenged Travis to find a few things of various sizes compared to something else along the way. You can vary your list, but here are a few ideas:

First up, he needed to spot something smaller than his fingernail. I thought he might find a bug, but he surprised me with this little pebble.

Nature Size (5)

Longer than his arm? A stick!

Nature Size (3)

A rock was bigger than his hand, and an acorn was smaller than his foot.

Nature Size (2)

For the last one, he needed to spot something larger than a leaf. The leaf we found was cool all by itself, almost mitten-shaped! 

Nature Size (1)What items do you find on your “size hunt”? Please share in the comments!

Kindergarten Summer Math Games

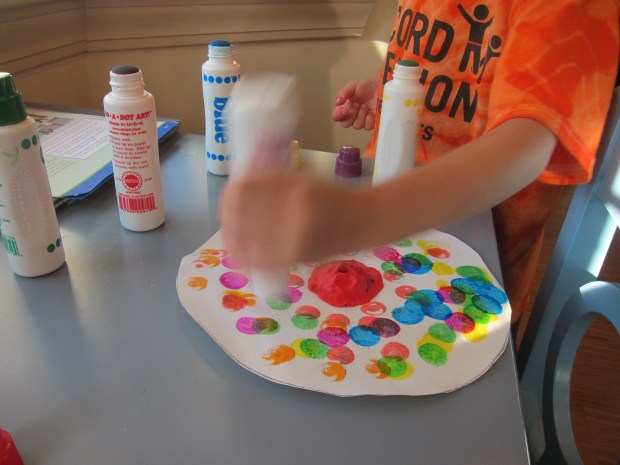
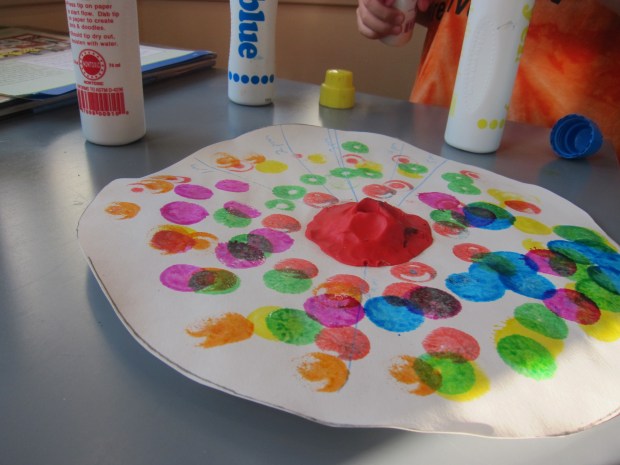
There are so many subtle ways to sneak math into your child’s summer to avoid the “summer slide.” Here are just a few Travis has enjoyed this summer, in the bridge between pre-K and Kindergarten, without even realizing I was helping him with his math skills!

Counting: How Many People?

Every once over the course of a day or a week, stop and ask your child to quickly tell you how many people are in the room. You can do this when the number is small (say, at home in our living room), or large, as when we found ourselves in a playspace. The playspace was fantastic because the number kept changing over the hour or so that we played there, making Travis count as high as 12 at one point.

Summer Math (7)

Counting: Toy Pick-Up Challenge

Travis has fought me on requests to clean-up lately, but not so on the day I announced a challenge. Could he pick up ten toys exactly? Immediately, he was racing around and counting out loud. One, two, three went into a toy bin.

Summer Math (16).JPG

A huge battle between action figures and bugs was going on over by the piano. This gave him numbers four, five, six, seven, eight, and nine. He could barely hold them all in his excitement.

Summer Math (17)

“I need one more!” he exclaimed, realizing all his toys were now put away. I told him he could be a super-helper and clean up one of baby sister’s toys. Ten!

Sorting and Estimating: Laundry Sort

I told Travis I needed his help on a recent big laundry day. As each load came out of the dryer, we made piles. Baby sister things, Travis things, mommy things, and daddy things.

Summer Math (3)

It soon became a silly joke, since we seemed to have a load that was almost entirely daddy clothes and very few Travis ones.

Summer Math (2)

“Did you forget to get dressed this week?” I teased him. Well he thought this was just hilarious, and soon was happily tossing clothes into the right piles.

Summer Math (4)

When we had finished, I asked him who had the least clothes. For this load, it turned out to be baby sister. Who had the most? Daddy!

Summer Math (6)

He loved the game so much he couldn’t wait for a repeat as loads two and three came out of the dryer. I plan to enlist him as my helper for as long as I can con him into this!

Summer Math (1)

Money and Coins: Pretend Store

For the occasion, I bought Travis a new toy register (an early birthday gift), which added to his excitement. We grabbed a few real food items from the pantry and added price tags.

Summer Math (10).JPG

Based on the denominations in this particular register set, clearly our grocery store suffered from inflation, ha.

Summer Math (9)

As we played, we talked about prices, and learned which bills or coins added up to which totals.

Summer Math (11)

Realizing that things were a bit strange with the fake coins in the register, we next played using real quarters.

Summer Math (12)

You can talk about how there are 100 cents in a dollar, and the value of one, two, three, or four quarters. It was a lot of information to send his way, and I knew all this was a bit over his head, but it never hurts to have an intro!
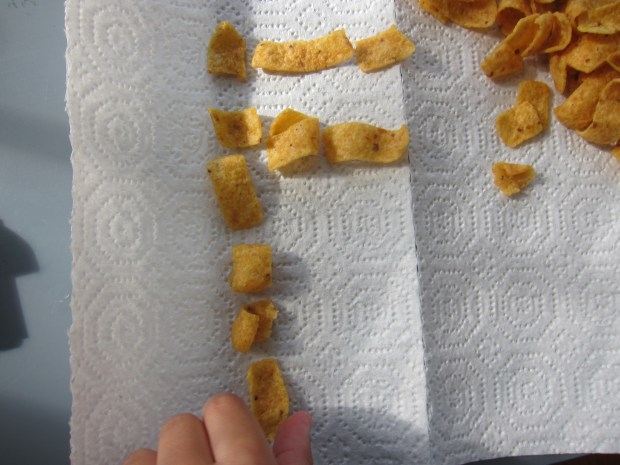
Summer Math (13)

Shapes: Dinner Quiz

At dinner, do a quick pop quiz. What shape is the plate? A circle!  What shape are the napkins? Rectangles! How about the leftover quesadilla? A crescent!

Summer Math (14)

You can also take this opportunity for some quick counting, i.e. how many green beans are left on your plate or how many utensils.
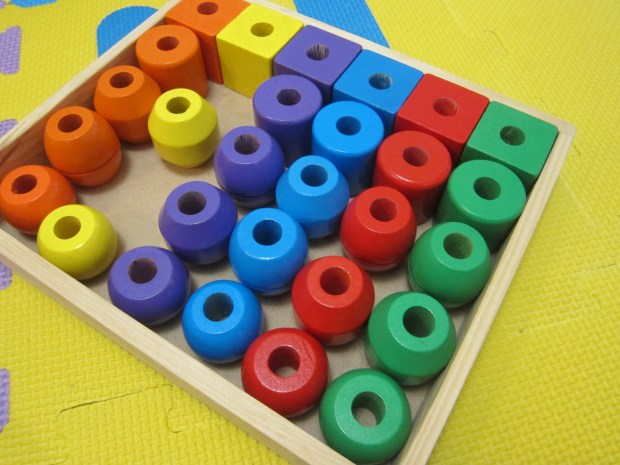
Summer Math (15)

Shapes: Toy Pick Up

As your child cleans up the room, announce that they have to shout out the shape (and color, too!) of each toy they clean up.

Summer Math (19).JPG

This works particularly well with toys like blocks.

Summer Math (20)

I turned it into a hunt for Travis, and I’ve never seen this set of blocks get so willingly cleaned.

Summer Math (22)

It worked well with baby sister’s beads, too… and even alerted us to the fact that a couple were missing!

Summer Math (23)

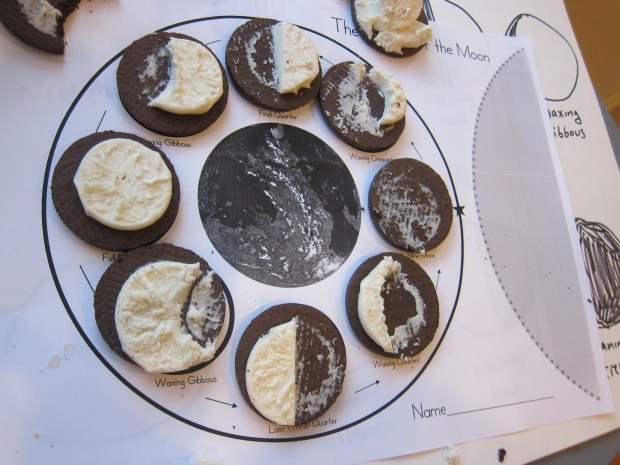
Fractions, Measuring and Estimating: Get Cooking!

Get kids measuring, scooping, pouring, and leveling in the kitchen, and they’ll be getting a math lesson without even knowing it. Although fractions are a bit advanced for kids entering kindergarten, just hearing the terms “a third of a cup” or “half a cup” will expose them to the idea of dividing one whole into smaller portions.

Summer Math u.JPG

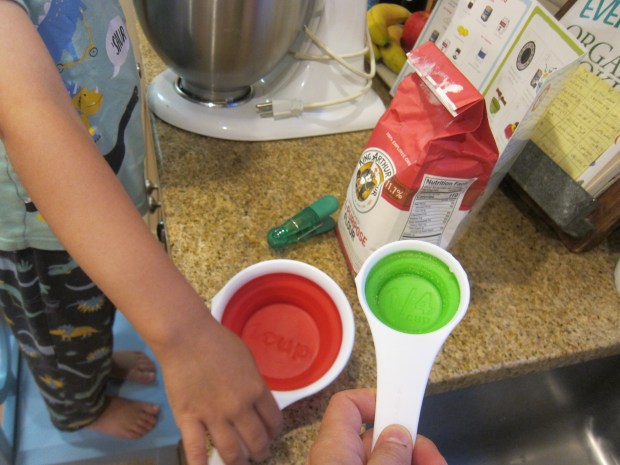
Cooking is also great for learning equivalents (3 teaspoons = 1 tablespoon), relative sizes (a tablespoon is bigger than a teaspoon), and reading larger numbers (350 degree ovens). Here, I asked Travis how long our recipe needed to bake. “20 minutes!” he reported.

summer math u2

Matching: Sock Match-Up

Another great laundry game: Fold your laundry, but leave the socks in a big pile. When Travis came home one afternoon, I said to him, “Oh no, the socks ran away from me!”

Summer Math (28)

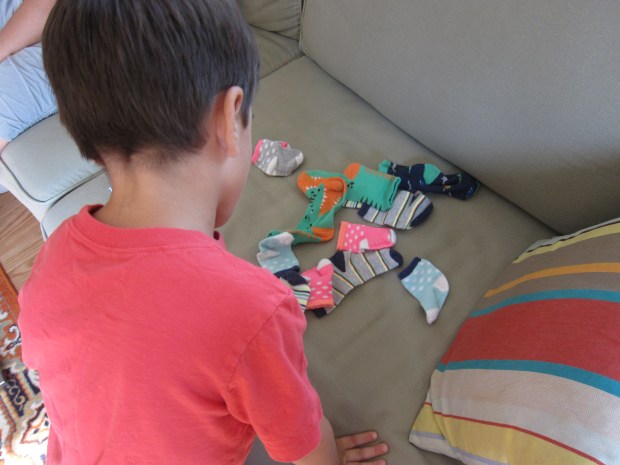
He thought the idea of the socks having escaped the laundry pile was very silly. In no time at all, he was matching them up.

Summer Math (29)

A few (similar striped patterns, for example) fooled him but a moment, but then he had things all matched up.

Summer Math (30)

Temperature: Morning Temp

Invest in a thermometer for outside your home or on your patio, and have your child read it every morning.

Summer math (28).JPG

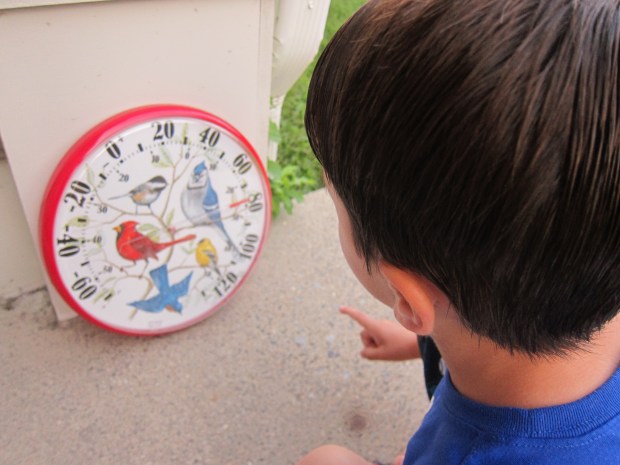
This has become a fun ritual in our house! Because many patio thermometers don’t have all the digits listed, it has become an unintended lesson on skip-counting by twos, with each notch in our dial representing two degrees.

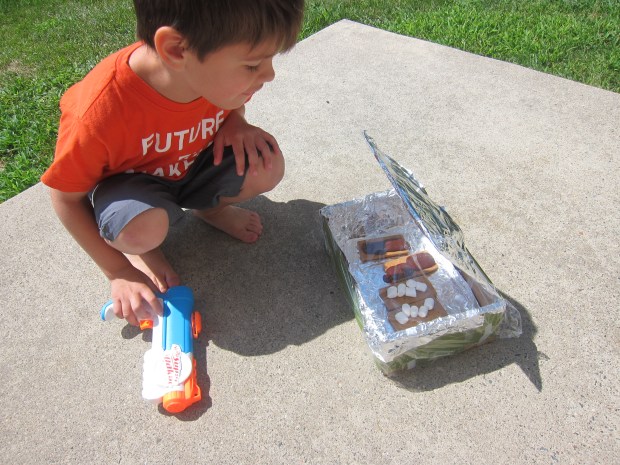
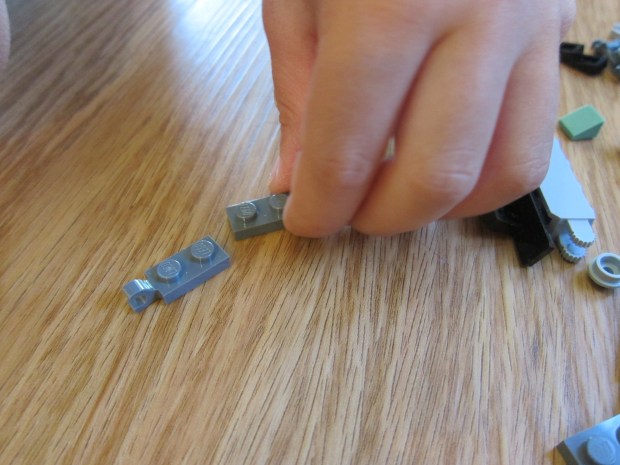
Engineering: Lego Building

Legos help with fine motor skills, problem solving and planning skills, shape recognition, and so much more. There’s a reason so many towns have Lego building clubs these days!

Summer Math (26)

You don’t need to join a club; just get building at home. Need I say more?

Summer Math (27)

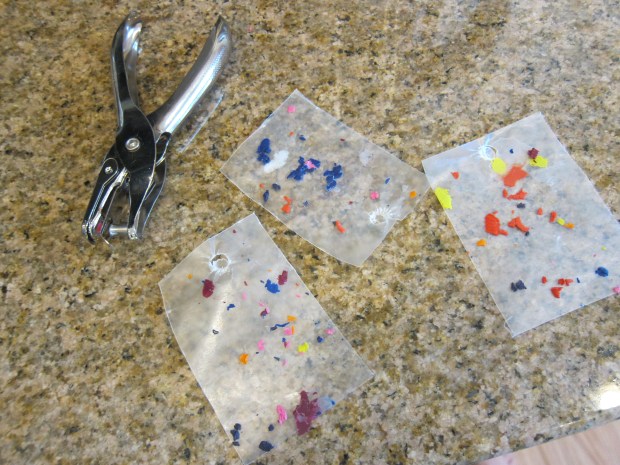
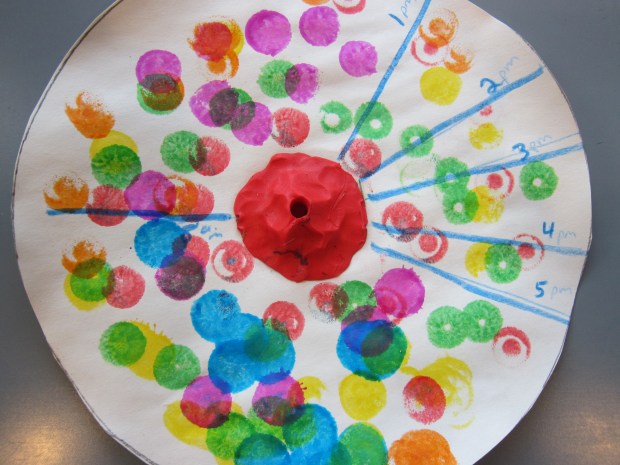
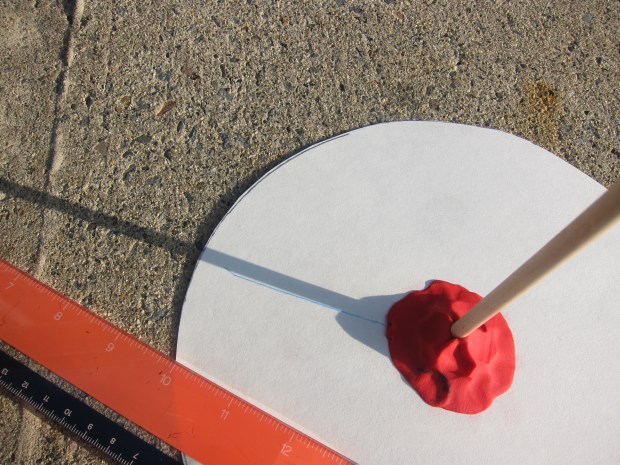
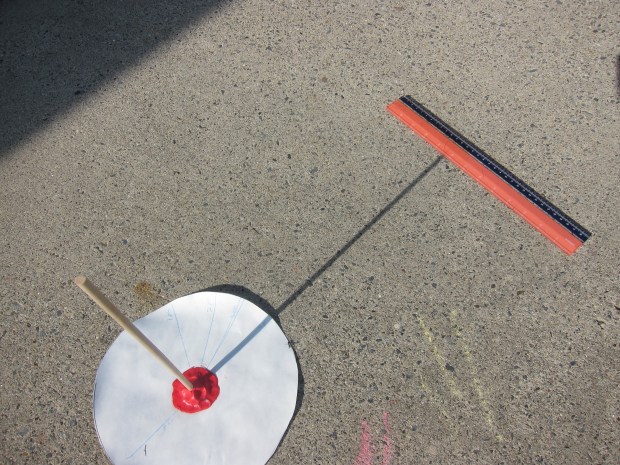
Telling Time: Model Clock Book

Telling the time is a great skill to work on over the summer. Invest in a good analog clock or a great book about one featuring a clock with hands that your child can manipulate. We love How To… Tell the Time from Cottage Door Press because not only does it give a nice run-down of telling the hour and half hour, but there is a fun section for kids to move the hands based on their activities each day (brush teeth, go to bed etc.).

Summer Math (28).JPG

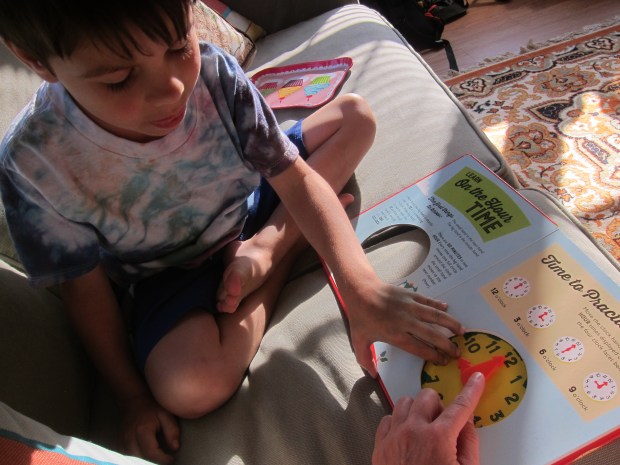
This gave a real-life scenario way for Travis to think about the time and understand it better. There’s even a model clock to punch out.

Summer Math (29).JPG

(Note: I have yet to find a good book featuring the minutes; many focus on hours and half hours, so I added the minutes in tape to our model clock).

Summer Math (30)

Volume: Measuring Cup Play

Measuring cups are the perfect tool for teaching about volume (and fractions, too!), and if you add colored water, your child will simply think they’re playing and having fun!

Summer Math Volume a

We took clear plastic cups, measuring cups, and food coloring outside one morning. I taught Travis to read the number after the slash on each measuring cup to know how many times he’d need to fill it for one full cup. So two 1/2 cups, three 1/3 cups, and four 1/4 cups. For extra fun, we used food coloring to differentiate between each version.

Summer Math Volume b

Soon he was just happily pouring and mixing and having a blast in the sunshine – vitamin d as an added bonus to math time!

Weight: Fruit and Veggie Weigh

At the grocery store, Travis loves to help weigh our fruits and veggies on the scale. Give a quick lesson on how there are 16 ounces to 1 pound, and let your child read off the weight of each item you place on the scale. It’s a great intro to gently introduce the topic.

Summer Math weigh.jpg

Solar Oven S’mores

Solar Smores (9).JPG

Happy National S’mores Day! Travis and I celebrated with a STEM take on this classic summer treat: s’mores cooked in a solar-powered oven made from one of his recycled Kiwi Crates!

To start, cut the flaps off the top of the Kiwi box (or an old shoebox). Line the entire inside with aluminum foil, and secure with clear tape.

Solar Smores (1)

Place 4 graham crackers on the bottom; we love the vegan and gluten-free grahams from Kinnikinnick.

Solar Smores (2)

Top two of the graham cracker pieces with dark chocolate squares and the other two pieces with Dandies marshmallows.

Solar Smores (3)

Cover the top of the “oven” with plastic wrap and tape down; you don’t want any bugs in there! We placed our oven on the patio in hot sunshine.

Solar Smores (4)

82 degrees ought to do it!

Solar Smores (5)

After 20 minutes, we took a peek. Our chocolate was so hot and melty and perfect.

Solar Smores (8)

The Dandies had softened up, although they didn’t melt all the way down. But these made fantastic s’mores!

Solar Smores (7)