Glue Printing

Glue Printing (8)

Caution: This project is messy! But toddlers love a mess and this catered right to Veronika’s impulse for arts & crafts this morning.

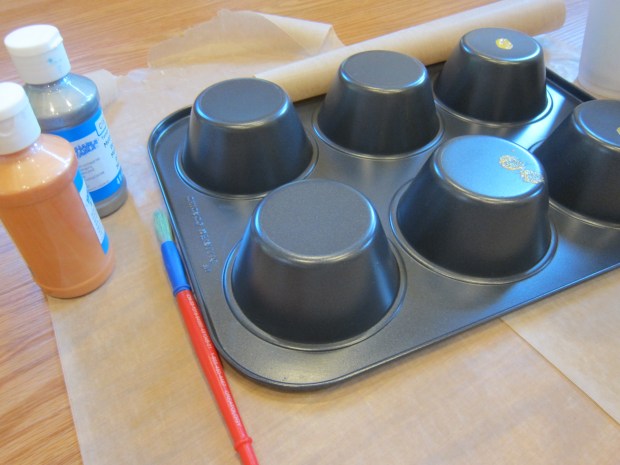
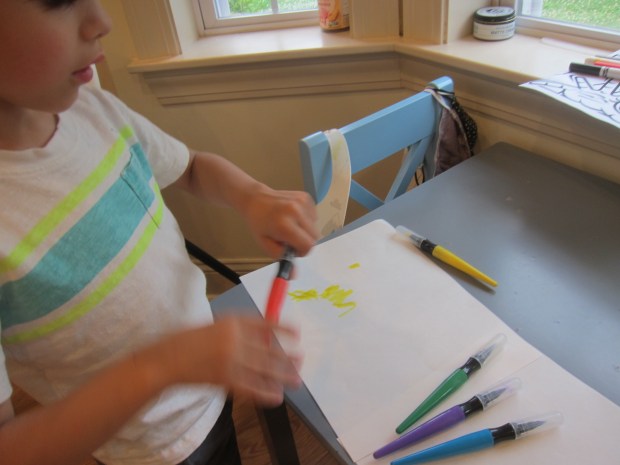
Instead of using an ink pad for stamps, the idea is to use glue as the “ink”. I gave Veronika a paper plate filled with white glue, and then I set out a few items that we could dip into it.

Glue Printing (1)

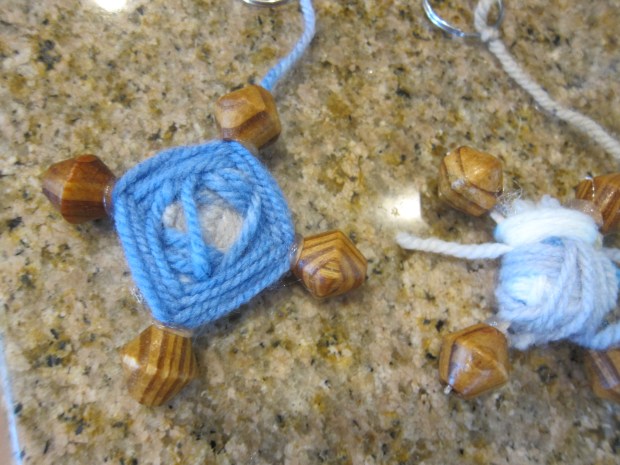
I included a fish-shaped sponge, a block wrapped in string, and a cut apple. The small block was by far the easiest for her to dip in the glue and lift up, then transfer onto paper and press down.

Glue Printing (3)

The larger items turned out to be tricky; they had a tendency to stick in the glue, and were tough for her to pull up without assistance!

Glue Printing (4)

Next time I would use much smaller objects, like a sponge cut into little squares, or slices of an apple. But with some mommy help, we managed to dip the items in our glue “ink” and then transfer to paper.

Glue Printing (5)

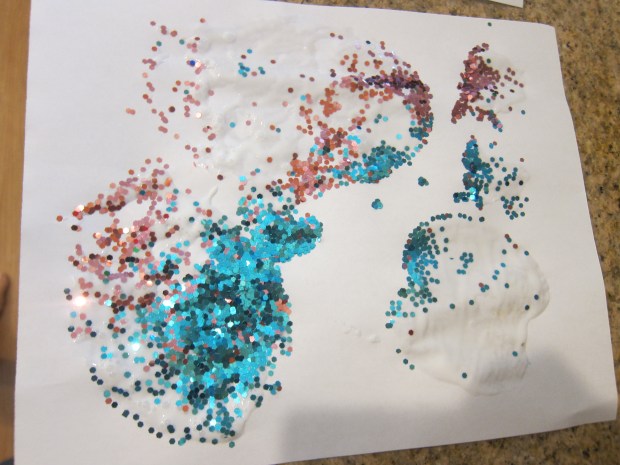
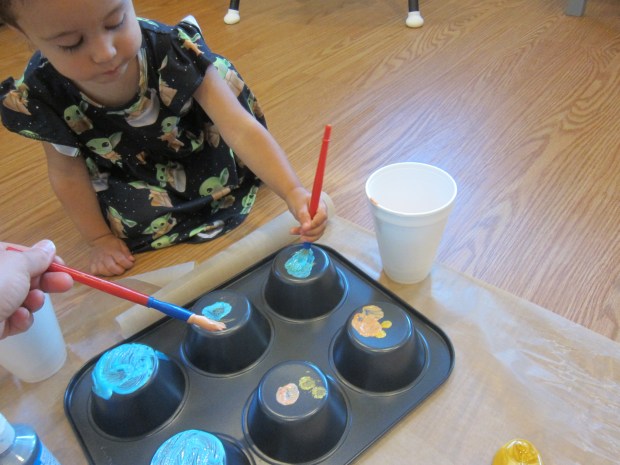
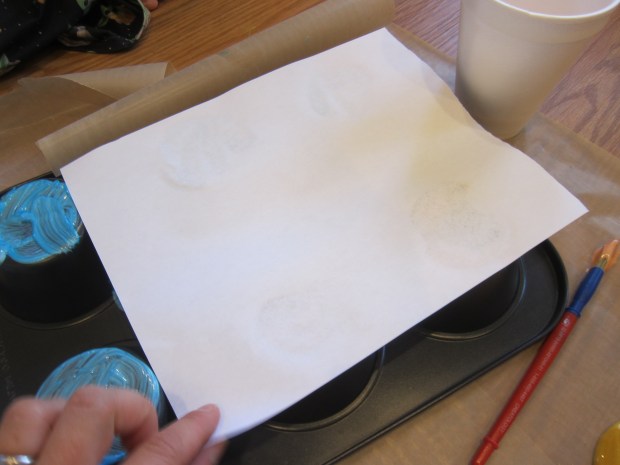
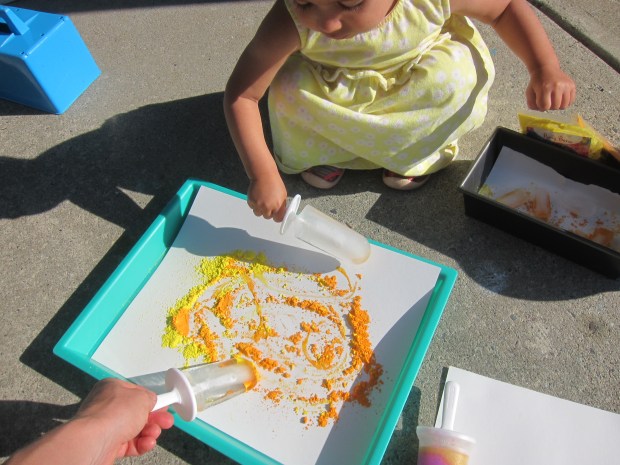
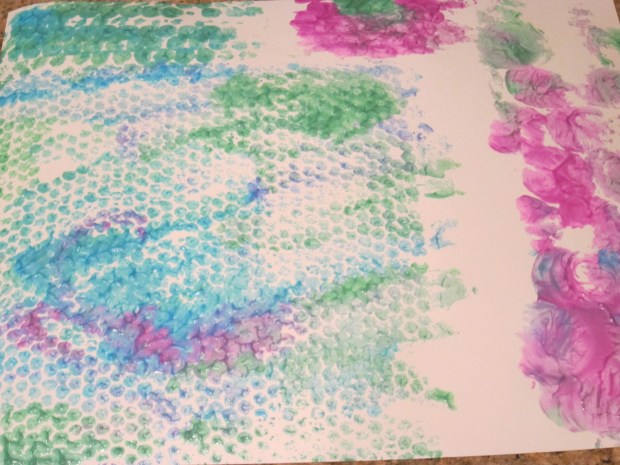
To make the prints more apparent, sprinkle with glitter. This was definitely Veronika’s favorite part, shaking a container of large glitter over the paper and watching it pour down on her creation.

Glue Printing (6)

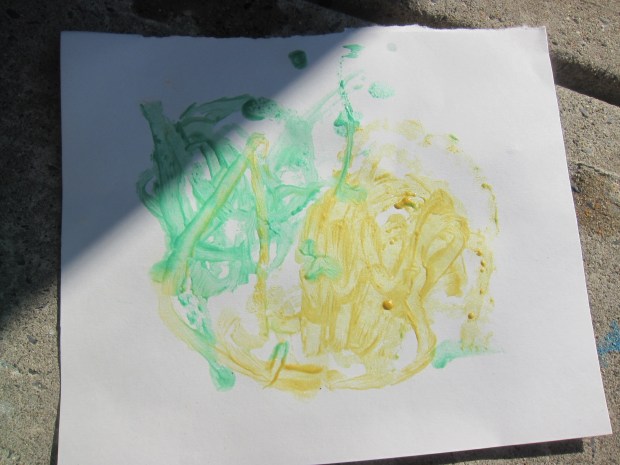
Shake off any excess glitter and let dry. I confess you couldn’t really discern the shapes of the prints we’d made, but it was still a fun and colorful piece of toddler art.

Glue Printing (9)

Footprint T-shirt

Footprint T-Shirt (3)

Big brother Travis is off at camp, and Veronika misses him! Here was a fun way to have her do something special for him while he was gone, plus fit in some arts & crafts.

We used an old tie-dyed t-shirt for this project, but you can also purchase a plain white t-shirt from the dollar store.

I sat Veronika on a chair and painted the sole of her foot with fabric paint. No doubt your toddler will giggle at how this tickles! Press firmly onto the shirt.

Footprint T-Shirt (2)

You can make as many prints as you like, whether just one front and center, all over the shirt, or anything in between. We thought it looked cute with three footprints marching across the shirt, each in a different color, like a little trail walking somewhere.

Veronika proudly added a few extra dots of fabric paint with a paintbrush, and then we set it aside to dry.

Mess-Free Carpet Doodles

Carpet Doodles (2)

If you have a toddler who loves to draw on walls and carpets, then you’ll love this mess-free way to make art together!

I headed upstairs with Veronika to the thickest carpet in the house, taking along a bag of cookie cutters and a few kitchen tools. It was time to see which ones left the best marks!

Carpet Doodles (4)

We went through the bag of cookie cutters and pressed each one into the carpet. Some left only faint marks, but some made a prominent impression in the carpet. The hands-down winner was a set of Christmas ornaments, which were able to leave deep impressions in fun shapes.

Carpet Doodles (6)

Other cookies cutters tended to work well, but the kitchen tools were hit or miss. The potato masher left a neat zig-zag, whereas other ones I thought might work (like a pastry blender) didn’t work at all.

Carpet Doodles (1)

An oval measuring cup worked well, at least!

Carpet Doodles (7)

Veronika’s favorite was a circular cookie cutter; it was easy for her to press this into the carpet and twist, leaving a deep circle print behind. She was so proud every time she saw the shape.

Carpet Doodles (3)

This was a cute way to pass the time on a gray day.

Carpet Doodles (5)

Muffin Tin Printing

Muffin Tin Printing (3)

Veronika is always eager to paint on new surfaces, and here was a safe and contained way to satisfy that urge.

Place a muffin tin, upside down, on a covered work surface. Then hand over paints and a paintbrush to your little one!

Muffin Tin Printing (1)

I showed Veronika that she could dip the brush in a paint color and then paint all over the upside-down muffin cups. She looked worried for a moment that this might get her in trouble, but seeing my smile, she was soon happily painting.

Muffin Tin Printing (2)

She loved making careful dots of gold paint. I demonstrated that she could smear the paint all over the cups, and then she briefly made bigger brushstrokes. She tested out other colors, but asked for the gold again, clearly a favorite.

Muffin Tin Printing (5)

Once there is enough paint, press a piece of thick paper on top of the muffin cups and smooth down.

Muffin Tin Printing (6)

You’ll get neat, circular prints as a result! We needed to repeat several times, of course.

Muffin Tin Printing (7)

God’s-Eye Key Chains

Gods Eye Keychain (6)

The god’s eye symbol is a traditional votive object from Mexico. But minus the religious symbolism, the pattern is an excellent early weaving technique for grade schoolers, and a classic camp-style craft for a morning here at Camp Mom.

To start, I hot-glued pairs of toothpicks together so they crossed in the middle, and made several sets so we could weave multiple key chains. You can use regular glue if you prefer, but if so you may want to do it the night before so the glue is dry by morning.

Gods Eye Keychain (1)

I showed Travis how to wrap yarn around the center to secure, then to start weaving around the toothpicks in a circle, wrapping the yarn around each toothpick before moving on to the next. The mechanics of this were a bit complicated for him, but I was so proud that he stuck with it in his own way.

Gods Eye Keychain (2)

“Look, I’m wrapping!” he declared. When he had achieved the look he wanted, he decided it was finished.

Gods Eye Keychain (4)

Meanwhile, I wrapped one in a more exact fashion to achieve the god’s eye look.

Gods Eye Keychain (3)

You can then finish these with fun details, whether pom poms or beads. My craft bin is low on supplies but I had a few wooden beads which looked lovely glued to each toothpick point. Be sure to thread one of the beads through a final piece of yarn (use a needle, if needed), and tie this yarn securely to a key ring.

Gods Eye Keychain (5)

These key chains would also make excellent gifts!

Paper Lanterns

Plastic Cup Lantner (7)

This is exactly the kind of craft I’d expect Travis to come home with after a long day of camp… if it was open! In other words, it was perfect for a Camp Mom morning.

Some of this required grown-up help for a 6 year old, but your older “campers” can do the project mostly solo.

First, use paint (or paint pens for faster drying) to color on sheets of construction paper. I helped Travis understand that larger designs would work better, as we were coloring the outer decoration of the lantern.

Plastic Cup Lantern (1)

Let dry and then cut into an 8×5-inch rectangle. (Note: You may need to make your rectangle slightly larger or smaller, depending on the size of your plastic cups).

Next, cut a hole from the bottom of a plastic cup with a craft knife. Use hot glue to glue the top rim of this cup to the top rim of a second plastic cup.

Plastic Cup Lantern (3)

Now, use the craft knife to cut slits along the painted paper, spaced about 1 inch apart and making sure to leave a 1/2-inch border at top and bottom.

Plastic Cup Lantern (2)

Glue the paper around the plastic cups, pushing down slightly so the decorated slits puff outwards. Let dry.

Plastic Cup Lantern (5)

At night, insert an LED tea light! Travis was thrilled watching them glow, and of course wanted to use them as nightlights in his room.

Plastic Cup Lantern (6)

Paint Popsicles

Popsicle Painting (7)

For a cool toddler art project, today Veronika and I played around with paint popsicles in a few different ways. In retrospect, I would have waited on this activity until she was a little older, since today she really just wanted to eat a popsicle! But we did get in a little art, too.

The night before, freeze two kinds of “popsicles”. I poured tempera paint (in pretty metallic colors) into two popsicle molds, and then filled two more with plain water. Insert the sticks and freeze overnight.

The next morning, we headed out to the patio, already scorching hot!

Popsicle Painting (3)

We started with the plain ice popsicles, which was when I realized we were going to have a bit of a problem. Veronika spotted the popsicle molds, and wanted a taste! This didn’t matter with the plain water, but I worried what would happen when we got to the paint version.

Popsicle Painting (4)

Luckily, I was able to divert her attention to the craft: sprinkle a little powdered paint on a piece of poster board or thick paper. Use the ice “popsicle” to turn it into beautiful swirls of paint. She watched for a few minutes before joining in (and I did still need to deter a few licks).

Popsicle Painting (5)

As a result, I only briefly showed her the “popsicles” made from actual paint. These are similar in concept, except now there’s no need for powdered paint. Simply swirl the icy paint over thick paper. The more it melts, the more paint gets left behind.

Popsicle Painting (9)

But with her temptation to eat them, I detoured to a version she would be less likely to try to devour. We sprinkled powdered paint onto paper in a container small enough for her to hold in her hands.

Popsicle Painting (1)

Add ice cubes and show your toddler how to shake it side to side. Again, the ice melts and leaves pretty swirls of color behind.

Popsicle Painting (2)

As you can guess, this activity was short-lived, but fun nonetheless!

Popsicle Painting (6)

Circular-Loom Woven Trivets

Woven Trivet (7)

I intended for this old-school camp activity to help fill a Camp Mom morning at home, but it required more dexterity than Travis could master as a six year old. Still, both kids adapted the materials involved to play in their own way, keeping us all busy for an hour! I guess that makes it a Camp Mom success.

For this camp-inspired weaving project, you’ll need an 8-inch embroidery hoop. Separate the two pieces, and tie 6 pieces of string to the inner hoop so they form a starburst. Replace into the outer hoop and tighten.

Woven Trivet (1)

Now start at the center and begin weaving yarn, alternating over and under your starburst threads. I realized right away that this would have been a) quicker and b) much easier with a chunky thick yarn. So after Travis tried his hand at it a few times, I told him I would take over. Our thin yarn took quite a long time to fill up the hoop!

Woven Trivet (2)

But while I was busy weaving, Travis took the leftover ball of yarn and created an imaginary game involving monsters with tentacles, and pieces of yarn snipped all over the floor.

Woven Trivet (4)

Meanwhile little sister Veronika loved pretending her doll was dressed up in extra strands of yarn! So everyone was happy.

Woven Trivet (3)

To finish the project, keep weaving yarn, in alternating colors, until your trivet reaches desired size. Every time you switch colors, simply leave the loose threads hanging out the back.

Place the finished trivet over a piece of felt and trace. Cut out the felt, then use hot glue or fabric glue to attach to the back of your trivet, tucking in any loose pieces of string.

Woven Trivet (5)

Cover with parchment paper and a heavy book until the glue has dried completely, then snip the trivet from the strings holding it on to the inner hoop.

Woven Trivet (6)

Ours turned out to be just the right size for either a small pot or tea mug!

Bubble Wrap Printing

Bubble Wrap Printing (7)

Extra bubble wrap is always great for play, and today we even turned it into part of an art project.

To start, I taped down various pieces of bubble wrap to the craft table securely. We’ve gotten a nice variety in packages lately, meaning our bubbles ranged from the very tiny to puffy big ones.

Bubble Wrap Printing (1)

I then set out cups of paint for Veronika (in shiny metallics just for fun).

Bubble Wrap Printing (2)

She trotted over immediately and started painting. “Ooh, pink! Ooh blue!” she said as she worked.

Bubble Wrap Printing (3)

I could tell she enjoyed the bumpy feeling of running her brush over the bubbles. She stopped now and then to pop some, too.

Bubble Wrap Printing (5)

Once our bubbles were covered in a nice layer of paint, I pressed a piece of poster board on top, then lifted it up to show her the print. “Bubbles!” she said with delight.

Bubble Wrap Printing (8)

We repeated the process so we ended up with two neat prints. This is a simple craft, and perfect for toddlers.

Bubble Wrap Printing (4)


Rocks-to-Gems Treasure Hunt

Rocks to Gems (1)

Here’s a fun at-home camp activity, if your kids can’t get to real camp this summer! It starts as an art project, and ends with a hunt outside.

To start, we gathered lots of tiny rocks, and then used shiny metallic paints to turn them into gems. Because Travis doesn’t love to get his fingers messy, the painting did end up being mostly a mommy step. But he loved the shiny blues and greens and purples we had as a result.

Rocks to Gems (2)

While he was distracted, I hid clusters of the “gems” around the yard.

Rocks to Gems (4)

Little sister Veronika was my accomplice to hide them! Then it was time for a treasure hunt.

Rocks to Gems (3)

Veronika is of course too young to get in on the hunt in a truly competitive way, but if you’re playing this game with more than one big kid, you can assign point values for different colors, and make it a true competition.

Rocks to Gems (7)

Travis, meanwhile, enjoyed the hunt and the satisfaction of finding all the sparkling “gems” and bringing his treasure home.

Rocks to Gems (9)

These were so pretty we decided to leave one out as a lucky find for a neighbor!

Rocks to Gems (10)