Tape Collage

Tape Collage (5)

If your toddler is at all like Veronika, then he or she loves tape. Sticking it onto things, making roads from it, you name it. The only problem? She gets impatient waiting for me to tear off a new piece for her!

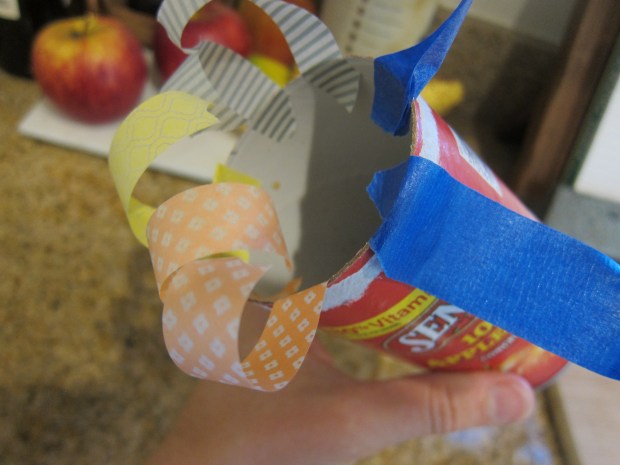
Today, to head off the problem, I made her a tape holder of her very own. I used an empty frozen juice can, which are nice for kids because they have no sharp edges. Any similar can or container would work fine. I stuck pieces of colorful tape all around the rim, using tape with different textures, such as washi tape in several colors, masking tape, and duct tape.

Tape Collage (1)

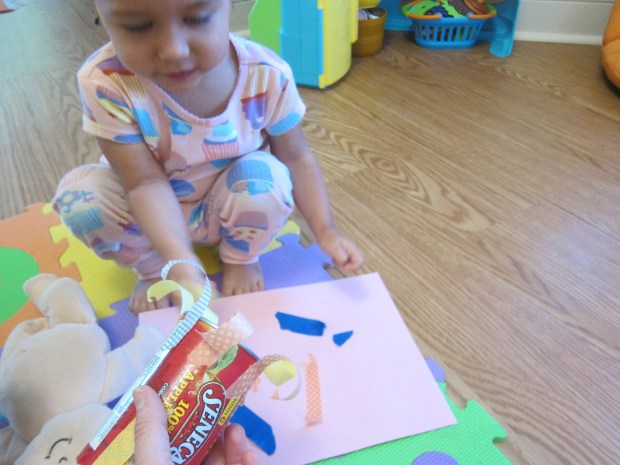
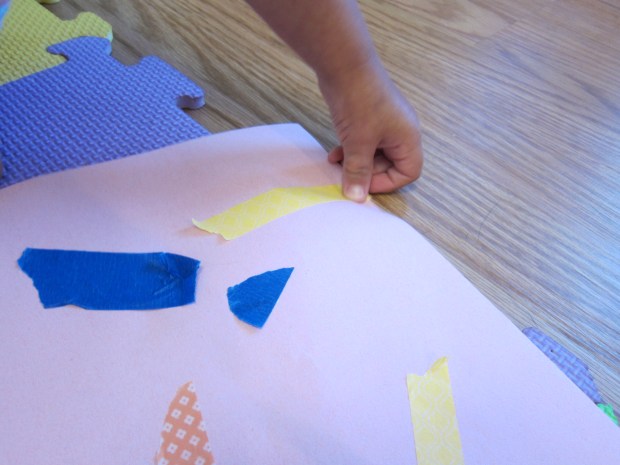
Then I gave Veronika her new tape dispenser and a piece of construction paper, and it was time to create.

Tape Collage (2)

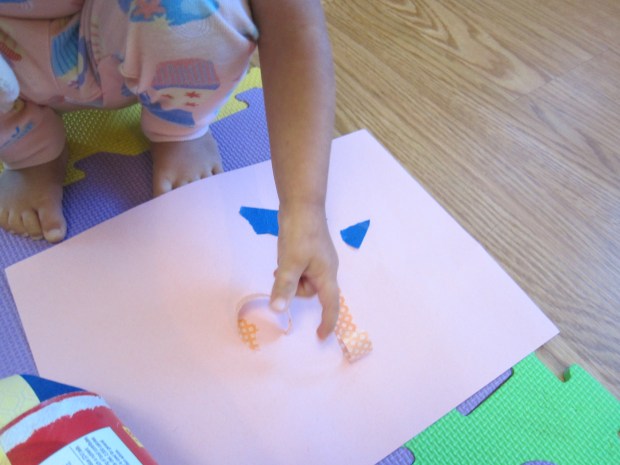
She looked so pleased that she could pull the pieces off solo! Occasionally she still needed a little grown-up rescue when a piece of tape get stuck on her fingers.

Tape Collage (3)

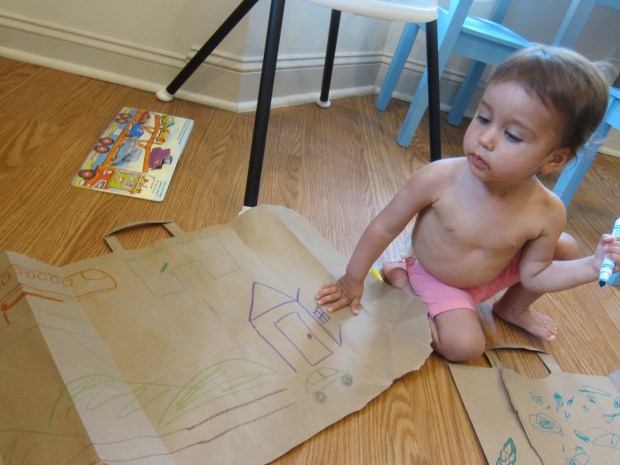
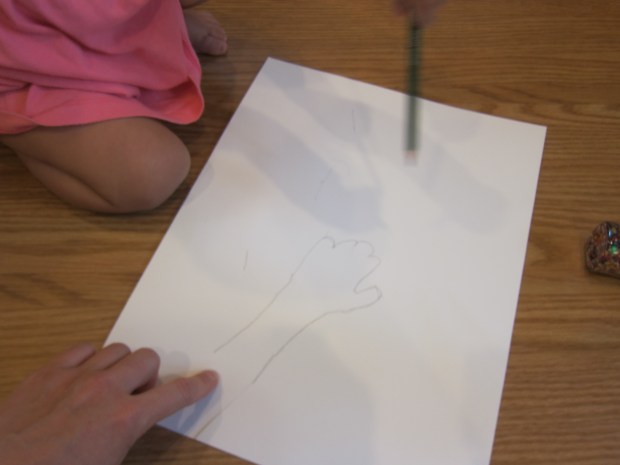
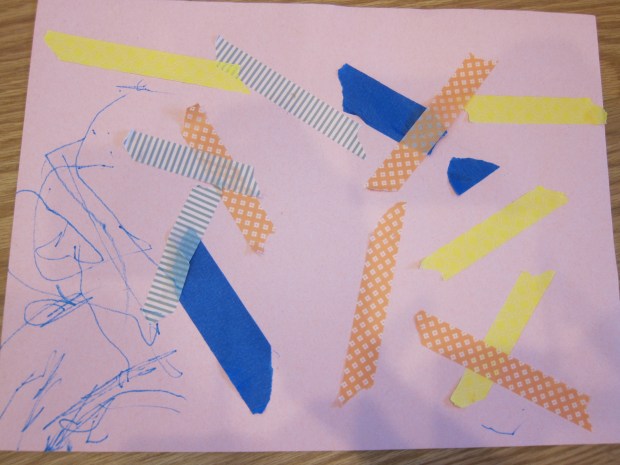
She concentrated hard on where each strip of tape should go on her paper, and then she jumped up and declared, “Markers!” I love that she had decided all her on her own what her artwork needed next.

Tape Collage (4)

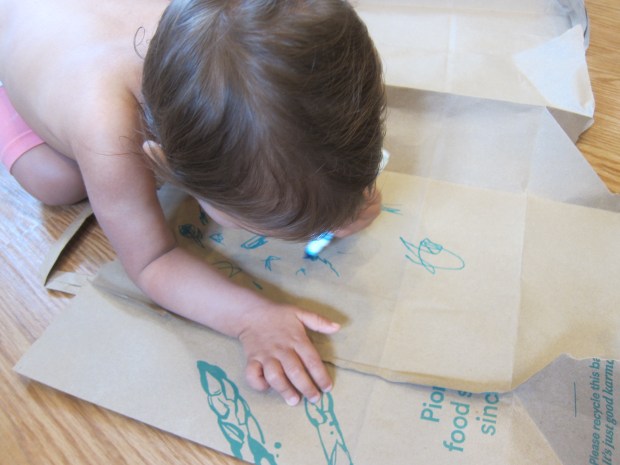
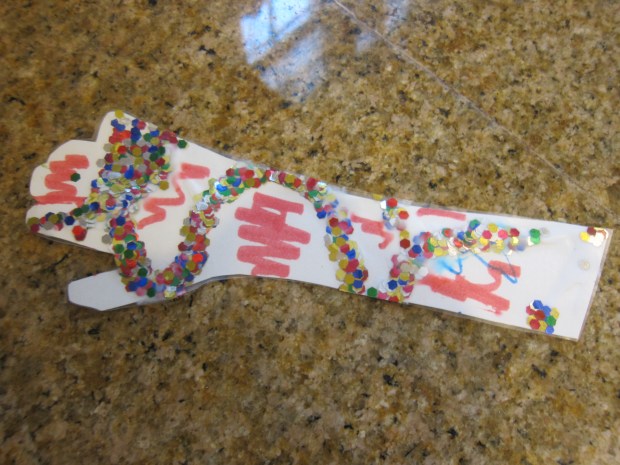
A little blue marker and her masterpiece was finished.

Tissue Paper Collage

Tissue Paper Collage (8)

You won’t get a lasting piece of artwork with this toddler project, but you will introduce your little one to interesting materials and novel methods of making art!

First, lay a long sheet of aluminum foil down on the ground. This immediately caught Veronika’s attention, and she wanted to walk across the shiny sleek surface.

Tissue Paper Collage (1)

Then I gave her a little cup filled with oil. Baby oil would work well, or any neutral kitchen oil like canola. I showed her how to use a paint brush to smear this on the foil.

Tissue Paper Collage (4)

I started tearing bits of tissue paper for her (although your toddler might prefer to tear these him- or herself!), and showed her how it instantly stuck to the oil on the aluminum.

Tissue Paper Collage (2)

She liked sticking them down and picking them back up again, and looking at the smears of oil left behind.

Tissue Paper Collage (6)

Trial and error showed that flat pieces of tissue paper adhered to the foil much better than crumpled pieces, although the crumples did add fun texture.

Tissue Paper Collage (5)

She also loved dropping bits of the crumpled tissue in her cup of oil and stirring them around!

Tissue Paper Collage (7)

In sum, there was lots to like about this one, both in terms of texture and creativity.

Tissue Paper Collage (9)

Dance Ribbon

Dance Ribbon (6)

This easy dance ribbon made the perfect rhythmic accessory for Veronika’s at-home music class today! I put it together just before class, and she continued to play with it long after the Zoom session had ended.

First, tie lengths of colorful ribbon to a ring that your toddler can easily hold. I used a canning ring for this, but a shower curtain ring or even key chain would work, too!

Dance Ribbon (1)

I alternated strands of green and pink ribbon. You can make your dance ribbon with one color, two, or a full rainbow!

Dance Ribbon (7)

I handed the ring to Veronika and showed her how to wave it through the air to the rhythm.

Dance Ribbon (3)

A lilting, slow tune felt just right for making big beautiful ribbon circles. Your toddler can take it from there!

Dance Ribbon (5)

She loved waving the ribbons around and dancing with them, and requested a tutu to be a ballerina!

Dance Ribbon (9)

She also later found other uses for it, like pretending it was her doll’s swing on the playground! I always love watching the way toddlers can invent worlds of imagination from just a few simple materials.

Dance Ribbon (8)

Shark Awareness Day

Shark Awareness (13)

Were you aware that July 14 is Shark Awareness Day? Neither were we until Highlights magazine clued us in. I was glad of it, knowing how misunderstood sharks are, plus I knew it was tailor-made for lots of fun activities.

Shark Awareness (2)

First up was some learning. I read Travis ten facts about sharks, and then he loved doing a few coloring pages and shark counting activities. He decided his favorite was the hammerhead shark and filled out a worksheet about them. Now he wanted to know more!

Shark Awareness (1)

We did a deep dive (and I mean deep!) into videos about sharks. By the end of the day, Travis was a graduate of this ‘Shark Academy’.

Shark Awareness (6)

We didn’t forget about little sister Veronika! She was in heaven watching Baby Shark cartoons, and happily shouting out, “Shark shark!”

Shark Awareness (5)

Now it was time for shark crafts! First up was a newspaper shark. Cut a piece from a magazine or newspaper in the shape of a shark nose coming out of the water, and glue to blue construction paper. Add eyes from stickers or wiggle eyes, then a black construction paper mouth. Travis liked snipping all the white triangles for the teeth!

Shark Awareness (3)

We added a strip of blue craft foam at the bottom for the ocean. I swear it is a complete coincidence that the text in the middle said “Brush up on table manners”. This was so perfect I have nothing else to say.

Shark Awareness (4)

Next we made shark puppets. If you have blue craft sticks, simply use those. I painted a few blue in a pinch, and let dry. Attach two sticks together in an X using a rubber band.

Shark Awareness (10)

We traced a shark puppet template onto blue craft foam and then cut out and hot glued onto the craft sticks. Push down on the stick with the lower jaw piece to make your shark chomp chomp chomp.

Shark Awareness (12)

Travis was mad for sharks all day as a result. He pulled out an old shark toy and staged a shark versus Lego battle.

Shark Awareness (9)

This prompted us to add one more STEM activity, constructing a shark from random Lego pieces!

Shark Awareness (15)

We hope you have fun celebrating Shark Awareness Day, too!

3 Ways to Celebrate Watermelon

National Watermelon Month (3)

We learned that the whole month of July is National Watermelon Month (as if we need an excuse to eat it when this fruit is the epitome of summertime), so today we decided to throw a party for this fantastic fruit!

The kids loved getting silly with this. First we needed to decorate, so we made watermelon a banner of… watermelon!

National Watermelon Month (2)

Color the center of paper plates pink with marker or crayons, then add green around the edges for the rind. Don’t forget the black seeds!

National Watermelon Month (4)

If you want, cut the plates into triangles and string up in a garland this way like watermelon wedges. We left ours as circles and I festooned the kitchen door with this ode-to-watermelon.

How better to celebrate watermelon, next, than to eat it! For fun, we cut some slices into “fries” and dipped them into yogurt “ketchup”.

National Watermelon Month (1)

Or, cut a circle cross-section from a whole watermelon and spread with your favorite yogurt. This could be a pizza… Or a cake! Travis decided he wanted his topped with non-dairy cream cheese instead.

National Watermelon Month (5)

Any favorite watermelon treats in your home? Please share in the comments!

Baby’s Adventure

Baby's Adventure (5)

Whether your day involves a simple stroll to the mailbox, a trip to the store, a jaunt to the playground, or something more out of the ordinary, it’s all exciting for a toddler. Everything is new and wondrous at this age, and this fun game will highlight that fact once you return home.

Today’s “adventure” was simple (a trip to a local playground, followed by a quick stop for dinner ingredients on the way home). But when we got in, I opened up two paper grocery bags so they lay flat, and set out markers.

Baby's Adventure (1)

Starting on one side of the paper, I talked excitedly to Veronika about how the journey had begun: leaving home and setting off in our car. “Gray car!” she said with excitement when she looked at my drawing. The journey continued along the road and I talked about the scenery we had passed. “Swings!” she said happily as I drew them.


Baby's Adventure (2)

I then talked her through the jaunt to the grocery store on the way home (don’t forget about the train we spotted!) followed by ending back where we had begun.

Baby's Adventure (4)

As I drew and talked through my version, she happily scribbled on the second paper bag I had laid out. She said she was drawing trucks and motorcycles!

Baby's Adventure (3)

This was such a great way to make Veronika the main character of her own story. Plus we simply had fun making art together!

Baby's Adventure (6)


Leaf Masks

Leaf Mask (5)

If your toddler has recently collected leaves on a nature walk, here’s a simple way to turn them into a costume for make-believe: make a leaf mask!

I cut a paper plate in half and held it up to Veronika’s face so I could mark the location of her eyes and nose.

Leaf Mask (1)

Cut out eye holes, then snip two sides of a triangle where the nose is (this will help it sit better on your child’s face). Next, Veronika helped glue down the leaves we had collected. She loved painting on the glue with a paint brush while I arranged the leaves in overlapping rows as best I could. If you prefer less mess, you can attach the leaves with tape, too.

Leaf Mask (2)

Once the glue dried, I punched a hole on each side, and added string.

Leaf Mask (3)

Tie around your child’s face and let their imagination do the work from here! Veronika immediately began humming Darth Vader’s theme song and doing his deep raspy breathing.

Leaf Mask (4)

Clearly this was a Star Wars mask in her view! But perhaps your toddler will pretend to be a woodland fairy, or a tree, or anything else that fires up the imagination.

Leaf Mask (7)

One way or another, this is a beautiful way to tie together a nature walk with a little bit of arts and crafts.

Leaf Mask (6)


Fireworks Printing

Fireworks Painting (6)

We’re busy decorating for the upcoming 4th of July, and this was a fantastic way to make prints that looked just like exploding fireworks!

I had a few plastic scrubber sponges which I knew would be perfect for the craft. (Note: look for these in the cleaning supplies aisle of the supermarket).

I set out black construction paper for the night sky, along with paper plates containing red, white, and blue paint. Using one scrubber sponge per color, dip in the paint and then press to the paper.

Fireworks Painting (2)

“Pop!” I said, as I demonstrated to Veronika. “We made a firework!” Saying “pop!” was half the fun of the game, and Veronika proceeded to pop pop pop her fireworks all over.

Fireworks Painting (3)

In this way, we  filled up the black paper rather quickly!

Fireworks Painting (7)

That meant this was a great art project, but definitely not a way to keep your toddler occupied solo.

Fireworks Painting (4)

Even though we can’t watch real fireworks this year, at least our home will be spangled with them!

Fireworks Painting (5)

Glow-Bee

Glow-Bee (5)

Next time your kids want to toss a disc back and forth, don’t just play Frisbee; play Glow-bee. All you need are a few glow-in-the-dark sticks to take a regular game up a notch.

First, Travis used paint markers to decorate a clear plastic lid. We used one from an empty yogurt container, although a larger lid might have been better.

Glow-Bee (1)

Let the paint dry completely.

Glow-Bee (2)

Wait for it to get dark, then add glow sticks! Snap them just before playing, and use hot glue to adhere to the decorated lid.

Glow-Bee (4)

This was so fun to toss, even though it wasn’t pitch black.

Glow-Bee (6)

The streaks of light still made it look like a little comet shooting through the halls.

Glow-Bee (3)

A fun way tire ’em out with a little exercise, right before bed.

Bookmark

Bookmark (4)

I love crafts that capture the size of my children’s hands or feet at regular intervals, a beautiful way to freeze time, given how fast they grow! I was due for a new craft like this with Veronika, and today I decided to make it a bookmark version!

It was admittedly hard to get Veronika to hold still while I traced her hand and forearm on a sheet of poster board. She giggled when the pencil tickled her, or just seemed surprised at the feeling, but I managed to get a fair approximation.

Bookmark (1)

Cut out the shape you’ve traced and let your toddler decorate. I thought Veronika might want to use markers, but she was far more into the glitter bottle I pulled out. Knowing she was likely to dump the whole bottle, I put down wiggly lines of glue on her hand shape and then placed it over a second sheet of poster board to catch the mess. Phew, this mostly contained the glitter dump!

Bookmark (3)

Once decorated, cover your child’s artwork with contact paper, and trim the contact paper to the same shape as the bookmark.

Bookmark (5)

Don’t forget to write the name and date on the back! This is going to make a beautiful memento when I read. I think we’ll even make one or two more to give to grandparents as gifts!