Paper Heart Craft Challenge

Heart Challenge (6)

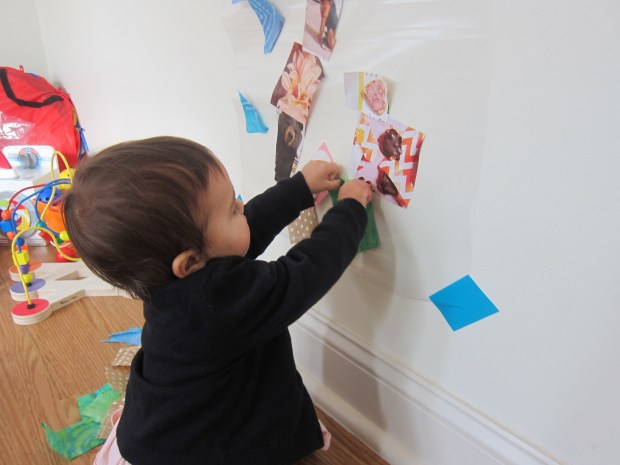
This month’s craft challenge from Highlights magazine was very open-ended: simply to make something from paper hearts!

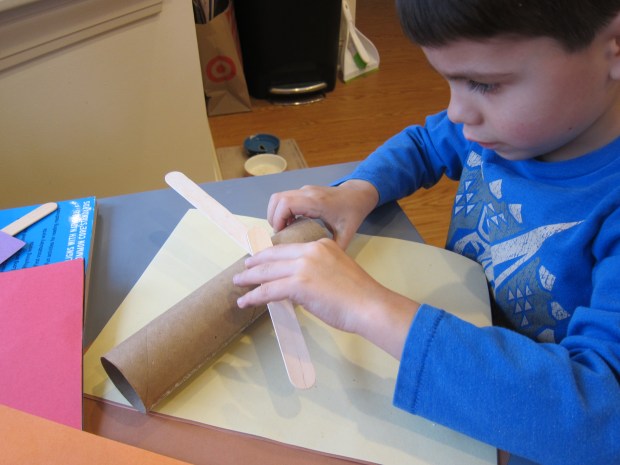
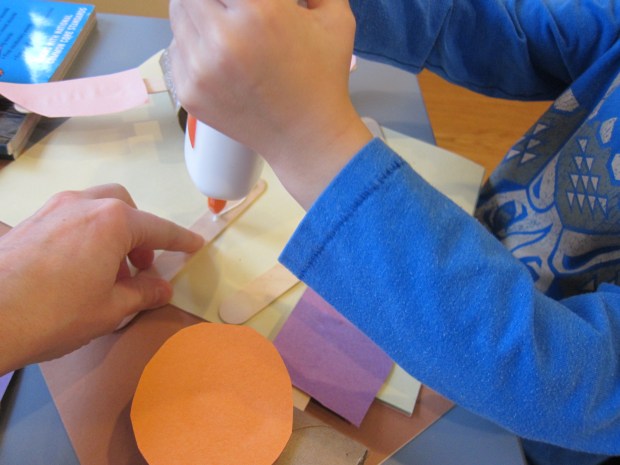
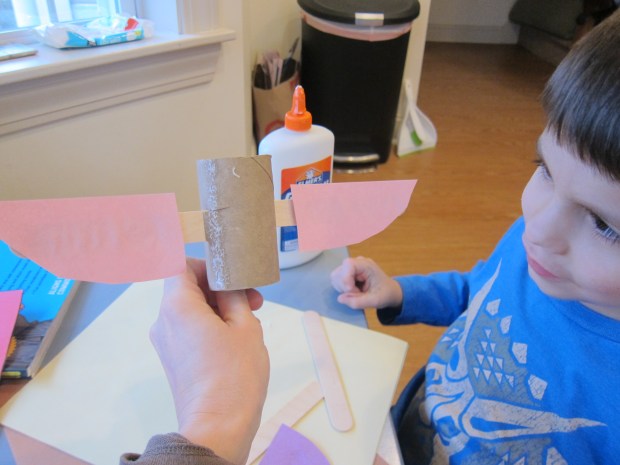
I set Travis up with multiple crafting supplies, including poster board to use as a background, pre-cut paper hearts from a Valentine’s Day kit, pink and red construction paper, and red craft foam.

Seeing two hearts touch tip-to-tip helped him get started. He declared that it looked like a fairy! So he glued down these fairy wings, and soon had the idea to add a third heart as the head.

Heart Challenge (2)

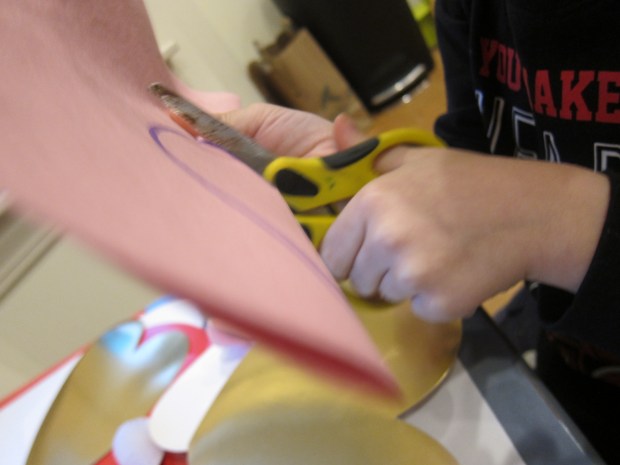
I showed him how to fold a piece of construction paper in half and cut along a provided line, which then opened up into a full heart. Neat!

Heart Challenge (1)

Smaller hearts cut from foam became the eyes. We also had little hearts that opened up into a 3-D shape, and these made perfect feet.

Heart Challenge (4)

He was so proud of this little fairy, and the creative juices had just begun flowing.

Heart Challenge (3)

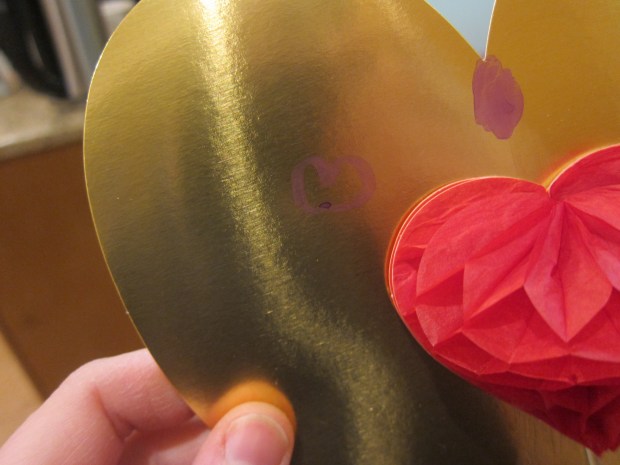
Soon he was gluing small hearts to bigger ones, and drawing hearts free-hand with a marker quite proudly.

Heart Challenge (7)

It’s the first time I’ve seen him draw a heart without tracing along a line – perfect timing for Valentine’s Day!

Heart Challenge alt
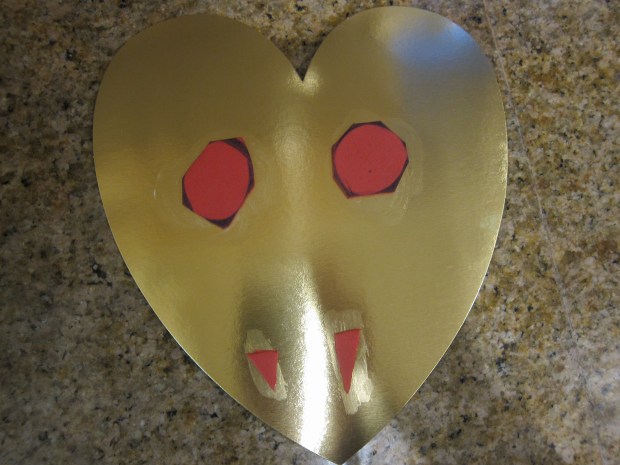
His final creation was a heart-faced vampire with fangs and legs cut from craft foam. This deviated from the initial challenge to craft only from paper hearts, but I was so proud of his creativity!

Heart Challenge (8)

Easy Edible Paint Made with Real Fruit

Edible Fruit Paint (3)

Veronika wants to paint every time big brother gets paints and brushes, but I worry still that she’ll put the paintbrush in her mouth. With this fruit paint, there’s no need to fret; these brushes were made for tasting!

To prepare three colors of paint, I pureed a batch each of: blueberries, bananas, and kiwi. For the bananas and kiwi, I thickened the “paint” slightly with a little applesauce from a pouch, and then added a few drops of all-natural food coloring (in yellow and green, respectively) to amp up the color. Here’s the before of the kiwi:

Edible Fruit Paint (1)

Versus the after:

Edible Fruit Paint (2)

I used frozen blueberries, which pureed into a deep, thick purple that needed no embellishment. If you use fresh blueberries, you may find you also want a squeeze of applesauce and a few drops of blue food coloring.

I set out all three colors in paper cups for Veronika, along with paintbrushes and a thick piece of watercolor paper.

Edible Fruit Paint (4)

Say no more, she absolutely loved it! First she just wanted to dip the paintbrush into the blueberry paint over and over. I prompted her to think about her sense of smell as she played, the fresh fruit filling her nostrils.

Then she moved paintbrush to paper experimentally. She loved discovering she could make blobs and swirls.

Edible Fruit Paint (5)

I worried that the blueberry would stain little fingers and clothes, so I gently pushed the banana and kiwi into prime position. She was equally entranced!

Edible Fruit Paint (6)

She kept busy with this for quite some time before eventually dumping some of the kiwi paint onto the paper.

Edible Fruit Paint (9)

At this point I simply moved the paper aside and it was fun for her to smear.

Edible Fruit Paint (10)

Did she taste it? Not really, actually! I think she might have gotten a tiny lick of the banana once, but mostly she seemed happy to paint with it.

Edible Fruit Paint (7)

It was fantastic to see her so engaged with this artistically, and to know that even a nibble was worry-free.

Edible Fruit Paint (8)

Northern Lights Illuminated

Northern Lights (8)

With a few Swedish recipes to prepare from Raddish Kids this month, Travis and I sat down to learn about the Northern Lights, a neat STEAM lesson alongside the Swedish cuisine.

I started be asking him to picture dancing lights in the sky, and he immediately got very silly imagining twirling reds, greens, and blues. But I told him this really exists! An informative website and video helped him visualize and understand the concepts further. Help your child walk away with new vocab, like solar flare and solar wind.

So now it was time to paint the northern lights! Using black construction paper as our background, I invited Travis to craft the lights however he felt inspired. He started with blue paint…

Northern Lights (3)

…but soon liked the way that just water looked when swirled on the black page.

Northern Lights (5)

He added in a bit of color, then more water, for a very ethereal effect.

Northern Lights (6)

As we painted, we listened to ambient music from Mannheim Steamroller. Once he finished painting, it was time to dance and be the auroras.

Northern Lights (1)

With scarves as props, he got really into his swirly, twirly, silly dance moves. And so did little sister!

Northern Lights (7)

For a final scientific component, we made the “Northern lights” in food coloring and oat milk. Set out paper plates filled with the milk and add a few drops of food coloring to each.

Northern Lights (9)

Dip a q-tip into dish soap, then touch this to the milk. The food coloring will dance and skitter and mix.

Northern Lights (10)

This had a big wow factor. I had hoped for it to be a little bit of a science lesson, thinking there might be a difference between our full fat and low fat oat milks in the fridge, but unfortunately that wasn’t the case.

Northern Lights (12)

For variation, we tried it in glue, too. (Note: You can let a glue version dry for a full week, then pull it off the paper plate and hang as a “suncatcher.”

Northern Lights (11)

Last up was a little bedtime reading from the library. Check out Once Upon a Northern Night by Jean Pendziwol; Aurora: A Tale of the Northern Lights by Mindy Dwyer, or Auroras: Fire in the Sky by Dan Bortolotti.

Northern Lights alt

I loved that this lesson got Travis to learn, to create, and to get active!


Contact Collage

Contact Collage (7)

Sticky contact paper might just be the perfect medium for art projects with toddlers; everything sticks instantly but there’s no glue required (i.e. no mess and no drying time). This particular project also incorporates great ways to talk about shapes, build vocabulary, and more.

To start, I taped a piece of contact paper up to the wall, and peeled off the backing so the sticky side faced Veronika. You can make this surface as small or as large as you want. Feel free to cover the full length of a wall! Veronika trotted over and was quite curious about the way the paper stuck to her fingertips.

Contact Collage (2)

I gave her a pile of things to stick up on the paper, including pictures cut from magazines and fabric scraps in various textures, everything from soft cotton to bumpy burlap to fuzzy felt.

Contact Collage (1)

She immediately began sticking things up, declaring, “Sticker, sticker!”

Contact Collage (3)

I let her select which items to put on where. The magazine pictures interested her far more than the fabric to begin with, and I said the name of each item (“dog!”) as she applied it.

Contact Collage (5)

For a little learning, I cut some of the fabric scraps into squares and others into triangles. I also pointed out the different textures as she hung them, using descriptive words for how each one felt.

Contact Collage (6)

She was so proud arranging and rearranging her canvas. Although the magazine pictures were stuck in place, the fabric could be pulled off and moved elsewhere.

Contact Collage (7)

My girl looked so big, standing at her artwork. This one really made me feel like I have a toddler, no longer a baby.

Contact Collage (8)

What a masterpiece!

Contact Collage (9)

Crumple Crazy

Crumple Crazy (4)

Glue + crinkly tissue paper? This art project is a toddler’s dream come true!

To make a glue solution that isn’t quite so sticky, I first mixed a little white glue with a splash of water in each compartment of a paint tray. This turned into a nice solution that was just sticky enough, but wouldn’t immediately do damage if Veronika got it on her hands or face.

Crumple Crazy (1)

She was wild about dipping a paint brush into it! I showed her how to smear the gluey mixture over cardboard. (Note: Use any piece of cardboard from packaging for this project, or an old cereal box, or even sturdy construction paper).

Crumple Crazy (3)

Next, I tore off pieces of white tissue paper and showed her how to crumple them into little pieces. These could stick perfectly onto her gluey cardboard. Could we hide all the glue?

Crumple Crazy (5)

It turns out that she loved lifting off the crumpled pieces, pulling them off the sticky surface and then putting them right back on again. Or tossing them to the floor!

Crumple Crazy (6)

Once there had been enough sticky glue play, the fun continued with extra tissue paper on the ground. Shake the pieces overhead, or crumple them close to the ear and talk about the sound it makes.

Crumple Crazy (7)

I thought for sure she would want to tear the tissue paper up, but that didn’t interest her. Instead, we crumpled them into tight balls that were great for tossing… and kicking!

Crumple Crazy (8)

How will your toddler play with tissue paper? Please share in the comments!

Mark and Erase Pictures

Mark and Erase (5)

Veronika loves to color now, especially whenever she sees her older brother doing coloring book pages. As a result, we’re quickly running out of white printer paper, as I give her sheet after sheet to scribble on. Here’s a great way to let your toddler draw over and over, without the waste!

I drew shapes and easy lines to follow on a few sheets of white paper, then slipped them into plastic lamination pouches.

Mark and Erase (2)

Veronika immediately began using markers on the plastic pouches. It fascinated her that there were already colors and shapes there to see, as she scribbled busily over them.

Mark and Erase (4)

I demonstrated how she could follow along over my easy shapes, either with the same color or a different one. Obviously she’s way too young for this kind of pen control, but you can introduce the concept now, and then it becomes a game that will grow with your child.

Mark and Erase (3)

When the pages were filled with her scribbles, I simple wiped clean with a damp paper towel. Now the fun could begin all over again, no wasted paper! I’m definitely going to bring along a couple sheets like this the next time we’re in a restaurant, too.

Mark and Erase (6)

The Scribble

The Scribble (2)

It was bound to happen: Veronika discovered that she can color on the walls (luckily with washable crayons!). So here’s an ingenious hack to foster your toddler’s artistic impulses with a safer way to color.

I used magnets to hang a large sheet of craft paper on the fridge and sat Veronika down in front of it with a few markers. She didn’t need me to tell her to start coloring; she immediately launched into the art of the scribble.

The Scribble (1)

Aside from one mommy stick figure, this drawing was 100% Veronika’s. She loved switching up the colors.

The Scribble (3)

She also was very focused on putting cap to marker in between colors, a great chance to work those fine motor skills!

The Scribble (5)

As she drew, I talked about how the color on the paper was a “yes” (use sign language here to reinforce the idea!), but that other places were a “no”, like the floor or her hands.

The Scribble (4)

This will help a toddler start to learn that art belongs on paper, for now at least!

As for those crayon marks on the wall, here’s an ingenious trick: Heat the area with a hair dryer for about 30 seconds to melt the wax. Then scrub off the remaining streaks with soap and water. Ingenious!

The Scribble (6)

Make Your Own Pinata

Pinata (4).JPG

Travis has been learning about birthday traditions around the world, and one that especially intrigued him was the Mexican pinata. It seemed like a fun idea to make our own!

Full disclosure: we worked with materials from a kit, but if you’re doing this craft completely DIY, you’ll need to cut two equal-sized circles from cardboard, as well as a third strip of cardboard to be the loop between them. Tape the three pieces together, leaving a slot through which you can later add candy or other treats.

Cut strips of yellow paper, and then snip them half-way up to make fringe. Travis liked the challenge of this step.

Pinata (1)

Now begin gluing the strips onto the cardboard base, working from the bottom up.

Pinata (2)

Ours wasn’t perfect, but soon we had a fringed yellow face!

Pinata (3)

We added fun details like sunglasses and a smile cut from additional colored paper. Tape a string to the top of the pinata and loop it onto a stick. I held the stick aloft, while Travis took a swing!

Pinata (5)

For extra authenticity, kids can swing blindfolded.

If you don’t have candy, fill the inside of the pinata with fun confetti or even pom poms. Travis was ecstatic once the pinata had a tear and the pom poms rained down.

Pinata (6)

Knight Light

Knight Light (4).JPG

Travis still complains of bad dreams, though we’ve tried everything from worry dolls to dream catchers to fancy night lights to make his room feel safe and cozy at night. The fun play on words earned a laugh when we spotted this craft in Highlights magazine, so it was worth a try to see if Sir Lights-a-Lot can guard against bad dreams!

Cut gray cardstock to size so that it fits around an empty oatmeal container. Glue on and let dry. Cut a hole through the paper and container once the glue is set.

Knight Light (2)

Cut a visor shape and a feather plume shape from additional cardstock. We used a fun bright orange for the feather! Glue these onto the container. (Alternatively, poke two brads through the visor to attach over the hole).

Knight Light (1)

Attach wiggle eyes to the ends of curled black pipe cleaners and glue on so they dangle down and show through the visor. This step was a bit tricky, and I found it was easiest to use hot glue.

Knight Light (3)

We added a few lines of blue washi tape for a decorative finish. What a brave knight!

Come nighttime, we inserted a tea light and set him to keep watch.

Animal Puppet Craft Challenge

Animal Puppet (6).JPG

More and more I’m watching Travis take the lead when it comes to the monthly craft challenge in his Highlights magazine. This morning, I presented him with an empty paper towel tube, a few craft sticks, and construction paper, with the challenge to make an animal puppet. It didn’t take him long to get creative!

Animal Puppet (1)

He could immediately see how the tube would work as the body. Whereas I had envisioned the sticks only as a handle for a puppet, Travis figured his animal would need arms. As soon as he held the sticks out to the side of the tube, he declared, “A bird!”

Animal Puppet (2)

Now we knew we needed construction paper “feathers” for the wings.

Animal Puppet (4)

I helped him cut these out, along with a head and beak.

Animal Puppet (5)

A second little winged creature looked a bit different without the circle face. Travis declared this one was a bat! He couldn’t wait for them to dry so he could flap his puppets around.


Animal Puppet (3)

What animal will your kid come up with using only these materials? Please share in the comments!