Food-Coloring Painted Cards

FOod Color Painting (8)

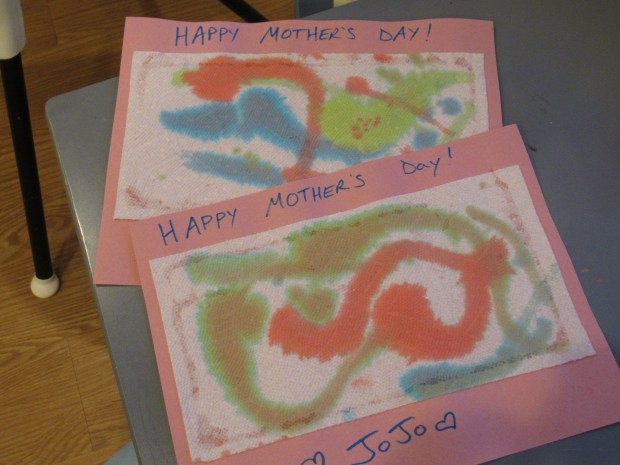
This novel painting method makes a lovely piece of art. You can either mount the artwork on the wall for display, or use them like we did for Mother’s Day cards!

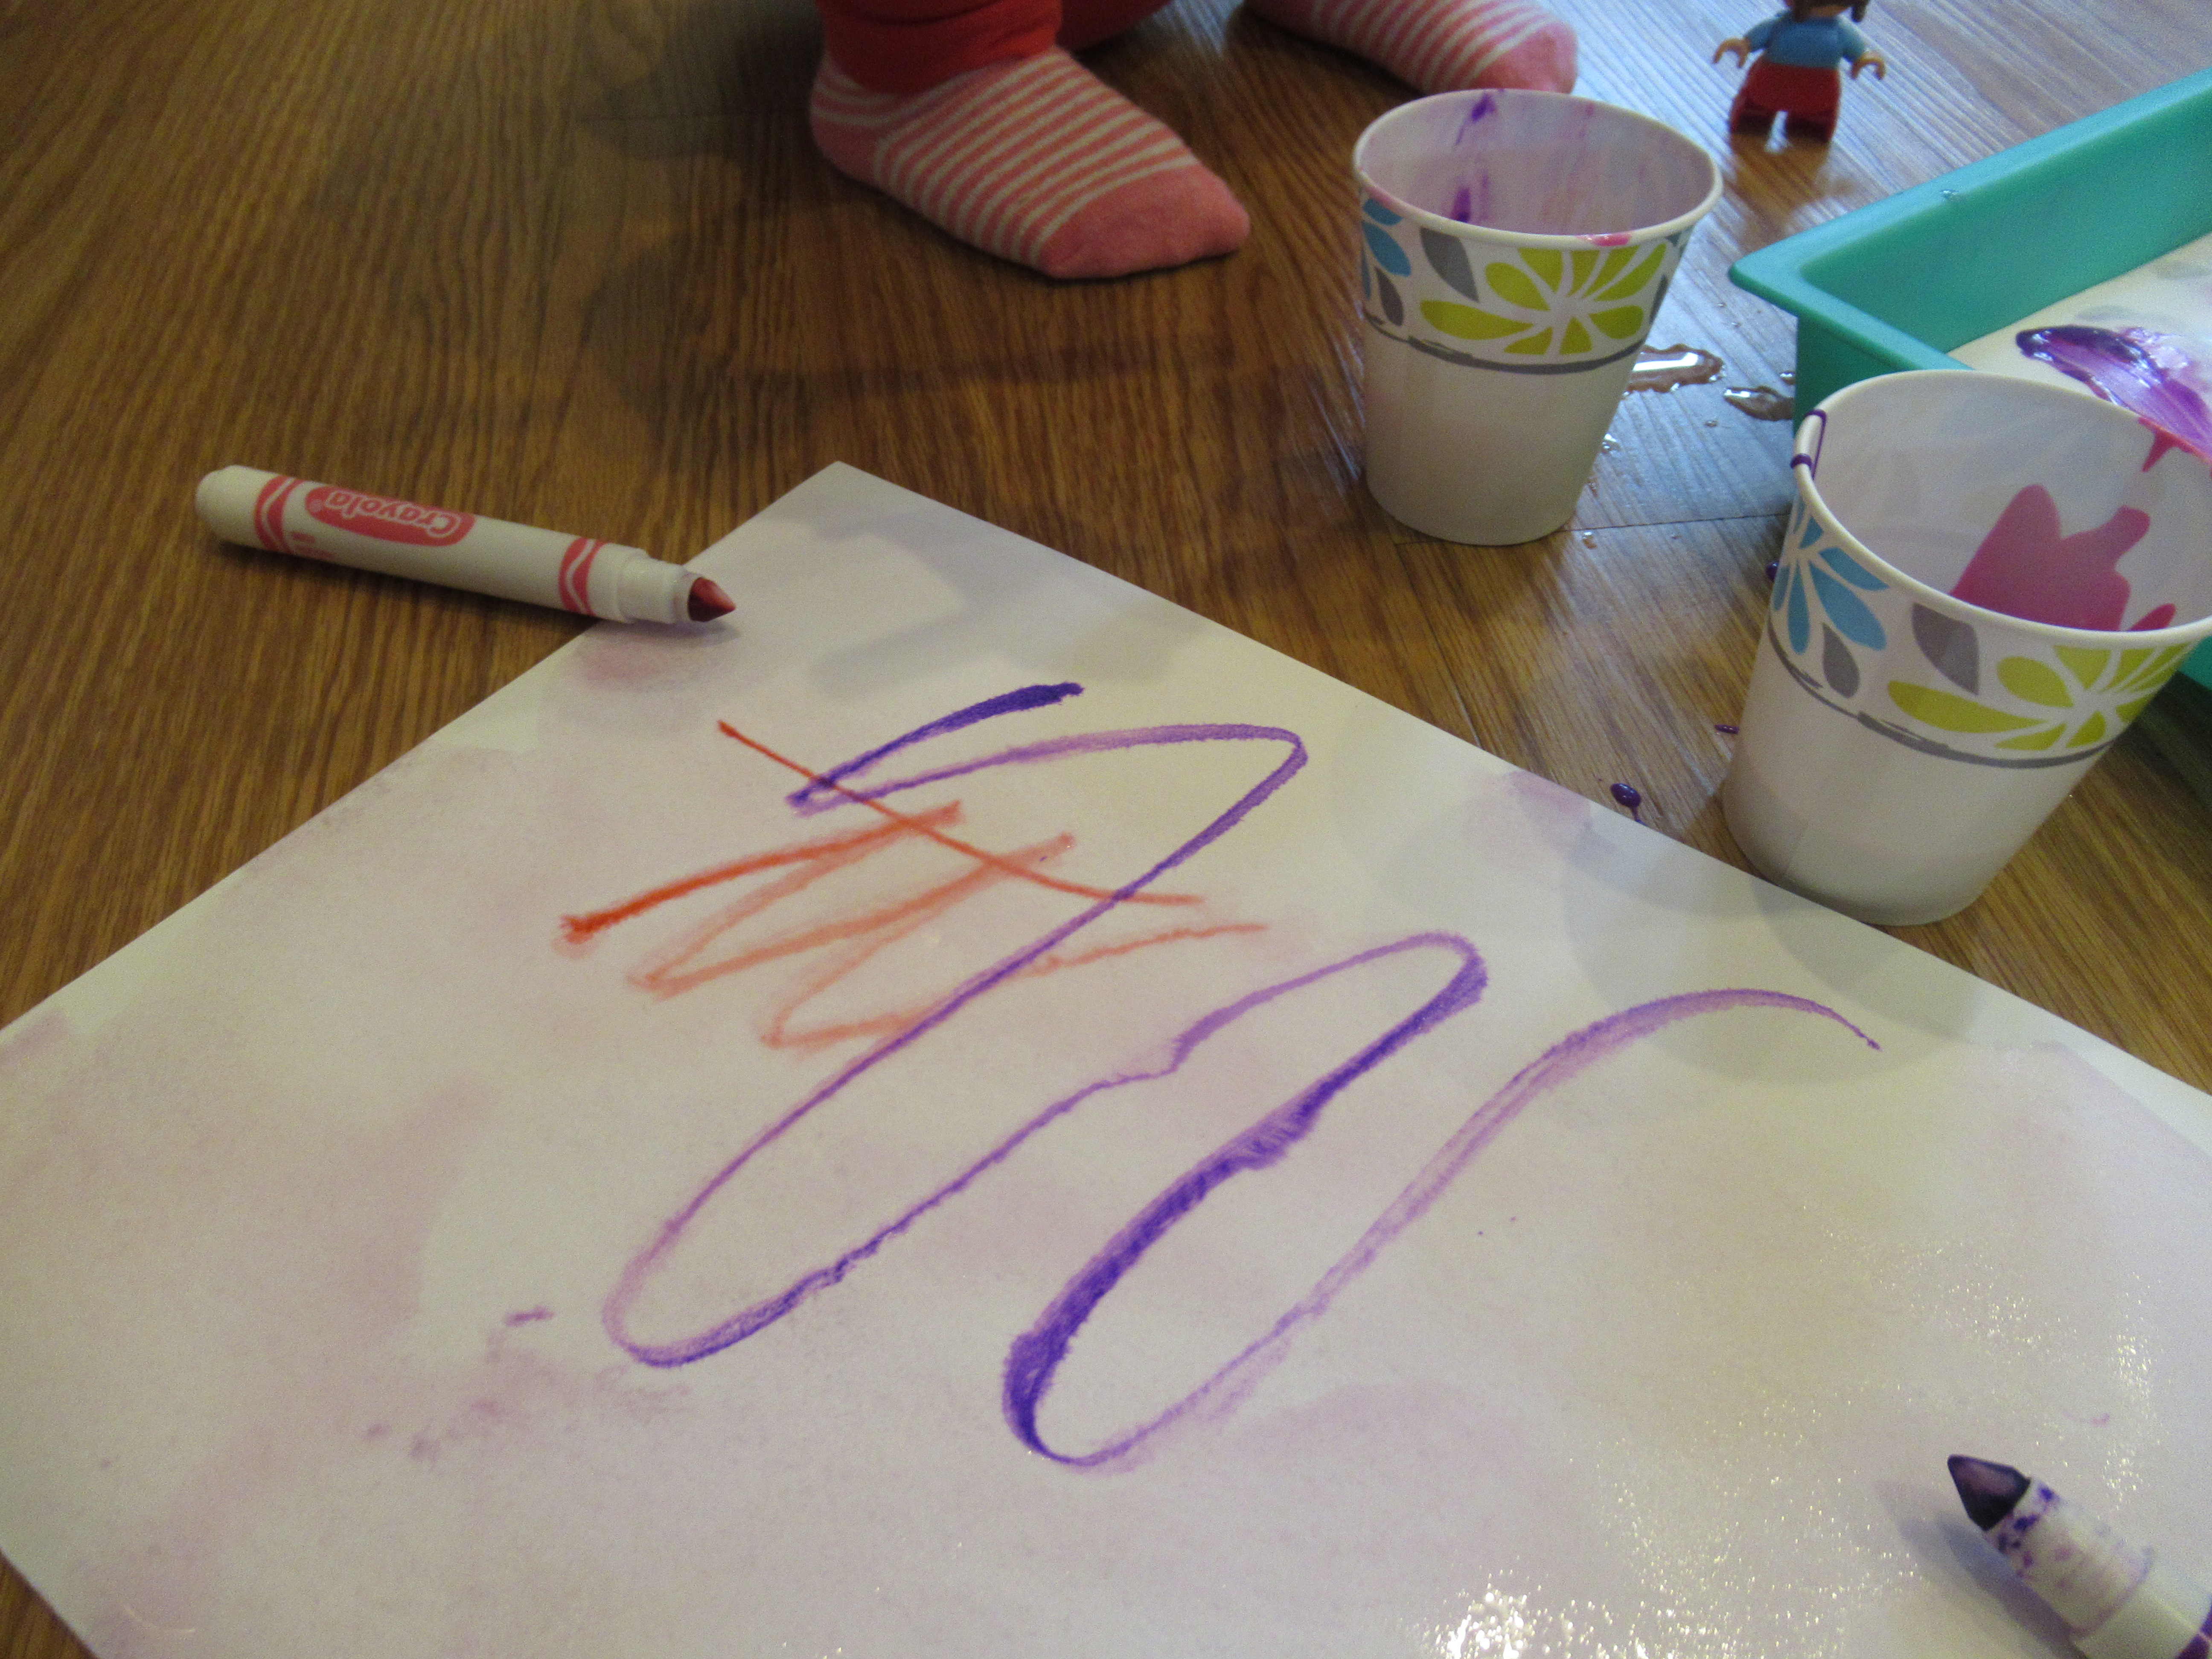
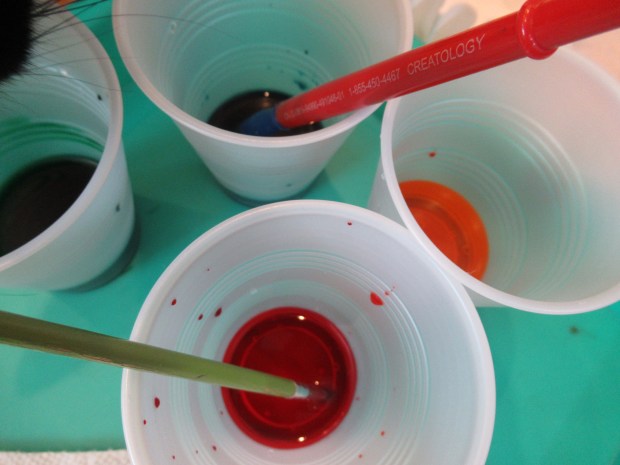
To start, I filled a few plastic cups with a little water, then added about 5 drops of food coloring to each, resulting in rich, bold colors.

Food Color Painting (1)

Set these “paints” out for your toddler, along with two novel “canvases” for painting: paper towels and coffee filters.

Food Color Painting (2)

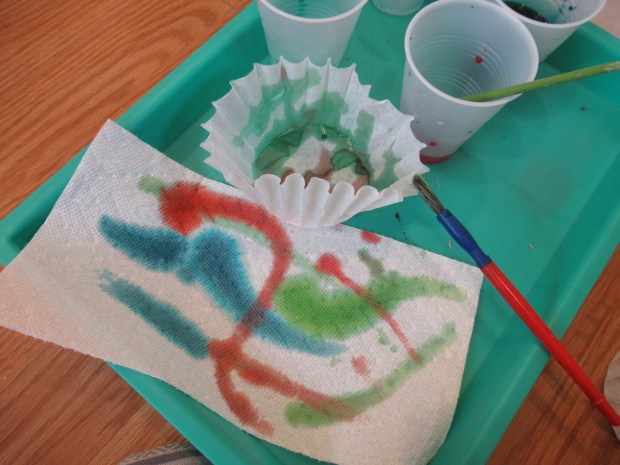
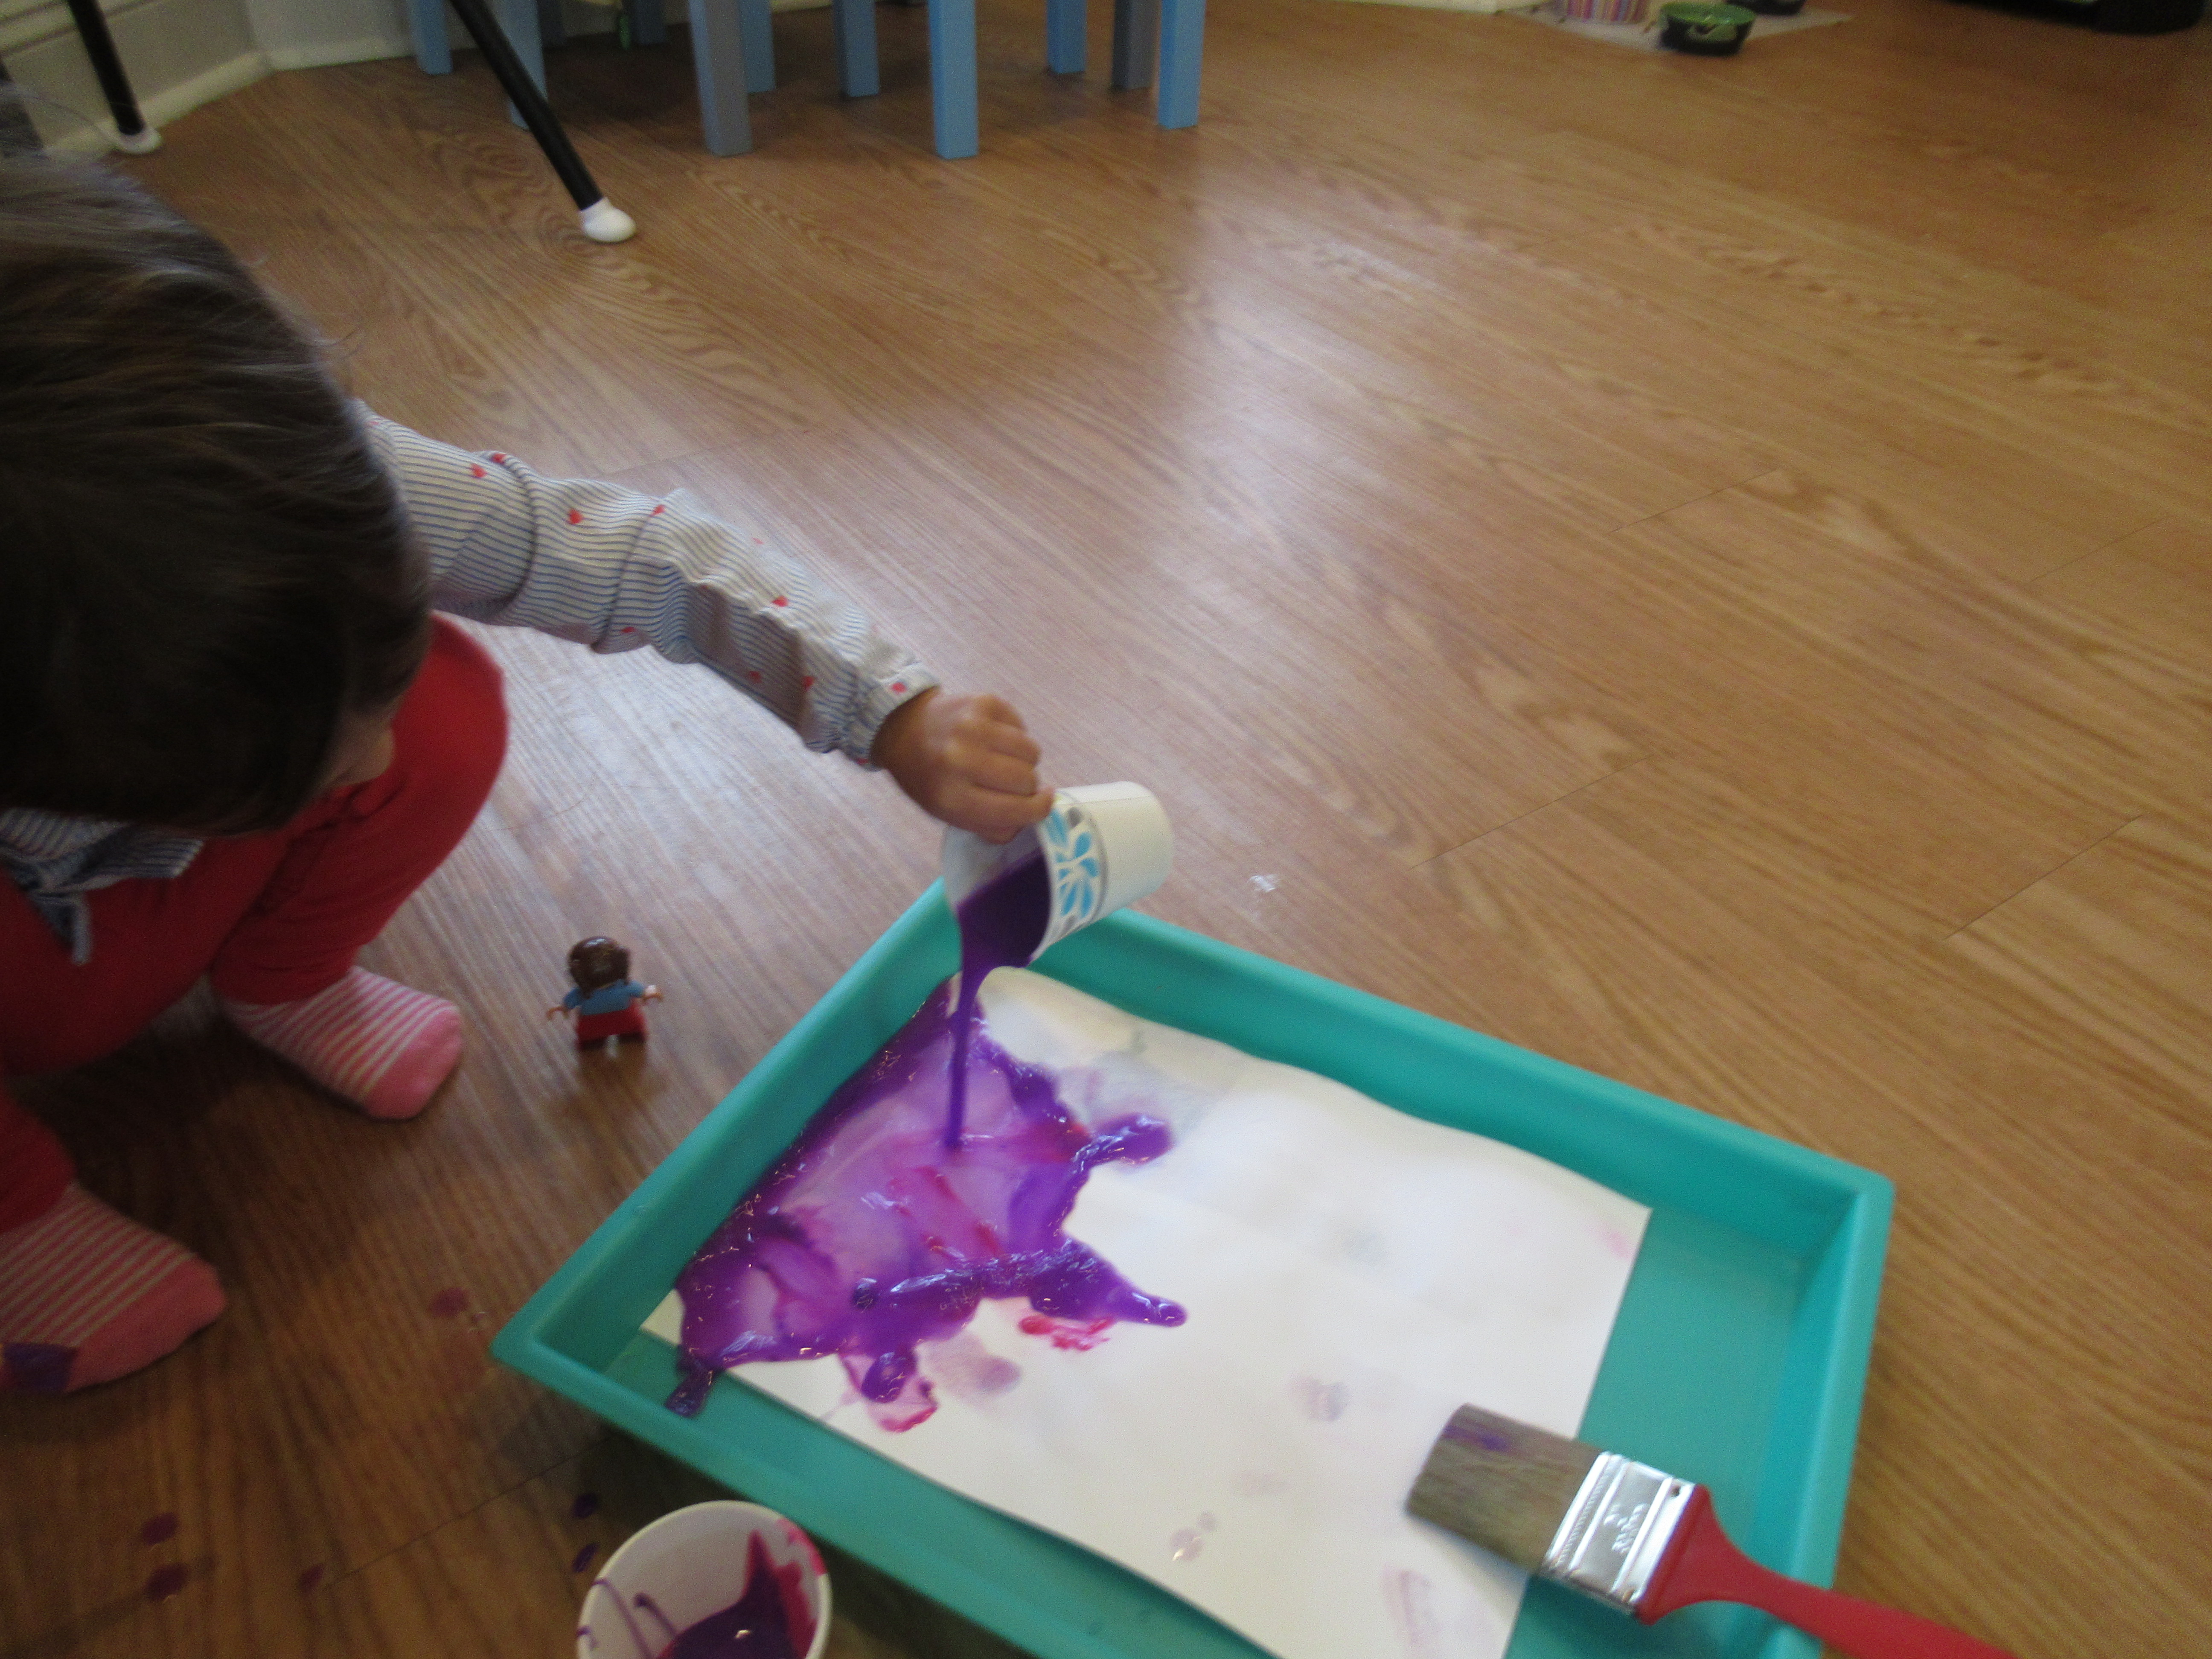
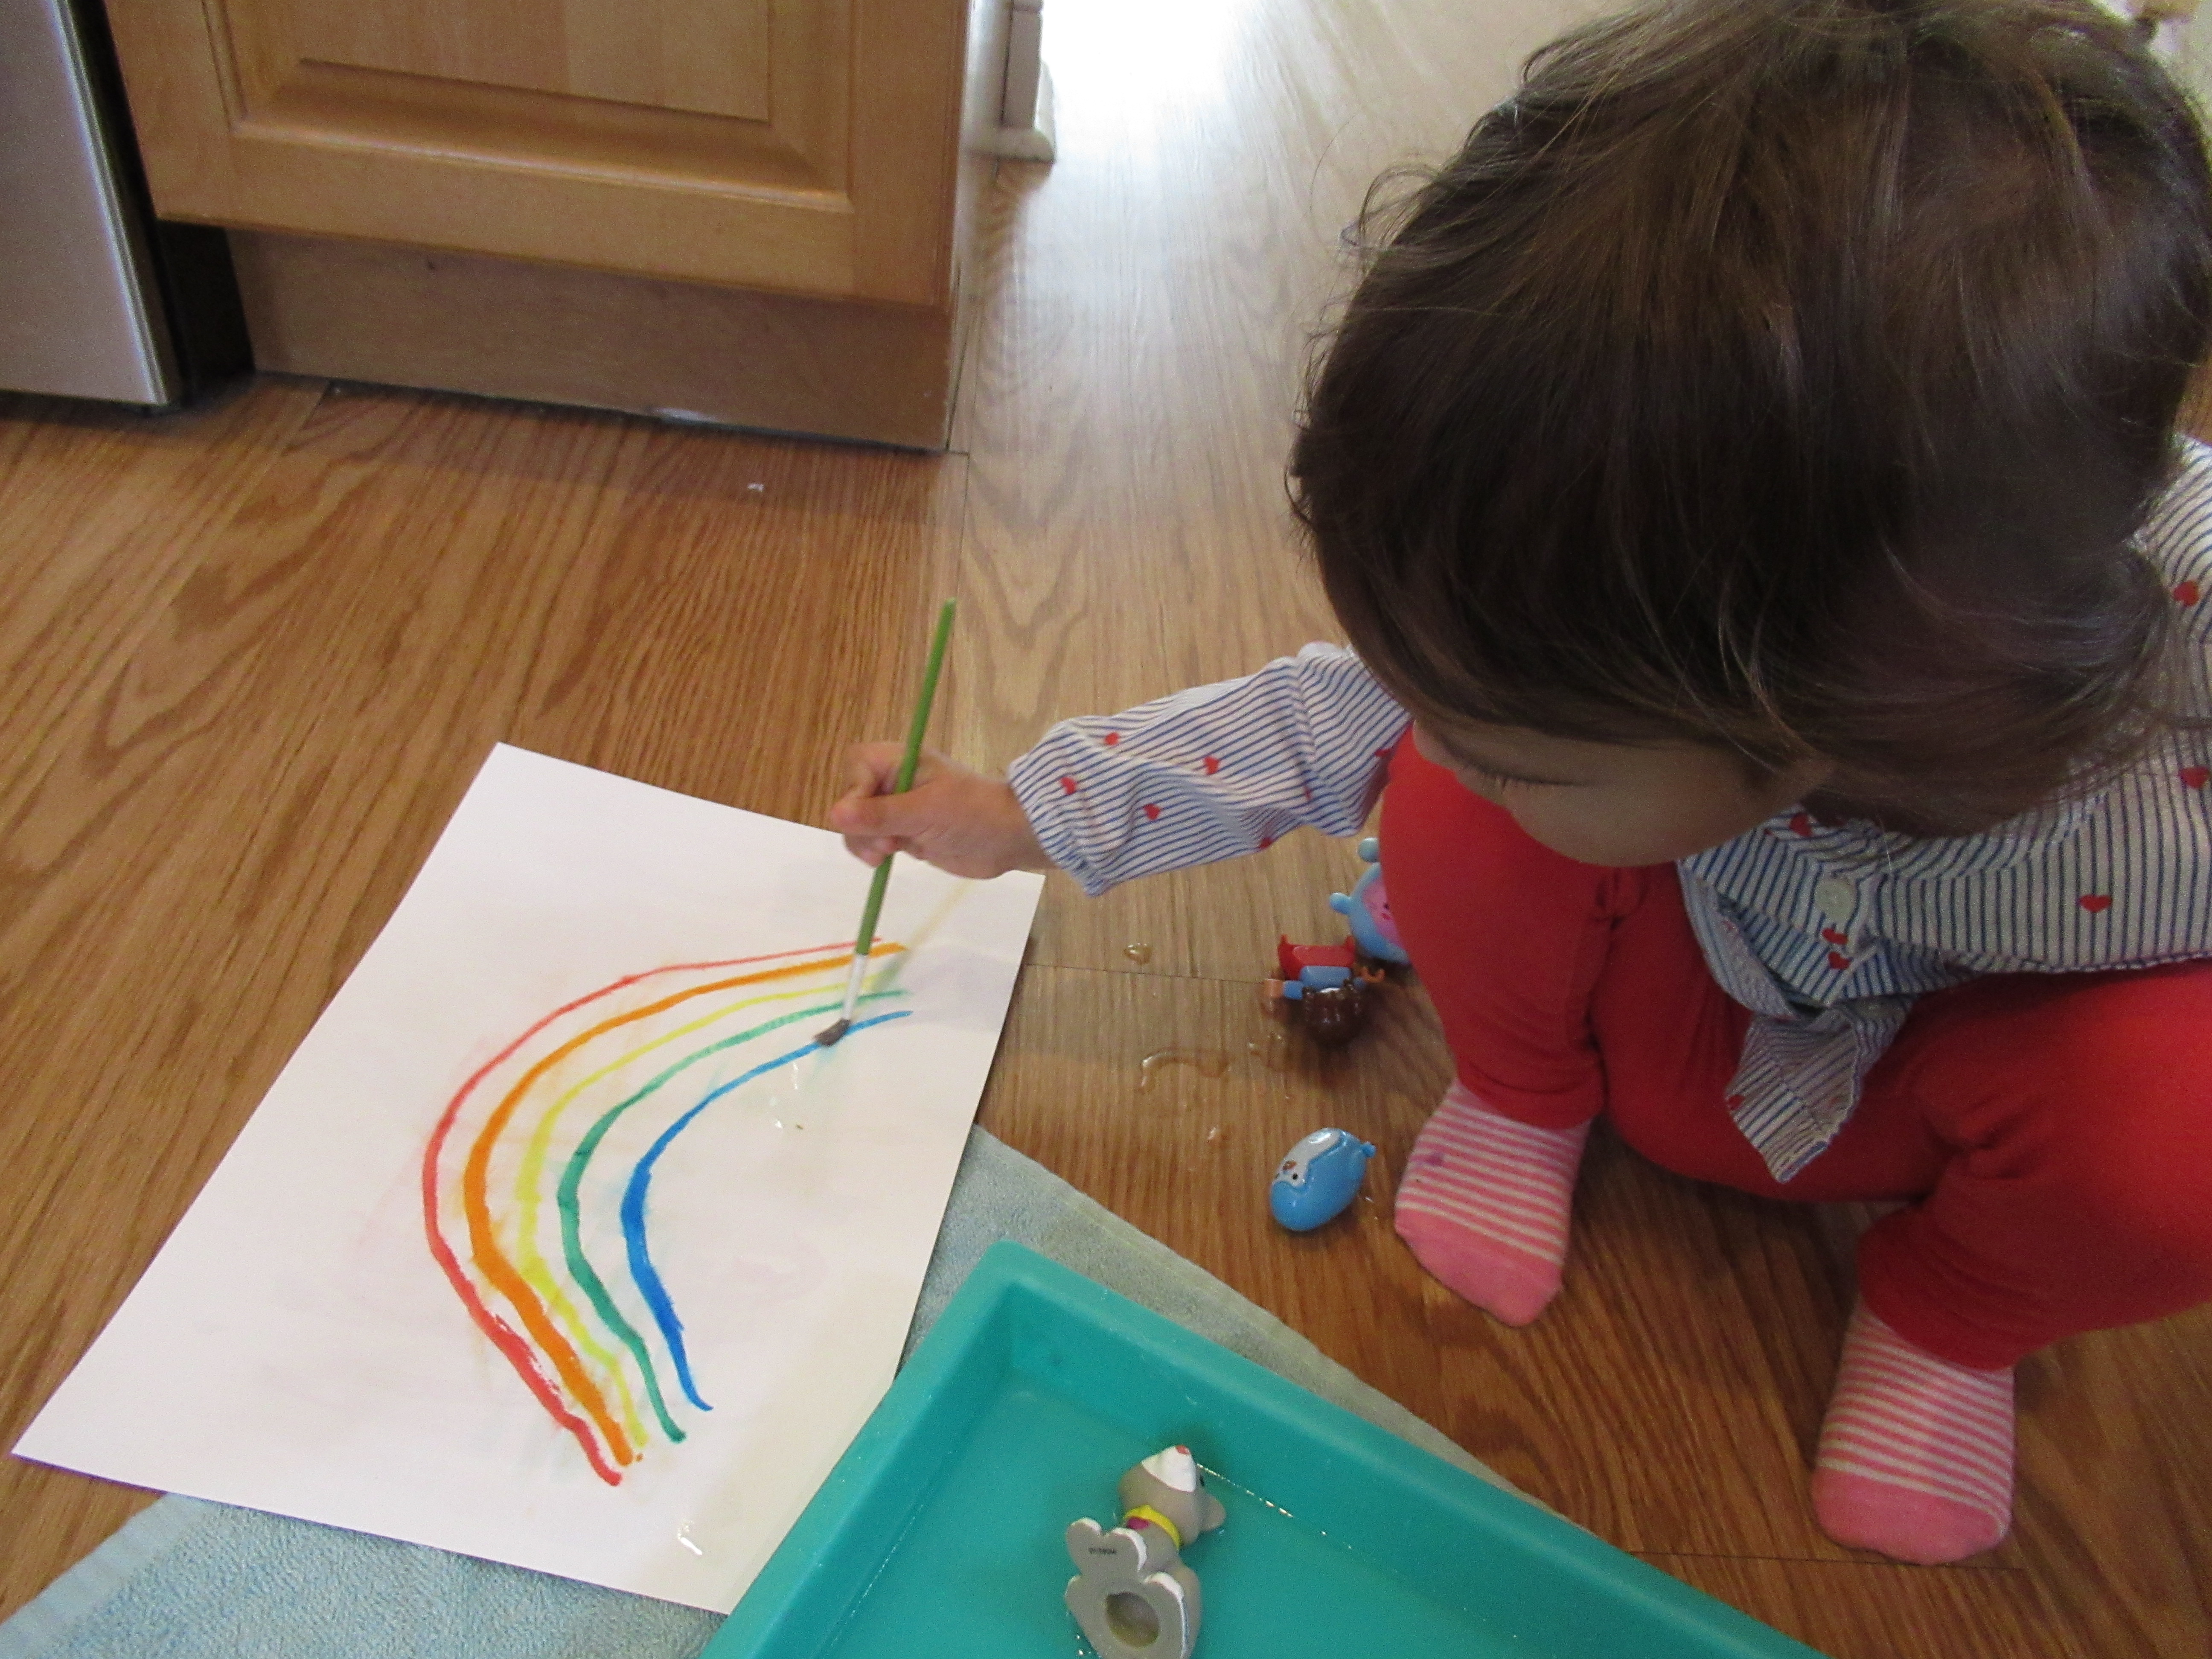
The colors bleed through the tissue of these papers in such beautiful ways. Veronika loved mixing the colors, too, which meant our bright primary colors soon turned to new shades.

Food Color Painting (4)

We decided we liked the result on the paper towels better than on the coffee filters, so once the color had dried, I glued these onto construction paper backgrounds.

Food Color Painting(6)

Add a note for your recipient, and it’s ready to send. We’re wishing a happy Mother’s Day to all the moms out there!

Painting with the Rain

The next time you have a rainy day, take advantage of it for this art project! There are two “artists” who will complete each painting: your child and the raindrops!

To start, I set out cups of water and watercolors so Veronika could paint all over thick white paper. To be honest, she was much more interested in the cups of water today; after just a few swirls on the paper, she turned her attention to swirling the water around in the cups!

I made a second painting with big dots of watercolor, too, so we’d have two pictures to set outside for the next step.

Now we made a quick foray out into the rain and placed down our paintings. It’s useful to secure the paper in place with rocks or pebbles, especially if your rain storm is accompanied by wind.

Wait until the pages are covered in raindrops, then bring back inside! The rain makes neat effects, sometimes diluting our colors, sometimes making them run together, and no matter what resulting in a pretty final work of art.

Flower Power

Just in time to fill a homemade flower vase for Mother’s Day, today Veronika made cupcake-liner flowers!

You’ll want to use green straws as the stems to start, but since I couldn’t find green ones at the store, a quick coat of green paint did the trick! We left the stems to dry and turned our attention to the flower petals.

If you have brightly colored or patterned cupcake liners, those would look beautiful just the way they are. I only had standard cupcake liners, so we decided to add a little flair. Veronika loved that she was allowed to use permanent marker for this step, making swirls and dots all over.

Of course then they needed a few squirts of glitter glue! Finally, we put a dot of glue in the center of each cupcake liner and added a pom pom.

Flatten the end of each green straw slightly, and apply a drop of glue. Press onto the back of the cupcake liner and let dry. (Note: you can also use tape for this step if your little one is impatient).

Set into a vase and the flowers are ready to present to a special someone this Mother’s Day!

In fact, I might just keep these around the house since there’s no shame in orchestrating your own Mother’s Day gift!

Smeary Paintings

Veronika loves the look of watercolors, but they can be hard for her to use because she often forgets to alternate her paintbrush between the cup of water and the tin of dried paints. This alternative method creates a similar smeary, watery look, but was easier for her to do.

To start, I used a wide paintbrush to spread water all over a sheet of thick paper. Veronika then used a smaller paintbrush and picked out pink and purple tempera paints to dip into. The colors bleed and run across the sheet in such a pretty way!

I wondered aloud if we could achieve a similar look with markers, and then “painted” water over a second sheet of paper. Veronika tested it out, and while the effect was neat, I only recommend this with markers that are near the end of their life, as it quickly wears them out.

Veronika now became inventive with the project. First, she poured the cup of water I’d used into the cup of paint, and tested how this mixture looked on the paper.

Then she poured the whole watery mix over the paper; it was a good thing the paper was thick! She made swirls through the goopy mess with her paintbrush, making deep lines.

As a side note, this watery method is great for kids who love to paint rainbows, since the ethereal quality captures the fuzziness of a rainbow on a true rainy day. So for our final sheet of wet paper, I drew a rainbow with markers, and then she “painted” still more water on top.

Rainbow Crayons

In the past, I’ve recycled bits of old crayons into interesting shapes, but never before have we made one giant recycled crayon! This project involves a lot of adult prep, but the resulting rainbow crayon is a delight.

To start, I removed the wrappers from the few crayons remaining from our once-giant box. It helps to soak the crayons briefly in water, after which the wrappers slip right off.

Next, you’ll need an empty tin can (I used an olive can), cleaned and dried. Working with one color family at a time, break the crayons into smaller pieces and place in the tin can. Place the tin can in a saucepan, and add boiling water around it. The wax will begin to melt almost immediately! Pour into a plastic container (empty play dough canisters were perfect!) and let set.

As the red layer set, it was time to melt the orange crayons and so on until I’d worked my way through the rainbow. I didn’t always let the old layer set long enough, which meant the yellow, green and purple layers weren’t as easy to see. Next time, I would be a bit more patient!

Still, the end result was a beautifully-layered crayon. Snip off the plastic container and hand over to your waiting toddler.

Veronika loved that she could change color depending just on how she held it. “This way is red…” she said.

“And this way is blue!” I also showed her how she could rub the crayon along on its side, showing multiple colors at once, or make big circles with it.

“The crayon is so big!” she marveled. This is the perfect crayon for toddler hands and sure to be a delight.

Kazoo

We’ve been having fun with super-simple homemade instruments lately, and this one is a riff on an oldie but goodie.

To make a “kazoo” that sounds nearly like the real thing, simply use a hole punch to make a hole down the side of an empty toilet paper tube, as far as the punch will reach.

Apply glue on the opposite rim of the tube, and place on a square of wax paper. Let dry completely. Once the glue dried, I invited Veronika to decorate the kazoo! She added purple marker and some stickers before declaring it complete.

Now, I showed her how this little creation could make music. Hum any favorite tune into the tube, as you would with a regular kazoo, and the vibrations against the wax paper will make a fantastic kazoo-like sound.

Veronika couldn’t quite master the art of humming into the kazoo, but certainly loved singing down into it, or listening to my hum! This was a great way to add to our musical play.

Yarn-Wrapped Vase

This quick toddler-friendly craft makes a beautiful vase to keep around the house, or would also be a nice gift for Mother’s Day.

To start, you’ll need an empty plastic bottle. (Preschoolers or older kids could alternatively use a glass bottle). Because the bottle was already a bit sticky from where I had peeled off the label, our first strand of yarn adhered nicely. I added a piece of tape just for extra security, then showed Veronika how to begin twisting the yarn around the bottle.

We have a great skein of yarn that changes colors every few inches, so she was able to make a multi-colored vase with no effort at all! If you have single colors of yarn, simply snip off strands and knot them together every time you switch colors.

Veronika’s little toddler hands grew tired when the bottle was about this full…

…so I filled in the gaps with additional yarn. When the bottle is covered, simply tuck the final thread under another strand to hold it tight. I then made a second version on a small glass jar, which meant we could have a neat multi-height arrangement of flowers on our Mother’s Day table. All the vases need now is to be filled with special flowers to make any gift recipient smile.

Make a Sailboat

Travis has been tackling projects that hone his fine motor skills as he completes the academic year for first grade. For this one, he made a floating sailboat with just a few common household items.

First up was making the sail. Since he chose black paper, I suggested he use white crayon so his drawing would show up well. He loved decorating it with an imposing figure.

I then drew lines so he could cut the paper into a triangle.

Apply glue to the non-decorated side of the sail, then fold in half over a straw in the middle (as the mast). Let dry completely.

For the hull of the boat, wash and dry a Styrofoam tray. Travis used a blob of clay to secure the mast in the center, then it was time to set sail! This boat proudly braved the waves of Baking Dish Sea.

If kids want to get scientific, they can test out different sized sails and see if the boat floats better or worse!

Rainy Day Recycled Rainbow

Veronika loves rainy days lately, because she’s on the hunt for a rainbow! While we waited for a real one to appear, we made this upcycled version at home, the perfect use for the last few sheets from a pack of construction paper. If you don’t have construction paper, use up any leftover bits of scrapbook or patterned paper from your craft bin. We actually didn’t have any green paper left, so thinking quickly, we scribbled green marker onto white paper.

Tear the paper into pieces (and invite your child to help!), then draw the outline of a rainbow on a large piece of cardboard.

Working with one color at a time, Veronika helped dot glue all along that color, then press down the paper bits that matched.

She loved the process, whether shouting out “gluey gluey!” as we dotted the glue on first, or proudly selecting which paper piece to add. She enjoyed sliding the paper pieces through the glue, too, watching the way this smudged the marker line underneath.

We worked our way up from purple, and she was thrilled when she had to step across the rainbow to work on yellow, orange, and red at the top.

When the rainbow was complete, she wanted to keep going. I gave her a sheet of paper and the remaining paper scraps to design her own rainbow. I loved this toddler-take on the craft!

Pretty soon we’ll head outside to find a real rainbow for the perfect finish to a rainy day.

Tic-Tac-Toe

I’ve always felt that tic-tac-toe is a great first turn-taking game for toddlers. Simple to follow, and easy to win (especially if a grown-up “doesn’t notice” the three-in-a-row about to happen), the game is sure to be a hit. This particular version from High Five magazine even allows toddlers to craft the game before they play it!

I wanted Veronika to have lots of ownership over this project, so after I cut up the compartments of an upcycled egg crate, I asked her what color we should paint them. She chose purple! Make sure to paint only half of your playing pieces (5) and leave the other 5 blank.

Give the egg cups a generous two or three coats of paint and let dry completely. In the morning, I asked her if she wanted to be Xs or Os, and she chose the former. She watched me mark her 5 pieces with an X, and preschoolers can do this step by themselves in paint.

Then she wanted to help out to mark the Os. As a result, our O team was a bit scribbled, which was just fine!

To make the playing grid, tape four straw together with two vertical and two horizontal.

At first, she simply thought it was fun to stack the pieces together.

But once I started to coach her step by step, but she started to get the idea of placing an X piece in one of the squares, then watching me place an O and so forth. She soon had three in a row.”Tic-tac -toe!” we said in delight.

This was a great intro to a classic.