Clay Charms

Clay Charms (10).JPG

With a big batch of clay in the house, we decided to shape some into charm necklaces – they’ll make the perfect gift for the upcoming September birthdays of several relatives!

You can shape your charms in one of two ways. First we tried a butter knife to cut out simple squares or rectangles. This was definitely Travis’s preferred method.

Clay Charms (2)

Alternatively, you can use cookie cutters to fashion your charms into circles.

Clay Charms (3)

We found a bunch of old buttons in our craft box, which made perfect imprints into the clay, like flowers or hearts.

Clay Charms (5)

Once you’re happy with your designs, let the clay set. If you have oven-dry clay, bake according to package instructions. Ours was air-dry clay, so we left it out overnight. While the clay is still soft, poke a hole through each with a toothpick or wooden skewer so you can string it onto a thread later on.

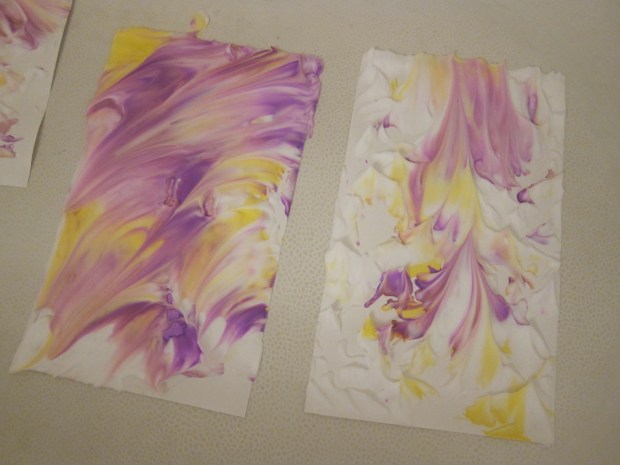
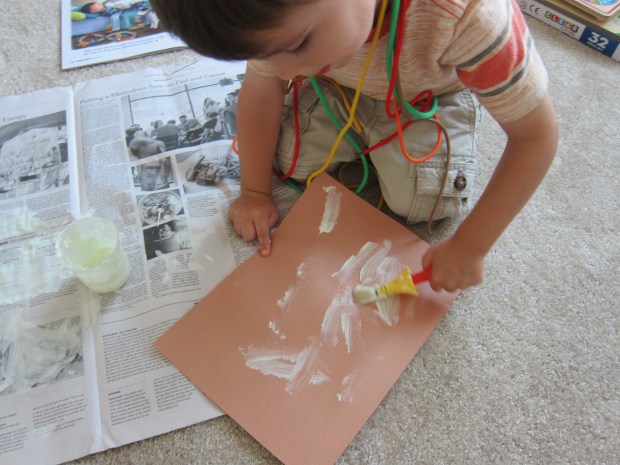
The next day it was time to paint! Watercolor works very well on clay, but you could also use acrylic paint.

Clay Charms (6)

After a swipe or two with a paintbrush, Travis decided it would be much more fun to do watercolors by hand. I laughed and decided why not! The results were surprisingly beautiful.

Clay Charms (7)

Let the charms dry again, then thread twine through the hole in each charm. Voila! A charm necklace.

Clay Charms (9)

Music Sheet Banner

Music Sheet (9).JPG

As we continue to decorate Travis’s room in our new home, this upcycled craft was the perfect idea for a kid who loves music. The banner would also make a fantastic party decoration, if you cut out enough triangles to spell a larger message like HAPPY BIRTHDAY.

I have lots of piano sheet music at home, which made ripping up a few old songs a simple matter. Otherwise, look for second-hand sheet music at a garage sale or music store – no matter what song you pick, musical notes and clefs will be a pretty backdrop!

Music Sheet (1)

Travis loved helping cut the music sheets into triangles…

Music Sheet (3)

As well as ripping the scraps into ever smaller pieces for quite some time afterwards.

Music Sheet (2)

He can’t write his name on his own yet, but he and I did hold a marker together to form T-R-A-V-I-S. He was so proud!

Music Sheet (6)

For final assembly, I simply attached the triangles to a piece of twine with a little bit of scotch tape, and that was it!

Music Sheet (7)

A new banner over his new big boy bed.

Music Sheet (8)

Rainy Day Window Painting

Rainy Window (5)

If you’re having a gray and rainy Labor Day weekend like we are, turn any frowns upside down with the slightly-taboo feel of this project… indoor painting on the windows!

Grown-ups, don’t cringe; I promise the paint is going to wash off your windows really easily. The secret? Dish soap!

In the cubes of an ice cube tray, mix equal parts dish detergent and washable paint for each color. Provide your child with q-tips as the paint brushes.

Rainy Window (4)

Travis couldn’t believe I was letting him use the window as his canvas. He jumped right in drawing “clouds” and squiggles.

Rainy Window (1)

His expression here pretty much says it all!

Rainy Window (3)

The beautiful, slightly shiny colors were the perfect antidote to the gray day outside our windows.

Rainy Window (2)

Travis may or may not have discovered it was equally as fun to rub a paint-smeared q-tip over his bare legs. I may or may not have been feeling so lenient of this cozy Snday afternoon that I let him paint away and followed up with a bath…

Rainy Window (6)

Ready for the best #momhack of all about this game? Clean-up is half the fun! After Travis was paint-free, I set him loose with a spritz bottle on the window.

Rainy Window (7)

The glass was sparkly and shiny and paint-free in no time.

Rainy Window (8)

Flower Prints

Flower Prints (6)

As summer draws to a close, I’m working through a bucket list of warm weather projects before we move on to fall and autumnal activities! This fun idea from Barefoot Books Kids’ Garden kit lets you bring flowers indoors as a keepsake that will last all winter!

The first step of course was to gather our flowers. If you don’t have your own garden, find any pretty blossoms on a stroll through your neighborhood or a local park. Flowers that lie flat will work best, but we picked a variety just to test the results.

Flower Prints (1)

Travis was very intrigued by the set up when we returned home. On the floor, place an old dish towel for traction, followed by a cutting board and then watercolor paper.  Place your flowers, petals down, on the watercolor paper after removing as much of the stems and leaves as possible. Finally, cover your petals with painter’s tape, being sure to cover the flower completely, but trying not to let pieces of tape overlap.

Flower Prints (2)

And now for the fun part! Although adults will need to do most of the hammering, Travis got to take a few swings at the flowers under careful supervision.

Flower Prints (3)

He then played along with his toy hammer while I finished the real work. You may want to peel back your painters tape a few times to make sure the color of the flower has transferred over to the paper, before removing the tape completely.

Flower Prints (5)

Peeling off the tape was great fun, too, of course.

Flower Prints (4)

Once the hammering was complete, Travis lost interest fairly quickly, but I loved the old-fashioned Victorian feel to the result. In a whimsical nod to the method by which we had obtained our prints, I “framed” them in additional painter’s tape in Travis’s room – a beautiful reminder of the fleeting beauty of summer’s blooms!

Flower Prints (7)

Rainbow Shape Mobile

Rainbow Mobile (9)

Travis has been a big helper decorating our new home, and this project was a fantastic way to continue recent projects where we talked about exact rainbow order. It’s also a great review of shapes before he steps into pre-k in a few weeks!

Sorry grown-ups, but this one’s a little labor-intensive on your part at the front end. Using construction paper in all the colors of the rainbow, I cut out a square, rectangle, triangle, and circle from each.

Rainbow Mobile (1)

While I was busy cutting, Travis got in some practice with safety scissors:

Rainbow Mobile (2)

Your child might also like to try tracing or drawing shapes of his or her own as you work.

Once the shapes were ready, we needed to sort! Travis has been very into sorting lately, so loved helping separate the pieces into four piles by shape.

Rainbow Mobile (3)

For each group, we snipped a long ribbon and then glued the pieces on in rainbow order, singing the order of the colors as we went: “Red, Orange, Yellow, Green, Blue, Purple, Makes a Rainbow.” (My apologies to indigo and violet).

Rainbow Mobile (4)

When we had finished with the rectangles, Travis excitedly asked, “Are we going to do another one??” He chose triangles next, and so on until all our shapes were glued.

Rainbow Mobile (5)

This project was gorgeous even while drying on the counter!

Rainbow Mobile (8)

While the shapes dried, we made the finishing touch – white cloud shapes with puffy cotton balls glued on. We added these below the purple shapes on our ribbons.

Rainbow Mobile (6)

To assemble your mobile, glue two jumbo craft sticks together at the middle. Note: You can have your child color on the craft sticks with marker if they’d like to, but since this part of the mobile will hang up on the ceiling, it’s not necessary.

Rainbow Mobile (7)

Glue one strand of shapes onto each of the four craft stick ends, then use a length of yarn or ribbon to suspend your mobile.

Rainbow Mobile (10)

You’ll have a rainbow to cheer you every day in your home, whether you’ve just moved in or have been there for years!

Rainbow Mobile (11)


Salt Painting with Liquid Watercolor

Salt Painting (7)

My impish three-year-old doesn’t need an excuse to pour a huge pile of salt out of the container – but this project turned the result into beautiful art! If you don’t have liquid watercolors, mix watercolor from a tube with a little water in a bowl before your child starts to paint.

Make sure you cover your work space well for this craft; it’s a messy one! To start, we squeezed a bottle of glue onto watercolor paper to make designs.

Salt Painting (1)

Although Travis normally loves squeezing out glue (which is also excellent fine-motor skill practice), this time he preferred to watch me make designs of actual things. We ended up with a flower and an ant, alongside a few more abstract designs.

Salt Painting (3)

Now for the best part: Place your paper in a tray, and cover the glue with salt; shake any excess salt off into the tray or bin. Repeat with the remaining pictures and let dry for at least 20 minutes.

Salt Painting (2)

I set up several bowls of watercolor for Travis after the glue was dry enough, and he quickly got to work. Encourage your child to dab the color on with a paint brush (a pipette would also work very well), and to watch the color spread along the salt crystals in the most beautiful way.

Salt Painting (4)

At first Travis was making strokes with his brush, but once he got the hang of it, he began dabbing more carefully.

Salt Painting (5)

Here was our abstract take on the solar eclipse!

Salt Painting (6)

Note: This project won’t be a great candidate for hanging on walls or fridges when finished; there is too much potential for extra salt to flake off.


Night Sky Mobile

Night Star Mobile (8)

How perfect that our September issue of High Five magazine included this decoration for a child’s bedroom – we’ve just moved to a new home, and making this craft not only made Travis so proud to decorate his new space, but also feel safer at night in the unfamiliar setting.

To start, I drew a crescent moon and two stars on white craft foam and cut them out.

Night Star Mobile (1)

No pinterest worthy shapes here, but Travis didn’t mind an askew star or two, plus wanted to try doodling his own!

Night Star Mobile (2)

Then came the novelty factor of the project: glow-in-the-dark paint! The only non-toxic version I could find was actually face paint, but it seemed to do the trick.

Night Star Mobile (5)

Travis loved painting on a layer before we let the shapes dry, and then repeated with a second layer.

Night Star Mobile (4)

In fact, he thought the paint was so neat that he wanted to make a glow-in-the-dark picture before we put it away.

Night Star Mobile (6)

Next up was punching a hole in the top of each shape once they were dry.

I mostly did the final assembly solo, threading string through each shape and attaching to the perfect stick we had found on a walk in the new neighborhood. This step would be great knot-tying practice for little fingers.

Night Star Mobile (7)

Finally, tie a long piece of string to both ends of the stick, and hang from a peg in your child’s room. Ideally, it will be some place that the sun hits during the day, for optimal glowing at night.

Night Star Mobile (9)

Sweet dreams!

Balloon Painting

Balloon Paint (5)

When plain old paints and paintbrushes have grown a bit stale, look no further than this novel project! This time around, a balloon itself is your “brush.”

To start, blow up balloons just slightly (you want your little one’s hand to be able to grab on).

I set Travis up with the balloons and several colors of paint on a well-covered surface. You can stick to a color palate (we used various shades of green), or go wild with vibrant primary colors or any shade in between.

Balloon Paint (1)

It was neat to see the different effects we could produce with the balloon as our brush, whether making big blobs by pressing or streaks from rolling.

Balloon Paint (3)

The marks almost looked feathery at times, very neat!

Balloon Paint (6)

In complete honesty, Travis decided he didn’t like the activity much, since the balloon got his hand very messy with paint. His favorite part though was looking at the dried painting afterward, and discussing how we had made it!

Balloon Paint (4)
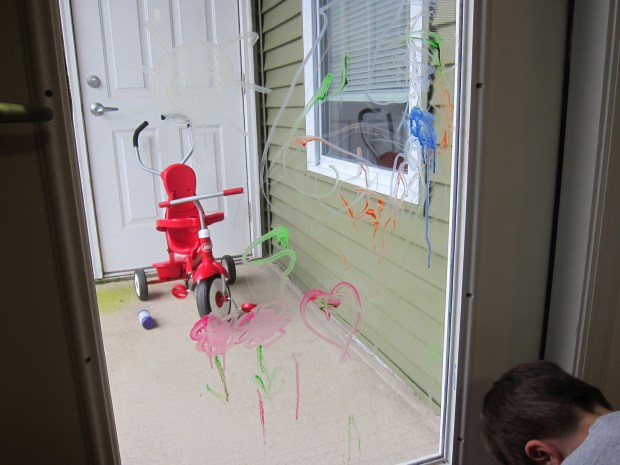
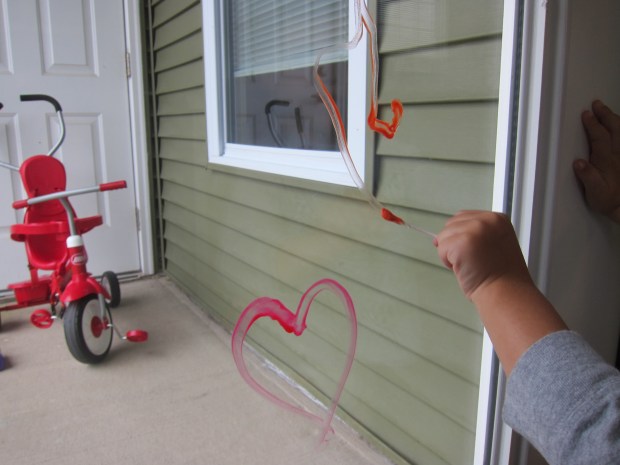
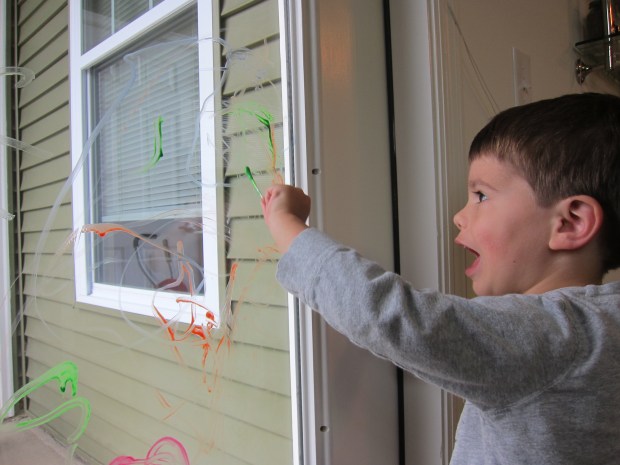
For kids who do love making a mess (and being a mess), this is sure to be a huge hit.

Balloon Paint (7)

String Roller Print

String Print (9)

You can upcycle your empty toilet paper tubes and enjoy some messy fun with this project.

To create the rollers for our prints, first squeeze glue onto a disposable plate or tray. Add pieces of string and have fun squishing the string through the glue until coated.

String Print (1)

Travis was actually a bit squeamish about this step, so my fingers got good and messy; I finally cajoled him into winding some of the gluey strings around our two empty toilet paper tubes.

String Print (2)

We set the tubes aside to dry – nap-time was the perfect pause.

String Print (3)

To make our prints, I splattered several colors of paint onto parchment paper. First we needed to swirl them together a bit with a paintbrush.

String Print (8)

Then it was time to roll through our rollers. The whole project was neat because it made me think of roll printing on fabric.

String Print (7)

Travis was a little hesitant about getting his fingers covered in paint, but soon the rollers were rolling about on a piece of poster board.

String Print (6)

He decided to add a few brushstrokes with the paintbrush to finish his creation. Overall, very Jackson Pollock-esque!

String Print (10)

Shaving Cream Prints

Shaving Print (8)

There is definite WOW factor to this project, even for grown ups!

To begin, squirt a healthy dose of shaving cream onto a baking sheet or tray. Ooh, already this project is exciting!

Shaving Print (1)

Now add a few drops of liquid watercolor to the shaving cream. Travis loved seeing the color appear against the white background, after which I instructed him to swirl the colors through the shaving cream with a skewer.

Shaving Print (3)

Next, press heavy card stock or poster board onto the mixture, one piece at a time. Travis loved helping to gently press the paper on, and lift it up for the big reveal.

Shaving Print (5)

Wipe the excess shaving cream from each piece with an old towel, and set aside to dry – what a gorgeous marbled effect!

Shaving Print (7)

The secret is that the soap in the shaving cream pushes the color away, so it is left behind after the cream is wiped off. It also leaves the paper with a velvety texture that feels amazing!

Shaving Print (9)

This paper is so pretty that you’ll definitely want to use it for gifts – perhaps bookmarks:

Shaving Print (10)

Or thank you cards:

Shaving Print (11)

Or simply hang in a prominent place to display your child’s work of art!

Shaving Print (12)