Upcycling with Holiday Cards

Christmas Card Ball (7)

We had a few blank and leftover holiday cards, so today we turned them into crafts in two ways: one for Hanukkah and one for Christmas!

For the first, we had a few Hanukkah cards with bumpy 3-D elements, and I thought these would be great for holiday rubbings, similar to fall leaf rubbings. I removed the paper wrapper from a blue crayon and showed Veronika how to place the cards under a sheet of blank paper, then rub sideways with the crayon to reveal the images underneath.

Hanukkah Rubbings (1)

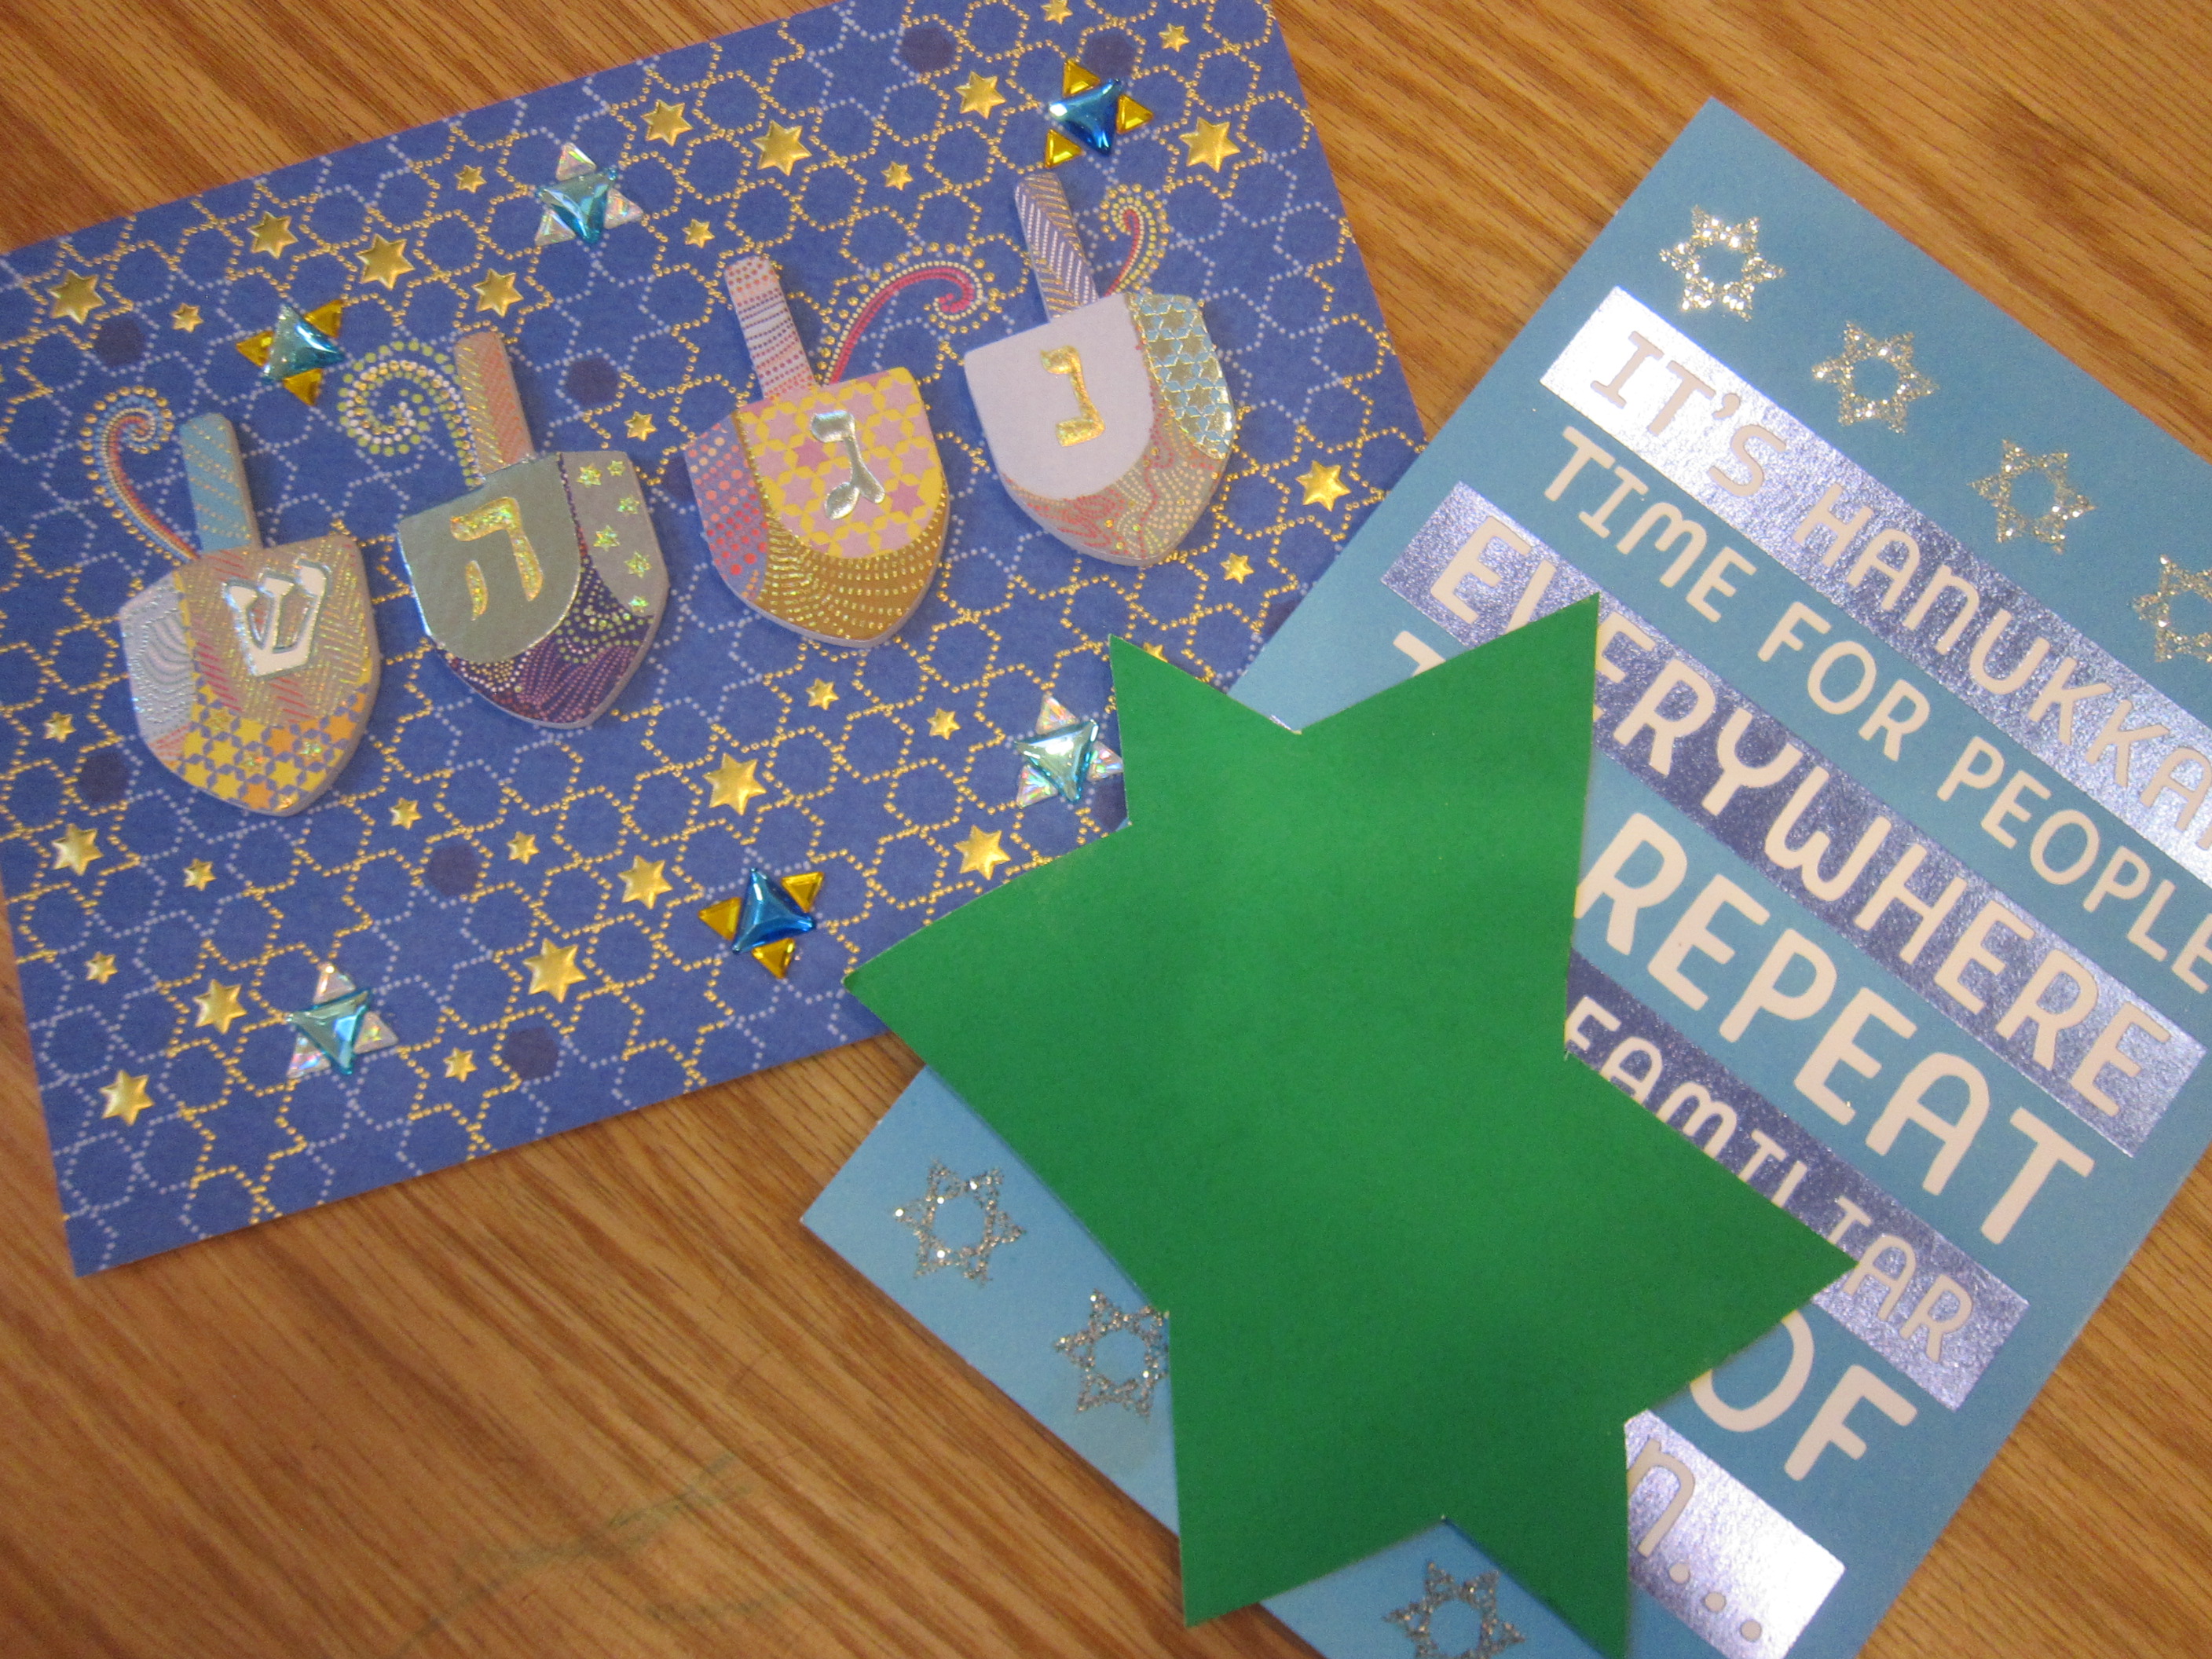
Neat images of dreidels and the Star of David seemed to magically appear before her eyes. If you don’t have cards with these bumpy elements, you can also cut shapes from poster board, place under the paper, and rub over them. It was hard for Veronika to get the mechanics down of rubbing with the crayon sideways…

Hanukkah Rubbings (2)

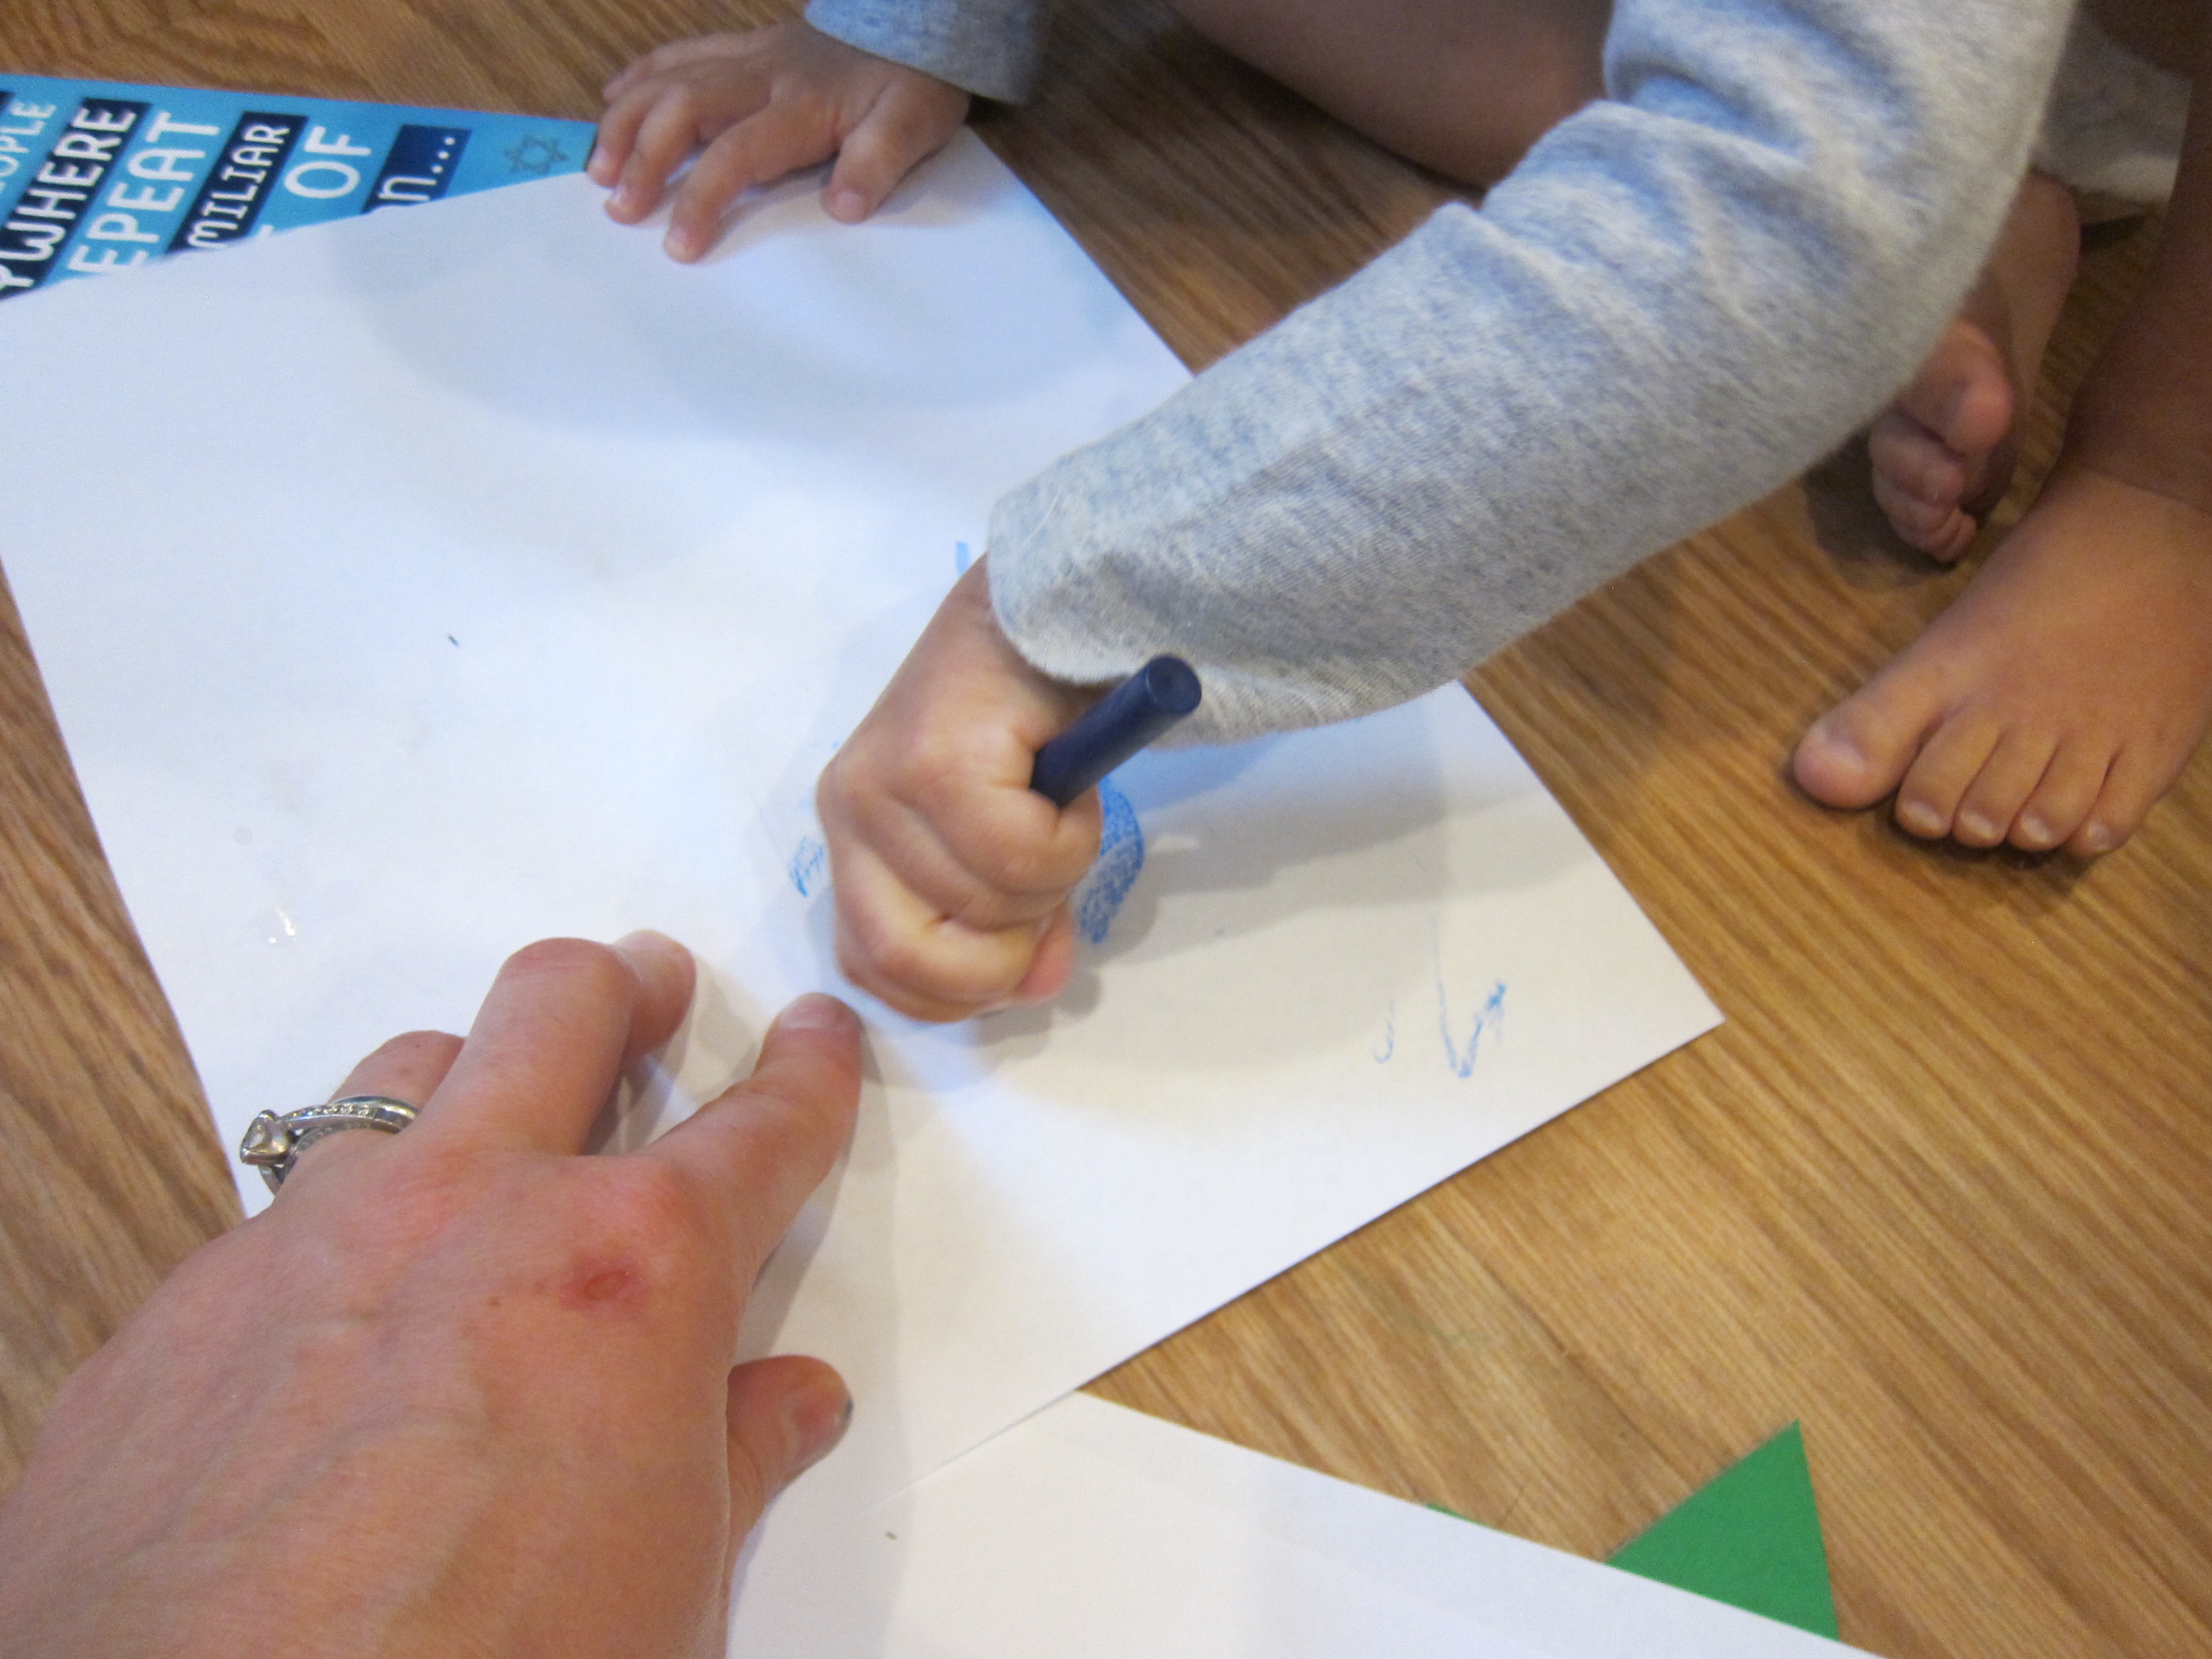
…but big brother Travis could do it!

Hanukkah Rubbings (3)

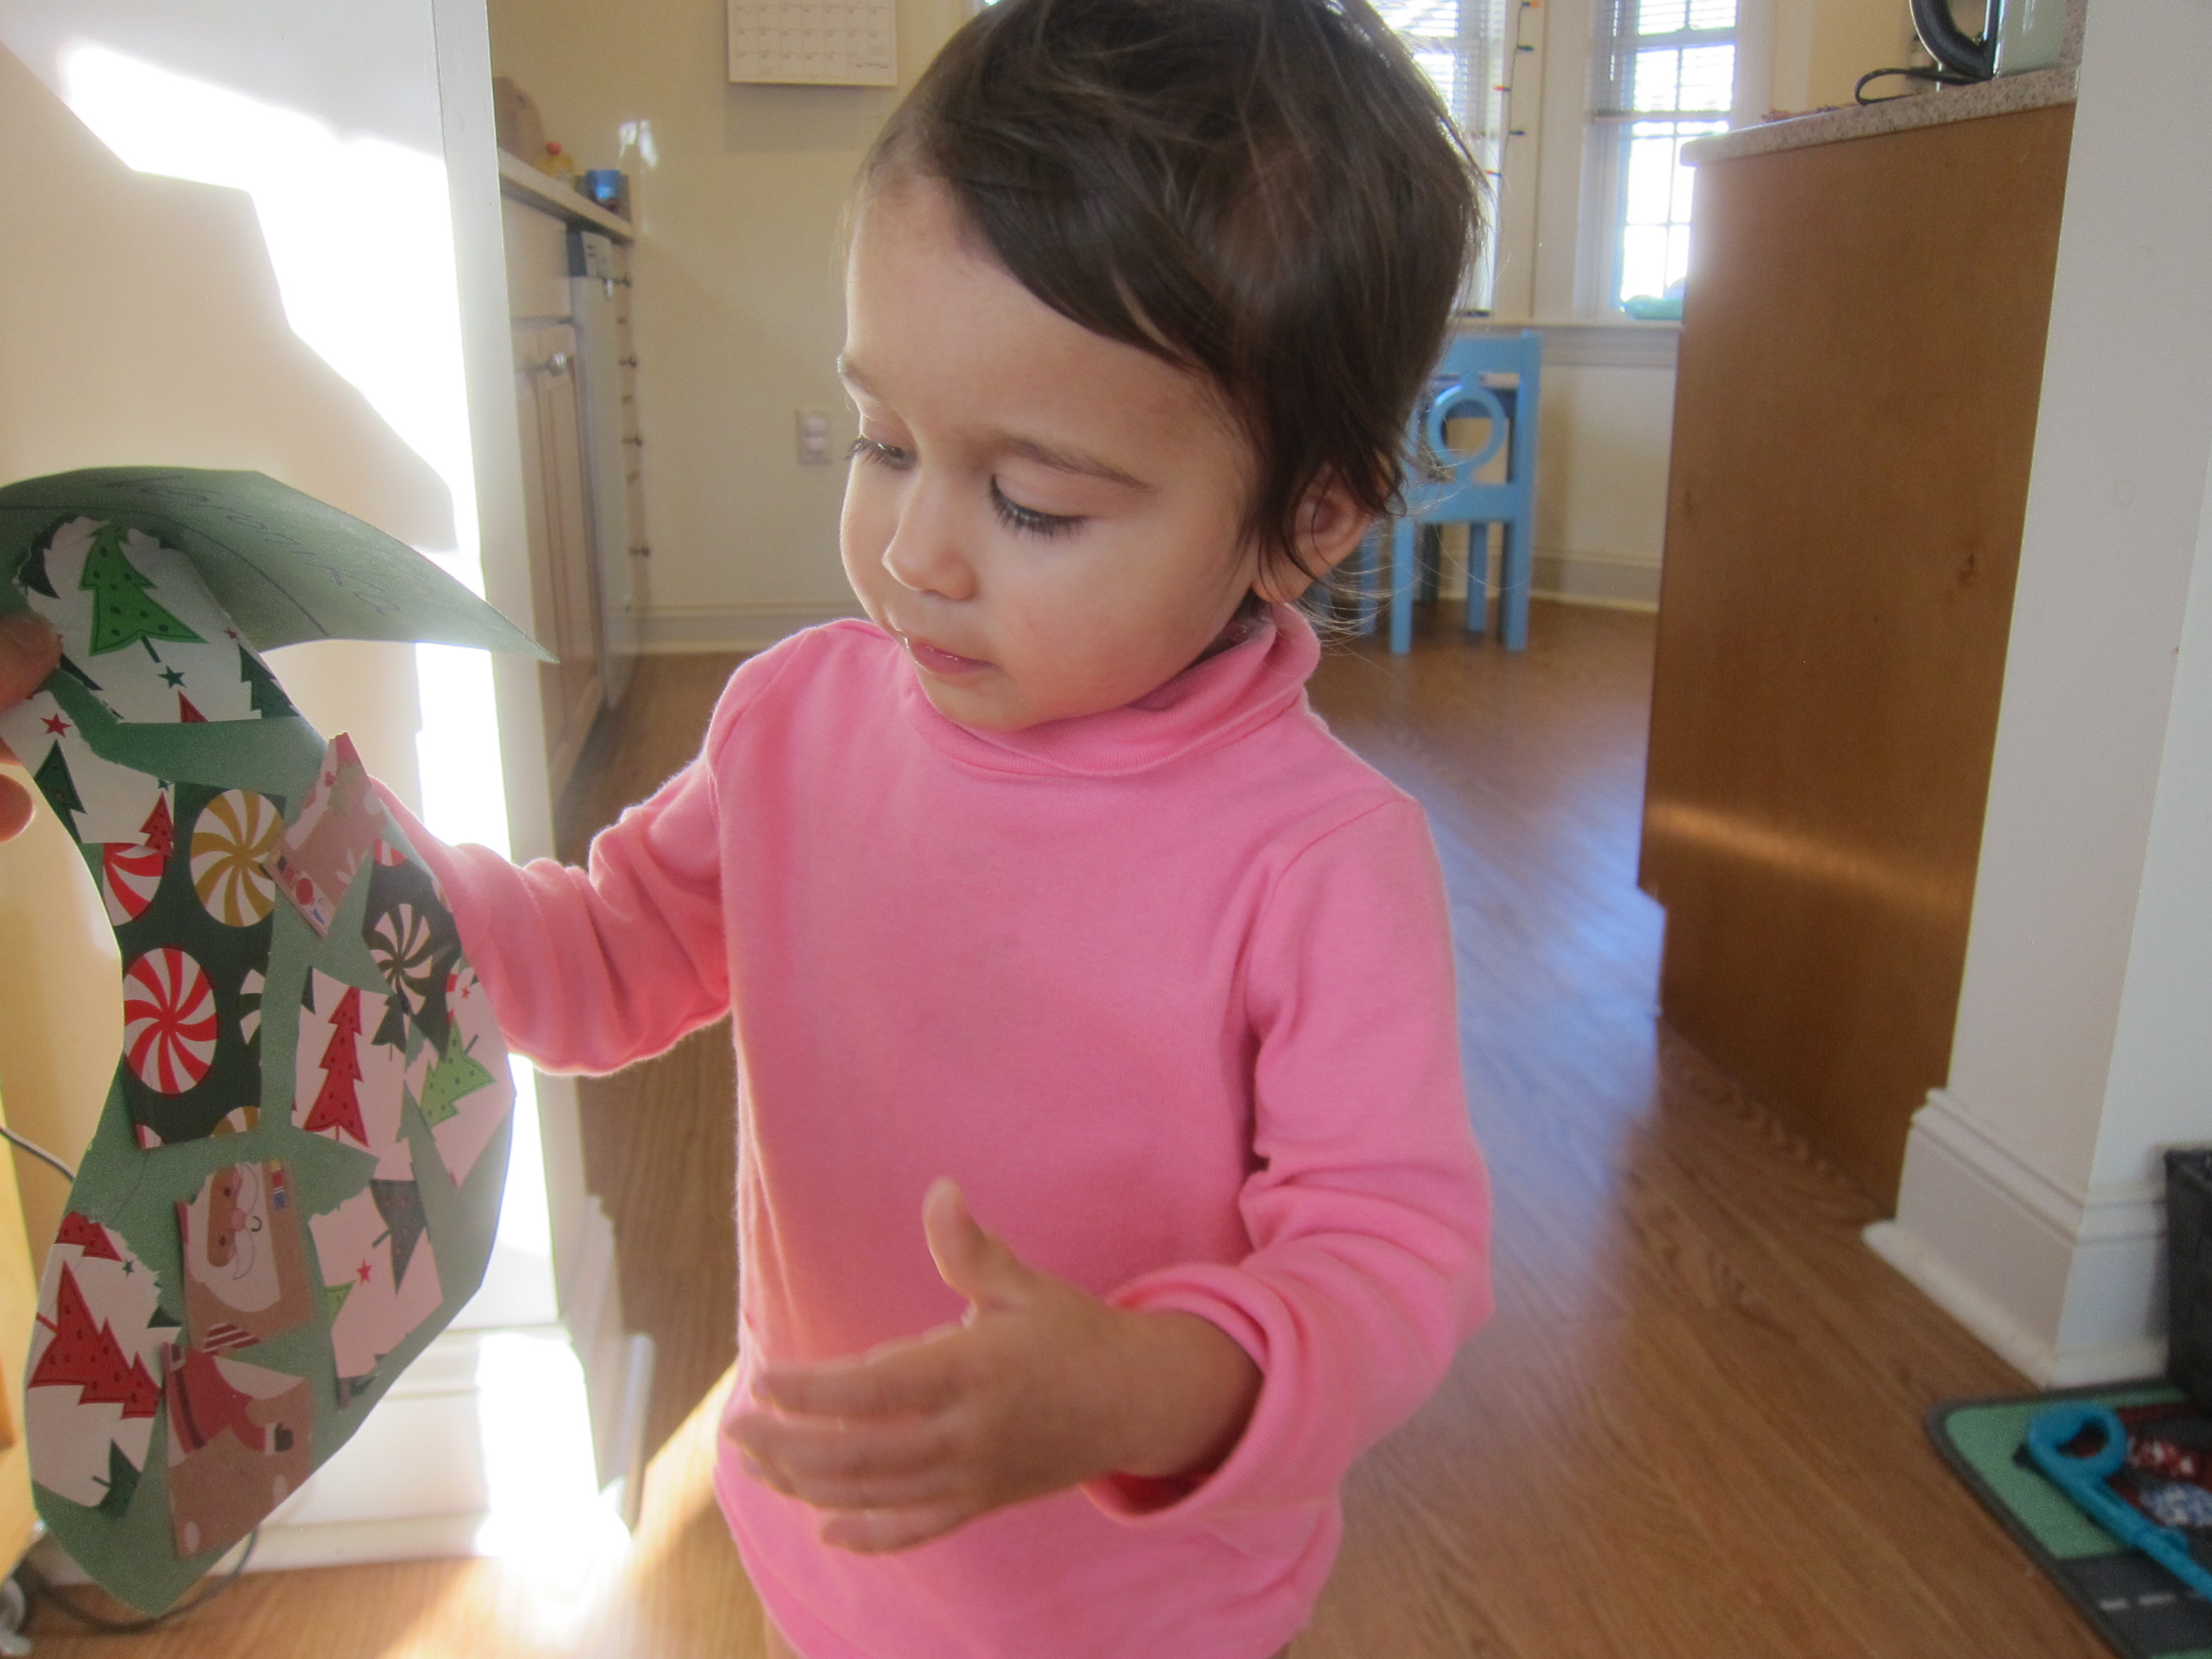
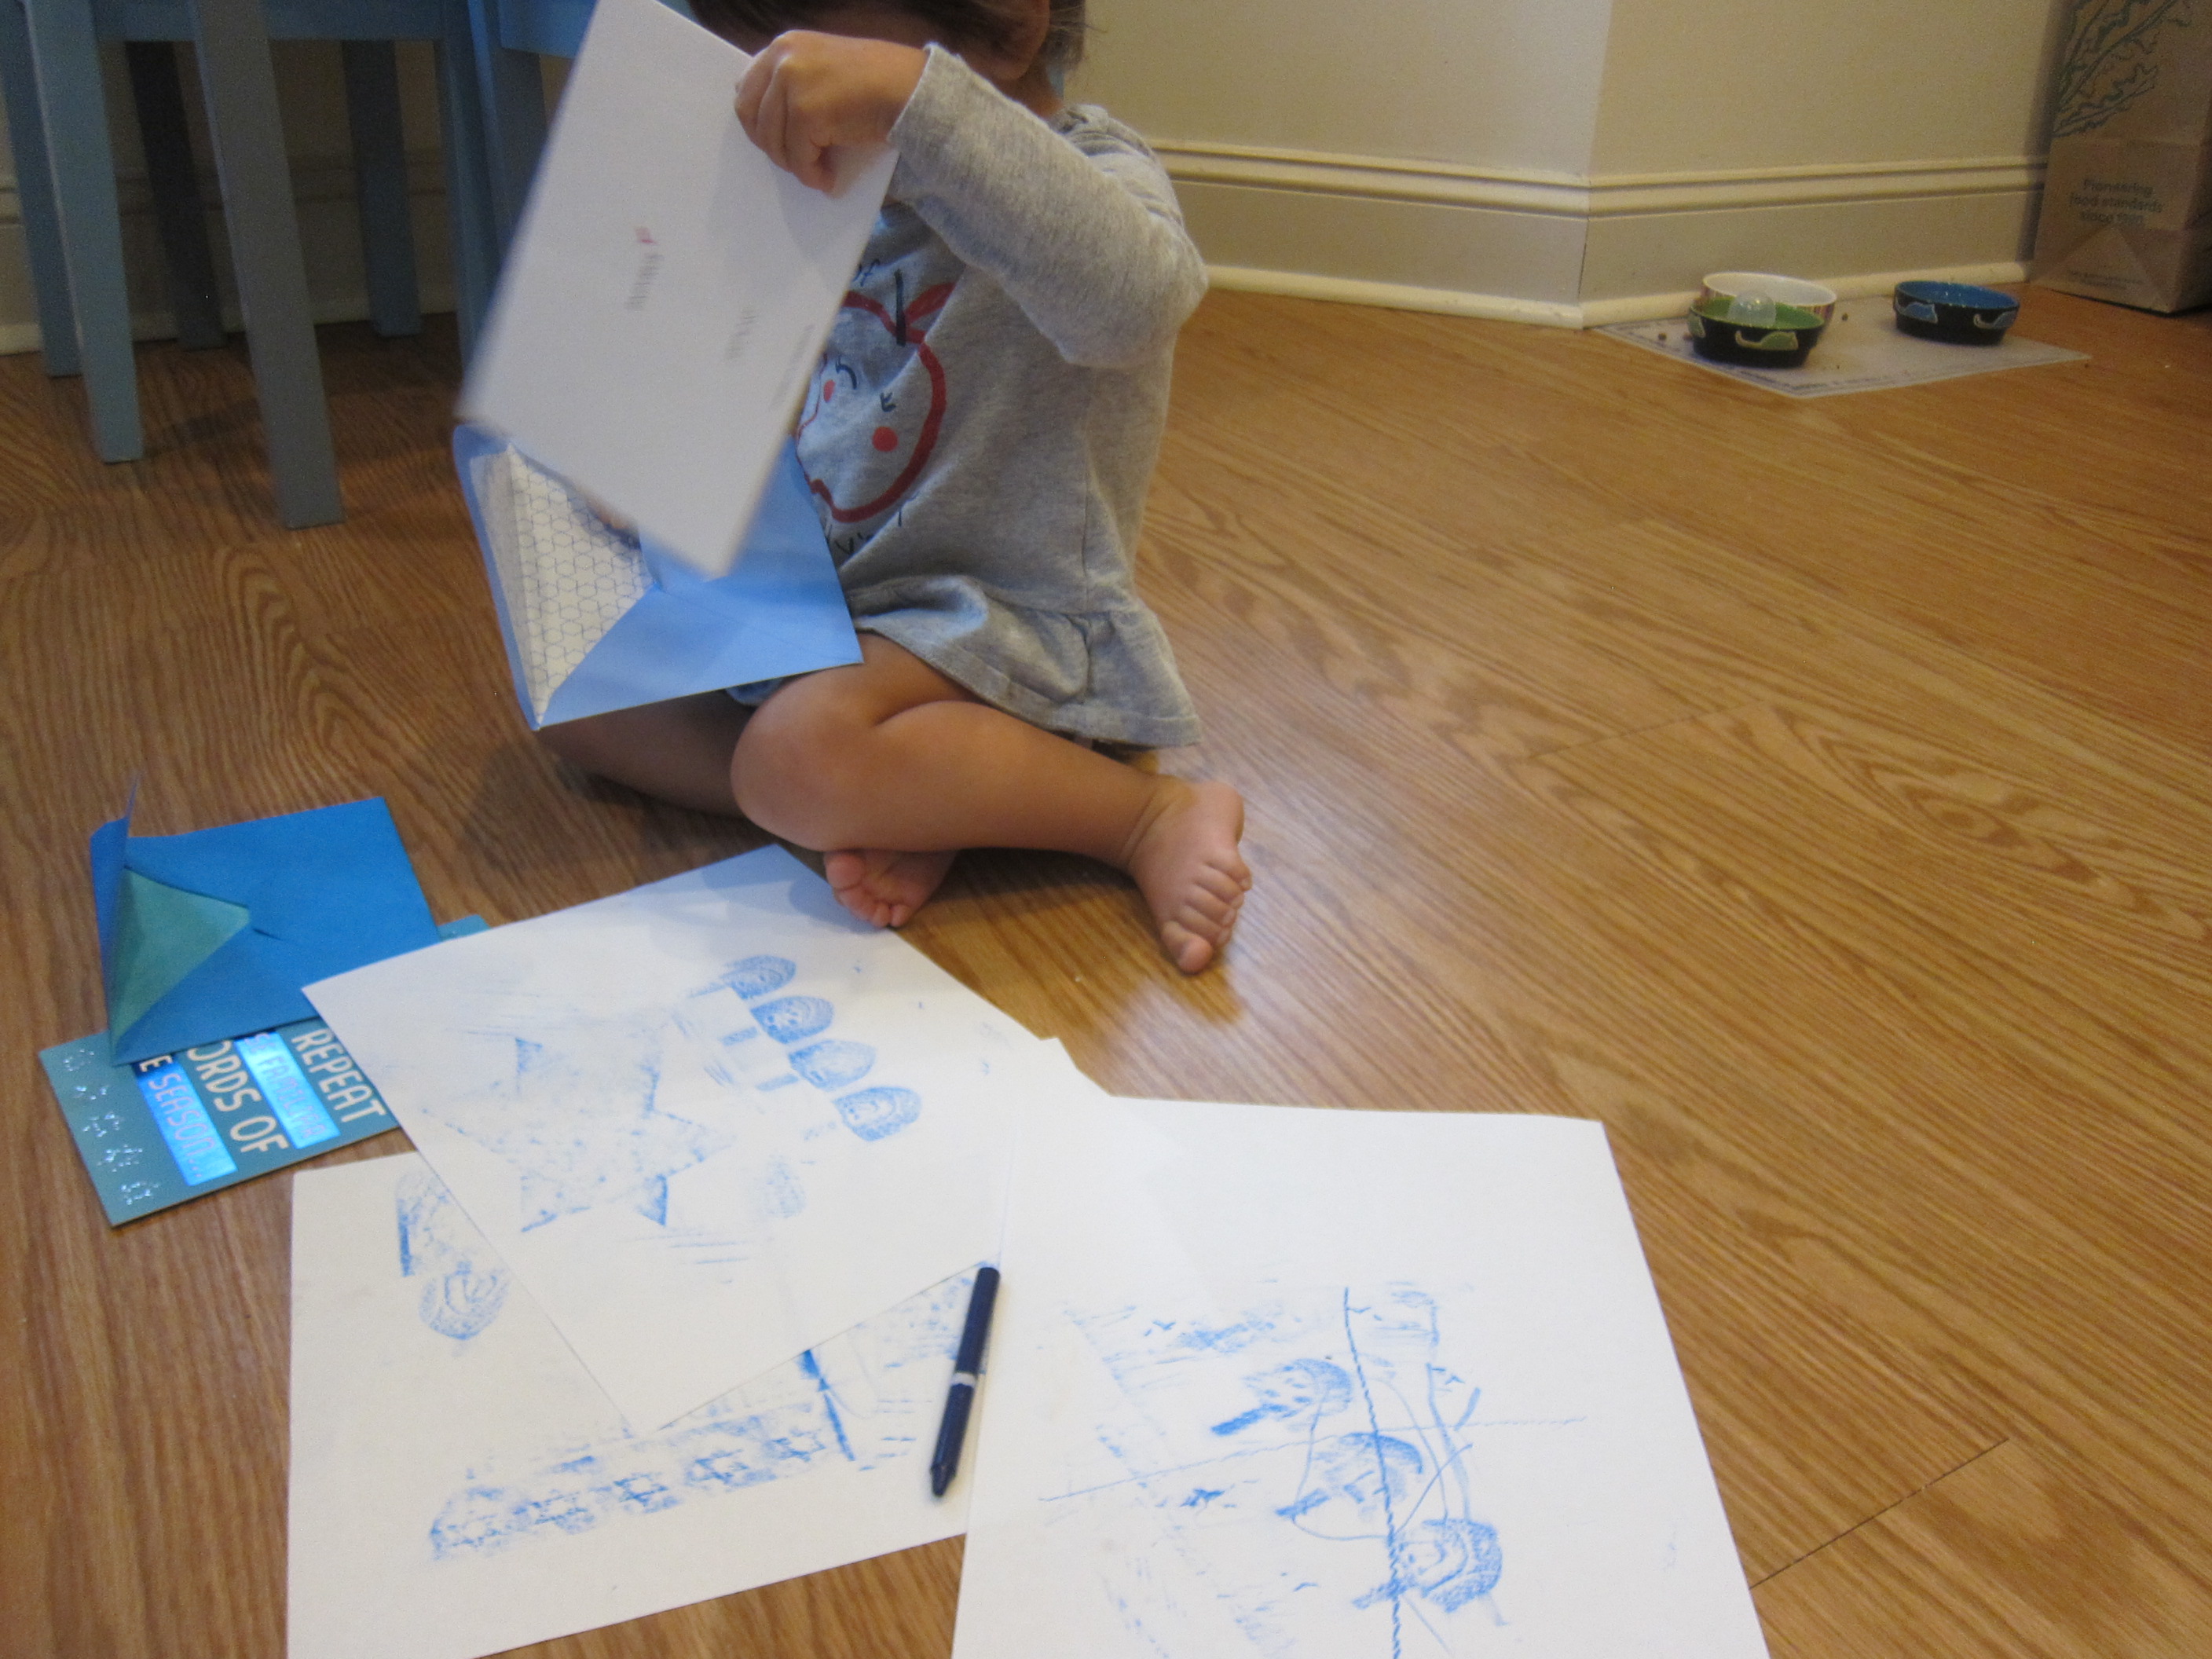
Meanwhile, Veronika really enjoyed simply scribbling with blue on the leftover cards and envelopes, or pretending to “mail them”.

Hanukkah Rubbings (5)

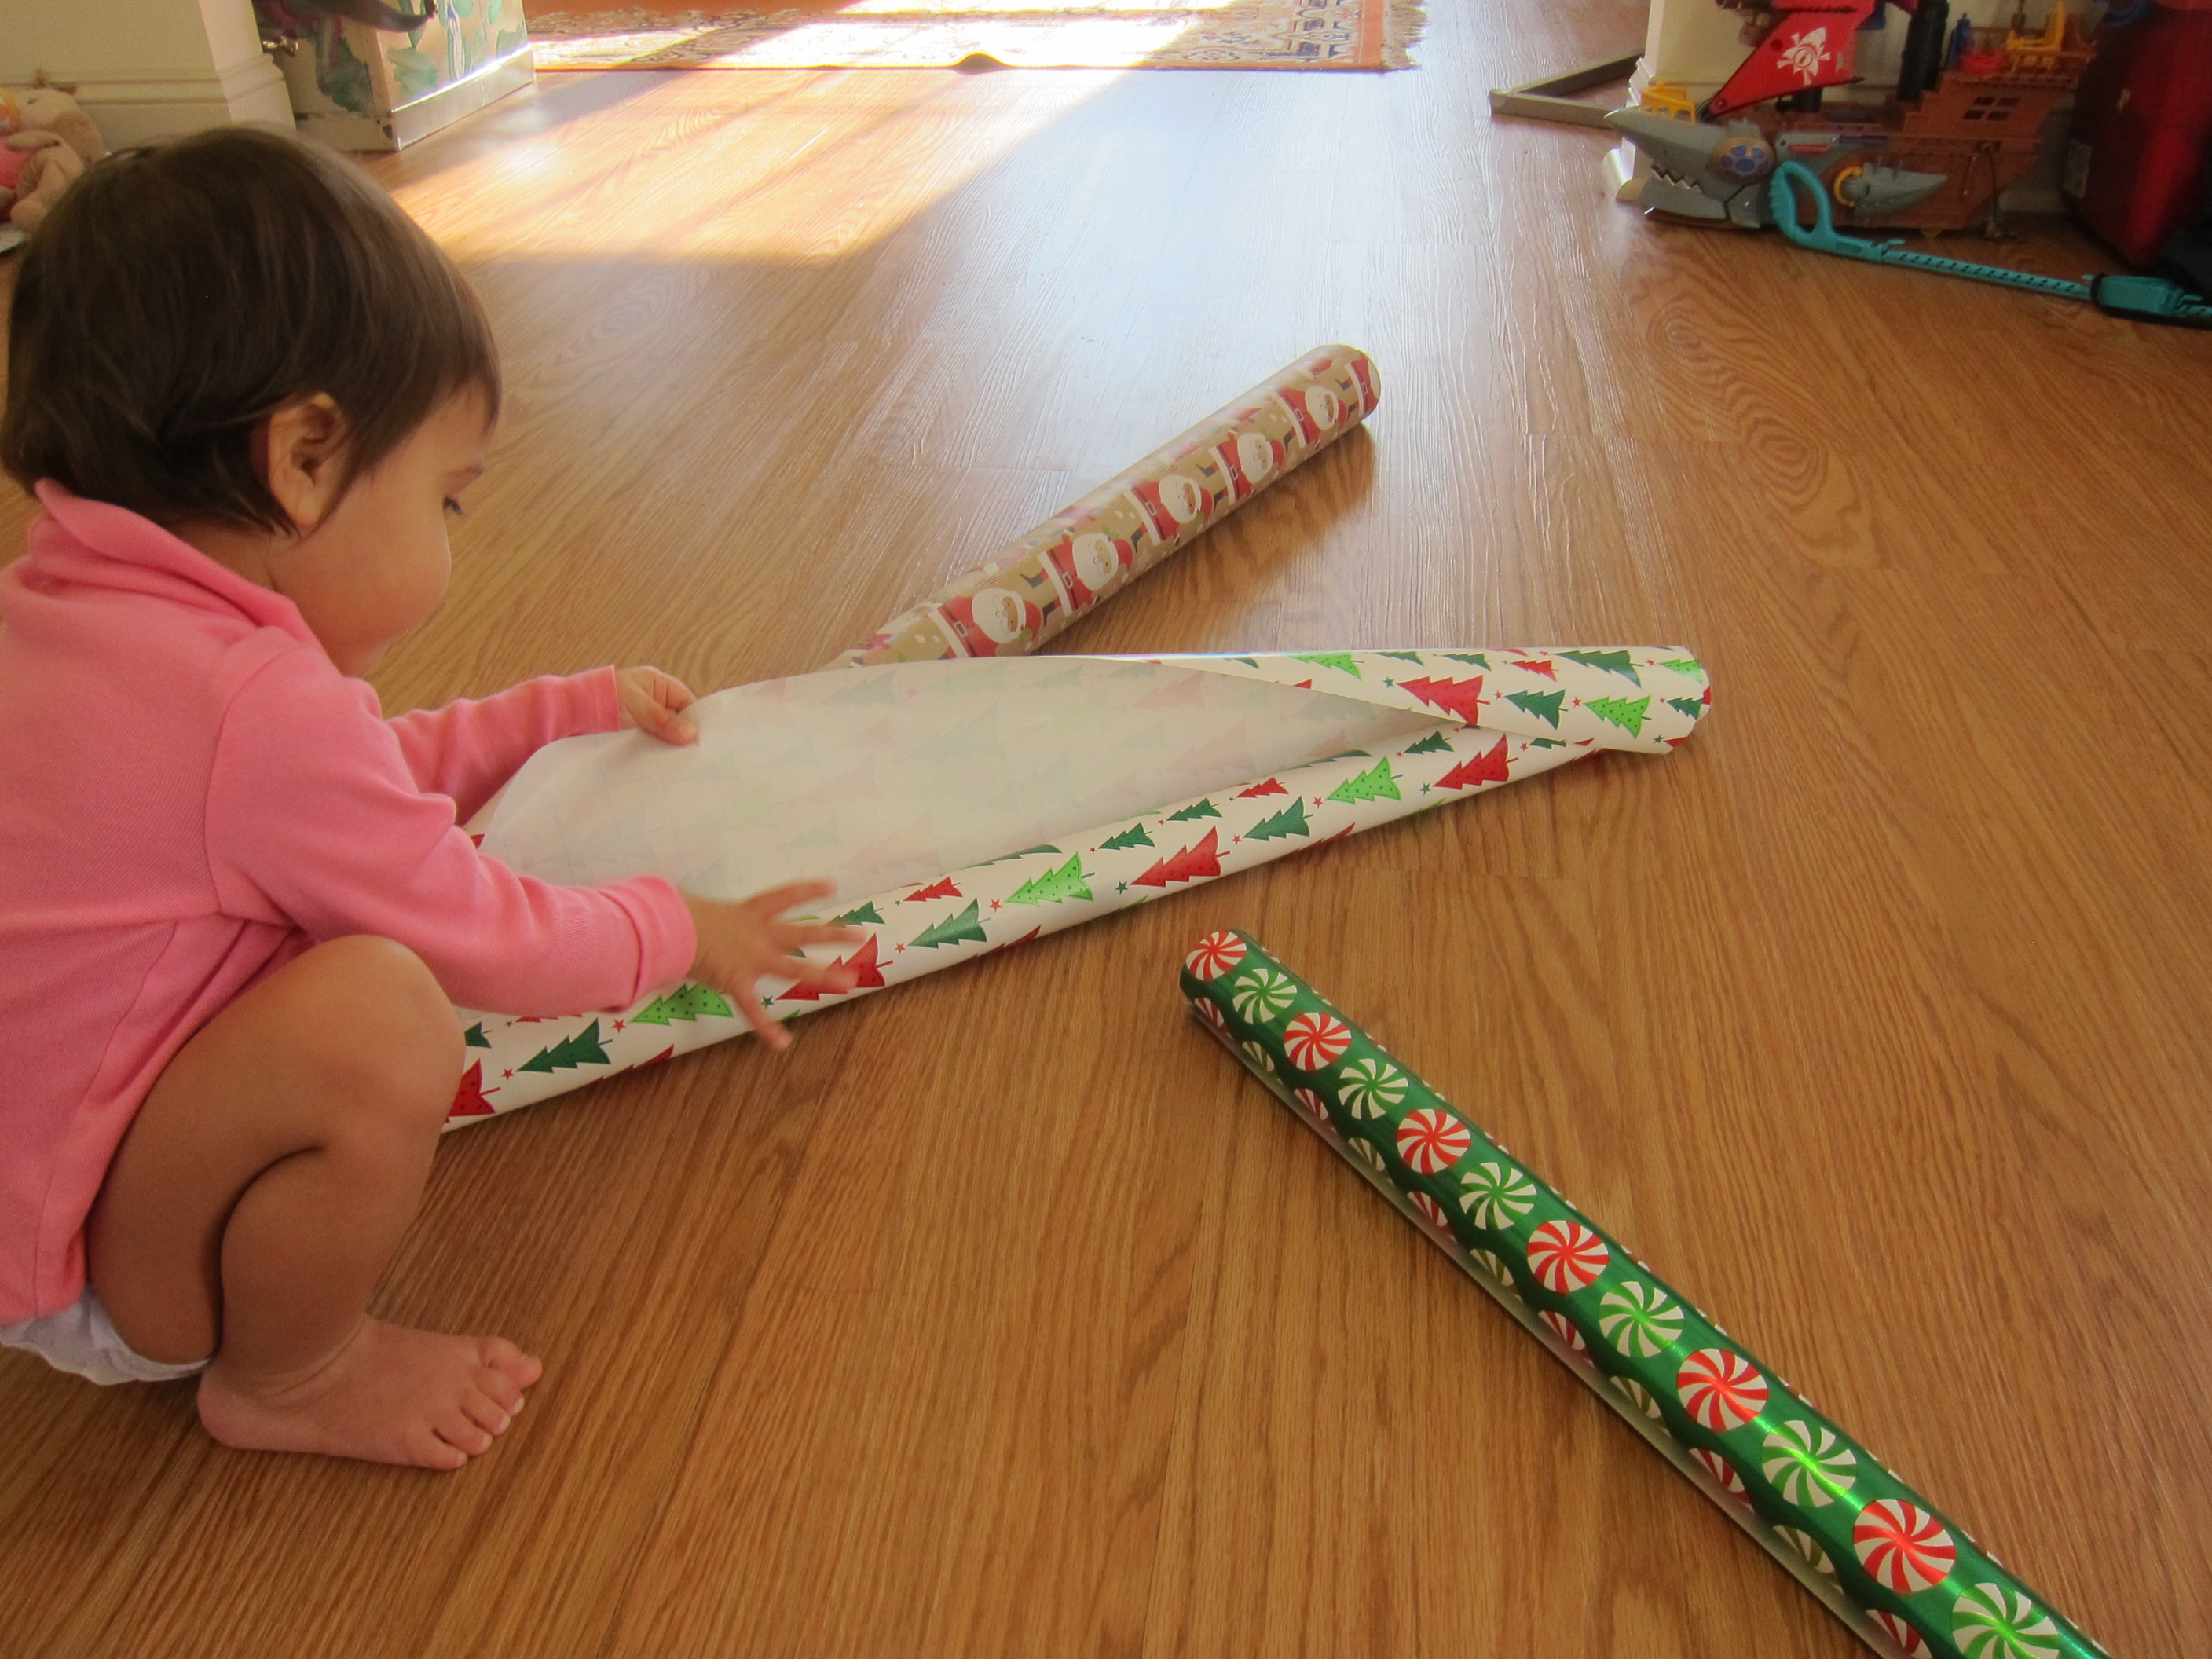
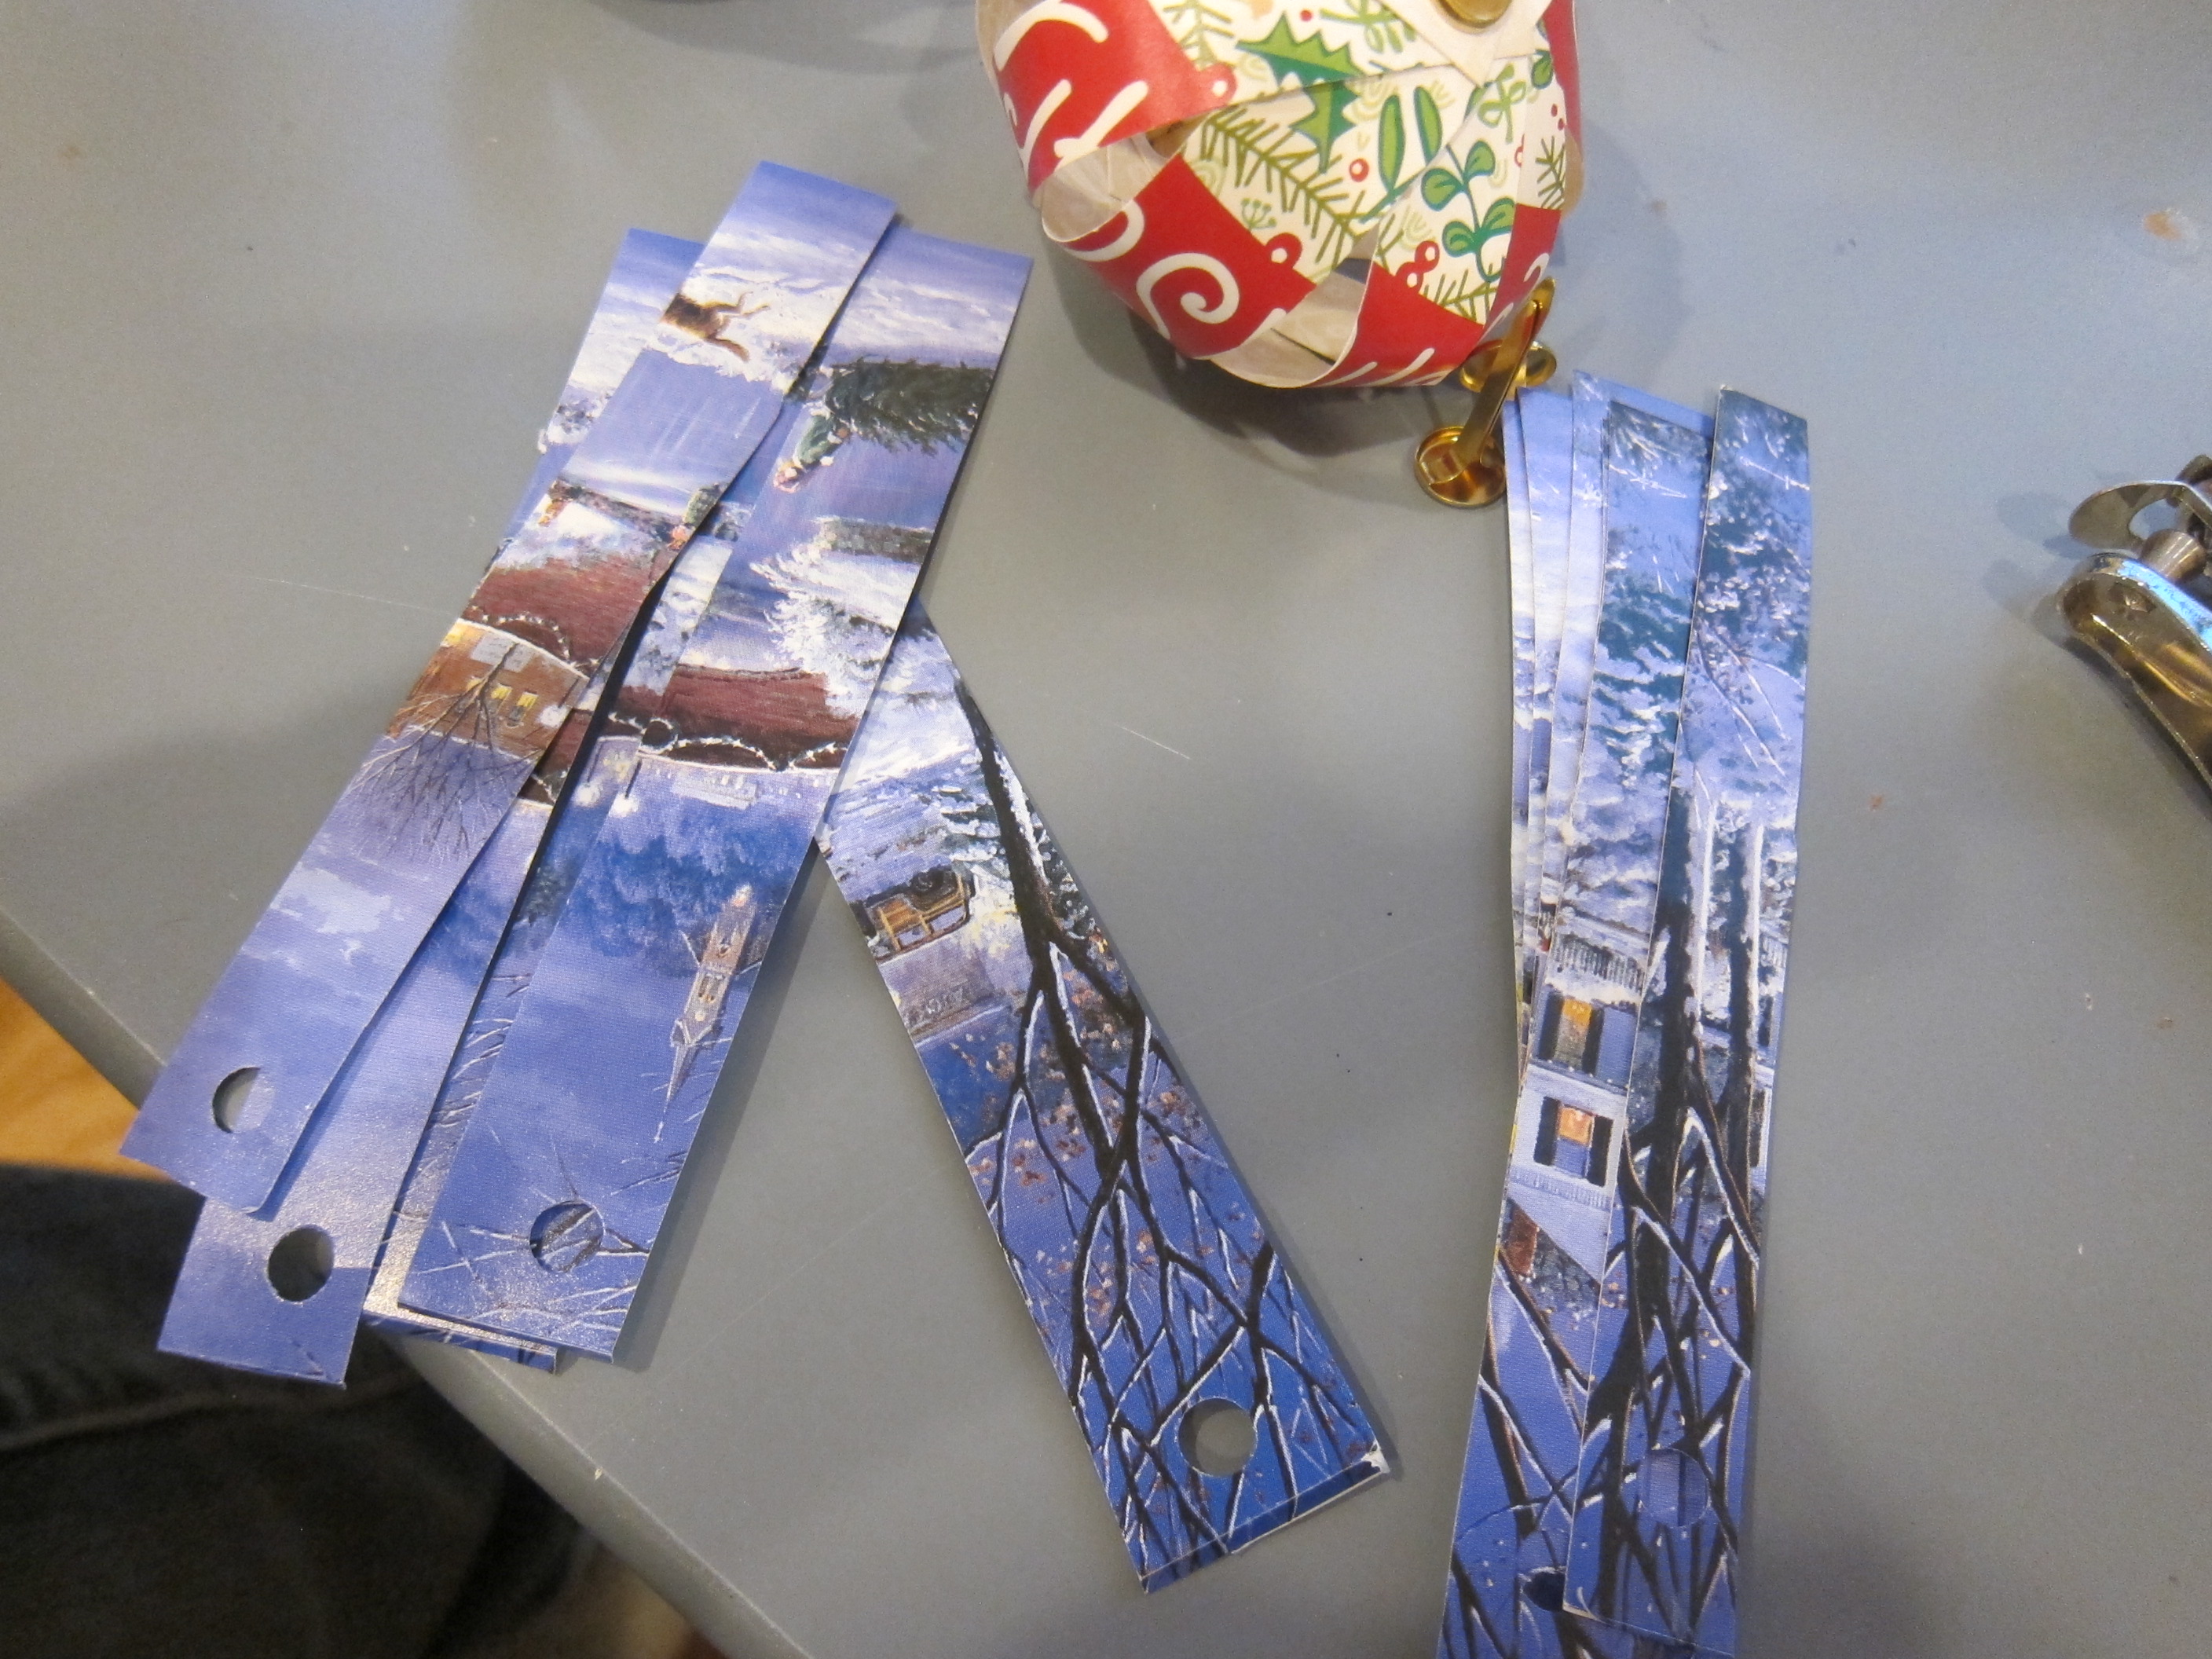
We also had a few Christmas cards to upcycle, and these made perfect Christmas Card Ball ornaments.

Christmas Card Ball (1)

Cut an old Christmas card into strips, then punch a hole in the top and bottom of each.

Christmas Card Ball (2)

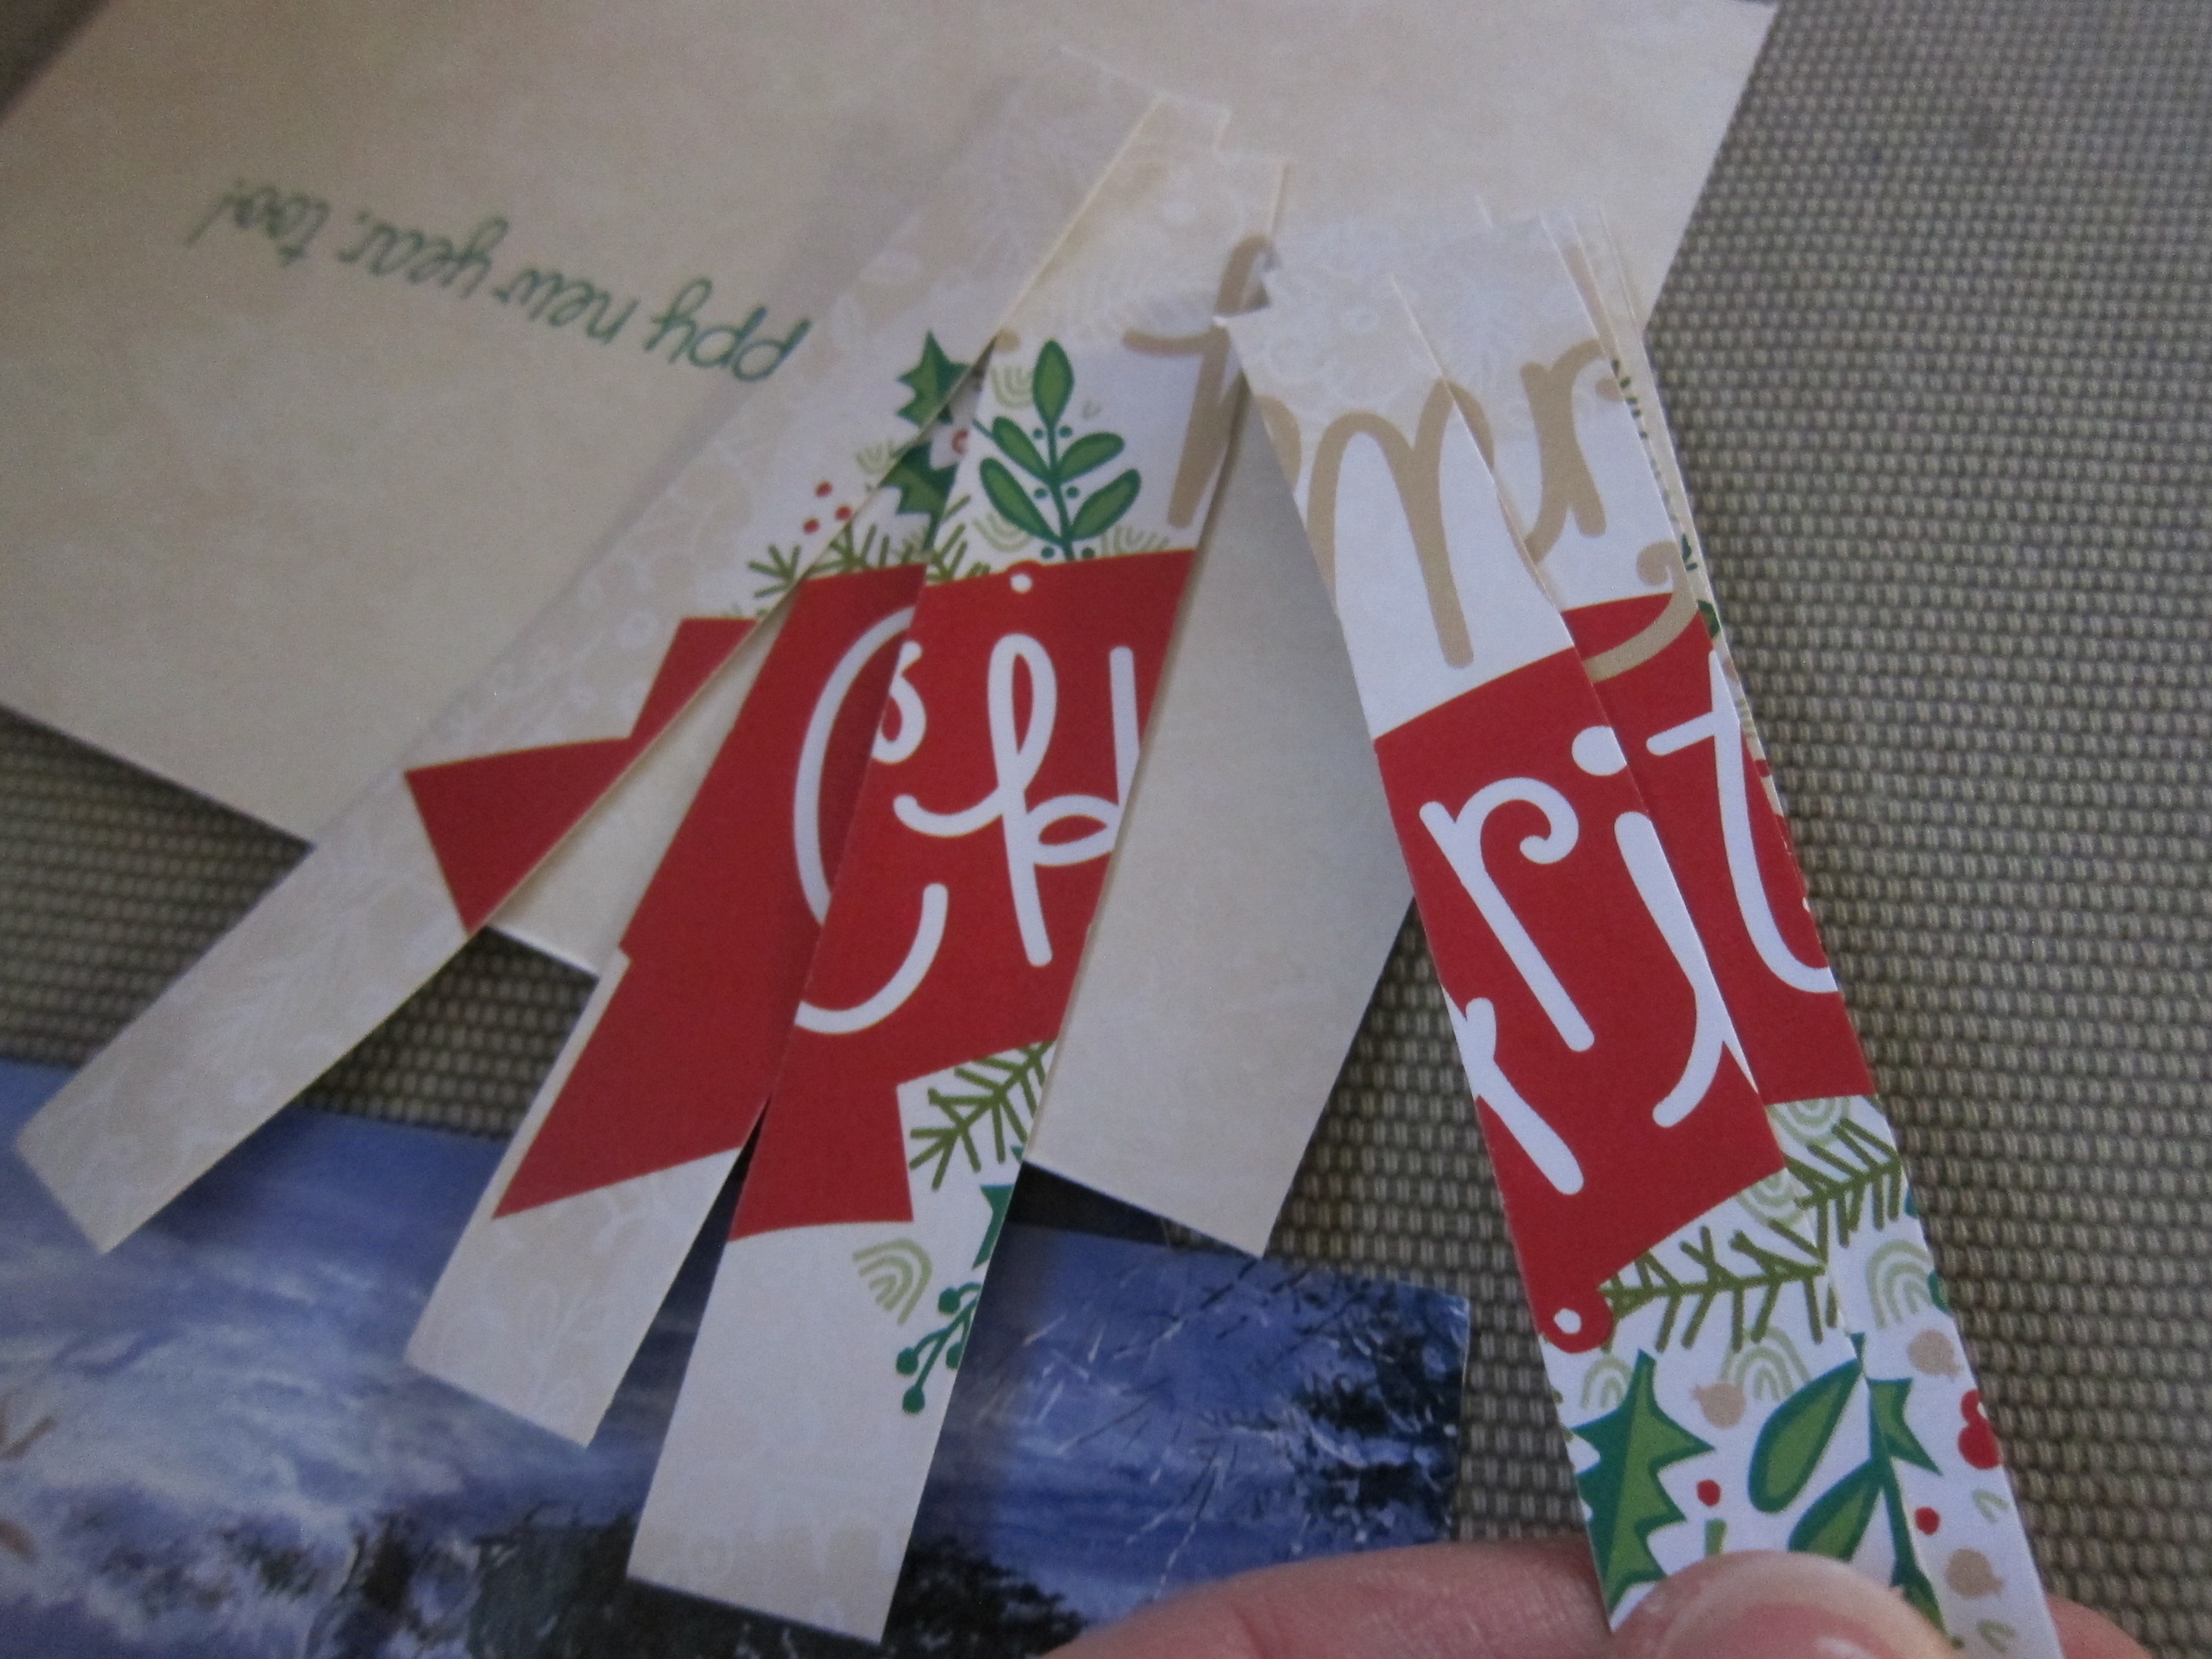
Arrange the strips in order, then insert a brad in the top holes.

Christmas Card Ball (4)

Fan all the pieces out, then begin adding them to a second brad through the bottom hole, bending each so you form an orb shape as you work.

Christmas Card Ball (3)

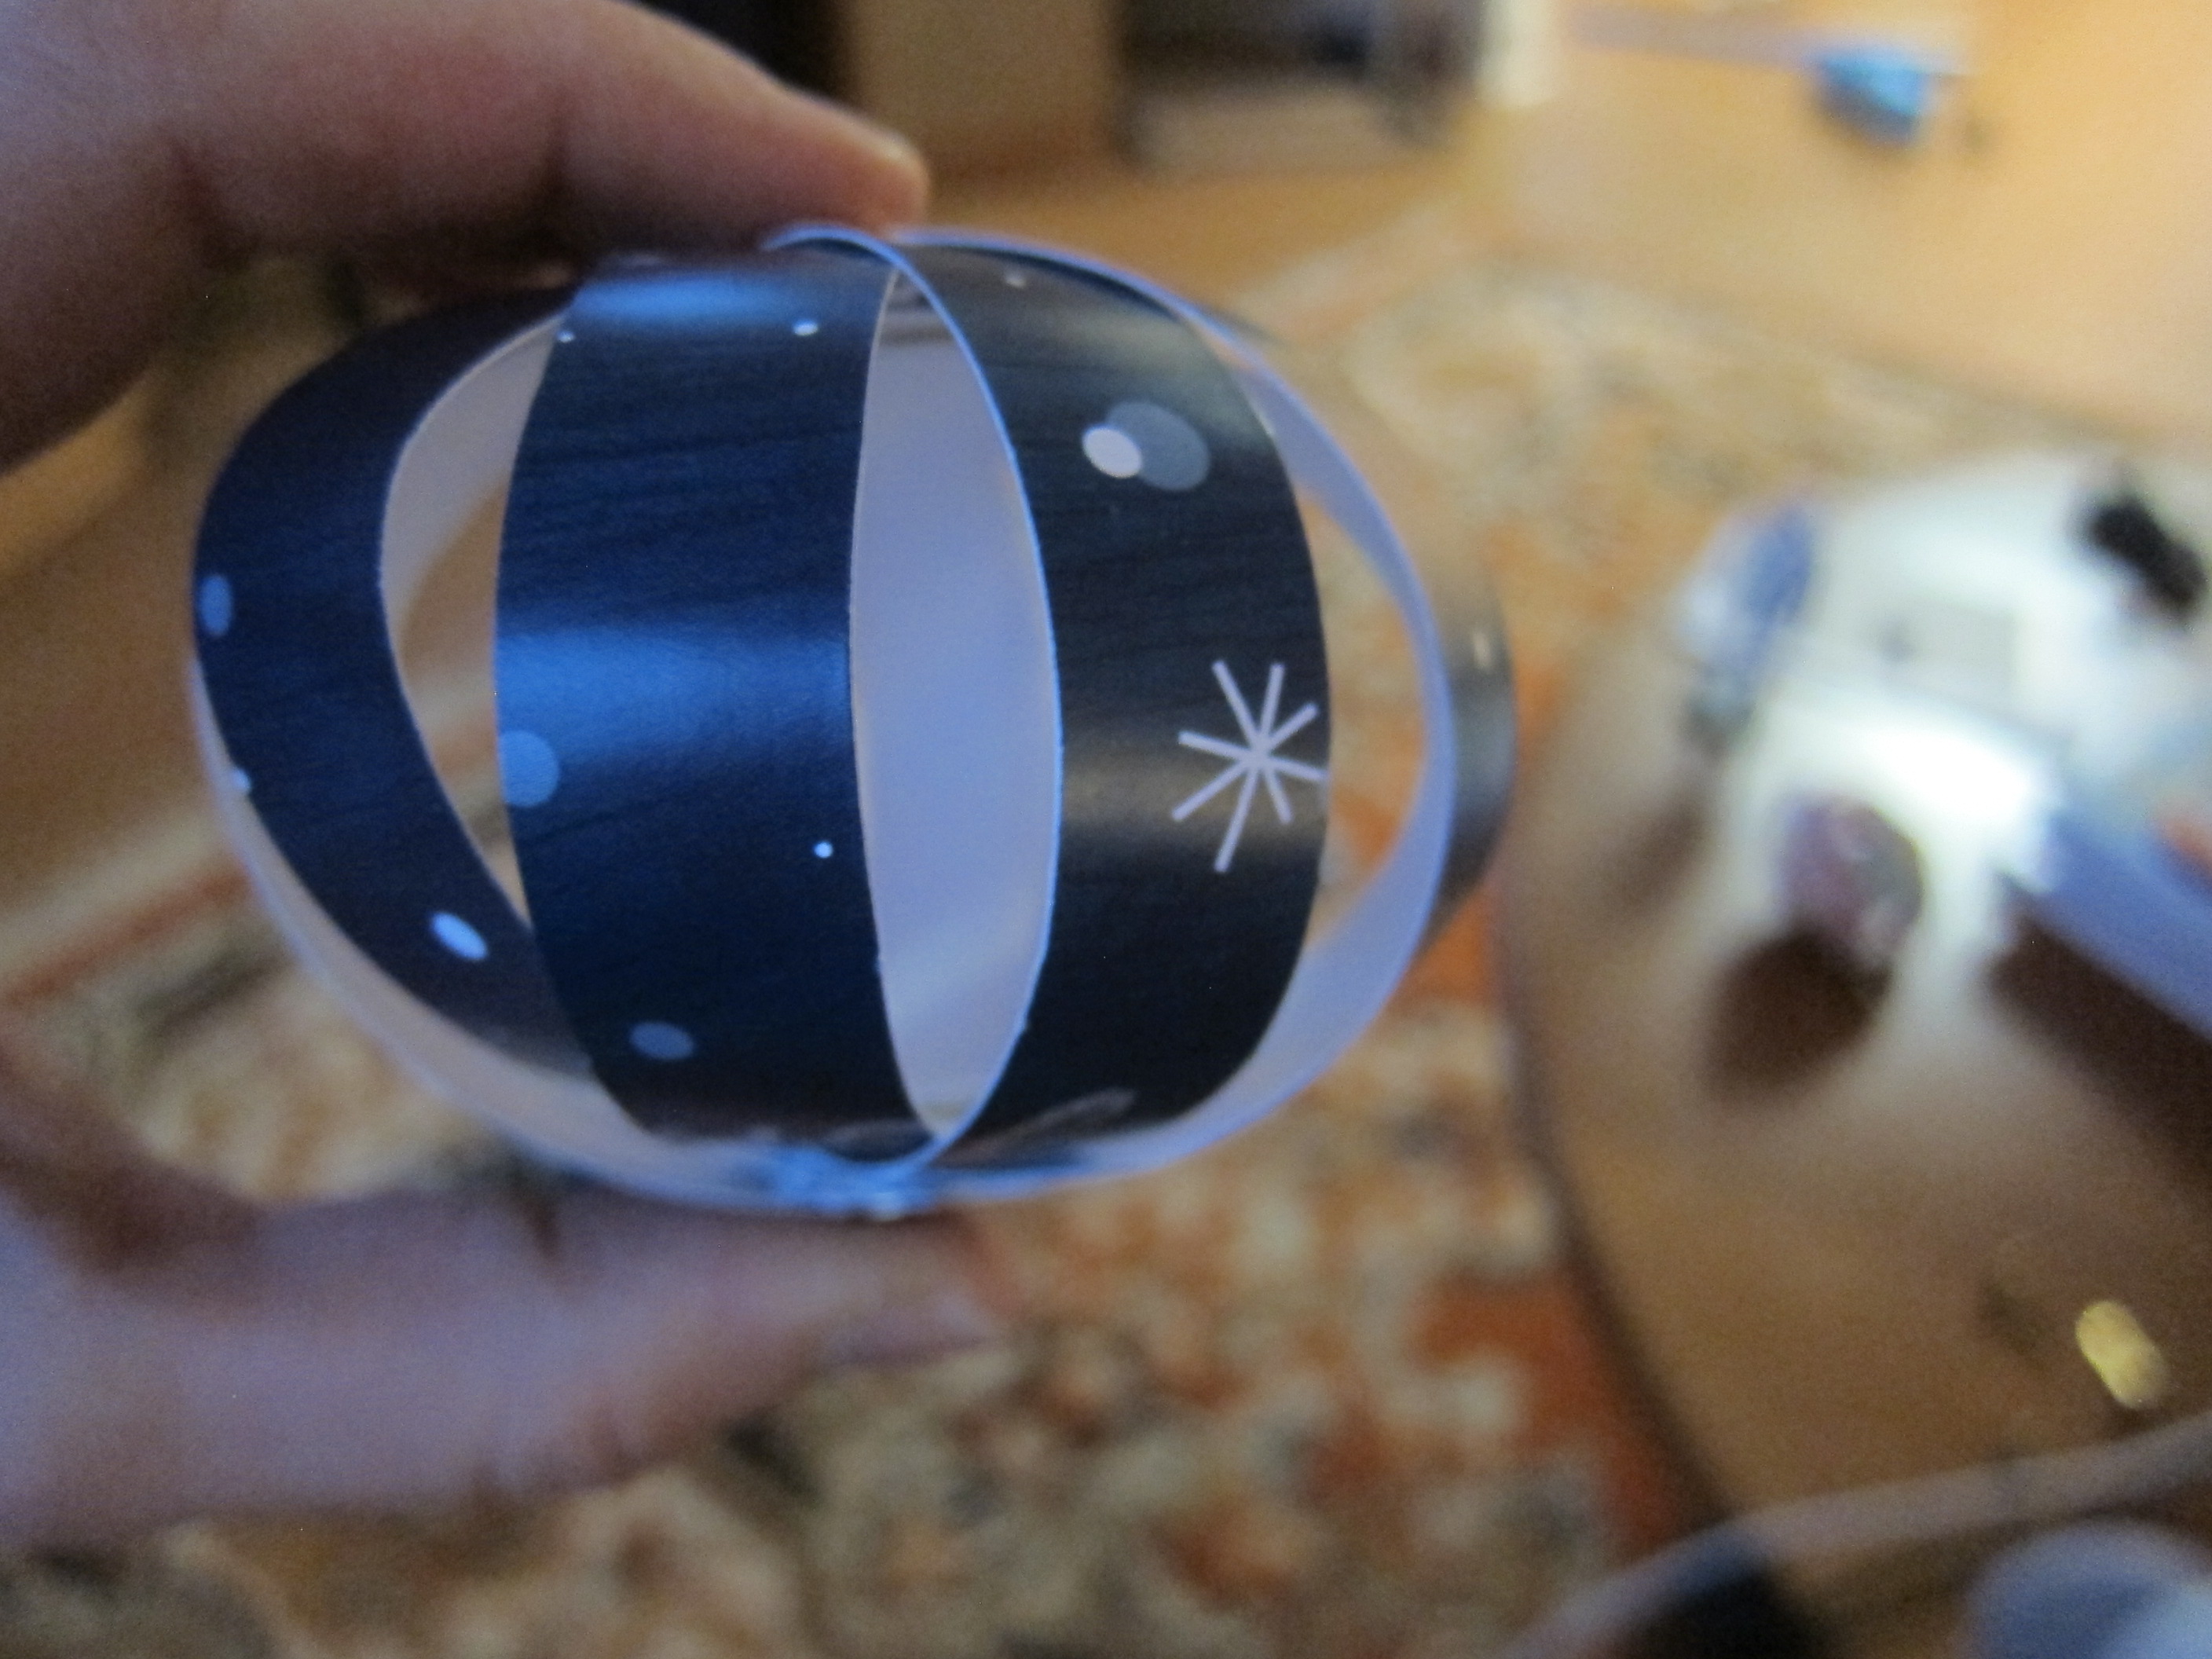
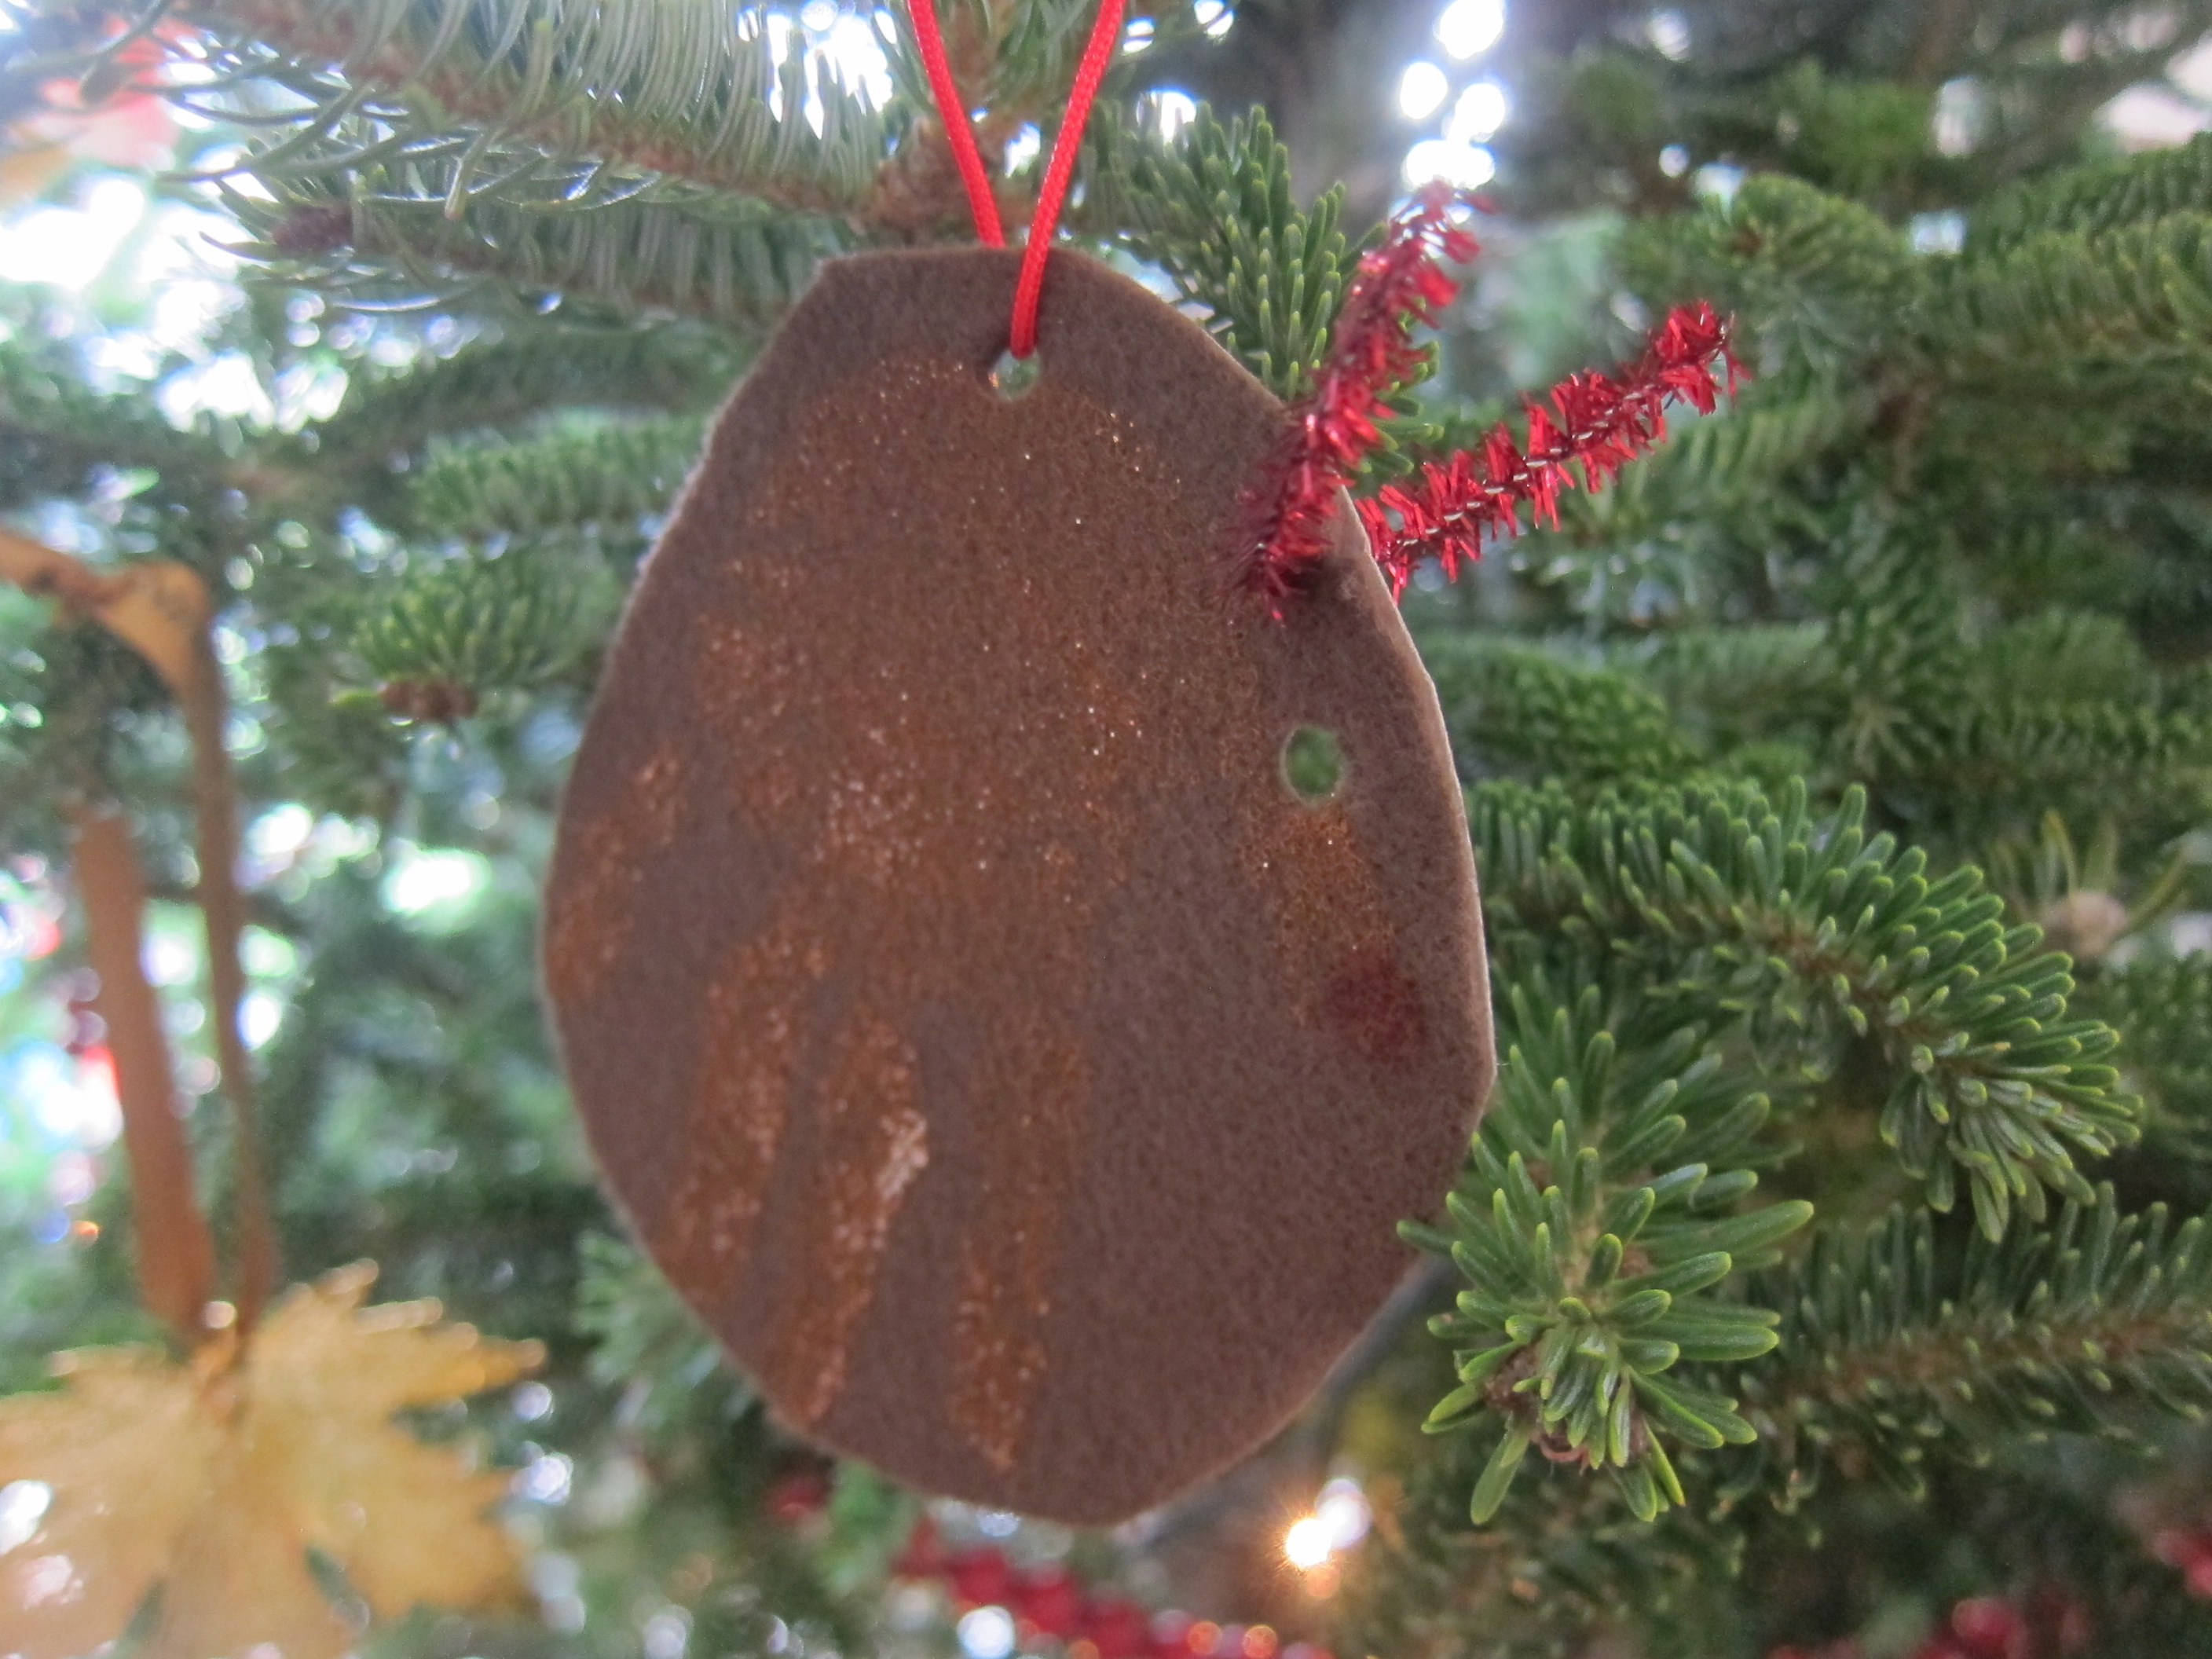
Finally, loop a string around the top brad, securing with a knot, then tie into a loop that can hang from a Christmas tree. Veronika loved playing with all the materials as I worked on these, particularly mimicking me with safety scissors and extra brads.

Christmas Card Ball (5)

This was a fun activity to do side-by-side with a toddler, and so pretty hanging from the tree.

Christmas Card Ball (8)

Smelly Christmas Tree

Smelly Christmas Tree (7)

This is a holiday craft I’ve wanted to do for a while, but never followed through because I couldn’t find a vegan jel dessert that was green. This year, I decided not to let that stop us, though it did require a little improvising!

If your family eats regular Jell-O, all you need is white construction paper and green Jell-O powder. For our version, I drew a Christmas tree shape on green construction paper and hoped that the yellow (peach) vegan jel powder would look nice against this background.

Smelly Christmas Tree (1)

All those logistics aside, Veronika loved brushing glue over the tree shape.

Smelly Christmas Tree (2)

The next step was even better: sprinkling on the jel powder! She tried applying it with a paintbrush first, but this was sticky and difficult. Instead, she loved scooping it on with a plastic spoon. This was great for her fine motor skills, too!

Smelly Christmas Tree (3)

The big payoff is that as soon as the powder hits the wet glue, it smells delicious. Veronika loved that sensory element of the craft.

Smelly Christmas Tree (6)

We ended up just using this activity for the fun and sensory aspects. That said, it can make a nice keepsake! You could mail it to a relative for a delicious-smelling Christmas card. Or, punch a hole near the top and hang it as an ornament from the tree. That said, ours had so much powder on it (Veronika sprinkled it on liberally!) that I worried it would make a mess in either of those scenarios.

Cinnamon Drawings

Cinnamon Drawings (8)

If there’s one scent that evokes Christmas in our home, than cinnamon is it. Here’s a fantastic sensory project that allows toddlers to take in one of the best smells of the season while making art!

To start, I cut out two simple Christmas-themed shapes from sandpaper. I had a coarse grade in green and a medium grade in brown, so it worked out nicely to draw a Christmas tree on the green and a simple gingerbread man on the brown.

Cinnamon Drawings (2)

Cut out your shapes and give to your toddler along with a few whole cinnamon sticks. Of course the first thing to do is take a nice big smell. “I smell with my nose!” Veronika is learning to say of her sense of smell.

Cinnamon Drawings (1)

Then I showed her that if she rubbed the cinnamon against the rough sandpaper, it left behind a trail of scented brown cinnamon.

Cinnamon Drawings (3)

Of course we had to smell the artwork again once it was covered!

Cinnamon Drawings (5)

Veronika loved both the shapes and the smell, but she was also very interested in transferring the cinnamon sticks in and out of their jar for a while. That meant this turned into a fine motor skills activity, too!

Cinnamon Drawings (4)

When the sandpaper was covered, I drew on a few final features with marker, then punched a hole and threaded ribbon through each so they could hang on our tree.

Cinnamon Drawings (7)

Felt Ornaments, 3 Ways

Felt Lollipop (2)

Fancy store-bought ornaments are beautiful, but my favorite ones from over the years have been the homemade ones. All you need for these three options are sheets of felt from the craft store and a little glue!

Felt Lollipops:

For the first version, stack 4 colors of felt together and cut into 3/4-inch wide strips. Glue the layers together at one end with tacky glue, then begin rolling up, adding dots of glue periodically. The mechanics of this were a bit tricky for Travis, but he started to get the hang of it!

Felt Lollipop (4)

Glue the loose ends of each felt color down, then wrap with a rubber band to hold everything in place as the glue dries.

Felt Lollipop (6)

Once dry, glue a loop of string onto the back, along with a lollipop stick. I found that hot glue was better for this step than tacky glue. These looked delicious hanging from the tree!

Felt Lollipop (1)

Felt Garland:

For the garland, cut many two-inch pieces of felt and begin using hot glue to attach them in two long strands. We made one that was all purple, and one that alternated light and dark green. The purple felt was cut thinner, and in retrospect I would have done the green strip just as thin.

Felt Garland (2)

Place a heavy book on one end of the two stands, then begin winding them together, securing with a clothespin at intervals.

Felt Garland (3)

Once it looks the way you want, use hot glue at the ends and everywhere else you had a clothespin. String around the tree as a garland!

Felt Garland (5)

Felt Ribbon Candy:

For the final version, we cut three colors of felt into 1-inch wide strips. Glue them together with tacky glue, then start folding the strand over itself, accordion-style, adding a drop of glue after each fold. Add a rubber band to hold it together until the glue dries.

Felt Ribbon (2)

Now just add a string with one more drop of glue, and it’s ready to hang on the tree!

Felt Ribbon (3)

Which one do your kids enjoy making the most? Please share in the comments!

Felt Garland (6)

Gingerbread People

Gingerbread People (13)

Gingerbread cookies are the perfect baking project with a toddler. There’s messy dough to mix up, wonderful spices to smell, adorably-shaped cookie cutters, and little people to decorate. In sum, Veronika had lots of floury, sticky, sensory fun with this one!

Gingerbread People (1)

To start, we needed to make the dough. She loved smelling each spice before we added it into the dry ingredients!

Ingredients:

  • 1 tablespoon flaxseed
  • 3 tablespoons cold water
  • 1 cup shortening
  • 3/4 cup agave nectar
  • 1 cup molasses
  • 1 and 1/2 teaspoons baking soda
  • 1/2 teaspoon salt
  • 1 teaspoon ground ginger
  • 1 teaspoon ground cinnamon
  • 1 teaspoon ground cloves
  • 5 cups flour
  1. In a small bowl, whisk together the flaxseed and water; let stand for 5 minutes.
  2. In the bowl of a stand mixer, combine the shortening, agave, molasses, and flaxseed mixture; beat until combined.
  3. Combine the baking soda, salt, ginger, cinnamon, cloves, and flour in a large bowl. Add the dry ingredients to the wet ingredients and stir until combined. Wrap the dough in plastic wrap and chill for at least 1 hour.

Veronika loved watching the dough mix up in our stand mixer!

Gingerbread People (2)

And as you can see, she also loved taste-testing right from the bowl!

Gingerbread People (4)

She marveled at how sticky the dough was as we wrapped it in plastic to chill in the fridge.

Gingerbread People (3)

Once the dough had chilled, we rolled it out on a generously floured surface, then used gingerbread man cookie cutters to cut out our little people. I gave Veronika a plate filled with decorating goodies: raisins, almonds, licorice strips, and small jelly bean candies. It was up to her to decorate!

Gingerbread People (6)

She thought this was delightful! She loved giving the people eyes and a “skirt”.

Gingerbread People (7)

Since I knew her cookies risked getting broken or mashed, I worked alongside her to ensure we had enough people for a few real batches of cookies.

Gingerbread People (12)

Big brother Travis thought it looked so fun that he needed to join in the action!

Gingerbread People (8)

He was so proud of this very ornately-decorated fellow, with almond shoes and licorice shirt sleeves.

Gingerbread People (11)

Once the people have been fully adorned, bake at 375 degrees F for 10 minutes. And then comes the best part of all; it was time for a taste test!

Gingerbread People (9)

You might consider ending the day with a read of the classic Gingerbread Man tale.

Tape Resist Candy Cane Painting

Tape Resist Candy Cane (7)

Tape resist is a great art method for toddlers because they get to make a mess but still wind up with a recognizable image or picture. This candy cane version is just right around the holidays!

I first placed horizontal strips of masking tape on white construction paper, then squirted generous blobs of red fingerpaint all over it. I was glad we did this in a craft tray, because it definitely got messy.

Tape Resist Candy Cane (1)

All Veronika had to do now was smear! She quickly decided she wanted to use yellow paint instead, so I let her play with that on the side and finished off the red version, making sure to wipe off excess paint.

Tape Resist Candy Cane (3)

Immediately peel off the strips of tape, then let the paint dry completely. “Look what I made!” Veronika proudly said when she spotted it drying on the table.

Tape Resist Candy Cane (4)

Once dry, I cut the paper into candy cane shapes and glued them against a green paper backdrop. You can hang these from a door if you attach a loop of ribbon, or simply tape to a wall as holiday decor.

Tape Resist Candy Cane (6)

No one will believe your toddler can make such straight lines, but they can!

Wrapping Paper Stocking

Wrapping Paper Stocking (8)

As you wrap gifts this holiday season, no doubt you’ll end up with just as many scraps and small bits of wrapping paper as I do. So after some early gift wrapping today, I gave Veronika the leftovers!

She loved looking at all the different patterns before we even started crafting with them, particularly seeing images of Santa Claus and Christmas trees.

Wrapping Paper Stocking (1)

I then gave her a glue stick to smear all over a piece of green construction paper and showed her how to add the scraps of wrapping paper any which way.

Wrapping Paper Stocking (4)

I made sure to leave a little space blank at the top, but other than that, all the placement was up to her!

Wrapping Paper Stocking (5)

Once the glue dried, I cut out a simple Christmas stocking shape, and wrote her name at the top.

Wrapping Paper Stocking (6)

This makes a great decoration to hang around the holidays and is great for early name recognition, too!

Wrapping Paper Stocking (7)

Reindeer Handprint Ornament

Reindeer Ornament (7)

This sweet keepsake captures the size of your child’s handprint around the holidays, and results in an adorable reindeer ornament that you’ll be sure to hang on the tree for many years to come.

For this particular handprint, you can paint your child’s hand with brown paint and then press firmly onto brown felt or brown craft foam. However, I decided last minute to use a deep orange paint instead, which I thought would pop a little more against the brown. It ended up looking great!

Reindeer Ornament (2)

I painted Veronika’s palm with the orange paint, and then she eagerly (and very helpfully!) spread her fingers for a perfect print on the felt.

Reindeer Ornament (4)

In fact, she loved it so much that she asked me to paint her hand again, and then both hands, and loved making a few extra prints on scrap paper. Needless to say, we needed a quick emergency bath.

Reindeer Ornament (3)

Meanwhile, glue the felt to a piece of thin cardboard (such as an old cereal box) and let the paint and glue dry completely. Once dry, cut out around the handprint. Use a hole punch to make an eye near the top of the thumb. Draw a red nose on the tip of the thumb, then cut a small slit near where antlers would be. Slip in a V-shaped length of sparkly red pipe cleaner for the antlers.

Reindeer Ornament (5)

Punch one final hole in the top center and add red yarn or ribbon. Now Rudolph is on our Christmas tree!

Reindeer Ornament (6)

Naughty or Nice Jar

Naughty or Nice Jar (6)

We don’t do Elf on the Shelf in our house, because I don’t love the idea of the kids being “watched” for good behavior before Christmas. That said, if your kids’ attitudes could use a little tweak this holiday season, consider this Naughty or Nice Jar instead.

To make the jar, I first covered an empty oatmeal container with sparkly red felt. Empty coffee canisters or similar round containers would work well, too.

Naughty or Nice Jar (1)

Next, add a belt and buckle from craft material. I used black construction paper for the belt and a shiny silver chenille stem for the buckle, but black and yellow felt would also work for this part, or even aluminum foil for the buckle!

Naughty or Nice Jar (3)

Trim the bottom of the felt if needed so the jar stands flat, then trace the bottom circle on yellow construction paper. Cut out and cover the bottom of the jar. Write in the words “Naughty or Nice?” in permanent marker.

Naughty or Nice Jar (4)

Now to put the jar to good use! Good behavior receives a reward in the jar and bad behavior earns a piece of coal. The goal is for kids to have more treats than coal as the month progresses, so they wind up on Santa’s nice list by Christmas Eve!

Naughty or Nice Jar (5)

Mini candy canes were our rewards for nice behavior and I found fun mini “coal” erasers in case of any naughty antics. Once Travis understood, he was doubly motivated to make Santa’s “nice” list this year!

Note: If you make a pair of these jars, you can fill one with all treats and one with all coal (real or fake), then seal. It makes a fun gag gift for a recipient who would appreciate the humor.

Felt Recreatable Christmas Tree

Felt Tree (12)

I’ve always loved the idea of a felt Christmas tree for the kids, but was never ambitious enough to make my own. Thanks to an early Christmas gift, we now have a version the kids can use. Although we didn’t craft ours, the idea is so wonderful that it merits a blog post.

If you are going to tackle a homemade version, you’ll need to start with a very large piece of green felt. Cut out a Christmas tree shape and then cut a stump from brown felt; use tacky glue or hot glue to attach them together.

Felt Tree (5)

Add Velcro dots at various intervals on the tree and hang on a wall.

For ornaments, you can then use additional colors of felt to cut out simple Christmas shapes: think yellow stars, red candy canes, or little squares for gift boxes. Use hot glue any time you want to attach two colors of felt together where details are needed, like ribbon on the gift boxes.

Felt Tree (6)

Needless to say, I wasn’t that crafty and was so thankful to receive this early gift for the kids. What’s wonderful about these felt trees is that kids can decorate them again and again without getting near the real (breakable!) ornaments.

Felt Tree (3)

Veronika in particular loved the tree. We talked about each item as she attached them to the Velcro squares, or the colors or shapes. She loved pointing out that the presents were squares, or the hooks of the candy canes.

Felt Tree (10)

She even pulled off one particular ornament in the shape of a lollipop and enjoyed “feeding” it to her stuffed animals. What a thoughtful Christmas gift!

Felt Tree (4)

I also appreciated how easy it was for her to attach or pull off the decorations, thanks to the Velcro dots.

Felt Tree (8)

Big brother Travis swooped in now and then to add an ornament.

Felt Tree (9)

And whenever the kids want to, they can take everything off and start all over again!

Felt Tree (7)

This is definitely a decoration that we’ll trot out to play with for years to come.

Felt Tree (13)