Magic Carpet Ride

Magic Carpet (5)

Veronika is at the age where imaginative play starts to take off, so today I took her on a magic carpet ride!

Clearly your child will have no context for such a game, so you may want to take a quick peek at the magic carpet scene of a movie like ‘Aladdin’. Veronika was entranced by the soaring carpet!

Magic Carpet (1)

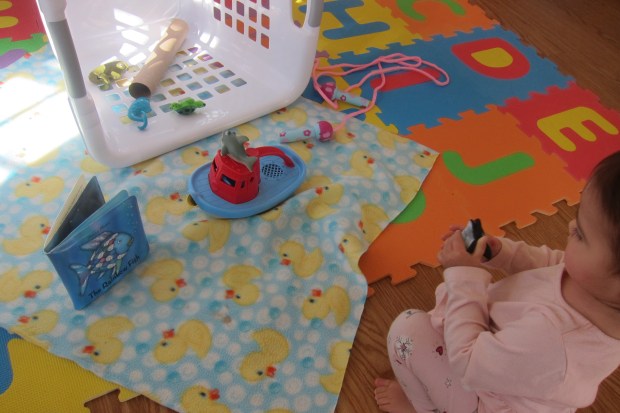
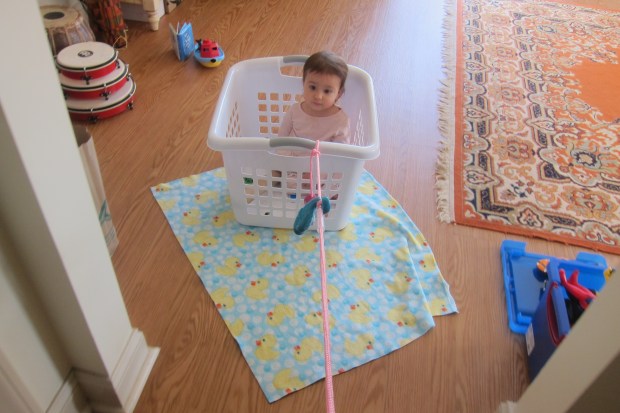
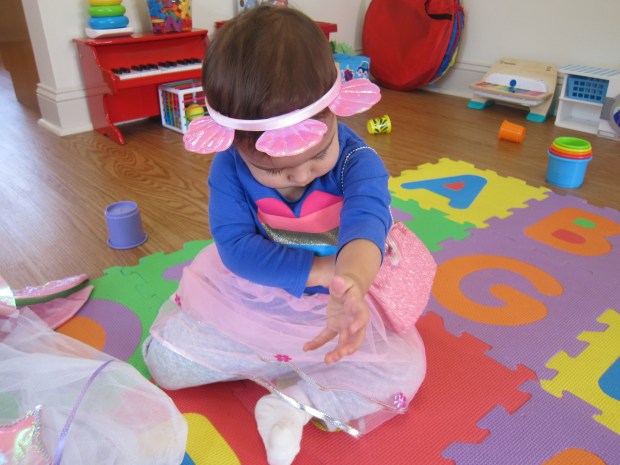
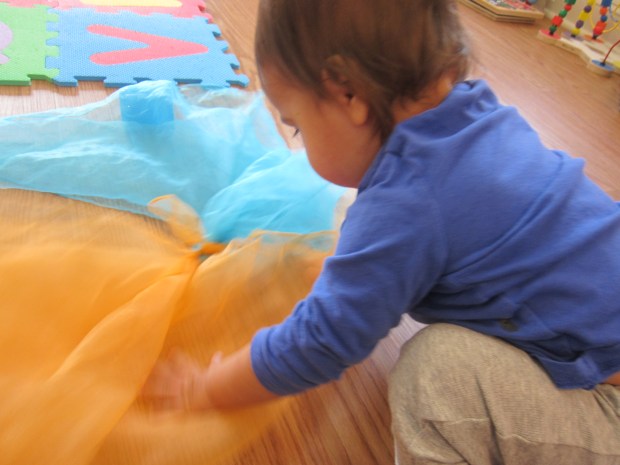
Then I sat her down on a big beach towel (with a rather magic carpet-esque print). A few doll friends came along for the ride.

Magic Carpet (3)

Humming and singing songs, we went for a magic carpet ride around the apartment, waving to the things we passed.

Magic Carpet (4)

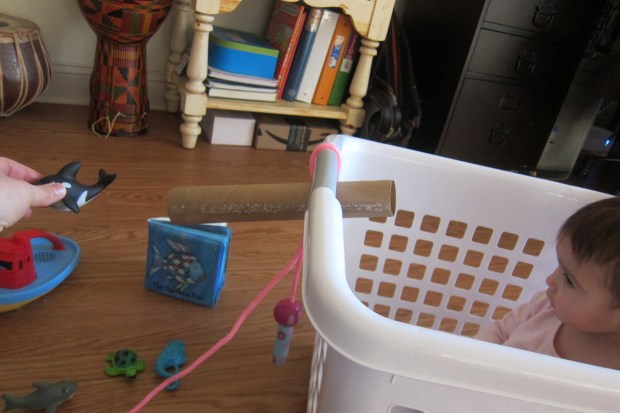
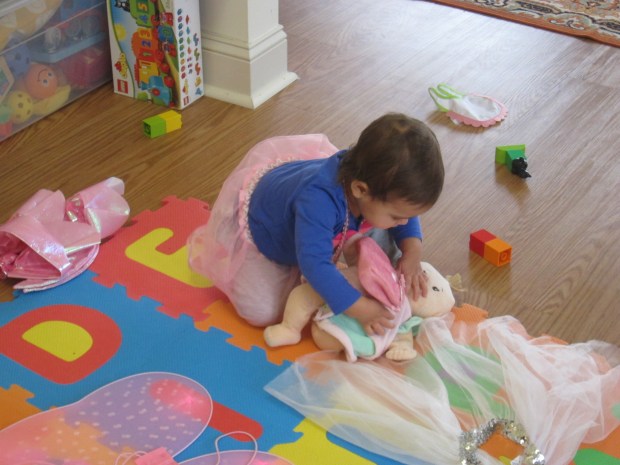
I then transferred her dolls to a smaller towel to see if she wanted to be the one to give a ride, but this was met with confusion.

Magic Carpet (6)

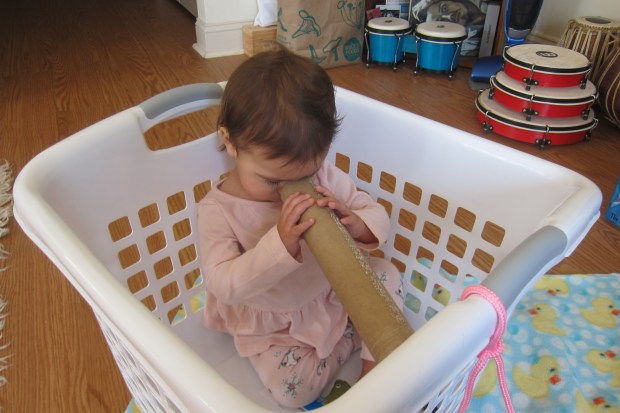
So it was back to her big carpet for another ride! Does your child prefer to pull toys on the magic carpet, or sit for a ride? Please share in the comments!

Deep Sea Adventure

Deep Sea (11)

Today Veronika and I had an adorable play session pretending we were at sea! I love that she’s old enough now (at just shy of 16 months) to combine imaginative play with toys and games.

First, I set the stage with lots of sea-themed objects. We had plastic whales, sharks, and fish, a toy boat, and a book with a fish on the cover as scenery. Later I even remembered to add a blue blanket on the ground for “water”.

Deep Sea (2)

If you don’t have any sea creature toys, just cut fish shapes from cardboard and color them in together first!

All we needed to set sail was an empty laundry basket. Veronika climbed aboard the ship, and I attached a jump rope as her ship’s line.

Deep Sea (7)

We “sailed” around the room singing “Row, Row, Row Your Boat”, to her great delight. Another fun song goes like this:

A sailor went to sea, sea, sea

To see what she could see, see, see

and all that she could see, see, see

Was the bottom of the deep blue sea, sea, sea!

I added an empty paper towel tube to be her telescope.

Deep Sea (8)

We loved spotting fish. And whale watching!

Deep Sea (4)

Her fast favorite was a little green fish, which she swam all over the floor. You could even encourage older toddlers to get on the floor and pretend they are swimming.

Deep Sea (6)

The shark was the next big hit. After she learned to say “shark”, she had it jumping around and climbing on board the boat.

Deep Sea (10)

If anybody needs a rescue at sea, reel them in with your jump rope “line”.

Deep Sea (5)

In sum, don’t discount a 16 month old’s ability for imaginative play. That imagination is kicking in, right alongside the gross motor and fine motor skills.

Deep Sea (9)

Simple Costume Design

Simple Costume (5)

As someone who dresses purely for comfort, it has been a source of endless amusement to me that Veronika loves to accessorize. A spare sock, a random belt; whatever she finds lying around the apartment she immediately drapes over herself and strikes a pose. So today we had some costume fun, starting out with the simplest prop: scarves!

Play scarves can be so many things. I tied one around her waist for an instant “tutu”. You could tell she felt glamorous!

Simple Costume (1)

Then I made a simple medieval hat by twisting a piece of construction paper into a cone and taping a scarf on the top. It was a little wobbly, but she still loved it.

Simple Costume (8)

Scarves are great for further make-believe while your child is in costume. We tied two together and “swam” them through her noble court as fish.

Simple Costume (3)

She recently watched real fish in a tank, so loved saying the word as the scarves swam around us.

Simple Costume (2)

To further engage her imagination, we did then play dress-up with a kit. I stayed away from named characters, knowing that she would love draping herself in lace, beads, and fancy headgear from a generic boxed set. And did she ever!

Simple Costume (4)

Whether it’s as simple scarves or more complicated like purchased dress-up, play clothes are great fuel for the imagination.

Simple Costume (6)

She wanted to dress “Baby” up, too!

Simple Costume (7)


Make a Mailbox

Make Mailbox (7)

Kids just love the mail and playing mailbox, and this is true even before they fully understand what the pretend play is all about! So today I made Veronika her first mailbox, simply by cutting a slit in an old shoebox.

Make Mailbox (1)

We had fun decorating it together; while Veronika proudly scribbled in purple, I added “U.S. Mail” across the top and some red and blue coloration.

Make Mailbox (3)

It was time to send the mail! Use old envelopes or stationary or even playing cards for your “letters”. I showed her how to put them in the slot…

Make Mailbox (5)

…and then reach in to take them out again. She got the hang of it right away.

Make Mailbox (6)

Add to the pretend play by addressing a note or two to your baby. You can then pretend to “read” the mail together.

Make Mailbox (2)

For proof that games like this never grow old, big brother Travis needed to horn in on the action.

Make Mailbox (4)

Soon he was practicing his handwriting as he addressed letters, mailing them through the slot, and opening them back up again.

Make Mailbox (9)

It kept both of them entertained for ages!

Make Mailbox (10)

You can finish the fun with a trip to a real post office, or even just a stop to watch a mail carrier at work, delivering letters from the truck.

Make a Mailbox alt.jpg

Be a Thoughtful Traveler

Thoughtful Travel (3)

The lesson that accompanied Travis’s Mango Sticky Rice from Raddish Kids was all about etiquette while traveling abroad – big stuff for a small four-year-old! I made it accessible with more of a role-play game and I liked giving him this intro to different customs.

First, I walked up to Travis and gave him a fist bump. Well, this got a look of surprise, not normally how mommy greets him!

Thoughtful Travel (2)

Do something similar to your child, whether a wave, a hug, a high five, or anything out of the norm. I explained that people around the world greet each other differently, and we were headed on a “trip” to find out more!

We checked out a good infographic with different greetings, and cut up cards with each country’s name on it.

Thoughtful Travel (1)

I asked him which one he liked best (everything from touching an elder’s feet in India to shaking fists in Niger), and he chose the Maori hongi greeting. To New Zealand we go!

That meant racing to his room to spot New Zealand on the map. “We have to fly far!” he exclaimed. For role-play fun, pack a bag. Travis decided he needed a comic book and a bathing suit.

Thoughtful Travel (4)

Off to the plane! The country name card became our plane ticket, which he loved hole punching.

Thoughtful Travel (5)

We mimed getting into our seats and flying.

Thoughtful Travel (7)

I could get used to this travel without the hassle! In no time we were in “New Zealand”, and now we could do the hongi.

Thoughtful Travel (8)

We also tested out a high five, a traditional Thai wai, and more, each time first pinpointing the country on his map, and then boarding our airplane.

Thoughtful Travel (6)

There’s a lot in this lesson that we didn’t do. For extension with older children, ask lots of questions about what it will be like upon reaching their destination. Reflect on what it means to be “thoughtful” in another country. Have your child pick a country and learn the traditional greeting, then design a way to teach their peers about it, whether through a travel brochure, song, dramatization, or other medium. You could even play World Greeting Charades!

Invisible Graffiti

Invisible Graffiti (5).JPG

Let’s face it: Kids are sometimes drawn to things that are taboo, and sometimes it’s good to have an outlet for that naughtiness…but without the consequences!

That’s where this adorable game fits in, allowing kids to have the thrill of painting “graffiti,” but without any visible evidence.

First, I cut an artist’s palette for Travis out of cardboard.

Invisible Graffiti (1)

Paint on circles of color (ideally in as many colors of the rainbow as you can) using nail polish. This will make the “paint” look shiny even once it dries.

Invisible Graffiti (4)

I let Travis have a second piece of cardboard and permission to paint with the nail polish, because this was an added element of fun.

Invisible Graffiti (11)

(Note: I love the shades from the No Miss brand, which are free of all the yucky stuff like formaldehyde and also cruelty-free.

Invisible Graffiti (3)

Now it was time to set my graffiti artist loose! We headed out in the morning sunshine to make trouble. Here he is heading over to paint the fence.

Invisible Graffiti (6)

Travis “painted” all over the bushes, and the patio.

Invisible Graffiti (7)

Can’t you just see the glee?

Invisible Graffiti (8)

He loved finding places to add his graffiti.

Invisible Graffiti (9)

Uh oh, littering!

Invisible Graffiti (10)

In sum, he had a blast getting his naughtiness out with this game. And the best part is that there is no mess left over.


Easy Backyard Spy Fort

Backyard Fort (4).JPG

Travis has been into being either a secret agent or a ninja lately – so we needed a proper screen from which he could spy on the goings-on about the neighborhood, of course!

Plant two lengths of PVC pipe into the ground, spaced wide enough apart for an old pillowcase to drape over both. I bought pre-cut lengths of pipe at Home Depot that were two feet long, but wish I had opted for longer – we really had to crouch behind our fort!

Backyard Fort (1)

Cut an eye hole in the pillow case, then slip over the PVC frame.

Backyard Fort (2)

You can now camouflage your fort with paint. If you want to be sneaky, make sure to paint in shades of brown and green. Mostly though, we just had fun painting on this novel canvas, so our colors were perhaps a bit too bright for any actual hiding.

Backyard Fort (3)

Now see what you can see!

Backyard Fort (6)

As mentioned, our fort was quite low to the ground, which made spying tough. But Travis liked peeking through at all the activity going on down below. This fort would also work great for games of hide and seek, at least with younger kids!

Backyard Fort (5)

“Fix That Doodle!” Game

Fix Doodle (8)

All you need for this game is paper and markers – that’s it! It literally doesn’t get simpler, but pull out those two things and watch the fun begin.

There are two ways to play, which may depend on your child’s age, or just which they prefer. For the first version, the adult can draw a doodle, and the child turns it into a picture.

Whops, I thought, after making a first looping doodle for Travis: did I make it too hard?

Fix Doodle (1)

But Travis didn’t miss a beat before drawing a smile and declaring, “This is a snail.”

Fix Doodle (2)

Then he wanted to do the second version: he drew “scribble scrabbles” and asked me to turn them into pictures of something. This red scribble…

Fix Doodle (3)

…became hair on a head!

Fix Doodle (4)

A very detailed silly scribble…

Fix Doodle (5)

…turned into a caterpillar on a tree branch.

Fix Doodle (6)

Pretty soon, he was off and running, not even needing me but just enjoying his own scribbles, including this creature with 6 eyes.

Fix Doodle (7)

This game works equally well on napkins with markers…which makes it perfect for times you’re waiting in a restaurant, or otherwise on the go! In sum, if you have a little time to while away, it’s the ideal activity.

Design Your Own Palace

Verseilles (7)

Here’s to another clever lesson plan from Raddish Kids, one that I originally feared would be too advanced for a four-year-old, but which led to great fun and games.

The idea is to start with the Palace of Versailles specifically, and move on to what a palace is more generally. All in connection with the yummy Nicoise salad we cooked, of course.

I introduced Travis to Versailles through a few of the lesson plan’s suggested resources, such as quick videos and online books.

Versailles (1)

Now that he had a sense of the place, I asked him what a palace was. We settled on a definition of a “grand residence” that housed a king or queen. (Note: Big kids can be more exact with this definition).

He seemed only mildly interested by the Versailles information, so I was delighted when he immediately stood from the table and said, “Let’s build one!” His preferred medium was magnatiles, and I was thrilled watching his design come together.

Verseilles (3)

He even added “rooms” inside his palace, since we’d rattled off fascinating facts about Versailles (700 rooms, 60 staircases, and 10,000 residents, oh my!).

Verseilles (4)

Now we needed to furnish our palace, and we followed Raddish’s suggestion for the youngest kids to make a collage. We went through a home decor magazine and I asked Travis what his palace needed.

He had very definite ideas, everything from a Corinthian column to a kitchen. “We need a fancy kitchen. And we don’t have a fancy stove yet,” he reminded me as we selected photos to cut out.

Versailles (2)

We then pasted these down into a collage, which he loved so much we cut out more pictures and covered three sheets of construction paper!

Verseilles (8)

Finally, it was time for a royal gala. Travis dressed up in a cape and crown (mommy might have donned a second set…) to parade about our royal residence. (Note: Here’s where big kids can do this more as a presentation, and explain their palace to siblings or friends).

Versaille (9).JPG

What royal fun!

Verseilles (5)

DIY Crazy Hair Wig

Crazy Wig (6).JPG

Travis has been into disguises lately, so when I suggested we make a wig, he couldn’t wait to see the final result! This project will be a little time consuming on the part of you, grown-up, but it’s definitely worth the effort.

Crazy Wig (1)

First, I let Travis select a color of pipe cleaner for the base of the wig, and we measured around his head with two for the perfect fit. Twist them together until they are the proper size.

Crazy Wig (2)

Next, I cut lengths of ribbon for the hair. I used thick green and yellow yarn in alternating blocks for most of the wig, but added in fun pops of color with a slightly thinner rainbow yarn. This means a lot of tedious knotting and tying, but Travis was thrilled. “Can I watch?” he asked, when I was sure he’d want to play elsewhere.

Crazy Wig (3)

At last, the wig was ready for a try-on.

Crazy Wig (4)

Travis loved being in disguise!

Crazy Wig (7)

He soon dubbed himself “Mummy Man.” Based on your child’s current interests, this wig could make them anything from a mummy to a fairy princess to a wizard to so much more. So go have some crazy fun!

Crazy Wig (8)