I Hear Thunder

I Hear Thunder (1)

We’ve had crazy weather lately, including unseasonable May snow today. It had me thinking about weather songs to sing with Veronika, and this one has always been a favorite.

First, I simply sang the words for Veronika:

I hear thunder. I hear thunder.

Hear it roar. Hear it roar.

Pitter patter raindrops,

Pitter patter raindrops.

I’m all wet. I’m all wet.

The second time through, we added actions. You can just use your body at first: stomp feet on the floor for thunder, flutter your fingers through the air for rain, and give a big shiver at the end.

I Hear Thunder (6)

The shiver in particular made Veronika laugh every time!

I Hear Thunder (5)

Then we added props. Drums made the perfect thunder of course.

I Hear Thunder (3)

And shaky instruments like maracas and rain sticks were great for raindrops.

I Hear Thunder (4)

Veronika chimed in (literally!) on the triangle.

I Hear Thunder (7)

This all made for fun musical play on a windy cold morning.

Strumming Fun

Strumming Fun (4)

For some musical fun today, I made Veronika the easiest guitar ever: just a piece of corrugated cardboard ripped from a recent delivery box (thanks, Amazon Prime!) and a few plastic spoons.

I showed her how she could scrape the spoon along the cardboard to make “music”, humming a favorite tune all the while.

Strumming Fun (1)

It took her a few minutes to figure out which way she needed to orient the spoon (concave side down) in order to produce the right sound, but she looked so proud when she had it correct.

Strumming Fun (2)

Big brother Travis pointed out that the sound was a bit like a duck quacking. So this led to lots of silly quacking fun.

Strumming Fun (3)

Because I’d left out extra plastic spoons, she alternated between strumming or tapping two spoons together, adding a percussion element to her one-girl band. When it came time for her online toddler sing-along, she could strum her own “ukelele” alongside the teacher.

Strumming Fun (5)

I loved how simple this was for her to use, and how busy it kept her!

Kitchen Instruments

Kitchen Instruments (6)

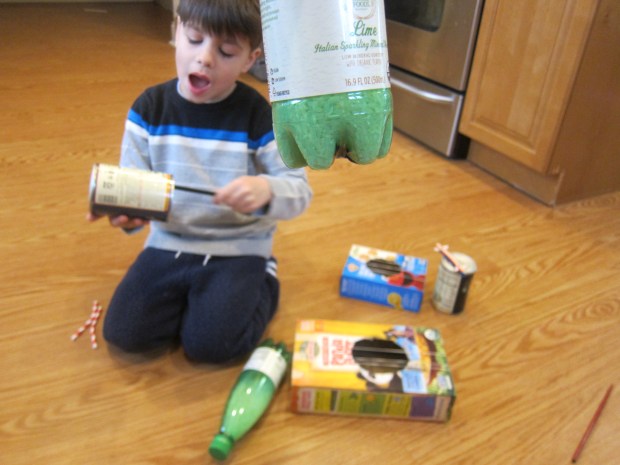
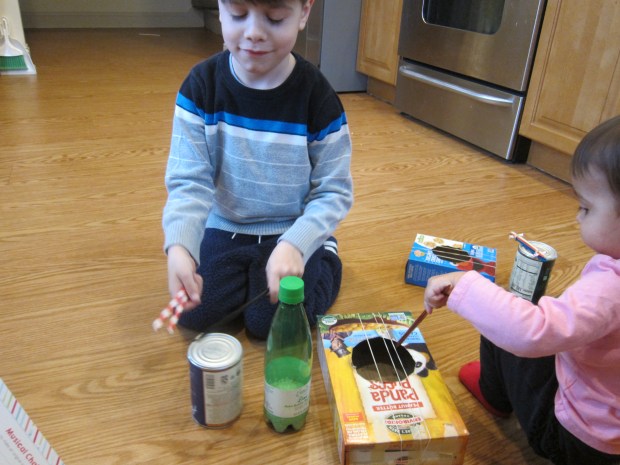
Travis and I plan to make a few “musical meals” soon thanks to his latest Raddish Kids, so this morning we made some simple instruments with kitchen objects to kick off the fun!

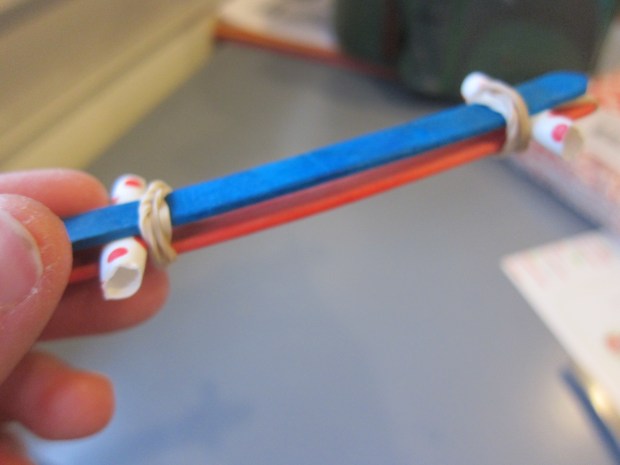
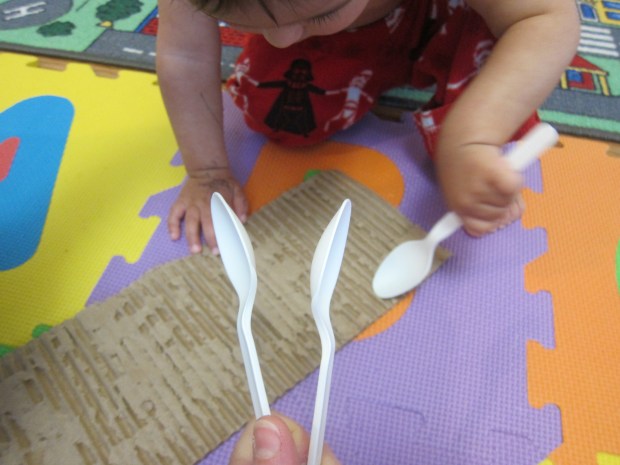
The most complicated was a Pop Stick Kazoo. You’ll need two leftover Popsicle sticks (or craft sticks) for this instrument. First, wrap one stick with a thick rubber band lengthwise.

Kitchen Instruments (1)

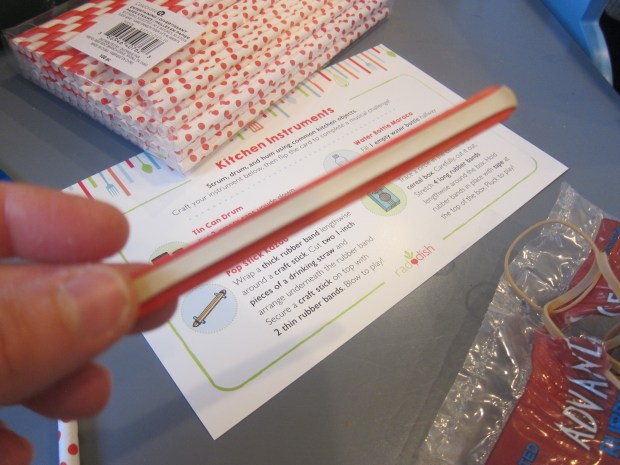
Cut 2 (1-inch) pieces of drinking straw and slip under the rubber band. Secure a second Popsicle stick on top using two thin rubber bands. Blow for a kazoo-like sound!

Kitchen Instruments (2)

Next we made Cereal Box Guitars: Cut a circle in the middle of an empty cereal box and stretch long rubber bands over the box for the strings. We made a smaller version using a cracker box for baby sister, and decided this was her ukulele!

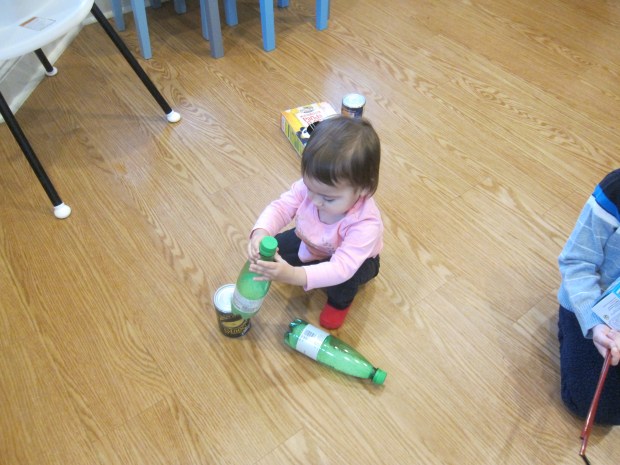
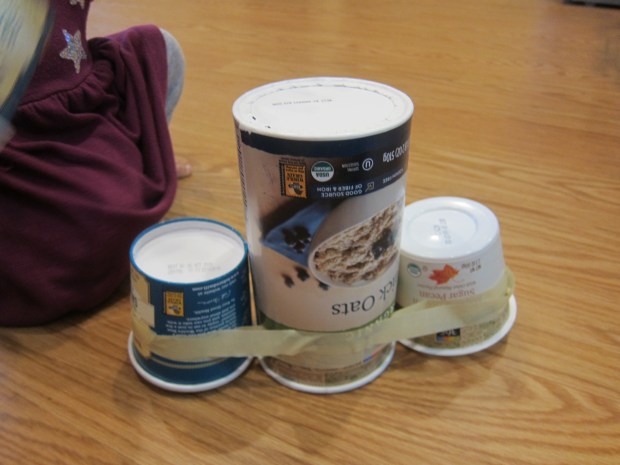
For Water Bottle Maracas, we filled empty water bottles about a third of the way with rice and glued on the lids.

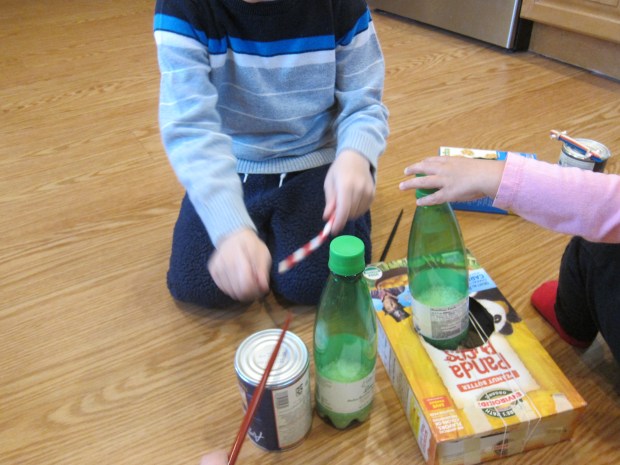
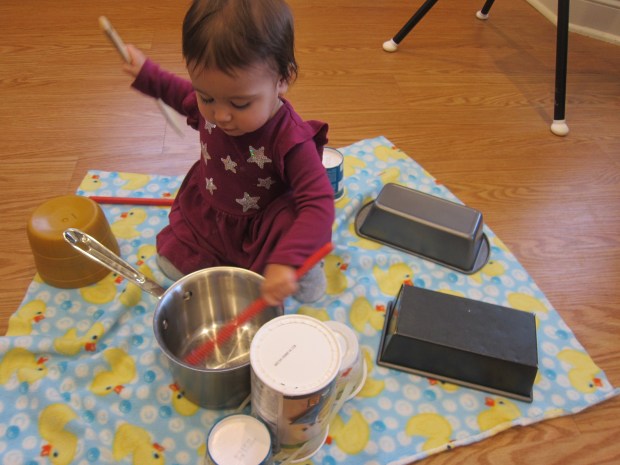
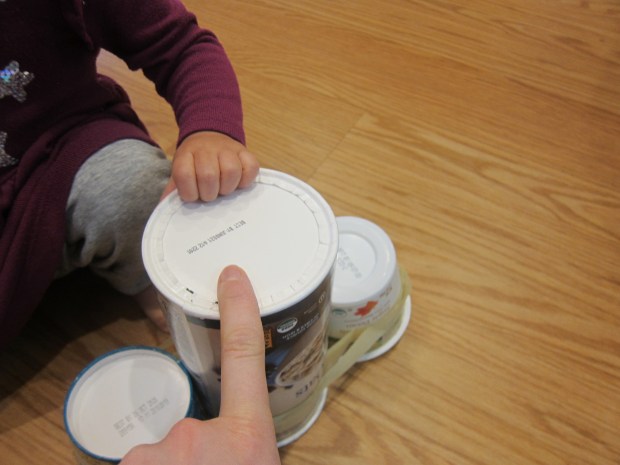
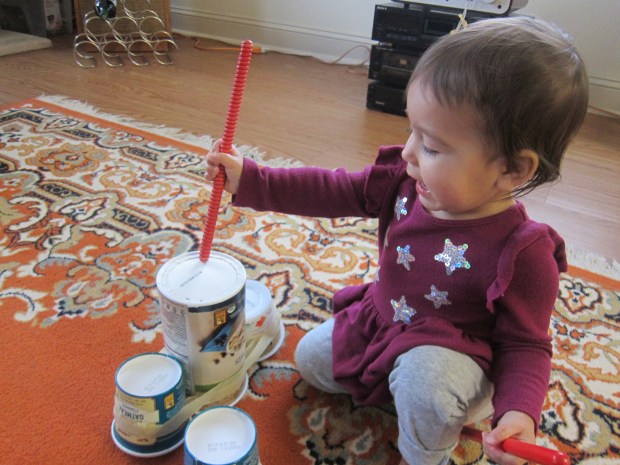
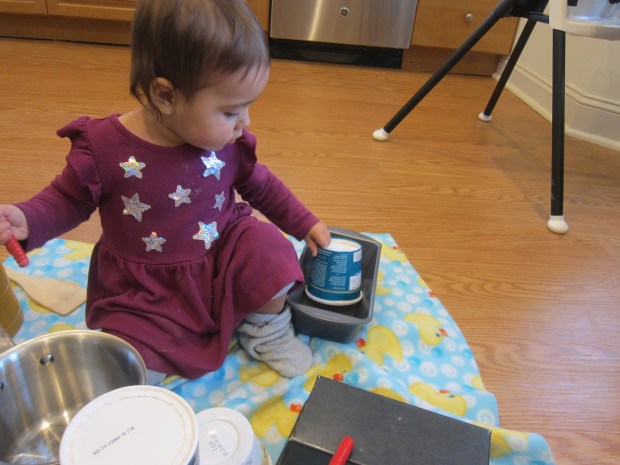
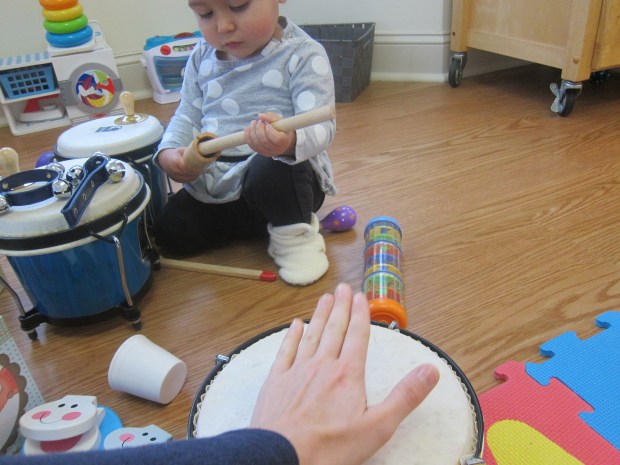
For Tin Can Drums, simply turn empty, rinsed out metal cans upside down. Add chopsticks to play!

Kitchen Instruments alt

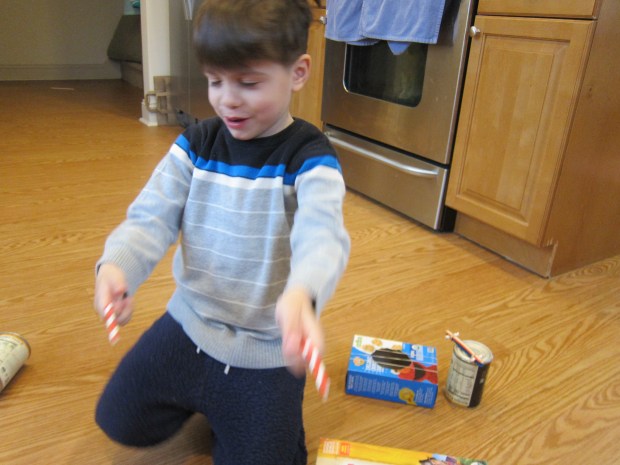
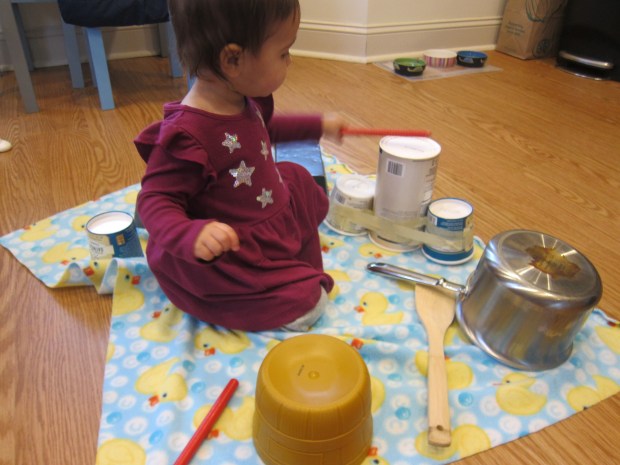
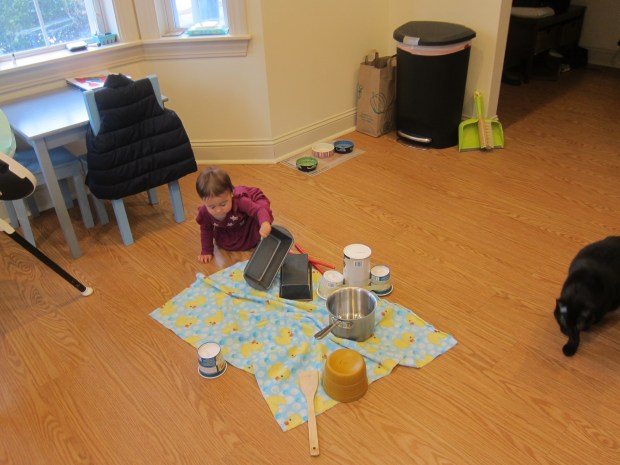
We sat down to rock with our band, and what fun the kids had!

Kitchen Instruments (5)

Travis’s favorite was the guitar, which he loved strumming with extra cut straws or chopsticks.

Kitchen Instruments (10)

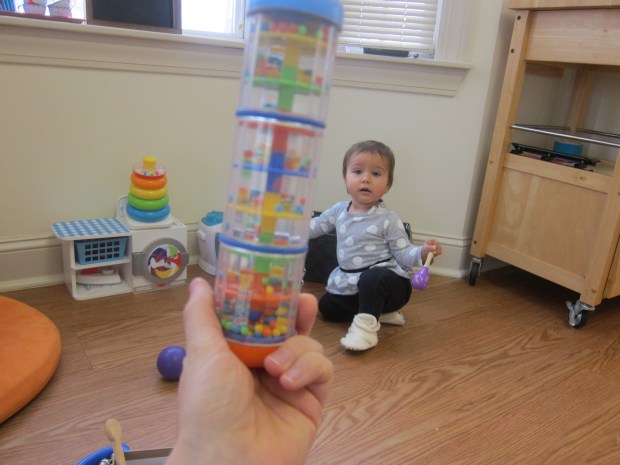
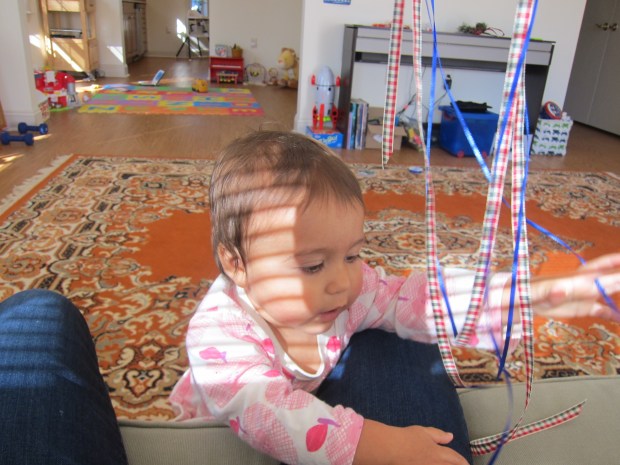
Veronika gravitated towards the shaky maracas.

Kitchen Instruments (9)

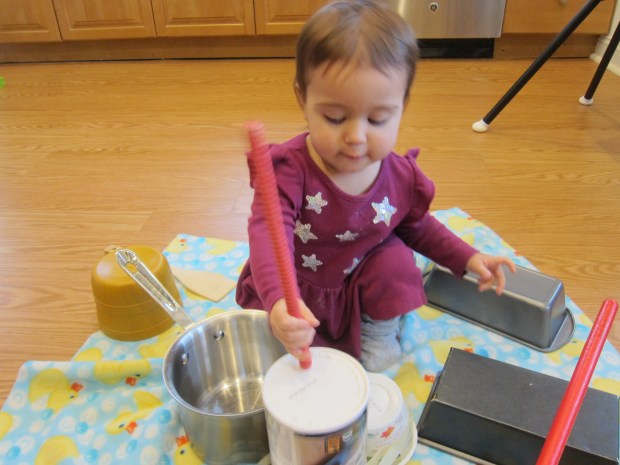
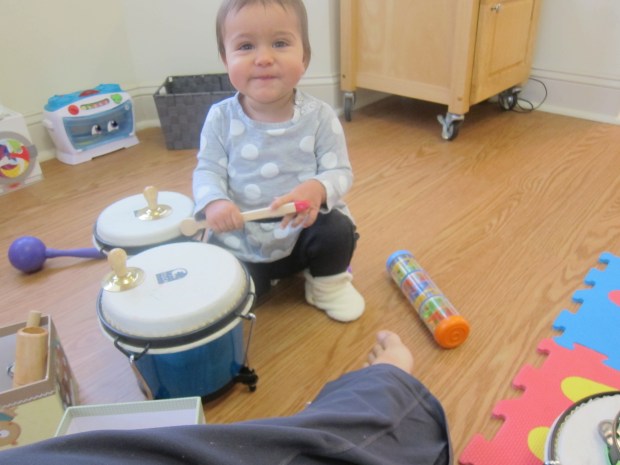
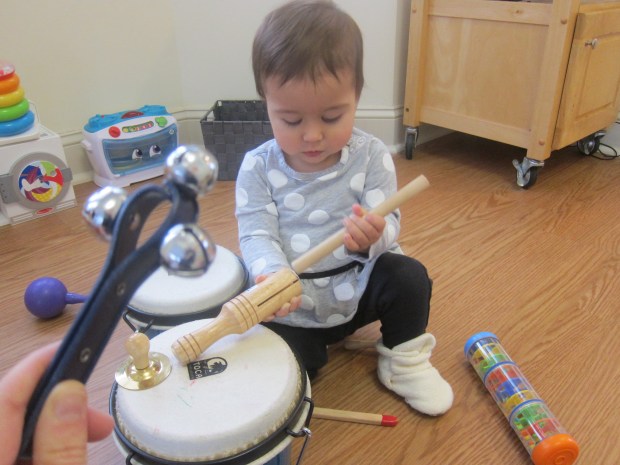
Both kids loved drumming with chopsticks. For some musical learning, we went over a few concepts. First up, Travis thought of a beat (a.k.a. rhythm, or a pattern that repeats). His was “Bo-ba, Bo-ba, Bo-ba”.

Kitchen Instruments (7)

Then we played around with speed (a.k.a. tempo). We practiced his beat super fast, and then slow on the drum.s

Next you can try making up silly lyrics, although this was harder for Travis to do on the spot. I also challenged him to add style (a.k.a. dynamics), sometimes quiet, sometimes loud.

Kitchen Instruments (12)

Don’t forget to harmonize as you all sing and play along! In sum, there’s lots of musical exploration to be had, just in your kitchen.

Kitchen Instruments var


Line Dancing Fun

Line Dance (1)

Travis is growing tired of class videos we’ve used to get our afternoon wiggles out during home school, so today I turned to Raddish Kids for inspiration. With a musical theme this month, one of the lessons was all about line dancing!

We kept the “lesson” part of it short, since really I just needed to get Travis moving. Big kids can delve further and talk about the genre of Country and any singers or song titles they know. You can also give some history of the genre. Instead, I just focused on common instruments (banjo, fiddle) and explained that line dancing allows dancers to move as a group, instead of with a partner. In other words, it’s meant to be shared!

To get our toes tapping, we listened to clips of the Boot Scottin’ Boogie and Watermelon Crawl. A few quick tutorials from YouTube showed us basic steps like the heel stomp and grapevine. Travis was a little skeptical but then we watched a quick how-to for an Achy Breaky Heart line dance.

Line Dance (2)

We cranked up the music and danced! Of course, it’s totally fine if your kids make up their own moves.

Line Dance (3)

For giggles, we finished with a clip of a line dance from Ice Age.

Drum Time

Drum Time (7)

We had a rainy day today, which made it the perfect moment for an impromptu drum session with Veronika!

I had three different sized oatmeal containers in the recycle bin, including a full-sized oatmeal canister and two smaller servings of instant oatmeal. So first I made her a set of bongo drums! If you don’t have different sized oatmeal containers, use three that are all the same but cut them to different heights. Use masking tape to secure them together, and voila!

Drum Time (1)

A wooden spoon and a few rhythm sticks were all we needed to start drumming. I also showed her the different ways we could drum with just our hands. We explored with our fingertips, our palms, our knuckles, and more.

Drum Time (2)

This was great for letting her explore all the different ways we can use our hands and fingers.

Drum Time (5)

But she liked the sticks best, and soon was giving lots of proud taps.

Drum Time (3)

We added a soundtrack of favorite songs (heavy on drum beats of course), and started up a jam session.

Drum Time (4)

Later in the day, I set up her up with a “drum circle” of bowl and pot drums. On a soft blanket, I arranged a sauce pot, a few loaf pans, a plastic bowl, and another empty oatmeal container. I sat her in the center with her mallets and put the music back on.

Drum Time (6)

Let the drumming begin!

Drum Time (8)

Don’t worry if your toddler drums in unconventional ways. Veronika enjoyed turning the vessels right side up so she could swirl the rhythm sticks around the inside, which made a fun clanging sound.

Drum Time (7)

She also loved piling the “drums” one inside the other, turning it into a stacking game and drum session all in one.

Drum Time (9)

When she discovered that the loaf pan made a spectacularly loud clang on the wooden floor, this had to be repeated several times.

Drum Time (10)

I didn’t reprimand her, since it’s not drum play until it gets a little loud! In sum, this was a fun way to explore volume, dynamics, rhythm, and so much more.

Hanging Instruments to Crash, Rattle, and Bang!

Hanging Instruments (5)

Old toys that don’t get much attention can seem novel if presented to your kids in a different way. To wit, Veronika hasn’t been very into her musical instruments lately… until I strung up a few on a cord and introduced this novel way to have musical play!

We played this game indoors against a dresser, but if it’s a beautiful sunny day and a warm time of year, it works equally well against a fence!

Using colored twine, I threaded instruments that could slot easily along the line, namely tambourines, bells, and a triangle. Get creative with your definition of “instrument” here, too; a colander from the kitchen added some percussion!

Hanging Instruments (1)

Once I had everything threaded up, I presented Veronika with wooden spoons and rhythm sticks, and it was time to make music!

She loved using the wooden spoon in particular and soon there was bashing…

Hanging Instruments (2)

…crashing…

Hanging Instruments (3)

…tapping, and jingling. She also loved reaching out with a hand to shake the bells on the cord.

Hanging Instruments (4)

This game will no doubt entice older siblings over to play, too! A great way to revive a bag of old instruments.

Hanging Instruments (6)

Musical Nursery Rhyme Dance Party

Musical Nursery Rhymes (9).JPG

We’re filling a snow day today, which made it the perfect day to set aside some quality time for musical play.

Of course you can always just grab an instrument and play, and in that vein, I laid out every instrument we had at home.

Musical Nursery Rhymes (1)

For some more structured fun, I went through a repertoire of nursery rhymes with Veronika! We started out with Where is Thumbkin. I held up my fingers for the verses, as she played along on the maracas.

Musical Nursery Rhymes (2)

Next up was Head, Shoulders, Knees, and Toes. Make sure to touch each body part, and shake an instrument in between verses!

Musical Nursery Rhymes (3)

The Itsy BItsy Spider was fun with a rain stick for the rain.

Musical Nursery Rhymes (4)

Twinkle, Twinkle Little Star was beautiful on cymbals.

Musical Nursery Rhymes (5)

You’ll probably find that there’s a perfect instrument for each song! For example, bang or rub on a drum for Pat-a-Cake. Or you can simply get up and dance, as I did for The Hokey Pokey while she looked up at me and laughed!

Musical Nursery Rhymes (7)

We added other favorites like Wheels on the Bus, If You’re Happy and You Know It, and I’m a Little Teapot.

Musical Nursery Rhymes (8)

Whatever instrument strikes your little one’s fancy is just fine; there’s no wrong way to play this game. Or simply pick him or her up and dance! This is a great way to pass some time with a one-year-old at home.

Musical Nursery Rhymes (6)

Ribbon Play

Ribbon Play (7).JPG

Ribbons are one of those great toys you can return to again and again with your child as he or she grows; at each age, children will engage with the same item differently.

Today, I made a new set of ribbon wands for Veronika. This time, I let her be very involved in the set-up! She loved sitting in a big pile of ribbons that I had cut, pulling them through her fingers and lifting up big handfuls. (Obviously supervise any ribbon play closely).

Ribbon Play (1)

She also loved the spools that the ribbons came on, pulling them down to unwind in big long strands.

I began tying lengths of ribbon onto the ends of dowels, alternating patterns and colors. Although I only had two kinds of ribbon to work with, you could make these with as many as desired!

Ribbon Play (3)

I also cut some pieces of ribbon that were short and some long, to talk to her about opposites, and we also talked about the colors and patterns on the ribbon.

Ribbon Play (2)

Once all the knots were tied, we had ribbon dowels to play with! She loved when I waved these above her and she could grab at the ribbons.

Ribbon Play (5)

Then we put on slow soft music and I made big circles over her head and beside her, for some magical music play.

Ribbon Play (6)

Alternate songs with fast and slow tempos, since the ribbons will help your little one visualize the speed. These are also great for taking along on car trips, as long as you cut the ribbon lengths on the shorter side.

Ribbon Play (4)


Head, Shoulders, Knees, and Toes

Head Shoulders (1)In the past, I’ve sung songs like ‘Head, Shoulders, Knees and Toes‘ to Veronika mostly for fun. But now that she’s saying her first words (like “cat“!), songs like these are great to learn vocabulary. Because babies love to mimic, see if your little one will follow along and pat parts of his or her body as you sing.

Head Shoulders (6)

We have a fun interactive learning desk with pictures of the body; it was great to sing the song at the desk and point to the corresponding pictures.

Head Shoulders (2)

I also pointed out each word on her corresponding body part. Knees and toes!

Head Shoulders (4)

I like to use my own face when pointing out eyes, ears, mouth, and nose. Hopefully she will reach out and start touching features back, soon.

Head Shoulders (3)

Finish the song with a big round of applause!


Counting Fish

Counting Fish (6)

Veronika was gifted an adorable counting fish game, which reminded me of a rhyme I used to sing for big brother Travis.

Counting Fish (4)

Both the tune and the counting elements are fun in this one, and Veronika is at a great age for counting rhymes. As we played with the fish, I sang:

One, two, three, four, five,

Once I caught a fish alive.

Six, seven eight nine, ten,

Then I let him go again.


Why did you let him go?

Because he bit my finger so.

Which finger did he bite?

This little finger on my right.

We counted out the fish one by one to the words…

Counting Fish (1)

Or practiced letting the fish go when I sang that line.

Counting Fish (3)

In sum, this is an adorable one to add to your repertoire, if you’re in need of new songs!

Counting Fish (8)