Rubber Ball Drum Sticks

Drum Stick (5)

We’ve been playing rock band a whole lot lately and needed drumsticks to go with our microphone!

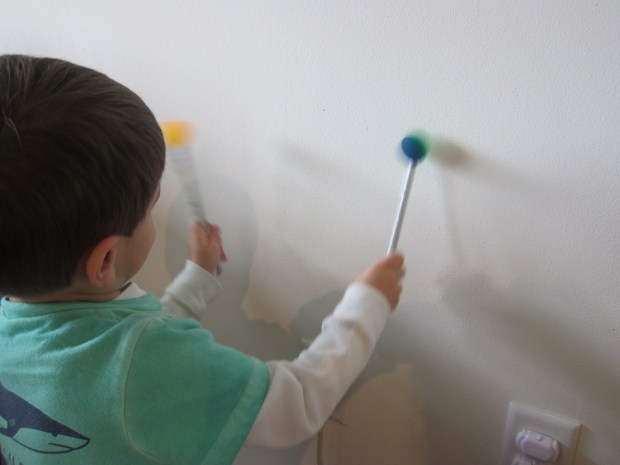
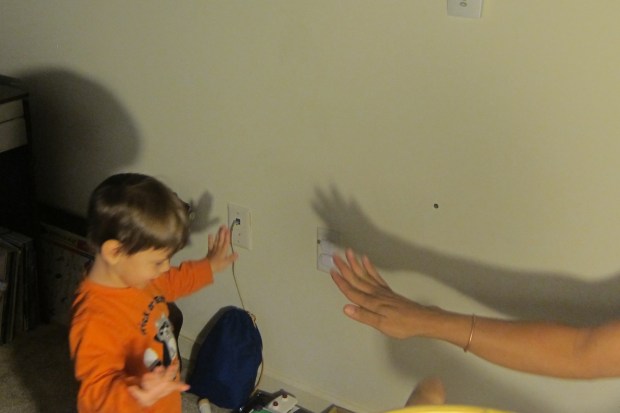
This craft is perfect if you have a toddler who loves to use drum sticks on anything and everything, especially walls and furniture. The bouncy rubber balls are much kinder on a surface than wooden sticks!

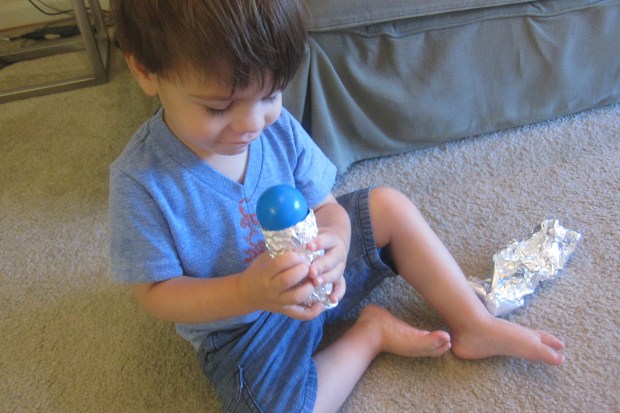
To fashion them, poke a hole into two rubber balls – definitely a grown-up step. I saw this done on another blog where the parent used a drill, but I was able to poke into our rubber balls with just a little force and a screwdriver.

Drum Stick (1)

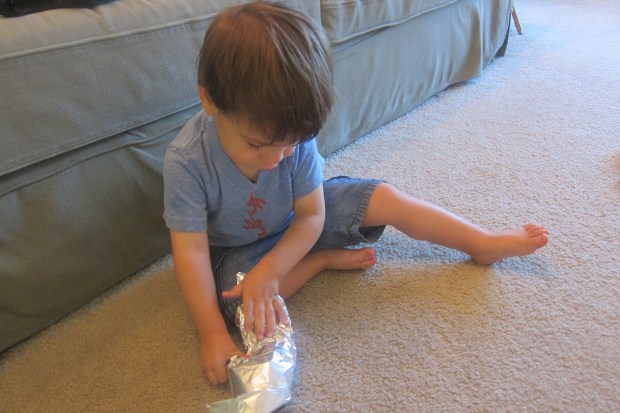
Insert two unsharpened pencils into the holes. To decorate, we first tried wrapping in string, which Travis had a surprising knack for.

Drum Stick (2)

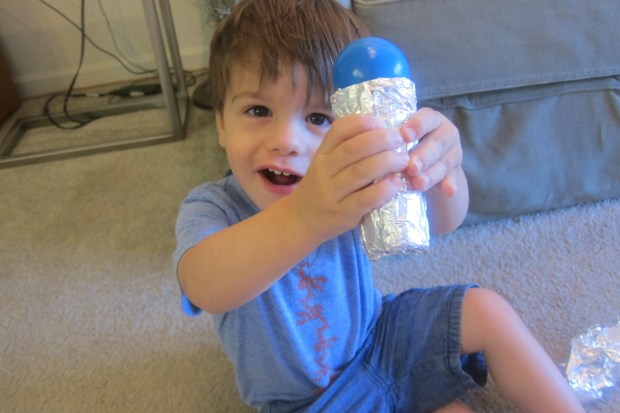
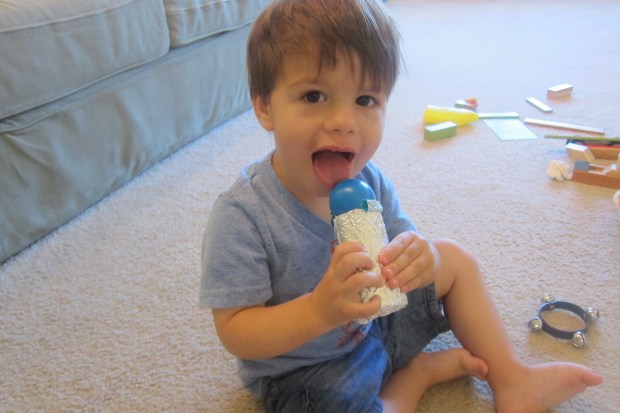
But for more rock star flair, we abandoned the string in favor of shiny washi tape.

Drum Stick (4)

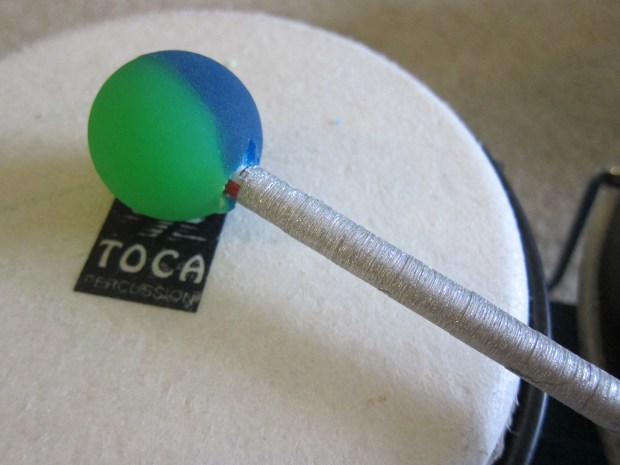
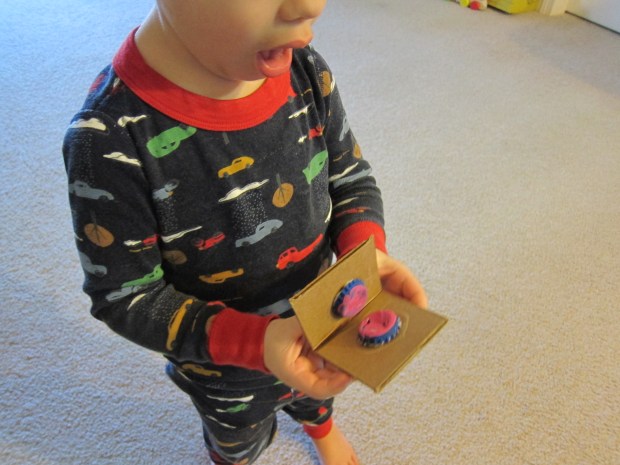
Travis loved the way the sticks gave a bounce with each tap!

Drum Stick (6)

Rock Star Microphone

Rock Star Mike (8).JPG

Well, it’s happened. Travis has lost interest in music from his kiddie class, and now when we’re in the car, he only requests “grown-up music” (Dire Straits, to be exact). So on this rainy Saturday morning, I made my budding rock star his very own microphone!

To start, inflate a balloon until it is the right size to balance atop an empty toilet paper tube.

Rock Star Mike (1)

Cover the balloon with foil, and then secure with a rubber band or two.

Rock Star Mike (2)

Travis added extra bling to his microphone with sparkly gold washi tape.

Rock Star Mike (3)

Now it was time to hop on stage!

Rock Star Mike (5)

We had fun rocking out together for quite a while. A great prop for imagination and developing confidence!

Rock Star Mike (4)

Finger Cymbals

Finger Cymbals (3)

We always love adding to our homemade instrument collection, so I thought this project looked cute. The instruments were branded as “cymbals” although honestly they seemed more like castanets to me! But whatever you call them, the project is cute and easy.

Save 4 bottle caps, and have your child paint them in any color. To keep fingers from getting too messy, clip the bottle cap to a clothespin for easy application – genius!

Finger Cymbals (1)

We let the caps dry overnight, and then I cut two strips from cardboard to be the base. Fill each bottle cap very full (almost overflowing) with glue. Turn over and press onto the cardboard. Repeat with a second cap, so that when the cardboard is folded in half, the two caps will click together.

Finger Cymbals (2)

Let dry completely – then get clicking!

Finger Cymbals (4)

Recycled Band

Recycled Band (5).JPG

Toy instruments from the store are great… but involving kids in making them can be even better! Even I was impressed with how these instruments – made of common household items – turned out.

For the Shoebox Guitar, I first cut a circle from an old shoebox (tape the lid down with duct tape first, if you like).

Travis loved helping me find three elastics stretchy enough to stretch lengthwise around the box – although putting them on was definitely a grown-up job.

recycled-instruments-2

At this point, the strings sound very dull… But now it was time to slip a pencil under the strings on either side.

recycled-instruments-4

Immediately, you get resonance – and your elastics will even play different notes if they are different widths. Travis couldn’t wait to pick it up and start strumming.

recycled-instruments-7

To make our Sandpaper Blocks, cut sandpaper into strips so you can wrap it around the middle of plastic cups.

recycled-band-3

Secure the sandpaper to the cups with duct tape. We had fun experimenting with two different grades of sandpaper – extra fine and coarse – to see how they sounded.

recycled-band-4

Travis then took additional cups and placed them around himself as a “drum set” – great imagination!

recycled-band-1

And then of course it was time to march around in a parade. Thanks to High Five magazine for the musical idea.

Homemade Kazoo

kazoo-4

Kazoos may get a bad name in parenting circles, but this cute homemade version is far less, well, blaring than the ones you buy at the store, and your toddler will love marching about playing the “instrument”.

First, it’s time to decorate! Travis liked that he could color markers both on the outside and inside rim of the empty toilet paper tube we used.

kazoo-3

Ooh, and markers fit through the tube, too – fun!

kazoo-2

Once his decoration was complete, I punched a small hole with a pencil near one end of the tube. Cover the opposite end with wax paper, securing with masking tape.

kazoo-1

To play the kazoo, cover the hole with your finger and hum. Travis loved watching me play it at first, and then took over!

kazoo-5

Shadow Dancing

shadow-dancing-8

With late autumn sunshine pouring in through our windows, we were inspired to take our dancing up a notch!

Depending on the direction your windows face, play this game when shadows are best projected against the wall. If it’s a rainy day (or nighttime!) you can continue the fun by putting out all the lights in the room except one, and then angling one light to hit a wall.

shadow-dancing-9

Have fun dancing up a storm, bonus points for songs that involve hand motions and gestures.

shadow-dancing-5

Travis loves Shake Those ‘Simmons Down from Music Together, and it was an absolute delight to dance with our shadow partners.

shadow-dancing-4

To continue the fun, I showed him how to make a few hand shadow animals, such as birds…

shadow-dancing-1

…And ducks.

shadow-dancing-2

Bonus points: our cat loved watching the action!

shadow-dancing-3

Homemade Tambourine

Homemade Tambourine (4)

It’s easy to create your own musical collection at home without purchasing toy instruments. To wit, a paper plate and jingle bells from a craft store can turn into a tambourine in mere minutes!

To start, have your child decorate the backs of two paper plates with markers or crayons. After a little marker mishap, we switched to crayons for the other side! Good thing markers are washable.

Homemade Tambourine (1)

Once the decoration is complete, place the jingle bells on one plate, and cover with the other. You can use any number of bells, depending how jingly you want it, but I recommend at least 3.

Homemade Tambourine (2)

Seal the plates together with a stapler (or tape) and let your budding musician make some noise.

Homemade Tambourine (3)


Microphone Craft

Microphone Craft (5)

Encourage a budding rock star with this cute, easy craft!

To make the base of the microphone, have your child help wrap an empty toilet paper tube in foil. Travis immediately loved how shiny and crinkly our creation was.

Microphone Craft (1)

For the top of the microphone, the best bet is really a small foam craft ball. Since I didn’t have one on hand, we used a ball from an old baby toy, which I wedged into place and secured with a bed of duct tape.

Good enough for now, though I hope to buy a craft ball as a replacement! Now, is this thing on? Testing, testing, one-two-three.

Microphone Craft (3)

Travis latched right onto the idea that it was a microphone, and loved singing songs from our local music class. Wait, is that a microphone or an ice cream cone?

Microphone Craft (4)

All around, good fun. I might even make a few of these, and keep one in the car for road trip sing-alongs.

What’s your child’s favorite song to sing? Please share in the comments!