Painting with Nature

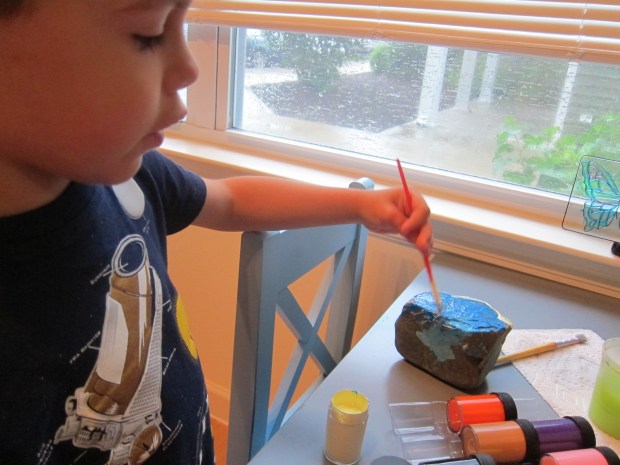
I love thinking outside the box when it comes to painting tools, and one of the most beautiful alternatives to a real brush are “brushes” found in nature. This is the perfect activity to culminate a day in the park or a nature walk! Veronika saved up several finds, including a bristly pine cone, yellow flowers, and different leaves.

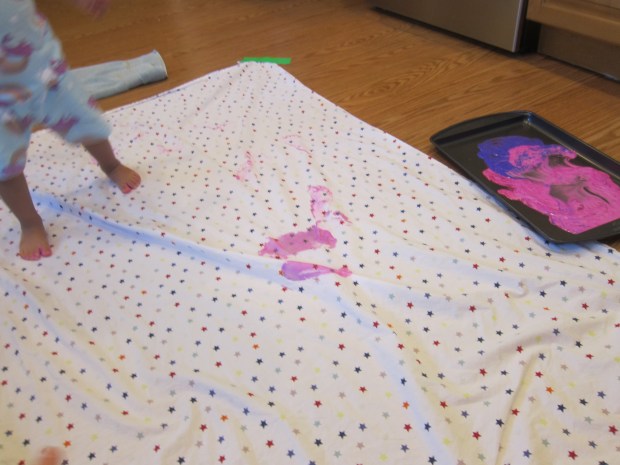
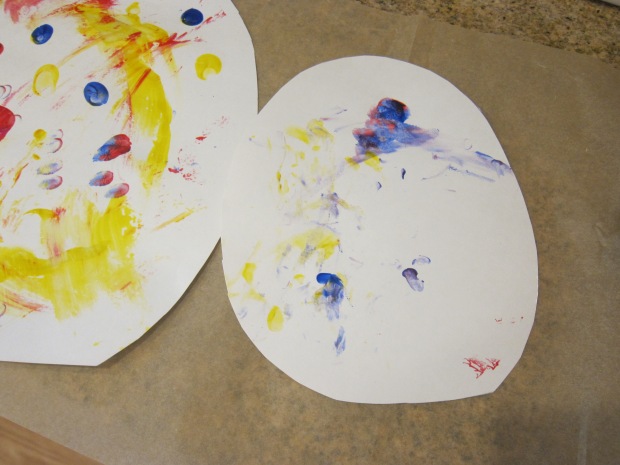
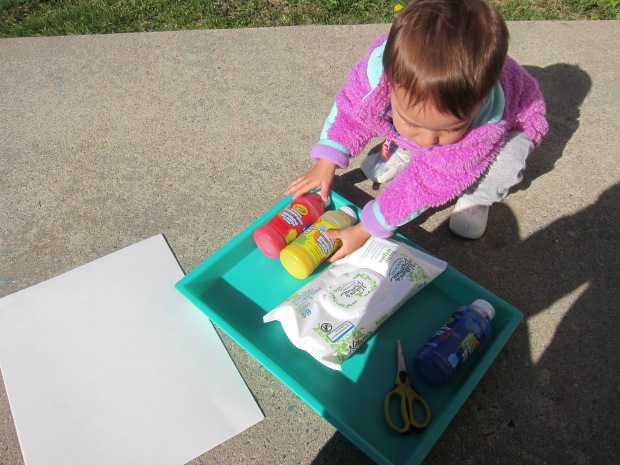
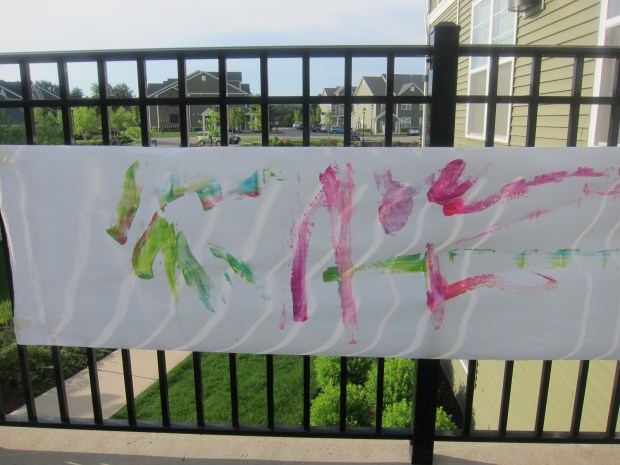
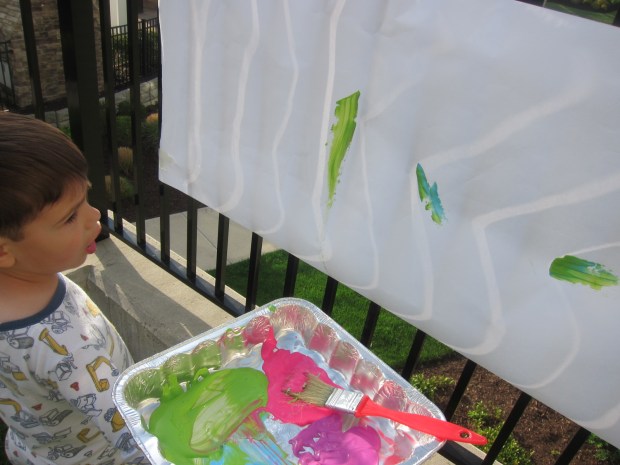
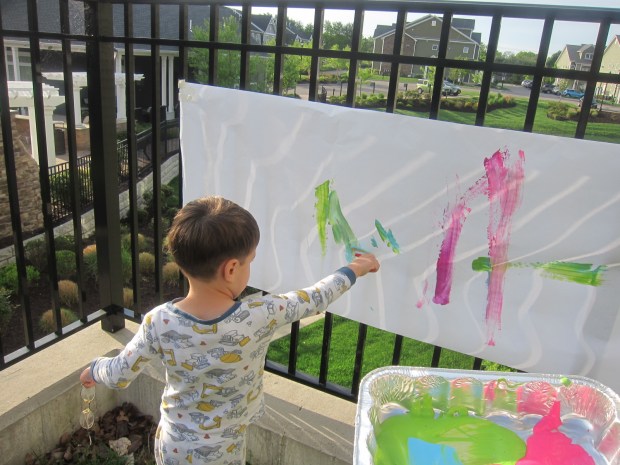
At home, I set out all the nature treasures on a tray, along with a big sheet of craft paper and paper plates with different colors of paint. If you want to go extra wild with this project, use cardboard as your canvas and do the painting outside, too!

Veronika was hesitant to hold the pine cone, so I showed her that if we rolled it in purple paint, it made neat dots across the paper.

She couldn’t wait to test a flower! She dipped it carefully into orange paint…

…and then pressed down. “It made a flower!” she said.

Some of our leaves could be used almost like regular brushes, making long streaks of paint across the paper.

Others, like maple keys, made what looked like a silly mustache print! Have fun experimenting with colors, the way you hold your nature treasures on the paper, and more. And if your kids want a slightly different take on this activity, paint on your nature finds, not with them!

Paint Dancing

Paint Dancing (8)

I love throwing in a sensory project for the feet now and then, such a different experience for toddlers than working with their hands! All you need for this project is an old crib sheet (or similar large piece of fabric), and a willing pair of toddler feet.

I squirted two colors of washable paint onto a baking tray and added a little dish soap to each color, which will make clean up easier in case any paint goes off the fabric.

Paint Dancing (2)

Fill a second shallow tray with warm soapy water, and have a towel handy. Then tape your old sheet down to the floor securely at all four corners. I put on some tunes (Walking on Sunshine felt just right!) and Veronika immediately started bopping and dancing before the paint was even involved.

Paint Dancing (1)

Then I dipped her feet into the paint and set her painted soles down on the fabric. “Let’s dance!” I said.

Paint Dancing (3)

She was initially hesitant when the paint was thickest, but as she began to move around, a big smile formed.

Paint Dancing (5)

We dipped her toes and repeated a few times, and mixed up the tempo for a little music lesson, too!

Paint Dancing (6)

Arguably her favorite part was washing off in the sudsy water at the end. At first she just dipped in her toes, but then I turned around and found her sitting completely in the soapy tray like it was a mini bathtub. Well, time for an outfit change!

Paint Dancing (7)

Easy Easter Eggs

Easy Easter Egg (7)

For Veronika’s final contribution to Easter decorations this year, I gave her wooden eggs to paint instead of egg-shaped paper. To set up, simply squirt pastel colors into a paint tray, then give your toddler q-tips and cotton balls to paint with rather than a regular paint brush!

Easy Easter Egg (1)

Of the two, Veronika definitely preferred the q-tips. She loved delicately dipping them into the paint and then dotting onto the egg. The little spots she produced seemed to fascinate her!

Easy Easter Egg (3)

I showed her how to dip a cotton ball in the paint, too, and press it against an egg for a larger smear, but she wasn’t as interested.

Easy Easter Egg (2)

She did, though, discover that she could dip a little fingertip into the paint and make a similar dot against the eggs. She so carefully repeated this several times, smearing the paint lightly.

Easy Easter Egg (5)

I didn’t help her out with the paint at all, aside from rotating the eggs. The resulting speckled and spotted eggs were decidedly her project, and she looked so proud.

Easy Easter Egg (4)

They looked so pretty gathered together in a glass bowl for a little Easter centerpiece!

Easy Easter Egg (6)

Finger Paint Easter Egg

Finger Paint Easter Egg (6)

On the heels of her first Easter craft, Veronika made an equally easy toddler-friendly Easter egg today. This one requires only poster board and finger paint.

I initially thought to set up the activity outside, given a nice day of sunshine. You’ll notice the pack of wipes on hand for easy clean-up, a must whenever you use finger paint!

Finger Paint Easter Egg (1)

After cutting an egg shape from white poster board, I squirted a few colors of finger paint out onto at ray and briefly demonstrated how she could dip a finger in the paint, and then press on the egg.

Finger Paint Easter Egg (2)

I also squirted some of the paint directly onto the egg shape, thinking she might want to swirl it around with her whole palm. But after a moment to check it out, the outdoors proved far too distracting!

Finger Paint Easter Egg (3)

So we moved the activity inside, where she was able to pay more attention. This time she dipped her fingertips into the paint. I can’t say she loved the craft, but she did make enough markings on a full sheet of poster board that I could cut out a smaller egg shape around it.

Finger Paint Easter Egg (5)

So we ended up with mommy-and-me Easter eggs, which I think are pretty cute! For preschoolers, have fun making deliberate lines or patterns with the finger paint, to add a little education into the mix.

Garden Rock

Garden Rock (8)

A beach near us has great big rocks scattered all over the sand – not just your typical beach pebble finds, but large heavy ones to collect and take home. We decided they would make the perfect final addition to our little patio garden as decorative labels.

Note: If you can’t collect large rocks near you, check your local gardening store.

Travis was thrilled with the size of our rock canvas. I painted one rock with a garden scene (sun and flowers, although the colors later bled together; I also attempted to paint on the word Garden.

Garden Rock (6)

Meanwhile, he had fun swirling colors all over another.

Garden Rock (2)

I loved watching his concentration as he worked!

Garden Rock (3)

So much fun that he needed to paint a second rock.

Garden Rock (4)

We left them to dry overnight, then settled them among our pots on the patio the next morning, taking care to find each rock the perfect spot.

Garden Rock (7)


Rubber Band Splatter Painting

Rubber Band (8)

Following on the heels of outdoor painting and yoga, here’s still-more fresh air fun. Technically you could do this inside, but it’s so messy you’re really going to want to be out in the grass.

To set up, you’ll need an old picture frame (or one that you don’t mind getting a little paint-splattered), ideally about 8×10. Remove the backing and glass, and attach large rubber bands at intervals around the frame.

Rubber Band (1)

Set up newspaper under your work surface, and then place construction paper (or other heavy paper) underneath the frame. Travis wanted black as the background – why not!

I set him up with a tray of paints, and showed him how to paint just along the rubber bands (drips are okay, of course). Travis liked the tricky wobbly nature of this.

Rubber Band (3)

Imagine his surprise when I showed him the next step: Snapping back a rubber band and letting the paint on it splatter onto the paper below. Boing!

Rubber Band (5)

Because the black wasn’t the best background, I suggested lighter colors like pink and yellow for our next few rounds.

Rubber Band (7)

The result is very neat, splattered paintings. Don’t forget the art smock for this one!

Painting on the Fence

Paint on Fence (4).JPG

The sun was streaming through our windows and onto the little patch of grass outside our patio this morning, and I just had to get us outside. To motivate Travis, I did something taboo – painting outside!

Of course plein air painting has a long tradition, but so many of our kids’ crafts nowadays are indoors at craft tables or classrooms or easels. There is something so beautiful about being outside with a paintbrush and paper.

To contain any mess, I poured a few paint colors into a foil tray and gave Travis thick brushes.

Paint on Fence (1)

Use painter’s tape to secure a large piece of craft paper to a fence. If you don’t have a fence, the outside wall of a house would probably work, just make sure you’re using washable paints!

Paint on Fence (2)

The large surface will encourage big strokes – sideways, up and down, or whatever else inspires your little artist.

Paint Fence (6)

My little artist at work.

Paint on Fence (3)

All the more beautiful in the sunshine!

Paint on Fence (5)

Gourd Pets

Gourd Pets (10)

On the heels of our Fall Friends, Travis wanted to decorate more little creatures to celebrate autumn. This time we turned gourds into patio “pets”, thanks to this cute suggestion from Barefoot Books‘ Kids Garden set.

We don’t have our own garden, so didn’t actually harvest our gourds, meaning we could skip the steps of cleaning them and leaving them to dry out for a few weeks (!). A quaint stop to purchase gourds at a farmstand did the trick instead. Still, because I knew he would love it, I told Travis we needed to clean the gourds before we could decorate them.

Add a little dish detergent to warm water and give your gourds a nice soapy scrub, then dry.

Gourd Pets (3)

From there, I simply placed a big pile of craft supplies in front of Travis and let his imagination take over. The older he gets, the more I love providing minimal direction and seeing what he’ll do.

Gourd Pets (5)

He was most into painting the gourds, and loved the way the brush worked on the different textures, i.e. our bumpy ones versus our smooth ones.

Gourd Pets (7)

There was also some fantastic color mixing going on; I loved the hues he made to go on our white gourd.

Because we were making them into pets, I asked Travis if the gourds had names. He quickly responded that they did, including Ranger and Radar. Several of the gourds then received glue and feathers, making them seem like fantastical birds.

Gourd Pets (6)

Googly eyes were the finishing touch before we set them aside to dry. Feel free to add other crafty items as well, such as ribbon, markers, or glitter.

Gourd Pets (9)

Once the paint and glue dry, find a spot for your “pets” in a garden or patio.

Gourd Pets var

Now enjoy them all season!

Gourd Pets alt

Pasta Mosaic

Pasta Mosaic (14)

It’s finally happening… My little boy who used to happily jump at any art project I suggested has his own agenda now. And while I lament that he’s not quite so pliable or amenable to activities I’ve anticipated, I also am celebrating this three-year-old independent spirit and the imagination that accompanies it.

Cue this project as the perfect example. I thought sorting and making art with pasta might nicely fill some time on a Sunday morning since I had several boxes of dry pasta in the pantry. Sorting is a great skill for little fingers and minds, but silly me, every pasta I had was a variation on penne…in different lengths! It turned out we had regular penne, medium-sized pennette, and super-short ditalini.

Pasta Mosaic (1)

This turned the sorting into a neat challenge based more on length than shape, so Travis actually sat happily to help me sort for a while.

Pasta Mosaic (2)

My suggestion to paint the pasta after was met with indifference though! A bit miffed, I pulled out glitter paint. That made things decidedly more sparkly and fun, and we discovered that painting penne is quite silly and tricky since they roll.

Pasta Mosaic (3)

What worked best? Dabbing at them on a piece of wax paper and leaving them to dry? Tossing them into a whole bath of paint and swirling them around?

Pasta Mosaic (6)

Travis decided it was more fun to paint the bowls holding the paint, but eventually we had lots of sparkly painted pasta, and left it to dry.

Pasta Mosaic (5)

The final idea was to turn all that painted pasta into a mosaic, but Travis was completely uninterested…until I suggested that the glue was caulking, and the pasta was “ants” coming through the floor (a game based on a recent, real-life scenario….).

Pasta Mosaic (9)

Well then he couldn’t get enough! We caulked and caulked, and filled puddles of glue with “ants” trying to get into our kitchen.

Pasta Mosaic (10)

When I asked if he thought our paper was full enough, he pointed to the remaining pasta pieces and adamently told me, “No Mom, still more ants.”

Pasta Mosaic (11)

Once we’d used up all the pasta, he needed to “caulk” two more pieces of construction paper before he tired of the game.

Pasta Mosaic (13)

So there you have it, a valuable lesson on my son’s ever-growing independence, but also a reminder that incorporating his latest interests and imaginative play might still just get him to sit and make art with his mama.

Pasta Mosaic (12)

Q-Tip Painting Indian Corn

Qtip Corn (10)

It’s official, the fall equinox is tomorrow, meaning it’s the start of my favorite season, and that we need some autumnal decorations around our home! What better way to celebrate the harvest and this fall crop than with a cute little craft involving real hay?

I cut half ovals from yellow construction paper to be ears of corn, and shapes from brown construction paper to be the husks.

Qtip Corn (2)

Travis hasn’t been so into painting projects lately, so to keep this one novel, we use q-tips as our paintbrushes! Little dots of red, yellow, and orange gave our corn the speckled appearance of Indian corn.

Qtip Corn (4)

Glue your husks to your corn shapes, and let dry.

Qtip Corn (6)

The biggest hit by far was when I told Travis we’d add real hay to our corn husks. Look for it at any craft store or farmers’ market this time of year.

qtip corn (8)

Definitely the perfect finishing touch.

Qtip Corn (9)