Ocean Bottle

Ocean Sensory (8)

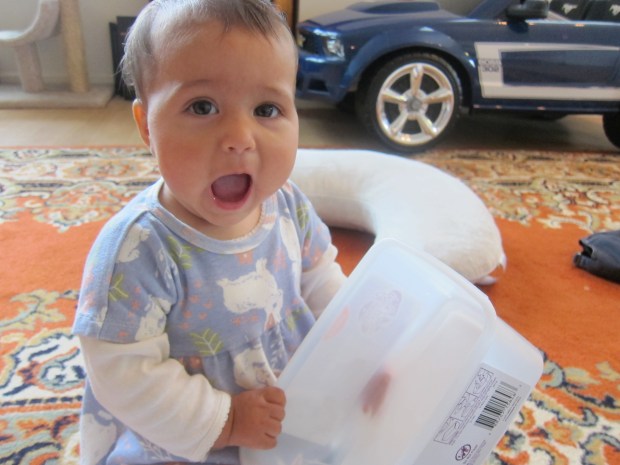
After a recent bottle sailboat craft with Travis, I had a few small seashells left over – much to small to hand to a nine-month-old who puts everything in her mouth. I knew immediately that I could make her a baby-safe version of big brother’s boat by sealing her shells inside an ocean sensory bottle!

My original intention was to use a bottle for the craft, but the small toy fish I included were too large to fit through the opening. Small Tupperware containers worked in a pinch, and probably were easier for her to handle anyway.

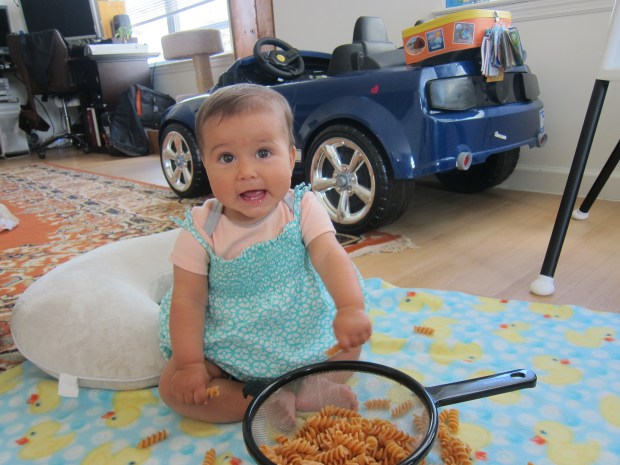
Whatever container you use, fill it about 2/3 full with water. Add small seashells and plastic fish to make an “ocean.”

Ocean Sensory (1)

As Veronika watched, I tinted the water blue with food coloring. This is a magical change for a baby to watch, so make sure he or she doesn’t miss it!

Ocean Sensory (2)

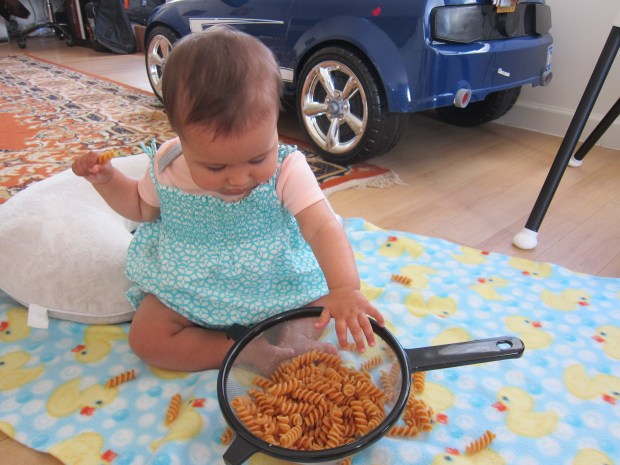
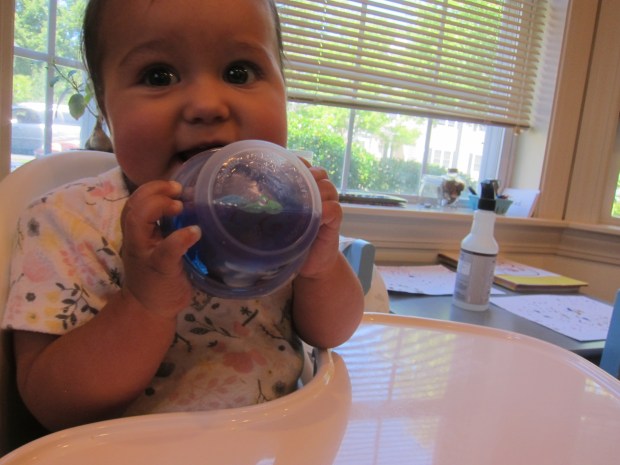
Secure the lid on the bottle or container tightly, and hand over the “ocean”. Veronika loved shaking this and seeing the fish swim.

Ocean Sensory (4)

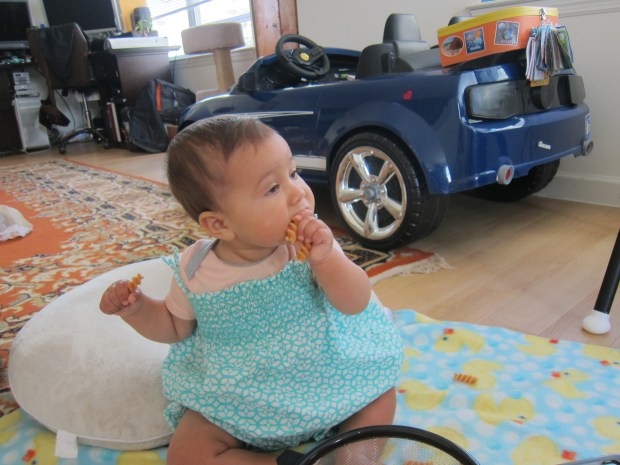
As well as tasting it of course.

Ocean Sensory (3)

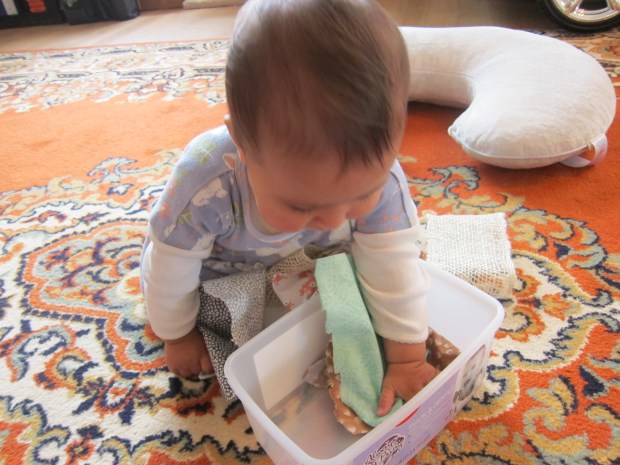
Or turning it upside down.

Ocean Sensory (5)

The taller bottle (with just shells) was a fun way to show her “waves”; I tilted it back and forth and she could watch the shells move about and then settle.

Ocean Sensory (7)

In sum, a fun ocean sensory experience even on a summer day when we can’t get to the beach!

Update: I later added little pieces of tinfoil (twisted to look a bit like “fish”) to the bottle.

Ocean Bottle alt.JPG

She loved watching them swim around.

Ocean Sensory (9)

Make a Sensations Rug

Sensations Rug (6).JPG

This project is great tactile way for your eight-month-old to explore different textures with his or her hands or with the full body, if crawling. I made the project with quite a few hacks, since I’m no seamstress. If you’re skilled with a needle and thread, you’ll want to sew various fabrics onto a larger piece of fabric and present that more elegant version to your baby.

But this mama wields a hot glue gun! I used a pliable piece of craft foam as the backing and firmly hot-glued down: reflective paper, burlap, fluffy fabric, smooth cotton, two corks, an old sock, and a second piece of bumpy craft foam.

Sensations Rug (1)

Veronika couldn’t wait to get her hands all over this! She dug little fingers into the soft and fluffy fabric, and ran fingers over the scratchy burlap.

Sensations Rug (2)

She pulled insistently at the bumpy corks…

Sensations Rug (3)

…and otherwise just had a ball.

Sensations Rug (5)

The reflective material definitely caught her attention.

Sensations Rug (4)

I then put the “rug” down on the floor alongside another tactile blanket that we own, featuring tassels and a nubby fabric. My hope was that this expanded surface might encourage her to crawl across both (note: she’s thisclose to crawling), but she preferred to lie on her tummy and let her fingers get busy.

Sensations Rug (8)

There was flicking, rubbing, and pure enjoyment of all the different elements.

Sensations Rug (9)

In sum, this is a cute riff on board books that feature textured pages, and has a charming homemade quality that you and your baby will love.

“Cooking” with Flour

Cooking with Flour (10).JPG

Many parents I know resist flour play, saying it’s either too messy or too much of a hassle. But I love this sensory material for babies. First, it’s edible, so no worries if little fingers make it up to little mouths. Second, as long as you cover your surface, clean-up is a breeze. Set down an old shower curtain or plastic table cloth for this one, and you’ll be able to contain the mess.

I stripped Veronika down to just a onesie (go all the way to the diaper for even easier clean-up!), and gave her a few measuring spoons and cups. She was having fun already, and wondering about this interesting bag.

Cooking with Flour (1)

I sprinkled a little pile of flour in front of her. In went the hands right away!

Cooking with Flour (2)

There are so many ways to play with flour and your baby. Demonstrate how to make squiggles in it.

Cooking with Flour (7)

Use the spoons and cups to scoop and pour.

Cooking with Flour (8)

Sprinkle a little light dusting of flour over toes and hands for a tickly sensation.

Cooking with Flour (3)

And just get good and messy!

Cooking with Flour (4)

She loved wiggling her legs through the flour until her thighs were completely coated!

Cooking with Flour (9)

Basically she just had a blast, which gave me time to get a few other things done in the kitchen.

Cooking with Flour (6)

When we were done, I just plopped her right in the bath!

Cooking with Flour (5)

Mango Popsicles

Mango Popsicle (5).JPG

Popsicles aren’t just for big kids on hot days! Try this easy recipe for your baby or toddler so he or she can share in the icy cool fun, too.

Peel and chop 1 mango, and transfer to a blender. Puree until smooth.

Mango Popsicle (1)

Add the juice from 1/2 a lemon and stir to combine. Pour the mango mixture into cups. Small dixie cups would have been ideal but since I only had larger paper cups, I poured in just a small amount to each one. Add a popsicle stick to each cup and freeze until firm.

Mango Popsicle (2)

At first I thought this might be easier to enjoy on the floor with wax paper underneath Veronika to contain the mess. But it turns out the wax paper itself was a distraction!

Mango Popsicle (3).JPG

Up to the high chair we went! From here, watching Veronika figure out the popsicle was a delight. First she just wanted to feel it.

Mango Popsicle (7).JPG

The cold mango received alternating expressions of surprise, nervousness, and amusement.

When she finally figured out how to get the mango up to her lips, her look was pure delight!

Mango Popsicle (6).JPG

Truth be told, she didn’t actually eat much of this, but food is really still practice for Veronika. She did get to enjoy fantastic sensory play, banging the popsicle on her tray, sliding it around, occasionally getting a sweet taste, and smiling up a storm.

Mango Popsicle (8).JPG

Indoor Sandbox Edible Sensory Bin

Edible Sandbox (3)

As a follow up to her first edible sensory tray, today I put together this easy indoor edible sandbox for Veronika… complete with snacks sprinkled in!

Fill a shallow bin with oats, and scatter in a few teething biscuits or toddler cookies (Veronika loves the organic Letter of the Day cookies from Earth’s Best).

Edible Sandbox (1)

Add a few cups or scoops and the bin is ready to go!

Edible Sandbox (2)

Veronika immediately got her hands in, and when she found the first cookie, her look was one of pure delight. Yum!

Edible Sandbox (8)

She kept digging through and loved scattering the oats around.

Edible Sandbox (6)

And she was intrigued when I showed her how she could scoop the mixture into the cups and shake them around, or pour them out.

Edible Sandbox (4)

Big brother wanted in on the action, too!

Edible Sandbox (9)

I loved watching the two of them have fun with this one together.

Edible Sandbox (10)

And because the oats are dry, this sensory bin is remarkably easy to clean up! Have a blanket underneath your baby that you can simply shake into the trash, and anything left behind will sweep up in a pinch.

Edible Sandbox (7)

Rainbow Breadcrumb Edible Sensory Tray

Rainbow Breadcrumb (9)

Aside from a simple bowl of cooked pasta, this was Veronika’s first sensory tray, and the first that I truly prepared for her. At this age, edible sensory trays are best, especially when you have a baby like Veronika who puts everything in the mouth.

The prep for this was so fun. Divide a loaf of bread into equal portions – as many portions as you want colors. You can make a full rainbow, but I stuck with the primary colors: red, yellow, and blue.

Rainbow Breadcrumb (1)

Place 1/3 of the bread in a food processor and process until you have coarse crumbs. Stir 2 to 3 drops of natural food coloring into 2 tablespoons non-dairy milk. Add to the food processor and pulse until the crumbs are coated.

Rainbow Breadcrumb (2)

Transfer to a plastic bag and let dry out. Repeat for your remaining colors.

Rainbow Breadcrumb (3)

Once the bread had mostly dried, I arranged it on a baking tray for Veronika, and sat her down on a blanket; we were prepared for a mess!

Rainbow Breadcrumb (4)

She knew what to do instantly.

Rainbow Breadcrumb (5)

Little hands pulled up big fistfuls of the crumbs.

Rainbow Breadcrumb (6)

They went right to her mouth, which was precisely the point, so I didn’t have to worry one bit.

Rainbow Breadcrumb (7)

I showed her how to run her hands through so that the colors mixed.

Rainbow Breadcrumb (10)

But mostly she was content to reach in, squish the mixture in her hands, have a nibble, and begin again. This one will keep your baby entertained for ages!

Rainbow Breadcrumb (8)

Jell-o Sensory Activity

Jello Sensory (5).JPG
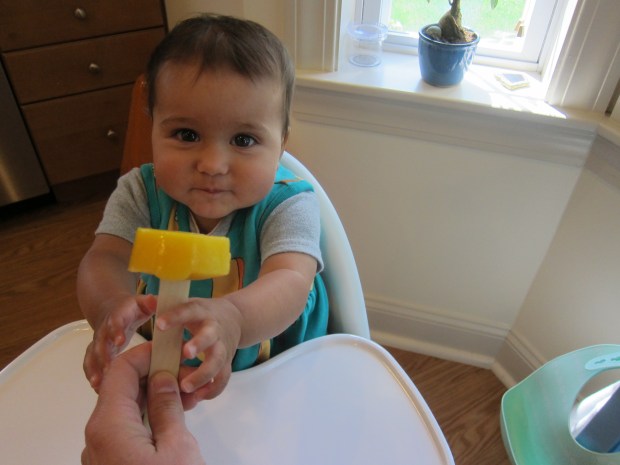
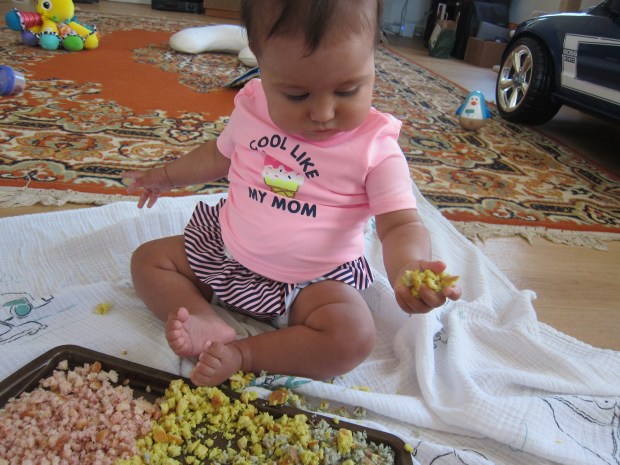
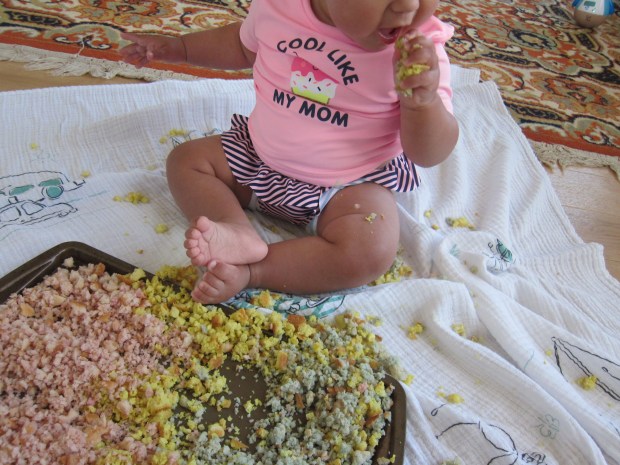
This twist on jell-o play will be a delight for any baby around 7 months old! Not only are babies at this age making their first forays into finger-feeding themselves, but any activities involving texture are a hit. Add a prize to dig for and an edible medium, and you pretty much have the prefect game.

First I made jell-o with our favorite vegan brand, Simply Delish’s jel desserts. Big brother Travis picked the flavor – strawberry!

Pour the jell-o over soft toys in Tupperware containers (make sure all are large enough not to pose a choking hazard).

Jello Sensory (1)

I thought large containers would be easier, but the toys popped up to the surface! Instead, it was easier to “trap” them in small containers.

Jello Sensory (2)

You can also wait for the dessert to set slightly, then push the toy down inside.

I presented Veronika with the Tupperware and the task to dig up the toy treasure. Of course at first she was just fascinated with the container and lid!

Jello Sensory (3)

Then she became aware of the items buried inside. Little fingers began digging. Once the toys were out, it was straight to her mouth. Yum, it tastes like strawberry!

Jello Sensory (6)

Now she wanted more of what was in the bowl. After feeling around…

Jello Sensory (7)

…the dessert plopped out into her lap.

Jello Sensory (8)

I rescued her from this and now it was fun to squish around on the tray. Soon she had big fistfuls going right up to her lips.

Jello Sensory (10)

Basically this was messy and perfect fun.

Pasta Play

Pasta Play (4)

Looking for the perfect sensory game for your baby? Look no further than cooked pasta from your pantry! As soon as your baby can pick up food and chew, you can safely play this texture game.

I cooked a batch of rotini pasta, figuring the swirls and ridges would make for the most exciting texture. Let cool completely, then set out a bowl or strainer of the pasta for your little one. It helps to have a blanket underneath – this game is about to get messy!

Pasta Play (1)

Veronika got her hands right in there.

Pasta Play (5)

First we simply talked about texture. I used words like soft, squishy, and cool to describe the noodles that she pulled up by the handful.

Pasta Play (3)

Picking up individual pieces is great for developing her pincher grip.

Pasta Play (6)

She also loved scattering them about on the blanket.

Pasta Play (8)

And of course a few made their way up to her mouth!

Pasta Play (7)

In sum, this is simple fun, as cheap as it comes and perfect for kicking off a summer of play!

Fabric + Wipes Container

Fabric Scraps (10).JPG

Veronika and I have played with fabric before as a texture sensory activity. Today, we played with fabric again but it was less about texture and more about the fun of putting in and pulling out!

An empty diaper wipe container is the ideal container for this game. It’s deep, but small enough for little hands. And the pop-up lid is perfect! In fact, before we introduced fabric into the game, Veronika just wanted to check out the box and pop the lid open and closed!

Fabric Scraps (1)

Next, I filled it with a variety of fabric scraps from our craft bin. I had some eye-catching patterns like bright green and little foxes, which provided visual stimulation.

Fabric Scraps (2)

A loosely-woven burlap and a few silky scarves provided textural variety. Old washcloths would work well, too!

Fabric Scraps (4)

Fill up the container and simply let your little one pull out the scraps.

Fabric Scraps (5)

What fun!

Fabric Scraps (6)

Then I made it more challenging, putting on the lid so she could pull the scraps up through the opening.

Fabric Scraps (7)

This was a little tough for her fingers at seven months old, but this is the kind of game we’ll revisit; it will be toddler heaven!

When she tired of the fabric, she went back to the box.

Fabric Scraps (8)

Playing with it lasted the whole time I made dinner – the perfect way to self entertain!

Fabric Scraps (9)

Introduce Books with Texture and Noise

Books with Texture (2)

Veronika already has a few books in her library that feature texture and noise, but I gifted her with a few new ones because she can approach them in a different way these days: reading solo! Interactive touch and sound will keep a seven-month-old happily entertained, even if you’re busy getting things done around the house, or on the go.

But first we read them together, of course. She loved the bright pictures and her fingers immediately went for textural elements, like soft fur or shiny metal.

Books with Texture (1)

I pressed each sound button, which got a look of wonder from her each time, and described what she was hearing and seeing.

Books with Texture (4)

Pretty soon, she was flipping through the pages and narrating this book to herself – a sight that makes my heart stop every time!

Books with Texture (8)

I also bought a smaller book that’s perfect for car rides or stroller rides. The soft pages fit in her hands perfectly.

Books with Texture (5)

Some pages rattle and some crinkle.

Books with Texture (6)

The first time through, I described these sounds, and the textures she could feel like the soft fluffy cover. She will happily “read” this one to herself for ages.

Books with Texture (7)

What interactive books does your baby like? Please share in the comments!

Books with Texture (3)