Beach Memento Wind Chime

Beach Wind Chime (4).JPG

If your summer plans take you to the beach, bring a bit of the beach home with you with this neat project!

The first step of course is finding your treasures, so the next time you head to the beach, bring a shovel and pail; take a walk in the sand to comb through for the prettiest finds. We only found small pieces of shell at this particular beach, but they were a gorgeous assortment of colors – purples and whites and even gold!

Beach Wind Chime (1)

At home, find a sturdy stick and use twine to wind around your treasures, and then knot onto the stick. Travis loved “helping” with the winding and knotting.

Beach Wind Chime (2)

Once we had our treasures dangling in a row, we hung them outside where they could click and clack against each other.

Beach Wind Chime (3)

A super windy day made this project even better!

Beach Wind Chime (5)

Mint Lemonade

Mint Lemonade (4)

Just in time for the hot days of summer, we received this homemade lemonade recipe from Koala Crate!

To start, have your child squeeze one lemon half into a cup.

Mint Lemonade (1)

Add 2 tablespoons powdered sugar, and let your little sous-chef stir until the sugar is dissolved.

Mint Lemonade (2)

Now it’s time to add fresh mint – and fresh is the key word here! If you have your own herb garden, so much the better. Our next best option was a mint plant from the grocery store; Travis loved selecting three leaves before adding them to his cup and muddling.

Mint Lemonade (3)

Adults: Fill the cup the rest of the way with water (about 5 ounces) and stir.

Mint Lemonade (5)

Add a straw and enjoy summer in a glass!

Mint Lemonade (6)

Sponge Balls

Sponge Ball (1)

If it’s hot and the kids need a novel way to get wet, look no further than this update on a classic water balloon fight.

Place three different colored sponges in a stack, and cut each sponge into three strips – you’ll end up with three piles that look like a rainbow layer cake. Secure each pile with a rubber band in the middle, and fan out the sponges slightly – now you have sponge balls!

Sponge Ball (2)

Grab a bucket filled with water and go wild.

Sponge Ball (6)

See who can throw their sponge ball the furthest, have fun dipping them into the bucket and squeezing the water out…. or get each other wet with a gentle game of sponge ball tag!

Sponge Ball (3)

Perfect on a hot summer day!

Whatta Melon Smoothie

Whatta Melon Smoothie

Credit for this fun recipe goes to Family Fun magazine. I recommend purchasing a whole watermelon since you will need to cube and freeze 2 cups worth for the recipe – that way your child will have a visual of the green rind, black seeds, and pink flesh.

Ingredients:

  • 2 kiwi fruit, cubed and frozen
  • 1/2 banana, frozen
  • Handful of fresh spinach
  • 1 and 1/2 cups vanilla coconut milk, divided
  • 2 tablespoons agave nectar, divided
  • 2 cups frozen cubed watermelon
  • 1 cup frozen strawberries
  • Mini non-dairy chocolate chips (such as Enjoy Life)
  1. In a blender, combine the kiwi, banana, spinach, 1/2 cup milk, and 1 tablespoon agave; process until smooth and green – the more spinach you use, the greener it will be! Pour into the bottom of smoothie glasses.
  2. Rinse out the blender and add the watermelon, strawberries, remaining 1 and 1/2 cups milk, and remaining tablespoon agave. Process until smooth.
  3. Spoon the watermelon layer over the green layer – ideally the two won’t mix, but we still got a layered, slightly mixed-up effect.
  4. Top with chocolate chips for the seeds!


Clay Flower Pots

Clay Pots (6)

This project couldn’t be simpler, but kids will love playing with the clay and watching their decorations take shape! A great summer craft, especially if you’re teaching your little ones about gardening.

Use any small terracotta pot as the base. I ended up wishing that I had several on hand, because Travis covered his first with clay designs so quickly; consider picking up a few at a craft store ahead of time!

Clay Pots (1)

For the clay, we used Model Magic – it’s easy to work with, mess free, and will air-dry in a few days.

Clay Pots (3)

Travis loved just smooshing on big designs, but older kids can be more deliberate in their art, creating flowers or mini clay gardens. I added a few details as examples.

One cool result of Travis smooshing all the clay onto the pots was a swirled, marbled effect.

Clay Pots (4)

These pots would make a great summer gift for anyone who loves to garden!

Ocean Sensory Tray

Ocean Tray (4)

What do you do on a summer day when you plan to go to the ocean, but the weather doesn’t cooperate? Bring the ocean to you of course!

Arguably the best part of this game for Travis was dyeing the water blue, so food coloring is a must. I set up a bin of water in the bathroom, and he loved dumping in the blue color, swirling it around until we had ocean water.

Ocean Tray (1)

Now it was time to add all our ocean toys!

If you have shells from a recent excursion to the shore, be sure to add those as well. Since we didn’t have any, large pasta shells worked in a pinch!

Ocean Tray (2)

Travis loved putting all our sea treasures in and out of the bin several times.

Ocean Tray (5)

He also loved filling a baster up with the ocean water and creating ocean storms and waves.

Ocean Tray (3)

Overall, this was a nice diversion indoors – and you could certainly play it outside on a hot day, too!

Dip In!

Dip in (4)

Whether for an upcoming pool party, a summer BBQ, or any excuse at all, dive into summer with this easy dip for fresh veggies. The recipe (from our latest High Five magazine) was a great lesson on different herbs and spices for my little sous-chef!

Ahead of time, I chopped 2 tablespoons flat-leaf parsley. Travis was so excited to test the way it smelled and tasted!

DIp in (1)

Have your child add the parsley to a large bowl. Add 1/2 cup non-dairy sour cream and 3 tablespoons vegan mayonnaise (we like Earth Balance organic), whisking until smooth.

Dip in (2)

Travis was a very proud whisker.

Now have your child add 1 teaspoon dried chives, 1/4 teaspoon dried dill, 1/8 teaspoon salt, a dash of black pepper, and a dash of garlic powder. We loved smelling and talking about all the different spices as we worked!

Refrigerate for about 1 hour, then serve with cut veggies – Travis polished off a plate of cucumber sticks, carrot sticks (I steam them first), and cherry tomatoes.

Dip in (5)

Plastic Bag Kite

Plastic Bag Kite (2)

We are thankful that so far the only impact from Tropical Storm Hermine has been an increase in wind speed… Was surprised when we woke up to a lovely blue-sky day, even though the winds are starting to whirl. To get us outside before clouds or rain roll in, I decided it was the perfect day for a kite!

All you need for this fantastic craft is a plastic bag, scotch tape, plastic straws, and floss. I won’t walk you through it step-by-step, as I simply copied this easy-to-follow how-to video. The assembly of the kite is for adults, but your toddler will love watching, and the materials involved (straws, floss, tape) are sure to delight.

Plastic Bag Kite (1)

Kite in hand, Travis and I headed out to the courtyard, where the gusty breezes easily lifted the kite.

Plastic Bag Kite (4)

The wind was still gentle enough that Travis could take a turn holding the string!

Plastic Bag Kite (3)

Oh no, kite down!

Plastic Bag Kite (5)

Hard to take pictures while flying one-handed, but I managed a few good shots:

Plastic Bag Kite (6)

I never would have guessed a plastic bag could turn into something so whimsical.

Paper Bag Whale

Whale (5)

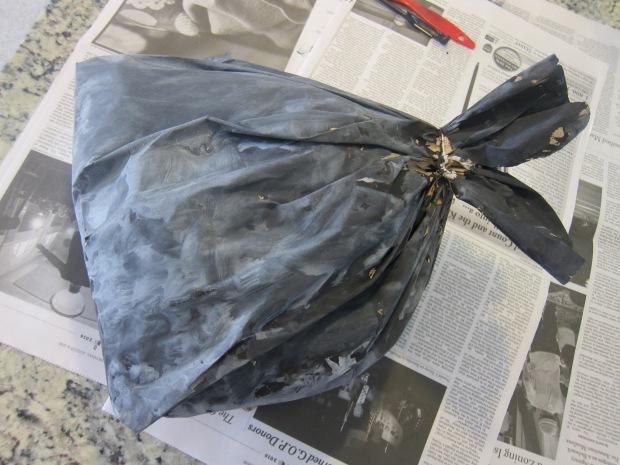
On the heels of our jellyfish, Travis and I wondered what other sea creatures we could make at home. Would it be possible to turn this plain brown bag into a … great big gray-blue humpback whale?

Whale (1)

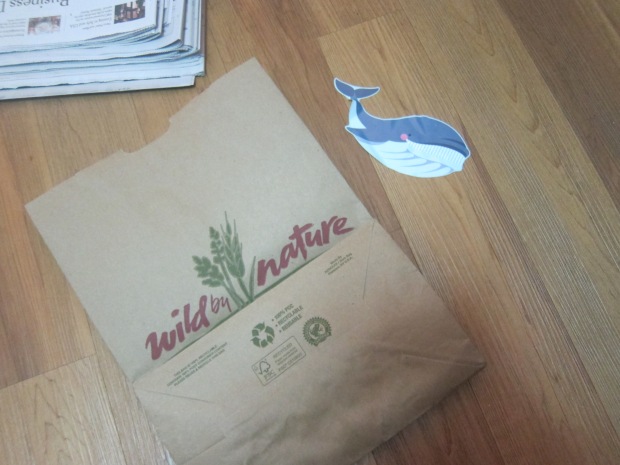
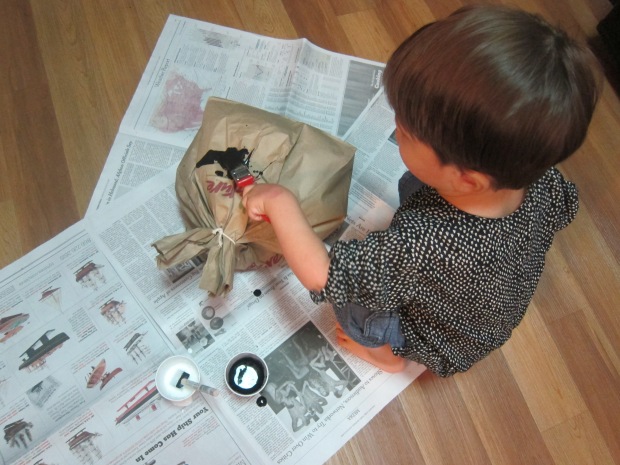
The first order of business was to stuff the bag with crumpled newspaper – a sure hit for any toddler. Leave a little room at the end of the bag so you can cinch it closed, tying it shut with string. Give the “tail” a slight rip so it looks even more like a whale’s tail.

Whale (2)

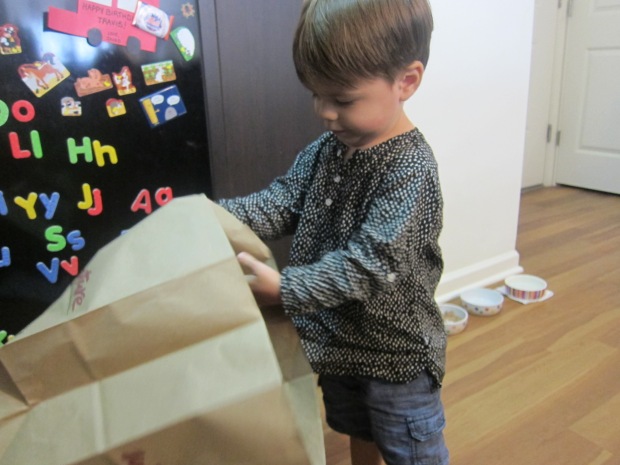
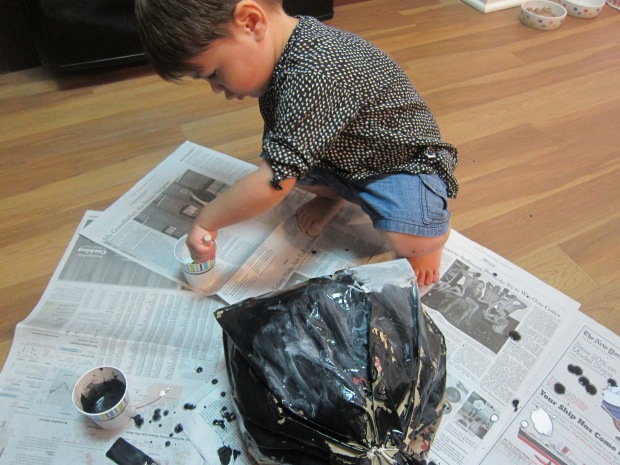
Travis didn’t quite understand what we were aiming at while stuffing the newspaper, thinking he was helping with the trash, but once I presented him with the closed bag and paint, he was so excited to discover we were making a whale. I set out one cup of white paint and one of black, and together we produced a wonderfully gray “humpback.”

Whale (3)

This was by far the largest surface Travis has ever had to cover with paint, and he loved every moment, especially seeing how the white and black interacted.

Whale (4)

I took us off to the park, knowing he’d be impatient for the whale to dry. Once we were home, Mr. Whale had quite a lot of swimming to around the apartment!

Whale (6)

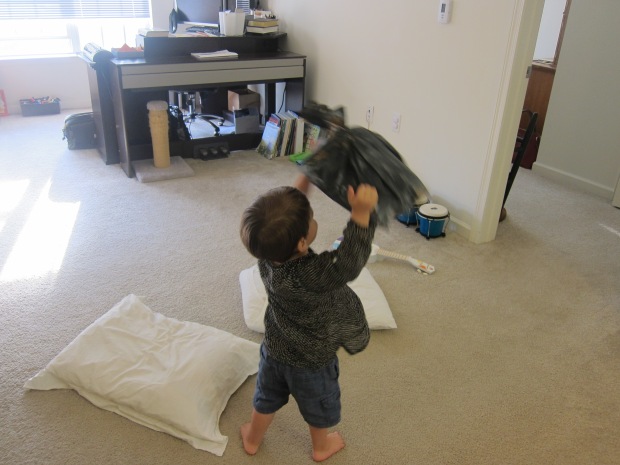
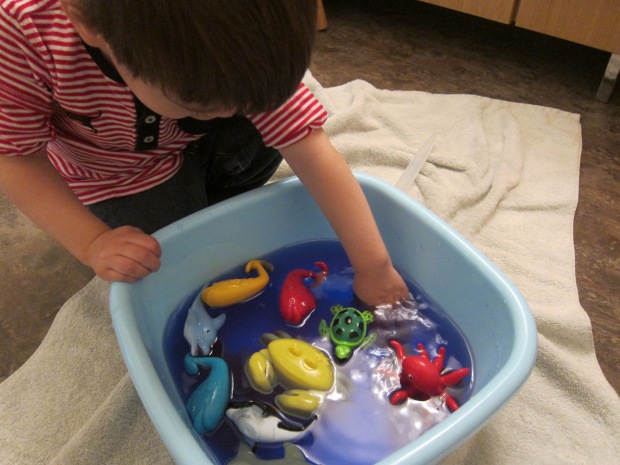
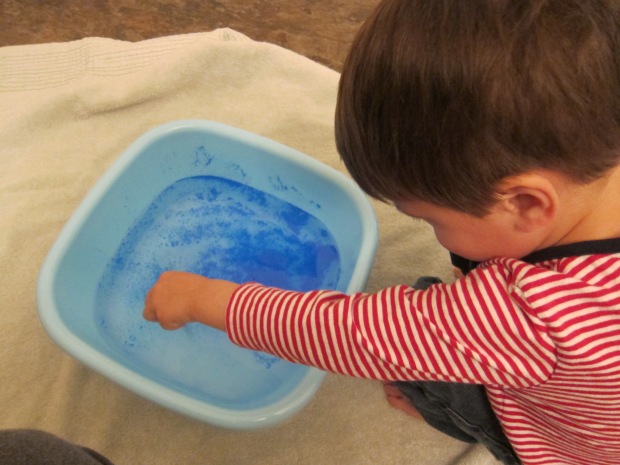
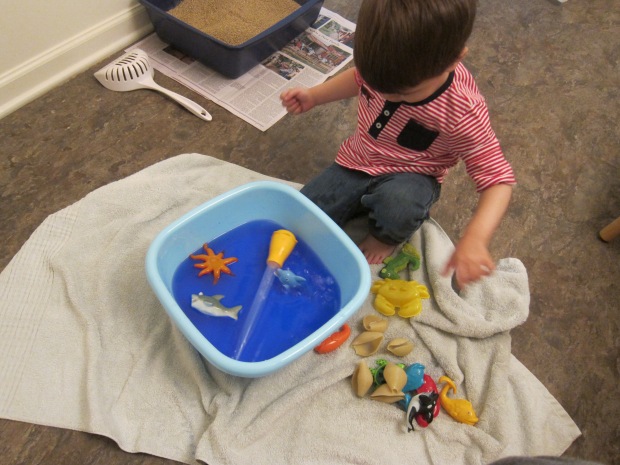
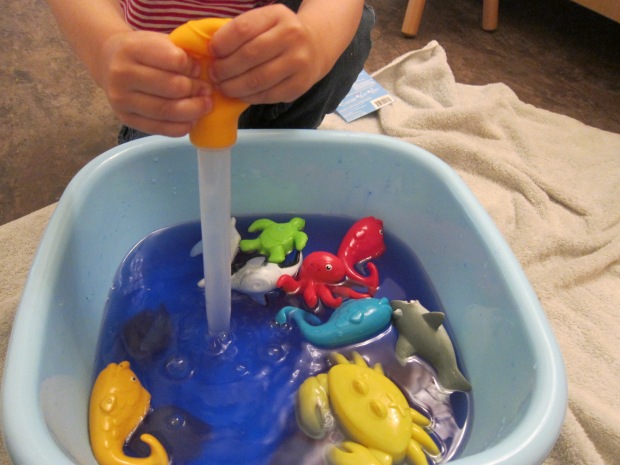
Between the whale and the jellyfish, we’ve certainly had a lot of sea creatures in the house! To continue the fun, I staged a “deep sea dive,” placing blue blankets across two stools as the ocean.

Deep Sea (1)

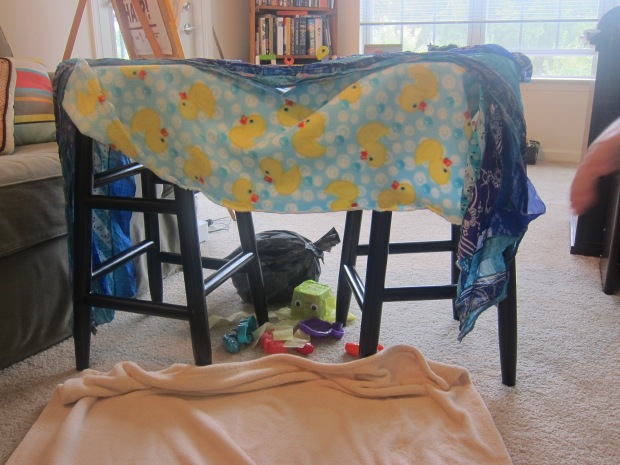
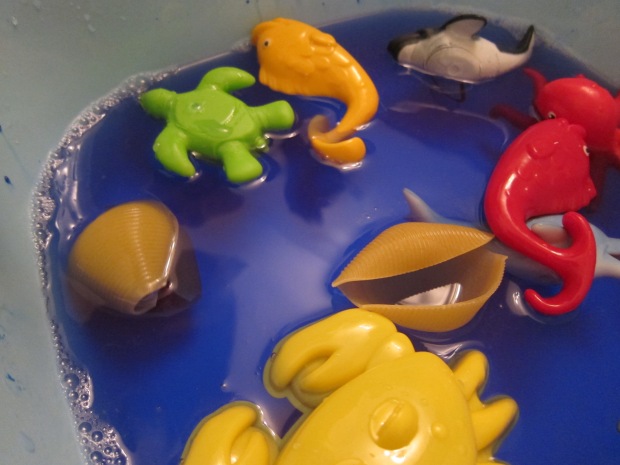
Underneath, I set up his various bath and beach toys in the shape of sea animals – and then Travis was the scuba diver, diving in to see what treasures he came up with! He was very proud to surface with a fish:

Deep Sea (2)

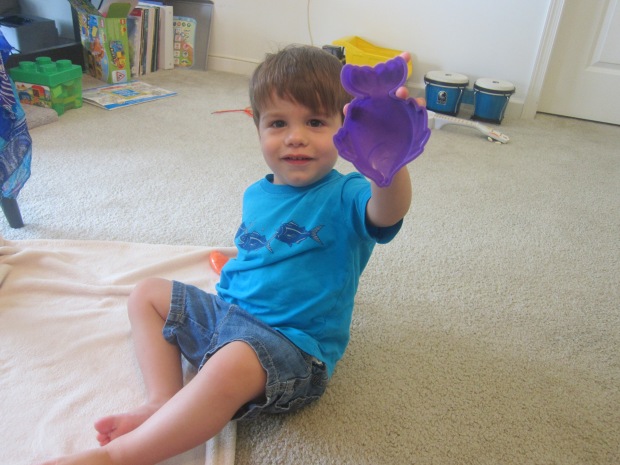
And, of course, whale. This makes for a great game on summer days when you can’t make it to the actual beach!

Deep Sea (3)

Grapes to Raisins

Grapes to Raisins (5)

Introduce the magic of chemistry with this easy at-home experiment. Does your toddler know that grapes can turn into… raisins?

When I presented this mystery to Travis and told him we needed heat in order to make them change, he immediately said, “We need an oven!” Chemistry 101, complete!

Grapes to Raisins (1)

Slice as many grapes as you like in half, keeping in mind that you’ll end up with a significantly reduced volume of raisins, then have your toddler helper assist you in sprinkling the grape halves evenly over a baking sheet.

Grapes to Raisins (2)

Or dumping them on:

Grapes to Raisins (3)

Place the grapes in the oven at 200 degrees F for 2 and 1/2 hours. Now we wait!

Grapes to Raisins (4)

To be honest, you can probably leave your grapes the oven in quite a bit longer (3 or 4 hours) for truly raisin-y raisins. Ours were a sublime mix that was half juicy grape, half condensed raisin, warm from the oven and very golden raisin-y in taste. Travis was thrilled with the result. The perfect dessert just before bed.

Grapes to Raisins (6)

If you’re even more ambitious, you can profit from the summer weather to make real sun-dried raisins. Place your grapes in a sunny spot for several days (yes, days!) covered with cheesecloth to prevent them from getting dirty. I hope to try this some day when we live in an area with less car traffic.