Gobble It Up: Thanksgiving Leftovers on a Waffle

Gobble Waffle (4)

Forget Thanksgiving leftovers on a sandwich; here are four breakfast ideas for leftovers on a waffle. Needless to say, this helped us clear out our fridge in the long weekend following the holiday.

The Classic: Start with the basics, using leftover Field Roast (or your favorite vegan turkey alternative), along with mashed potatoes and mushroom gravy. The kids loved this savory spin on breakfast!

Gobble Waffle (2)

Tart and Tasty: In a small bowl, combine 1/3 cup cranberry sauce and 1/4 cup maple syrup; microwave for 15 seconds, then whisk together until smooth. Serve drizzled over waffles topped with stuffing and chopped apple!

Gobble Waffle (1)

Pumpkin Paradise: For a super-sweet version, stir together 1 tablespoon sugar and 1/2 teaspoon cinnamon in a bowl; set aside. Top each waffle with a spoonful of canned pumpkin pie filling, a dollop of non-dairy whipped cream and some of the cinnamon-sugar to taste.

Gobble Waffle (3)

Gooey Gobbler: For the final morning, we topped waffles with leftover mashed sweet potatoes, mini marshmallows, and chopped walnuts.

Gobble Waffle (6)

Which one do your kids like best? Please share in the comments!

Six Thanksgiving Games

Thanksgiving Game (10)

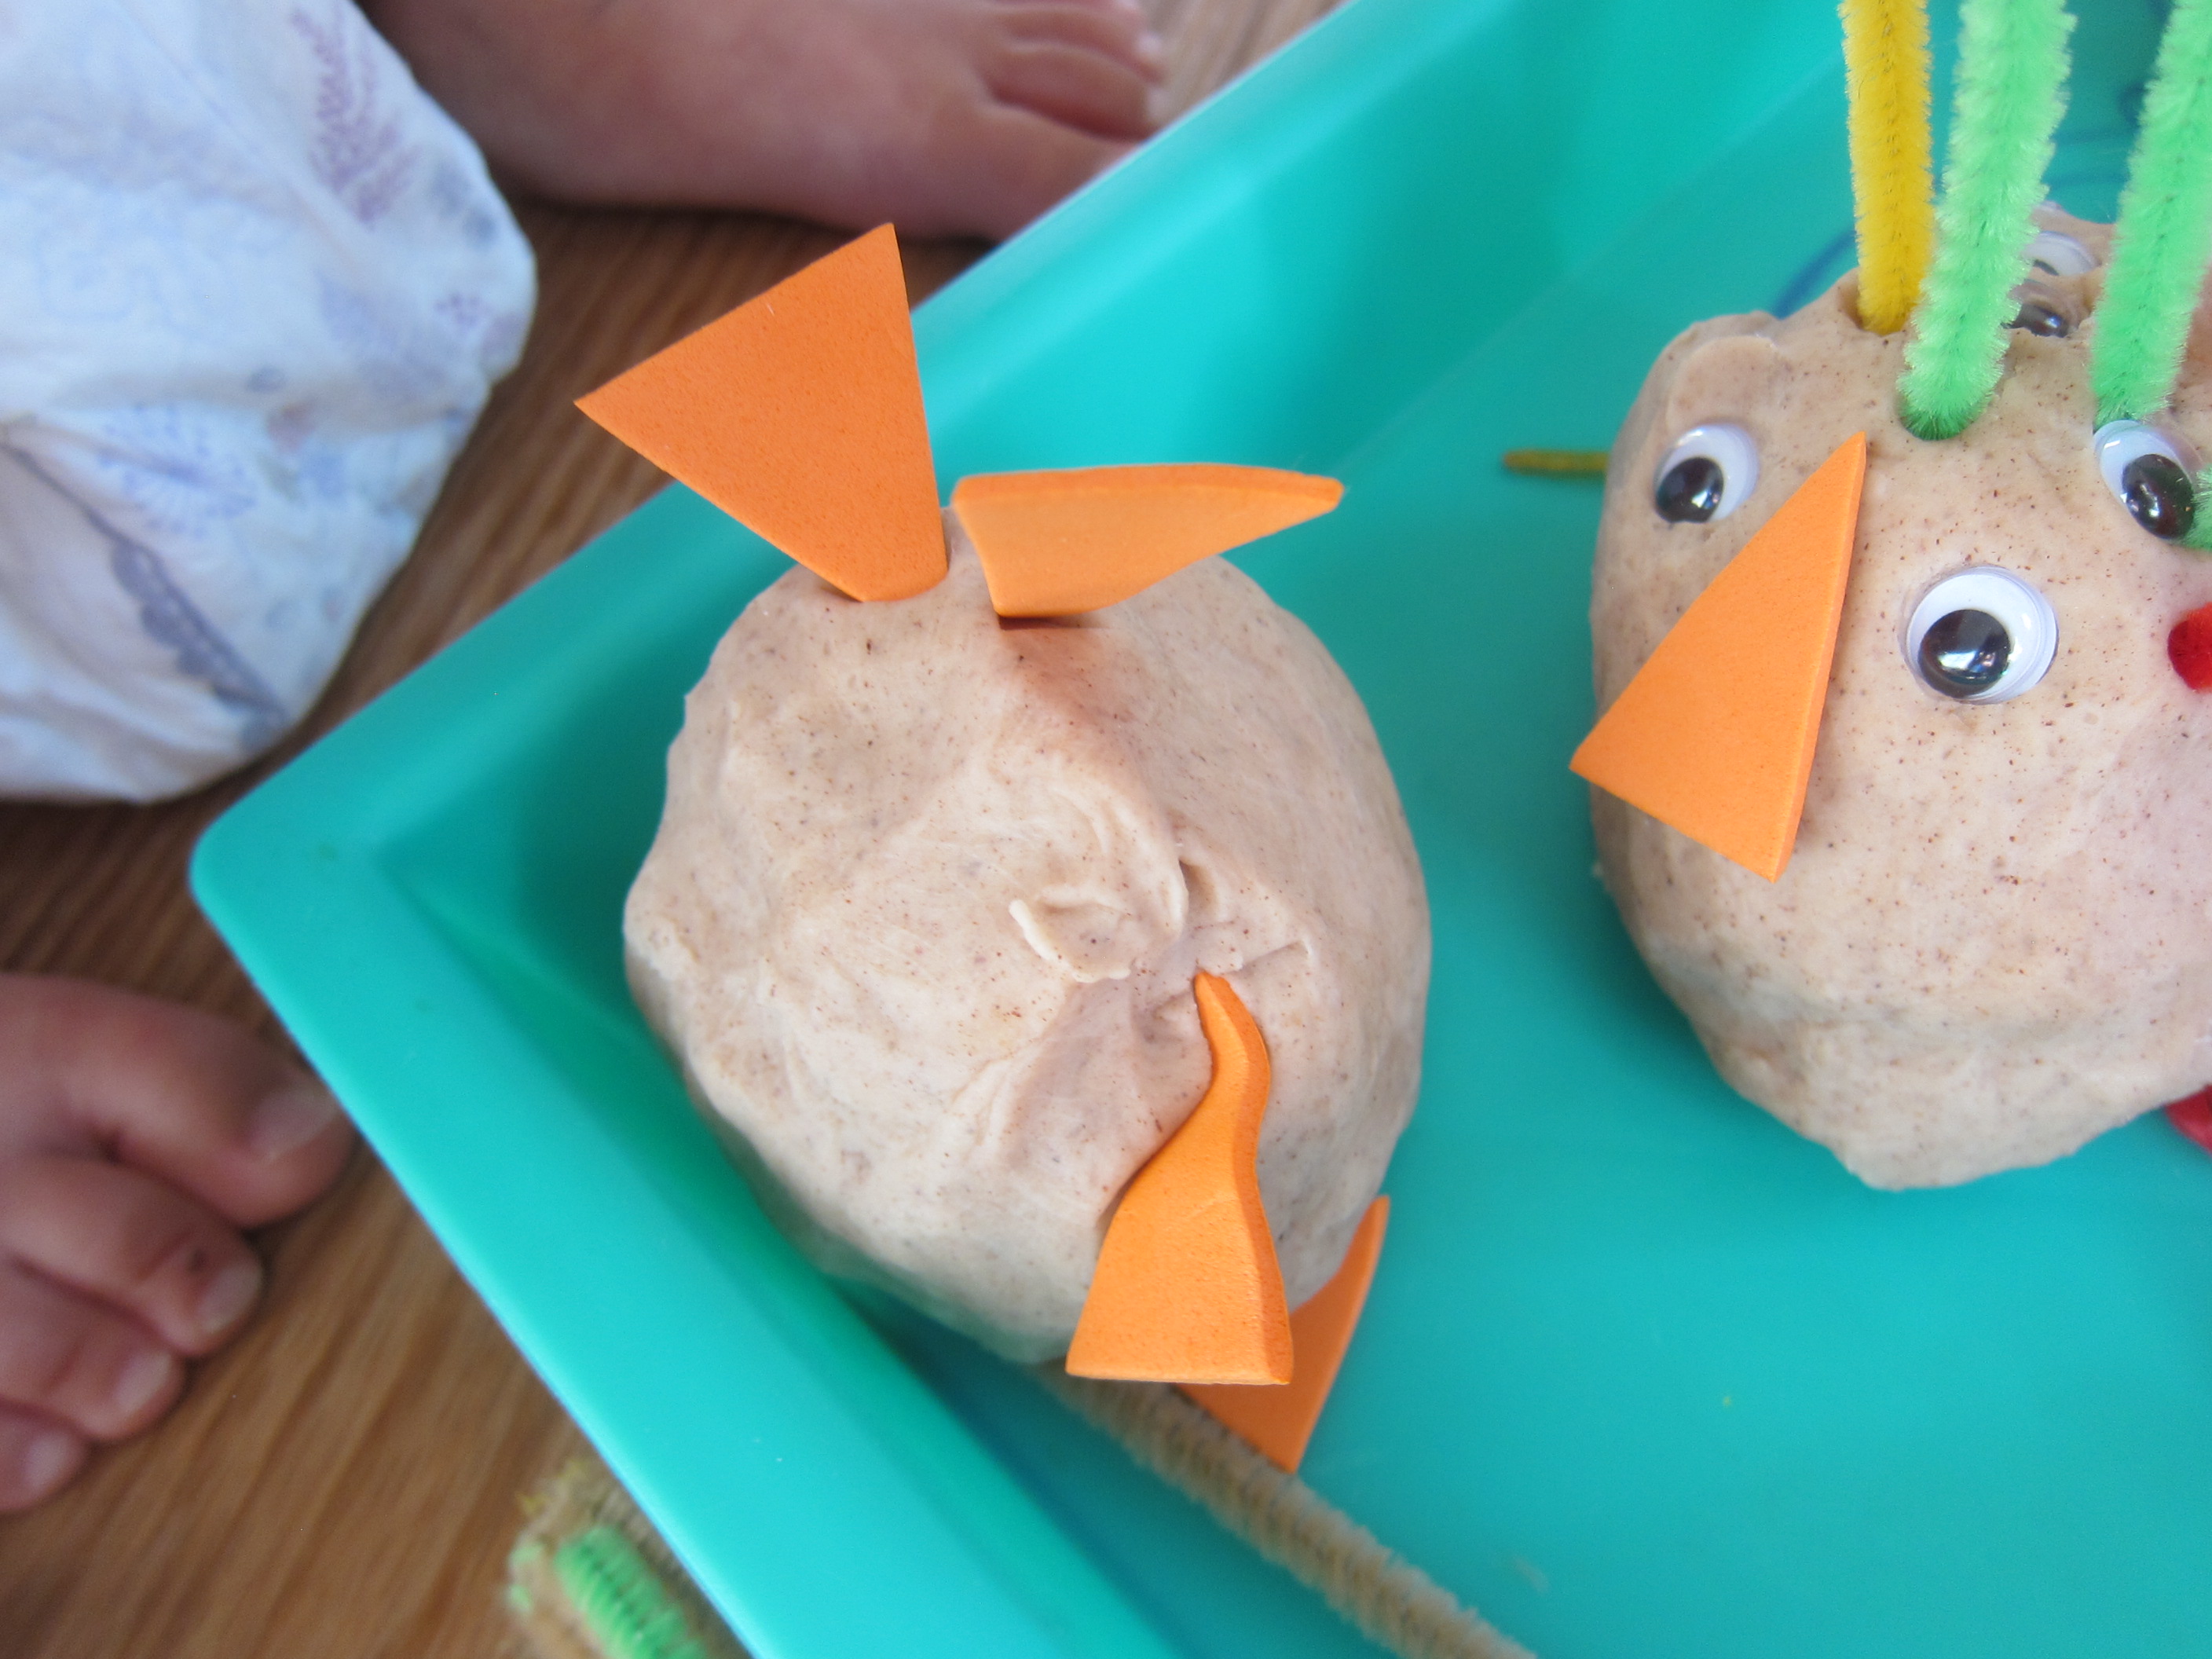
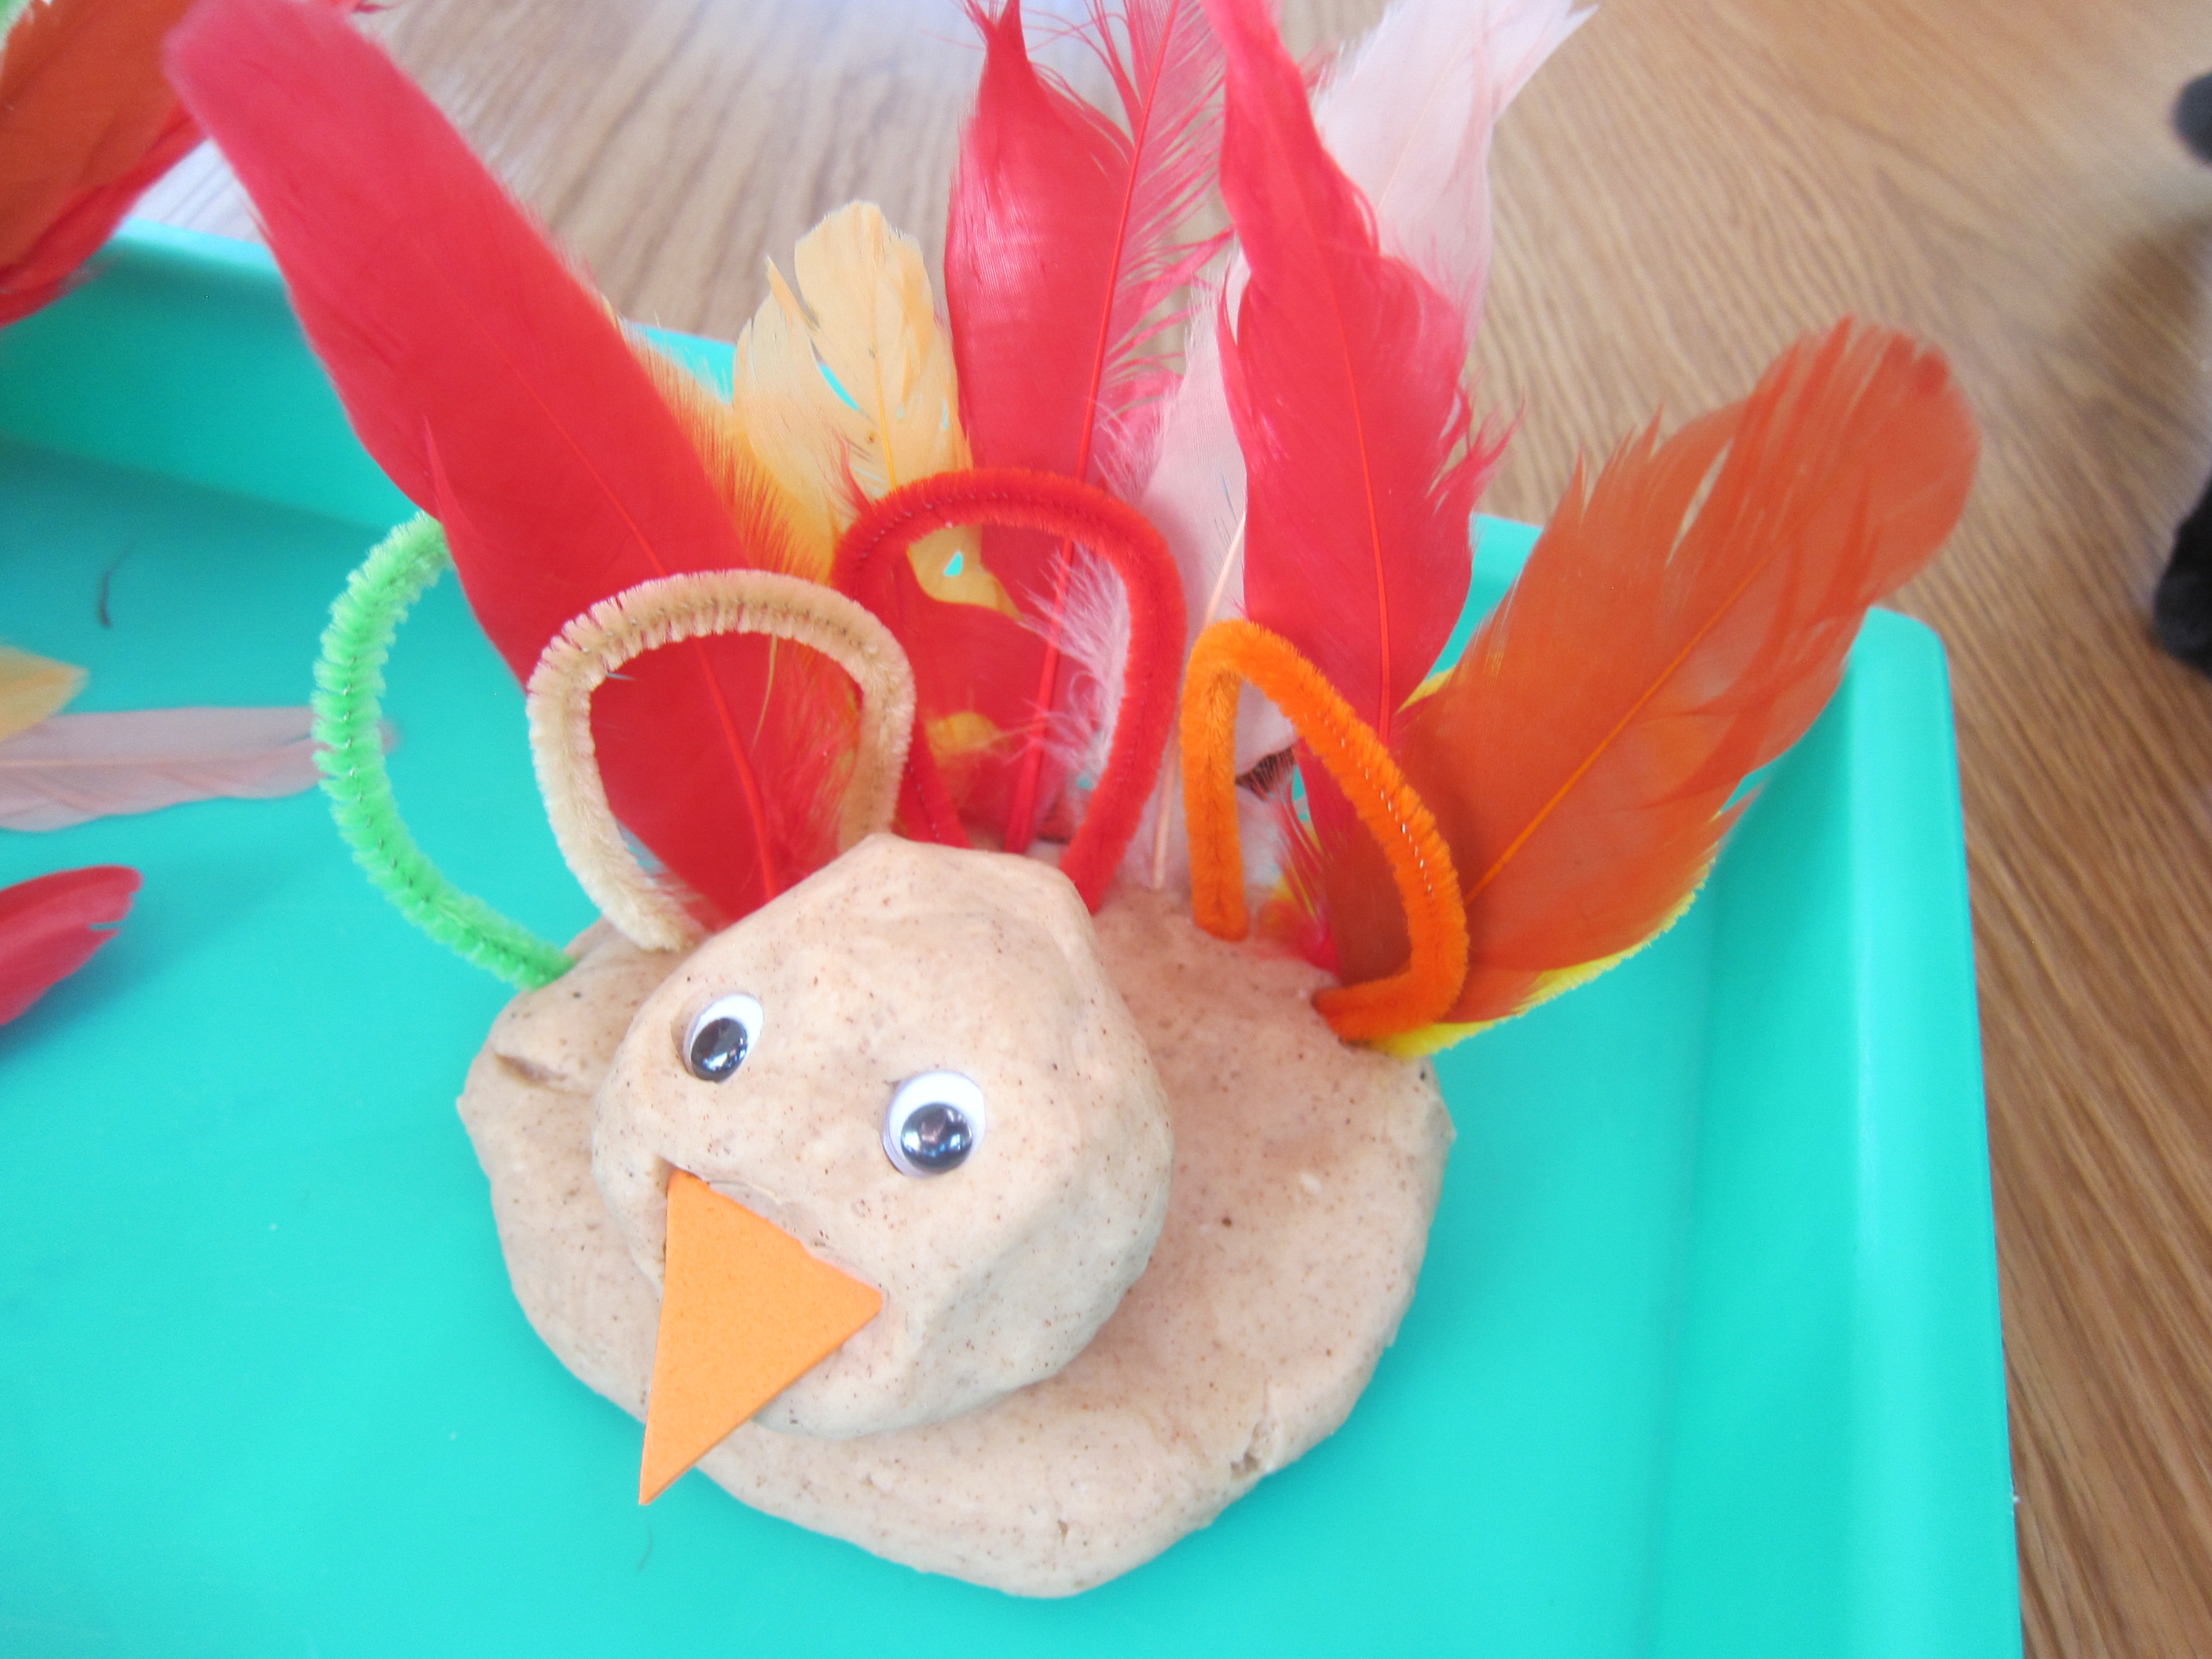
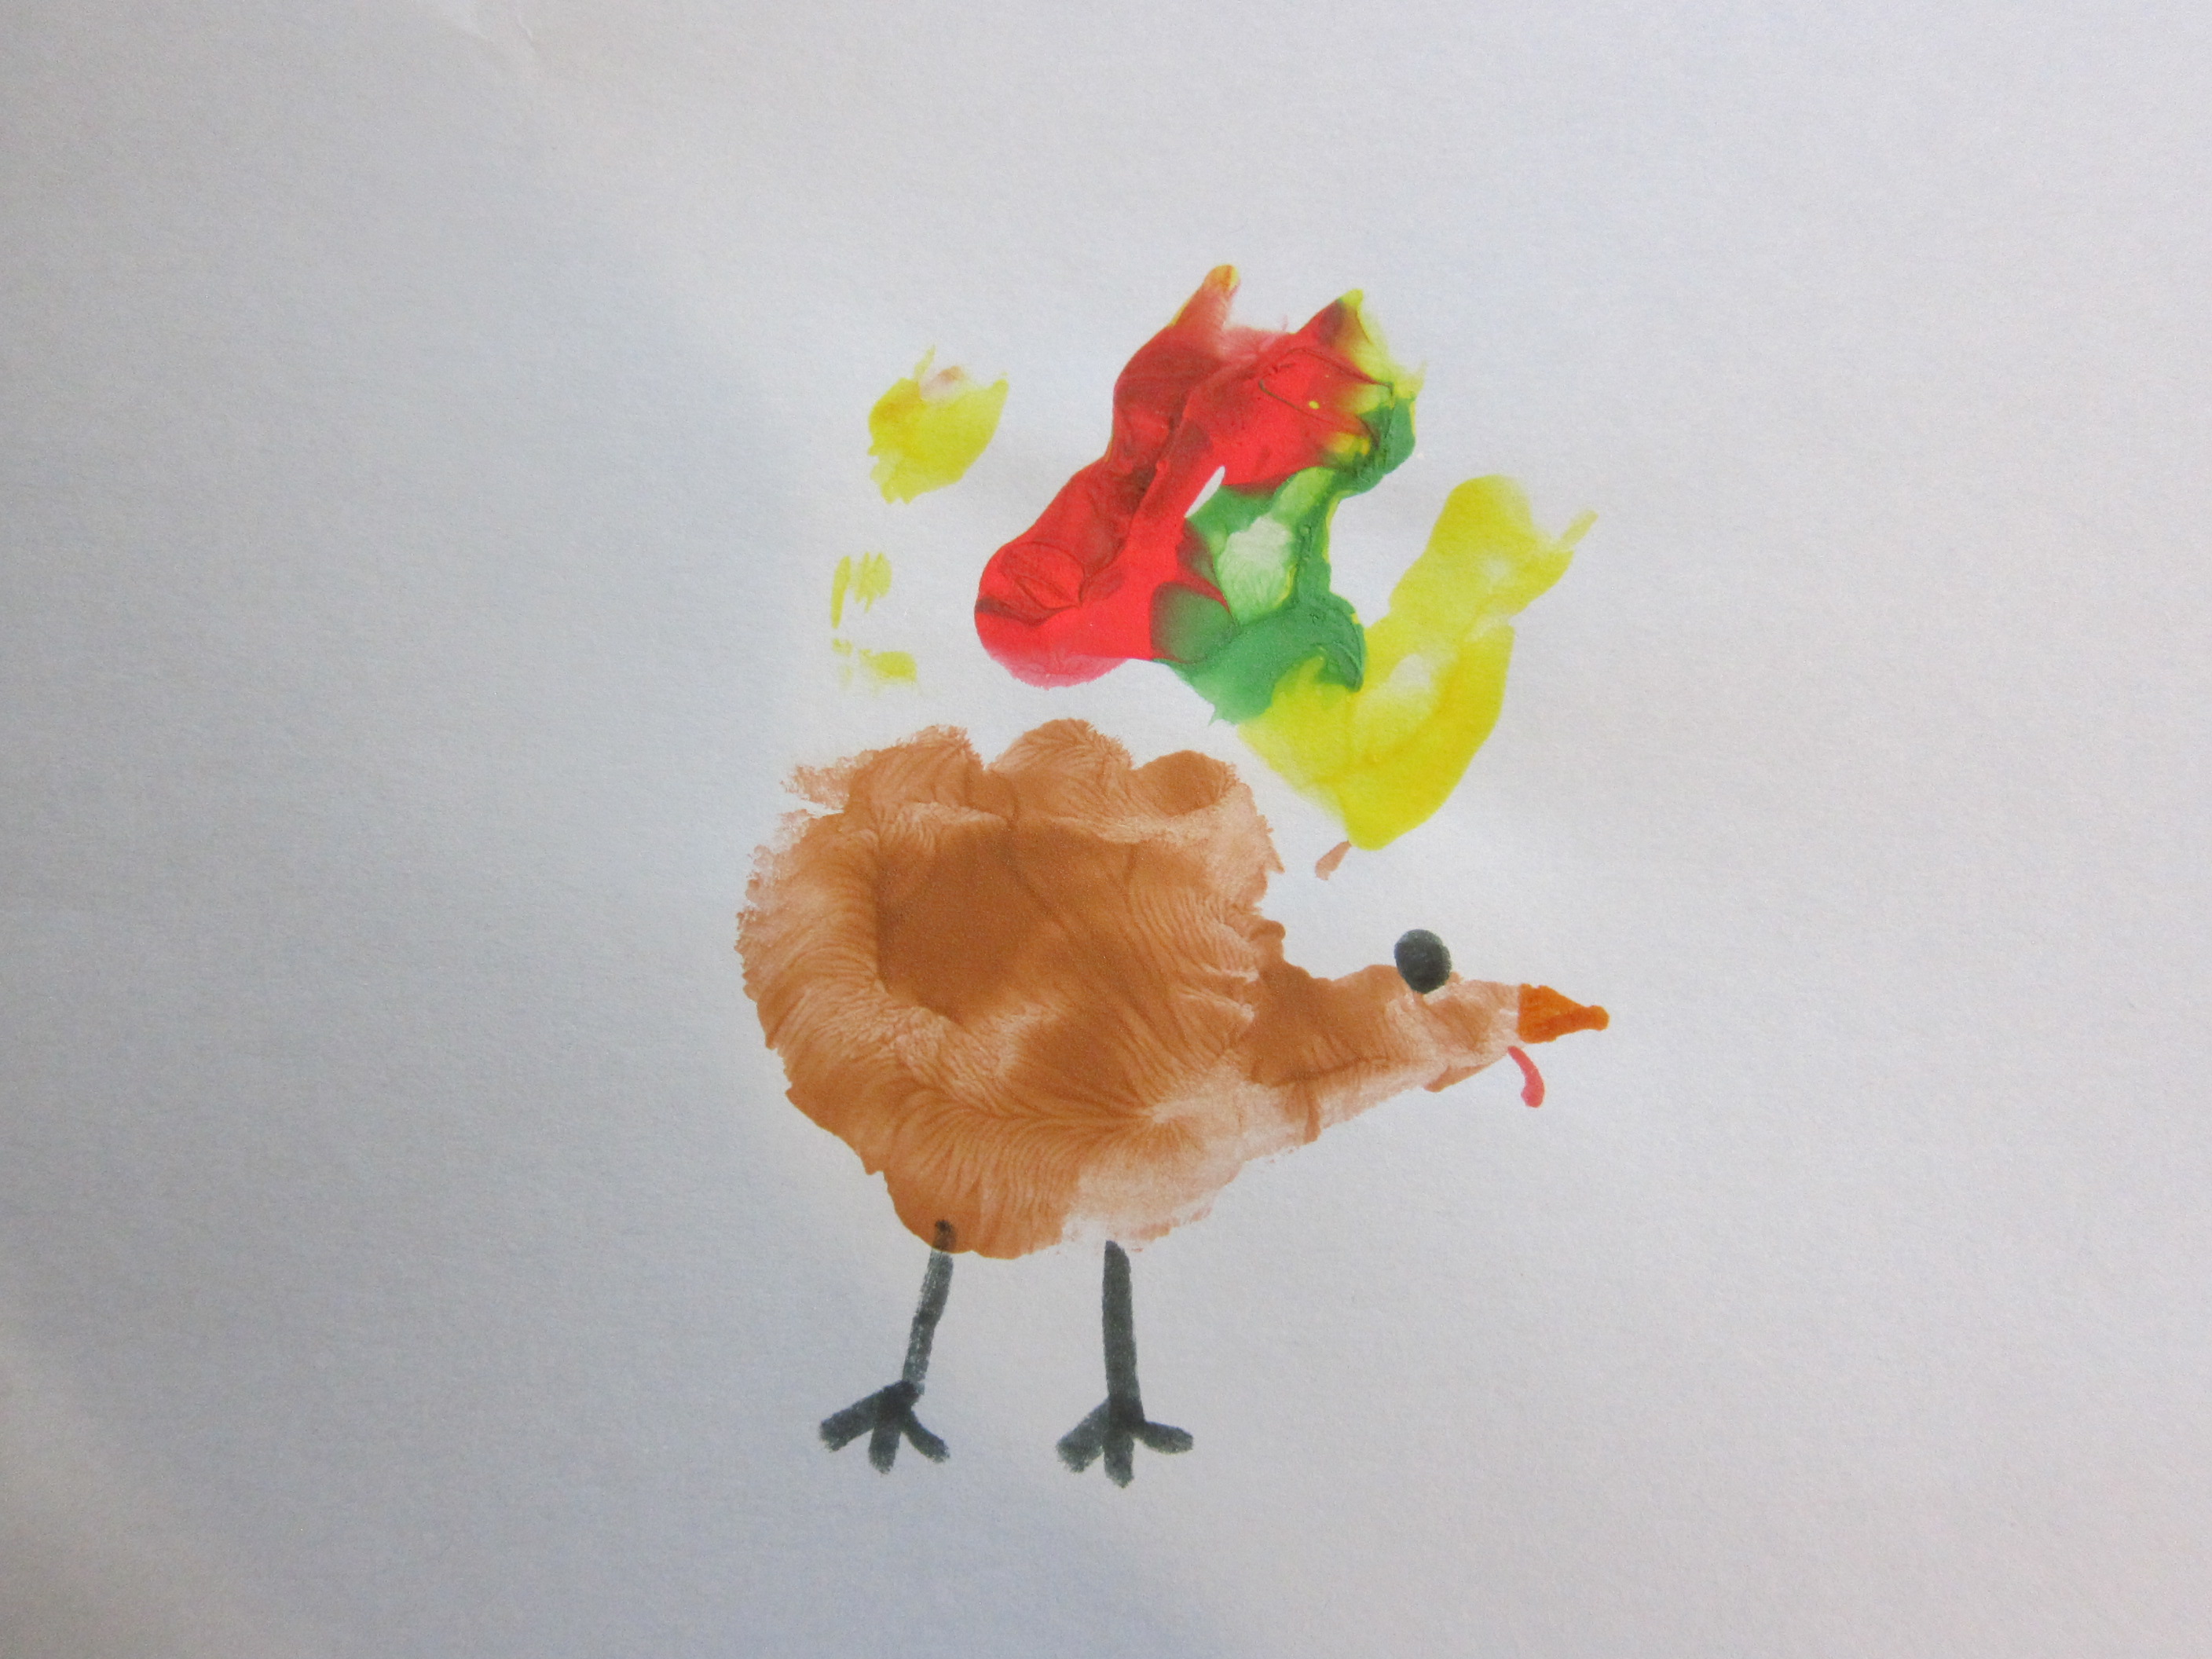
We’re celebrating Thanksgiving without extended family this year, and no doubt your family is, too. But don’t think little… Think big! To make the holiday special for the kids, I still wanted a big feast, special recipes, the parade on TV, and lots of silly or thought-provoking games. While recipes simmer in the kitchen, treat your kids to the following:

Turkey Feather Float:

For this first game, we took turns blowing a craft feather up in the air. The player than shouts out a Thanksgiving food (Sweet potatoes! Cornbread!) and then gives another huff to keep the feather afloat.

Thanksgiving Game (3)

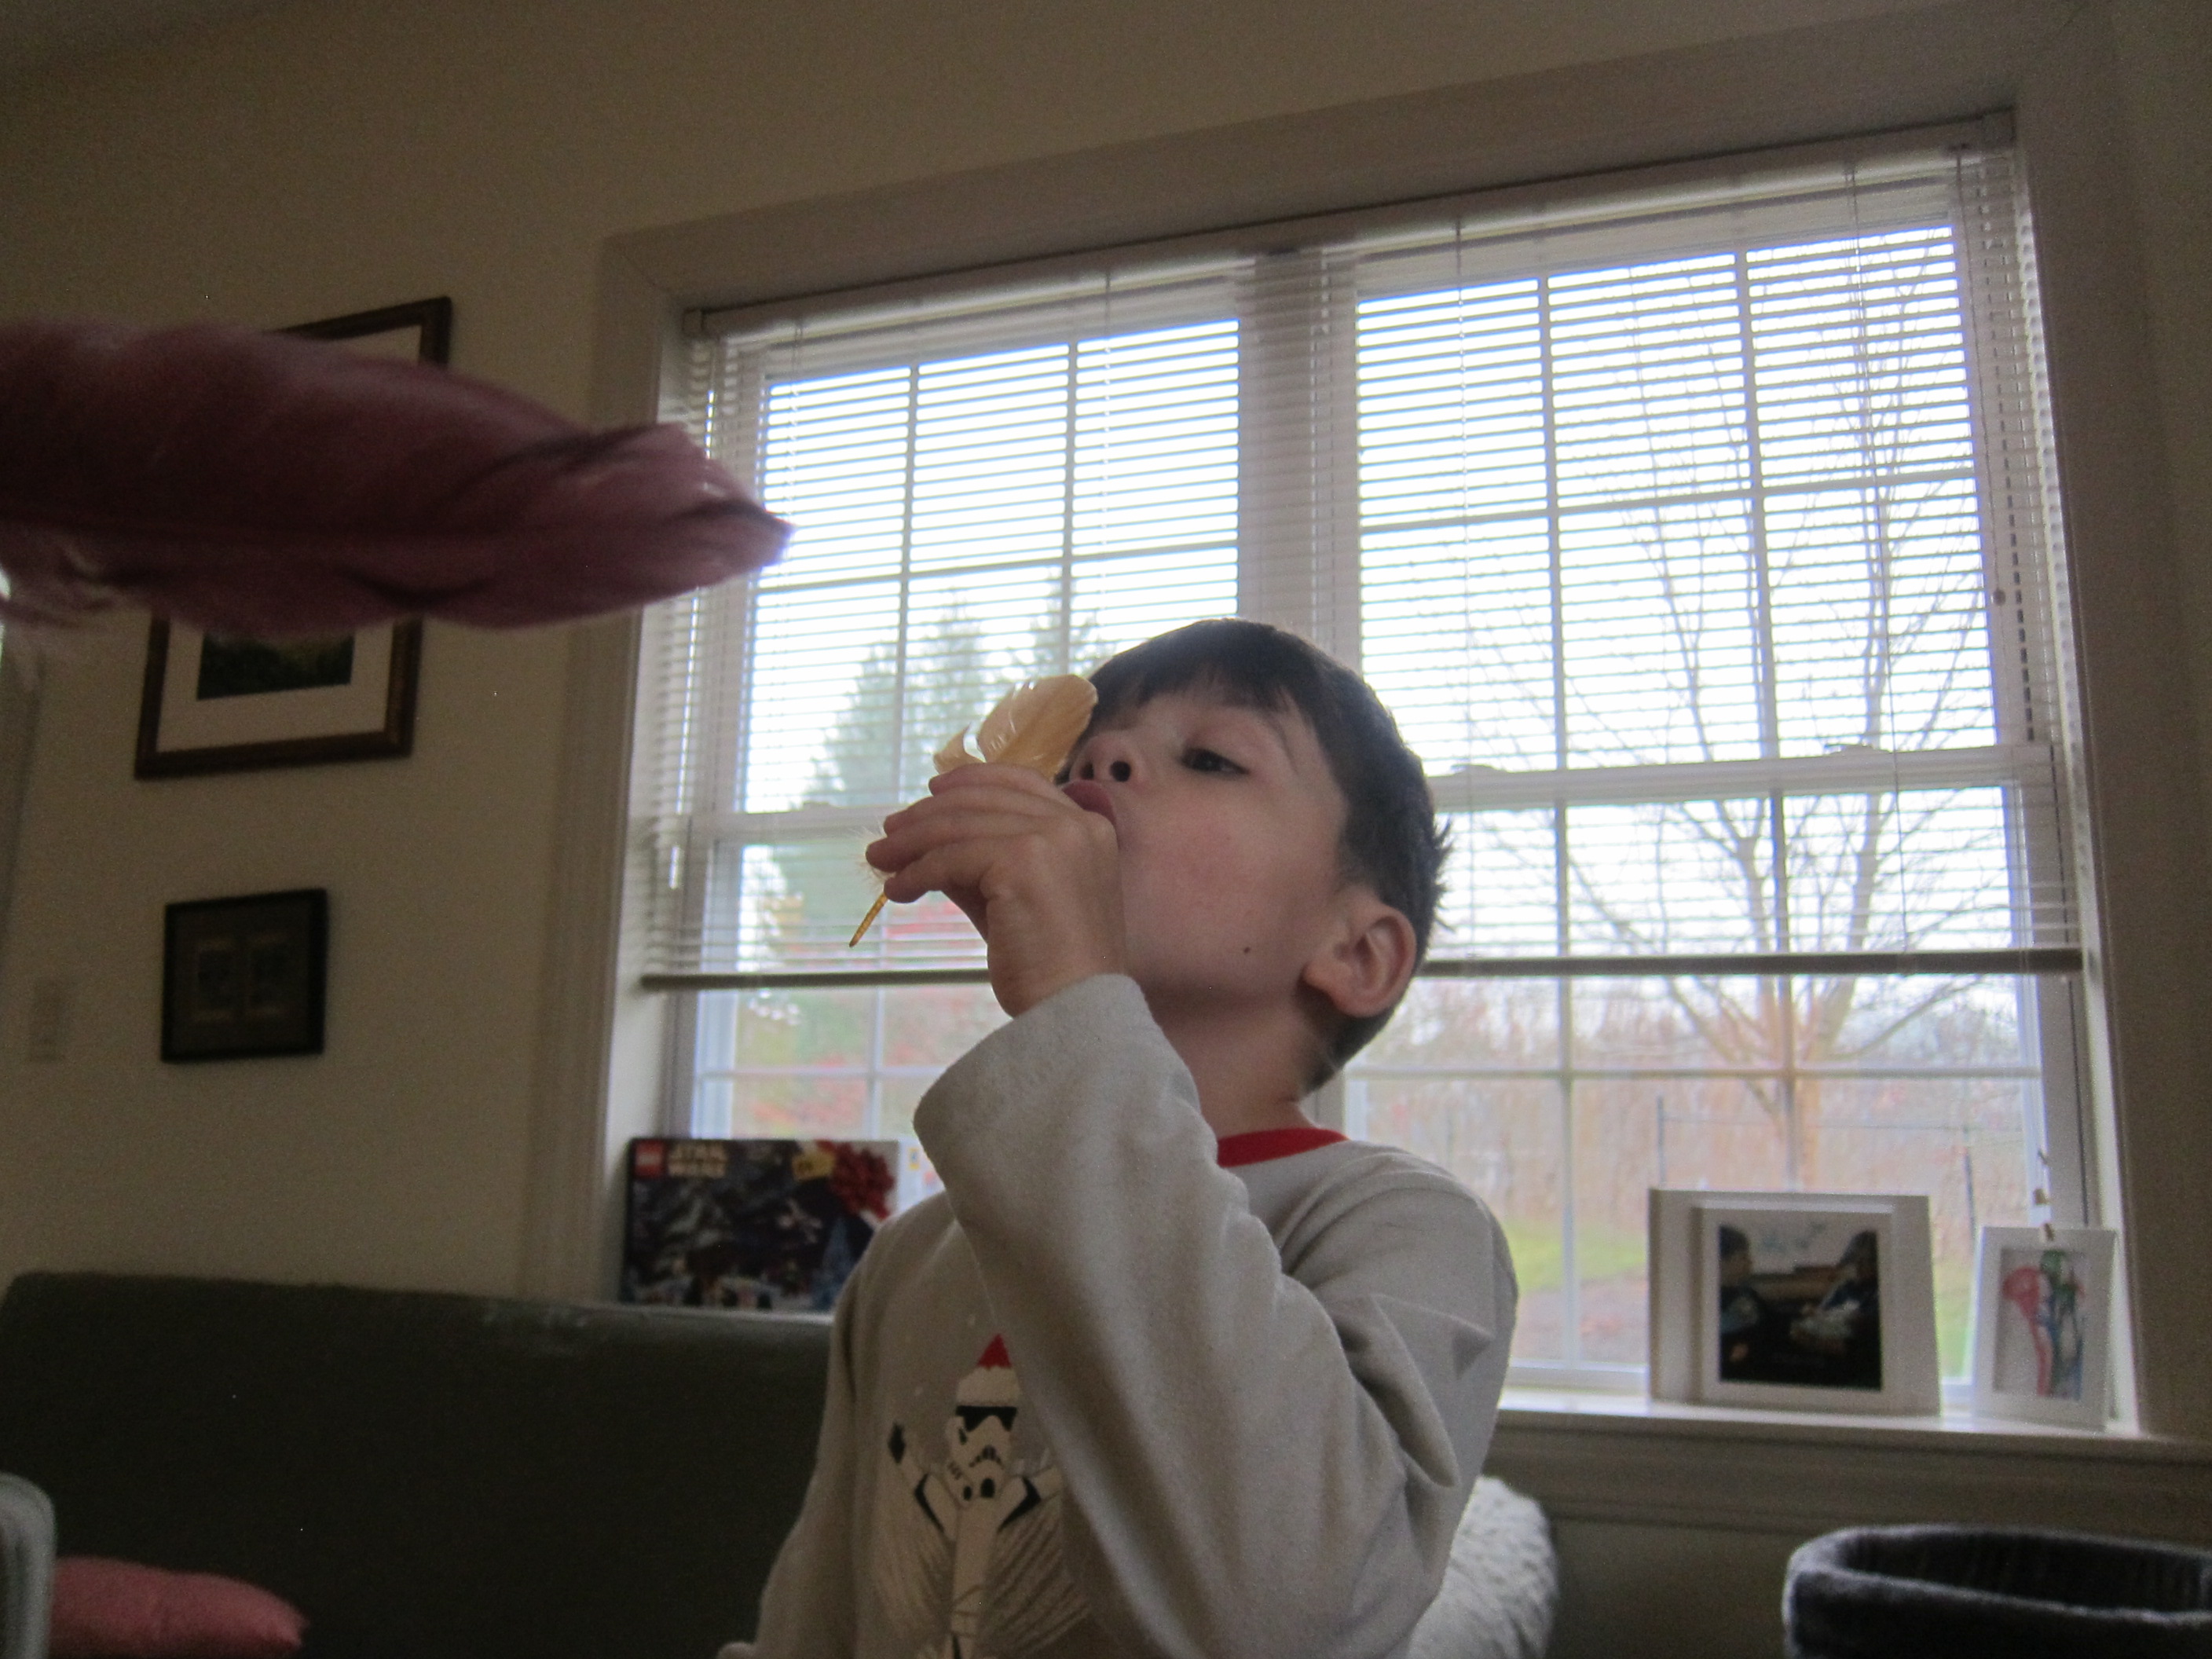
It’s a lot trickier than it sounds!
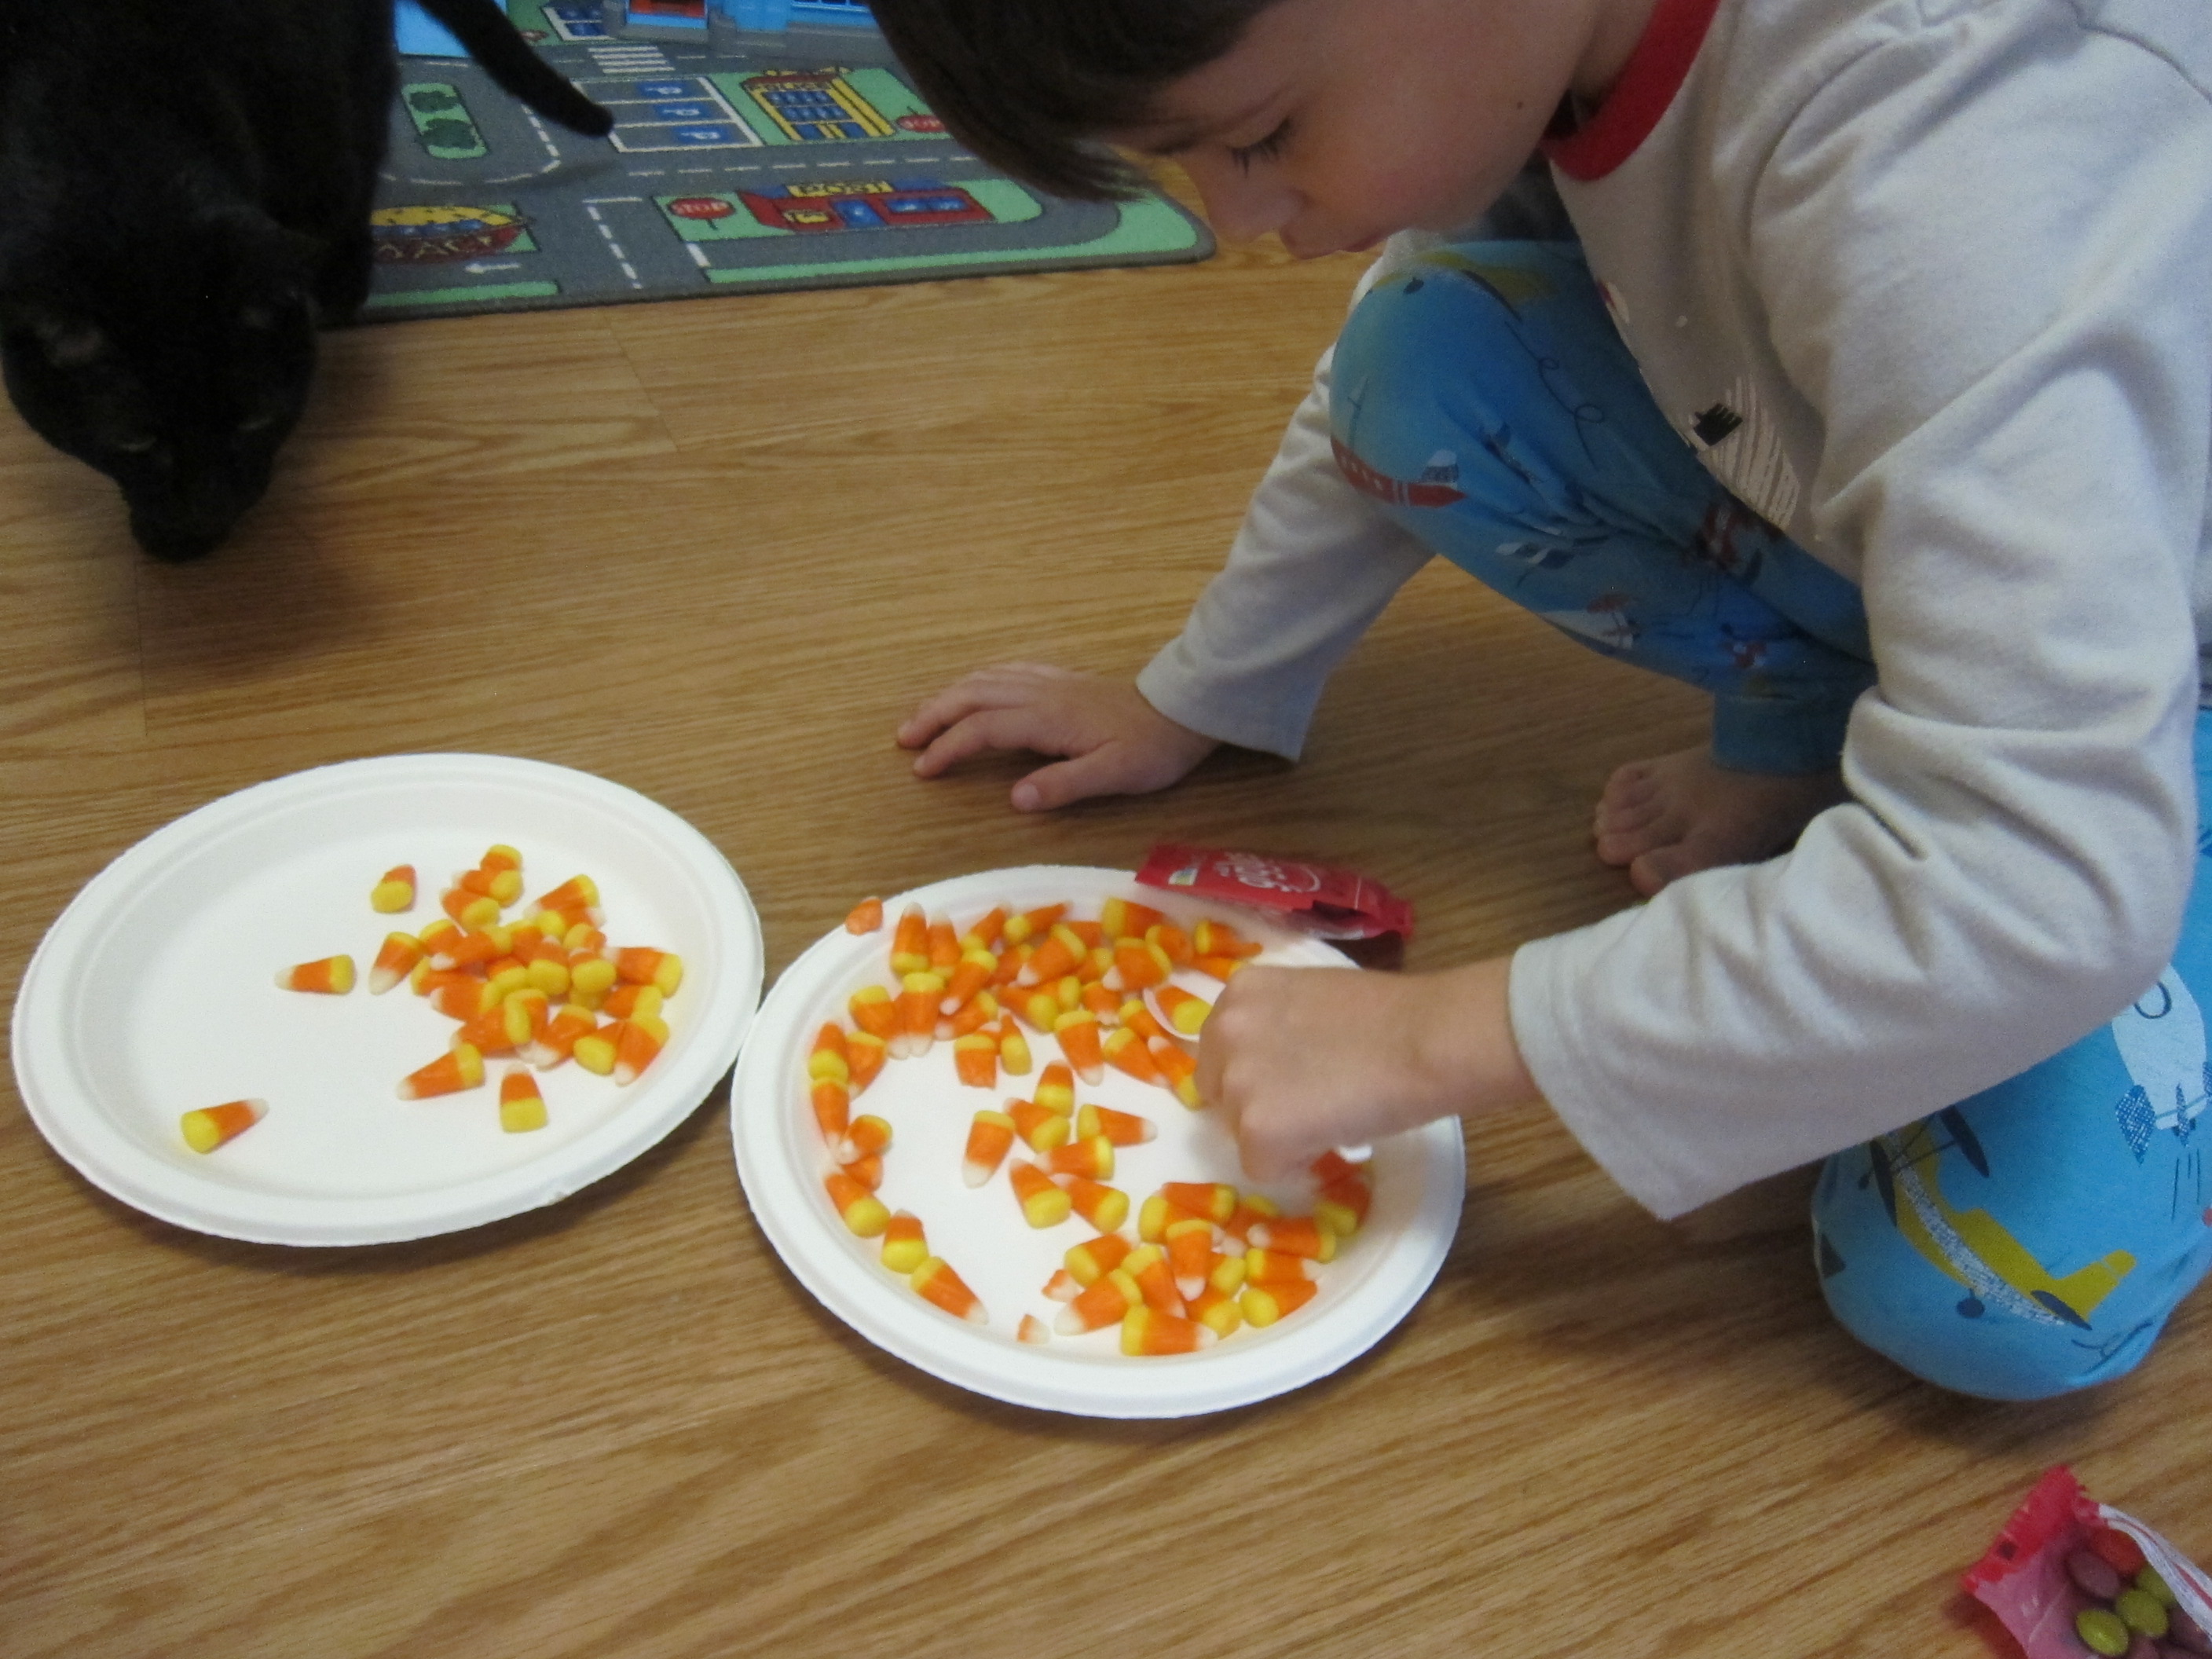
Thanksgiving Game (2)

Kernel Counting:

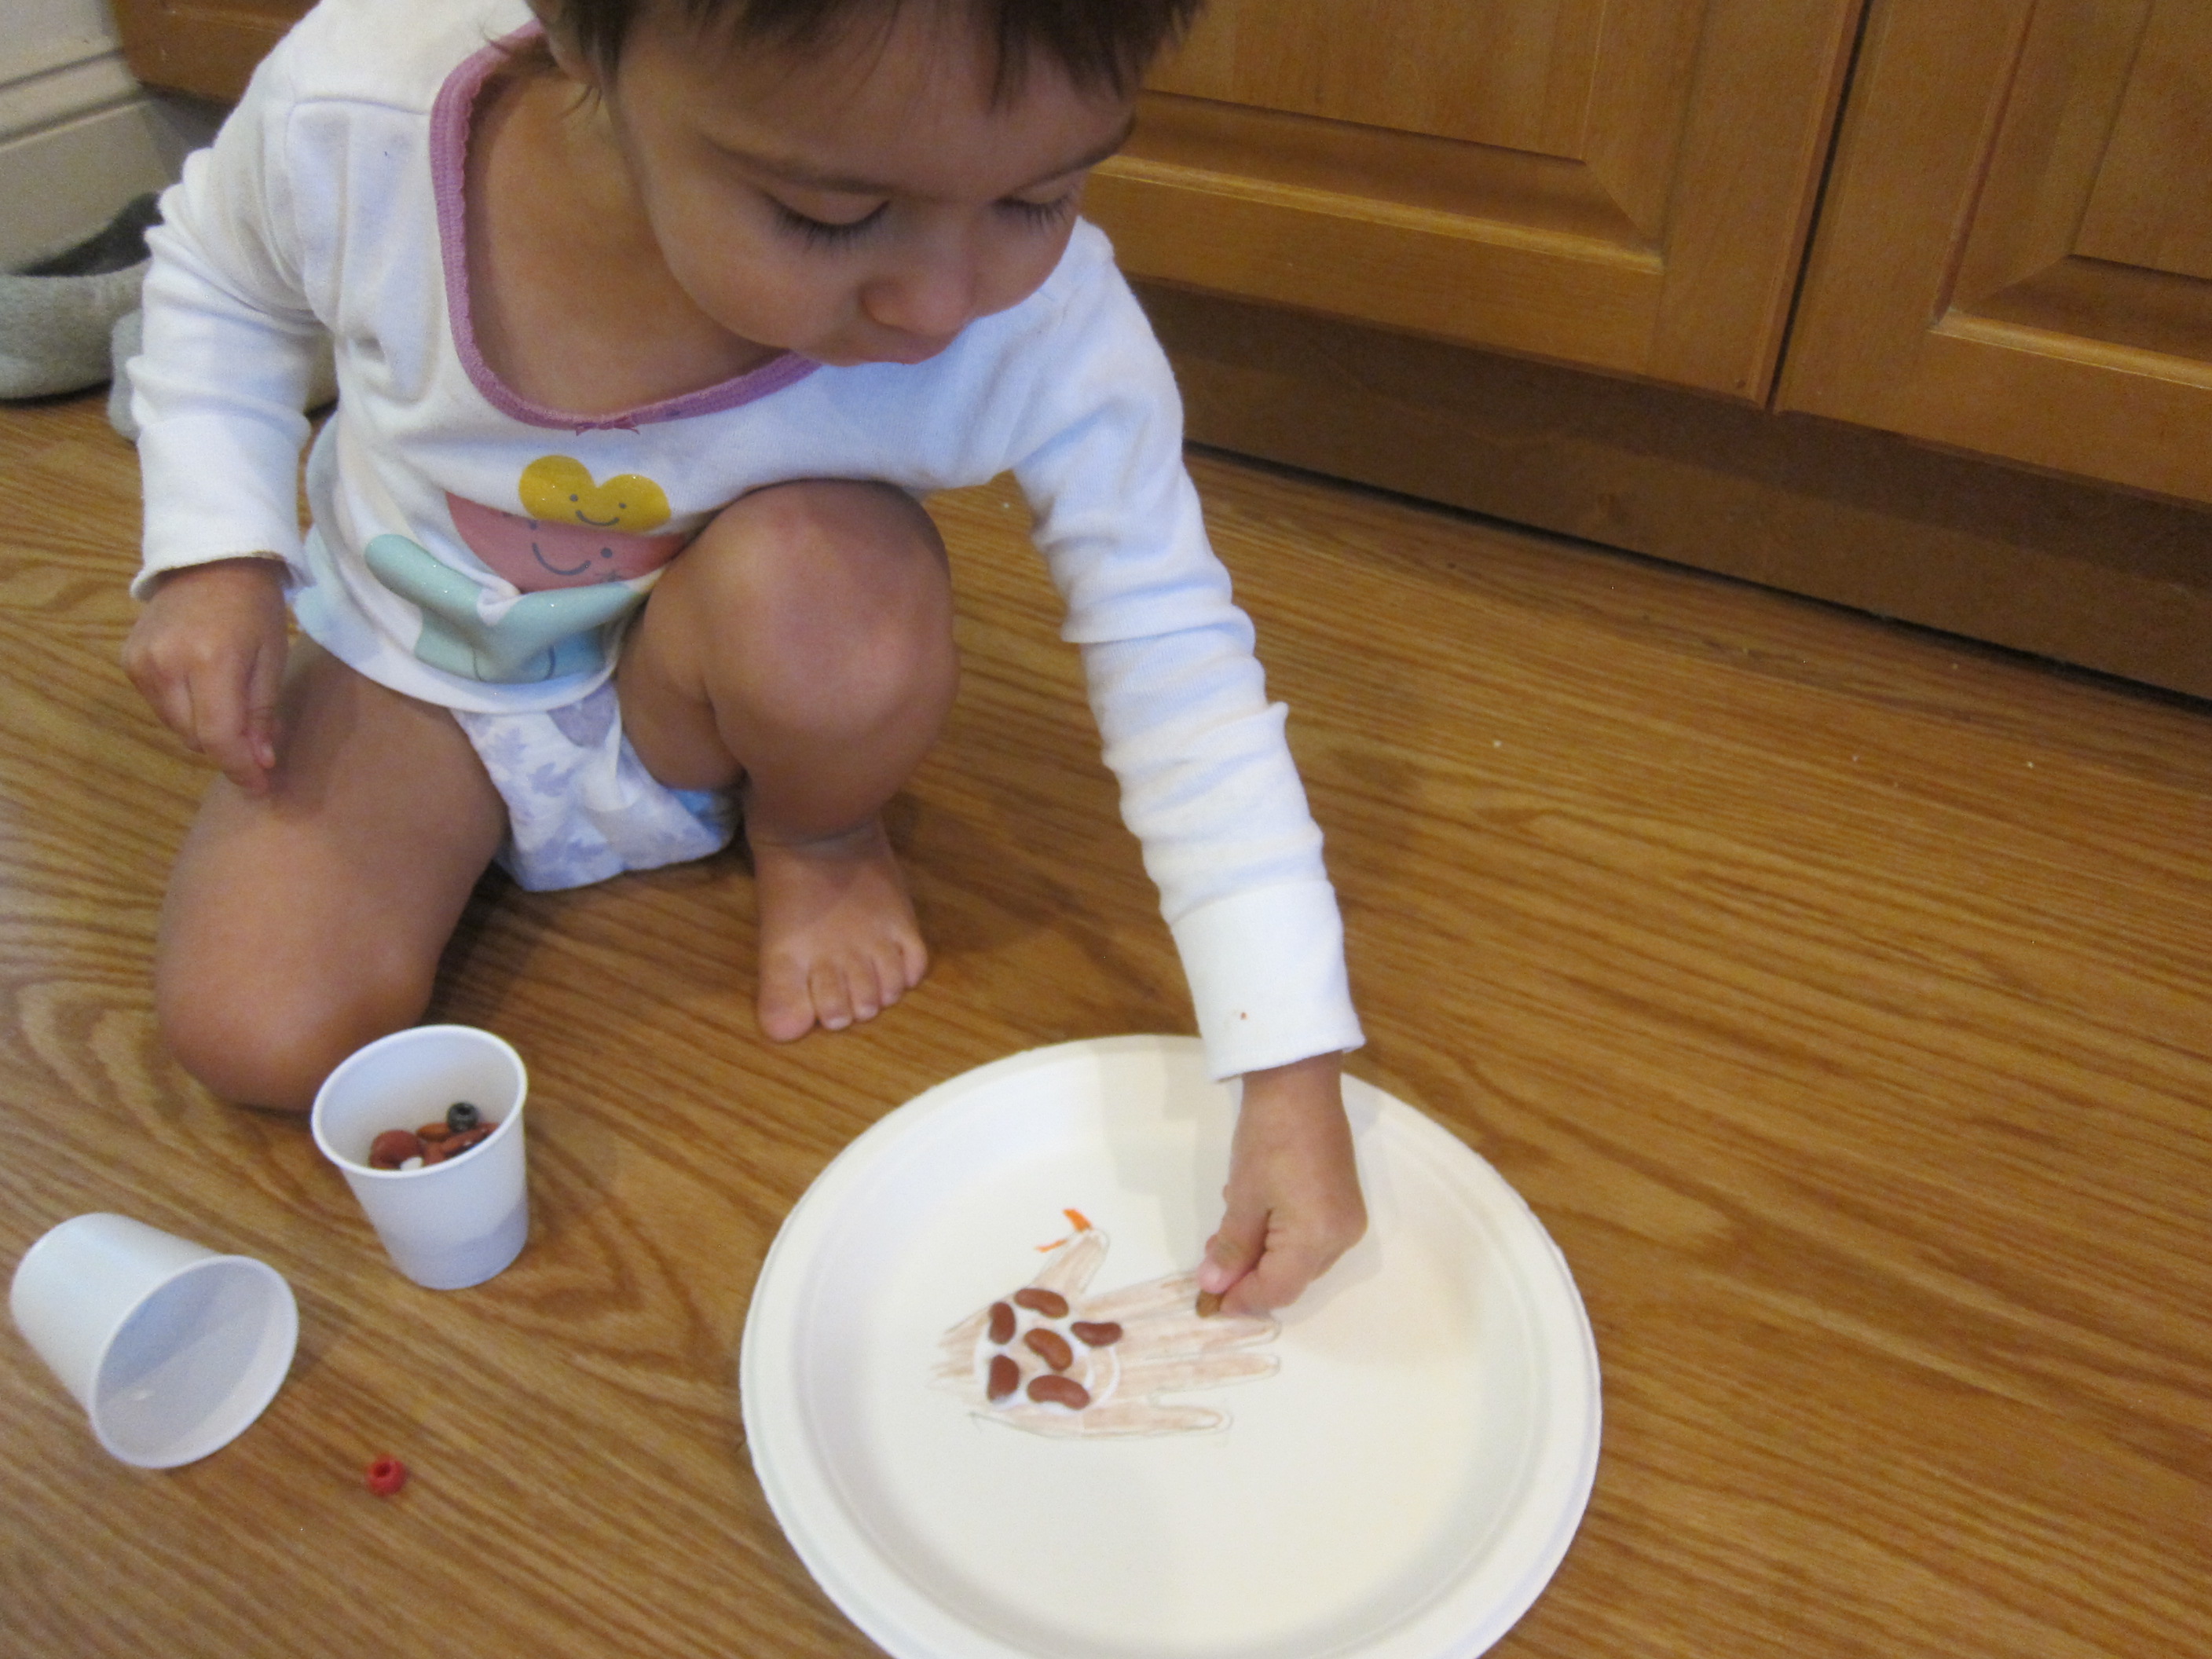
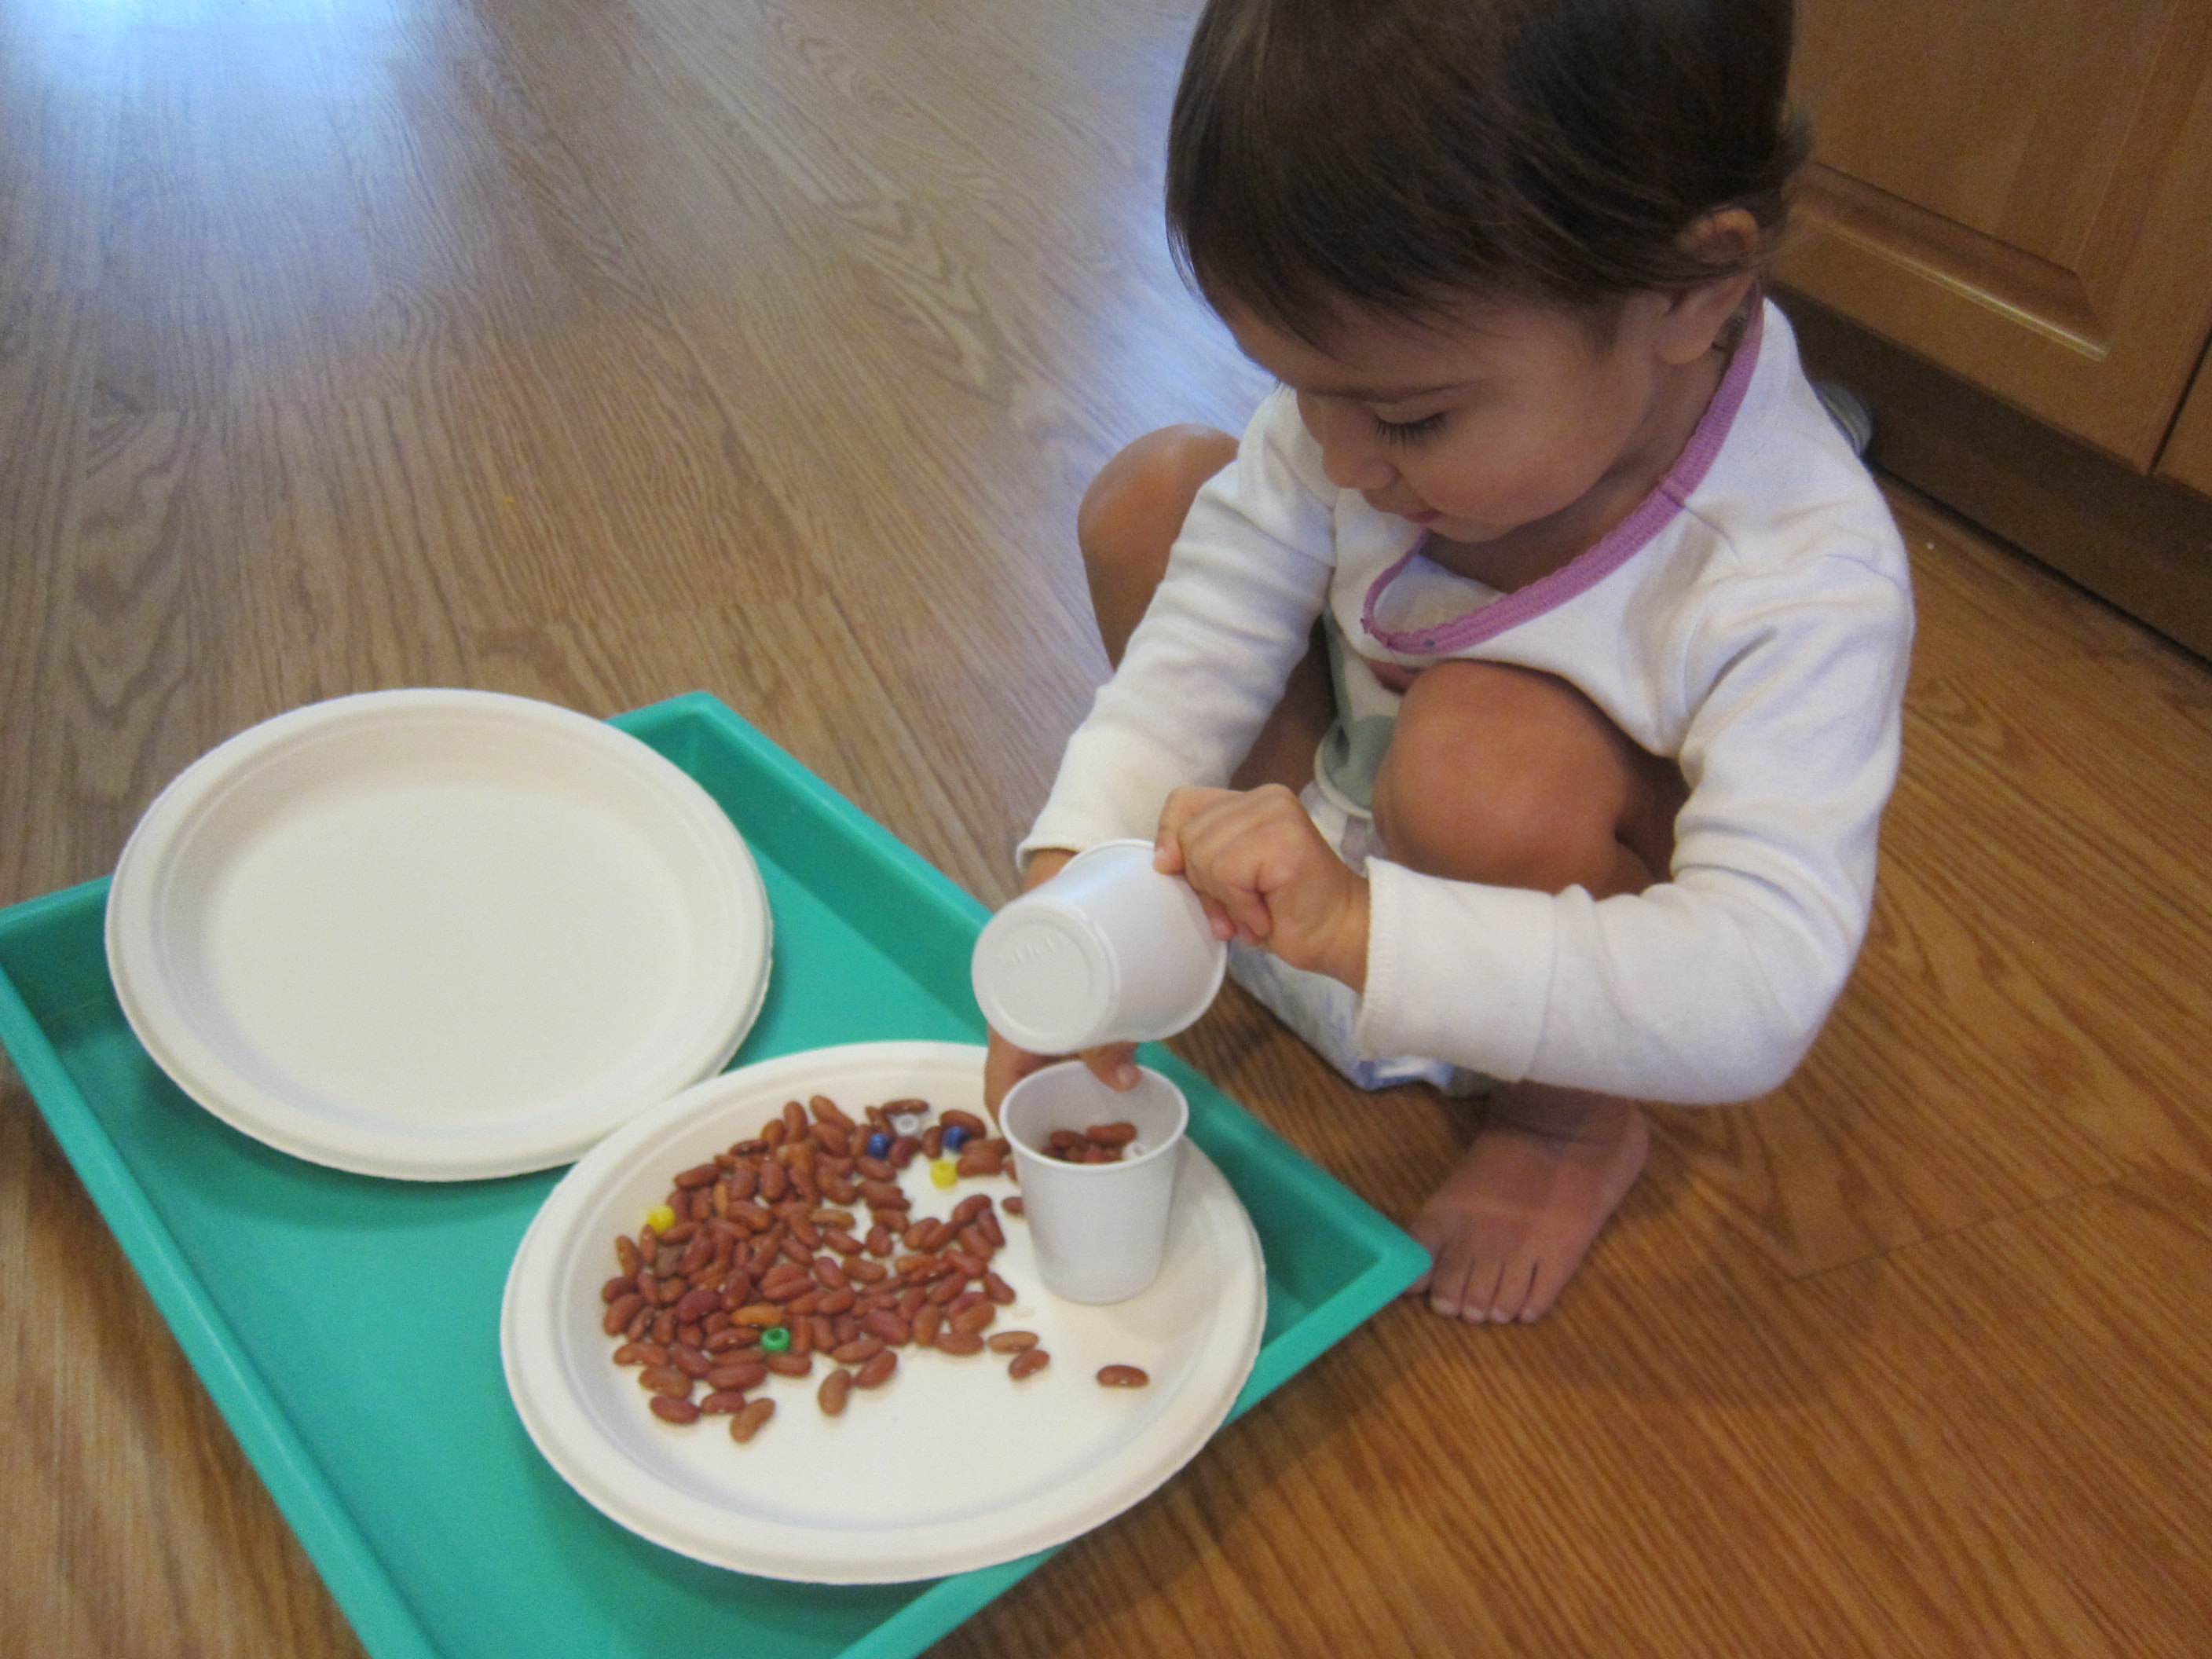
Candy corn isn’t vegan, but we had some in the house for non-vegan family and it was the perfect seasonal candy for this activity. Give each player a bowl or plate filled with candy corn as well as an empty plate and a plastic spoon.

Thanksgiving Game (4)

Set the timer and see who can transfer the most kernels in one minute. Bonus parent move: you’re sneaking in some math, too! If you have big kids and want to make it trickier, have players hold the spoon in their mouth, instead.
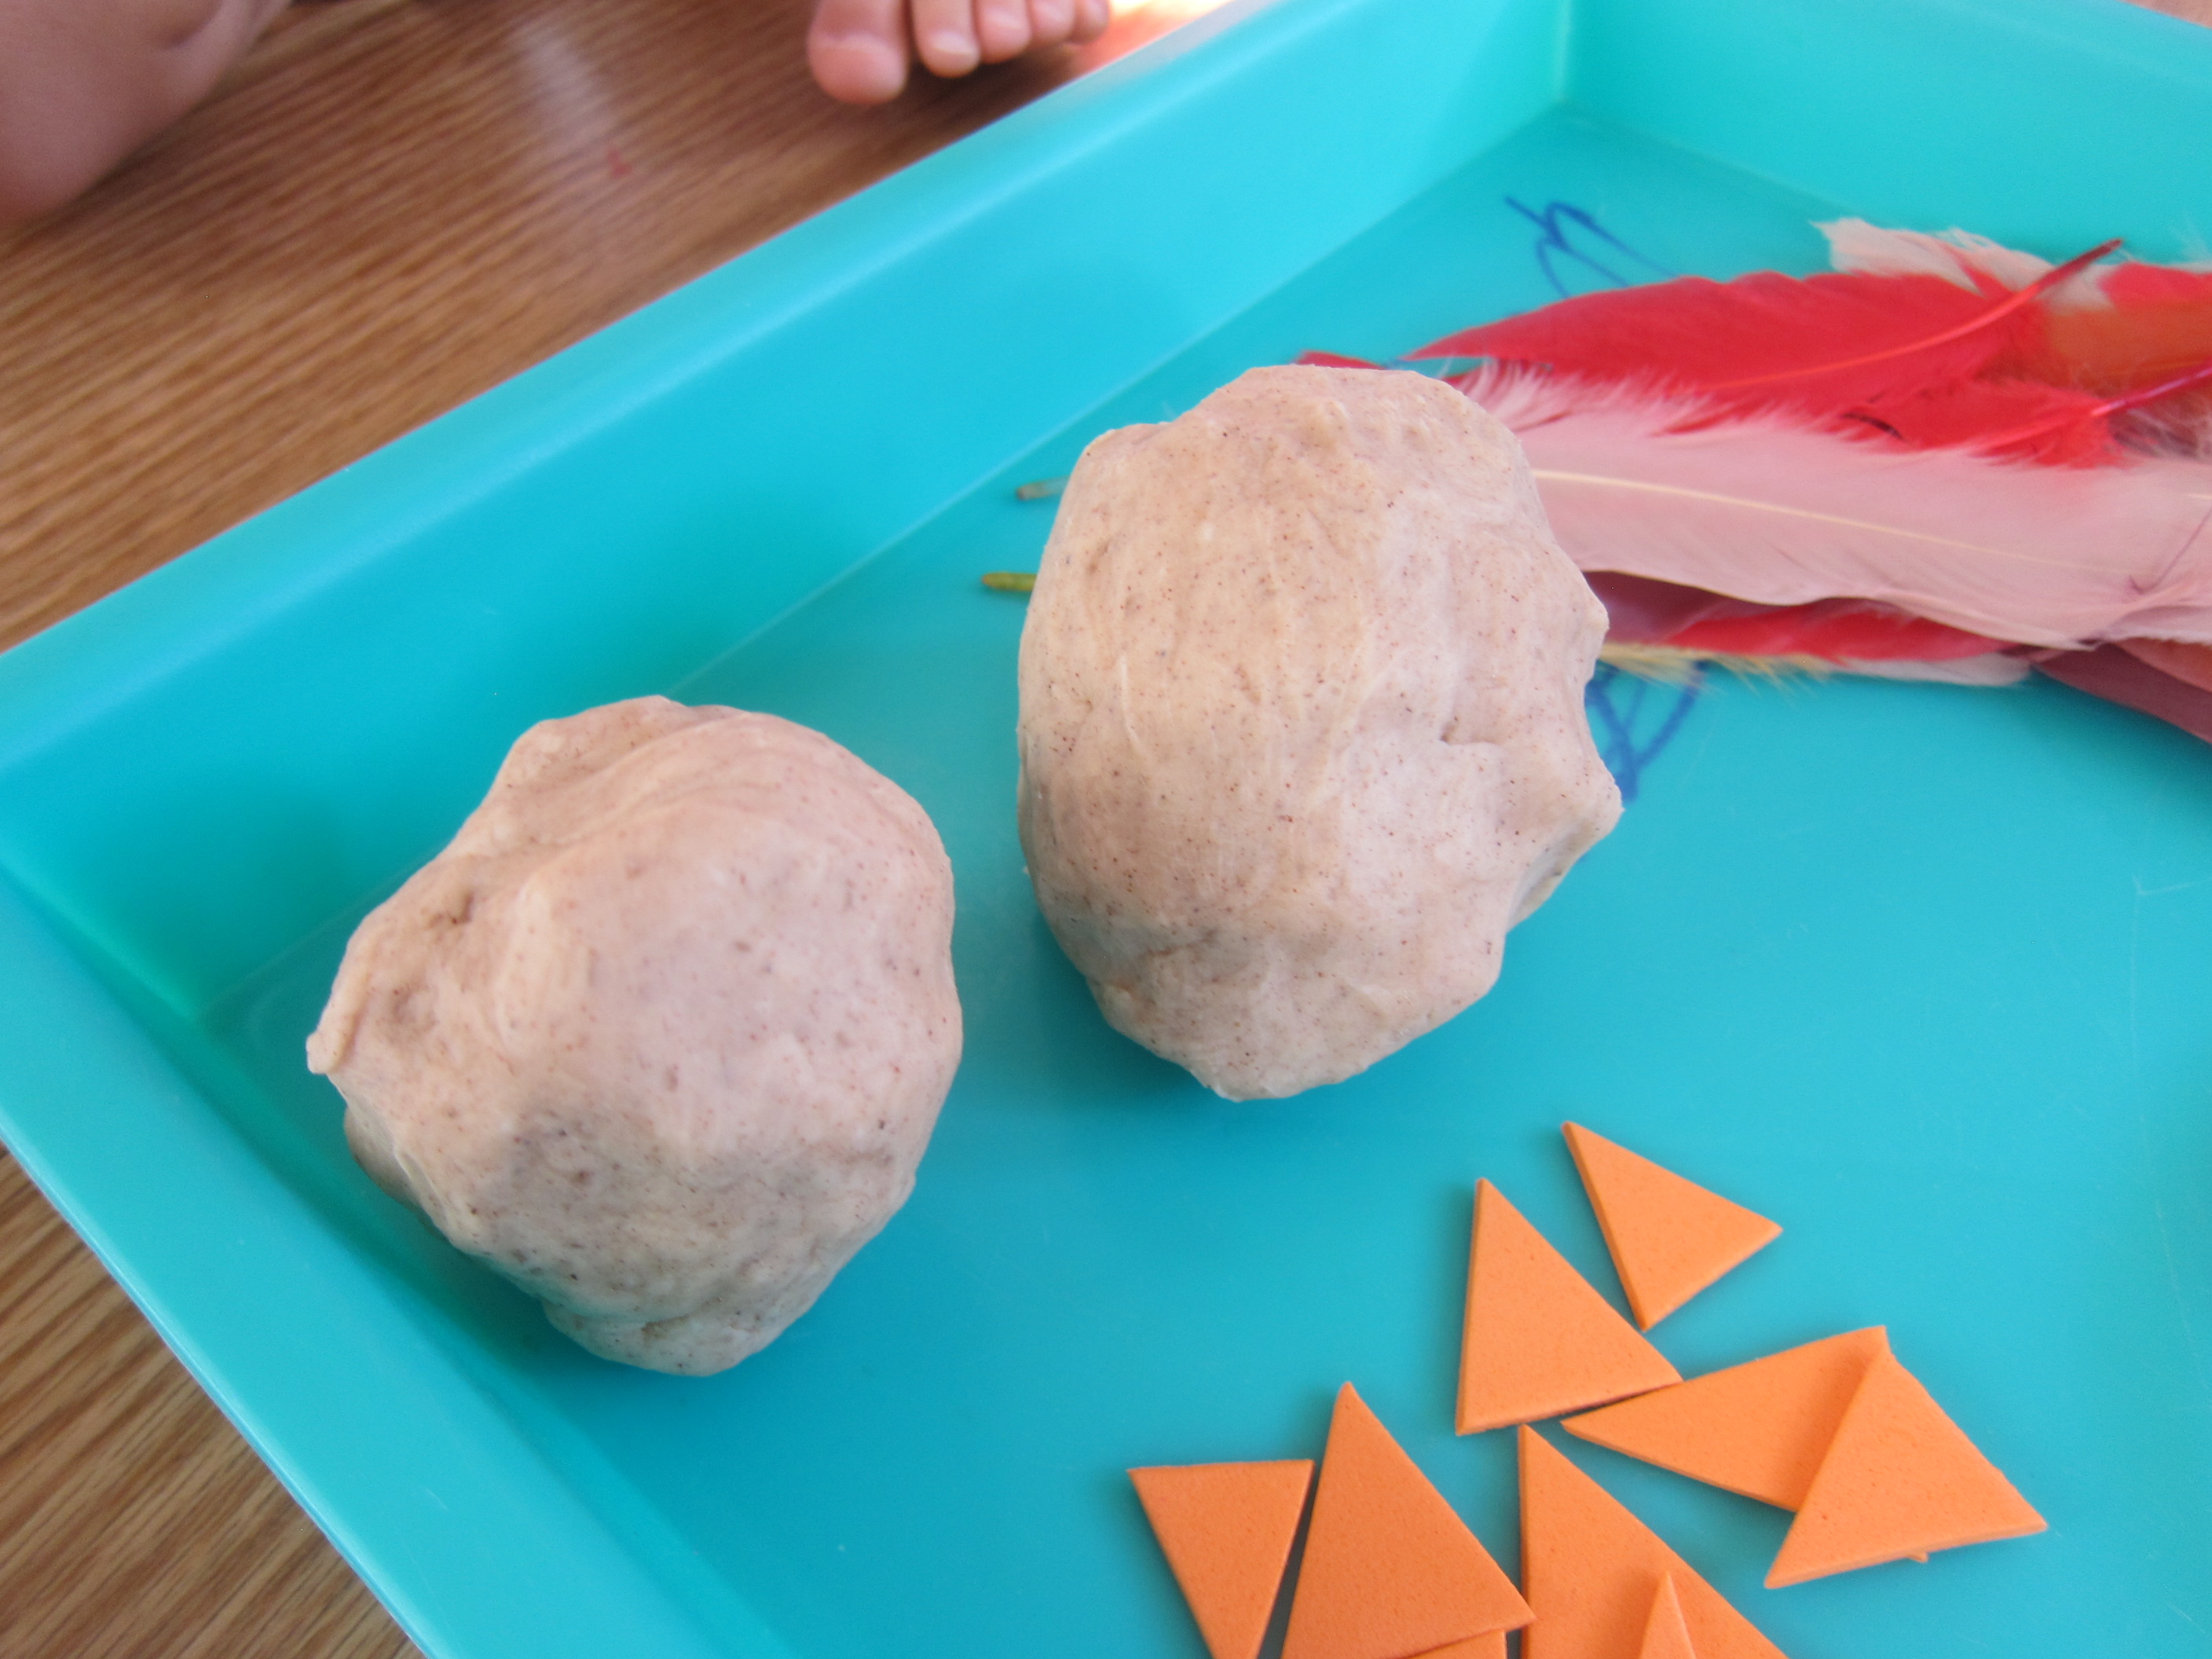
Thanksgiving Game (5)

Potato Roll:

You’ll earn super-silly points for this one: Take a few extra potatoes from your mashed potato pile (round red potatoes worked best), and have kids move them across a room using only their nose. First one across is the hot potato!

Thanksgiving Game (6)

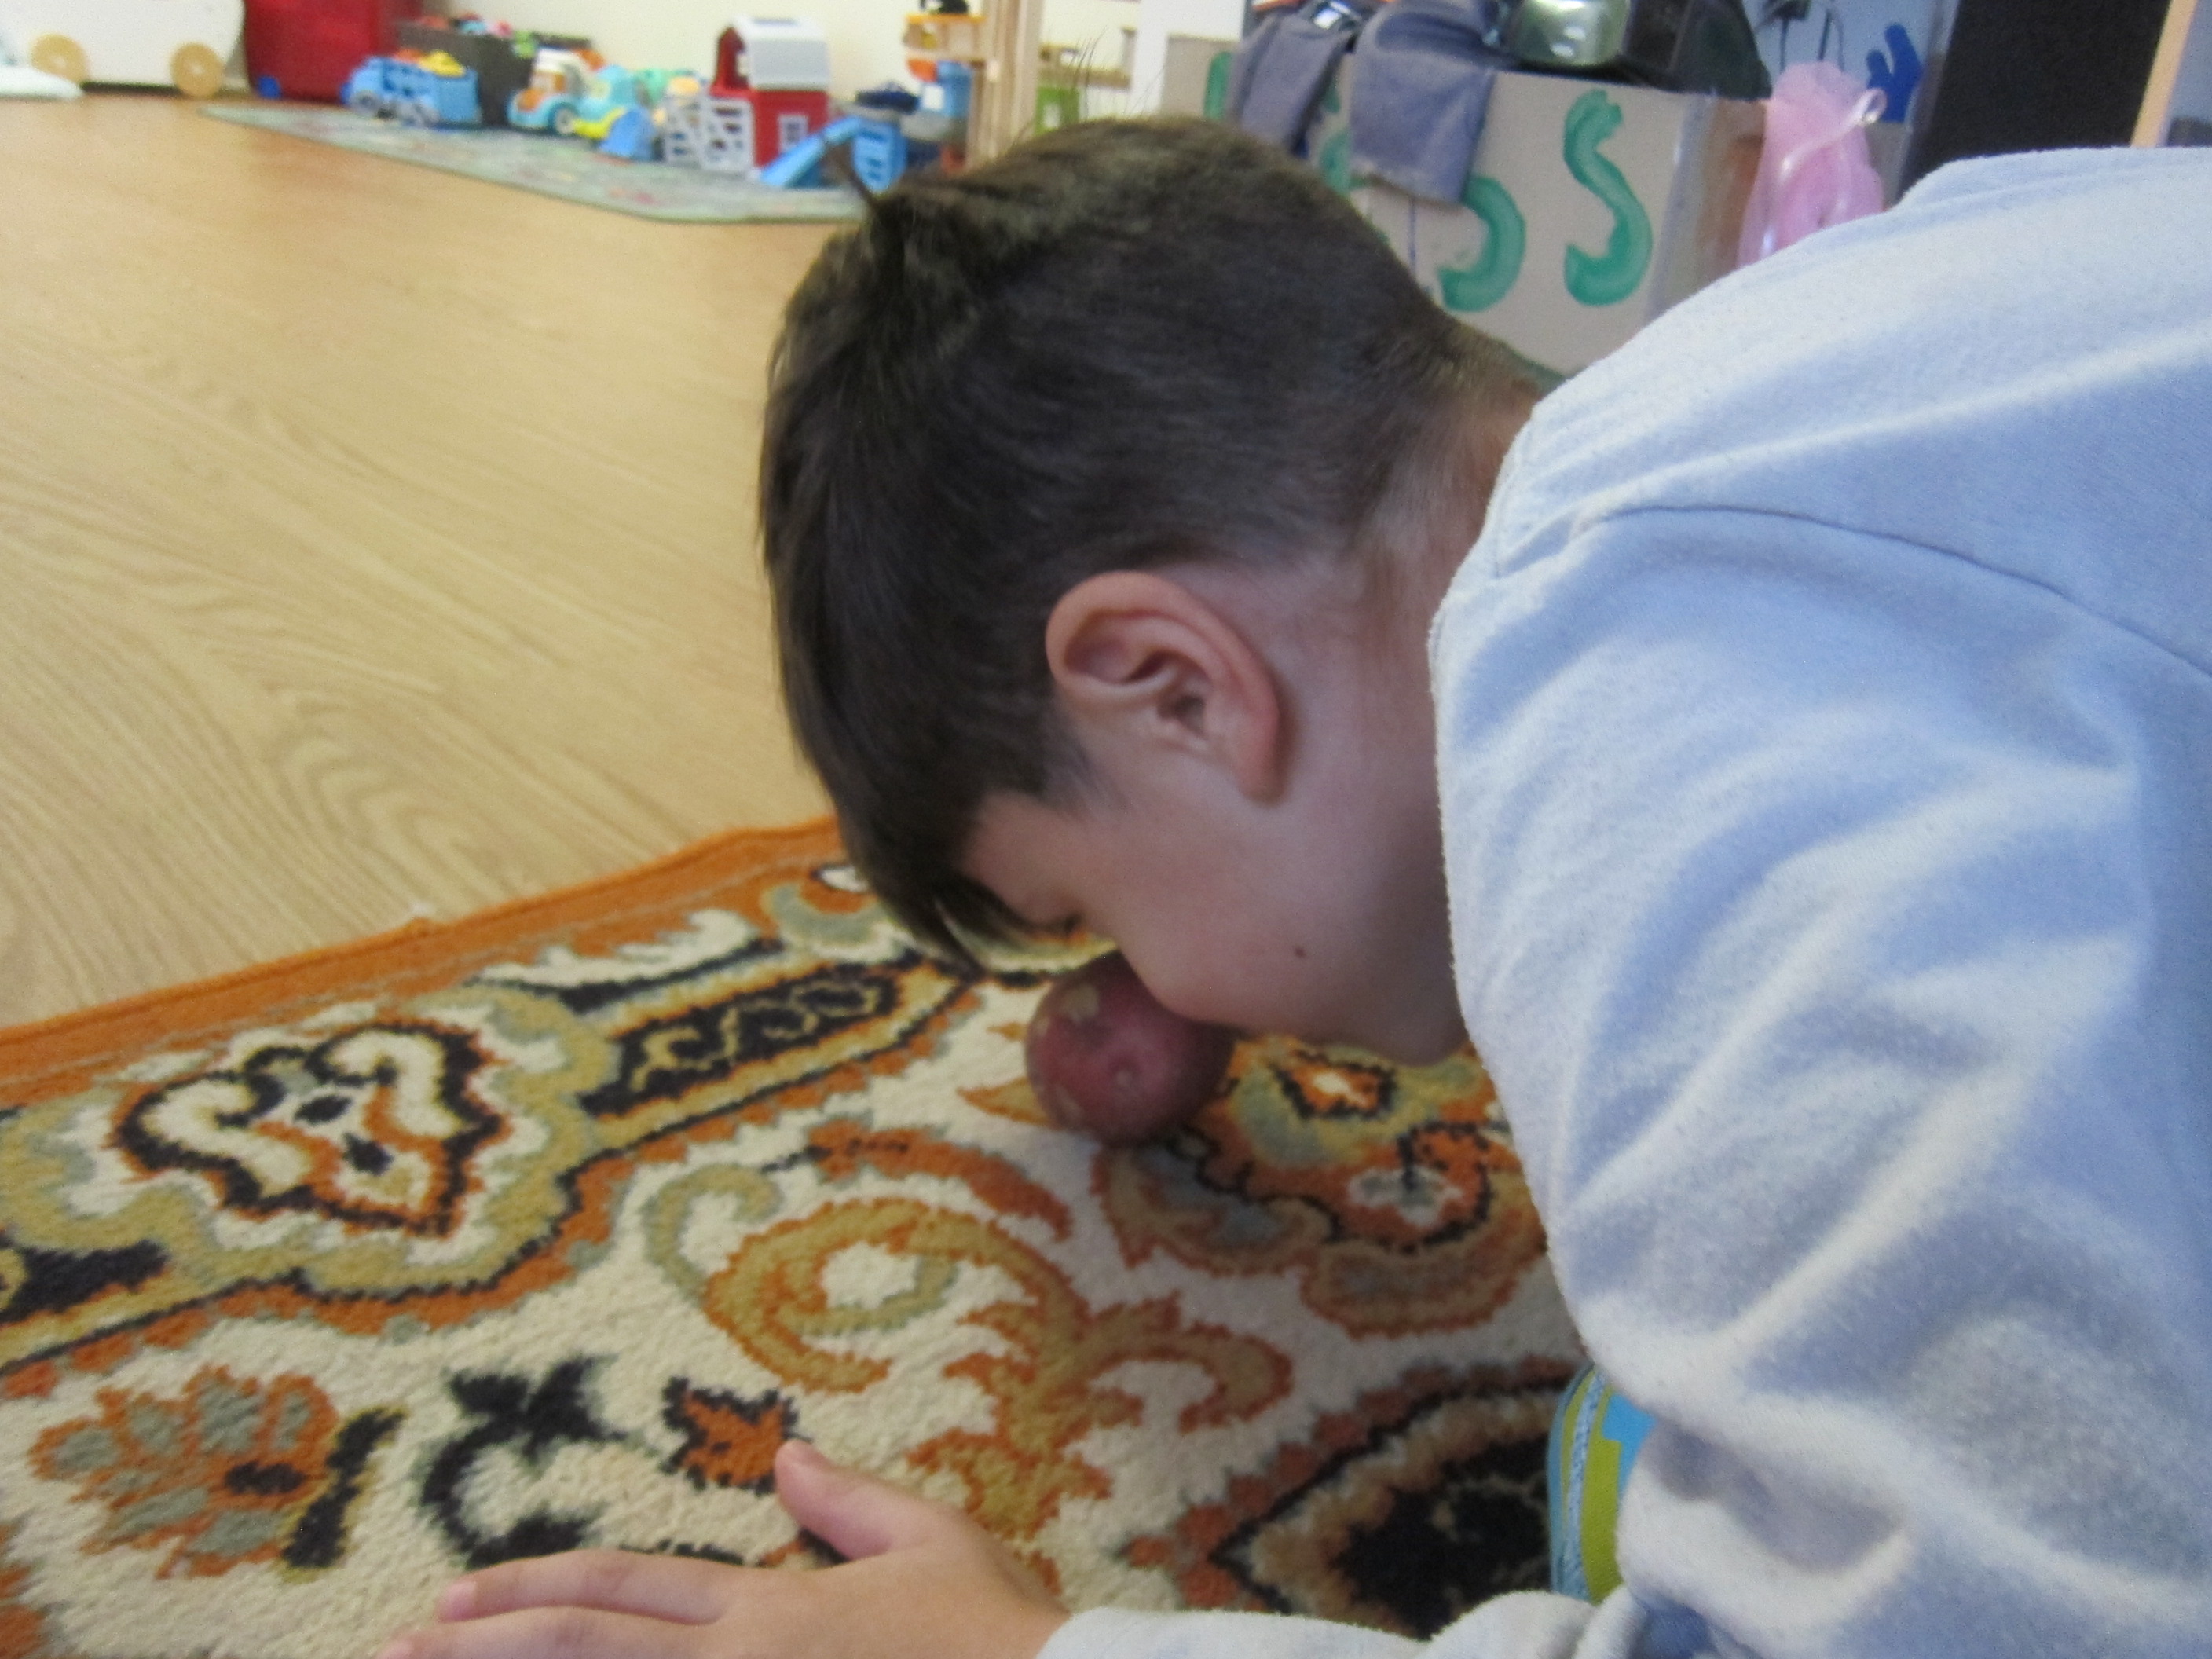
The kids not only got a kick out of this, but then wanted to play potato toss and potato soccer. On a rainy Thanksgiving day, why not?
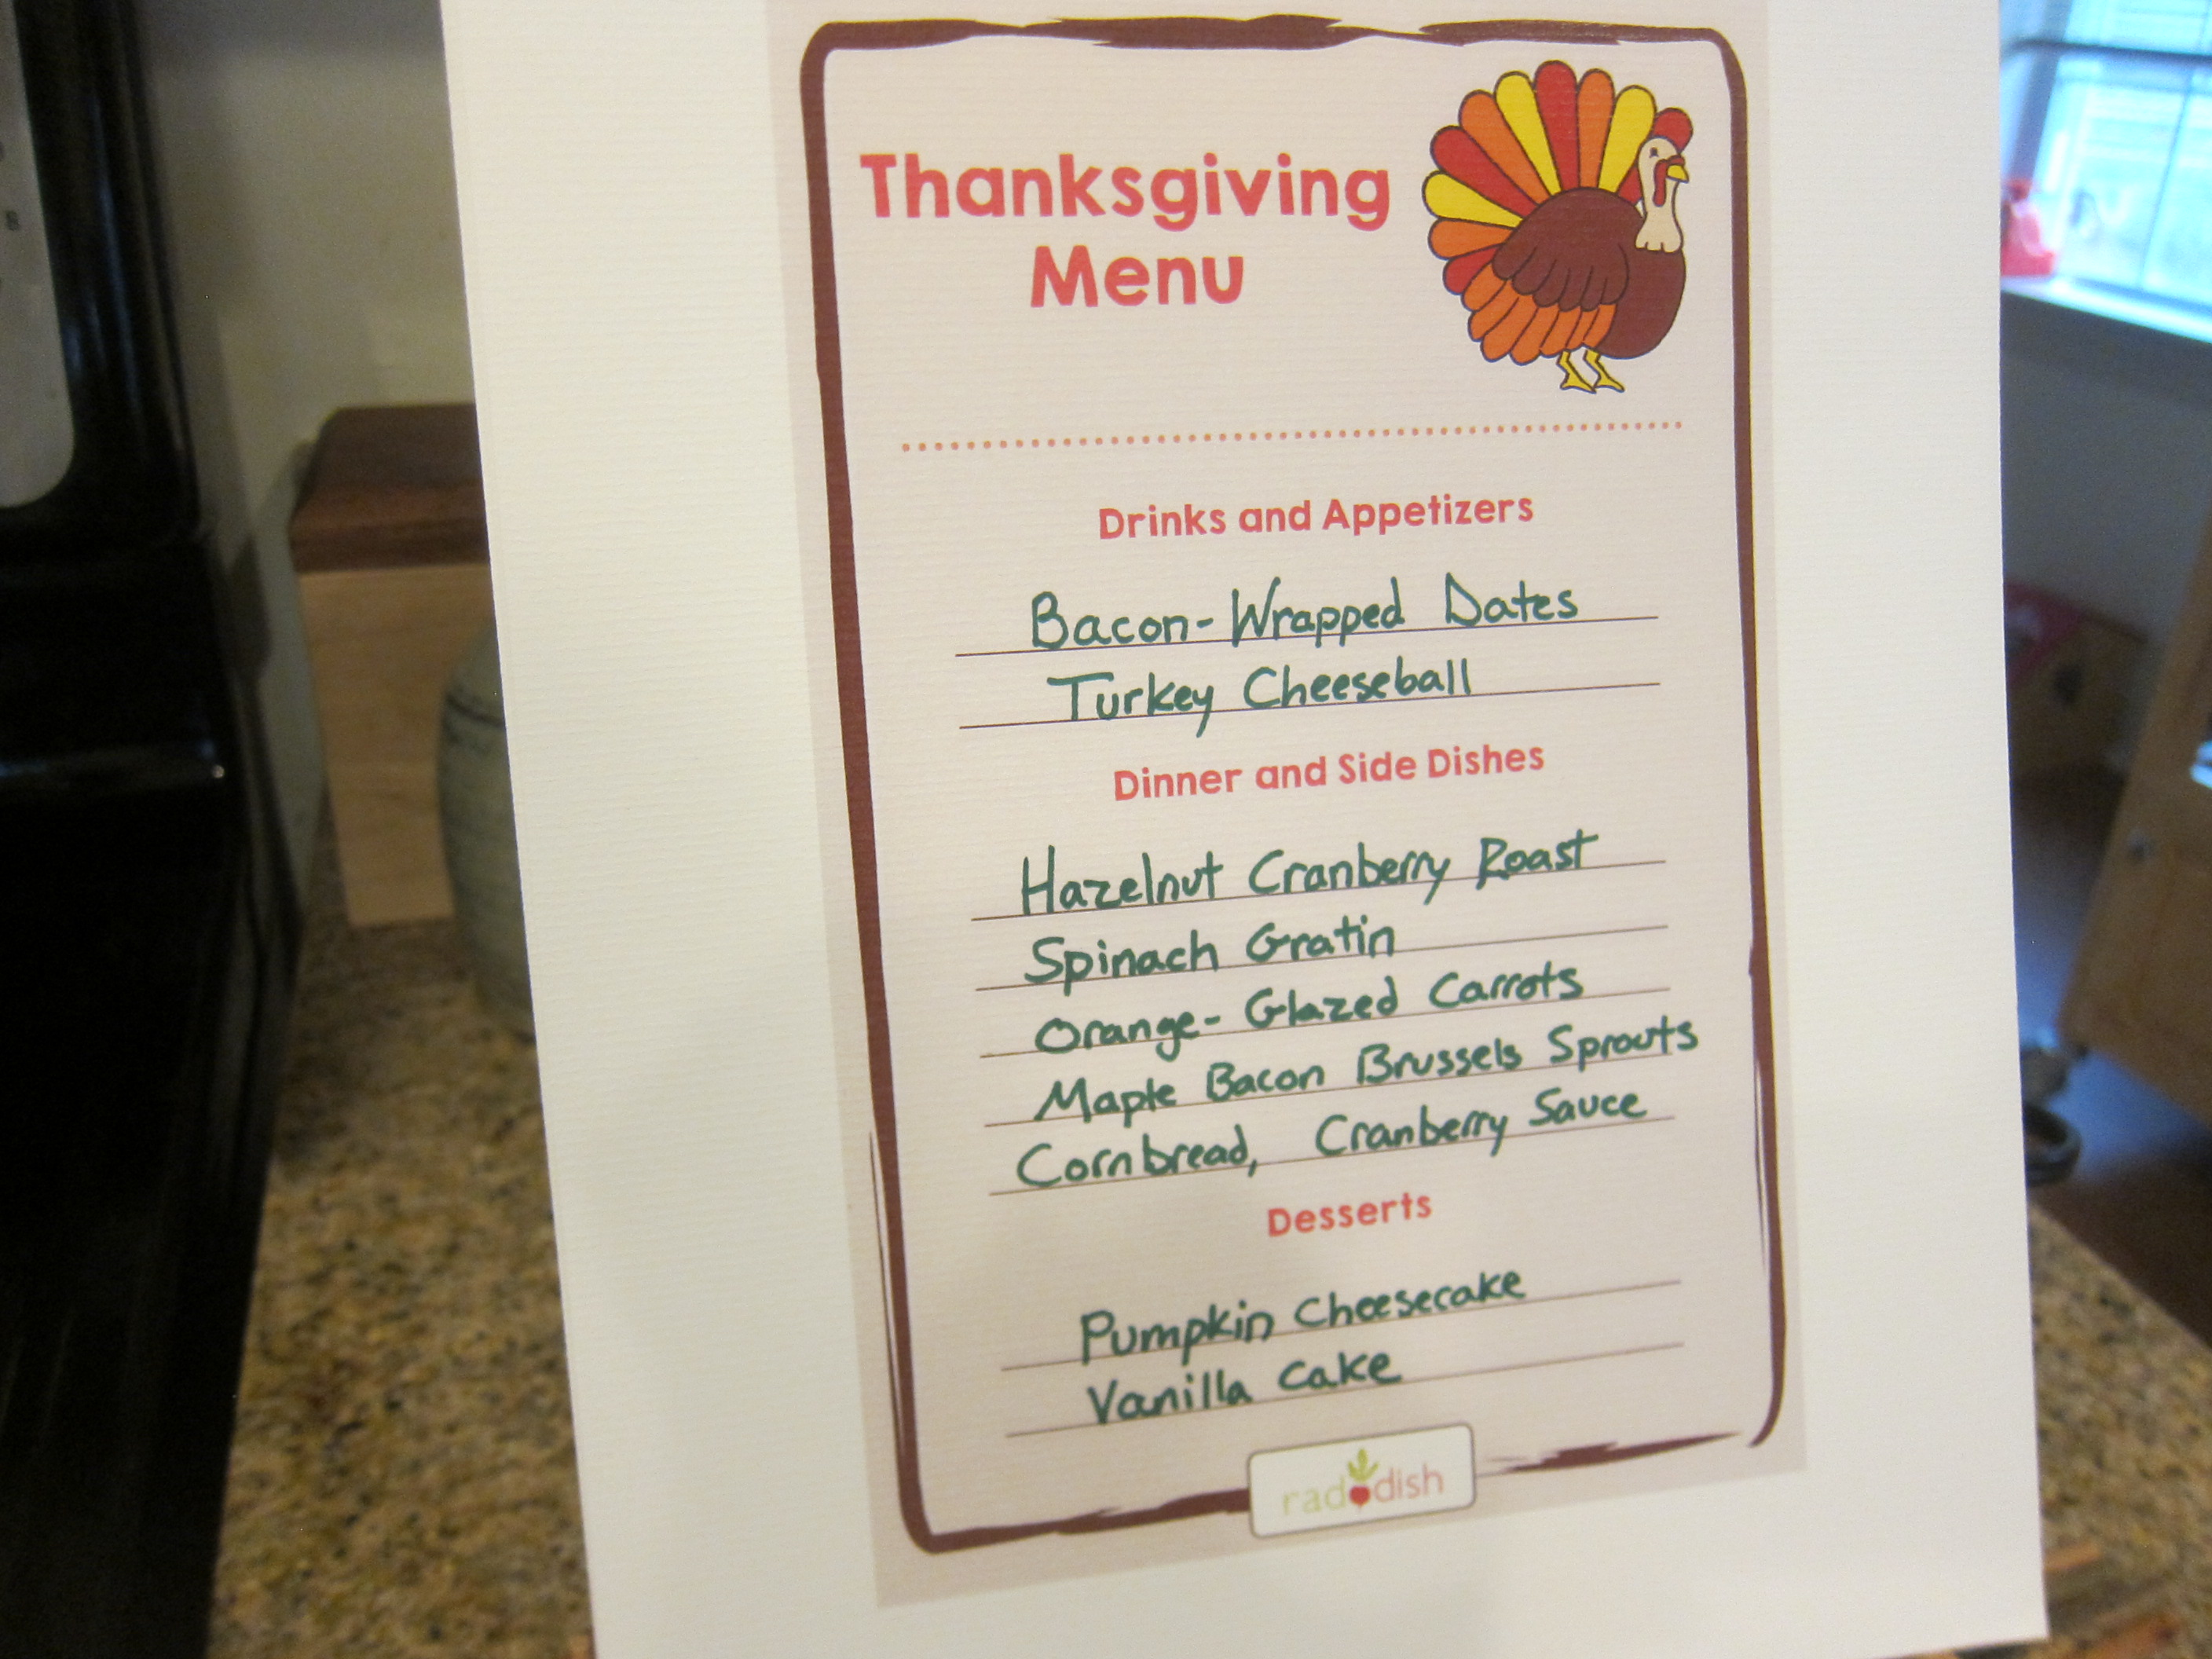
Thanksgiving Game (8)

Thanksgiving Menu:

Print out a colorful menu template and and then talk your kids through the meal, everything from apps to dessert. It was fun for Travis to see it all written up, and older kids might want to write out the recipes themselves!

Thanksgiving Games (1)

Thanksgiving Poll:

While chatting with relatives (whether in person or over Zoom!) poll them on their favorite Thanksgiving foods, whether during the main course or at pie-time. Travis then tallied up the results in two ways.

Thanksgiving Game (13)

We used a bar chart for the main course answers and a pie chart (ha) for the dessert answers. More sneaky holiday math!

Thanksgiving Chatterbox:

This classic origami game is easy to adapt for Thanksgiving. We used a template from Raddish Kids with funny suggestions hiding behind the numbers like “Pretend it’s windy for the next 5 minutes” or “Make up a song about pumpkins and sing it”.

Thanksgiving Game (12)

Your kids can easily come up with their own actions, too. Needless to say, the chatterbox had us giggling around our dessert table. The above link has a reminder on the rules of the game, as well as a how-to for folding the chatterbox paper.

Happy Thanksgiving!

Thanksgiving Turkey Play Dough

Turkey Play Dough (7)

After having fun with a construction paper turkey craft, I wanted a version Veronika could more readily create all by herself. The solution? Play dough turkeys!

To start, I needed a batch of brown play dough and turned to an old favorite recipe for pumpkin pie-scented play dough that fit both color and season. It does require cooking, but is remarkably easy. In saucepan, combine:

2 and 3/4 cups flour

1 cup salt

4 teaspoons cream of tartar

2 tablespoons pumpkin pie spice

6 tablespoons vegetable oil

2 cups water

Cook over low heat, stirring with a spatula, until the mixture pulls from the sides of the pan. Let cool on wax paper, then knead a few times and it’s ready to go!

Turkey Play Dough (2)

I set out balls of the play dough on a tray along with: wiggle eyes, pipe cleaners (cut in half, which is an easier length for my toddler), bright feathers, and triangles cut from orange craft foam for beaks.

Turkey Play Dough (1)

Veronika loved it when I showed her how to make balls for heads and bodies, then decorate like a little turkey.  She very soon started her own version. “It’s Mr.Turkey!” she said, proudly.

Turkey Play Dough (4)

From there, she was off and running with her own creations. She loved poking pipe cleaners and feathers into the soft dough.

Turkey Play Dough (3)

The biggest hit, though, was adding wiggle eyes, which were “cheeks” and more, according to her narration.

Turkey Play Dough (8)

It turned out the craft foam “beaks: could be used more like little turkey feathers, too!

Turkey Play Dough (11)

Every once in a while she would lift the dough to her nose to inhale deeply. “It smells really good!” she said of the pumpkin pie spice.

Turkey Play Dough (13)

For fun, I also made a flatter turkey body and head for her to decorate, and we added looped pipe cleaners and smaller feathers to this one.

Turkey Play Dough (9)

After that, she kept playing with all the materials for a while… So long in fact that it kept her up past her normal nap time!

Turkey Play Dough (14)

Gratitude Pumpkin

Gratitude Pumpkin (5)

We’re gearing up for a cozy Thanksgiving just as our family of four, but that only has us thinking all the more about what we’re thankful for or missing this year. One neat idea is to write down all the ideas your family can brainstorm… on a pumpkin!

As the kids came up with ideas (and mommy, too!), I wrote down all their words in permanent marker. Travis named favorites like Star Wars, friends and play dates. Don’t discount a toddler’s ability to name the things they love; that counts as the first step toward feeling grateful.

Gratitude Pumpkin (1)

Veronika also wanted to scribble with markers as I wrote, which meant our final pumpkin wasn’t “perfect”. But I loved this touch of reality on it.

Gratitude Pumpkin (2)

The resulting gratitude list was so simple but beautiful, and will make the perfect centerpiece for a Thanksgiving table!

Gratitude Pumpkin (3)

Thanksgiving Turkey

Thanksgiving Turkey (5)

If a painted handprint turkey is too messy or squirmy an ordeal with your toddler, consider a traced outline of a hand instead this Thanksgiving! This turkey was particularly fun for Veronika to decorate because it doubles as sensory play.

First, I placed her hand flat against a paper plate and traced with pencil. Don’t worry if your outline is wobbly or missing in places; you can always fill in the gaps with an approximation.

Thanksgiving Turkey (2)

After the outline was traced, we colored in the turkey with brown crayon, and then decorated with materials from our craft bin. Veronika loved gluing down dried beans…

Thanksgiving Turkey (3)

…plus pouring extra beans from cup to cup for a while!

Thanksgiving Turkey (1)

Meanwhile, I added a few brightly colored beads on each “feather” and drew a beak and wattle as the finishing touch.

Thanksgiving Turkey (4)

For fun, I traced my own hand for us to decorate as well. Now we had a mommy turkey and a baby turkey!

Thanksgiving Turkey (6)

Rainbow Turkey

Rainbow Turkey (5)

I love capturing handprints at holidays, and I was so thrilled that Veronika held perfectly still for this one! It’s yet another cute craft to celebrate turkeys for the Thanksgiving holiday.

To make a turkey with a multi-colored feathers, paint your child’s thumb and palm with brown washable paint. I then painted two fingers yellow, one red, and one green.

Rainbow Turkey (1)

Press firmly onto construction paper, as flat as possible, and you’ll have a little turkey! You’ll need to work quickly for this step (hence no pictures) and I recommend having wipes ready to clean off your toddler’s hand right away.

Rainbow Turkey (3)

Once the paint dried, it was simply a matter of adding a beak, eye, legs, and wattle from marker. Don’t forget to add the date on the back of this one; it’s a keeper!

Rainbow Turkey (4)

Thanksgiving Place Mat

Thanksgiving Place Mat (6)

It’s never too soon to teach even the youngest kids about thanks and gratitude. Although these concepts are a stretch for a two-year-old to comprehend, certainly Veronika knows what she likes! And that’s the foundation for giving thanks down the line.

We flipped through a magazine together, and whenever we came to an image of something she loves, we cut it out.

Thanksgiving Place Mat (2)

Don’t limit yourself! Even something as simple as bicycles thrill my little toddler these days, so those were clipped out and added to our pile.

Thanksgiving Place Mat (3)

Likewise for images of dogs and beaches and pizza.

Thanksgiving Place Mat (4)

Soon we had a neat little assortment, and she used a glue stick to help me attach the pictures to a background of brown construction paper.

Thanksgiving Place Mat (5)

Cover with clear contact paper to protect against spills and you’ll have the perfect toddler place mat for Thanksgiving day!

Feather Printing

Feather Printing (9)

Not to be confused with feather painting, the idea with this craft wasn’t to paint with a feather but to make images of feathers on paper. The resulting craft makes a great piece of Thanksgiving artwork!

I cut small sponges into shapes roughly resembling feathers (although I confess some looked more like leaves). Our sponges had handles, which makes it easy for Veronika to grasp them, but regular kitchen sponges would work, too.

Feather Printing (1)

Next I set out plates of paint in harvest colors, and showed Veronika how to dip in the paint and then press onto paper.

Feather Printing (3)

She loved the little images that appeared. She was so proud when she could make the sponge as flat as possible for a clear print.

Feather Printing (4)

As a variation, we then painted directly on a few craft feathers.

Feather Printing (6)

These made fun prints when pressed down onto the paper, too!

Feather Printing (5)

“Look what I made!” she proudly said when we were done, and narrated back all the paint colors.

Feather Printing (7)

I love seeing her take pride in her artwork.

Feather Printing (8)

Dancing Turkeys

Dancing Turkey (10)

If you’re starting to get in the mood for all things turkey in advance of Thanksgiving, these silly turkey puppets will kick things off on a lighthearted note.

To make the turkeys was quite complicated, and truth be told ours looked a  bit more like a chicken since I had white yarn, not brown, for the steps that follow.

For the body, wrap a ping-pong ball or golf ball in double-sided tape and then wrap with yarn. Tuck the final strand under to secure.

Dancing Turkey (1)

Next, you’ll need to make three pompoms, two for feet and one for the turkey’s head. For an easy at-home pompom, wind yarn around the tines of a fork, then tie a string tightly around the middle in the other direction. Slip off the fork and snip the loops to make pompom fringe. Make sure to leave one long strand on each pompom foot.

Dancing Turkey (2)

Cut a beak from felt and hot glue onto the head pompom, along with 2 wiggle eyes.

Dancing Turkey (3)

Now put it all together! I hot glued a length of craft boa onto the back of the body, then curved a half-length of pipe cleaner into an S shape. Hot glue the top of the S to the head, and curve the bottom of the S around the body, securing with a little extra hot glue.

Dancing Turkey (5)

Tie the long strands from each pompom foot onto the body. Finally, hot glue feathers along the boa in back for the turkey’s tail feathers.

Now to make it dance! Cross two Popsicle or craft sticks into an X and secure with yarn around the middle.

Dancing Turkey (6)

Cut three lengths of stretchy jewelry cord; you’ll need two 12-inch pieces and one 6-inch piece. Tie the long ones to the legs, and the short one to the head, and then secure them all to the Popsicle sticks.

Dancing Turkey (8)

Break out the Thanksgiving tunes and make it dance! We loved kicking off this holiday in celebration of these beautiful birds.

Dancing Turkey (9)

Dry Leaf Collage

Dry Leaf Collage (7)

This is not the craft to make when the leaves are at their peak vibrant hues of orange and red early in the fall. This is the craft for late in the fall, when the leaves are dry and brown, and yet you’ll show your toddler beauty even in this underappreciated nature material!

Veronika and I came home with a bag full of just such leaves, and first we explored them on her sensory tray. She loved picking them up and letting them float down.

Dry Leaf Collage (1)

I next showed her how to rip the leaves into tiny pieces. The dry crinkly November leaves are perfect for this because each rip produces a satisfying sound.

Dry Leaf Collage (5)

As she tore them up, I traced two leaf shapes on construction paper and cut them out. Any fall color would make a nice background here, and we used brown and orange.

Dry Leaf Collage (3)

Rub glue sticks all over the leaf shapes, and then press down your leaf “confetti”.

Dry Leaf Collage (6)

As a bonus, these make a beautiful Thanksgiving decoration if you punch a hole near the top, thread with yarn, and suspend in a window.

Dry Leaf Collage (9)