No-Cook Oats

No-Cook Oats.JPG

Here’s my new go-to oatmeal recipe. Because you prepare it the night before, mornings are a breeze. Use a different non-dairy milk in place of the almond if you prefer.

Ingredients:

  • 1 cup rolled oats
  • 1/4 cup finely chopped dates
  • 2 teaspoons chia seeds
  • 1/4 teaspoon ground cinnamon
  • 1 and 1/4 cups almond milk
  • Mashed banana (optional)
  1. Combine all of the ingredients except the banana in a large bowl, stirring to combine. Cover and refrigerate overnight.
  2. In the morning, stir and add a little more milk if necessary. Add about 2 tablespoons mashed ripe banana per 1/2 cup serving of oats, if desired.

With or without the bananas, Travis has eaten every spoonful from his bowl every time I serve this.

Paper Snowflakes

snowflakes-4

Thanksgiving is over, and so although December is not yet here, we’ve shifted into winter and holiday mode in our house! We haven’t had snow yet, but I wanted to make our apartment into a winter wonderland for Travis, and that meant we would need snowflakes.

This project is definitely a grown-up one if you have a toddler or younger. Children in kindergarten or above will likely be able to help cut, curl, and glue the snowflakes, but it takes fine motor skills – even for this mama!

That said, Travis loved pulling out his safety scissors to “cut” alongside me as I worked, making it a fun family project even for the littles.

snowflakes-1

Cut white paper into 1/4-inch wide strips, and then cut to 6 inches in length. Curl the end of each strip around a pencil tightly.

snowflakes-2

To make one snowflake, glue together 6 to 8 long strips of paper. Fill in the middle of the snowflake with smaller pieces of curled paper.

If you have the patience, you can create dozens of these, and hang from a window. They also make a lovely addition to a Christmas tree.

snowflakes-5


Foil Monster Truck Rally

monster-truck-2

Travis has a “monster Jeep” that he loves, so when I saw this adorable way to play monster truck rally at home, I had to give it a try!

Wrap small cars (matchbox race cars are the perfect size) in foil to form an impression, then remove the car to leave the shape behind. This takes some practice, but don’t worry if your work is a bit sloppy – the cars are about to be crushed anyway!

monster-truck-5

Line the “cars” up in a row; now it’s time for your monster trucks to wreak havoc!

monster-truck-6

Travis was mildly interested in driving the jeep over the foil, particularly when he was surprised to see the cars get crushed instead of staying solid.

monster-truck-7

Even more so, he loved the general idea of wrapping cars in foil and then discovering which one was hidden inside. It’s yet another instance of setting up a game for him, only for him take it a new direction that he enjoys more. So why not!

monster-truck-4

Either way, you’re sure to have some fun with this one.

O Week!

o-week-22

Oh what a week we had (sorry, couldn’t resist!). Many O words are very common and simple ones (e.g. on/off, open, old), so it was challenging but rewarding as a parent to devise ways to turn everyday words into games. Here’s what we fit in this week:

o-week-4

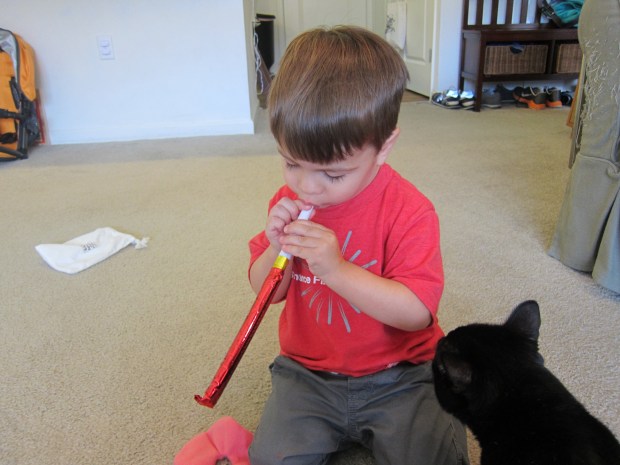
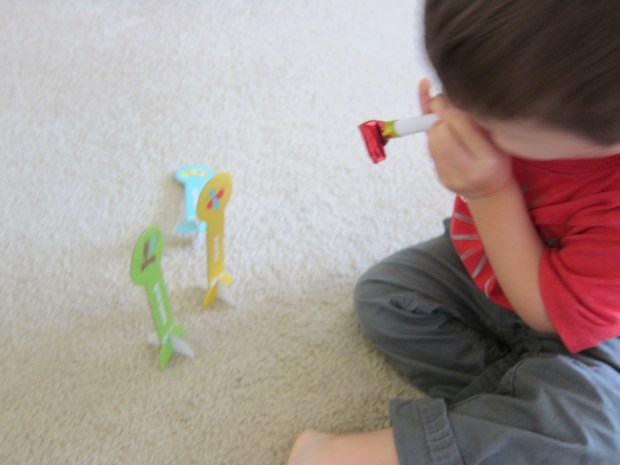
Olympics: Too big a word to pass up, even if the time of year doesn’t correspond to the actual Olympic games. Stage a toddler mini Olympics with “javelin” and “discus” throws, bean bag races, and more.

O week (16).JPG

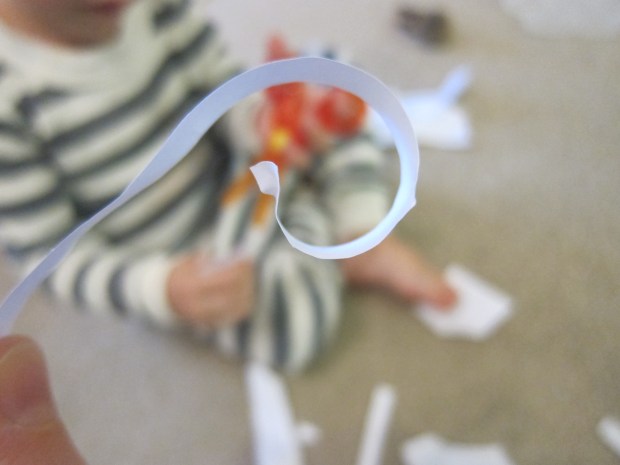
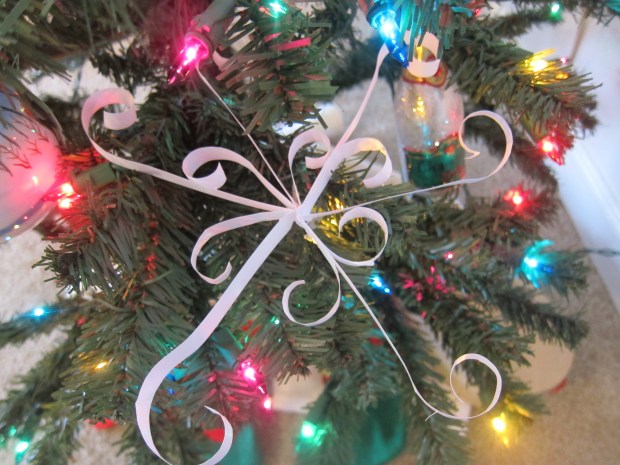
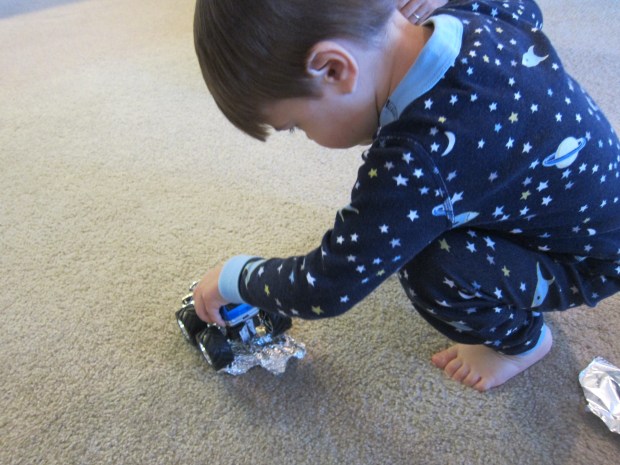
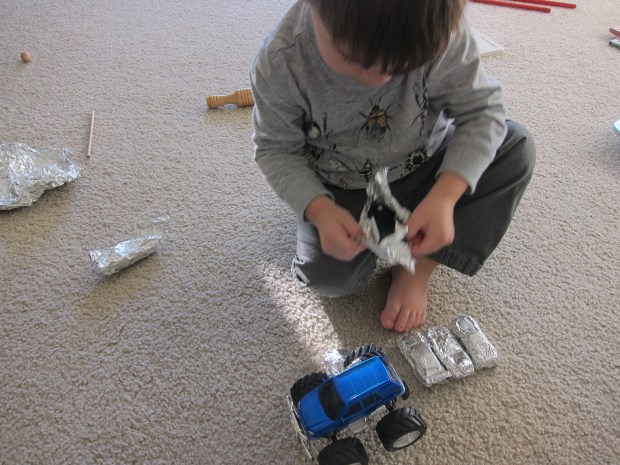
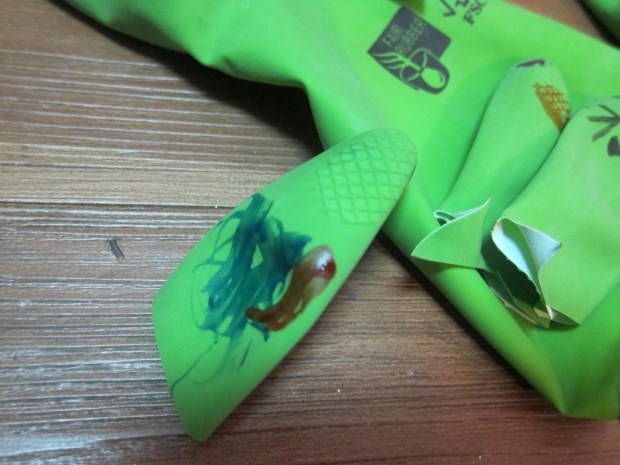
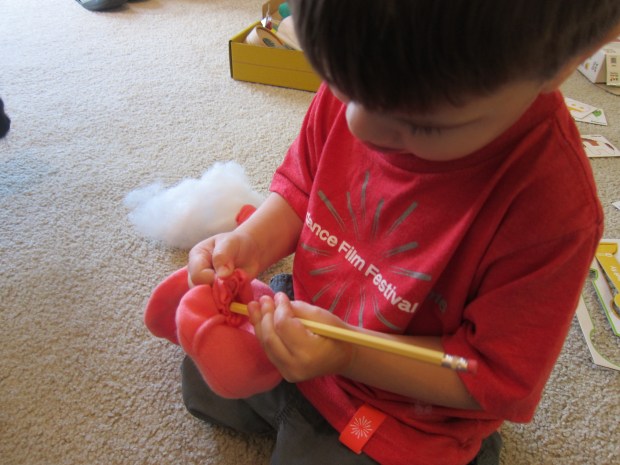
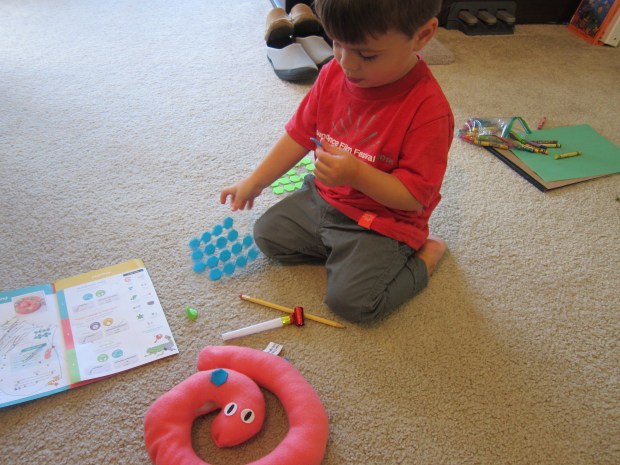
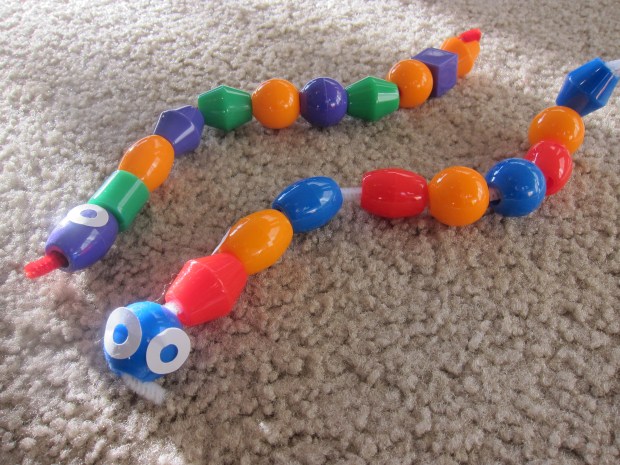
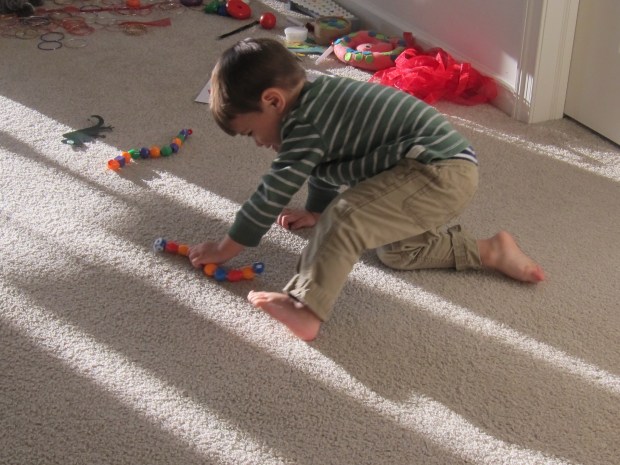
Octopus/Ocean: I made Travis an octopus to swim around the apartment (which, admittedly, looked more like a jelly fish) by wrapping a Styrofoam ball in fabric and tying on 8 ribbons as legs.

O week (18).JPG

We then staged an “ocean dive” for the octopus and other ocean-y creatures, and Travis loved filling up a bucket with treasures from the “ocean.”

o-week-19

Opposites: You can use pretty much any toy and a building block to demonstrate great opposites, such as on/off, up/down, or behind/in front of, but I highly recommend Bunny Boo, which is a great toy for spatial relationships. It fit my agenda perfectly for O week!

Aside from demonstrating opposites with a toy, quiz your toddler on what opposites he or she knows. Travis impressed me getting left/right and more. For preschoolers, consider turning it into a board game or card game of some sort.

o-week-11

Oak: This word made for my favorite moment of the week. We started off reading As An Oak Tree Grows, by G. Brian Karas, and the next day we took a walk among oak trees. Travis loved connecting it to our story from the night before, and we crunched through all the acorns on the ground this time of year.

o-week-7

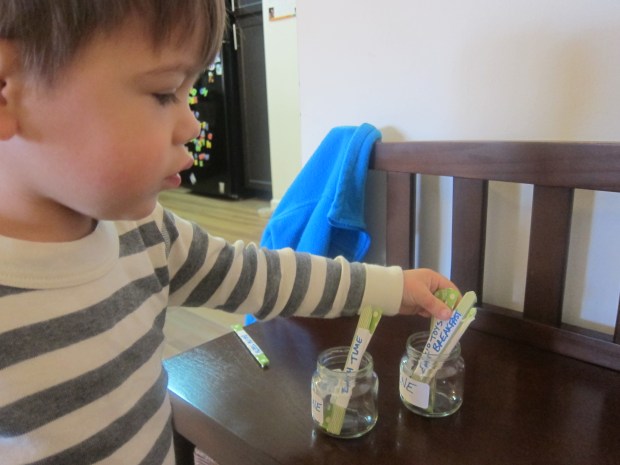
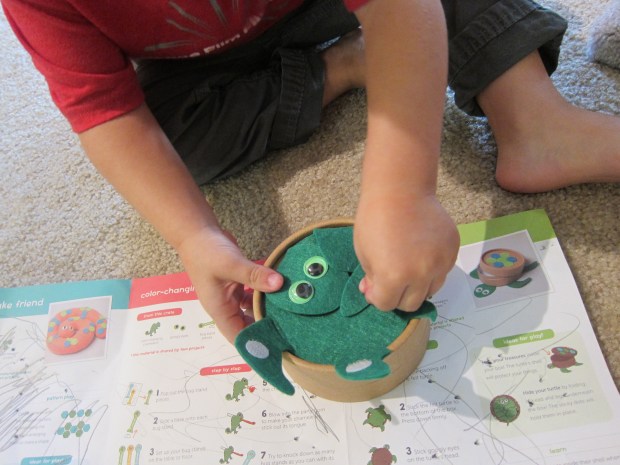
Open: Simply set out collection of all the things around the house that your toddler can open and close (hey, more opposites!), including some that are a challenge for his or her fine motor skills, like bottle and jar lids.  Some favorites were his jack-in-the-box, turtle treasure box, and the mailbox we created back in X week!

obstacle-4

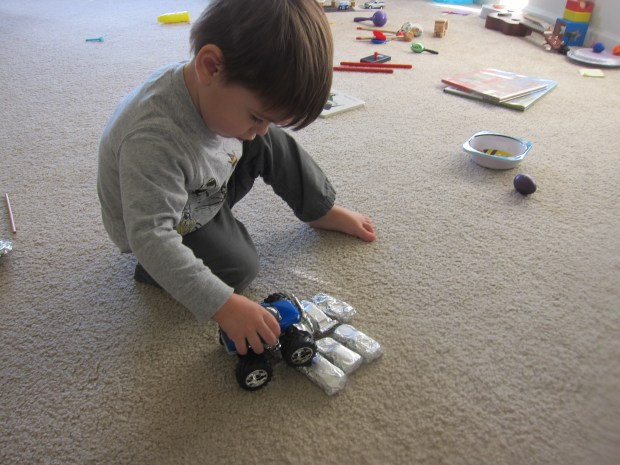
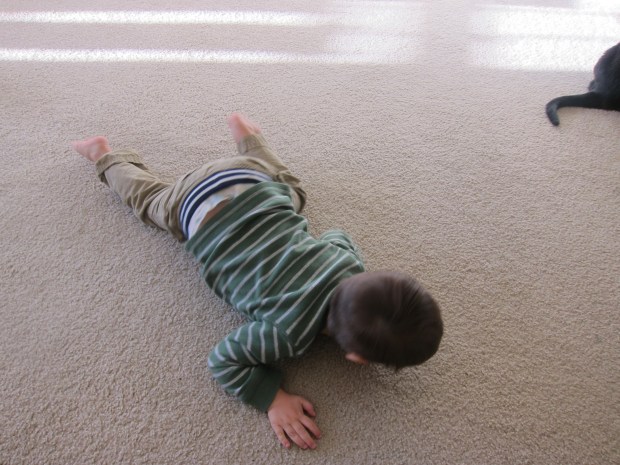
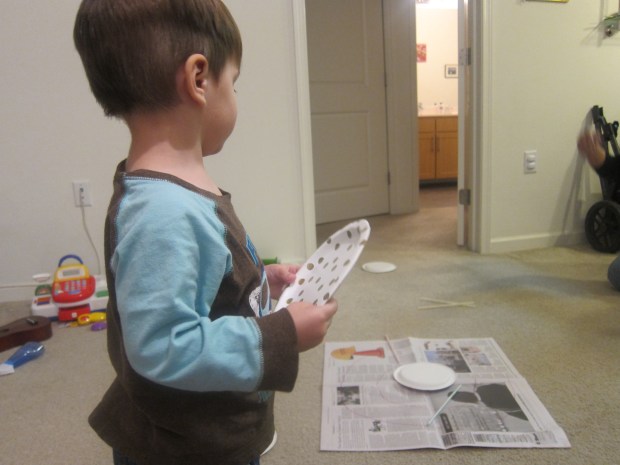
Obstacle course: We created such an intricate obstacle course that I devoted a separate blog post to it, but needless to say, this word is the perfect prompt for gross motor skills of the week.

Then we moved on to…

Fine art: Make Olympic rings (perfectly shaped like Os!) of course. See my Toddler Olympics post for more details.

o-week-23

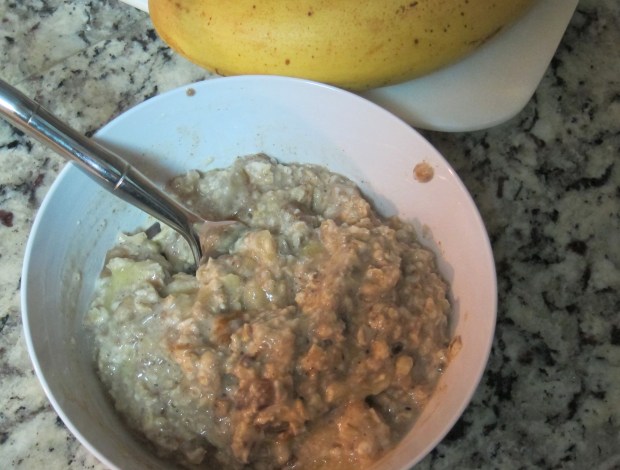
Food: Oatmeal raisin cookies got a happy yes. Olives got a very confused no.

o-week-9

Books: A few titles from the library that fit our themes and games perfectly: Thank you Octopus, by Darren Farrell and Inside Outside by Lizi Boyd (another opposite!). We also read Old Bear and His Cub by Olivier Dunrea.

o-week-21

Songs: On a whim, I played a download of an oboe sonata; who knew Travis would be so fascinated by the instrument? If you’re feeling ambitious, you might introduce your child to a YouTube clip of opera singers. More toddler-friendly, Travis loved watching My Bonnie Lies Over the Ocean and Old Macdonald Had a Farm and we sang lots of rounds of Open, Shut Them (more opposites!)

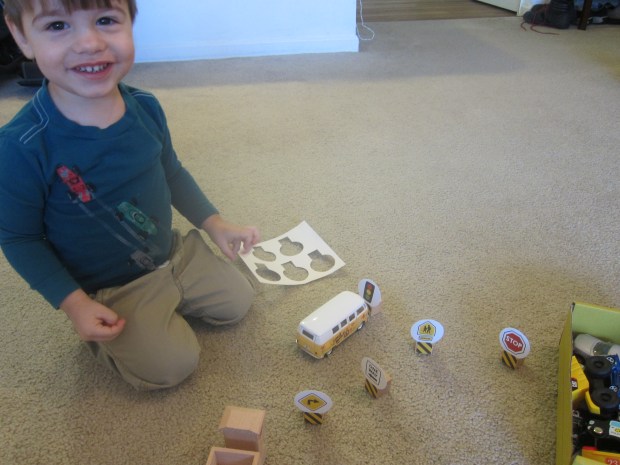
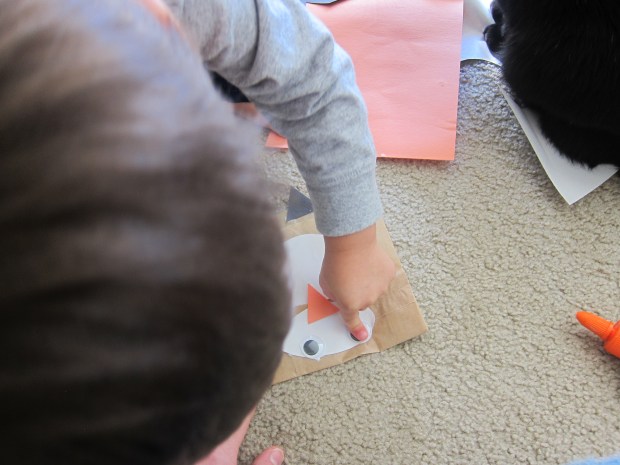
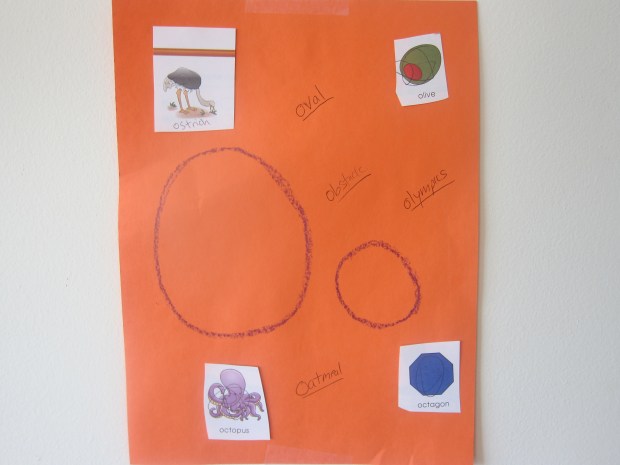
Math: Ovals and octagons are the shapes we focused on this week. I made a simplified outline match – another convenient O word – tracing octagons and ovals in various colors and sizes. Travis nailed the game on the first try, and then wanted to try tracing on his own!

o-week-5

We’re headed into N week next, so stay tuned.


Transportation Crate

koala-transport-8

We had a great time discovering our latest Koala Crate when it arrived in the mail this week! This month’s theme was billed as “transportation,” although the focus is largely on cars and trucks. I wouldn’t have minded an airplane- or train-themed craft to diversify the kit, but that is a minor quibble, because the materials provided were quite novel this month.

The first thing Travis spotted were the road signs, which meant they had to be assembled straight away (we used foam stickers to attach the sign templates to small wooden cubes). He loved making toy cars and buses stop at the traffic light and stop sign.

koala-transport-9

To add to the imaginative play, the crate comes with a roll of washi tape for making a whole town on your floor! This activity is one we’ve done with masking tape in the past, but now we had road signs to add to the complexity of our “town.”

koala-transport-10

This is a great chance to talk with toddlers and preschoolers about basic road rules and safety, and ask them about what each sign means. I also added a dashed line down some of our “roads” to teach Travis about two-way traffic.

koala-transport-12

And at the end, Travis loved ripping all the washi tape off the floor and making a big pile with it because, well, #two-nager.

koala-transport-14

The next item in the crate was a beautifully-crafted wooden truck. We ran the truck’s wheels in water in the pan provided and then across the “magic paper” to make tire tracks!

koala-transport-2

If you don’t have a Koala subscription, you can copy this activity with black paint and drive toy cars through. We had fun discovering the different tracks that various cars made, some skinny, some fat.

koala-transport-5

Travis also marveled at how he could touch the black watery marks left by the cars, but not get black on his finger. An element of magic is always a plus.

koala-transport-3

Then it was time to pull out the provided paintbrush and paint black roads, which made for messy fun driving cars through blobs of black paint.

koala-transport-7

Finally, we tested the third activity: A cardboard ramp. The varying slope of the ramp is a nice way to show how velocity varies as roads get steeper. Although the lesson was a little advanced for Travis, there’s nothing wrong with a game of rolling trucks and cars down a ramp!

koala-transport-16

To finish, I assembled car and truck puppets on popsicle sticks for Travis by cutting shapes from construction paper, taping them together, and then taping on a popsicle stick “person” to look through the windshield.

koala-transport-18

Travis loved driving these around for a moment… before deciding it might be more fun to rip them up, because again #two-nager.

koala-transport-19

Thanks for the fun, Koala!

Toddler Chore Jars

chores-4

Is your little one at an age where they reflexively say “no” to every request? If you’re having trouble getting a toddler or preschooler to complete the little tasks each day – brushing teeth, cleaning up toys, putting on shoes – these cute little chore jars might just trick them into it!

Cover popsicle sticks with colorful craft tape, and label each with a chore. For kids who can’t read yet, you might consider an illustration as well (of, say, a toothbrush), but Travis simply liked having me read him what each stick said.

chores-2

Now label two clear jars, one marked “Not Done” and one marked “Done.” Clean baby food jars are the perfect size. As each element of the day gets accomplished, your child gets to move the popsicle stick proudly from one to the other.

I tested out the system for the first time this week, now that Travis likes to give me a stubborn “no!” sometimes just for the sake of it! But he was so eager to move the sticks, it turned recalcitrance into excitement. When he initially didn’t want to put his toys away, but then learned he’d get to transfer a stick at the end, he jumped off the couch to help.

chores-3

Let’s hope he doesn’t catch on to my secret agenda any time soon!

Puppet Fun!

puppets-10

There are dozens of ways to make puppets at home, many requiring only simple items you likely already have on hand. To wit, below are three kinds of puppets that we tried out this past week. Don’t forget to have a puppet show at the end!

Perhaps the easiest puppets ever, snip the fingers from rubber gloves, and let your child decorate with markers. Travis told me this was a girl and her smile!

puppets-4

I added animal faces to a few of the other fingers to spark his imaginative play. He was equally delighted by the glove that I left intact, which became a puppet and toy all of its own, no decoration required!

Next, we made “walking finger puppets.” Draw the head and torso of people or animals on poster board, then cut two slits near the bottom big enough for your child’s fingers to fit through.

puppets-7

The fingers become the “legs” to walk about. Travis was initially hesitant at this new idea, but once he got the hang of it, he loved walking his puppets everywhere.

puppets-11

Finally, we made a paper bag penguin puppet (how’s that for alliteration!). I mostly put the craft together myself, but Travis and I discussed the shapes as I cut them out: white ovals for body and face, an orange triangle for the beak, orange rectangle strips for the hair, and two black triangles for the feet.

puppets-13

Next, he helped glue on two googly eyes. Once the glue dried, we colored over the brown bag with black marker.

puppets-14

Although he was least interested in the preparation of this puppet, it was far and away his favorite to play with. He loved “talking” with the penguin while it was on my hand, telling it stories and asking for more.

puppets-17

I’d love to hear about any other easy puppets you’ve made at home in the comments!

Super Hero Costume

super-hero-2

Need a last minute costume? It only takes a couple of easy items to put together this super hero idea from High Five magazine, and your child can help with most of it!

Draw two eye holes on craft foam, then draw a mask shape around the eyes and cut out. Measure your child’s head and cut two more strips of craft foam to be the straps. Using self-adhesive Velcro, attach the straps to the face of the mask (kids can help with this part!)

Cut two additional strips of craft foam to be the arm bands, attaching the ends of each cuff with self-adhesive Velcro as well.

super-hero-1

Now it’s time to decorate! Add star stickers, or other fun shapes that demonstrate your super powers!

super-hero-4

For the cape, simply attach two ribbons to a towel with safety pins, and drape over your little hero’s shoulders.

Not just for Halloween, this costume will store easily for dress-up play all year long.

Reptile Crate

koala-reptile-5

This month’s theme from Koala Crate was reptiles, and it was by far our favorite crate in a long time! The projects and games were quite varied, and helped to inspire creative play and learning.

As always, you can replicate many of the crafts below with items from a craft store. the exception being the color-changing chameleon… see details below.

First, we made our stuffed snake. The craftiest item in the crate, this involved stuffing fluffy roving into a felt snake. Your child will definitely need help – even I had trouble stuffing the very center of the snake! – but Travis loved the fluffy filling, and was a big helper pushing it as far as we could with a pencil.

koala-reptile-2

As you decorate the snake with the provided hexagon stickers, you can discuss how all reptiles have scales, or talk about shapes and patterns. Travis sort of lost interest though, and preferred to pretend the stickers were band-aids on his fingers. #toddler

koala-reptile-3

But then came the real fun: the snake comes with slits to insert a party blower “tongue.” Travis was so proud that he could use the party blower all by himself.

koala-repitle-1

We used the blower for the next crate activity as well: a chameleon and three “bugs” for him to catch with his long tongue. Take turns with your child and see who can knock down all three bugs first. Sure to produce giggles!

koala-reptile-7

Even cooler, the chameleon changed colors when exposed to heat. Travis was at first astonished and then delighted at the effect when he held the green animal in his hands.

koala-reptile-10

Finally, we assembled our turtle box, adhering a felt turtle body to a cardboard base, and covering with the lid with more hexagon stickers. Attach Velcro points to the turtle’s limbs and head, and he can fold under to “hide” just like turtles do in their shells!

koala-reptile-9

A really cute way to introduce this element of the animal. Travis loved hiding treasures inside the turtle’s shell.

koala-reptile-8

We continued the reptile play with charades: chomping like a crocodile, slithering like a snake, and “hiding” like a chameleon, to name a few. Travis’s favorite was the slithering!

koala-reptile-14

To make one more fun snake, I had Travis practice threading, adding large beads to a pipe cleaner (bent slightly at the end to keep the beads on). It was by far his best threading yet.

koala-reptile-11

Once the pipe cleaner is full, bend up the other tip and add stickers for eyes, then slither your snake all over the house!

koala-reptile-16

Overall, great fun, a nice dose of science, and adorable crafts that we’ll be able to use again and again. Thanks Koala Crate!

Koala reptile (15).JPG

Squirrel It Away

Squirrel Away (2).JPG

Here’s another cute idea from 365 Toddler Activities That Inspire Creativity; this silly game will engage your child’s imagination and get them running around to burn off some energy!

Of course we’ve been having fun watching the very busy squirrels outside this time of year. To set the stage for the game, we first sang the song Gray Squirrel:

Gray squirrel, gray squirrel, sway your bushy tail.

Put a nut between your toes,

Wrinkle up your tiny nose.

Gray squirrel gray squirrel, sway your bushy tail.

Then it was time to be a squirrel! Hide any nuts in the shell around the house – walnuts, pistachios, or even real acorns from outside will work great! Hide them in little batches and invite your “squirrel” to find them all.

squirrel-away-1

No sooner did he find them than Travis was asking if we could do it again – a sign of a hit!