Drum Time

Drum Time (7)

We had a rainy day today, which made it the perfect moment for an impromptu drum session with Veronika!

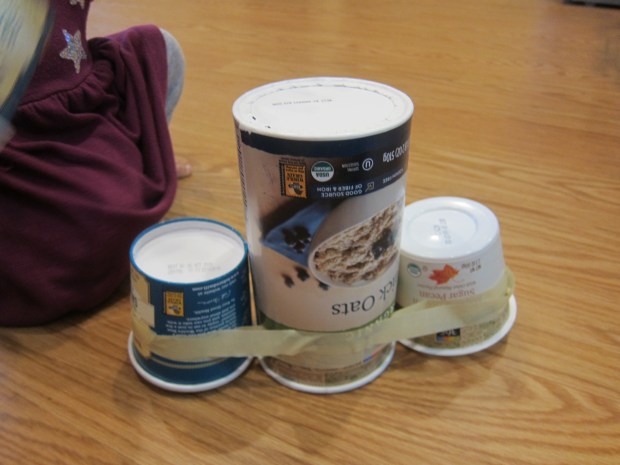
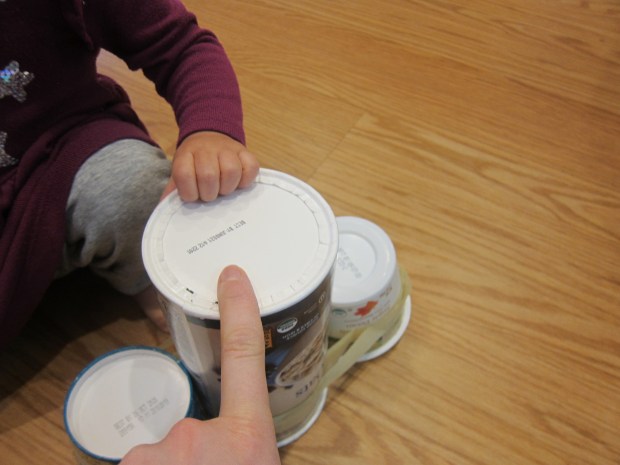
I had three different sized oatmeal containers in the recycle bin, including a full-sized oatmeal canister and two smaller servings of instant oatmeal. So first I made her a set of bongo drums! If you don’t have different sized oatmeal containers, use three that are all the same but cut them to different heights. Use masking tape to secure them together, and voila!

Drum Time (1)

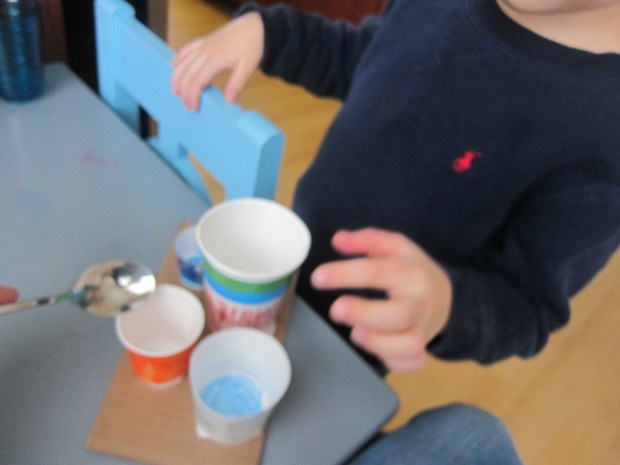
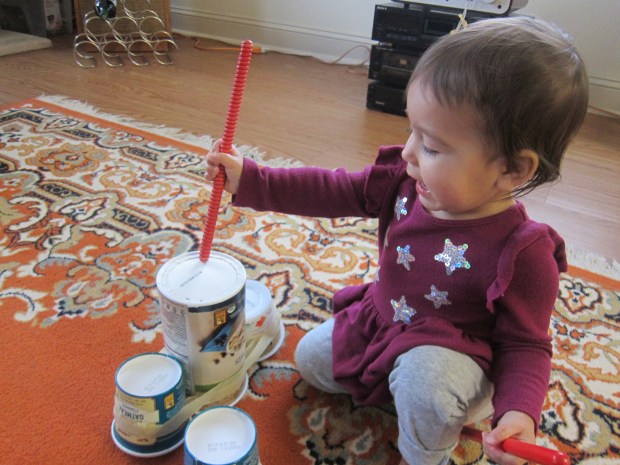
A wooden spoon and a few rhythm sticks were all we needed to start drumming. I also showed her the different ways we could drum with just our hands. We explored with our fingertips, our palms, our knuckles, and more.

Drum Time (2)

This was great for letting her explore all the different ways we can use our hands and fingers.

Drum Time (5)

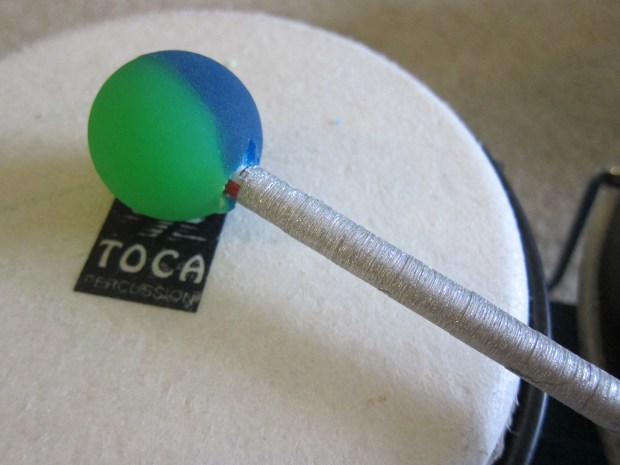
But she liked the sticks best, and soon was giving lots of proud taps.

Drum Time (3)

We added a soundtrack of favorite songs (heavy on drum beats of course), and started up a jam session.

Drum Time (4)

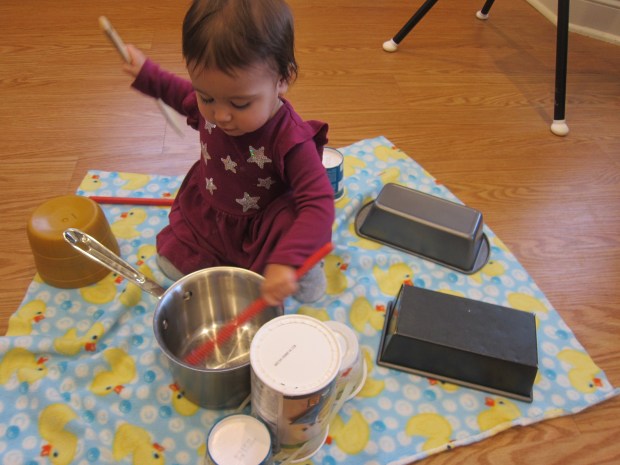
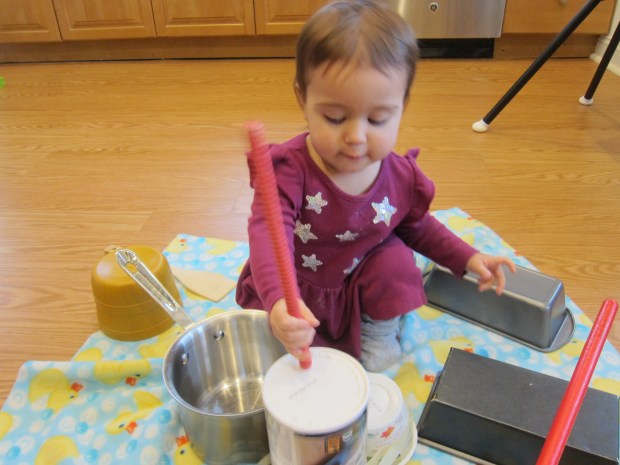
Later in the day, I set up her up with a “drum circle” of bowl and pot drums. On a soft blanket, I arranged a sauce pot, a few loaf pans, a plastic bowl, and another empty oatmeal container. I sat her in the center with her mallets and put the music back on.

Drum Time (6)

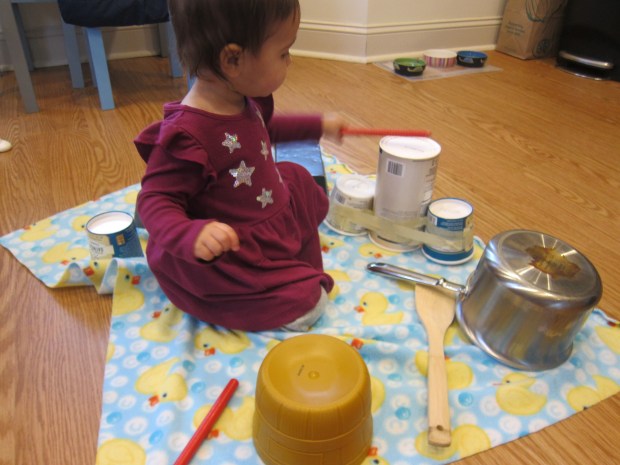
Let the drumming begin!

Drum Time (8)

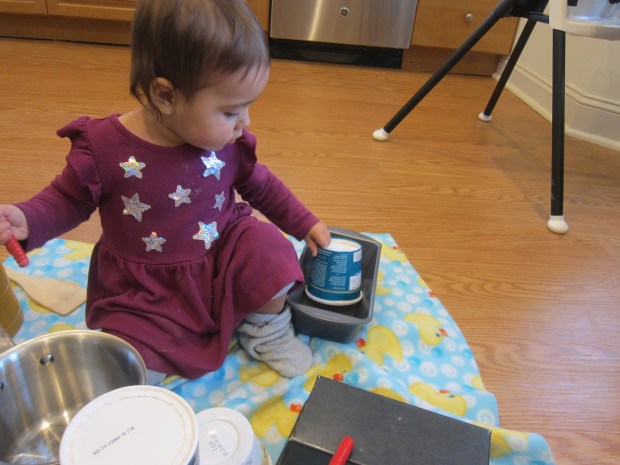
Don’t worry if your toddler drums in unconventional ways. Veronika enjoyed turning the vessels right side up so she could swirl the rhythm sticks around the inside, which made a fun clanging sound.

Drum Time (7)

She also loved piling the “drums” one inside the other, turning it into a stacking game and drum session all in one.

Drum Time (9)

When she discovered that the loaf pan made a spectacularly loud clang on the wooden floor, this had to be repeated several times.

Drum Time (10)

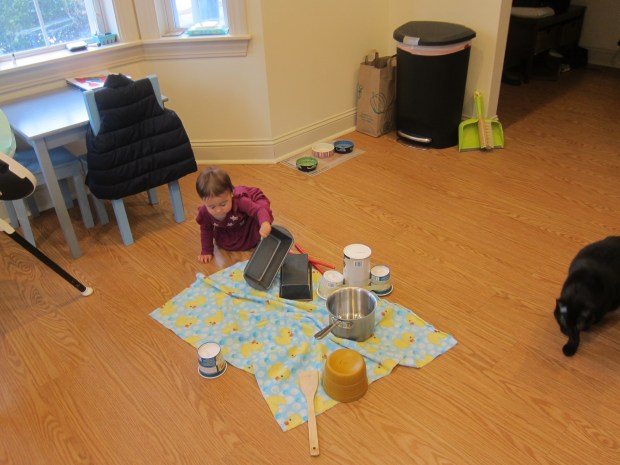
I didn’t reprimand her, since it’s not drum play until it gets a little loud! In sum, this was a fun way to explore volume, dynamics, rhythm, and so much more.

Paper Cup Drums

Paper Cup Drums (8).JPG

A kitchen band never gets old; everyone loves clanging on pots, tapping together spoons, and banging on old pans, from toddlers to big kids. But sometimes I don’t want to clean out all the pots after the kids have played with them… and that’s where these clever paper cup drums come in, this month’s craft from High Five magazine. Travis got to use kitchen items for his instruments and I had no pots to wash – a win-win! You’ll also get to teach a little science, thanks to the different tones the drums make.

Paper Cup Drums (1)

First, set out 2 large paper cups and 2 small ones. Cut one large cup and one small cup in half, leaving the others whole – great scissor practice!

Paper Cup Drums (2)

Travis decorated the cups next, using marker on the outside and then coloring inside them, too, which I wouldn’t have thought of!

Paper Cup Drums (4)

We glued down our drums as a “drum set” on a piece of cardboard, then waited for the glue to set.

Paper Cup Drums (3)

Once dry, it was time to play! Use a spoon to tap on the “drums” – first we just enjoyed the sounds.

Paper Cup Drums (5)

But to be more educational about it, I asked Travis what difference he noticed between the big cups and small ones. Tapping first one, then the other, he could hear the difference – a low tone, then a high tone.

Paper Cup Drums (6)

I challenged him to guess how the medium cups would compare. Lower or higher than the big? He initially guessed lower, but then amended his guess once we played the tone. Interestingly, your intact small cup and cut-in-half big cup should now be nearly the same size, and thus sound quite alike.

Paper Cup Drums (7)

Note: We originally tried using a metal spoon, but found that the difference in cup size/tones was much more apparent when tapping with a plastic spoon.

Paper Cup Drums alt.JPG

Thanks for the musical play, High Five!


Coffee Can Drums

Coffee Drum (6)

The spin drum we made the other day was such a big hit (pun intended!) that we continued the musical fun with this easy upcycled drum. It’s similar to the oatmeal- and soup-can drums we made about a year ago, but you can never have too many drums in your home collection.

Trim construction paper or craft paper to fit around an empty coffee canister, leaving it about an inch longer than the can at the bottom.

For decoration, we worked in some fine motor skills practice! Give your child any small circular object and have them trace it on the paper.

Coffee Drum (1)

While Travis turned his attention to other toys, I hot-glued the construction paper to our can, folding over and gluing the excess paper on the bottom.

Coffee Drum (2)

Then we continued the tracing, this time making the circles on a strip of colored duct tape.

Coffee Drum (3)

Cut out the tape circles (another grown-up step; cutting duct tape is a sticky affair), then give them to your child and let them line up the sticky circles with the ones on the paper. Travis enjoyed this part!

Coffee Drum (4)

For the head of the drum, I snipped the narrow end off of a balloon, and stretched over the can. “Mom, you’re not very good at this,” Travis accused. Phew, got it on the third try! Secure the balloon with another piece of colored duct tape.

Coffee Drum (5)

We threaded some ribbon around our drum as the final decorative touch. I also hot-glued pom poms onto the ends of unsharpened pencils to be the drumsticks, although this would have worked better if I had had larger pom poms in our craft bin!

Coffee Drum (7)

My happy drummer boy!

Rubber Ball Drum Sticks

Drum Stick (5)

We’ve been playing rock band a whole lot lately and needed drumsticks to go with our microphone!

This craft is perfect if you have a toddler who loves to use drum sticks on anything and everything, especially walls and furniture. The bouncy rubber balls are much kinder on a surface than wooden sticks!

To fashion them, poke a hole into two rubber balls – definitely a grown-up step. I saw this done on another blog where the parent used a drill, but I was able to poke into our rubber balls with just a little force and a screwdriver.

Drum Stick (1)

Insert two unsharpened pencils into the holes. To decorate, we first tried wrapping in string, which Travis had a surprising knack for.

Drum Stick (2)

But for more rock star flair, we abandoned the string in favor of shiny washi tape.

Drum Stick (4)

Travis loved the way the sticks gave a bounce with each tap!

Drum Stick (6)