Felt Ornaments, 3 Ways

Felt Lollipop (2)

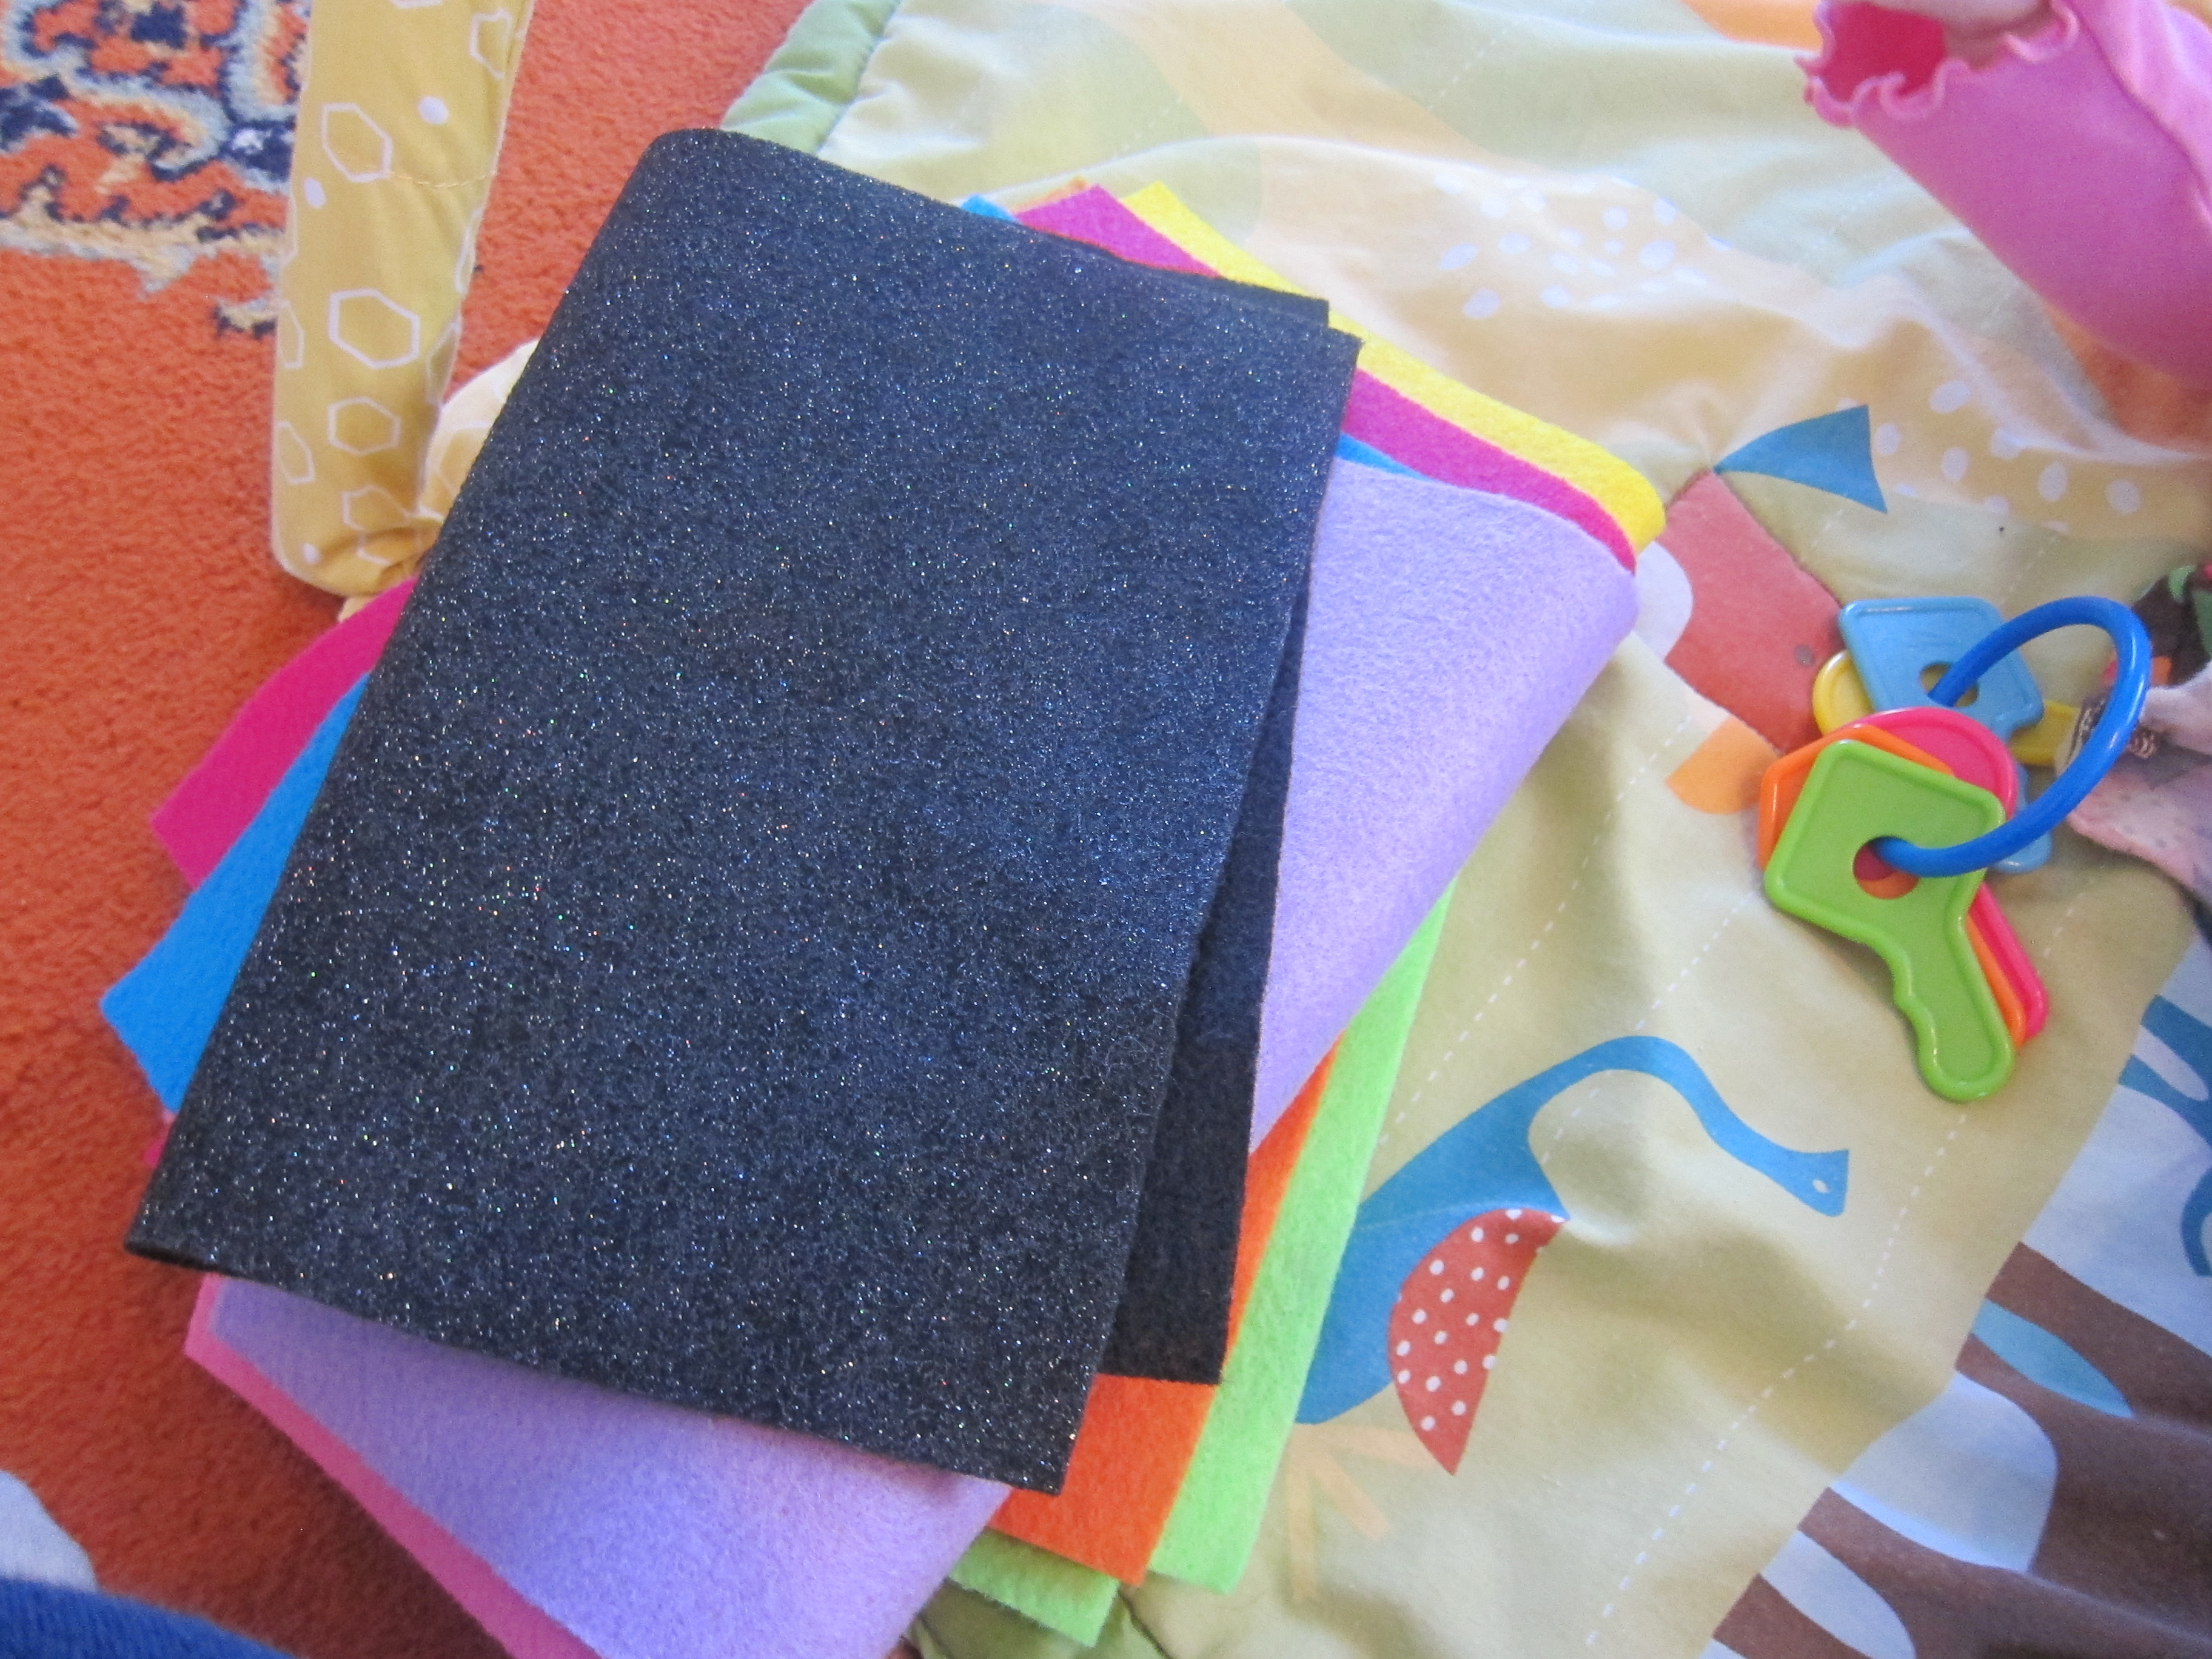
Fancy store-bought ornaments are beautiful, but my favorite ones from over the years have been the homemade ones. All you need for these three options are sheets of felt from the craft store and a little glue!
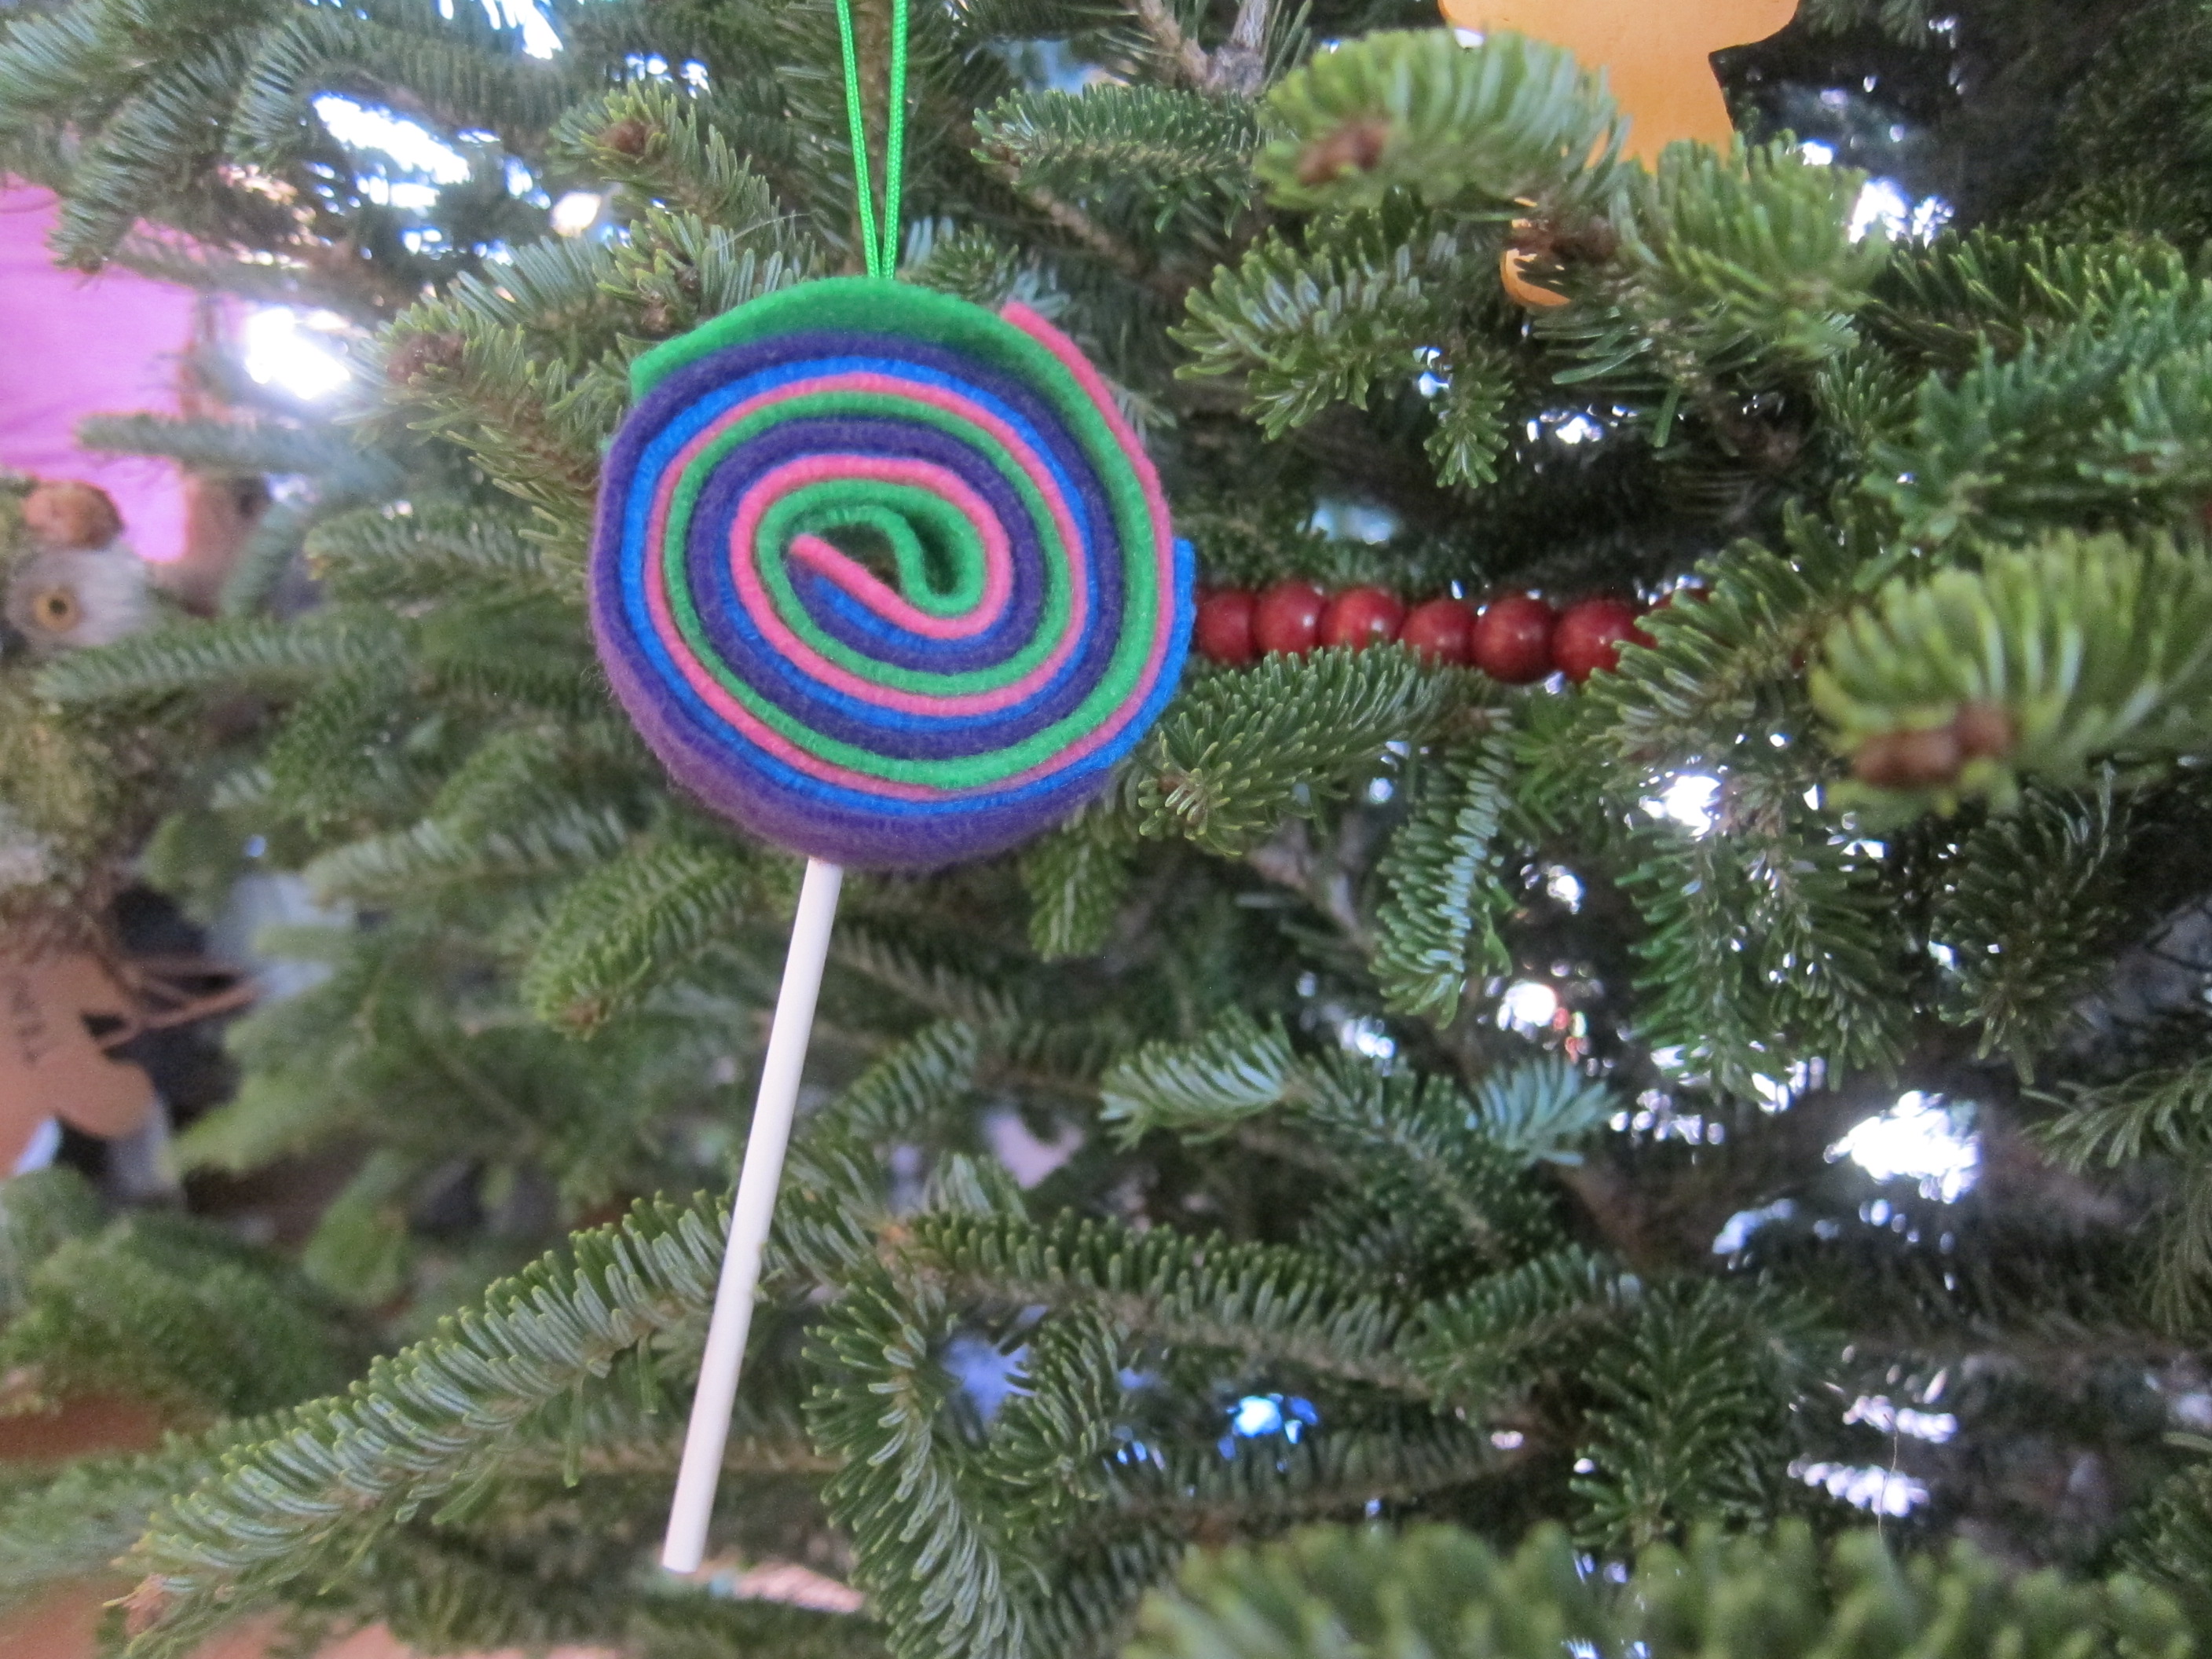
Felt Lollipops:

For the first version, stack 4 colors of felt together and cut into 3/4-inch wide strips. Glue the layers together at one end with tacky glue, then begin rolling up, adding dots of glue periodically. The mechanics of this were a bit tricky for Travis, but he started to get the hang of it!

Felt Lollipop (4)

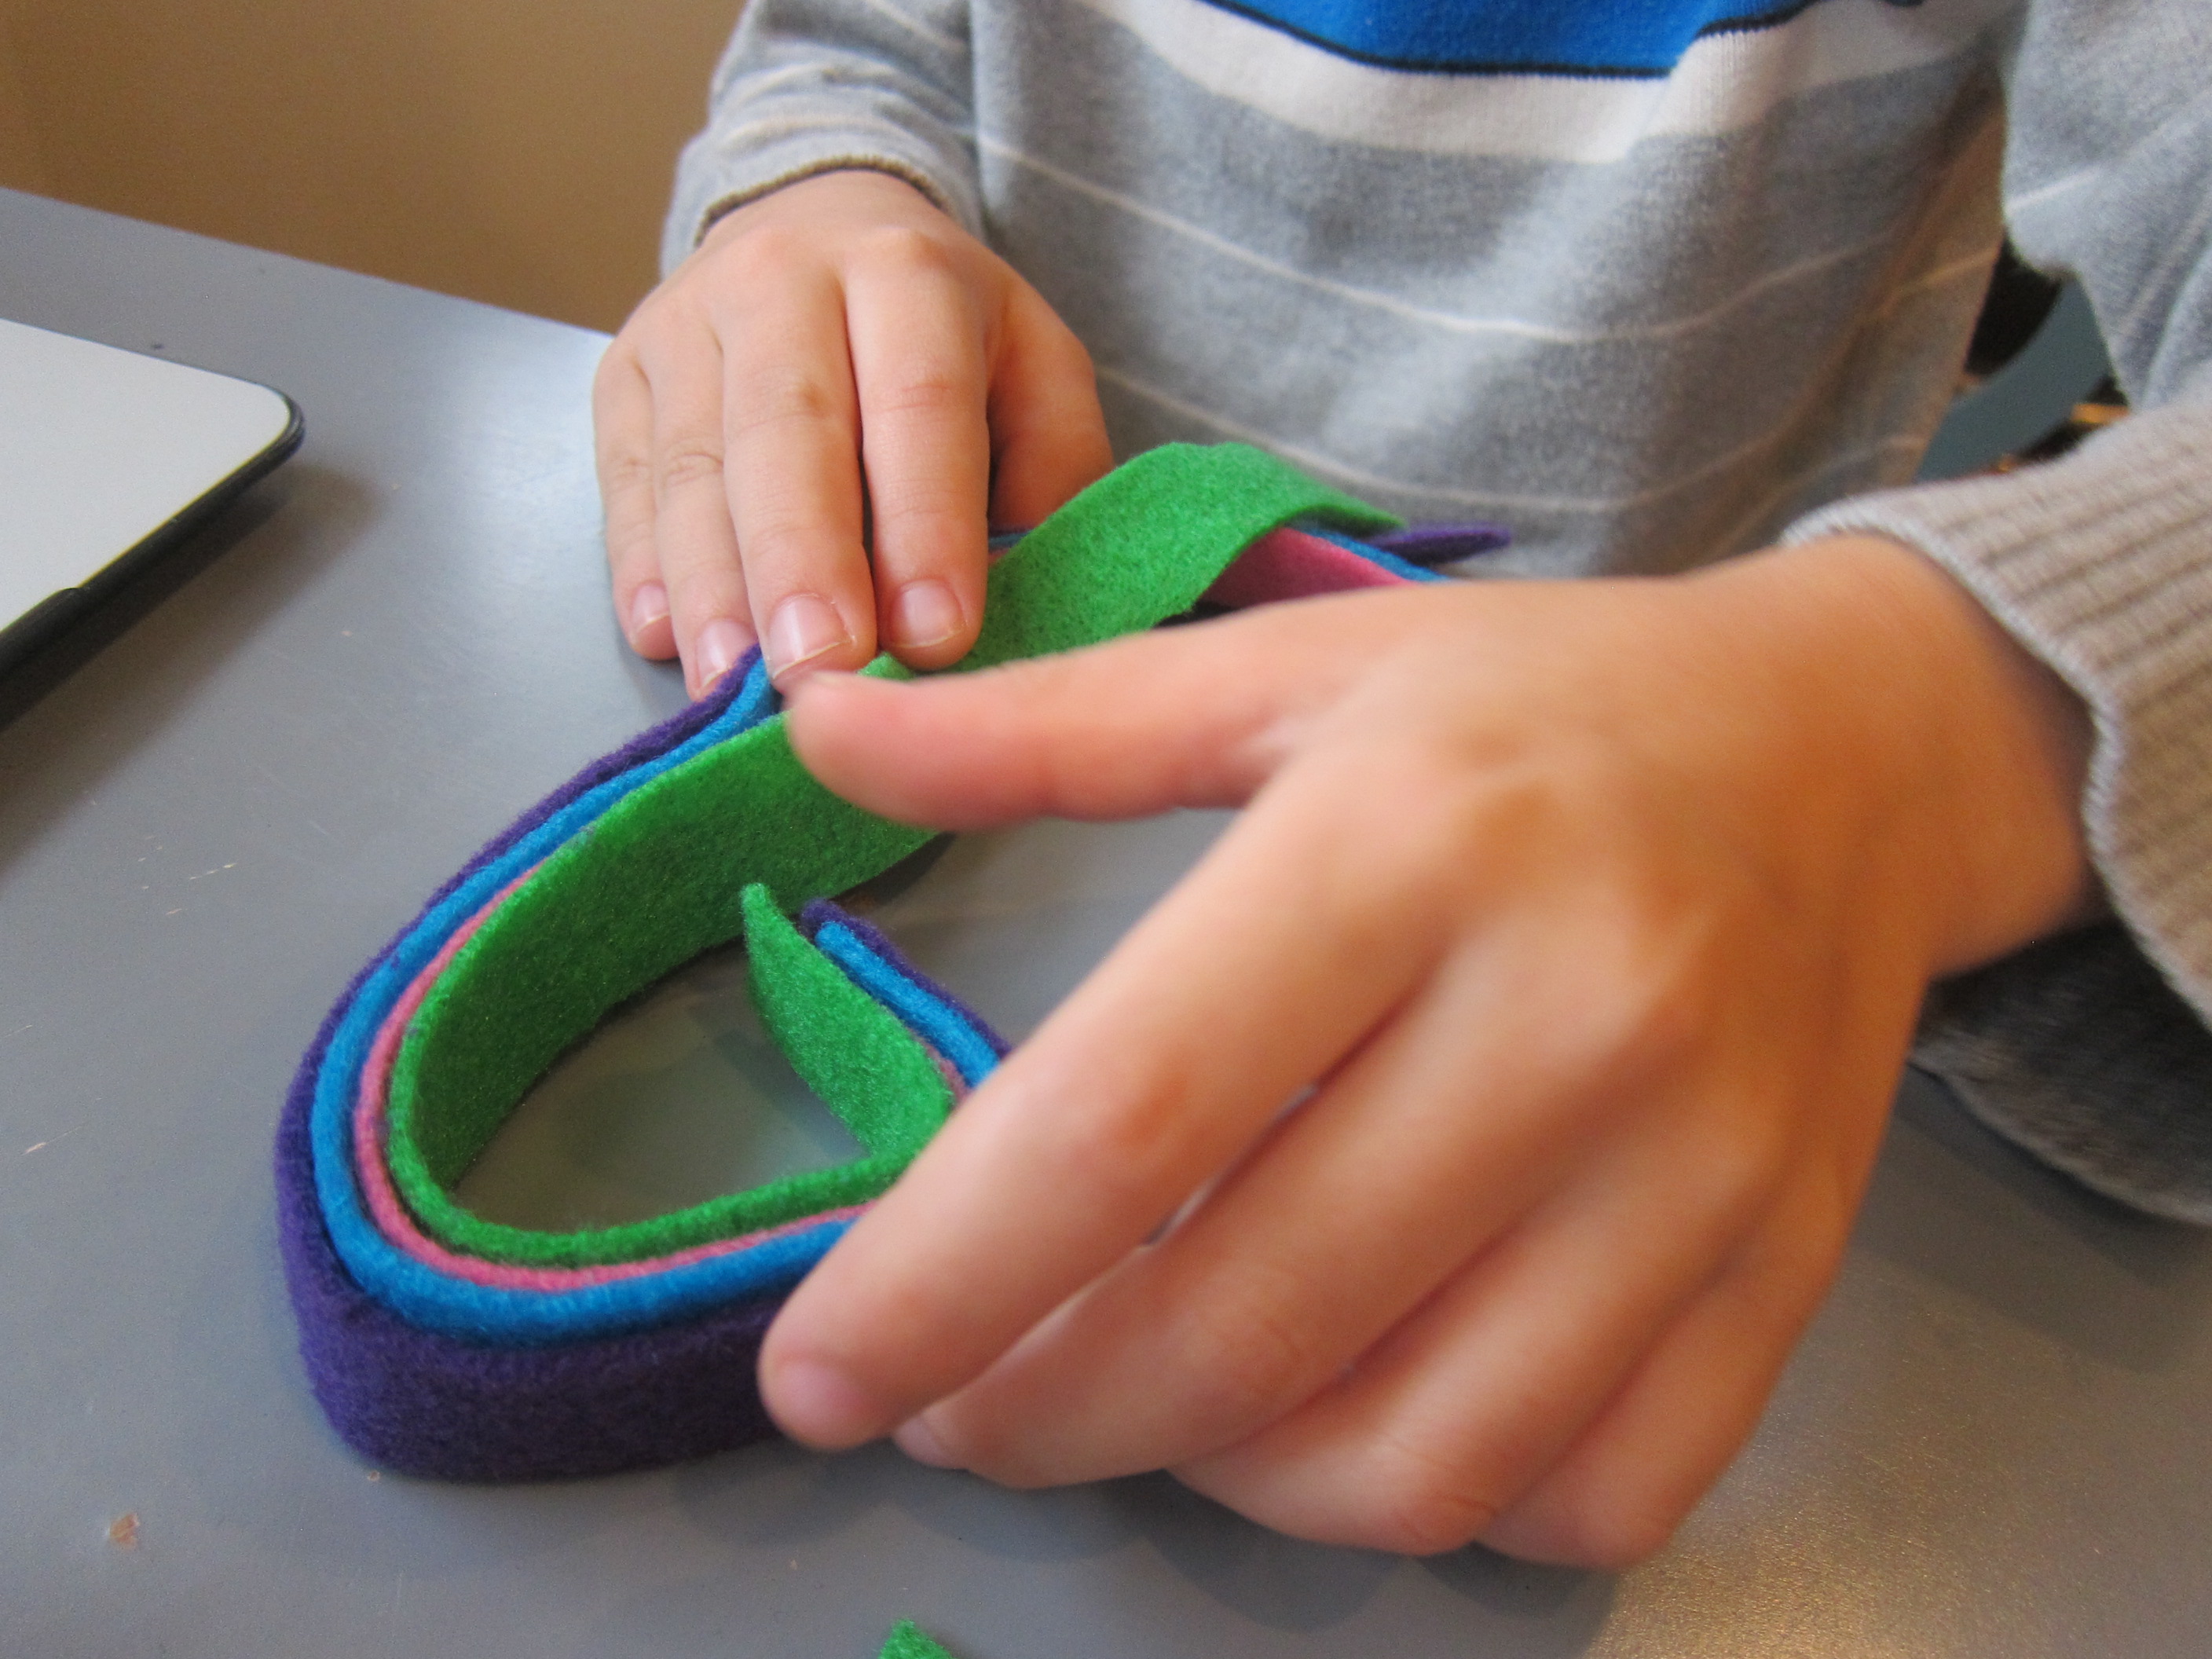
Glue the loose ends of each felt color down, then wrap with a rubber band to hold everything in place as the glue dries.

Felt Lollipop (6)

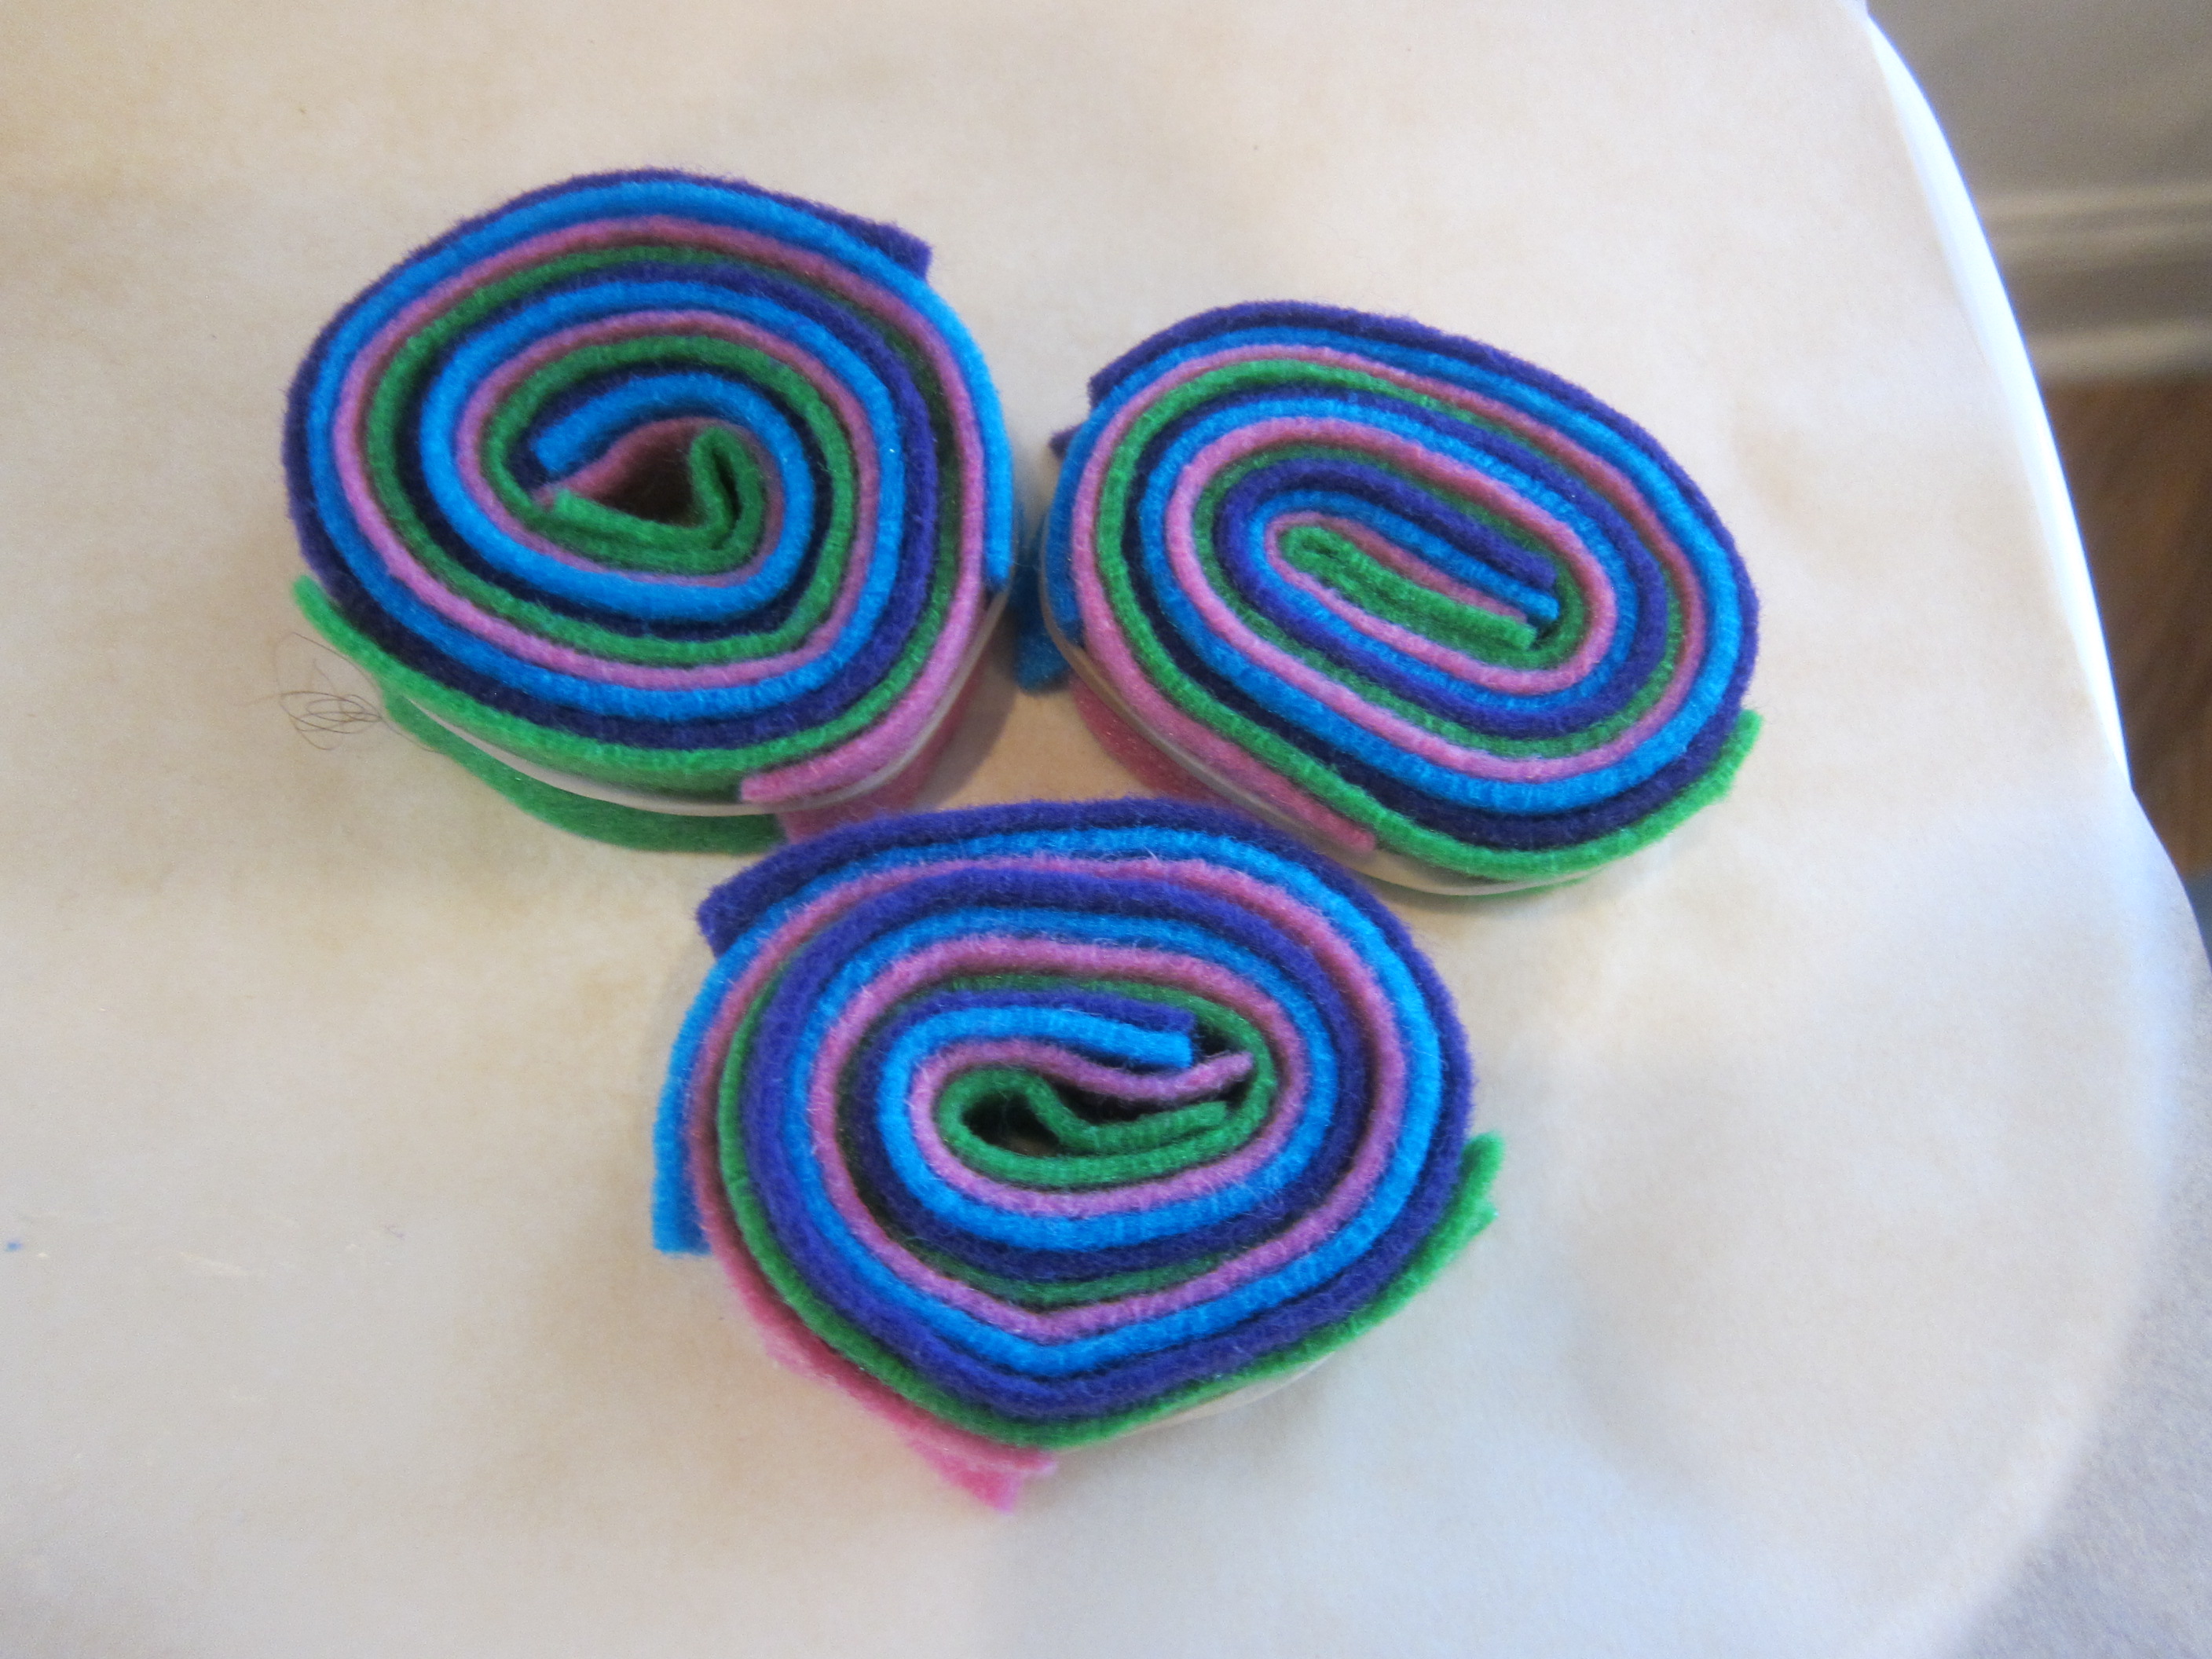
Once dry, glue a loop of string onto the back, along with a lollipop stick. I found that hot glue was better for this step than tacky glue. These looked delicious hanging from the tree!

Felt Lollipop (1)

Felt Garland:

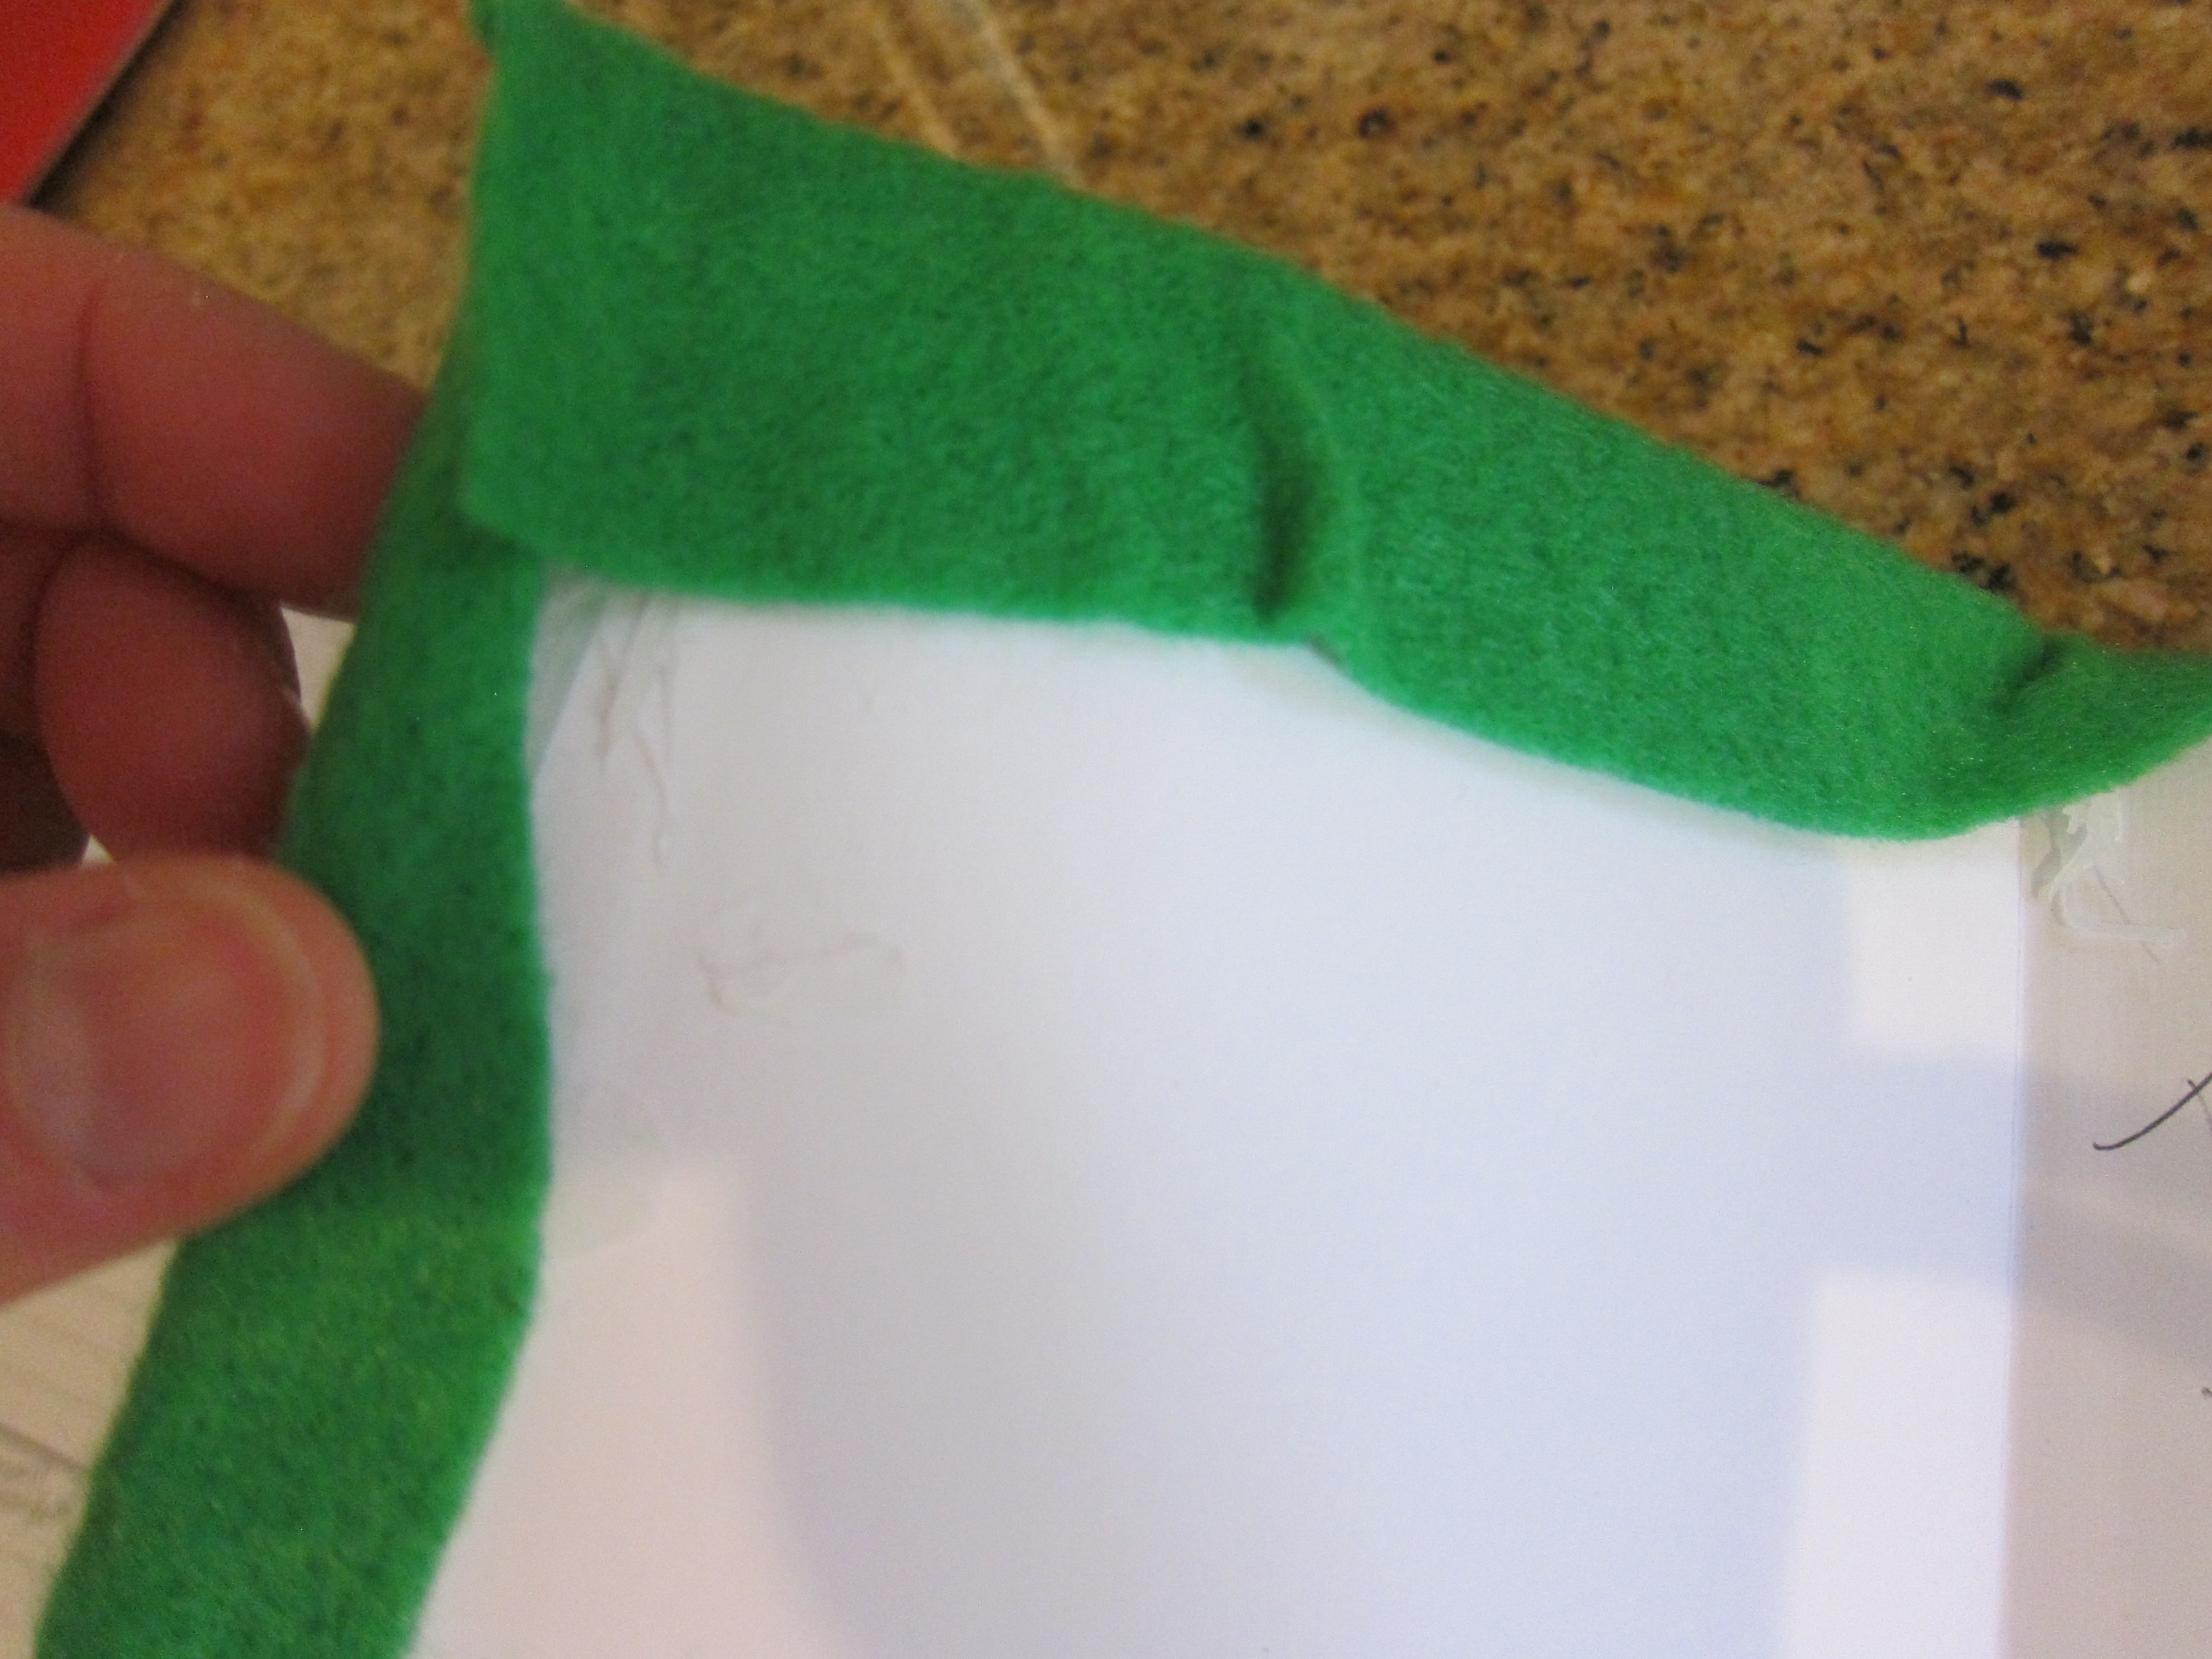
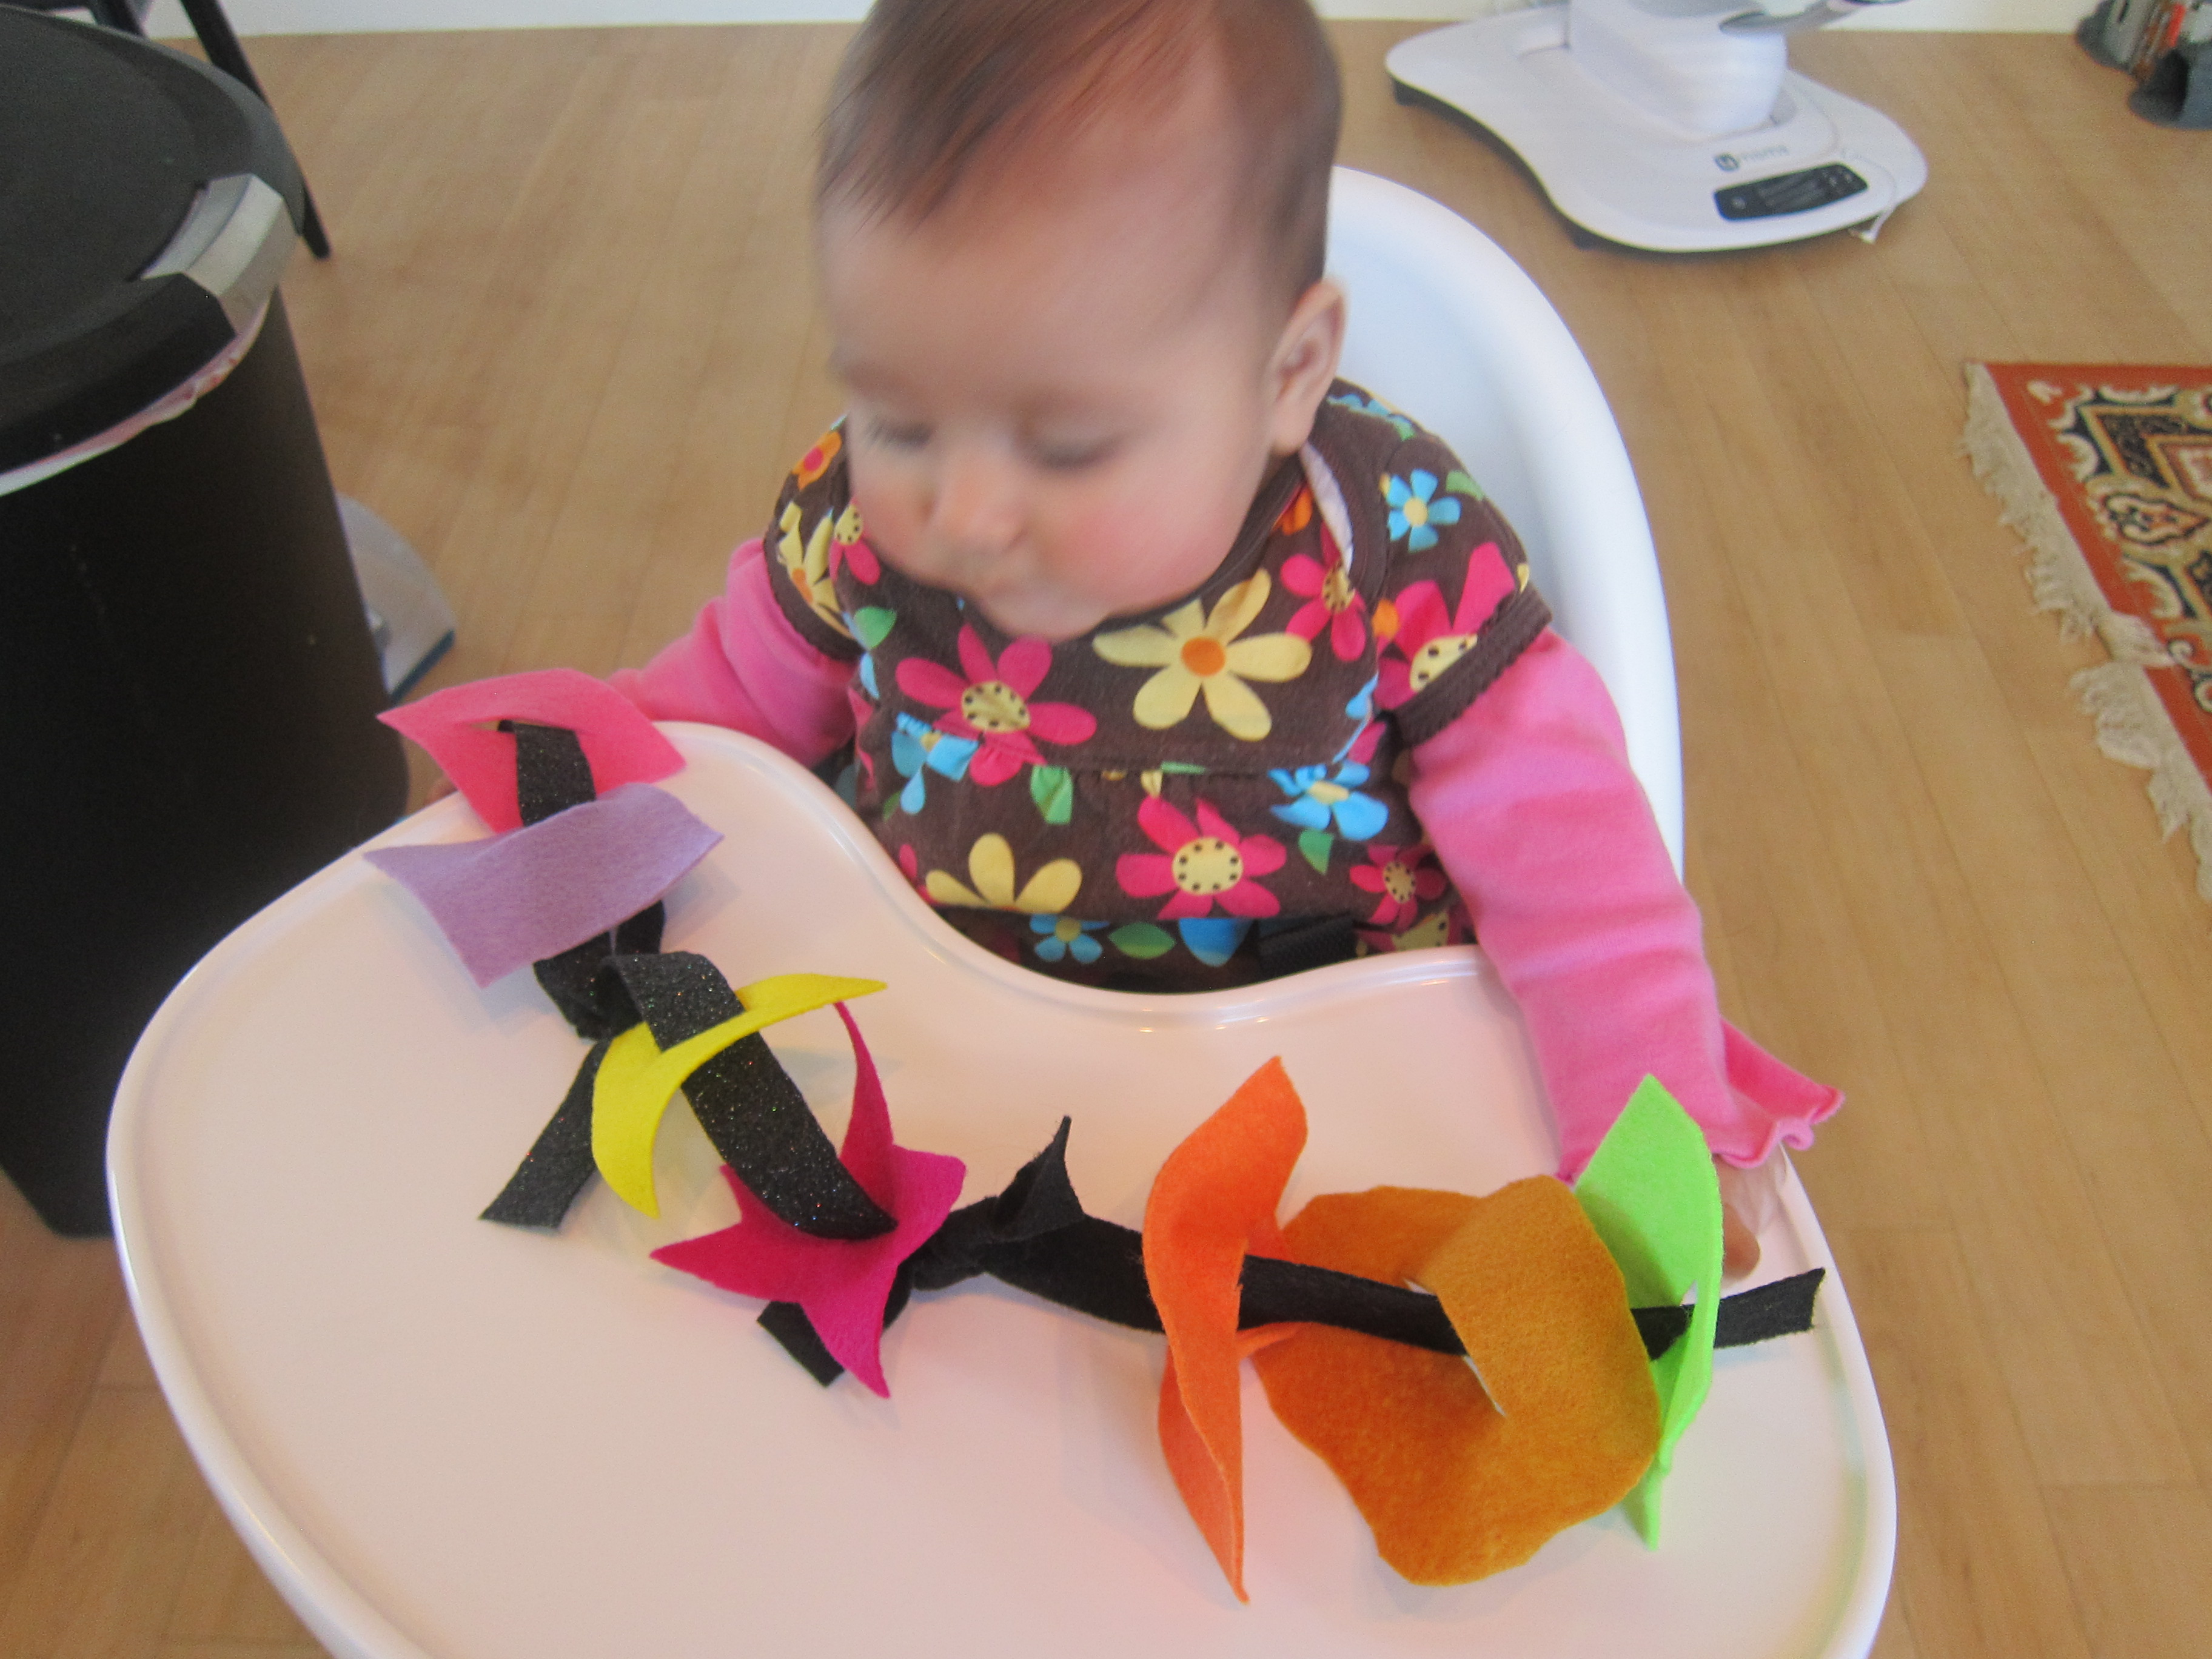
For the garland, cut many two-inch pieces of felt and begin using hot glue to attach them in two long strands. We made one that was all purple, and one that alternated light and dark green. The purple felt was cut thinner, and in retrospect I would have done the green strip just as thin.

Felt Garland (2)

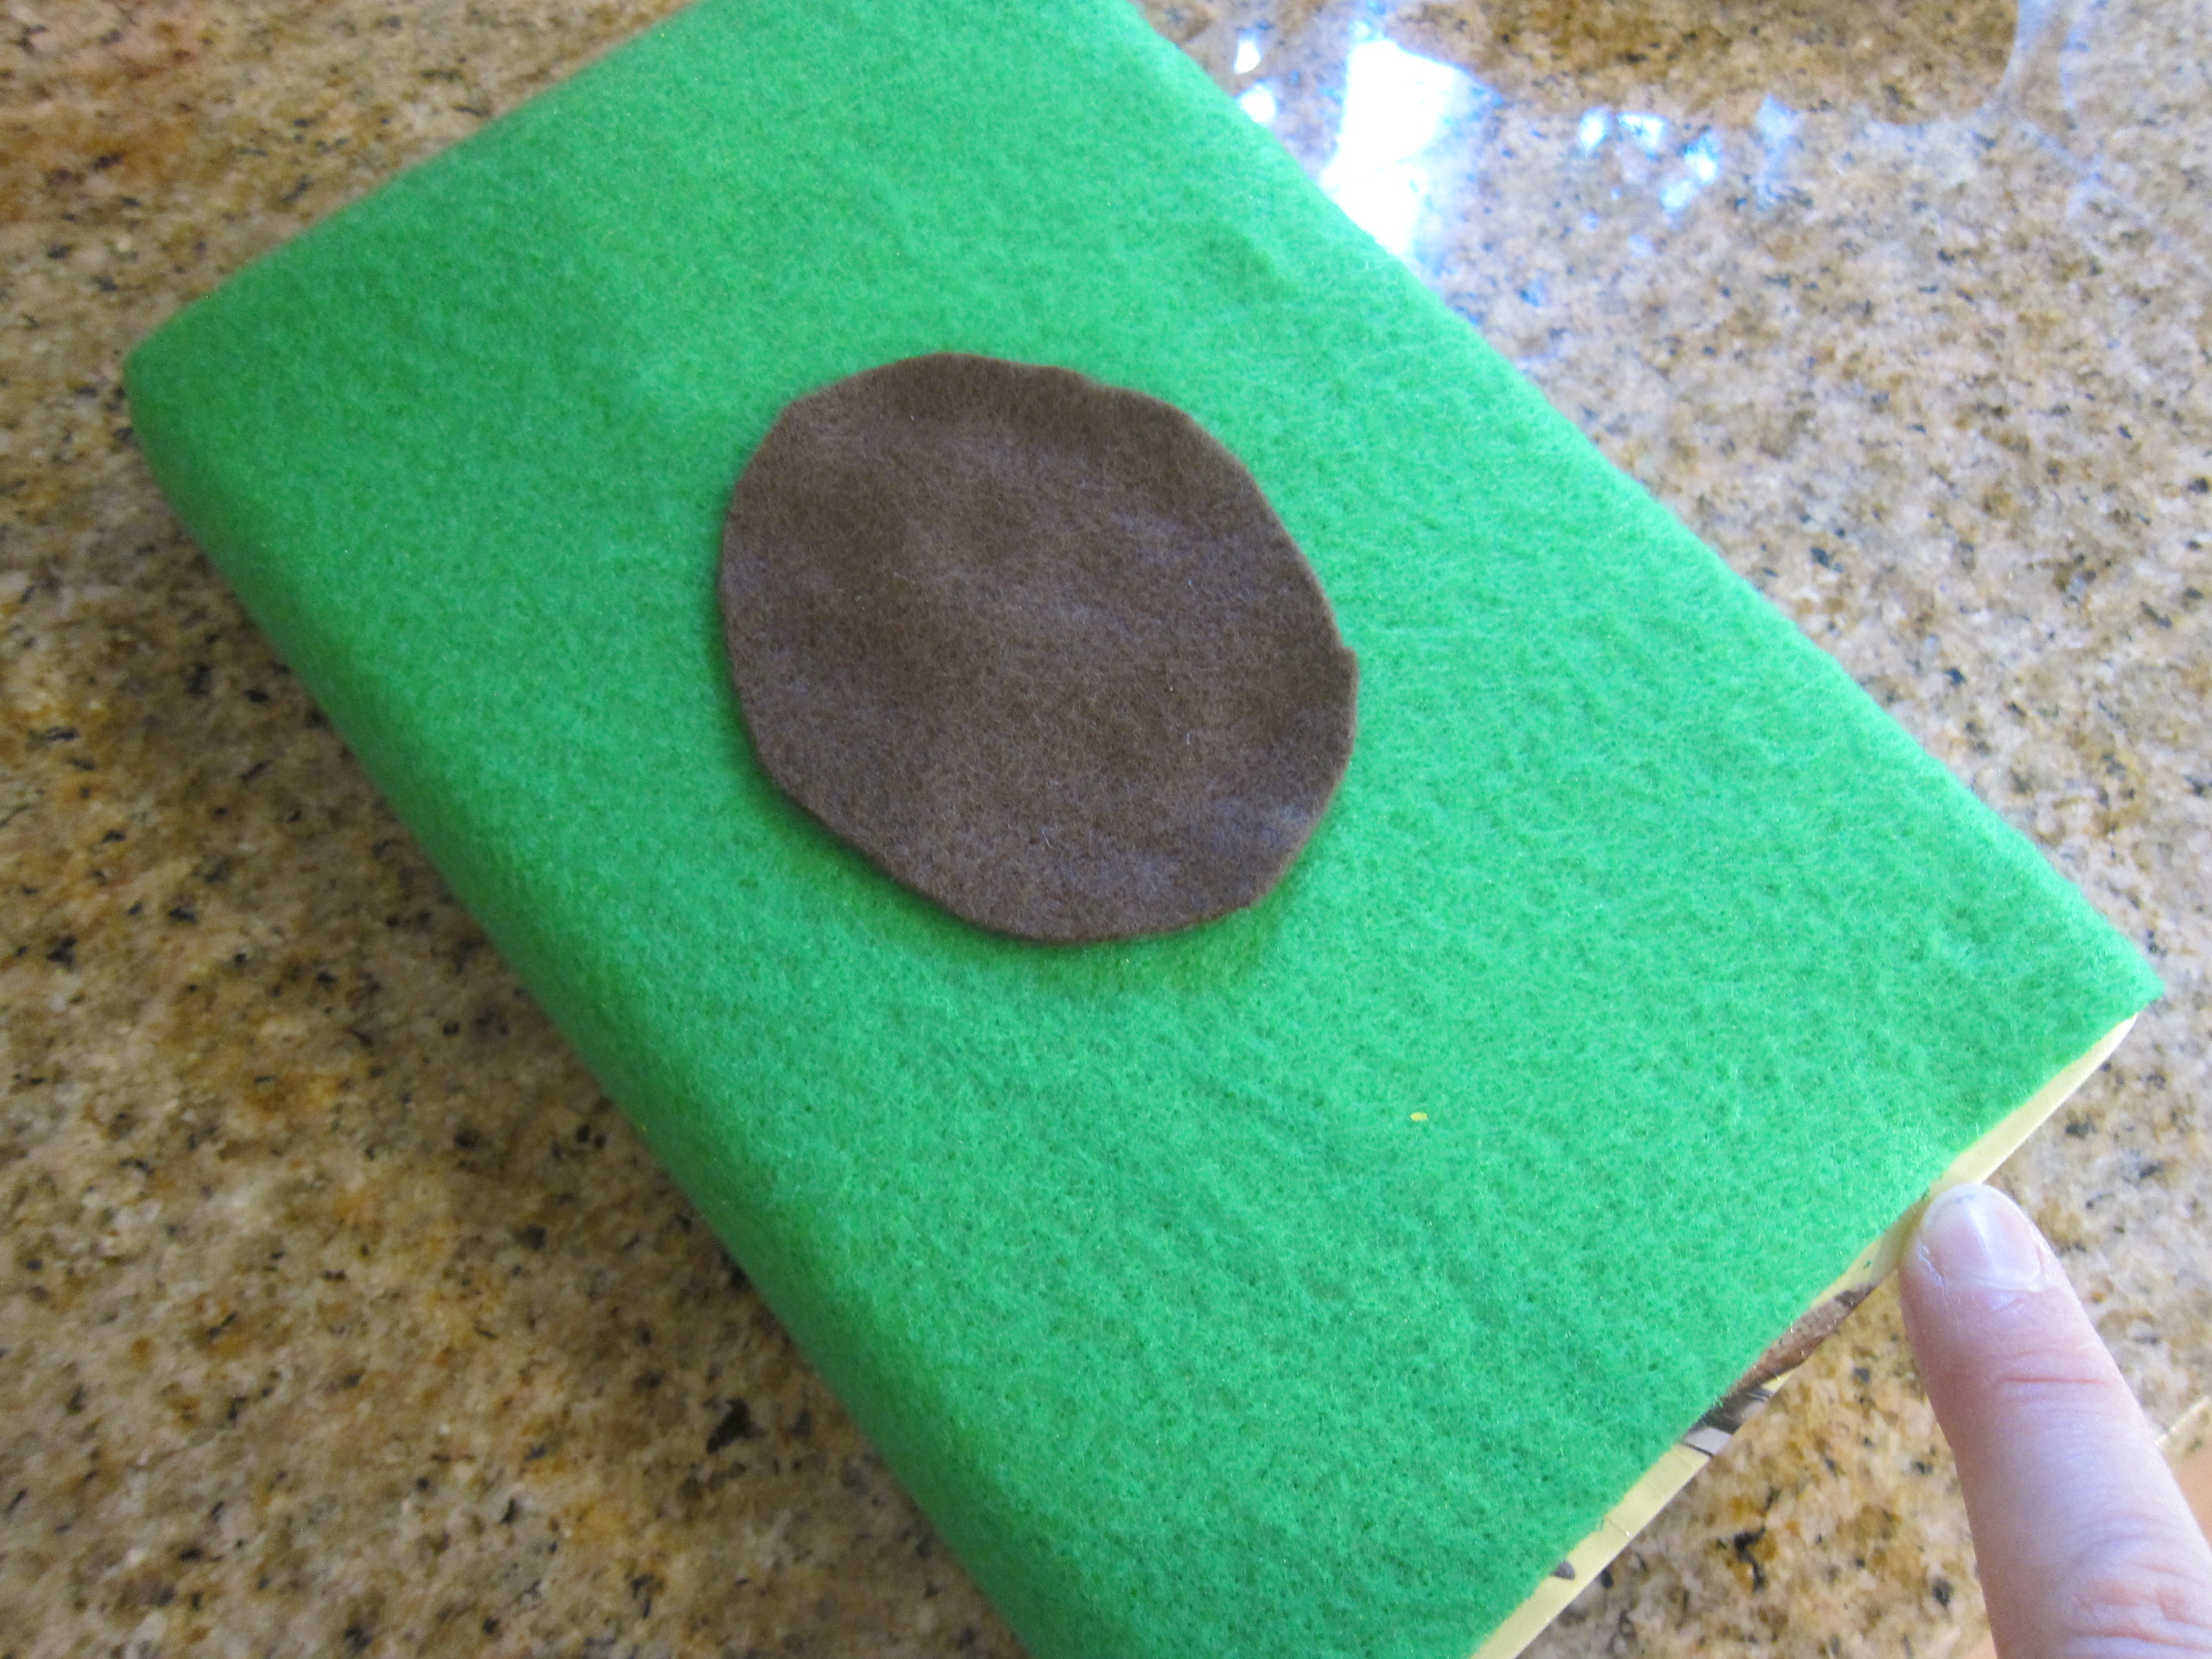
Place a heavy book on one end of the two stands, then begin winding them together, securing with a clothespin at intervals.

Felt Garland (3)

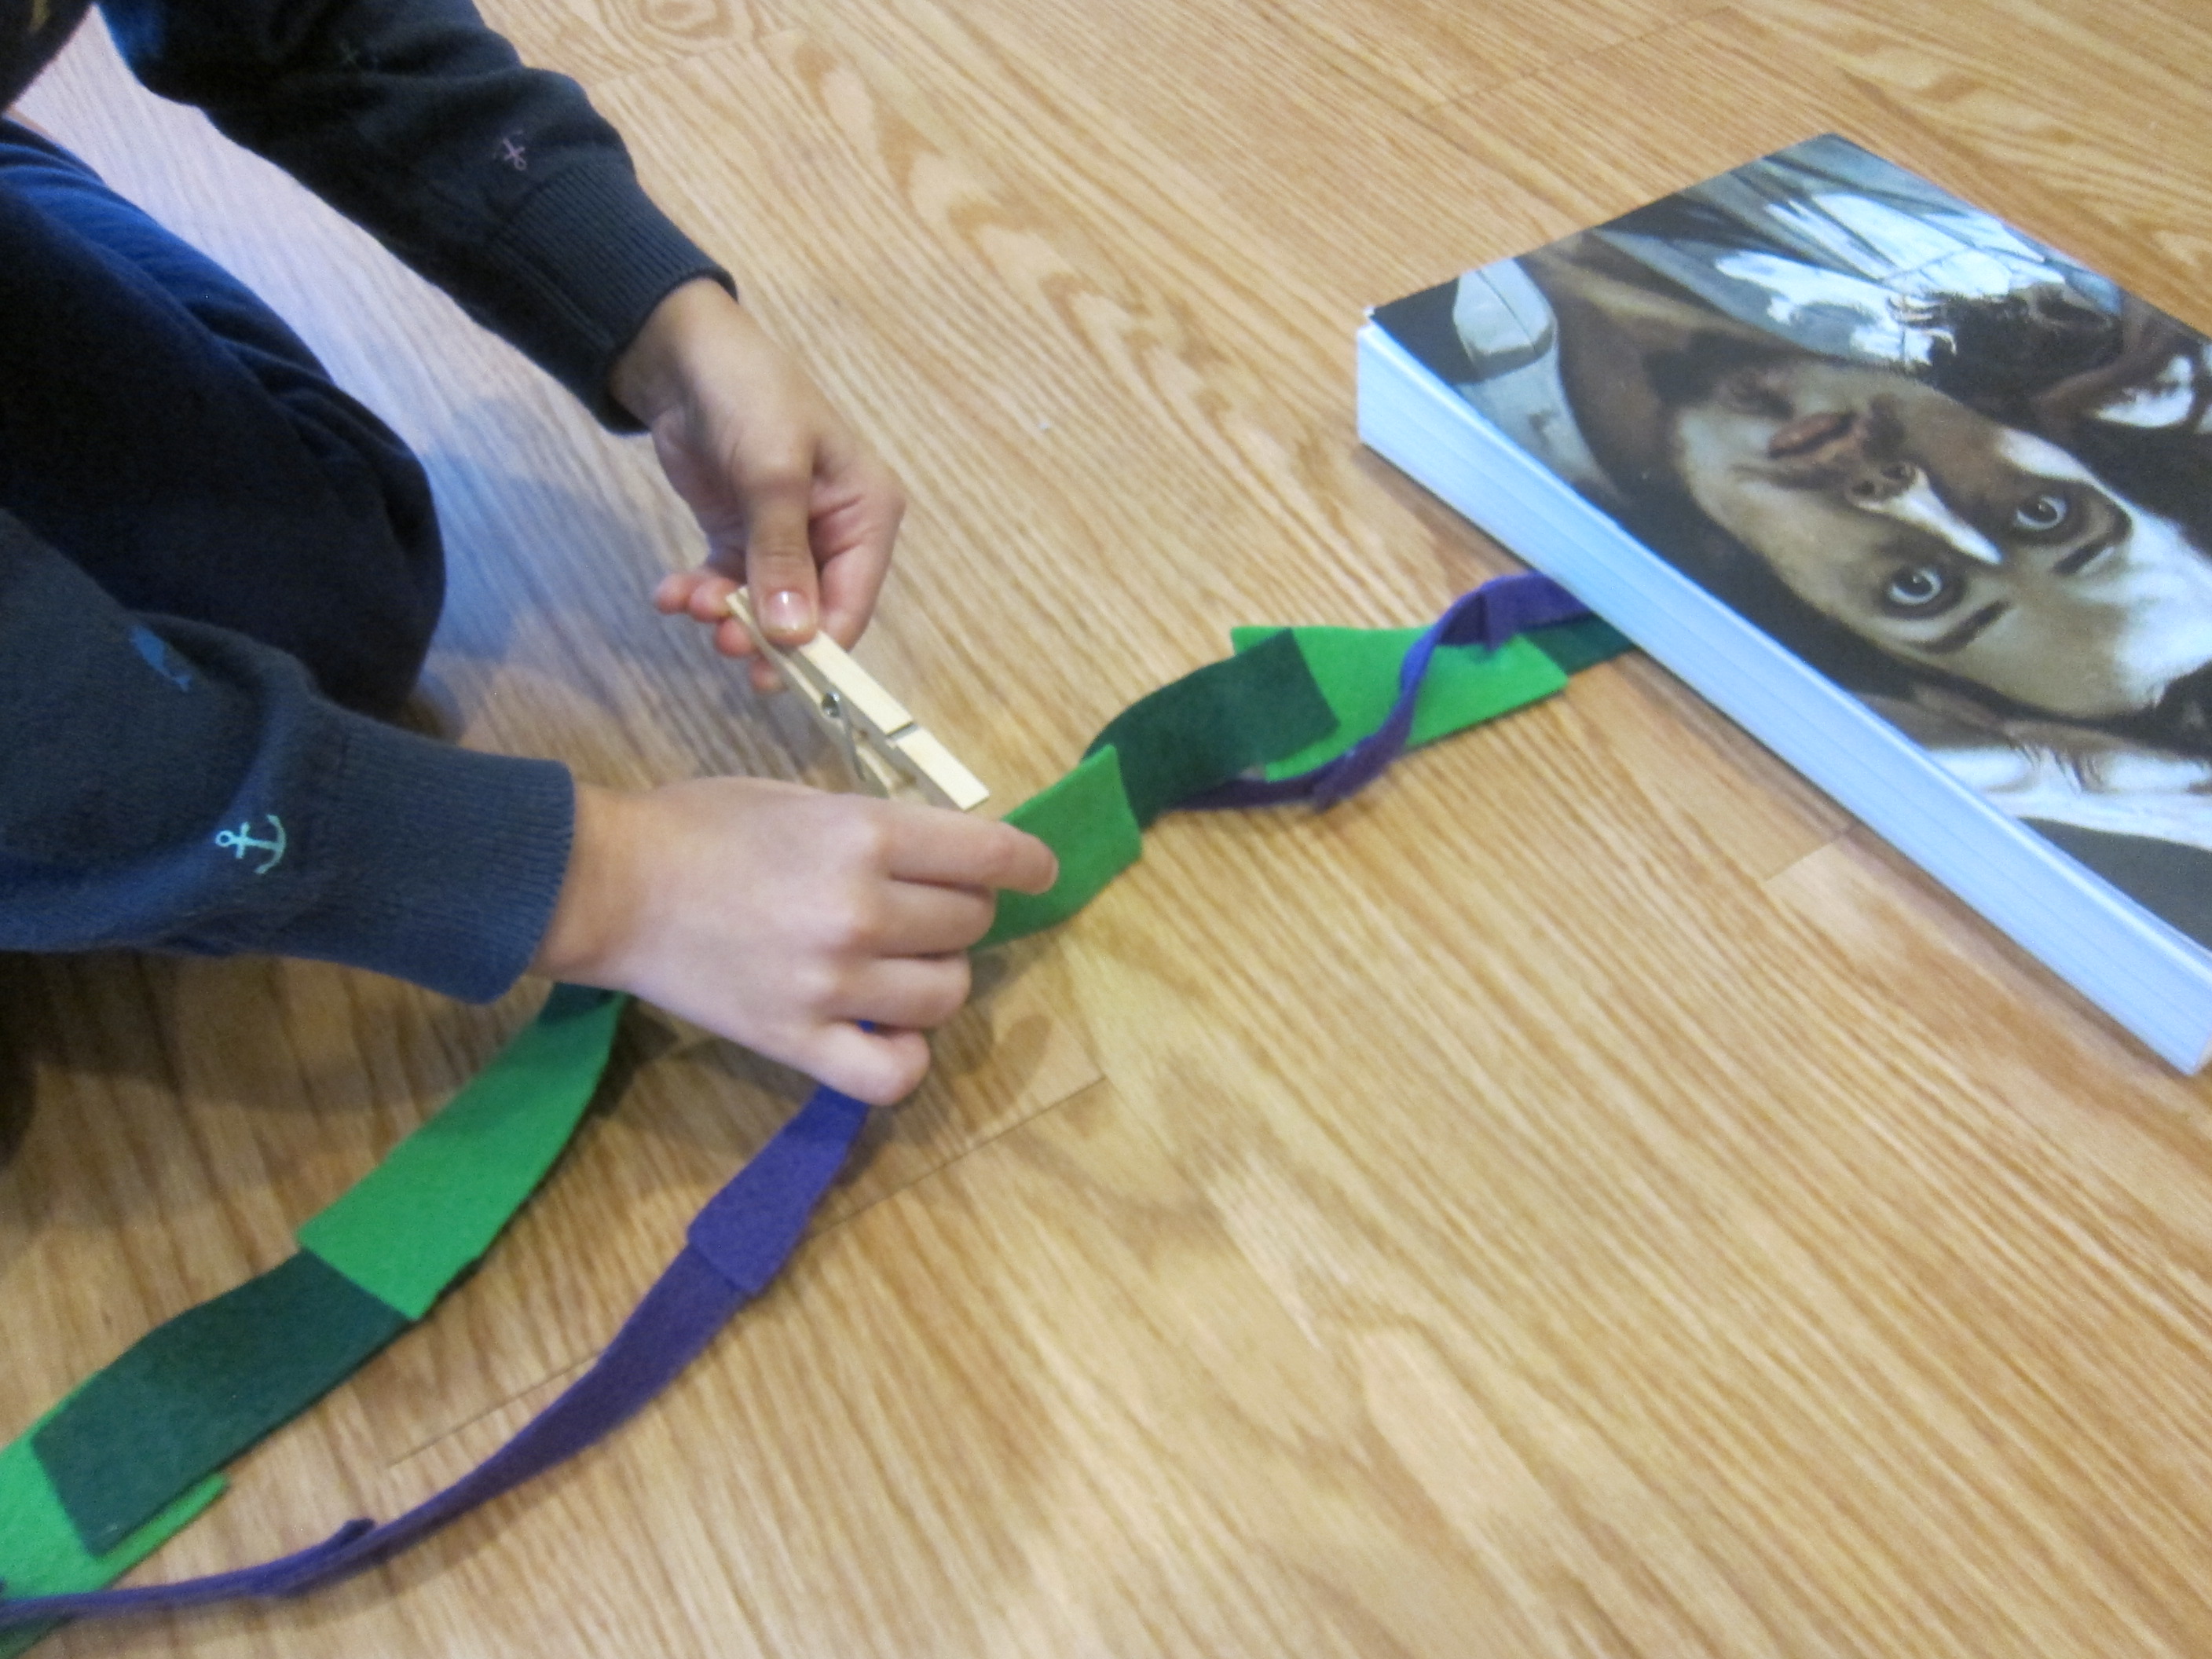
Once it looks the way you want, use hot glue at the ends and everywhere else you had a clothespin. String around the tree as a garland!

Felt Garland (5)

Felt Ribbon Candy:

For the final version, we cut three colors of felt into 1-inch wide strips. Glue them together with tacky glue, then start folding the strand over itself, accordion-style, adding a drop of glue after each fold. Add a rubber band to hold it together until the glue dries.

Felt Ribbon (2)

Now just add a string with one more drop of glue, and it’s ready to hang on the tree!

Felt Ribbon (3)

Which one do your kids enjoy making the most? Please share in the comments!

Felt Garland (6)

Felt Recreatable Christmas Tree

Felt Tree (12)

I’ve always loved the idea of a felt Christmas tree for the kids, but was never ambitious enough to make my own. Thanks to an early Christmas gift, we now have a version the kids can use. Although we didn’t craft ours, the idea is so wonderful that it merits a blog post.

If you are going to tackle a homemade version, you’ll need to start with a very large piece of green felt. Cut out a Christmas tree shape and then cut a stump from brown felt; use tacky glue or hot glue to attach them together.

Felt Tree (5)

Add Velcro dots at various intervals on the tree and hang on a wall.

For ornaments, you can then use additional colors of felt to cut out simple Christmas shapes: think yellow stars, red candy canes, or little squares for gift boxes. Use hot glue any time you want to attach two colors of felt together where details are needed, like ribbon on the gift boxes.

Felt Tree (6)

Needless to say, I wasn’t that crafty and was so thankful to receive this early gift for the kids. What’s wonderful about these felt trees is that kids can decorate them again and again without getting near the real (breakable!) ornaments.

Felt Tree (3)

Veronika in particular loved the tree. We talked about each item as she attached them to the Velcro squares, or the colors or shapes. She loved pointing out that the presents were squares, or the hooks of the candy canes.

Felt Tree (10)

She even pulled off one particular ornament in the shape of a lollipop and enjoyed “feeding” it to her stuffed animals. What a thoughtful Christmas gift!

Felt Tree (4)

I also appreciated how easy it was for her to attach or pull off the decorations, thanks to the Velcro dots.

Felt Tree (8)

Big brother Travis swooped in now and then to add an ornament.

Felt Tree (9)

And whenever the kids want to, they can take everything off and start all over again!

Felt Tree (7)

This is definitely a decoration that we’ll trot out to play with for years to come.

Felt Tree (13)

Mix and Match Monsters

Mix and Match Monsters (7)

After playing with felt faces to make happy and sad people, it felt like it was time to get a little more Halloween-y and play a version with… felt monsters!

For each monster body, I simply drew free-hand on a piece of felt and cut out the shapes. My monsters were fairly cute and definitely not threatening. Think bubbly round buddies and short stubby limbs.

Mix and Match Monsters (1)

I then hot-glued black felt onto white circles for a few monster eyes, but mostly, I relied on pre-cut pieces of felt to form additional facial features.

Mix and Match Monsters (2)

Time to make some silly faces! Veronika was delighted as soon as she saw what we were up to. She loved making a three-eyed monster with a smile. “She’s happy!” she told me (happily). So this very quickly turned into a lesson on emotional learning, too.

Mix and Match Monsters (3)

We made grumpy monsters and surprised monsters.

Mix and Match Monsters (4)

Then she wanted to get them dressed. This one, according to Veronika, was wearing pants and his shirt.

Mix and Match Monsters (6)

I loved watching the way she interacted with these little creatures.

Mix and Match Monsters (5)

And nothing was too spooky!

Fuzzy Book Covers

Furry Book Covers (2)

With back-to-school just around the corner, I’m starting to put together fun supplies for Travis to help ease his transition. These fuzzy book covers, a cute idea from Highlights magazine, will make any textbook go from daunting to exciting.

Since Travis hasn’t actually received books from his new teacher yet, we practiced the craft with a favorite book from home: his nature field guide.

Furry Book Covers (1)

Cut a piece of green felt so it completely covers a textbook, leaving an extra 1/2-inch or so on the sides and top. Use hot glue (or tacky glue) to adhere the felt along the inside cover.

Furry Book Covers (3)

Cut an oval from brown felt, and glue in the center of the cover. Now you have an avocado… so we avocadon’t forget to study, as Highlights pointed out.

You can have fun with this and make lots of different fruits and veggies from different colors of felt. You could make them even fluffier with craft fur instead of felt, too!

Hit the Target

Hit the Target (6)

With a little set-up in advance, this is an easy game to help fill a dreary winter day indoors!

While Veronika was napping, I used a hot glue gun to affix Velcro squares (the scratchy side) to several soft golf balls.

Hit the Target (1)

Next, I cut a few simple shapes from felt, like circles, hearts, and triangles. If you’re feeling more ambitious, cut teddy bears or other animal shapes, too! I then used hot glue to attach these to a recycled piece of cardboard.

Hit the Target (2)

When she woke up, I showed her how to toss the balls towards the felt, at which point they stick! She was fascinated.

Hit the Target (5)

It was hard for her to get the concept of putting the balls on herself, preferring to hold the golf balls instead of releasing her grip.

Hit the Target (3)

But she did like pulling them off the Velcro, no doubt intrigued by the tug of resistance.

Hit the Target (4)

I’m going to keep this game around since it’s one that will grow with her. The felt shapes provide a little early learning, and she’ll be able to approach the game differently as her tossing skills improve.

Catnip Toys

Catnip Toys (6)

It’s our cat’s birthday today, 11 years old! Travis loved the idea of celebrating our little guy, so we put together these easy catnip toys for him.

Ranger Rick had a template to follow for Halloween-themed cat toys, since National Cat Day (October 29) falls just before the spooky holiday. I printed out the pumpkin and ghost templates and  traced them onto appropriately colored felt, along with shapes for facial features and a green pumpkin stem.

Catnip Toys (2)

Whoops, because I didn’t have much white felt, some of our ghost features were reversed white-on-black.

Catnip Toys

Use fabric glue or hot glue to attach both sides of each shape nearly all the way around, leaving an opening. Travis helped stuff these openings with cotton balls.

Catnip Toys (3)

And then of course we added catnip, a small spoonful to each. Travis thought the smell of it was wild, and loved the idea that it would drive the cat crazy.

Catnip Toys (4)

Seal up the remaining seam with more glue. I glued on the features, and then it was time to treat the cat!

Catnip Toys (5)

Travis loved tossing down the birthday present.

Catnip Toys (8)

And our cat was quite appreciative! How will you celebrate National Cat Day? Please share in the comments!

Catnip Toys (7)

Felt Tangrams

Felt Tangrams (3)

Consider me a tangrams convert; these puzzles have turned out to be a fantastic way for Travis to entertain himself in those moments when I need him occupied. If you don’t want to purchase a set from the store, make a quick version from felt!

I cut out the various shapes that make up a tangram set using a different color for each shape. I free-handed the following: large triangles, small triangles, squares, trapezoids, and hexagons.

Felt Tangrams (1)

Now simply print out pictures of tangrams and set your child to work. If the picture printed out big enough, Travis could work right on the paper.

Felt Tangrams (2)

More of a challenge were small diagrams that he then had to design on a surface next to the paper.

Felt Tangrams (5)

Look mom, a helicopter!

Felt Tangrams (6)

This easy project is sure to keep hands and minds busy!


Adventure Pouch

Adventure Pouch (7)

Travis has a few new animal figure toys that need to come along on all his adventures (of course). We needed a safe way to transport them and this adventure pouch craft from Highlights magazine fit the bill perfectly!

First, trace a pouch shape onto felt. I had Travis take the first try at it and just enlarged his version slightly since his original oval was a touch too small.

Adventure Pouch (1)

Cut out, and trace the same shape onto a second sheet of felt so your pouch as two sides. Cut out.

Use hot glue to attach the two felt pieces together, leaving the top open.

Adventure Pouch (2)

To decorate, Highlights suggested cutting additional shapes from other colors of felt and gluing them on. Since felt is tough for Travis to get through with scissors, we used neat ocean felt stickers, instead.

Adventure Pouch (3)

Punch holes at the top of the pouch, and lace yarn or twine through the holes. Knot to secure, and pull up on the strings to seal it shut.

Adventure Pouch (4)

Travis loved putting his animal friends in and out of the pouch, their new home! This pouch would also work great for collecting treasures on a nature walk.

Adventure Pouch (6)

What will your child do with the adventure pouch? Please share in the comments!

Adventure Pouch (5)

Felt Board Story Time

Felt Board (5).JPG

Felt boards are a fantastic visual… and slightly magical to kids, too, since the pieces stick together but then peel right off. Today, I wanted to tell Veronika some familiar stories and rhymes using a felt board as a visual.

If you want, this could be a DIY craft: cover a board with felt and staple the edges in place. Then you’ll need to cut additional shapes from other colors of felt to act out the stories. I confess, though, that I used a pre-made felt story board. This made it a lot easier to focus on the storytelling for Veronika, and not on my negligible crafting skills!

She was intrigued the moment I pulled out the board, no doubt from the bright colors of the felt.

Felt Board (2)

And the texture!

Felt Board (1)

After letting her have some time for exploration, I set up a story. Goldilocks and the Three Bears was fun, with a little house shape, and a semi-circle for a bowl of porridge.

Felt Board (6)

Then I set up a little “boat” and sang “Row Row Row Your Boat.”

Felt Board (7)

This one was Jack and Jill going up the hill!

Felt Board (9)

And tumbling down.

Felt Board (10)

Obviously there is a bit of stretching the imagination that needs to happen here, but it was great fun to mix and match the shapes and watch her reaction.

Felt Board (11)

This is definitely a game I hope to continue as she gets older, especially since we can use smaller pieces and more intricate shapes once she doesn’t put everything in her mouth.

Felt Board (8)


Baby Felt Play

Felt Play (6)

I can’t believe Veronika is nearly five months old, and getting to a point where games with her aren’t just about developing her senses, but also interactive! This craft is a perfect example; it was fun to put together while she played on her playmat, and entertained her nearly all morning while big brother was at school.

Felt Play (1)

To start, cut a long piece of felt from any one color. I only had short felt squares, so ended up tying together three strips of my base color.

Felt Play (2)

Using additional bright felt colors, cut out shapes. I kept these fairly simple, including circles, squares, triangles, stars, and diamonds.

Felt Play (3)

From here, there were so many ways to play! First, I simply let her explore with hands… and mouth.

Felt Play (5)

It was a fantastic toy while she was sitting in her high chair, keeping her hands busy as I prepped meals.

Felt Play (4)

Next, I lay her on a blanket and we concentrated on some early learning. Point out what your baby is looking at (“Look, a blue circle” or, “You’re touching the red star”).

Felt Play (7)

We also counted through the shapes a few times, all the way up to eight.

Then I challenged her gross motor skills, putting the felt a little out of her reach at tummy time.

Felt Play (9)

Her little legs started scrunching in an imitation crawl almost immediately. I gave her a bit of a boost and she was so proud when she made it to the felt.

Felt Play (11)

Finally, the toy is great for dangling. Veronika loved discovering she could pull off the shapes, one by one.

Felt Play (8)

Once the shapes are all off, simply thread back on to the long felt and begin again!

Felt Play (10)