Condensed Milk Edible Finger Paint

Condensed Milk Paint (6)

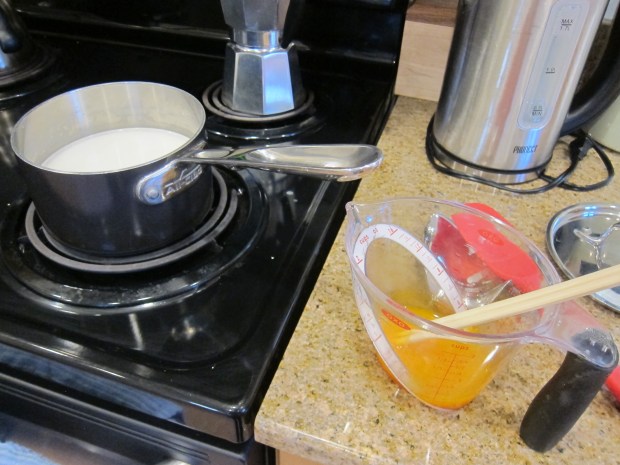
I love finding new ways to make edible finger paint for toddlers, and this version couldn’t be easier. Just crack open a can of condensed milk, add food coloring, and your little artist is ready to paint! For a vegan version, try the sweetened condensed coconut milk from Nature’s Charm.

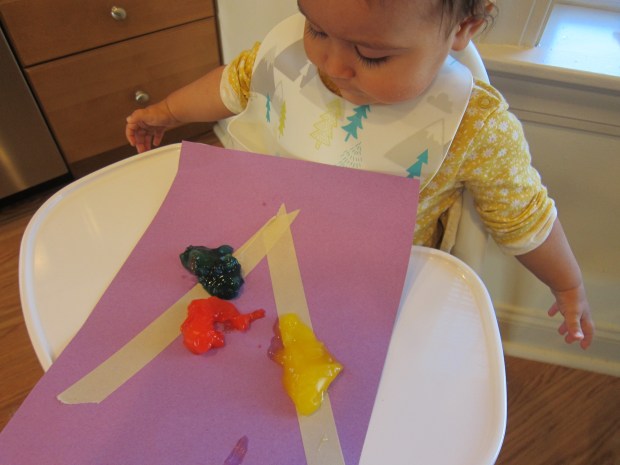
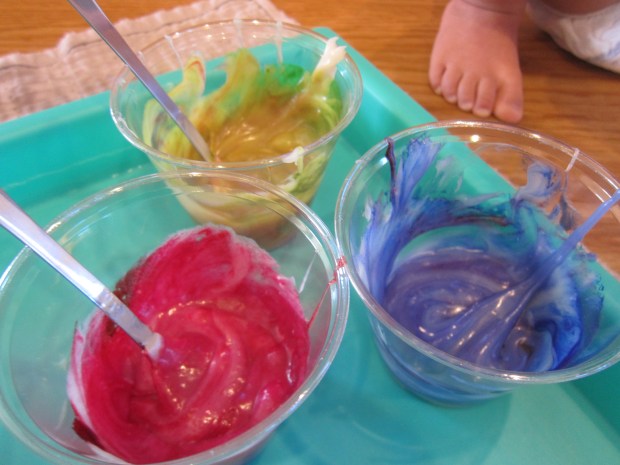
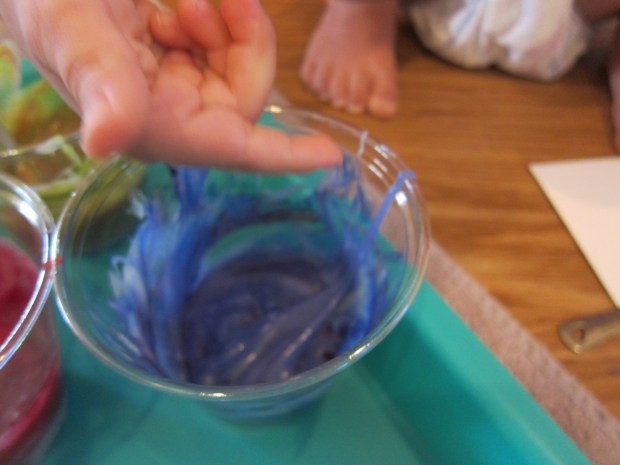
I spooned a little bit into each of three plastic cups and put a small toy spoon in each cup. Veronika loves these little spoons, so she was excited to help stir a few drops of food coloring into each one. We used green, blue, and red.

Condensed Milk Paint (2)

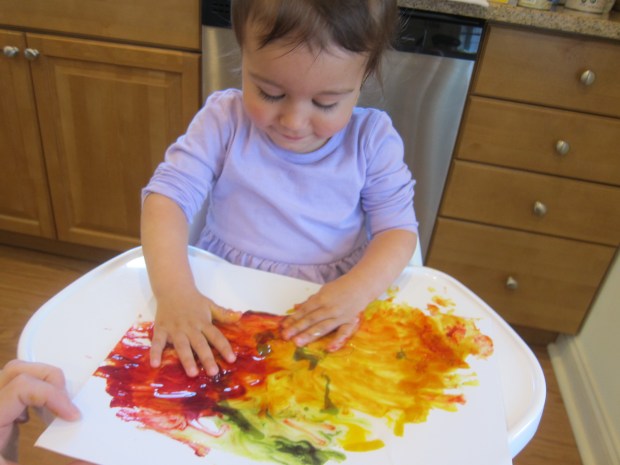
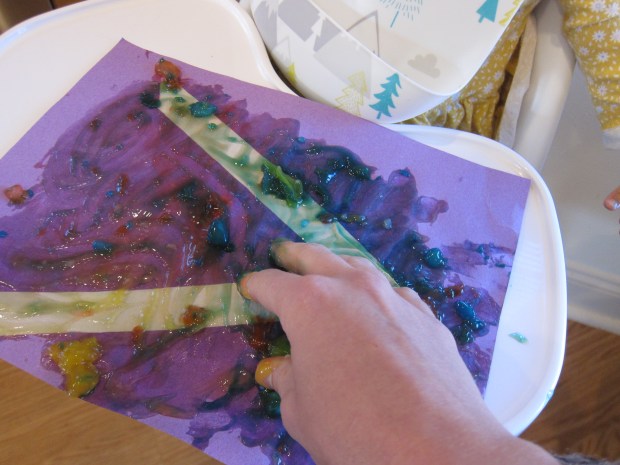
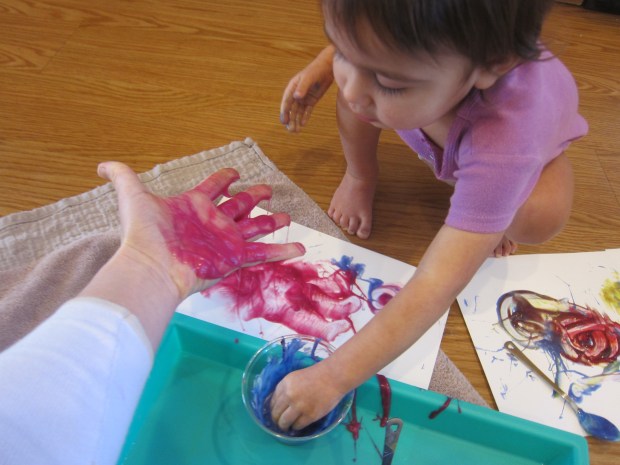
Since she already had the spoon in hand, she first used this as her tool to dribble or rub the paint over thick watercolor paper. But I encouraged her to use her hands, and so she curiously dipped in a finger.

Condensed Milk Paint (3)

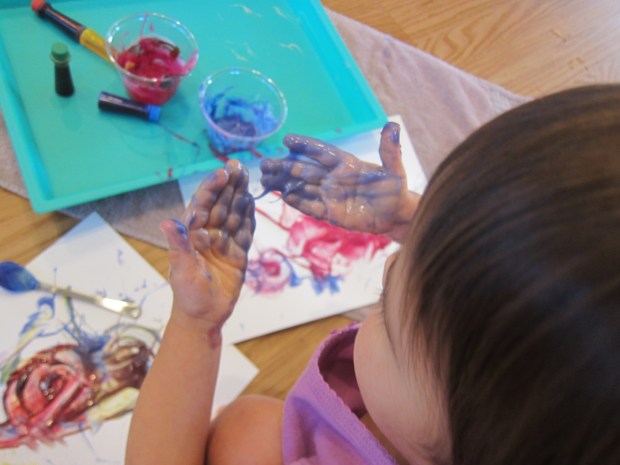
Then she was brave enough to do some smearing! The condensed coconut milk is very thick and creamy, much more so than regular slippery finger paint, so it was a great new sensory experience for her.

Condensed Milk Paint (7)

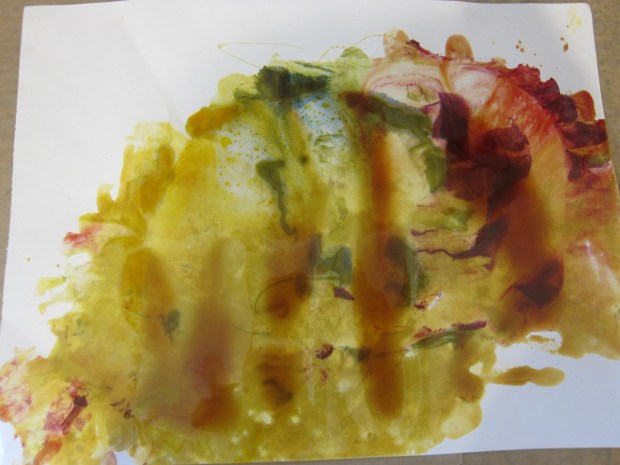
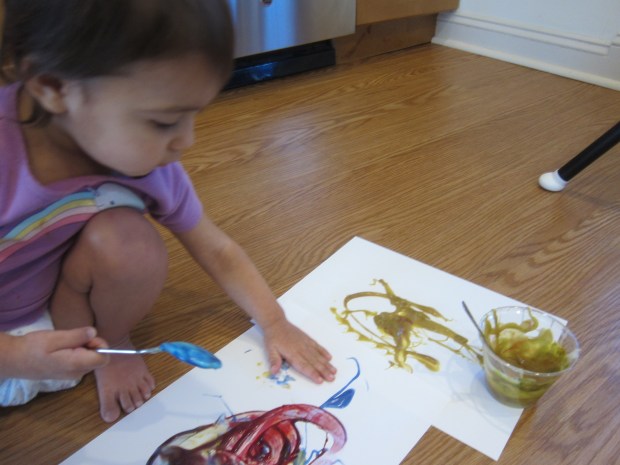
She’s been very into Blue’s Clues lately, and discovered that if she pressed her hand down, she left a paw print “clue” just like Blue can!

Condensed Milk Paint (4)

She requested I leave a paw print, too. There’s nothing like playing with your toddler to embrace your inner child and get a little goopy!

Condensed Milk Paint (8)

In fact, Veronika then loved rubbing the paint all over her hands and smooshing her palms together. Needless to say, once her masterpieces of finger paint were finished, we ended with a good hand washing.

Condensed Milk Paint (9)

Interestingly, she never tasted this one, but it was nice to know she could have, had she wanted to.

Food-Coloring Fingerpaint

Food Color Fingerpaint (9)

Go figure! I’ve been trying method after method to encourage Veronika to keep her fingers out of the paint, but when I tested out this neat idea that actually encourages finger painting, she wanted to use a brush! Luckily she did switch to hands eventually, and I was glad she did. This is goopy glorious toddler art at its best.

Food Color Fingerpaint (7)

To start, I set a thick piece of white paper on her highchair tray and drizzled on a little corn syrup. Squirt a few different colors of food coloring into the corn syrup blobs; the colors will instantly run and bleed in a beautiful way!

Food Color Fingerpaint (2)

Veronika began cautiously dabbing at this with a paint brush. She was so intrigued as she lifted up a drop of colored syrup, then transferred her brush over to another section of paper to press down.

Food Color Fingerpaint (3)

I love watching when she concentrates on art this way.

Food Color Fingerpaint (4)

Well, eventually it was up to me to get my hands dirty first! I showed her how she could rub a finger through the mixture, swirling the color and corn syrup together for a glossy paint-like effect.

Food Color Fingerpaint (6)

At last! The fingers went into the finger paint.

Food Color Fingerpaint (8)

“Goopy!” she squealed with delight. “Squishy!” This girl is not afraid to get her hands dirty. She loved smearing it, rubbing sticky hands together, and watching the colors mix.

Food Color FIngerpaint (12)

The painting looks quite shiny and pretty once the corn syrup dries! Definitely one to display.

Tape Resist Letters with Homemade Edible Finger Paint

Finger Paint Tape Resist (6)

It was Daylight Savings today, and parents know what that means: an extra-long day where the kids wake up extra-early. Here’s just the right kind of messy project to help fill those extra hours… Daylight savings or any day the kids are up early!

I knew I wanted a messy art project for Veronika, but she’s still too little for paint since those little fingers go right to little mouth. This homemade finger paint recipe was perfect. After breakfast, I made the following:

Finger Paint Tape Resist (1)

Combine 2 and 3/4 cups water in a saucepan with 1/2 cup cornstarch. Bring to a boil.

Meanwhile, dissolve 1 packet of vegan jel dessert (such as Simply Delish) in 1/4 cup cold water. I used the orange flavor, meaning our paint would be nice and sweet, but unflavored is fine!

Once boiling, remove the saucepan from heat and stir in the jel mixture. Let cool completely.

Transfer to plastic cups and add food coloring if desired for other colors. Since the finger paint was naturally yellow, I added a few drops of red for some orange cups and a few drops of blue for some green ones.

Finger Paint Tape Resist (5)

Next, I added masking tape to a few pieces of construction paper for the tape resist portion of the project. A big V for Veronika seemed just right, and we made a T for Travis, too. Give the paper to your little one and add a few big blobs of paint.

Finger Paint Tape Resist (2)

Veronika was more hesitant than I would have thought to get her fingers in there at first! I showed her how to smear the paint all over the paper, mixing and mushing the colors.

Finger Paint Tape Resist (3)

I moved her down to the floor at one point, thinking she might want to get messier with lots of paint and paper spread out, but even then, she was a touch hesitant.

Tape Resist alt.JPG

No matter what, your paper will be very wet once completed, and will probably take all day to dry; I know ours did!

Finger Paint Tape Resist (4)

Once the “paint” dried, I peeled off the masking tape for the big reveal.

You could also do this activity with more complicated patterns or pictures, simply applying the masking tape in whatever design you like. Big kids might just want to get their hands in there too!