Spaghetti Mobiles

Spaghetti Mobile (11)

We started the day with some messy food fun! This activity makes for great sensory play, plus nets you a cool piece of artwork at the end.

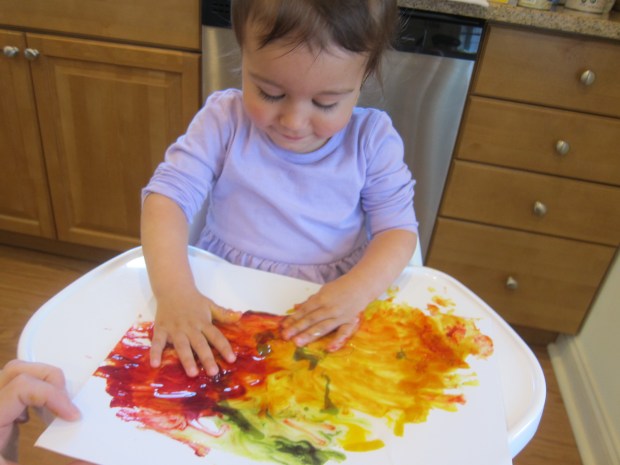
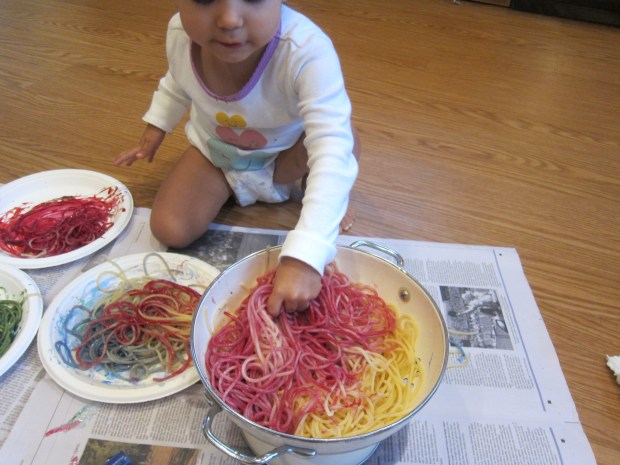
I cooked up a big batch of spaghetti (although in retrospect I didn’t need a full package), and set it out in front of Veronika. She was immediately thrilled to dip her hands in.

Spaghetti Mobile (1)

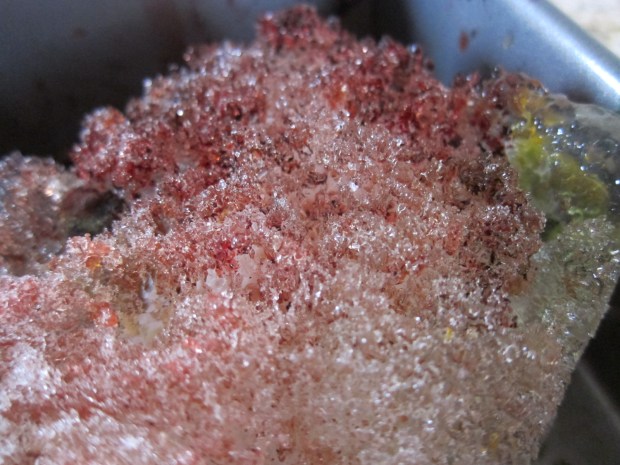
She was even more excited when I set out three paper plates and poured a little glue in each. We tinted them red, blue, and green with all-natural food coloring.

Spaghetti Mobile (2)

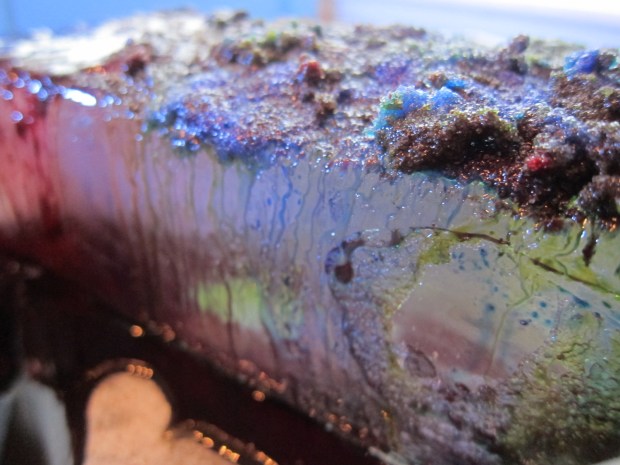
I showed her how to dip a few strands of the spaghetti in one of the colors, then transfer to a foam tray (like the kind some vegetables are sold in at the supermarket).

Spaghetti Mobile (3)

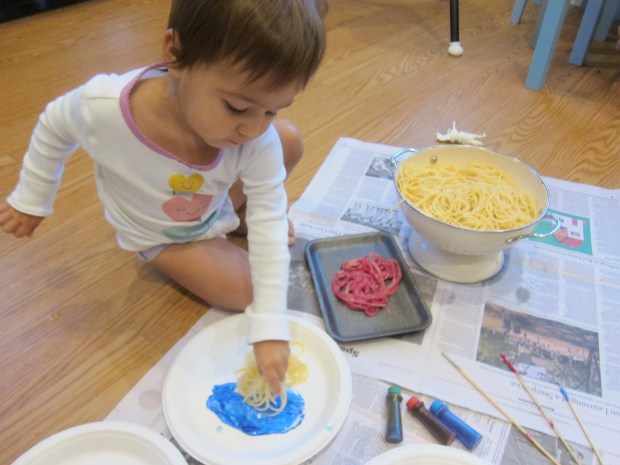
Continue to dip and layer, helping your artist “arrange” the strands of spaghetti. Veronika loved talking about the colors as she worked!

Spaghetti Mobile (4)

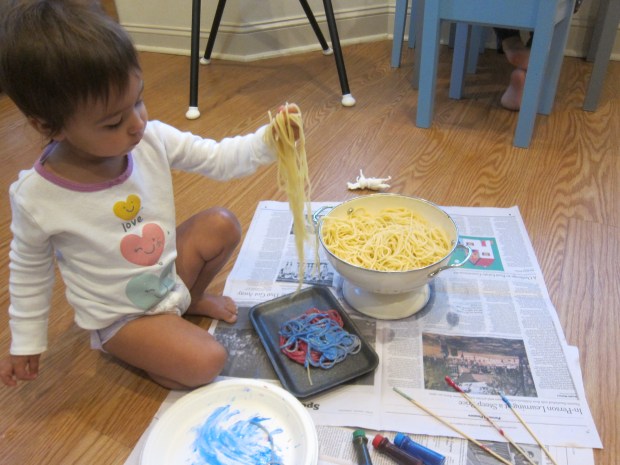
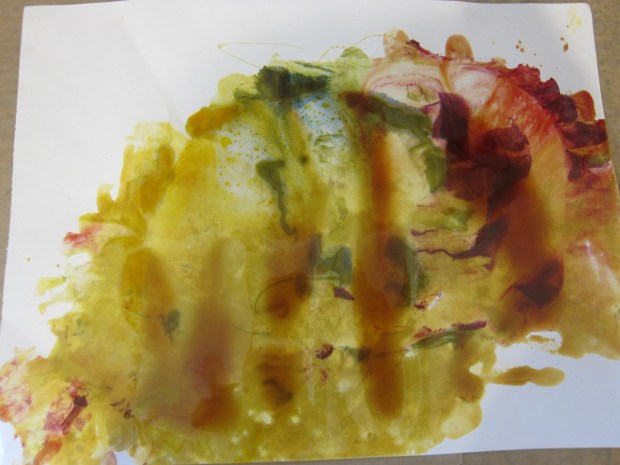
When she started tossing big piles of spaghetti that weren’t covered in colored glue on top, I knew it was time to set the mobile safely aside to dry. But she wasn’t done yet!

Spaghetti Mobile (5)

She loved picking up big handfuls of the spaghetti and making them go “splat!” At one point I saw her trotting off toward the playroom with a huge handful, and quickly redirected her to the kitchen.

Spaghetti Mobile (7)

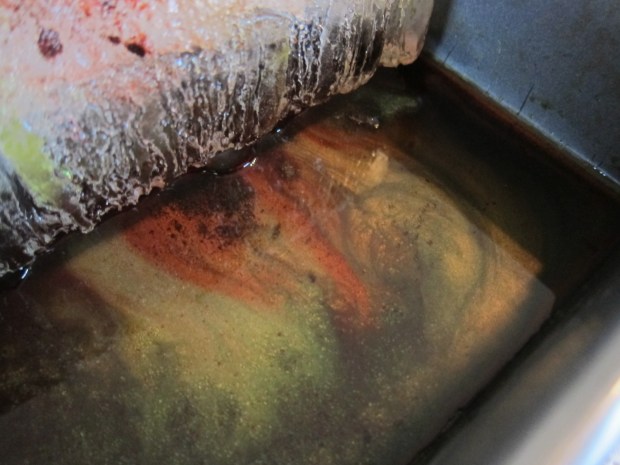
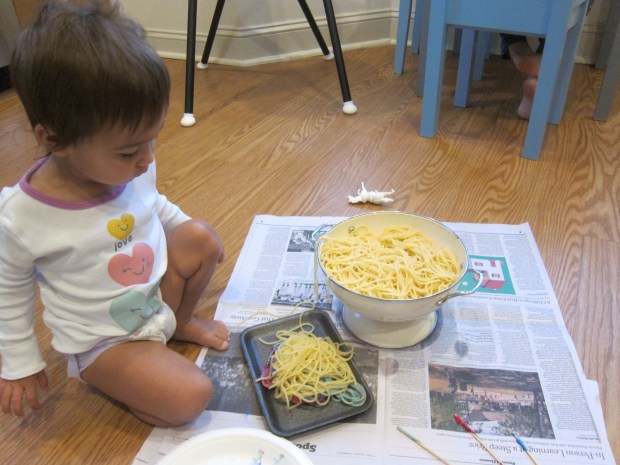
We were out of glue, but we could still add more food coloring to the spaghetti on each paper plate. “It’s pink-y! It’s blue-y!” she said of each pile with delight.

Spaghetti Mobile (9)

Meanwhile, back to the glued spaghetti:

Spaghetti Mobile (10)

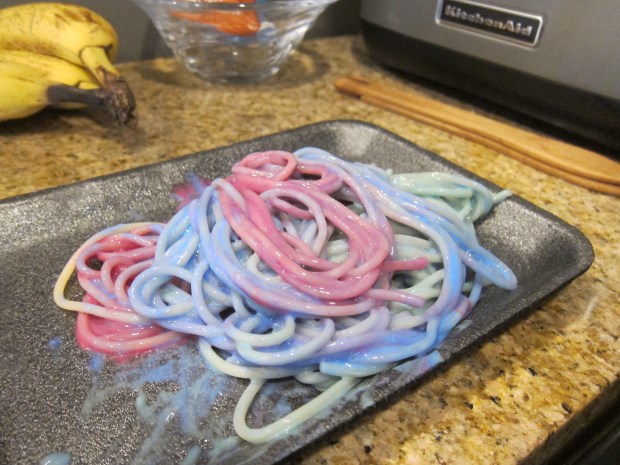
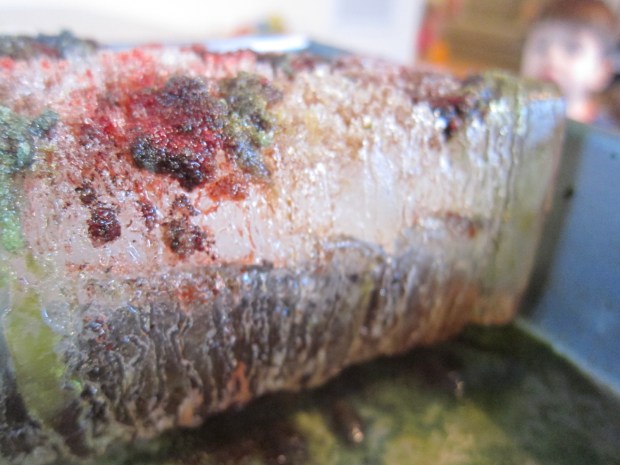
As long as your child hasn’t piled it on too thickly to dry properly, you’ll be able to stretch it up off the tray once the glue has dried, thread yarn through, and suspend it from a hook. A rather novel piece of modern art!

Food-Coloring Fingerpaint

Food Color Fingerpaint (9)

Go figure! I’ve been trying method after method to encourage Veronika to keep her fingers out of the paint, but when I tested out this neat idea that actually encourages finger painting, she wanted to use a brush! Luckily she did switch to hands eventually, and I was glad she did. This is goopy glorious toddler art at its best.

Food Color Fingerpaint (7)

To start, I set a thick piece of white paper on her highchair tray and drizzled on a little corn syrup. Squirt a few different colors of food coloring into the corn syrup blobs; the colors will instantly run and bleed in a beautiful way!

Food Color Fingerpaint (2)

Veronika began cautiously dabbing at this with a paint brush. She was so intrigued as she lifted up a drop of colored syrup, then transferred her brush over to another section of paper to press down.

Food Color Fingerpaint (3)

I love watching when she concentrates on art this way.

Food Color Fingerpaint (4)

Well, eventually it was up to me to get my hands dirty first! I showed her how she could rub a finger through the mixture, swirling the color and corn syrup together for a glossy paint-like effect.

Food Color Fingerpaint (6)

At last! The fingers went into the finger paint.

Food Color Fingerpaint (8)

“Goopy!” she squealed with delight. “Squishy!” This girl is not afraid to get her hands dirty. She loved smearing it, rubbing sticky hands together, and watching the colors mix.

Food Color FIngerpaint (12)

The painting looks quite shiny and pretty once the corn syrup dries! Definitely one to display.

Ooey-Gluey Colors

Ooey Gooey Colors (5).JPG

It’s not often that I find an art project for my 5-year-old that feels refreshingly new. This artsy idea from Highlights magazine had definite goo factor that appealed to him!

First, drip school glue all over the clear acrylic cover from an empty photo frame. We used an 8×10 frame for maximum work space.

Ooey Gooey Colors (1)

Drip food coloring over the glue, ideally with some restraint, although Travis loved making big puddles of color.

Ooey Gooey Colors (2)

Finally, use a paintbrush to smear it all together.

Ooey Gooey Colors (3)

The colors will swirl and mix in neat ways and make little bubbles on the acrylic. This is a fun chance to experiment with different brushstrokes.

Ooey Gooey Colors (4)

Let dry completely, then insert back into the photo frame (gooey side in) for instant art. These look particular pretty when the sun hits them through a window, acting almost like a suncatcher.

Puffy Paint Shamrocks

Puffy Shamrock (9)

Painting green shamrocks is all well and good, but why use regular paint when you can use puffy paint?

To make the fun mixture, simply mix together shaving cream, glue, and green food coloring.

Before you make the paint, either trace or draw shamrock shapes onto paper. Use a thick cardstock, so the paper doesn’t tear.

Puffy Shamrock (1)

I wish I could tell you we measured out the ingredients for our puffy paint, but instead we had a lot of goopy, inexact fun. First we squirted shaving cream into plastic cups.

We added a healthy pour of glue into each – perhaps 2 tablespoons per cup? Stir the mixture together well.

Puffy Shamrock (2)

At first, we tried adding green food coloring to one cup. Oddly, this tinged the puffy paint very yellow, key lime at best. Travis’s favorite part of the whole craft was adding more and more food color and trying to get a greener shade.

Puffy Shamrock (3)

My little mixologist!

Puffy Shamrock (5)

Meanwhile, I used green paint in a second cup. This gave us a very pale pastel green – nice for springtime, though not true Kelly Green!

Puffy Shamrock (6)

Once you have the color you like, paint over your shamrocks.

Puffy Shamrock (7)

No points for neatness, of course.

Puffy Shamrock (8)

It only took a couple of hours for the paint to dry, and Travis loved how puffy and soft it was to the touch.


Salt Painting Ice Sculptures

Salt Sculpture (12)

Not only is this project visually stunning, but it’s a neat way to teach kids why they see salt on the sidewalks and roads in the wake of a snowstorm… bcause the salt helps the ice to melt faster! Bring the concept to life with this fun activity.

First, fill an empty milk container with water and freeze overnight. In the morning, cut away the box (make a slit with sharp scissors, and the rest will peel away) to reveal a huge ice cube.

Salt Sculpture (1)

Travis was quite impressed – the biggest ice cube ever! Place in a baking tray to catch the mess you’re about to make.

Salt Sculpture (2)

Next, sprinkle a healthy dose of salt over the top of the ice cube.

Salt Sculpture (4)

Set out food coloring and invite your child to drip it all over the ice. You’ll soon see runnels of color and salt melting away at the ice block.

Salt Sculpture (5)

The effect is quite stunning! Travis had fun mixing colors, and watching it all run down the sides.

Salt Sculpture (7)

It was his idea to pull out a flashlight; lighting up the rivulets made them appear even cooler!

Salt Sculpture (10)

Of course then we needed to add extra salt and more color a few times. We then left the ice block out all morning, and checked on its progress. I had to pour off the melted water a few times, and then we could watch new pools of colored water form.

Salt Sculpture (13)

The craggy surface was fascinating for Travis!

Salt Sculpture (14)

And it turns out we had perfect timing since we got another snowstorm today – and another chance to see salt out on the sidewalks and pavement.


Salt Water vs. Fresh Water

Salt v Fresh (5)

With so much time spent at the beach over the summer, the topic of salt water is bound to come up – that big ocean contains so much water, but it’s no good for drinking! Here’s a neat way to explore some of the different properties of salt versus fresh water at home.

First, pour a generous amount of salt into a cup of water, and stir to dissolve. Pour a second cup full of fresh water.

Salt v Fresh (!)

Next, we added ice cubes to each.

Salt v Fresh (2)

Finally, we mixed up a batch of red food coloring; a dark color is best here, so you can fully see the results.

Salt v Fresh (3)

Slowly pour the food coloring into the top of each glass. Your child will see that it sinks in the fresh water, but stays on top of the salt water.

Salt v Fresh (4)

A quick and easy early lesson on density!

Travis had fun playing with leftover colored water and ice cubes for some time, making this activity a big hit.

Salt v Fresh (6)