Little Passports: Antarctica

LP Antarctica (3)

Travis’s package this month from Little Passports was a bit different, in that it featured a whole continent (Antarctica!) instead of a country. We knew we were in for an icy good time.

LP Antarctica (2)

Needless to say, this one was easy to spot on the map! The booklet included information on the southern lights, Edward Shackleton’s failed venture to the South Pole, and more, making for a nice mix of STEM and historical information. All of the activities were at the right skill level for my 6 year old.

Souvenir:

It’s not Antarctica without penguins, and that’s precisely what the kit included: a little stuffed penguin that immediately needed to be hugged and cuddled. Little sister Veronika was smitten, too!

LP Antarctica (4)

Further Activities:

Unfortunately, there weren’t any other suggested activities, either online or in the booklet. So we decided to make a cute sensory tray for plastic penguins and orca whales with salt and ice.

LP Antarctica (6)

I thought it might be fun to “learn” more about Antarctica through penguin movies, too, though given the choice of Happy Feet and Penguins of Madagascar, it’s unclear how much learning happened. Still, rain outside was a good excuse for a cozy movie day!

LP Antarctica (5)

Recipe:

Finally, we ate just like explorers, thanks to the provided recipe for Sledging (sledding) Biscuits.

Sledging Biscuit (2)Ingredients:

  • 1 cup flour
  • 1/2 teaspoon baking soda
  • 1/2 teaspoon salt
  • 2 tablespoons Earth Balance butter
  • 1/4 cup cold water
  1. Combine the flour, baking soda, and salt in a bowl. Add the butter and use your fingers to mix until the mixture is like coarse crumbs.
  2. Slowly add the cold water, then knead with your hands until the dough comes together. It’s soft and springy, and wonderfully workable!
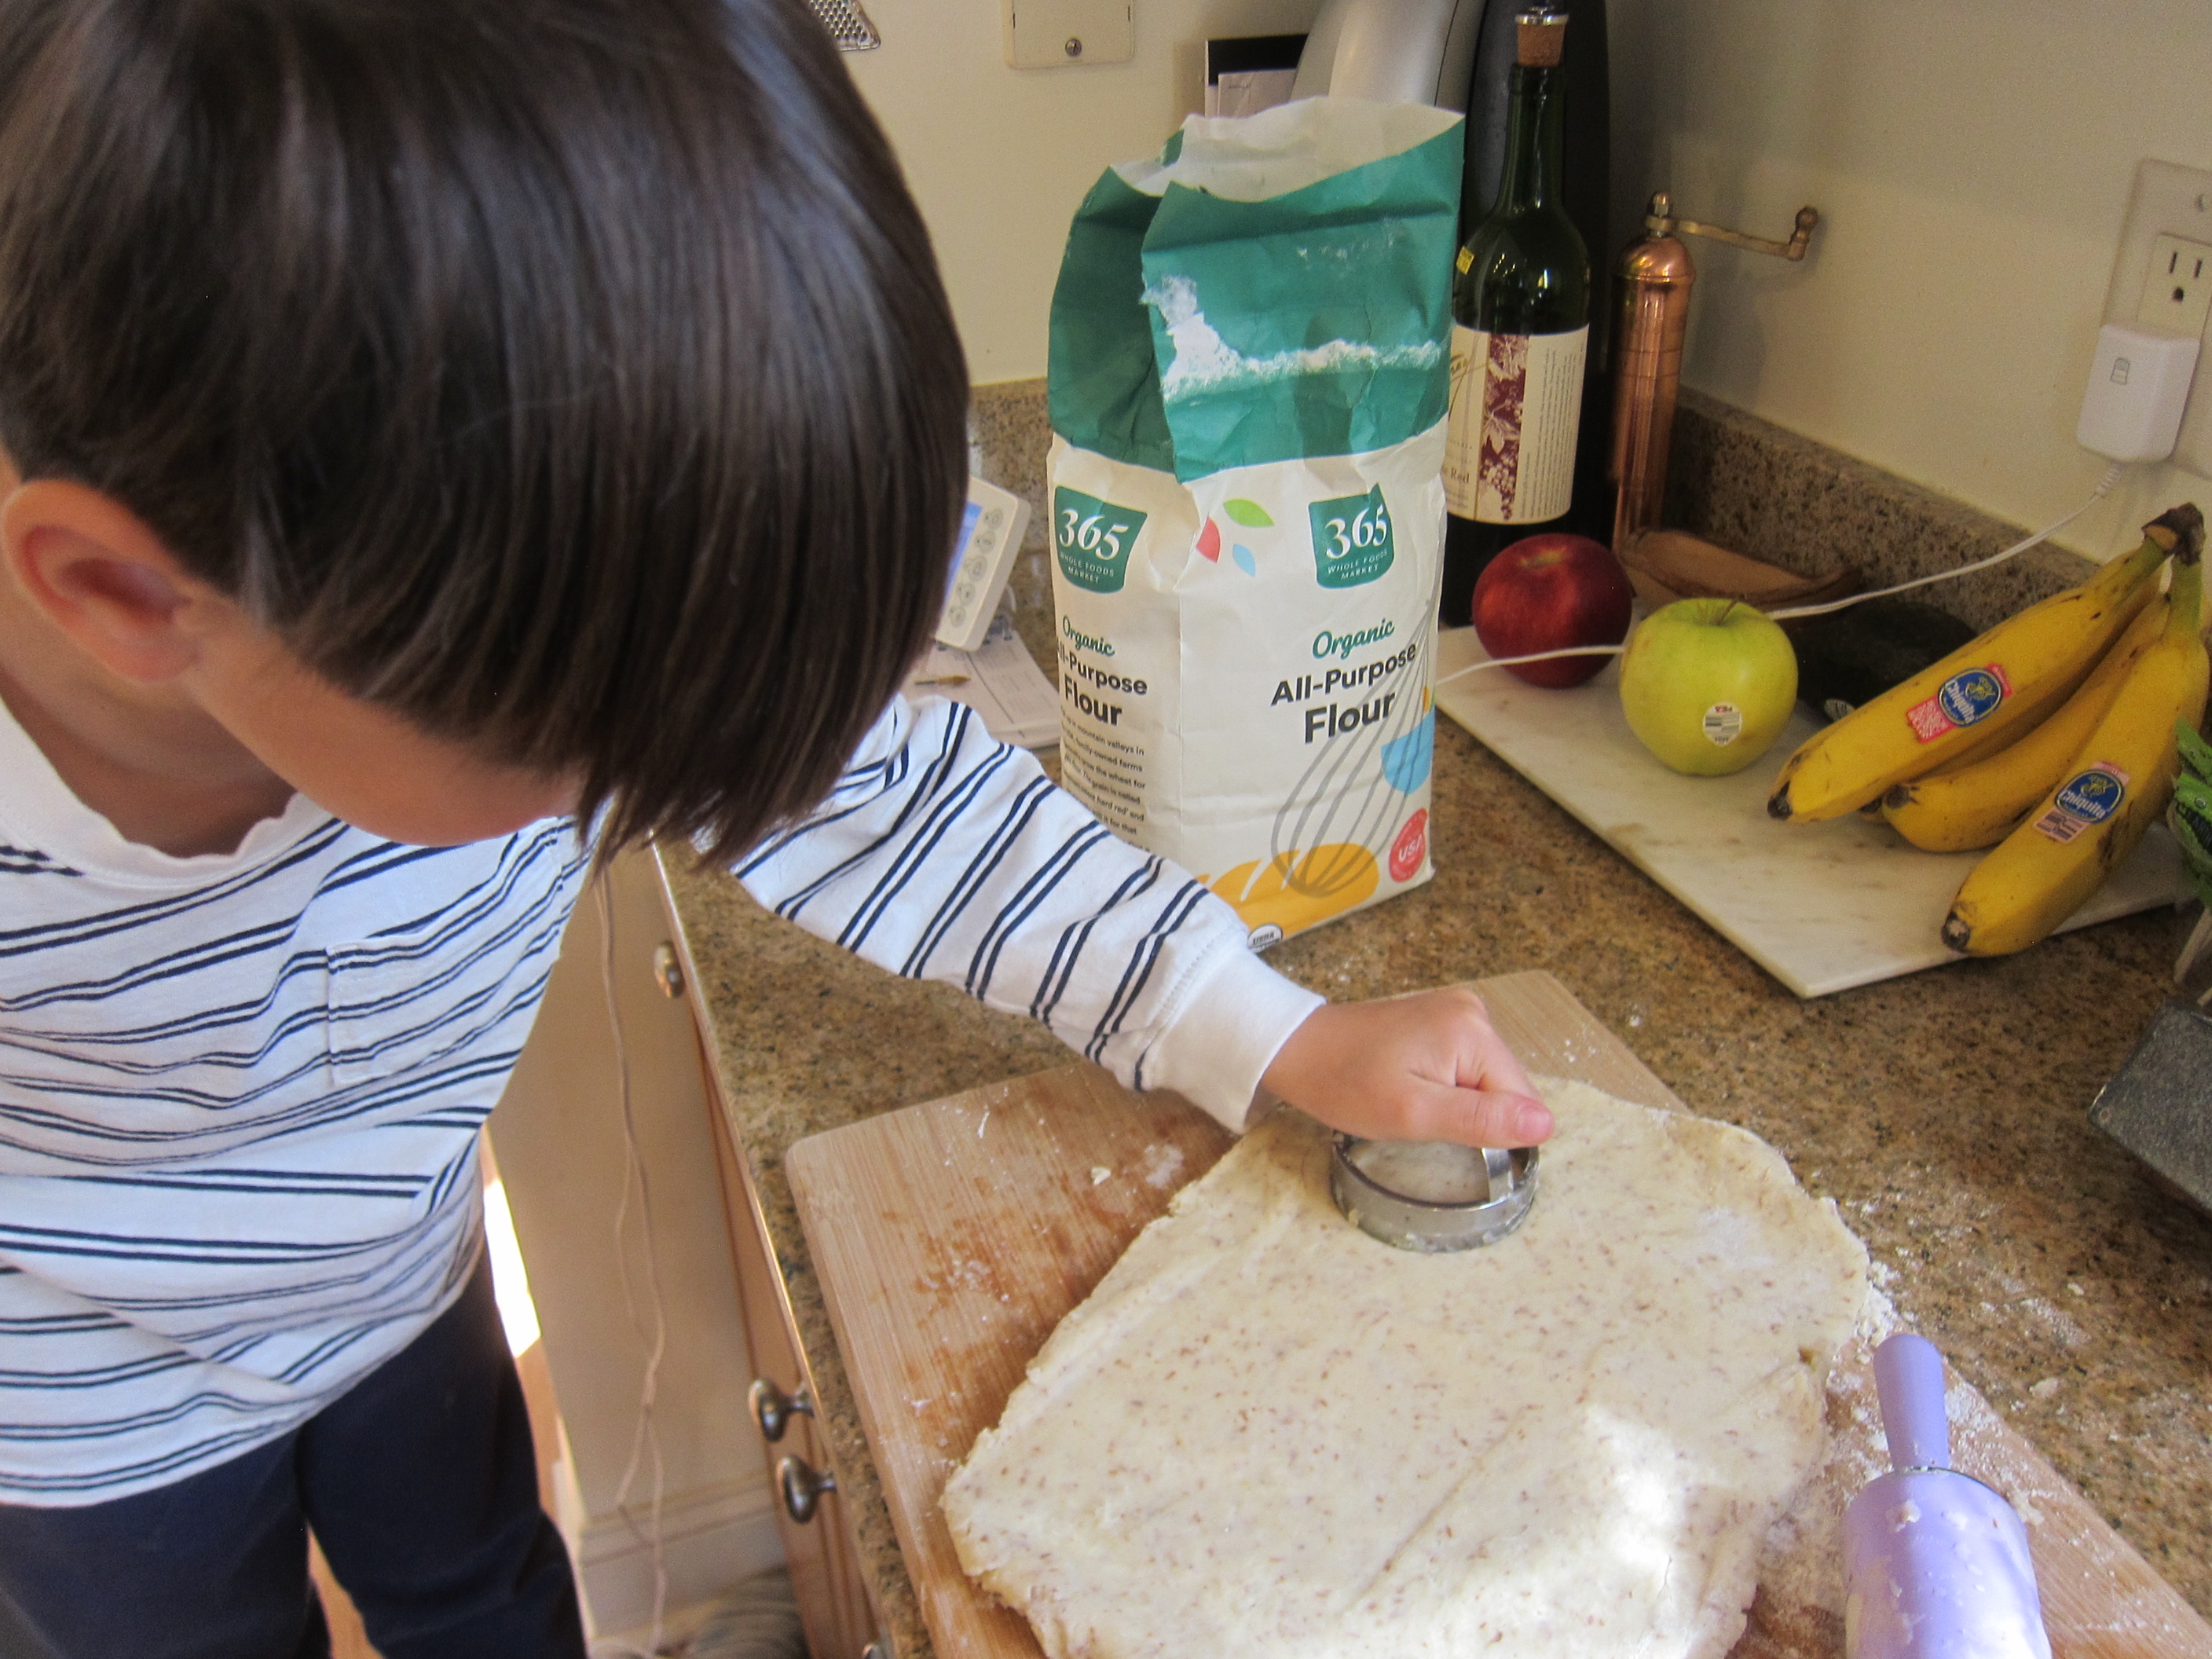
  3. Roll the dough out into a 1/4-inch thick rectangle, then cut into 6 smaller pieces. Place on a baking sheet and prick each cracker several times with a fork. Bake at 375 degrees F for 15 minutes.

You can serve these plain, but the kids loved them with extra Earth Balance butter on top! To finish our make-believe trek as arctic explorers, we noshed on some vegan jerky with the biscuits, too.

Little Passports: Spain

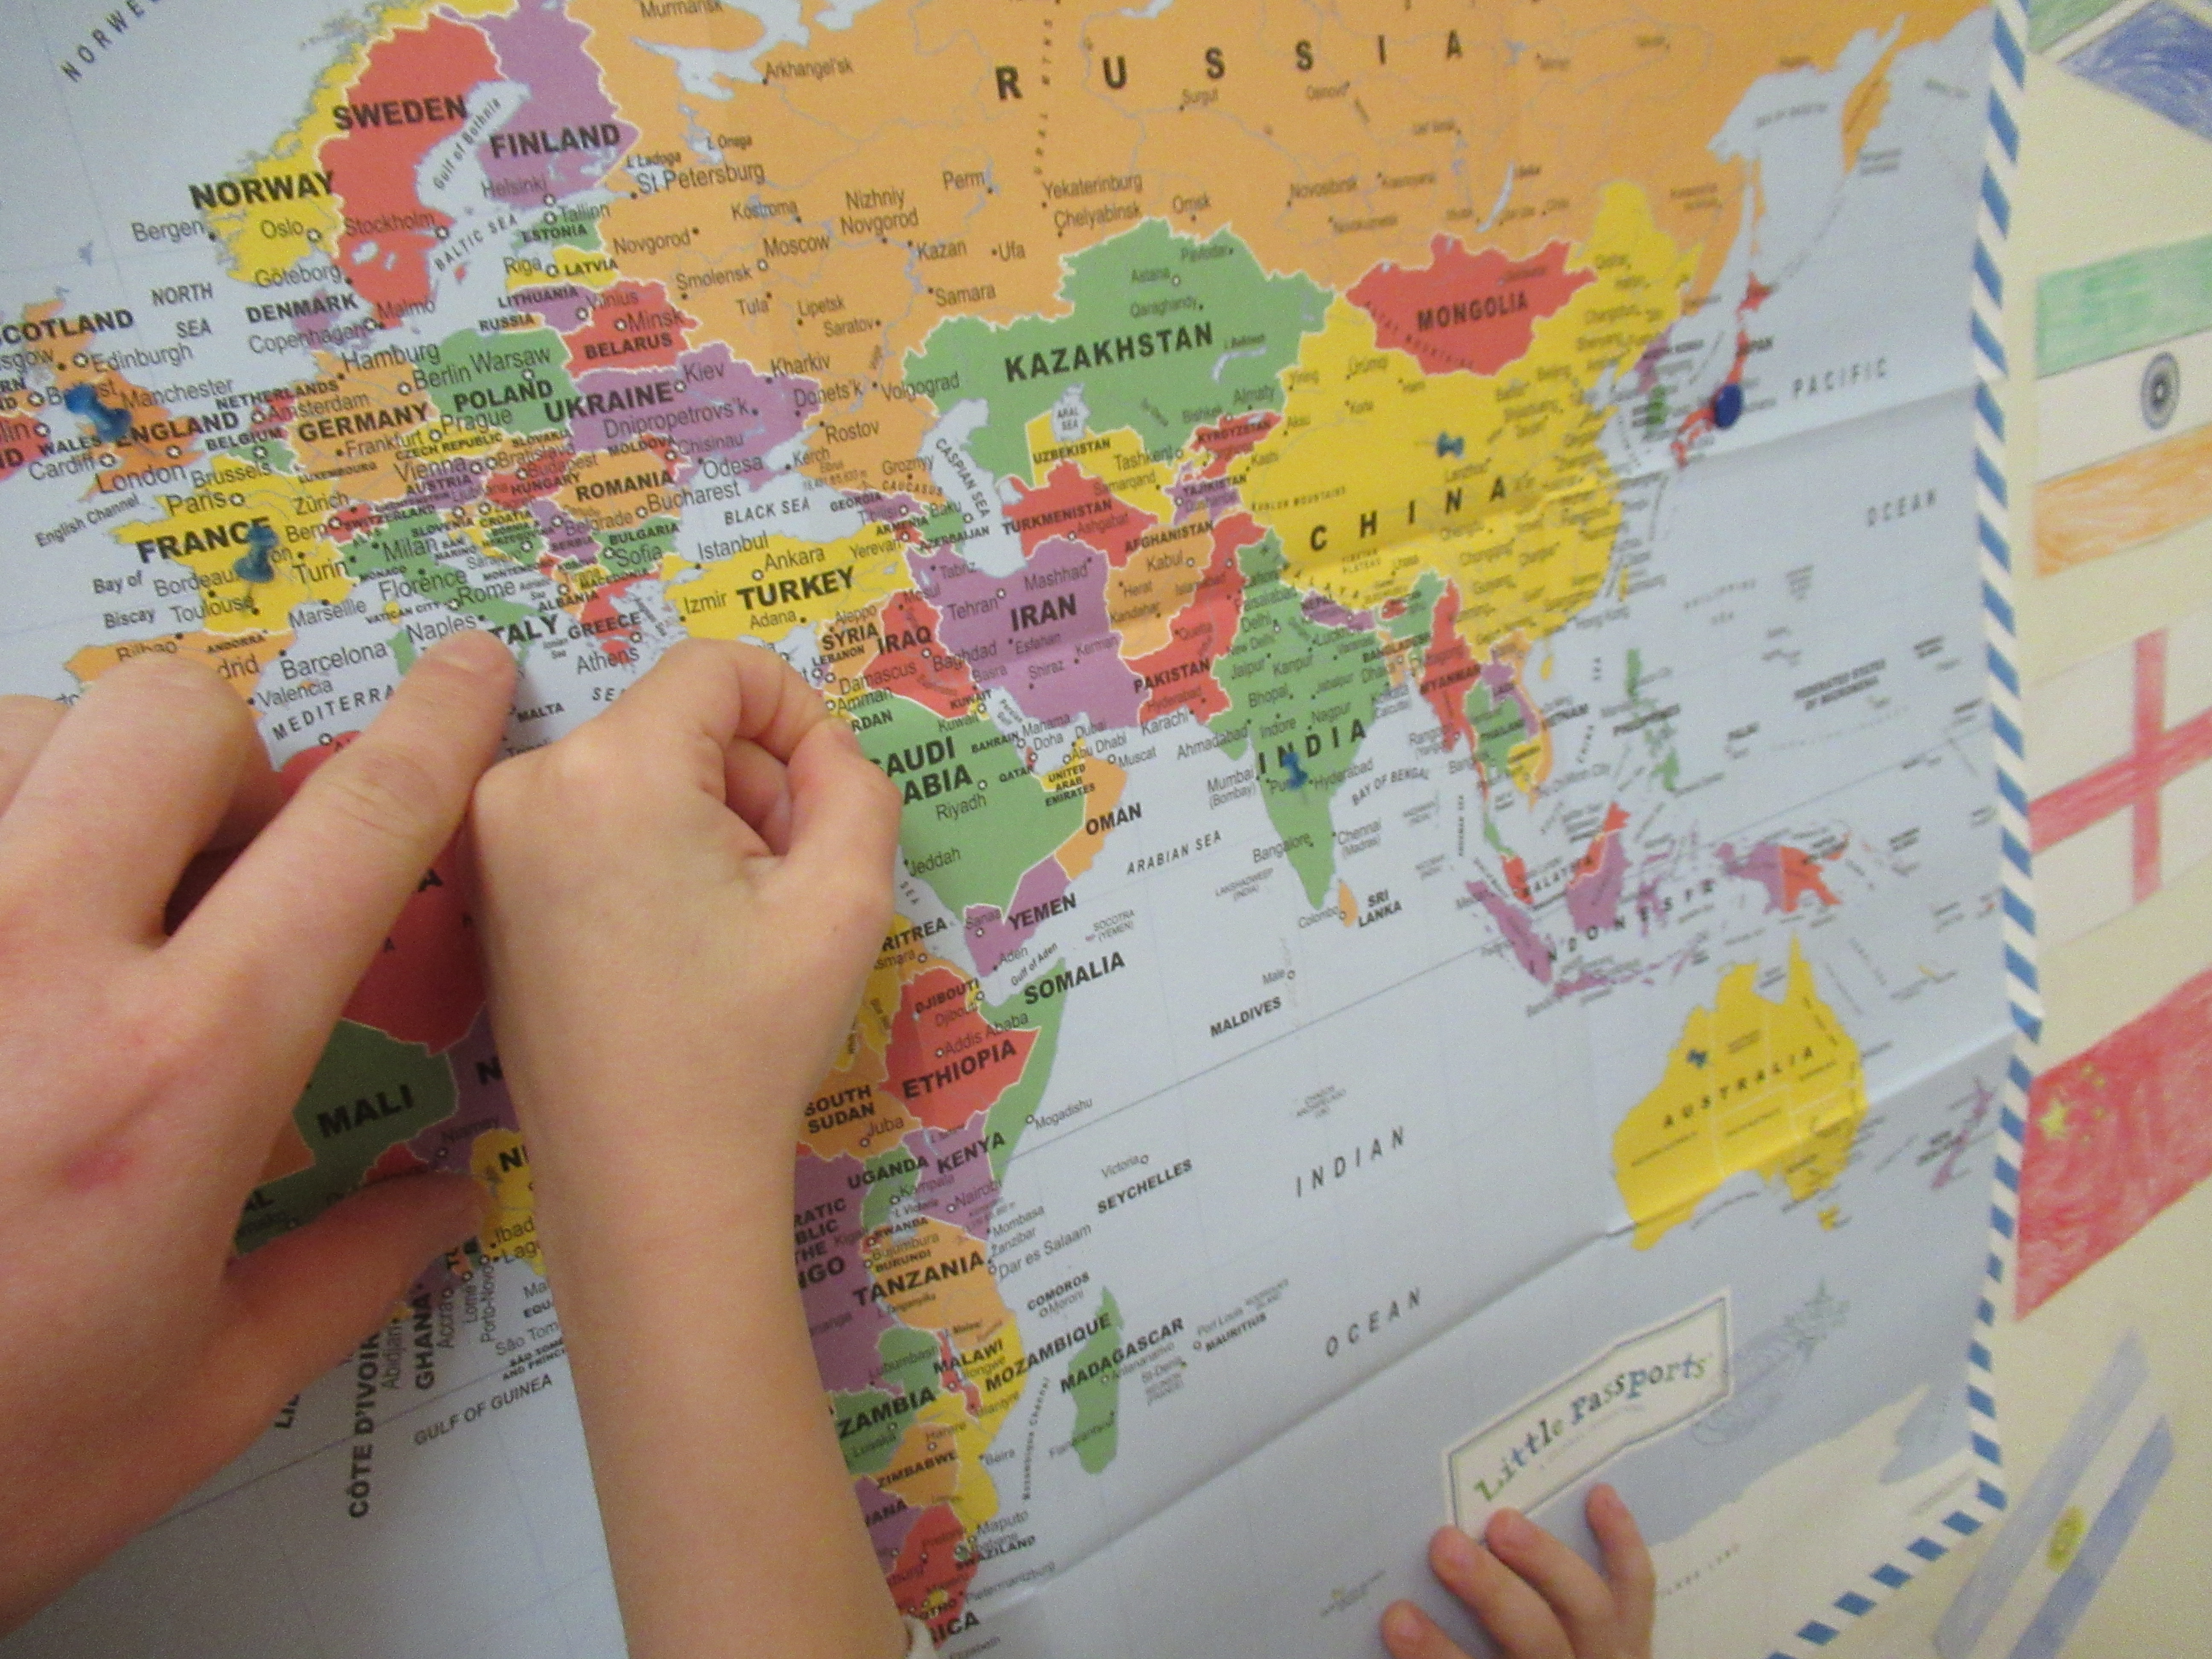
Travis was off to Spain with Little Passports this month, eagerly cracking open the envelope from “Sam and Sofia,” pinpointing the country on the map and adding his suitcase sticker.

In terms of our unboxing review, though, the booklet this month was tough. It included tricky tasks like a crossword and a grid to copy a Picasso painting, both of which were beyond his 1st grade level. Travis did help tally up treats from a Spanish market on another page, but overall seemed a bit overwhelmed by the booklet.

Souvenir:

On the other hand, the souvenir was a mosaic art sticker kit, based on the mosaics of Antoni Gaudi, and I’ve never seen Travis so into an art project! He insisted on completing the lizard shape he chose, meticulously working his way through the color-coded foam stickers.

He was relentless until every square was filled!

Further Activities:

Based on Little Passport’s blog, it looks like the Spain package used to include a craft for felt tomatoes, to mimic the annual La Tomatina festival. We cut circles of red felt, topped them with a tablespoon of dry lentils (dry rice would work too), and hot-glued a second circle of felt on top for a quick version.

Take aim at each other with your fake tomatoes, and watch them splat!

We also wanted to further explore Picasso, so made a quick craft that was a riff on his painting La Punchinello.

Cut out semicircles for heads and triangles for the bodies, arms, and legs, then arrange on construction paper and glue down. Travis added facial features with colored pencil to complete his funny little clown!

The recommended add-on for this kit was the Barcelona: City Trails guide book, filled with facts and info about the city. Instead of purchasing it, we checked out a copy from the local library! Of course, throw on some flamenco music to listen to during all of the above, and you’ll have loads of Spanish ambiance in your home.

Recipe:

We couldn’t leave Spain without trying tapas, of course. You can make this dish part of a larger spread, with items like Spanish olives or sliced vegan chorizo, for a complete meal.

Ingredients:

  • 6 red potatoes
  • 1/4 cup olive oil
  • 1 teaspoon salt
  • 2 tablespoons vegan mayonnaise
  • 1 teaspoon paprika
  • 1/8 teaspoon garlic powder
  • 2 tablespoons water
  1. Cut the potatoes into bite-sized pieces and place in a large bowl. Drizzle with the olive oil, stirring to coat.
  2. Spoon the potatoes onto a baking sheet lined with foil and sprinkle evenly with the salt. Roast at 375 degrees F for 30 minutes.
  3. In a large bowl, whisk together the mayonnaise, paprika, garlic powder, and water. Add the potatoes and toss to coat. We decided these were best served warm!

Little Passports: Kenya

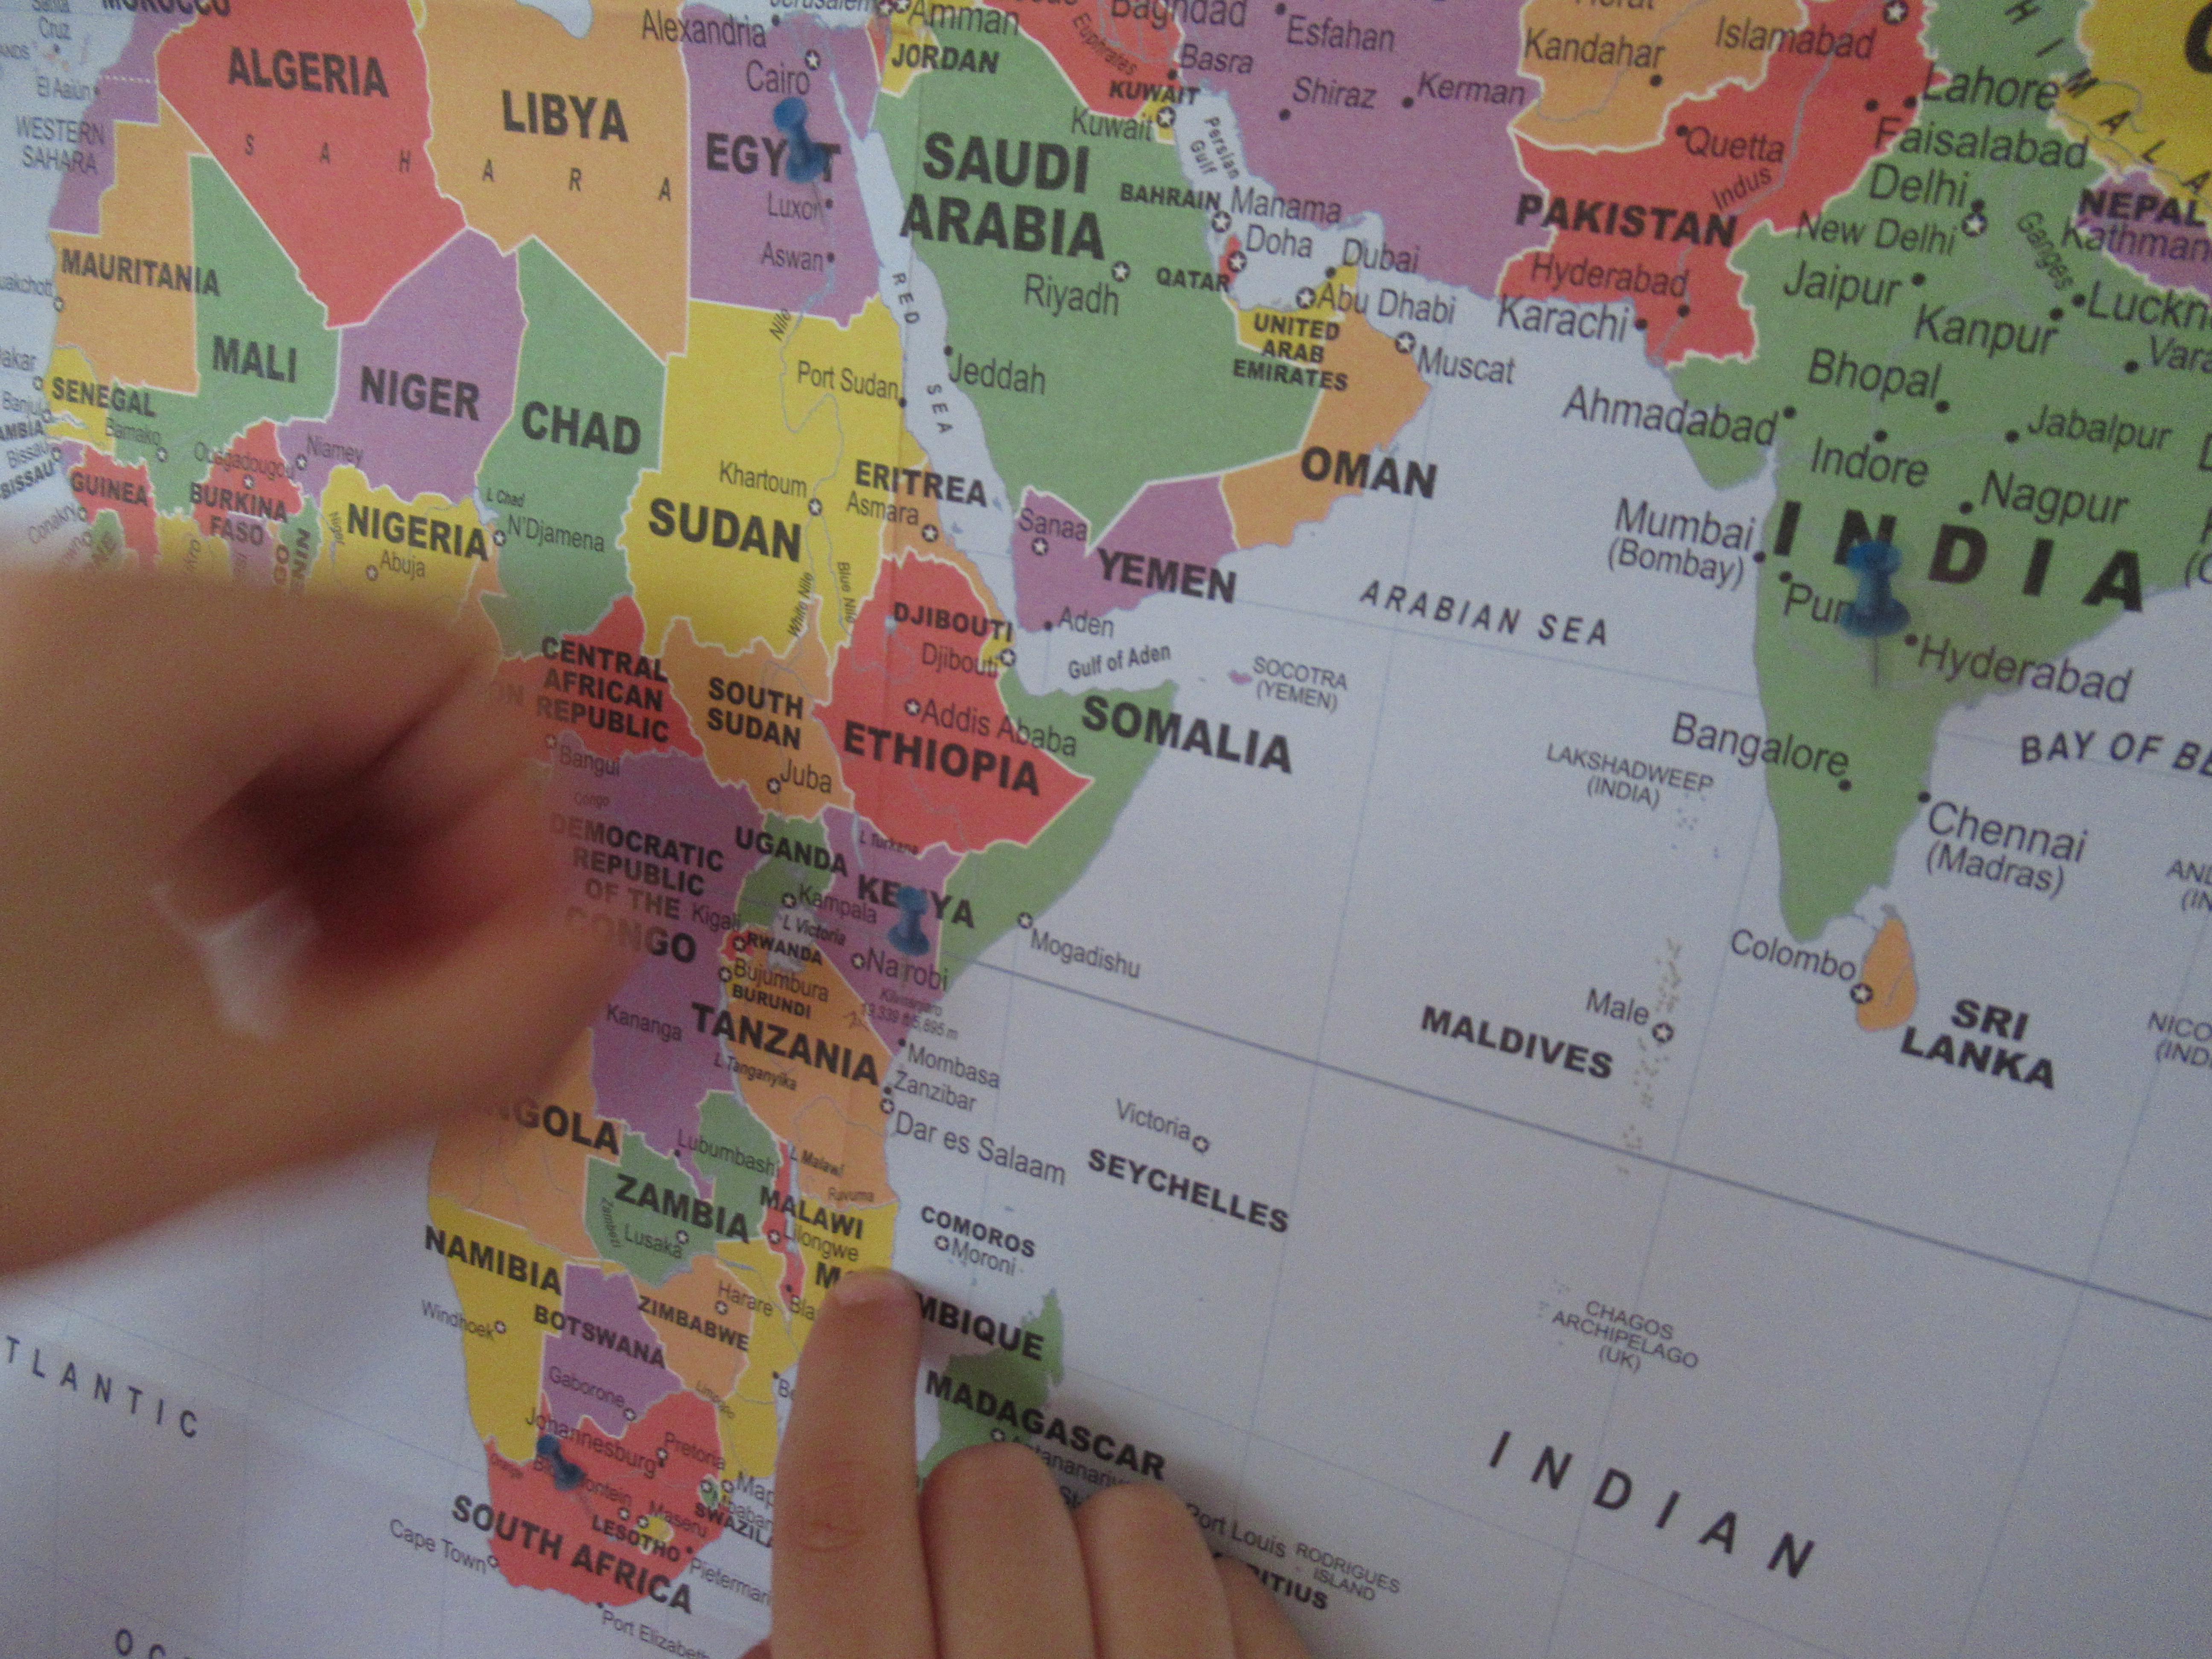
We were off to Africa with Travis’s latest delivery from Little Passports, specifically Kenya. After pinpointing the country on his map, Travis checked out the booklet, including facts about Maasai jewelry, riddles about the country’s wildlife, and info about the capital city of Nairobi.

Souvenir:

The included souvenir got a big “wow”: a 7 million year old piece of petrified wood from one of Kenya’s national parks! Travis immediately knew this was a keeper for his treasure box.

Further Activities:

The booklet also included instructions to make a Bao board, a popular game which you may also know as Mancala. We used an egg carton leftover from Easter decorations as the base. Cut off the lid and cut it in half, then tape to the bottom of the carton so the two halves form bins at either end. Time to decorate with markers!

Little Passports helpfully posted the rules for Bao online so Travis and I could enjoy a few rounds! All you need are marbles, stones, or beads for playing pieces.

The website also had beautiful photos from the country, the chance to learn a little Swahili, and a tribal name word search. Although this last was a touch advanced for a first grader, it prompted us to delve deeper into Kenya’s many tribes.

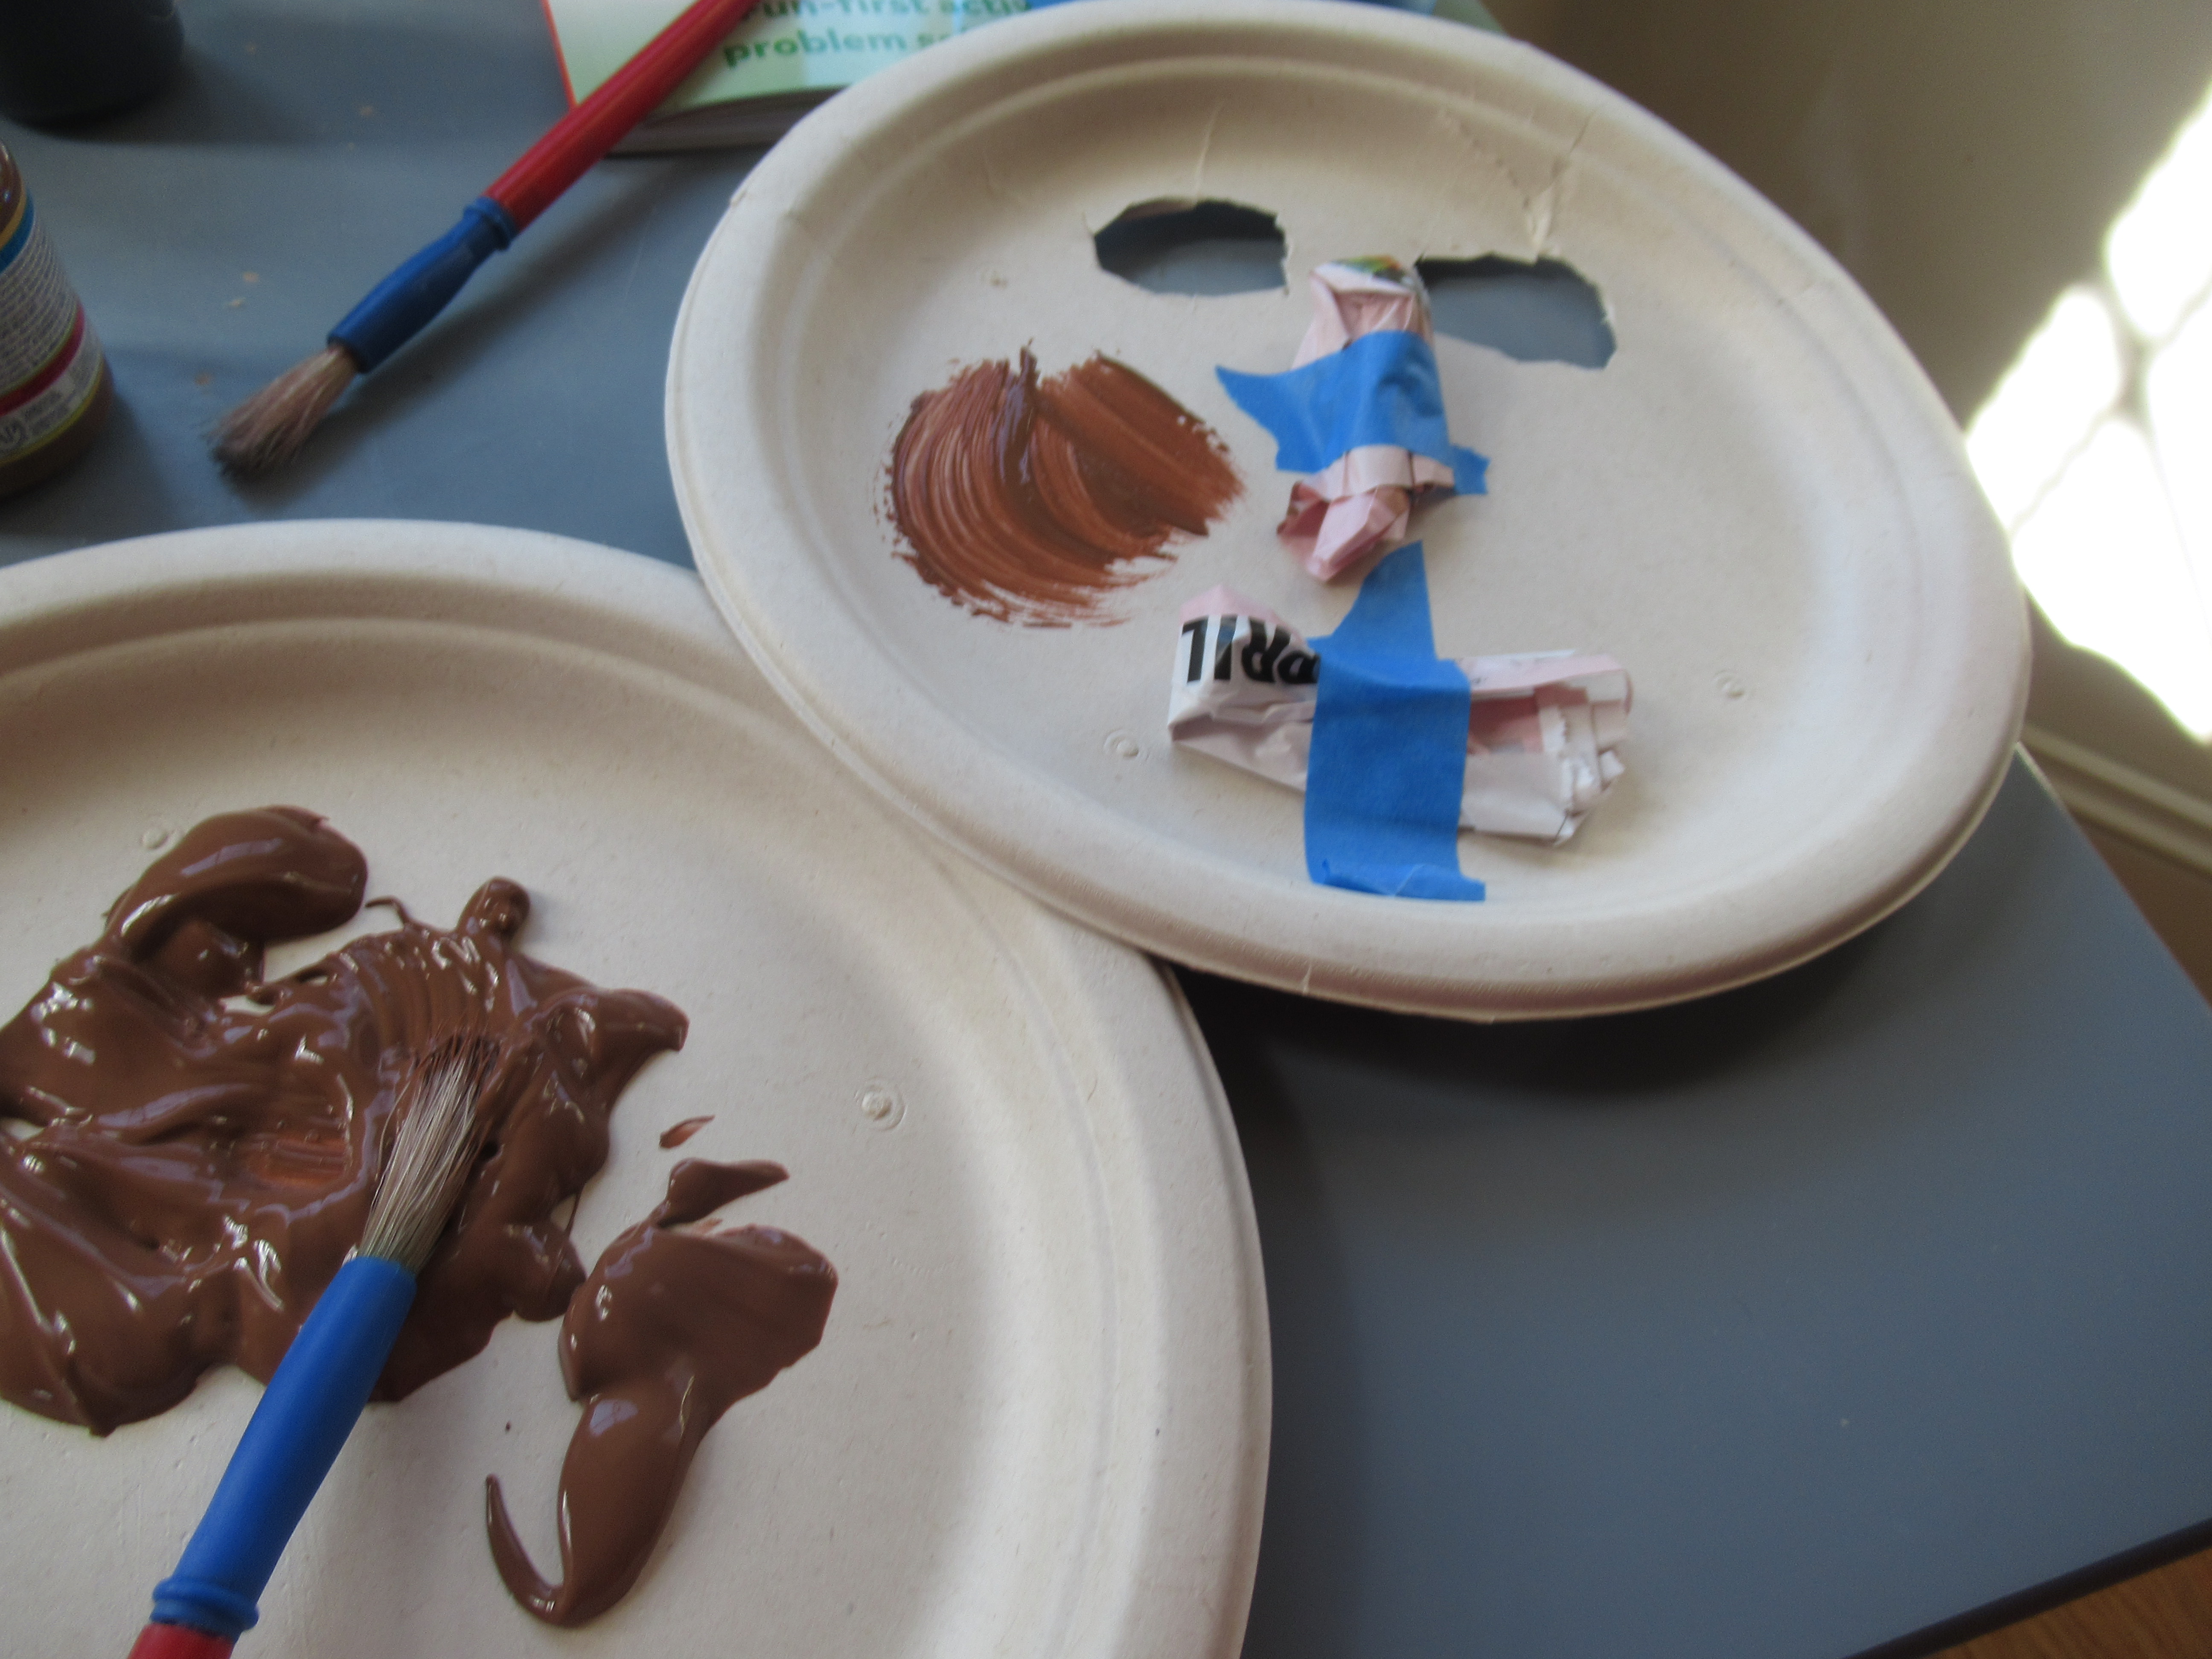
An entry from Little Passport’s blog made it seem that the Kenya kit used to include a tribe mask craft. We found a similar version online to continue the fun: Start with paper plates and cut out eye holes for each. Use torn pieces of magazine or newspaper to shape a nose and mouth.

We gave the plates a coat of brown paint to look like clay, then added stripes in additional paint colors and “hair” from construction paper.

Recipe:

We were initially surprised to see that the included recipe was for chapati, which normally makes me think of India. It was neat to learn that this flatbread is popular in Kenya, as well.

Ingredients:

  • 3 cups flour
  • 1 teaspoon salt
  • 1 teaspoon sugar
  • 2 tablespoons canola oil, plus more for cooking
  • 1 and 1/2 cups warm water
  1. Place the flour in a large bowl. Set aside.
  2. In a small bowl, mix together the salt, sugar, 2 tablespoons oil, and 1 cup warm water, stirring until the sugar dissolves. Add to the flour mixture, then add the remaining warm water and stir to form a soft ,sticky dough.
  3. Turn out onto a floured surface and knead until elastic. Return to the bowl and let rise for 40 minutes to 1 hour.
  4. Divide the dough into 10 portions. Working with 1 portion at a time, roll into a disc about 1/4-inch thick. Cook in oil in a skillet over medium-high heat for about 3 minutes on each side, until lightly browned. Repeat with the remaining dough.

As you can guess, the recipe was time consuming, since we could only cook one chapati at a time in our skillet. It would be far easier if you have a large griddle surface! To be honest, we called it quits about 4 dough portions, which already had taken about half an hour. Still, it was a fun culinary adventure, and we served the chapati with curried lentils and veggies in keeping with the spirit of the meal!

Little Passports: Ireland

IMG_2312

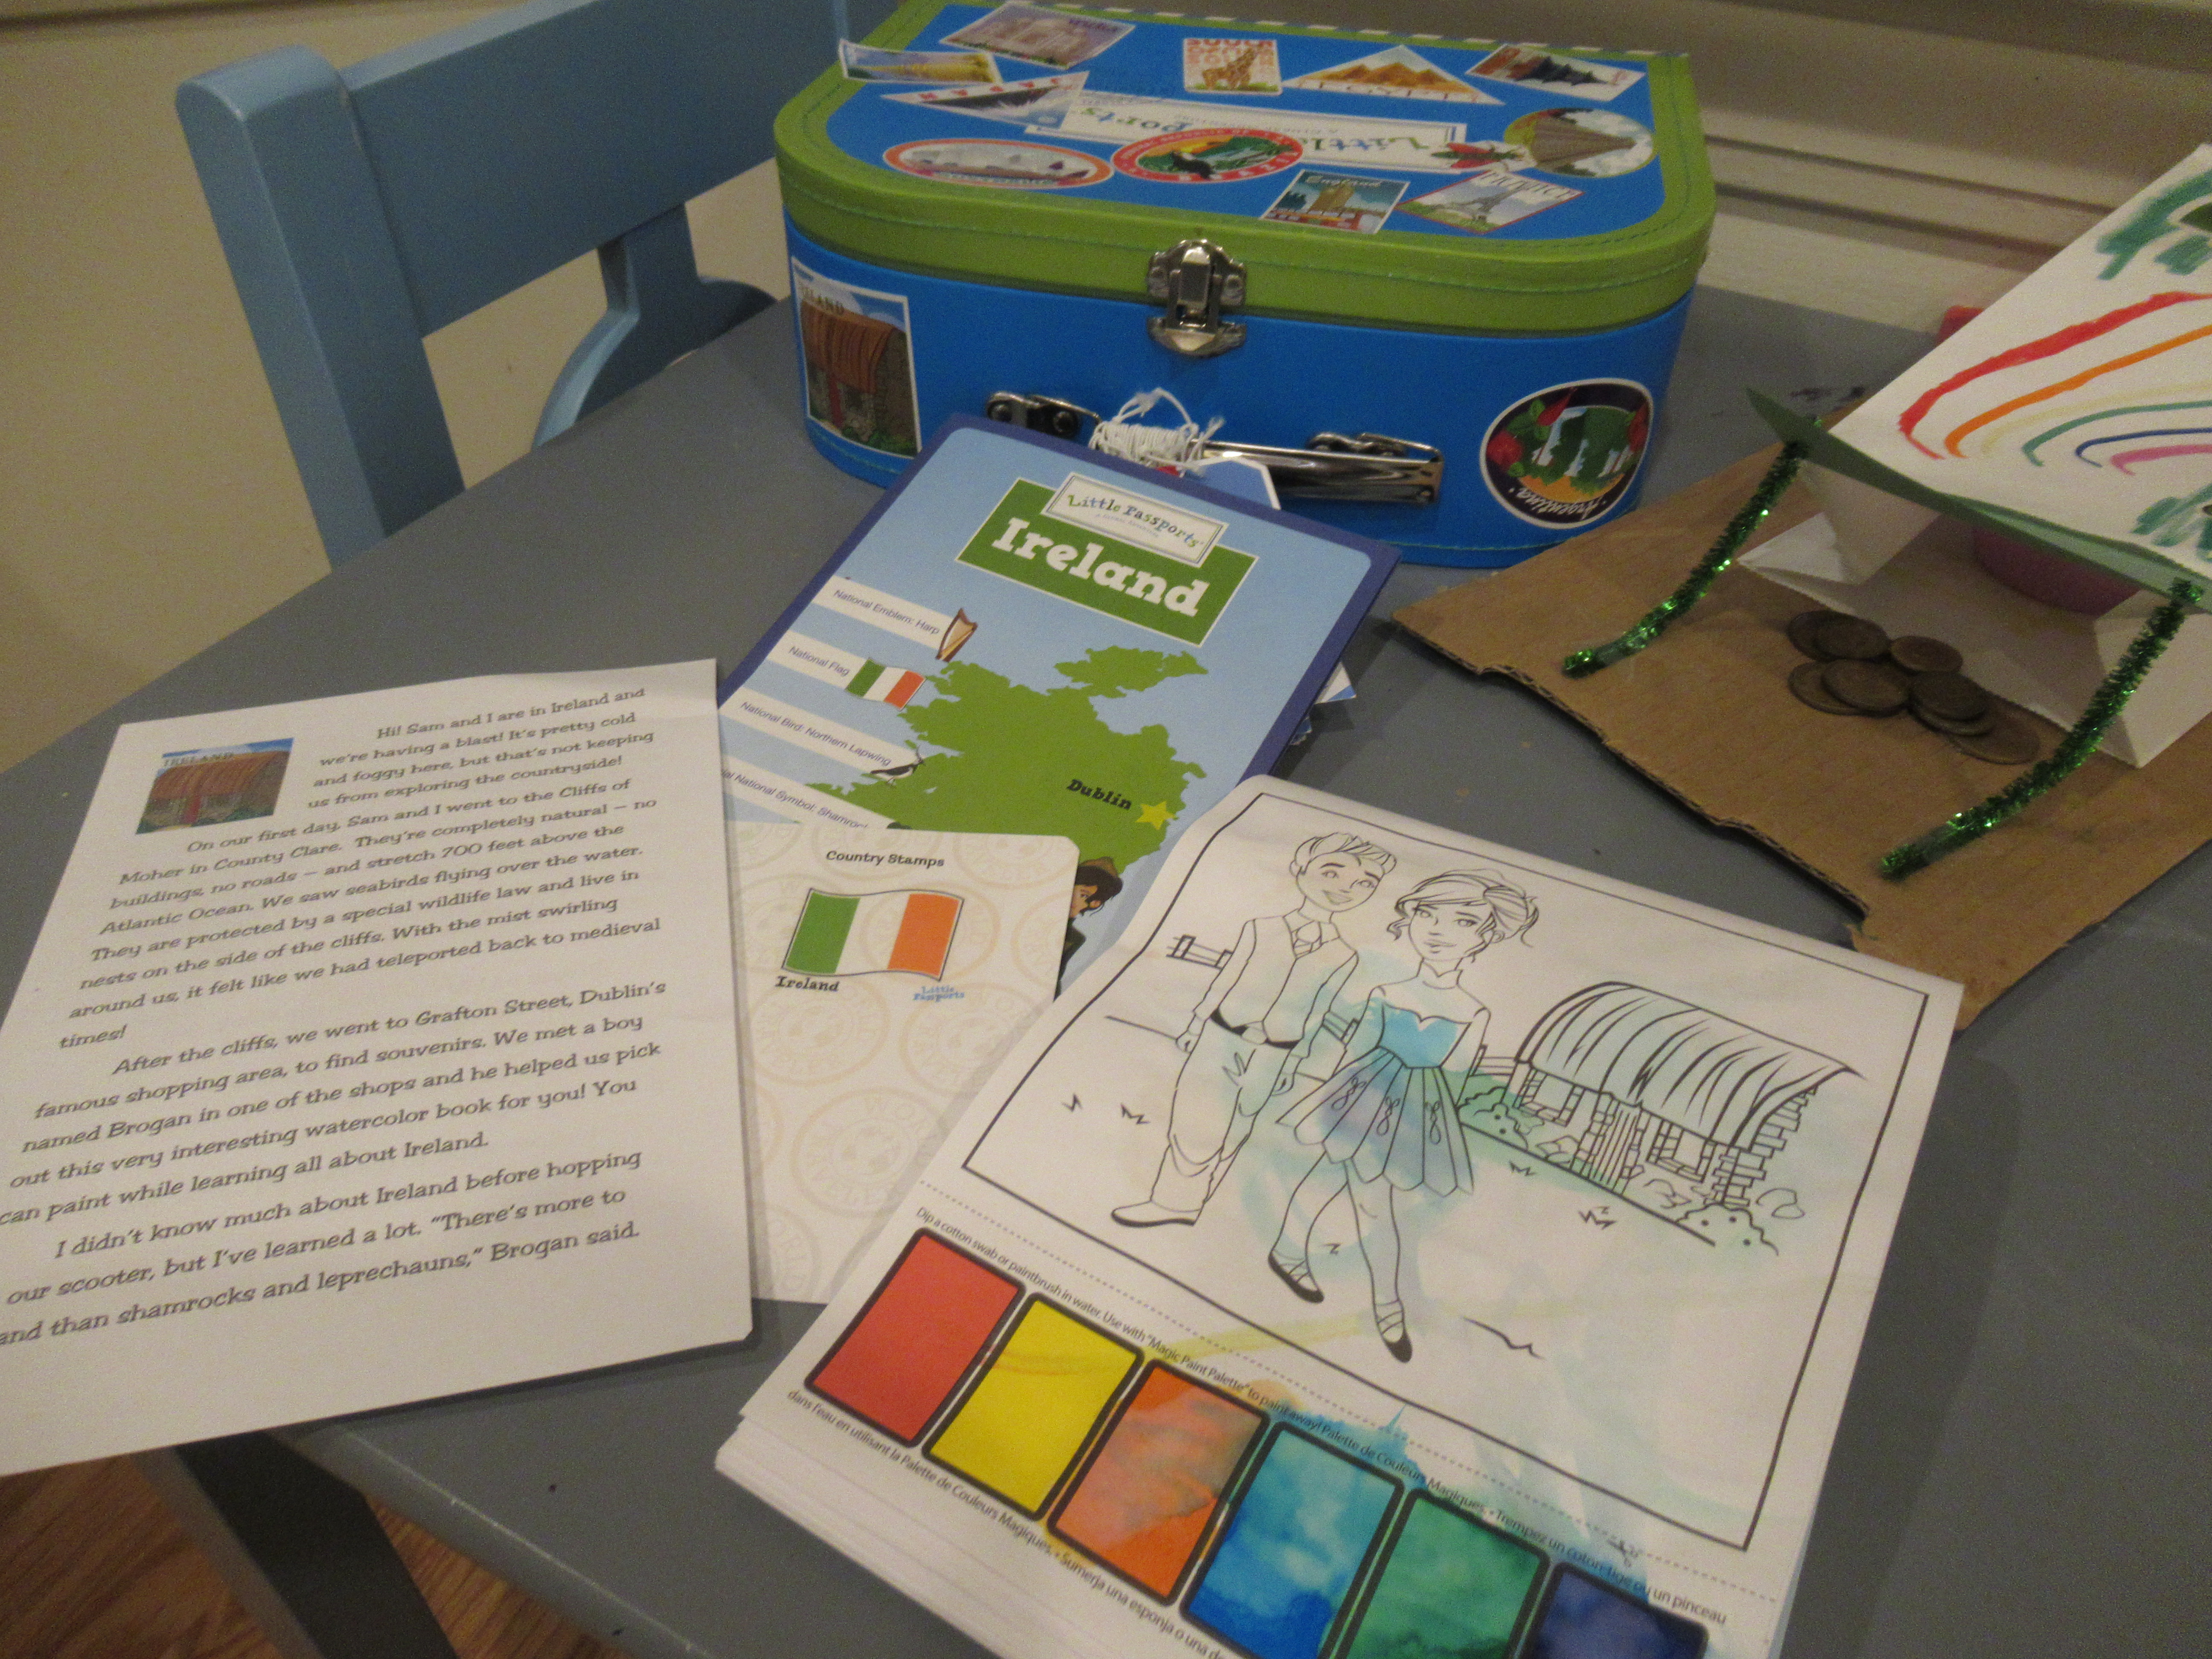
Just in time for St. Patrick’s Day, Travis’s latest package from Little Passports was all about Ireland. We loved delving deeper into the Emerald Isle than just leprechauns. After putting on his passport flag stamp and map push pin, Travis turned to the booklet.

LP Ireland (4)

Topics this month included Irish symbols like Celtic knots and Claddagh rings, but the activities were a touch advanced for a 1st grader, including spotting minute symmetrical differences and locating castles on a map.

Souvenir:

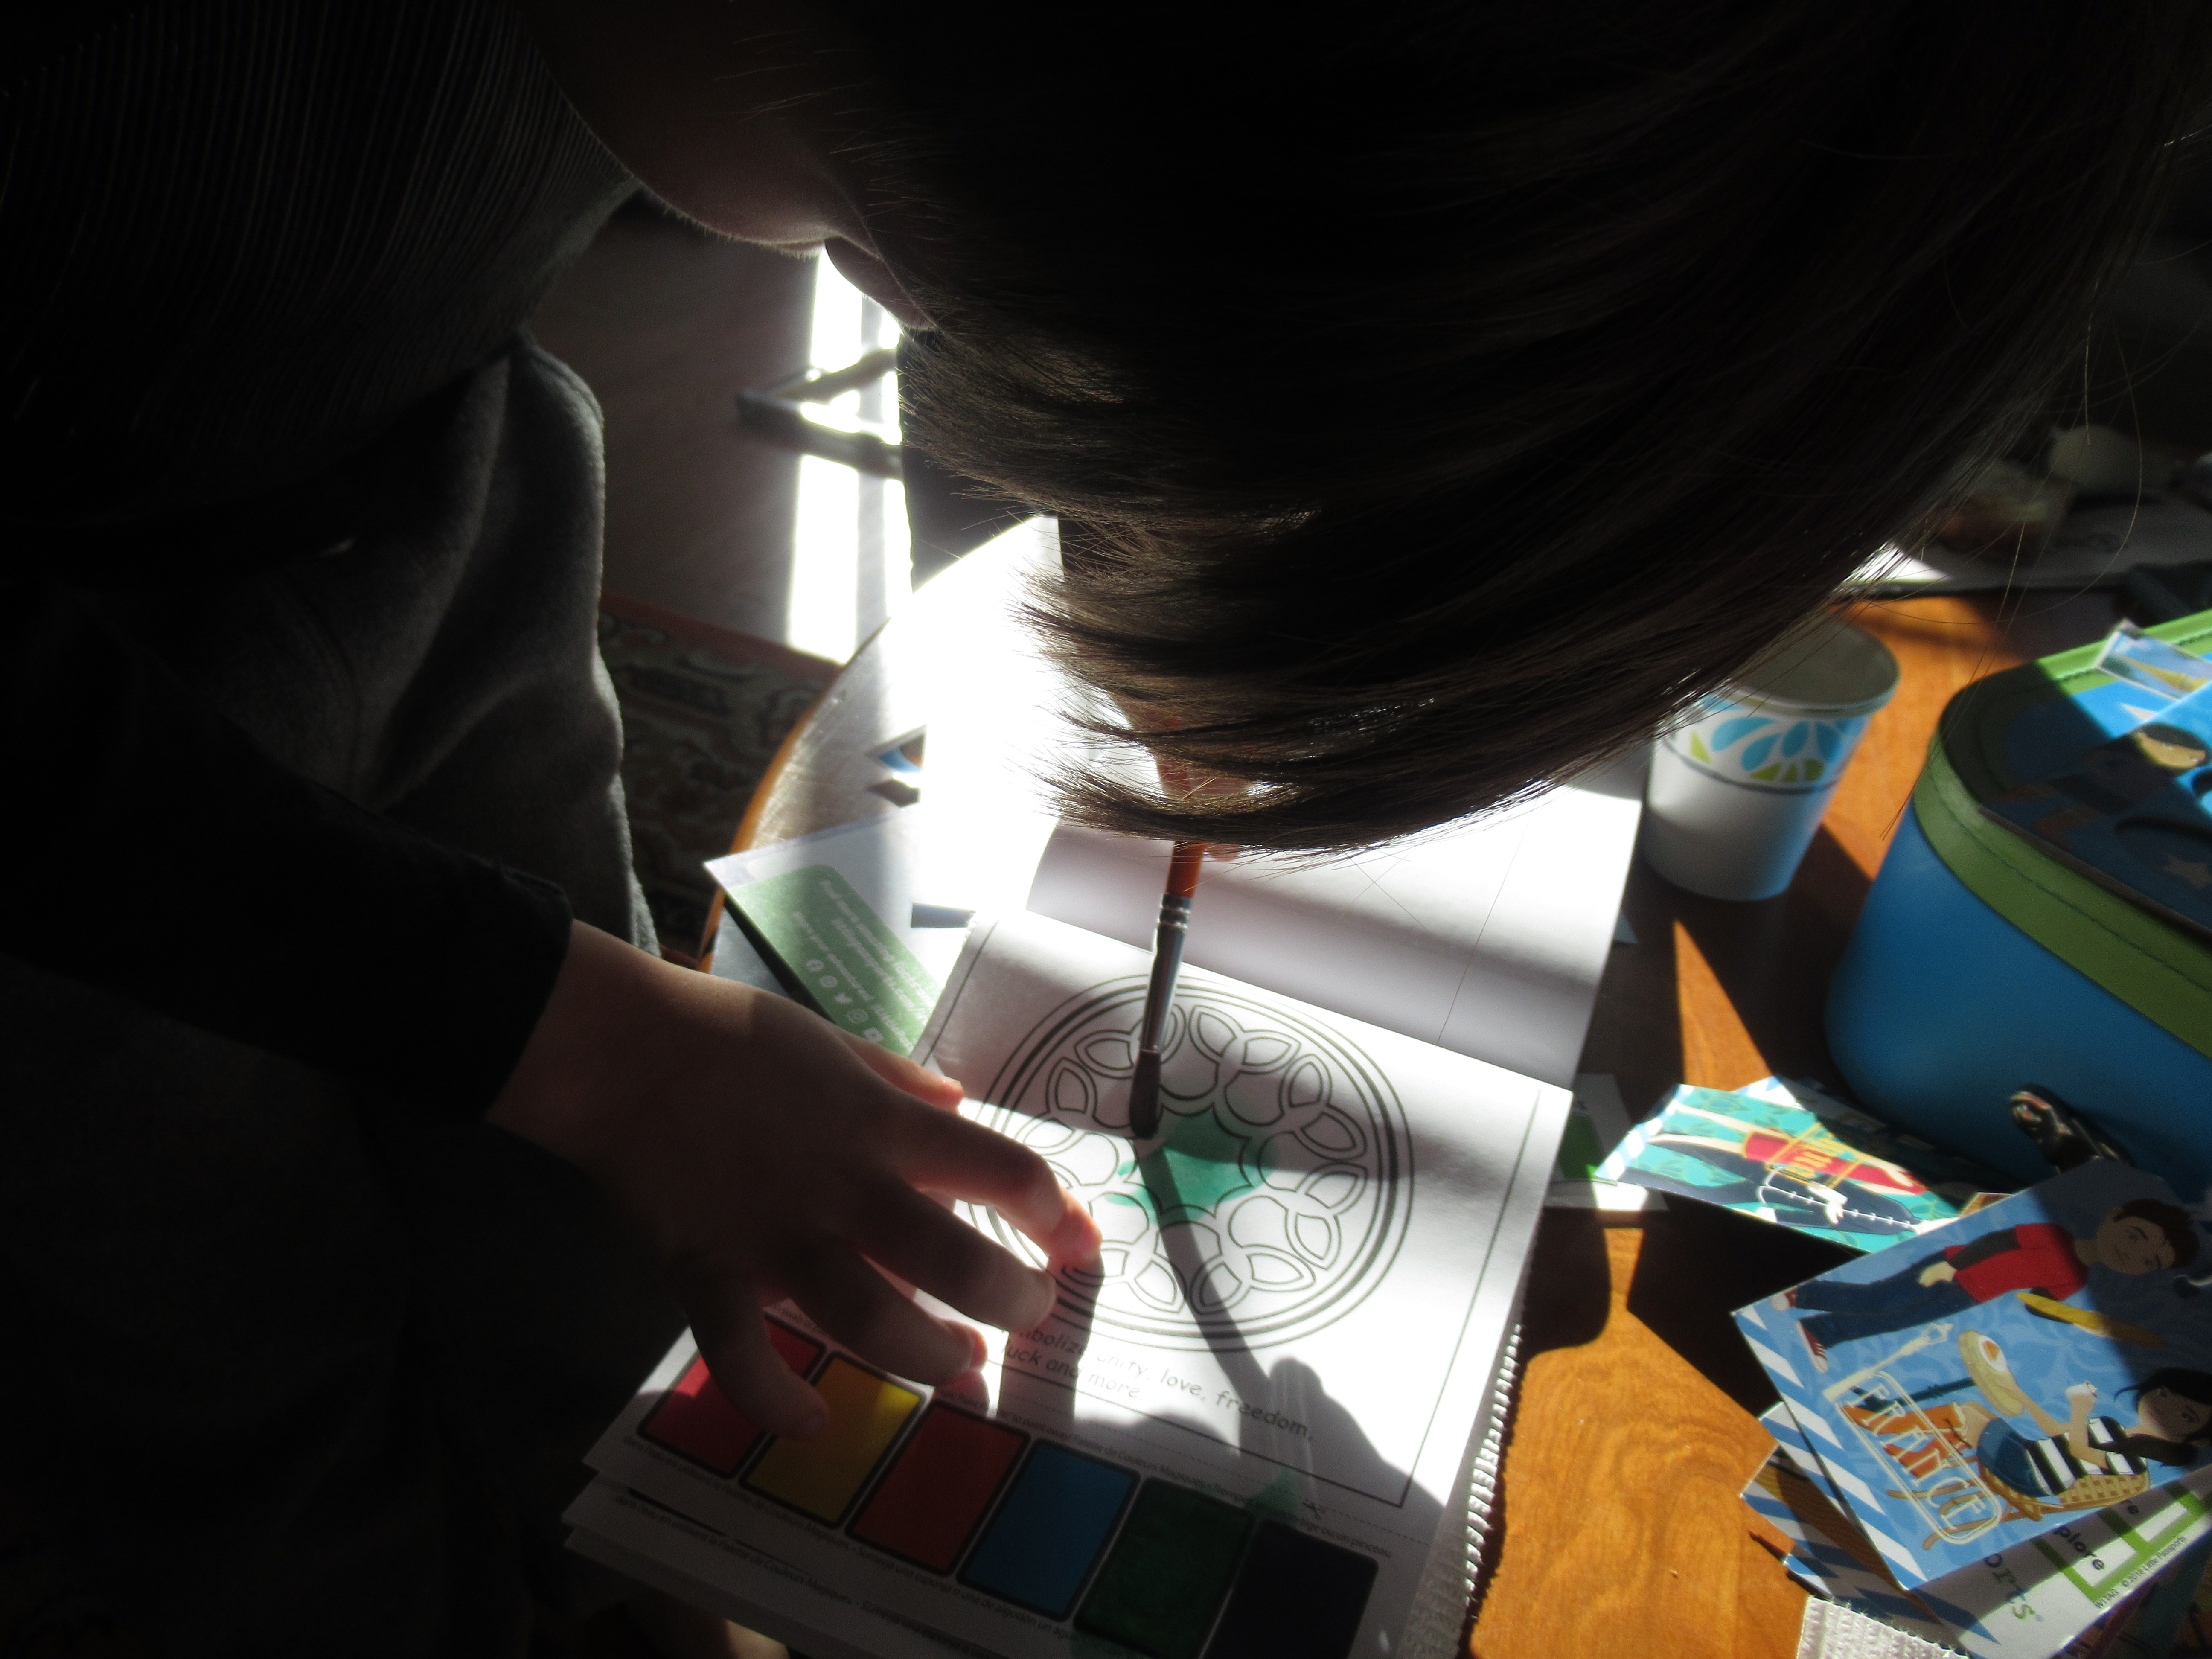
‘Sam and Sofia’ had included a magic paint book this month, each page featuring a fun fact about Ireland. Travis liked it and I appreciated that it got him doing some arts & crafts!

LP Ireland (1)

Further Activities:

Online activities included a pretty coloring page of Celtic knots, as well as lyrics to a popular Irish folk song. The topic had us instantly searching online to hear a version of it, which led to watching some Irish dancing online as well. That’s the next best thing since we can’t attend a performance in person this year!

I was a touch disappointed there were no more hands-on crafts with this particular kit, but Travis has just made a leprechaun trap as a school assignment.

LP Ireland (6)

Recipe:

As always, our tummies got to enjoy the country exploration, too. We made this loaf of Irish Soda Bread to enjoy for breakfast on St. Patrick’s Day.

Irish Soda Bread (1)

Ingredients:

  • 4 cups flour
  • 2 tablespoons sugar
  • 1 teaspoon salt
  • 1 teaspoon baking soda
  • 4 tablespoons Earth Balance butter, chilled
  • 1 cup raisins
  • 2 tablespoons lemon juice
  • Scant 1 and 3/4 cups soy milk
  • 1 Ener-G or flax egg
  • 1 teaspoon grated orange rind
  1. In a large bowl, combine the flour, sugar, salt, and baking soda; set aside.
  2. Cut the butter into a small pieces and add to the flour mixture; mix with your fingers until the mixture is like coarse crumbs. Stir in the raisins.
  3. Meanwhile, pour the lemon juice into a liquid measuring cup. Add enough soy milk to equal and 1 and 3/4 cups. Let stand for 5 minutes to clabber the mixture (like dairy buttermilk).
  4. Add the Ener-G egg, orange rind, and soy milk mixture to the dry ingredients, stirring to combine; the dough will be sticky.
  5. Using floured hands, shape into a loaf and place on a greased baking sheet. Make 2 slits in the top of the loaf with a knife, then bake at 425 degrees F for 40 minutes.

Irish Soda Bread (2)

Little Passports: Thailand

LP Thailand (6)

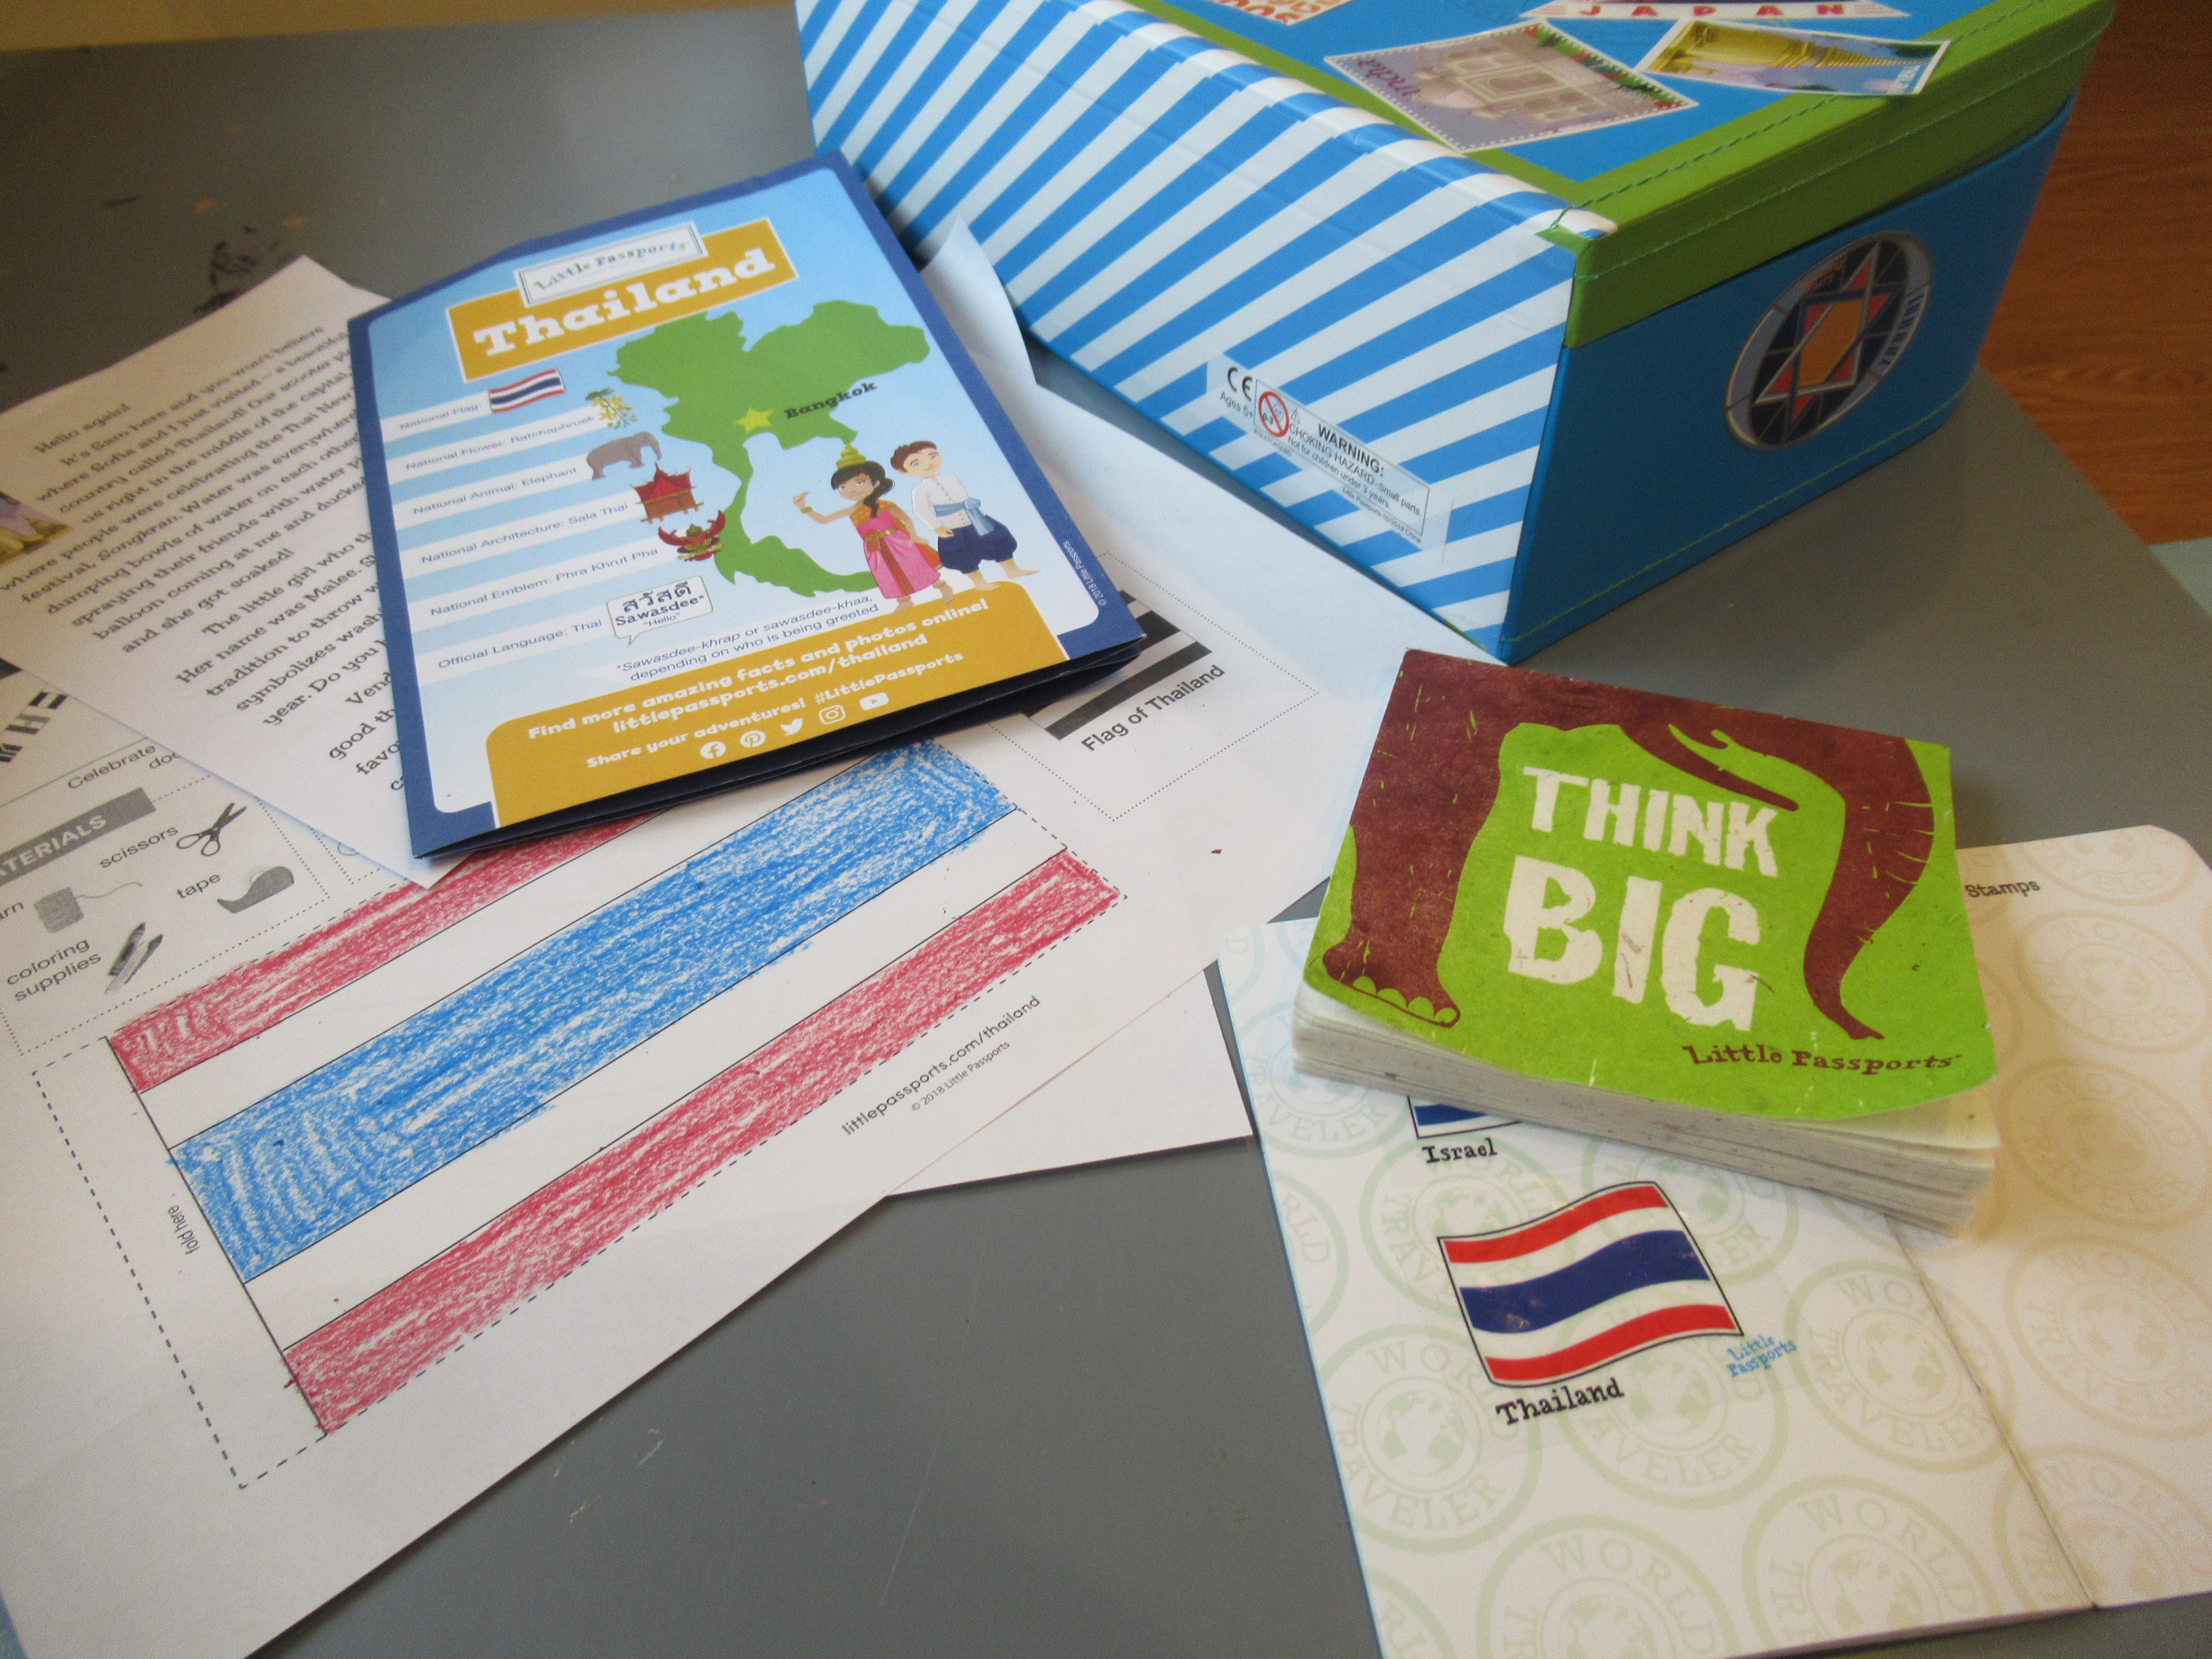
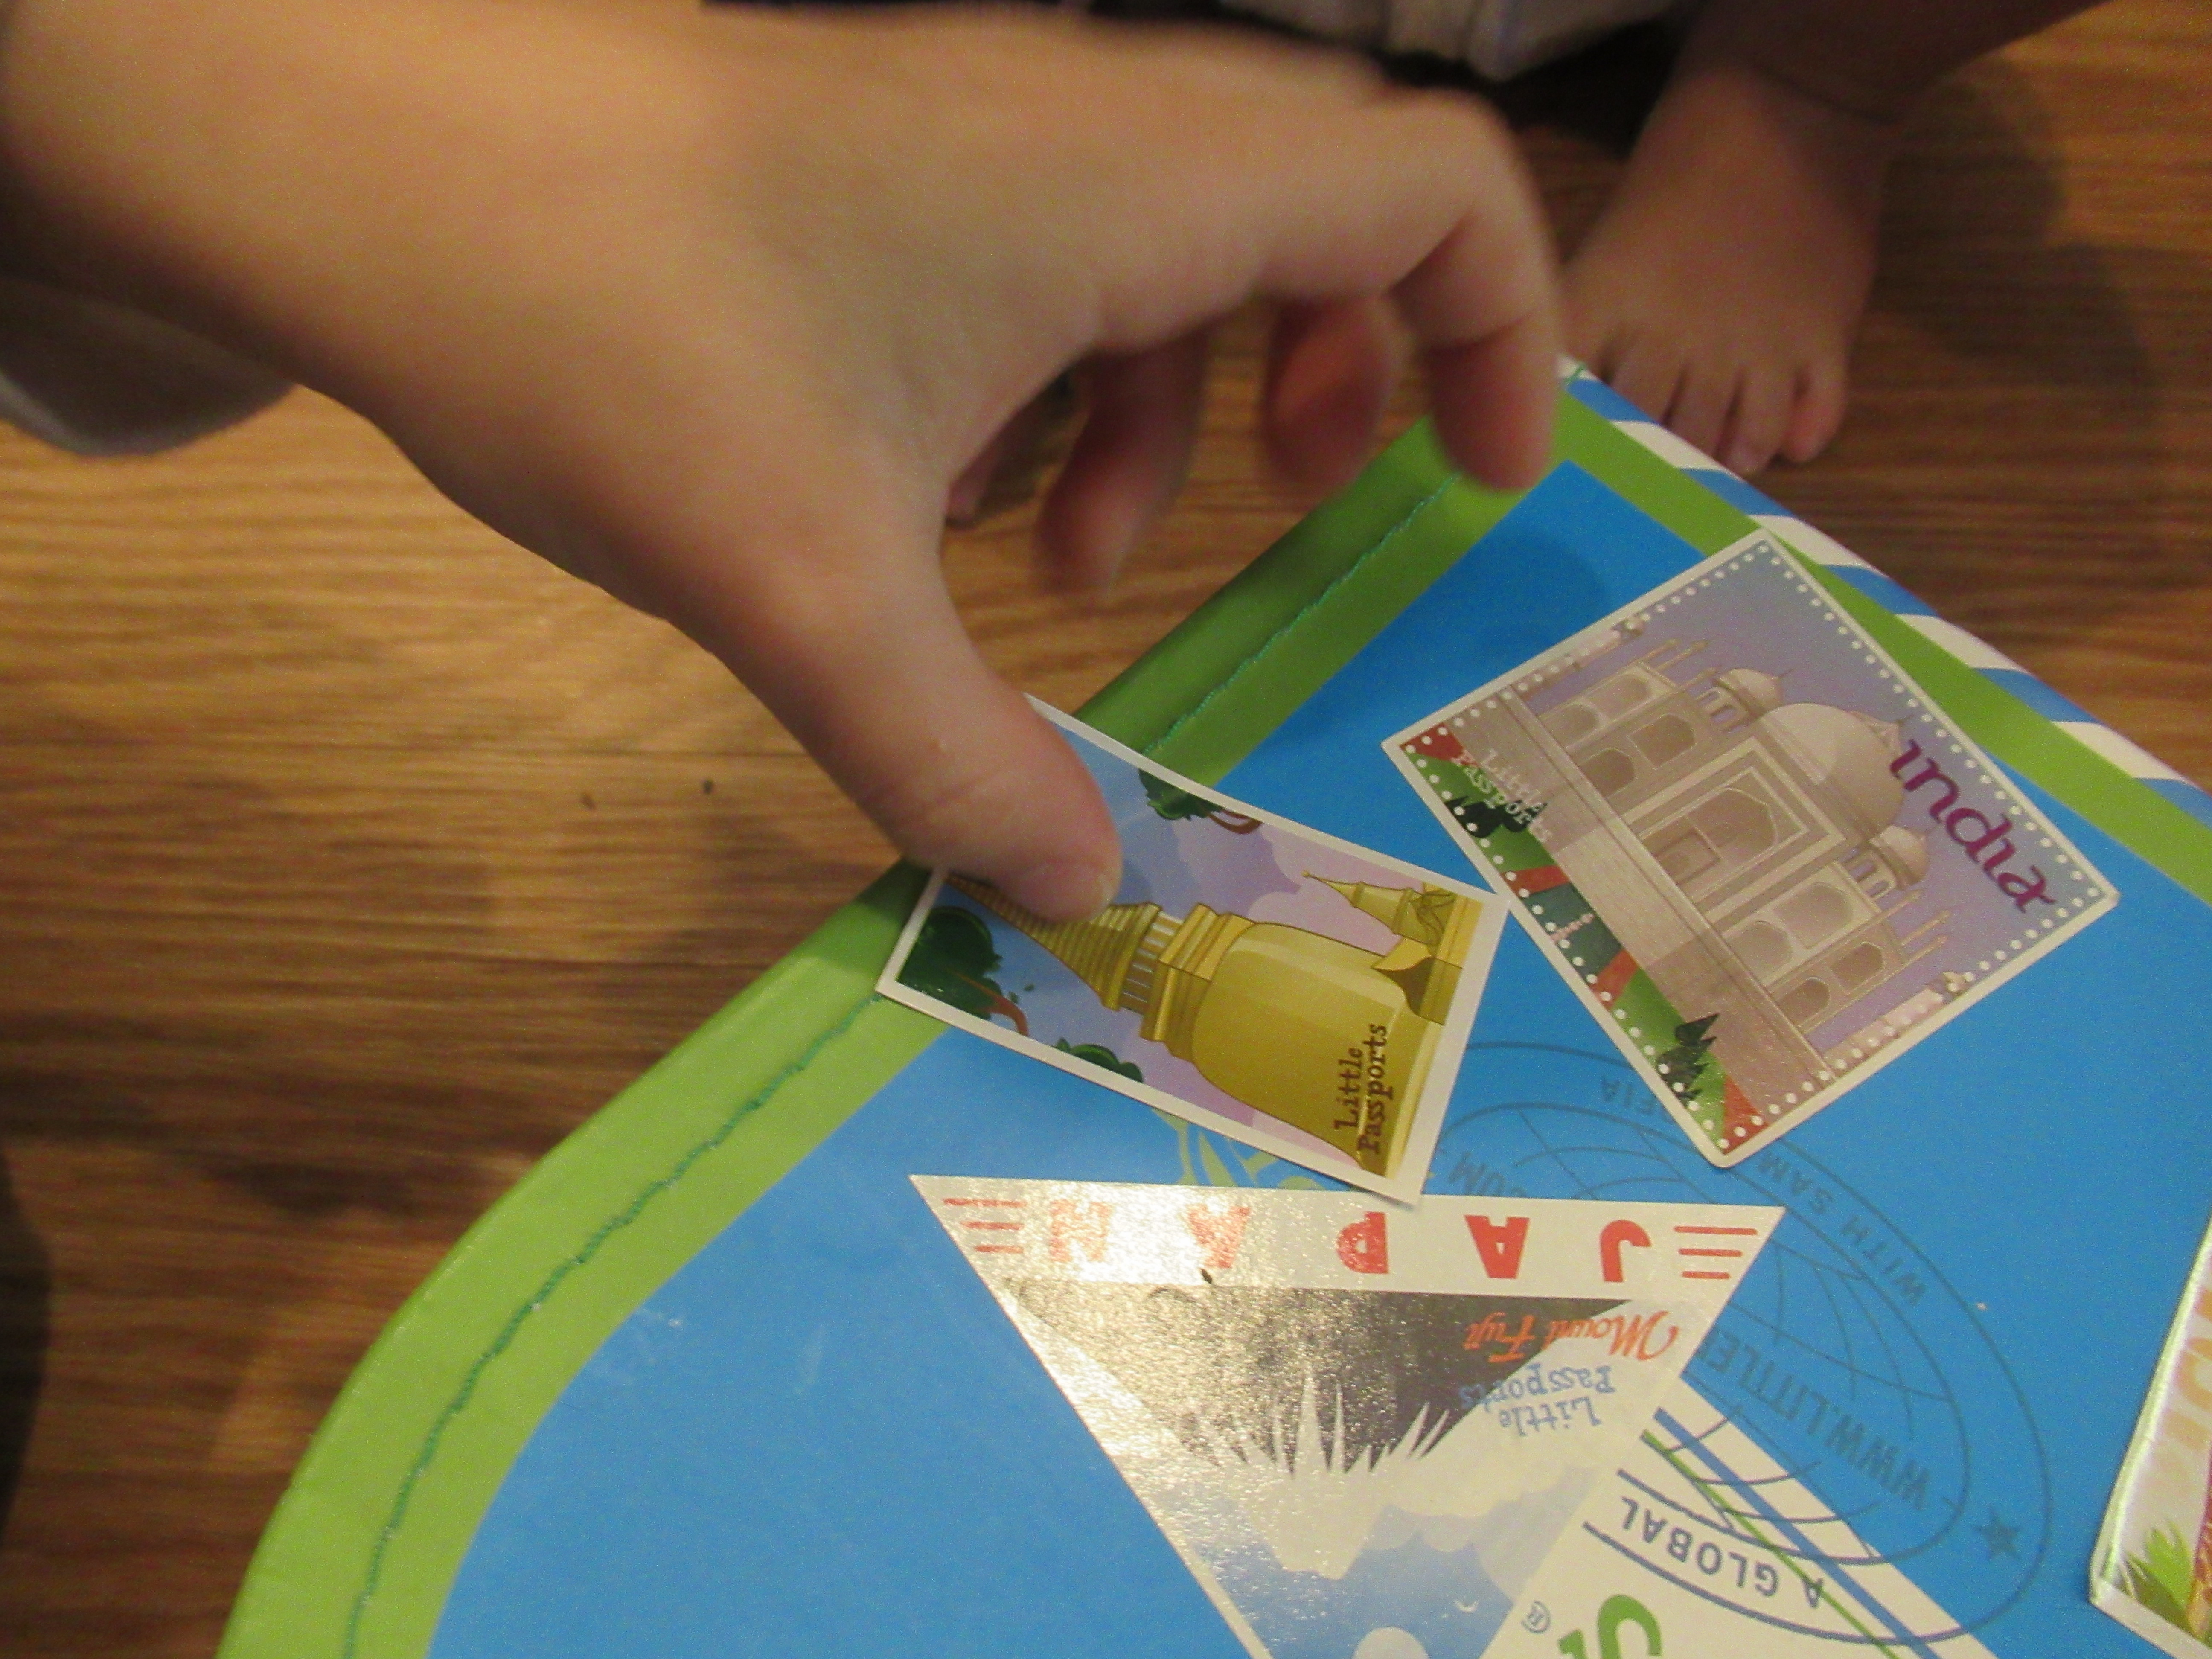
Travis’s latest package from Little Passports was a welcome find on a winter afternoon, taking him across the world to tropical Thailand. As always, he loved to locate the country on his world map and add a pin sticker, and to place the flag stamp in his passport.

LP Thailand (1)

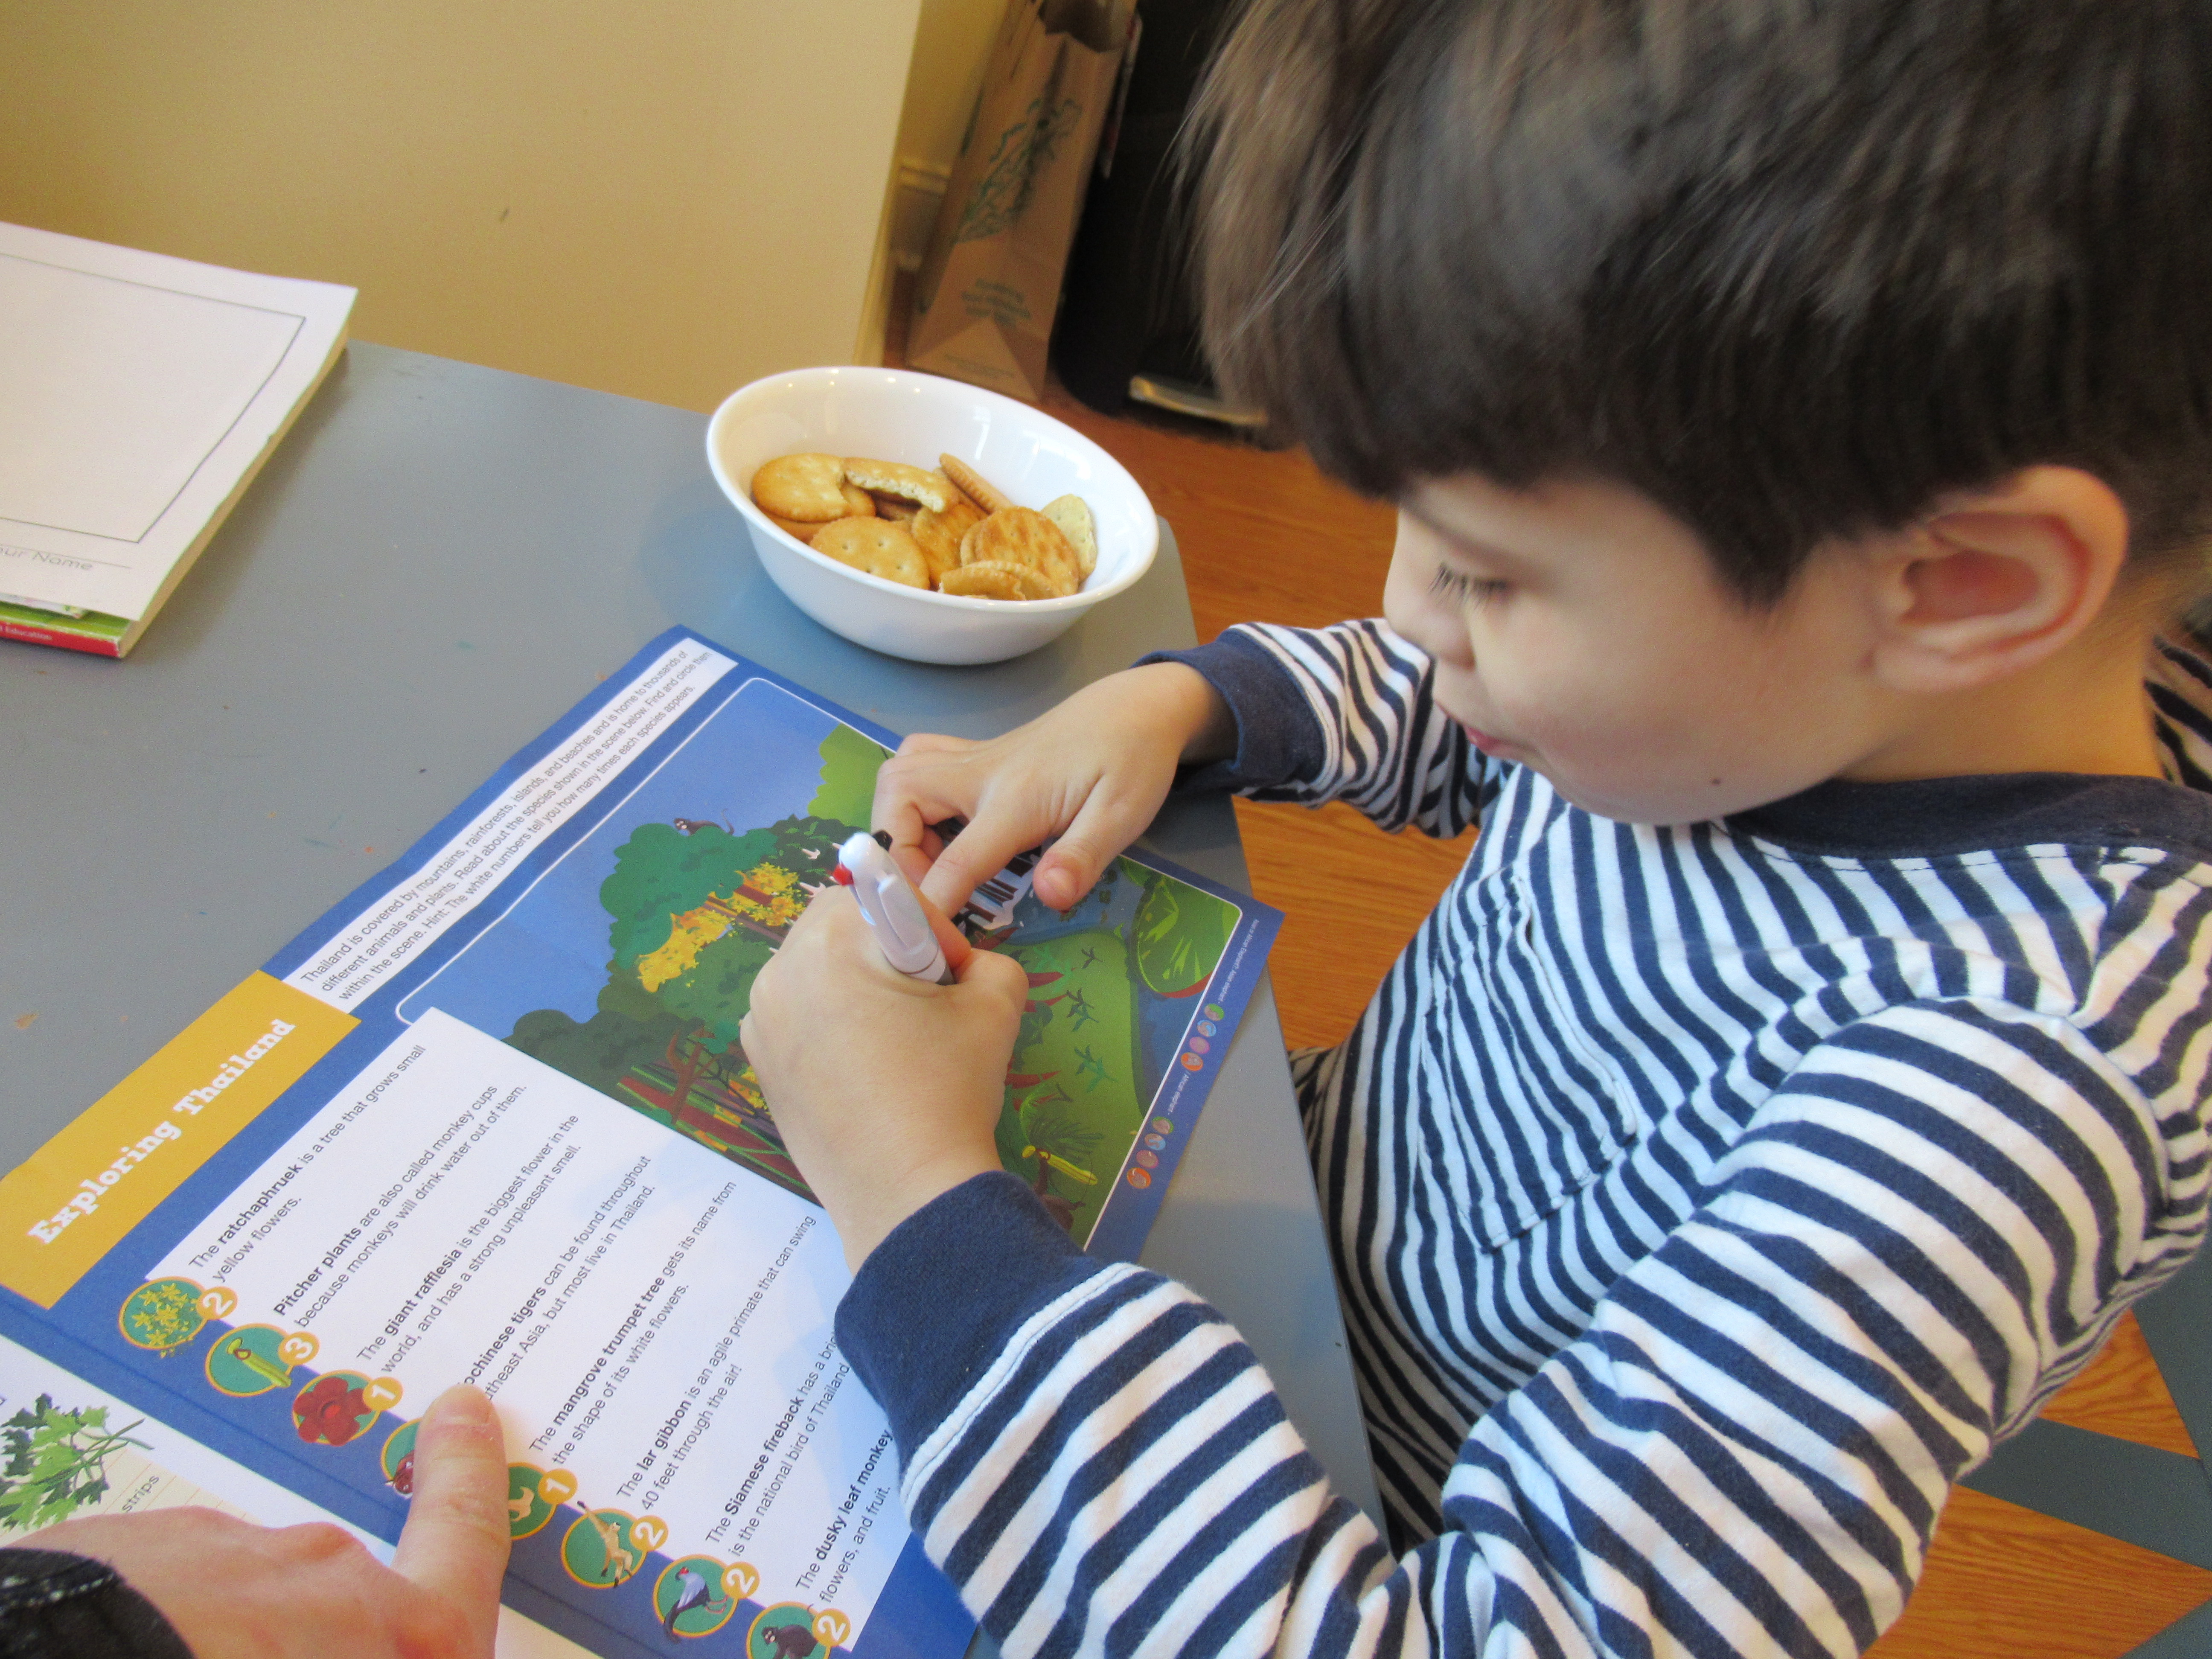
The booklet this month taught Travis lots about Thailand’s flora and fauna, especially elephants. The only activity too advanced for him as a 1st grader was a fill-in-the-blank about Thailand’s tuk-tuk vehicles.

LP Thailand (3)

Souvenir:

The biggest hit was the souvenir and no wonder because it involved… )Poop. Yup, a pad of paper made from recycled elephant poop, which was an idea so wacky and brilliant that the whole family loved it.

LP Thailand (2)

Further Activities:

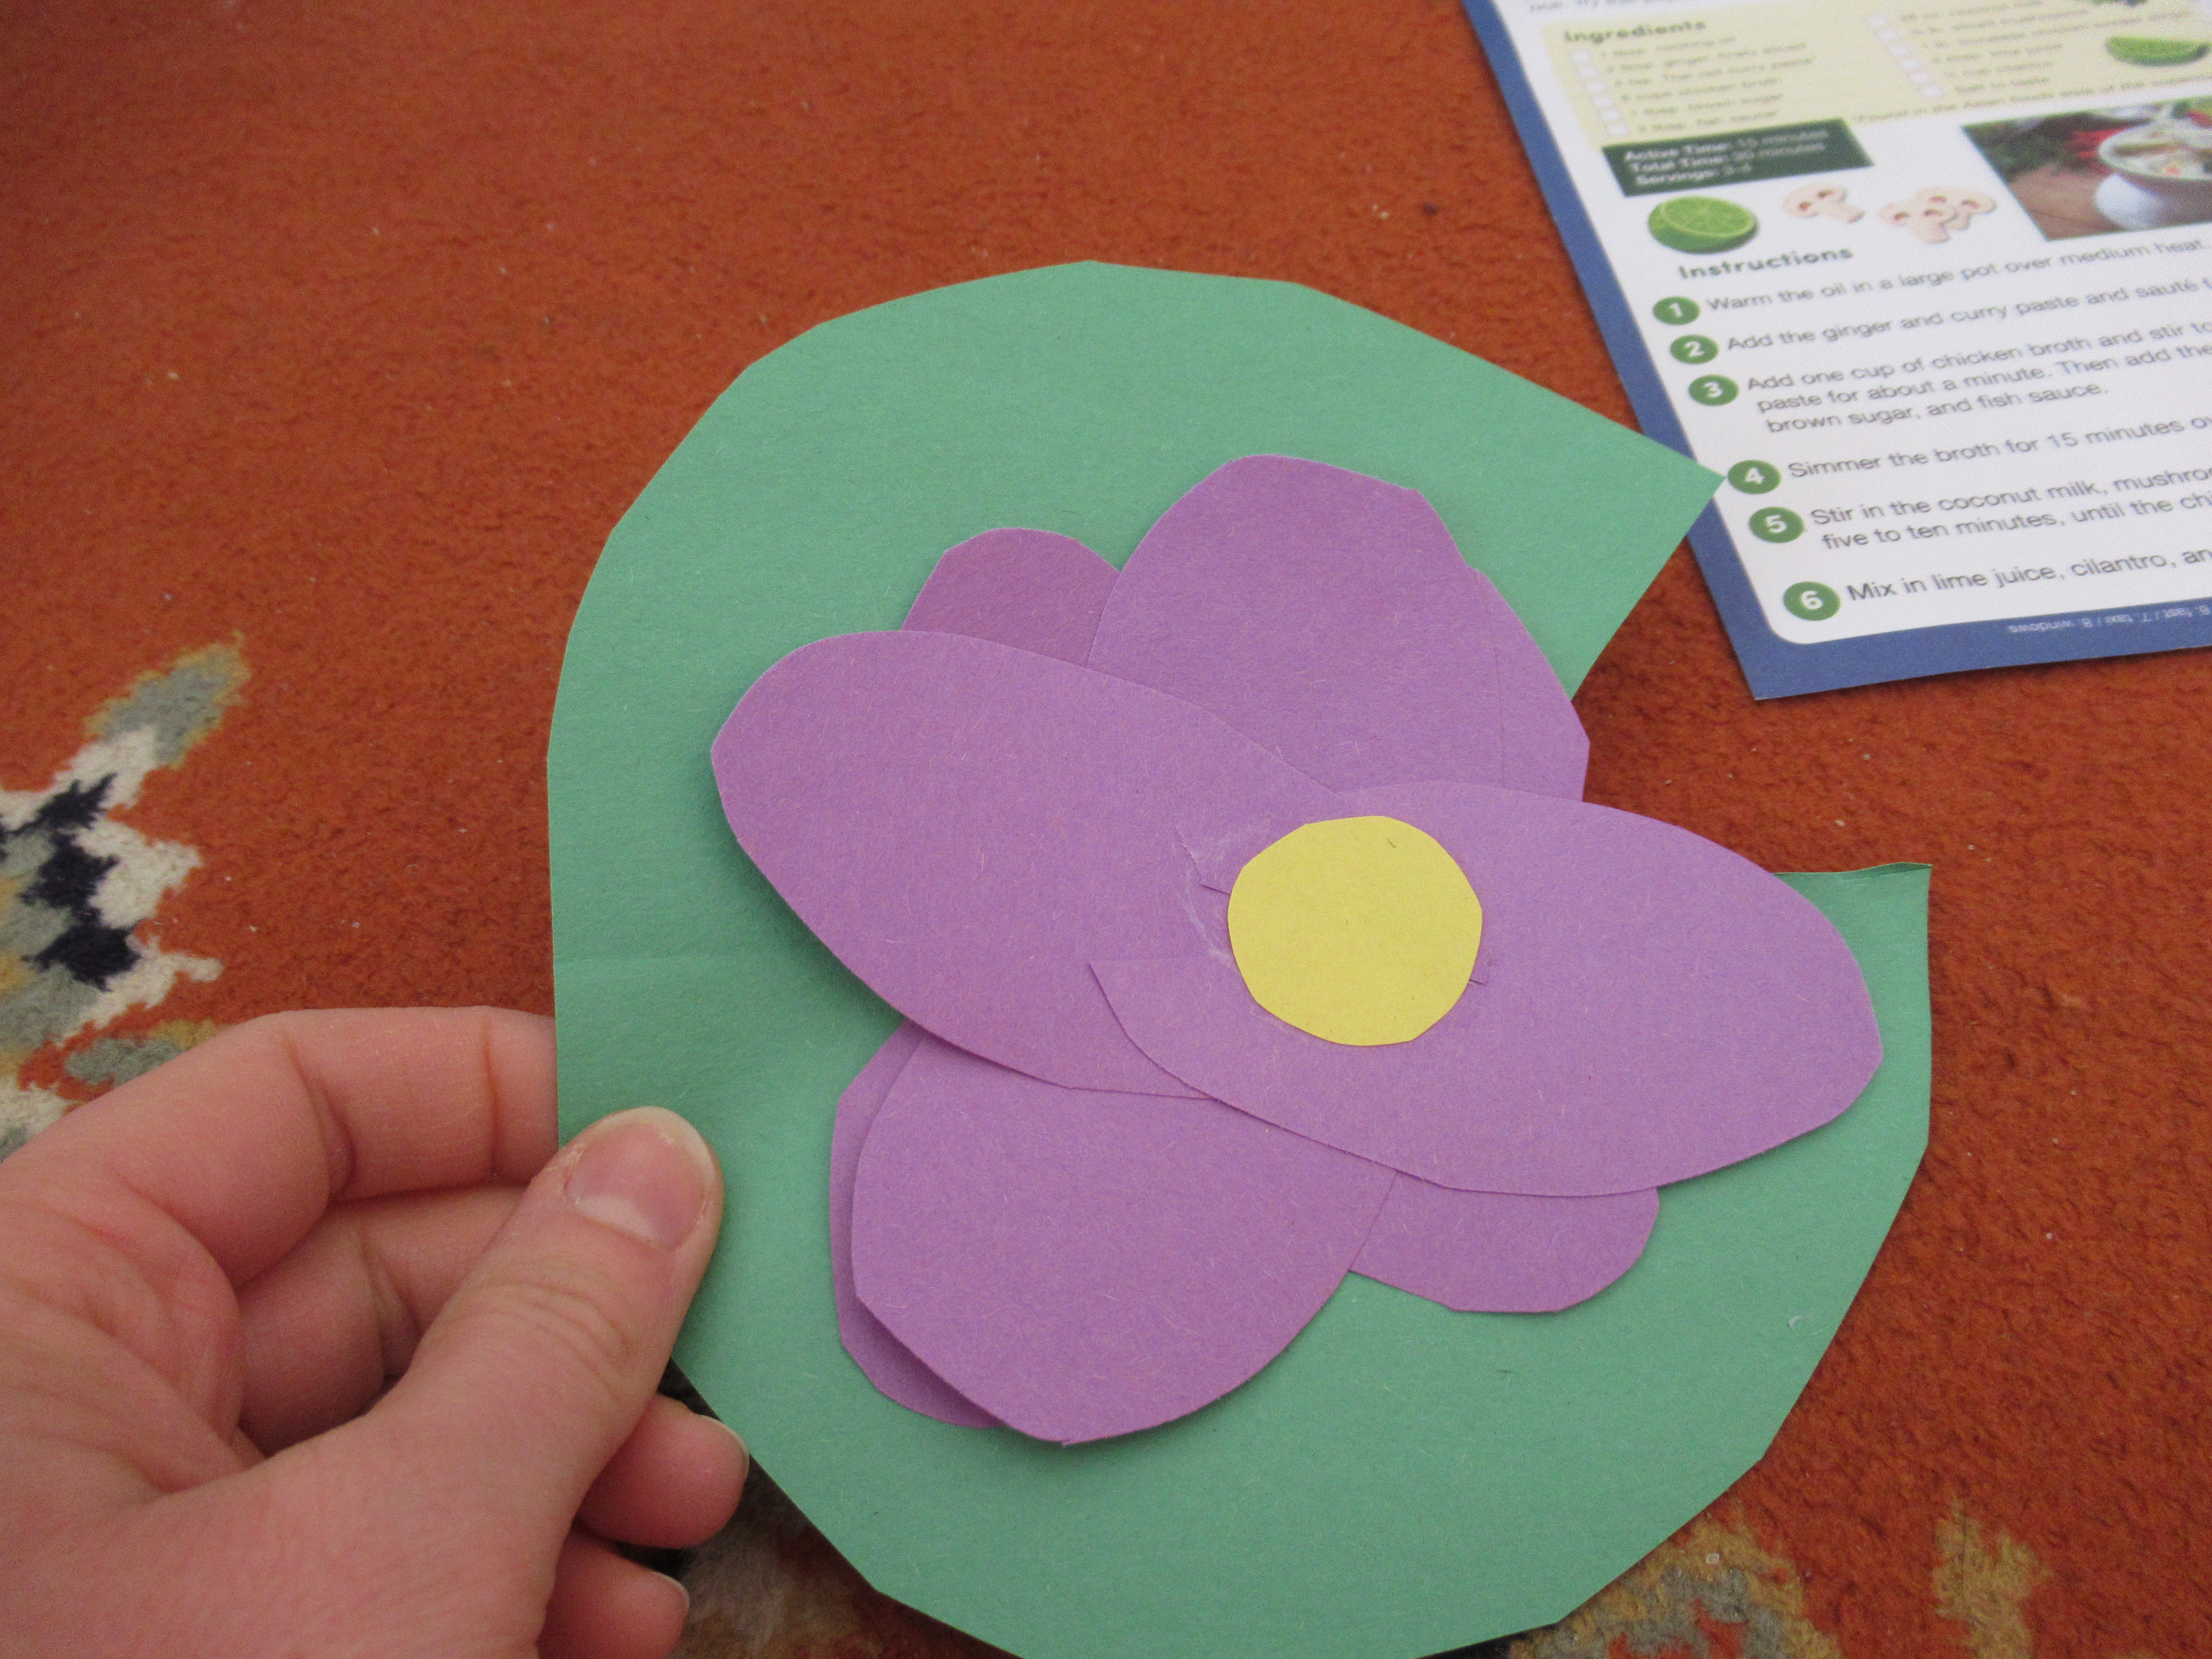
His booklet featured a nice hands-on craft to make Paper Lotus Flowers, following along with the instructions that involved only green, purple, and yellow construction paper. They turned out quite pretty!

LP Thailand (4)

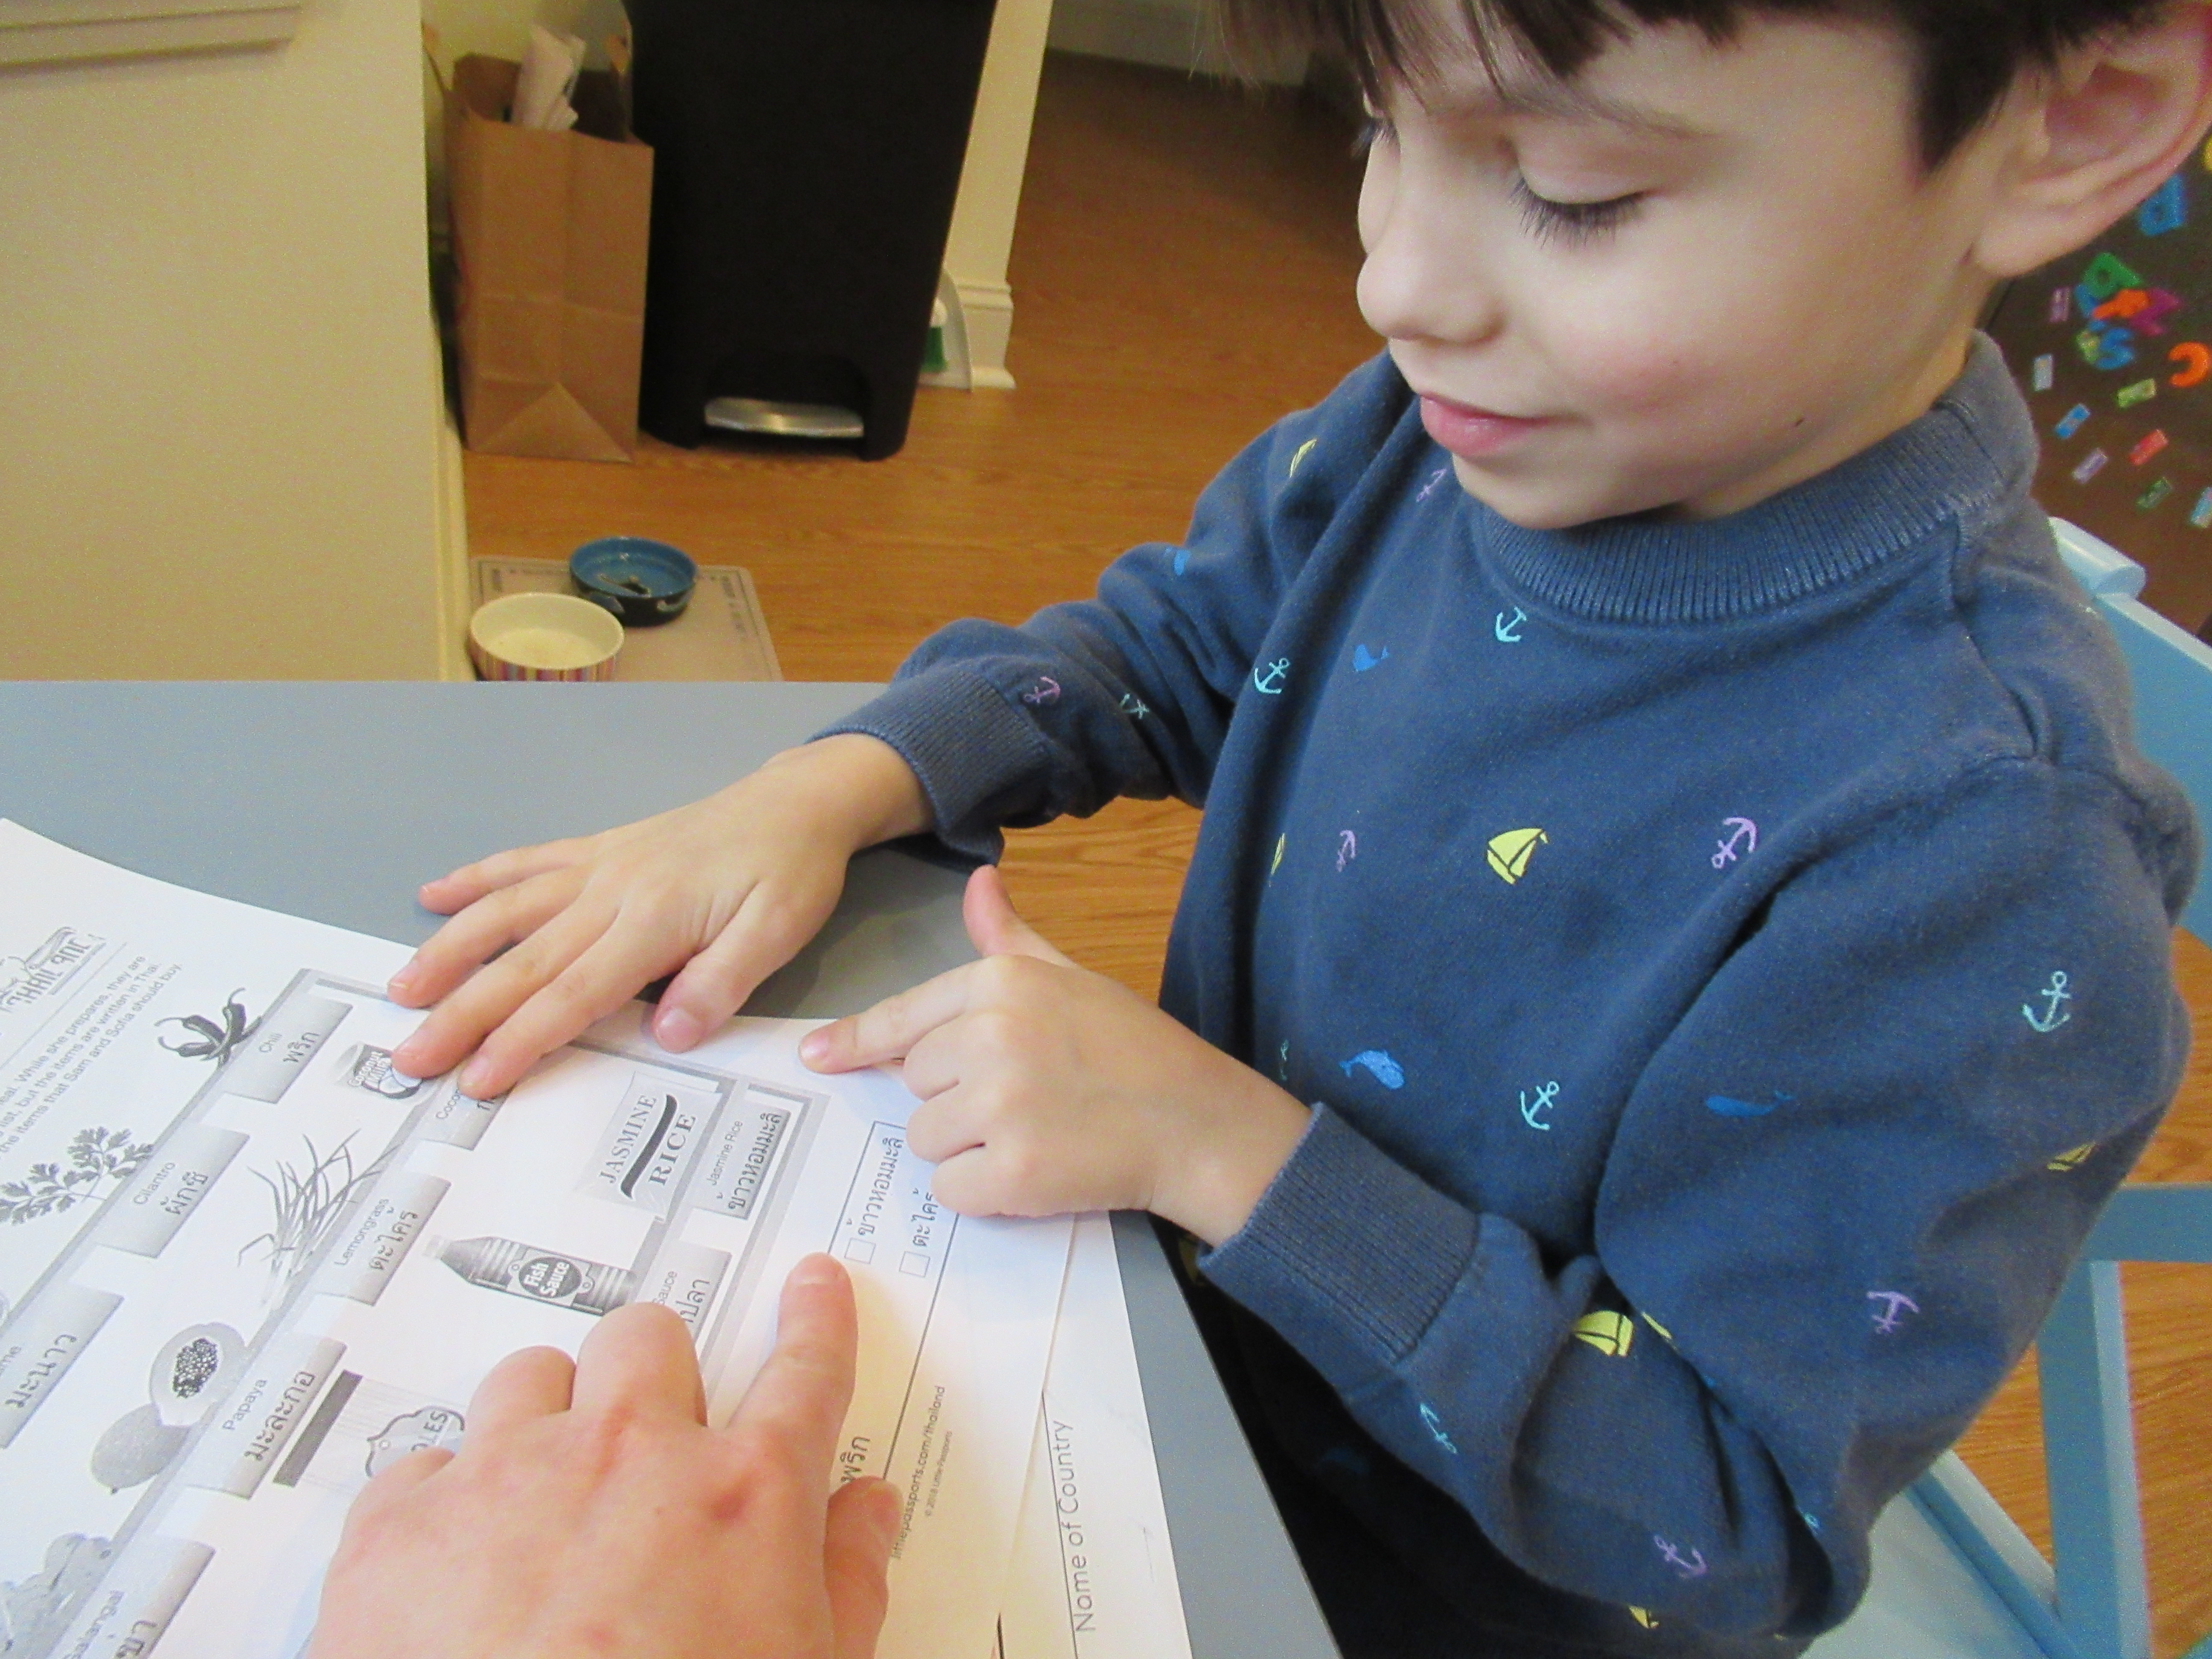
There was also a Thai grocery list activity that was a neat introduction to the beautiful characters of Thailand’s alphabet. Travis helped find each ingredient by matching up the words.

LP Thailand (5)

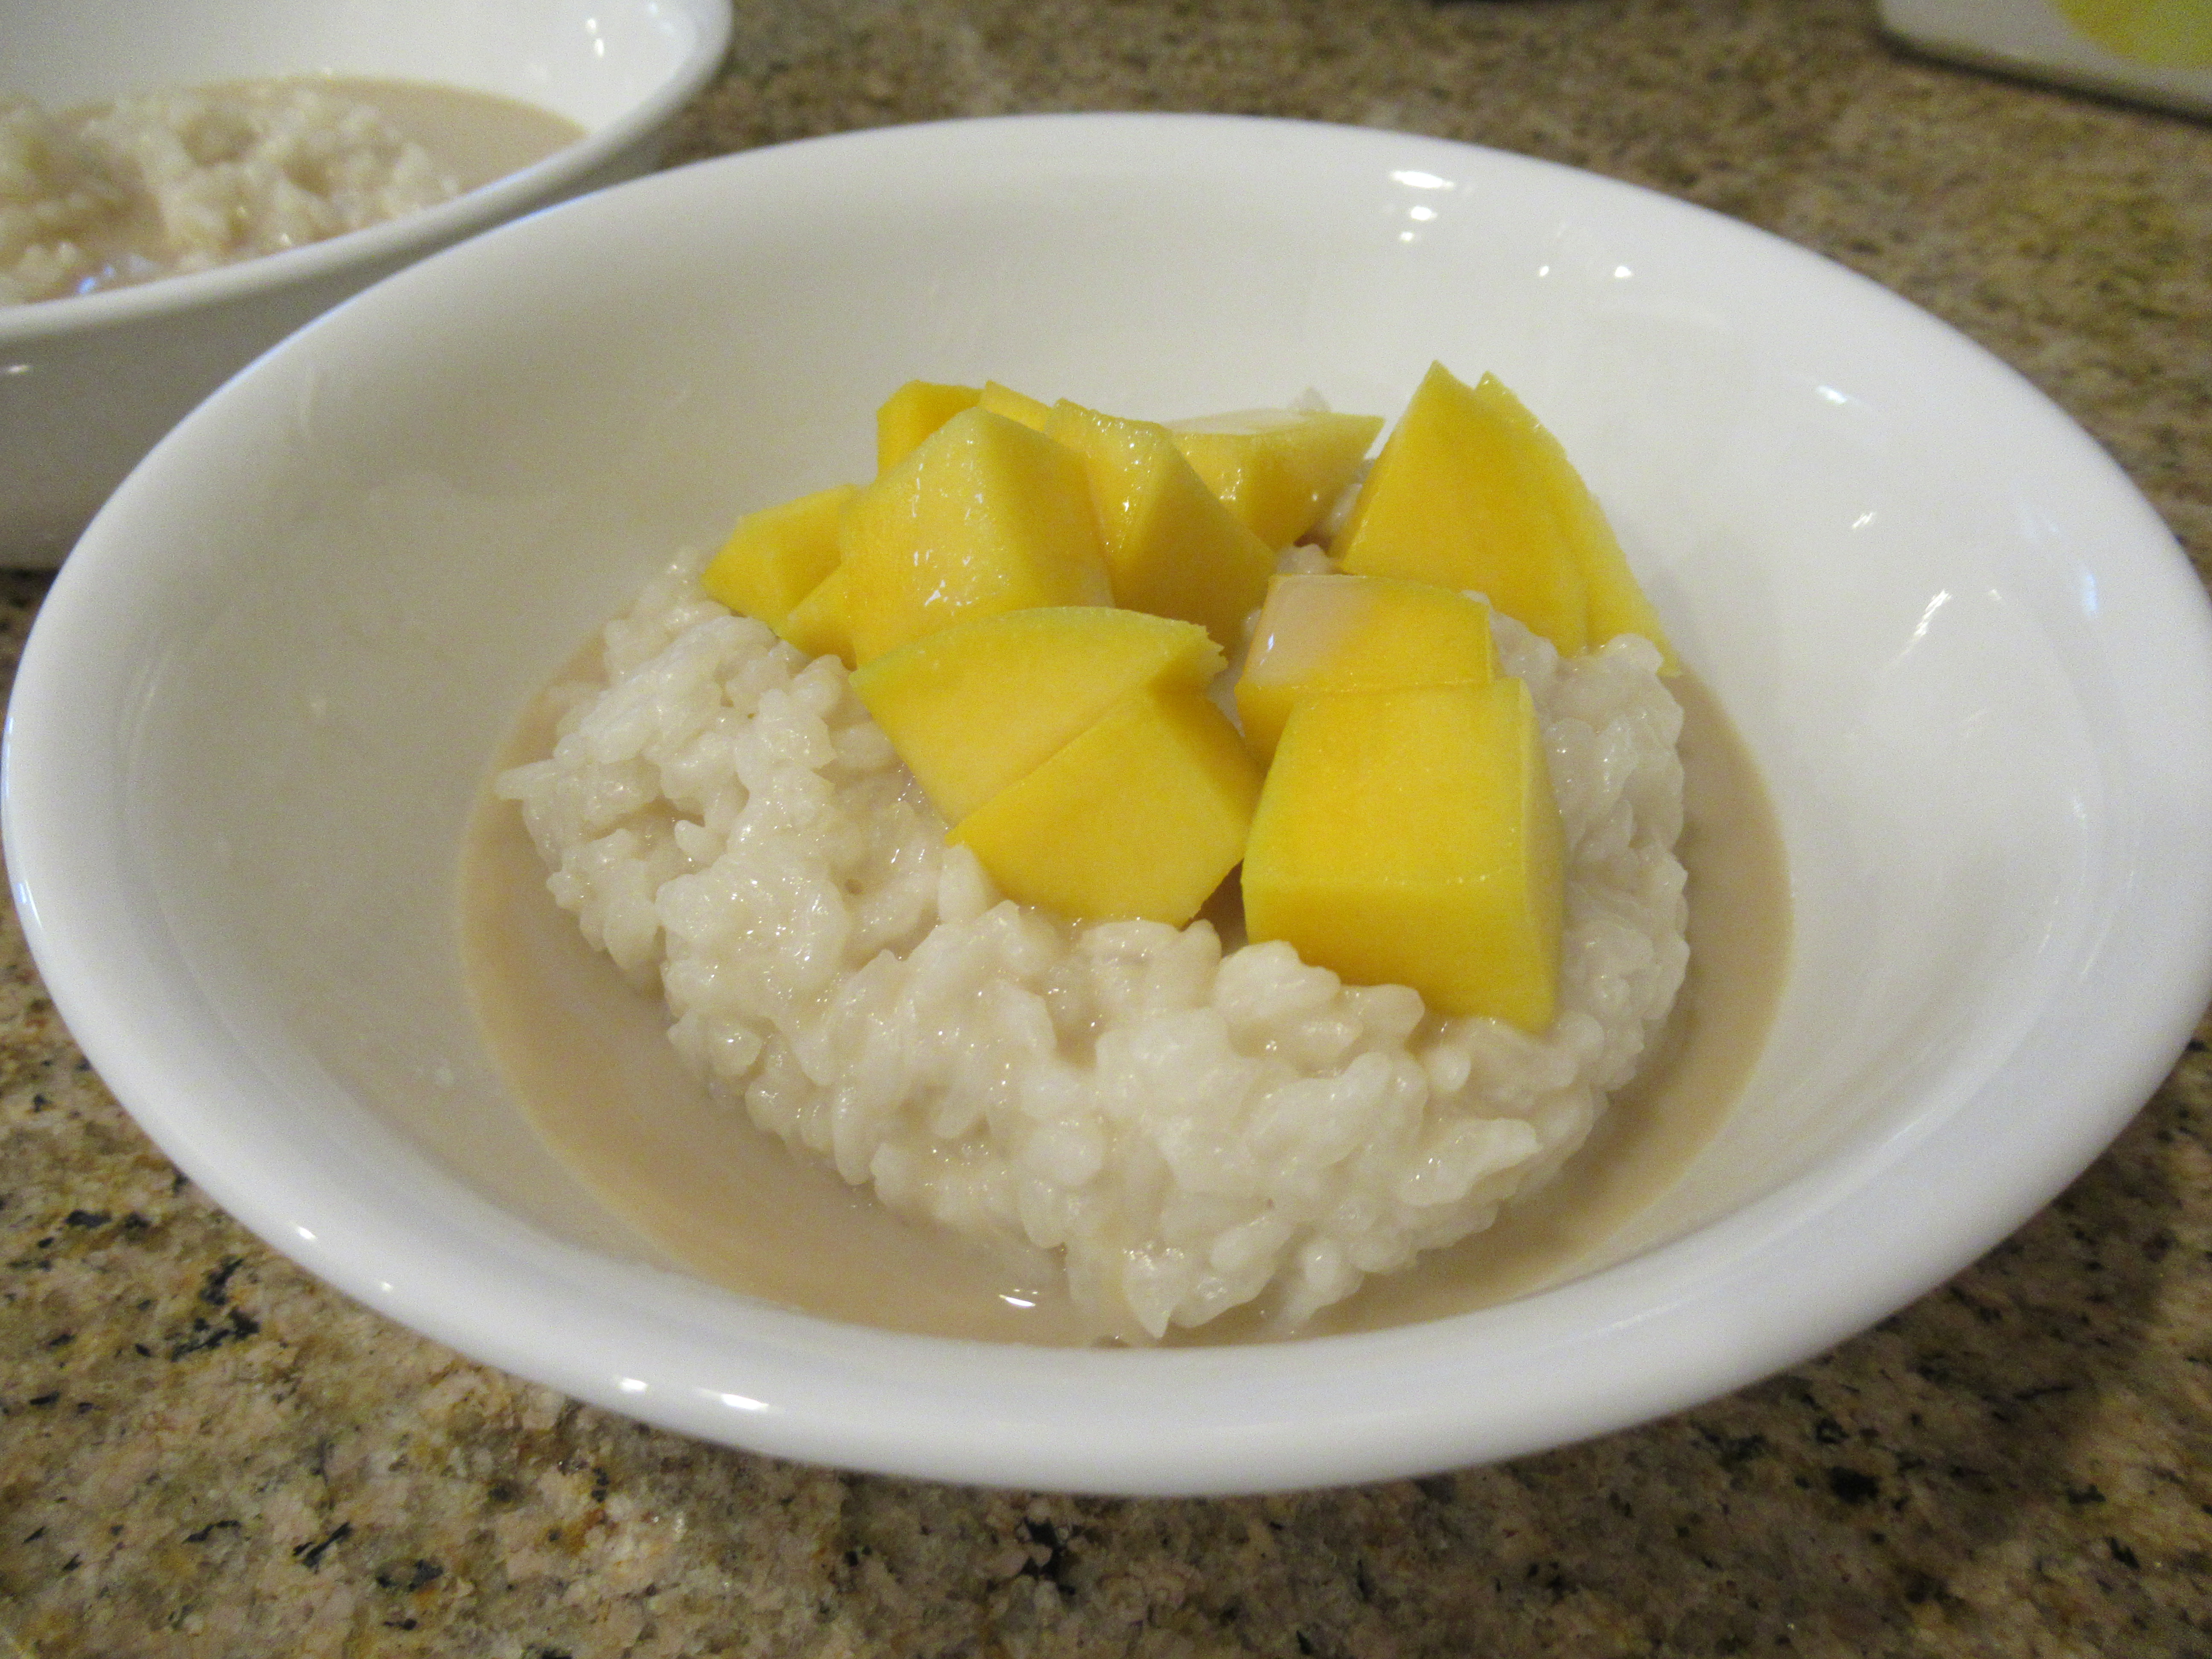
Some of those very ingredients were needed for a dessert recipe we whipped up for Mango Sticky Rice, which was declared a big hit!

Recipe:

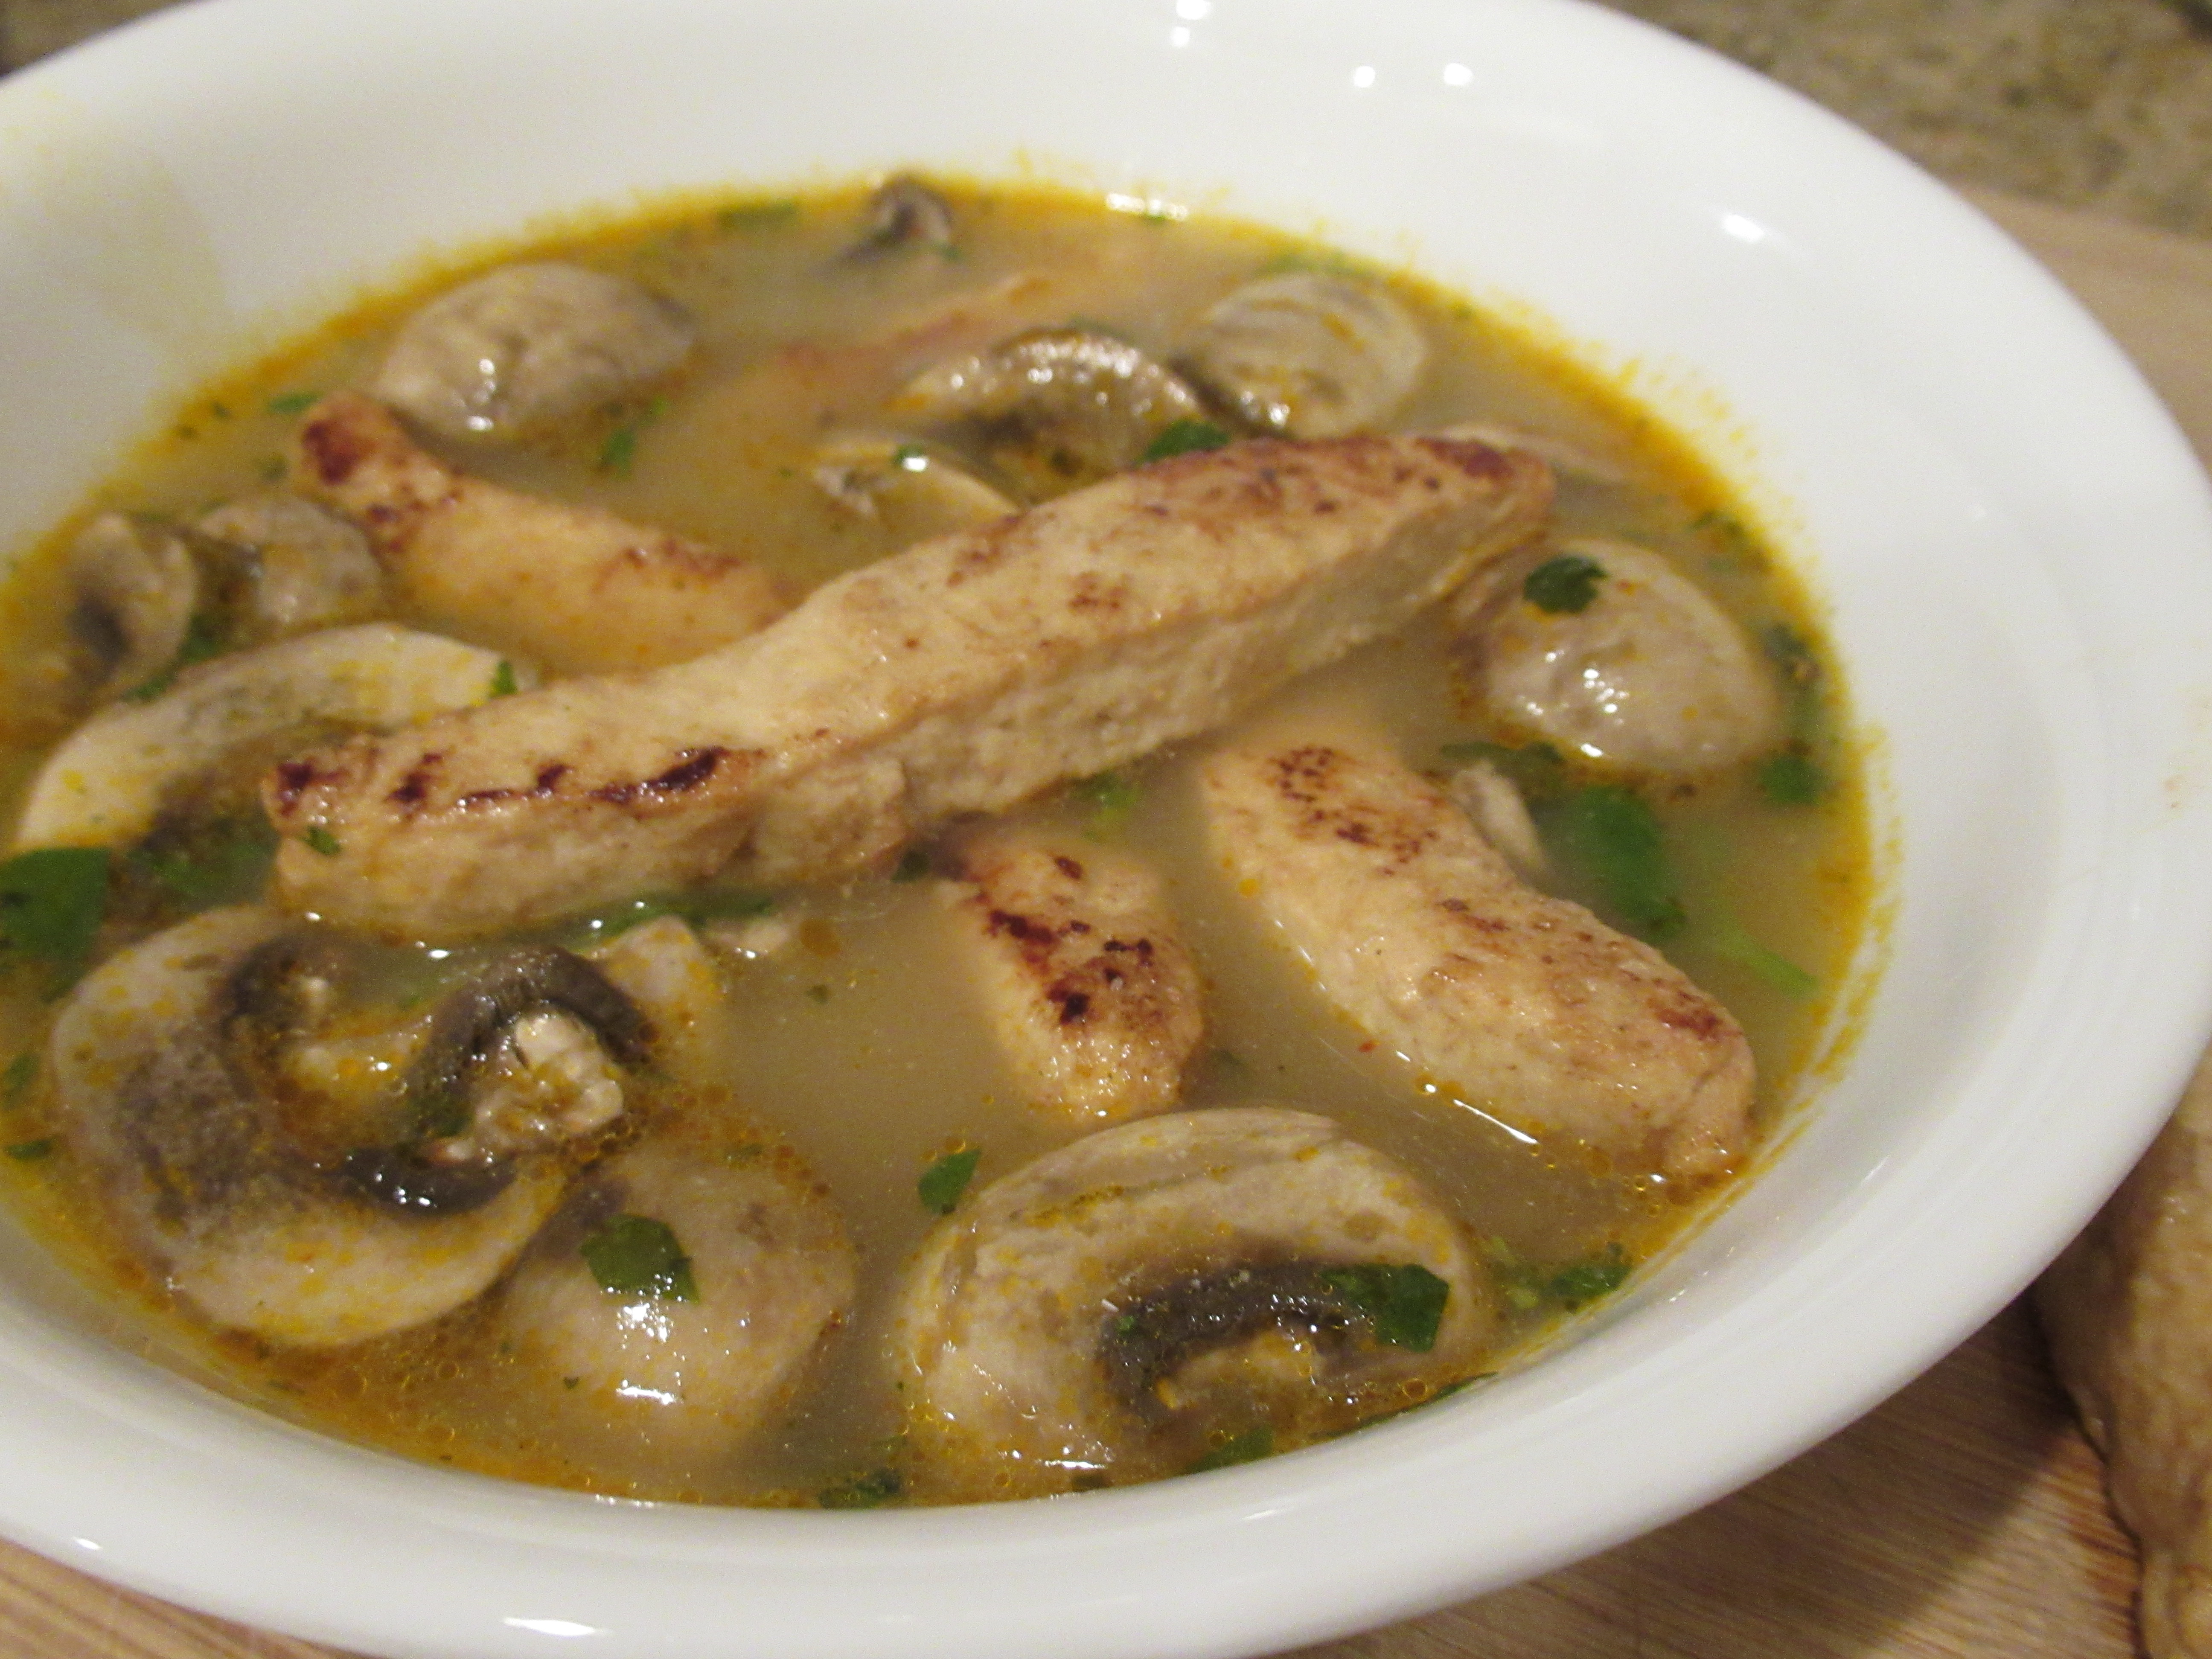
The recipe in this month’s booklet was for a chicken soup called Tom Kha Gai, which we made vegan with a few easy swaps. Travis loved smelling and savoring the myriad ingredients that we don’t use often, including cilantro and ginger.

Tom Kha Gai alt

Ingredients:

  • 1 tablespoon vegetable oil
  • 2 tablespoons thinly sliced fresh ginger
  • 4 teaspoons Thai red curry paste
  • 4 cups vegetable broth
  • 1 tablespoon brown sugar
  • 3 tablespoons soy sauce
  • 3 and 1/2 cups coconut milk
  • 1 (8-ounce) package mushrooms, sliced
  • 1/4 cup chopped fresh cilantro
  • 2 tablespoons fresh-squeezed lime juice
  • 1 (9-ounce) package cooked Gardein chick’n strips
  1. Heat the oil in a large pot over medium heat. Add the ginger and curry paste; cook for 1 minute.
  2. Add 1 cup broth and whisk to combine, then add the remaining broth and brown sugar. Simmer for 15 minutes.
  3. Add the coconut milk and mushrooms; simmer for an additional 5 minutes.
  4. Just before serving, add the cooked chick’n, along with the cilantro and lime juice.

Tom Kha Gai

Not only did Travis eat up a full bowlful of this, but my toddler ate two!

Mango Sticky Rice

LP Thailand (8)

We loved this recipe from Little Passports’ blog that helped Travis learn more about Thai cuisine and culture as he explored the country in this month’s kit! It was the perfect tropical treat to warm up our kitchen during a winter snowstorm.

Ingredients:

  • 1 cup sushi rice
  • 1 and 1/2 cups room temperature water, divided
  • 1 (14-ounce) can full-fat coconut milk, divided
  • 4 tablespoons brown sugar, divided
  • 1/4 teaspoon salt
  • 2 mangoes, peeled and chopped
  1. Combine the rice and 1 cup water in a saucepan; let stand for 30 minutes.
  2. Add the remaining 1/2 cup water, half of the coconut milk (about 3/4 cup), 1 tablespoon brown sugar, and the salt. Bring to a boil over medium heat, then reduce heat to low, cover, and cook for 20 minutes.
  3. Turn off the heat and let stand, covered, for an additional 5 minutes.
  4. Meanwhile, warm the remaining coconut milk in the microwave for about 20 seconds. Whisk in the remaining 3 tablespoons brown sugar; set aside.
  5. Divide the rice mixture evenly among 4 bowls. Drizzle each with a little of the brown sugar sauce, and top evenly with the chopped mango.

Little Passports: Israel

LP Israel (9)

Travis latest package from Little Passports was all about Israel; the activities for this particular country were less hands-on than previous packages he’s received. Still, Travis is always excited for the latest from “Sam and Sofia”!

LP Israel (1)

Through the booklet, he learned about ancient artifacts that have been found in Israel, sea creatures of the Red Sea, shuk shopping markets, and more. Most were age-appropriate for a 1st grader except a tough mystery to solve using Hebrew letter characters.

LP Israel (7)

Souvenir:

I wish Travis had received this particular kit back in December, because the souvenir was a game of dreidel, complete with a spinning top and a set of felt gold coins. Even though it wasn’t Hanukkah, Travis loved playing a few rounds!

LP Israel (2)

Further Activities:

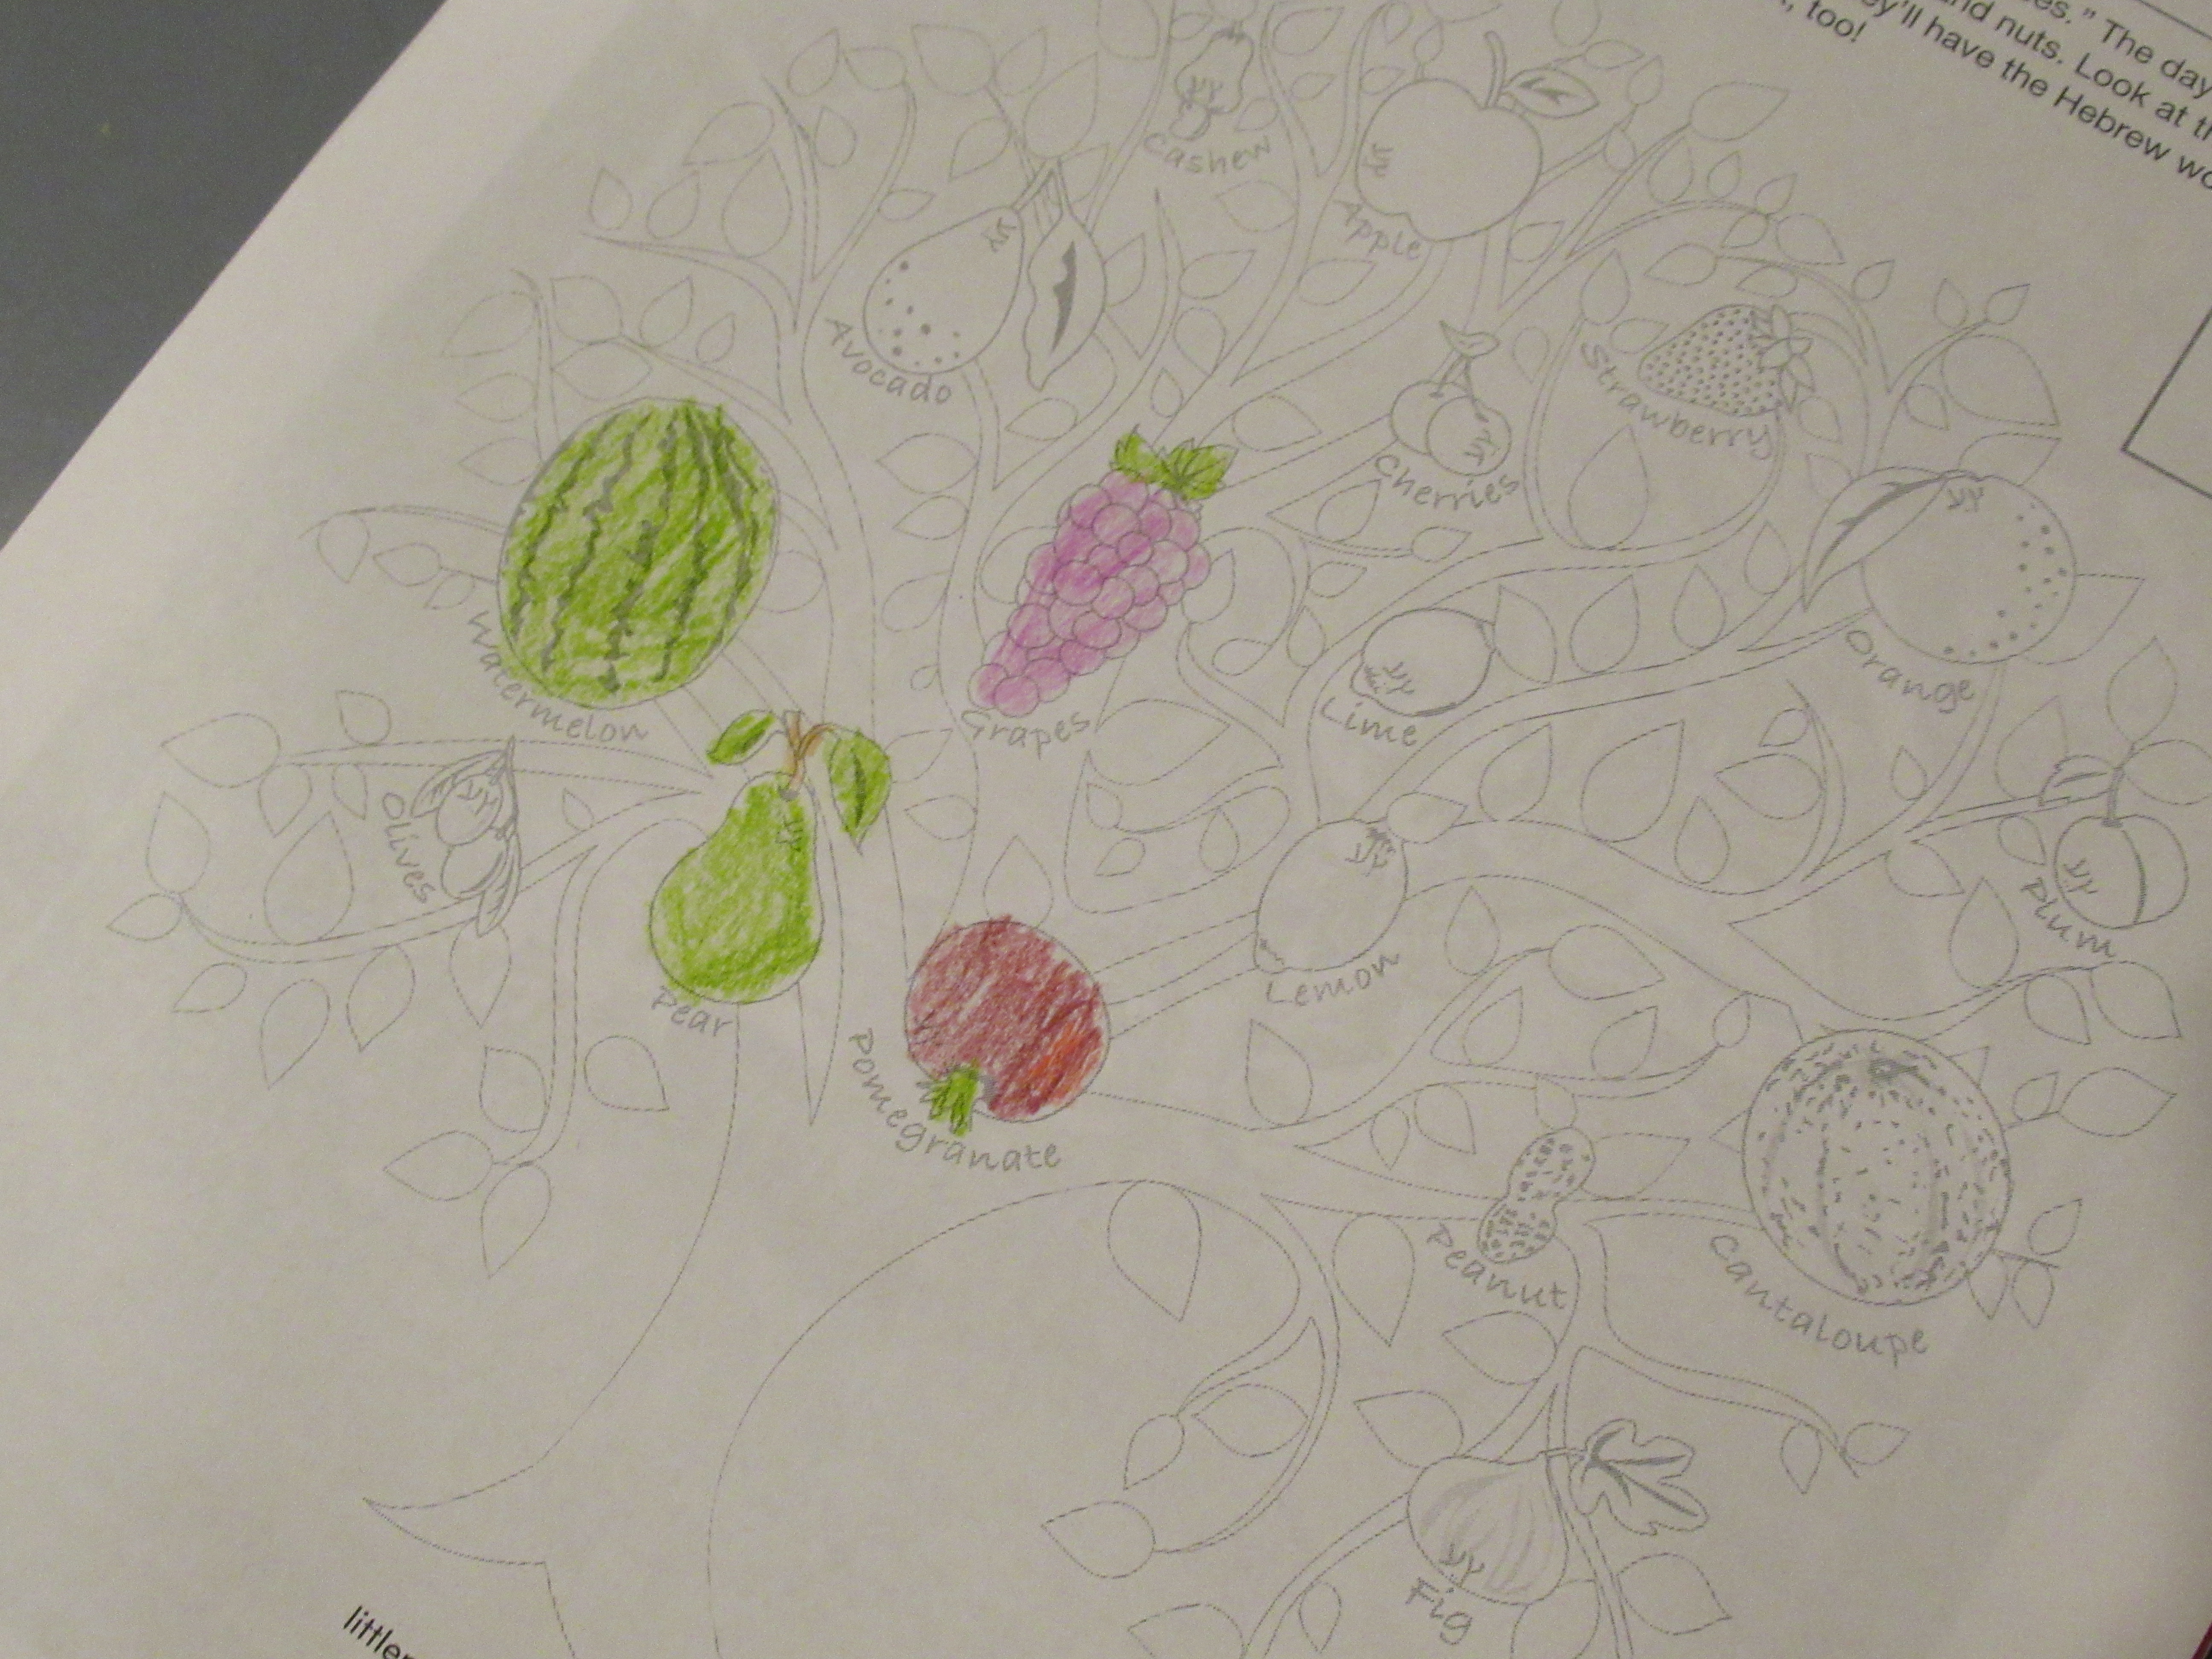
Of course next we needed to color in the flag of Israel, and there was also a coloring page to teach about the holiday of Tu B’Shvat (new years for the trees), which Travis colored quite carefully.

LP Israel alt

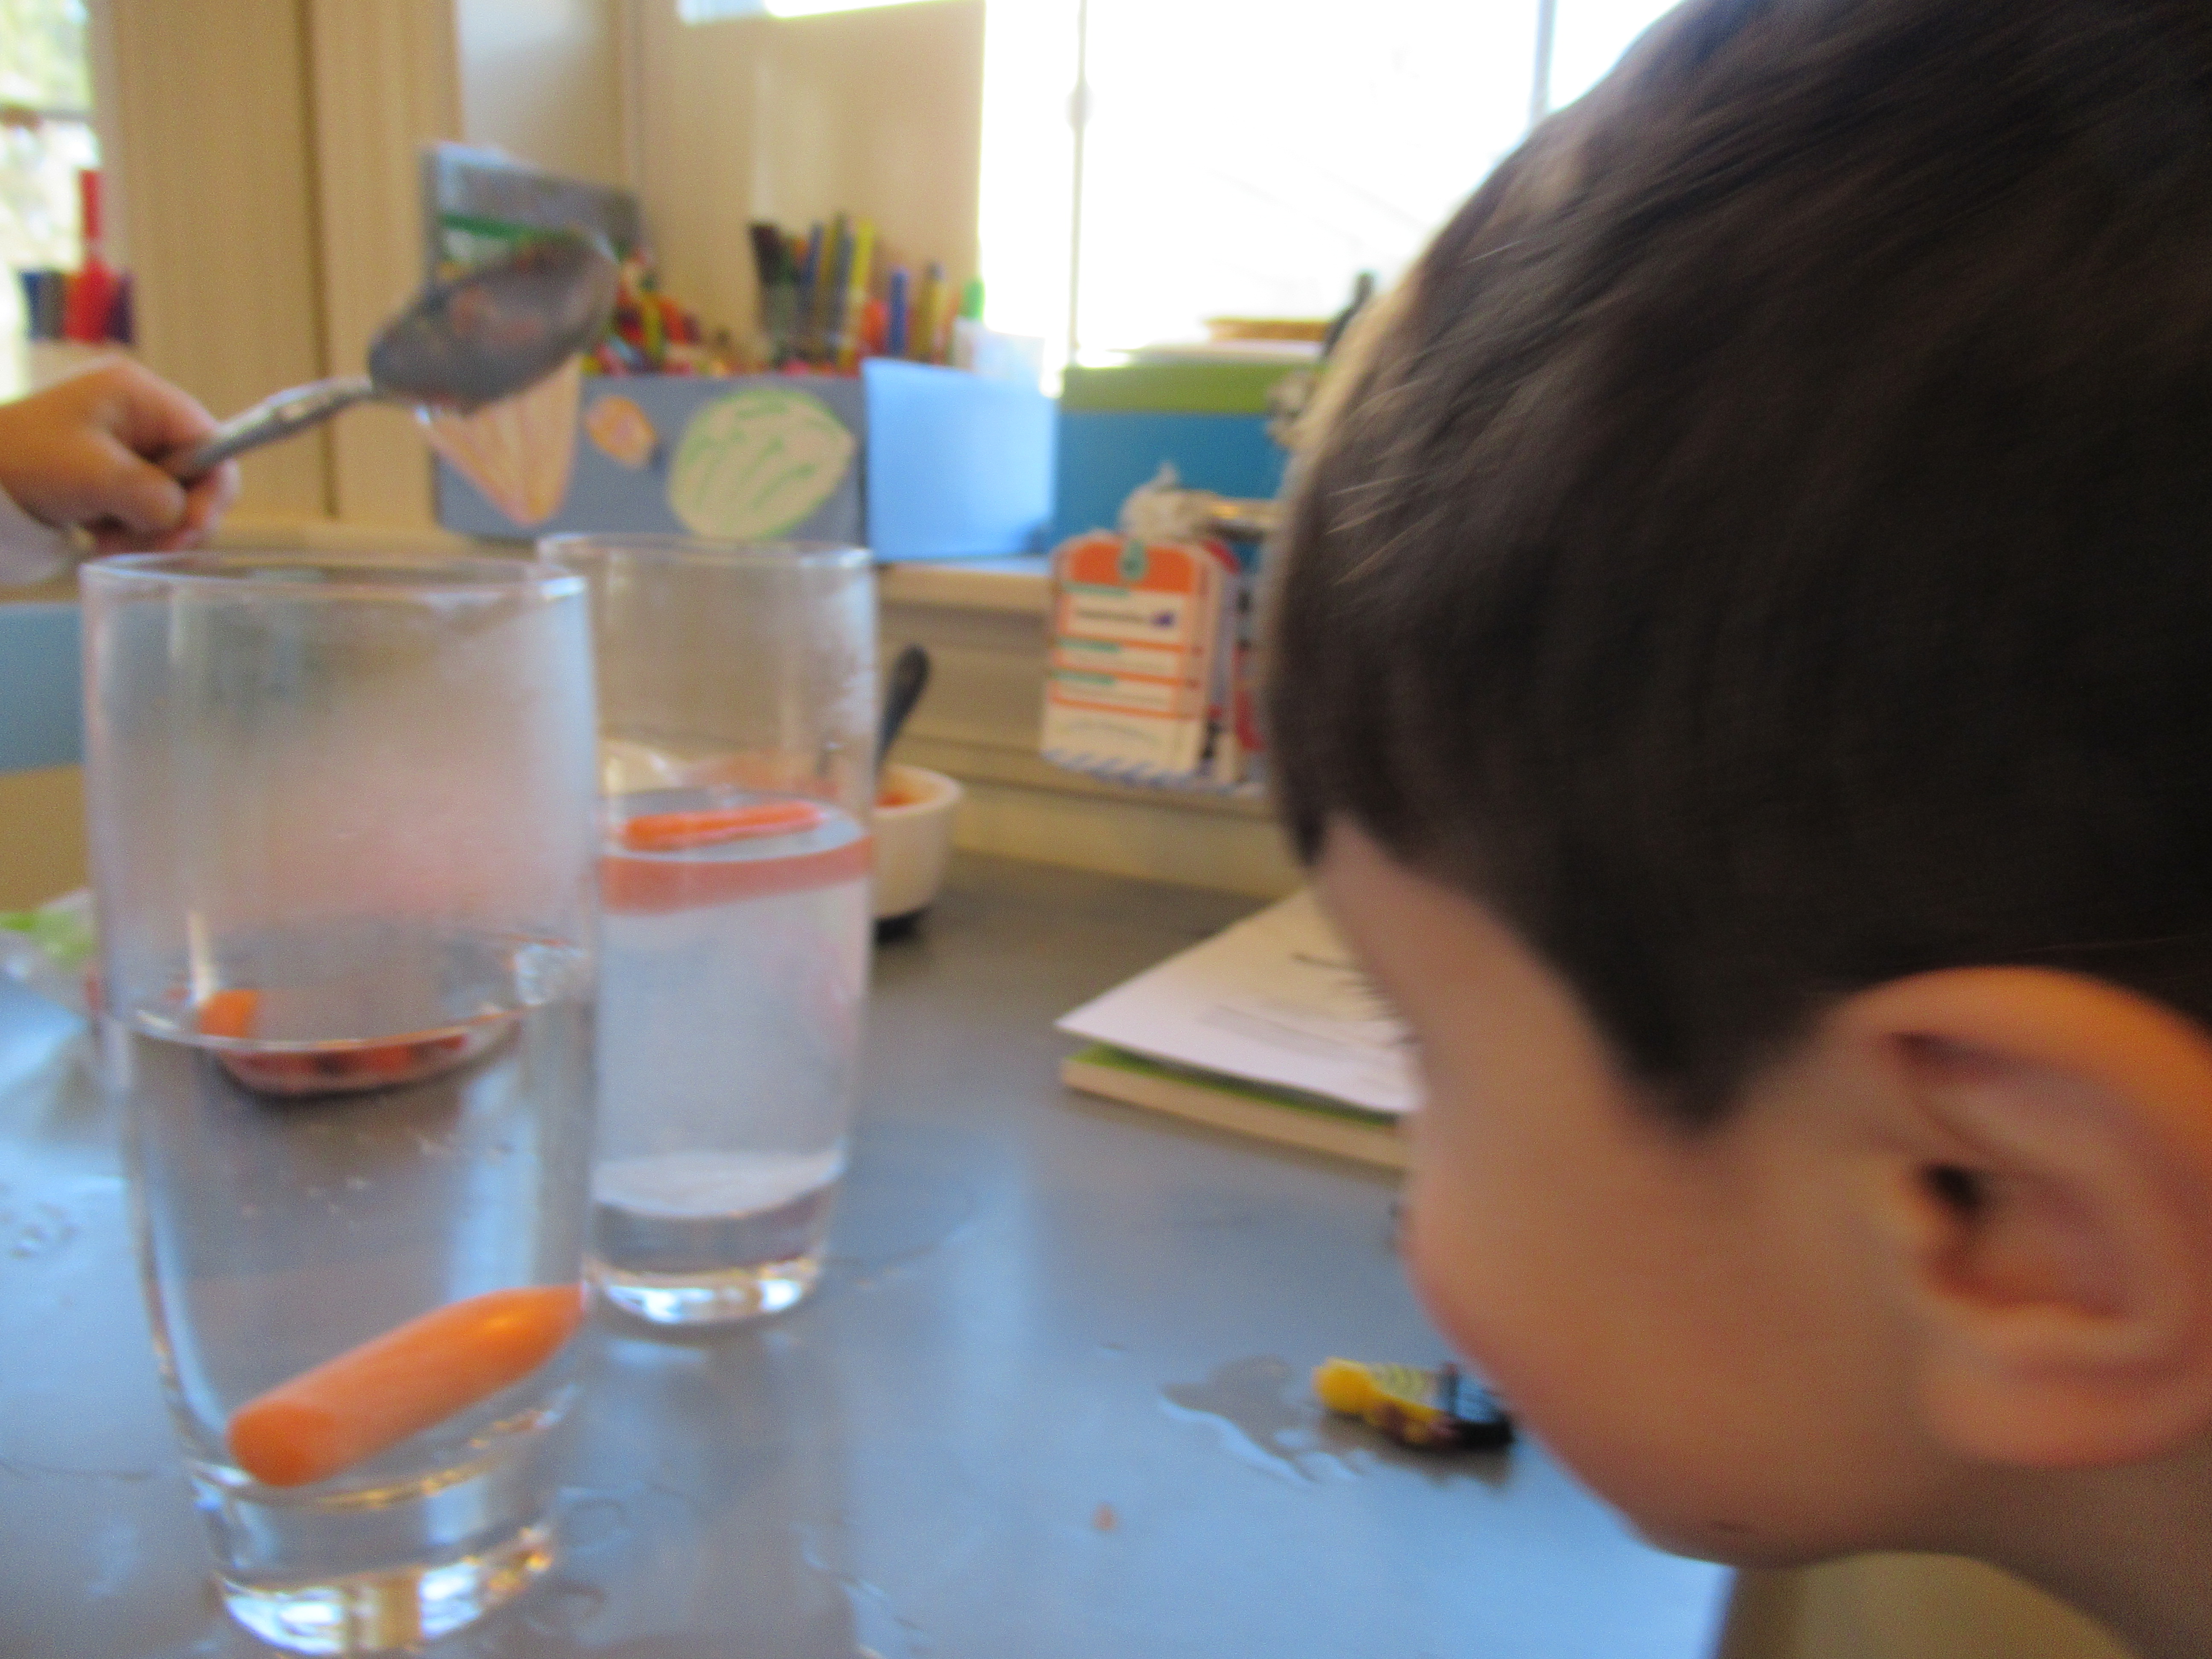
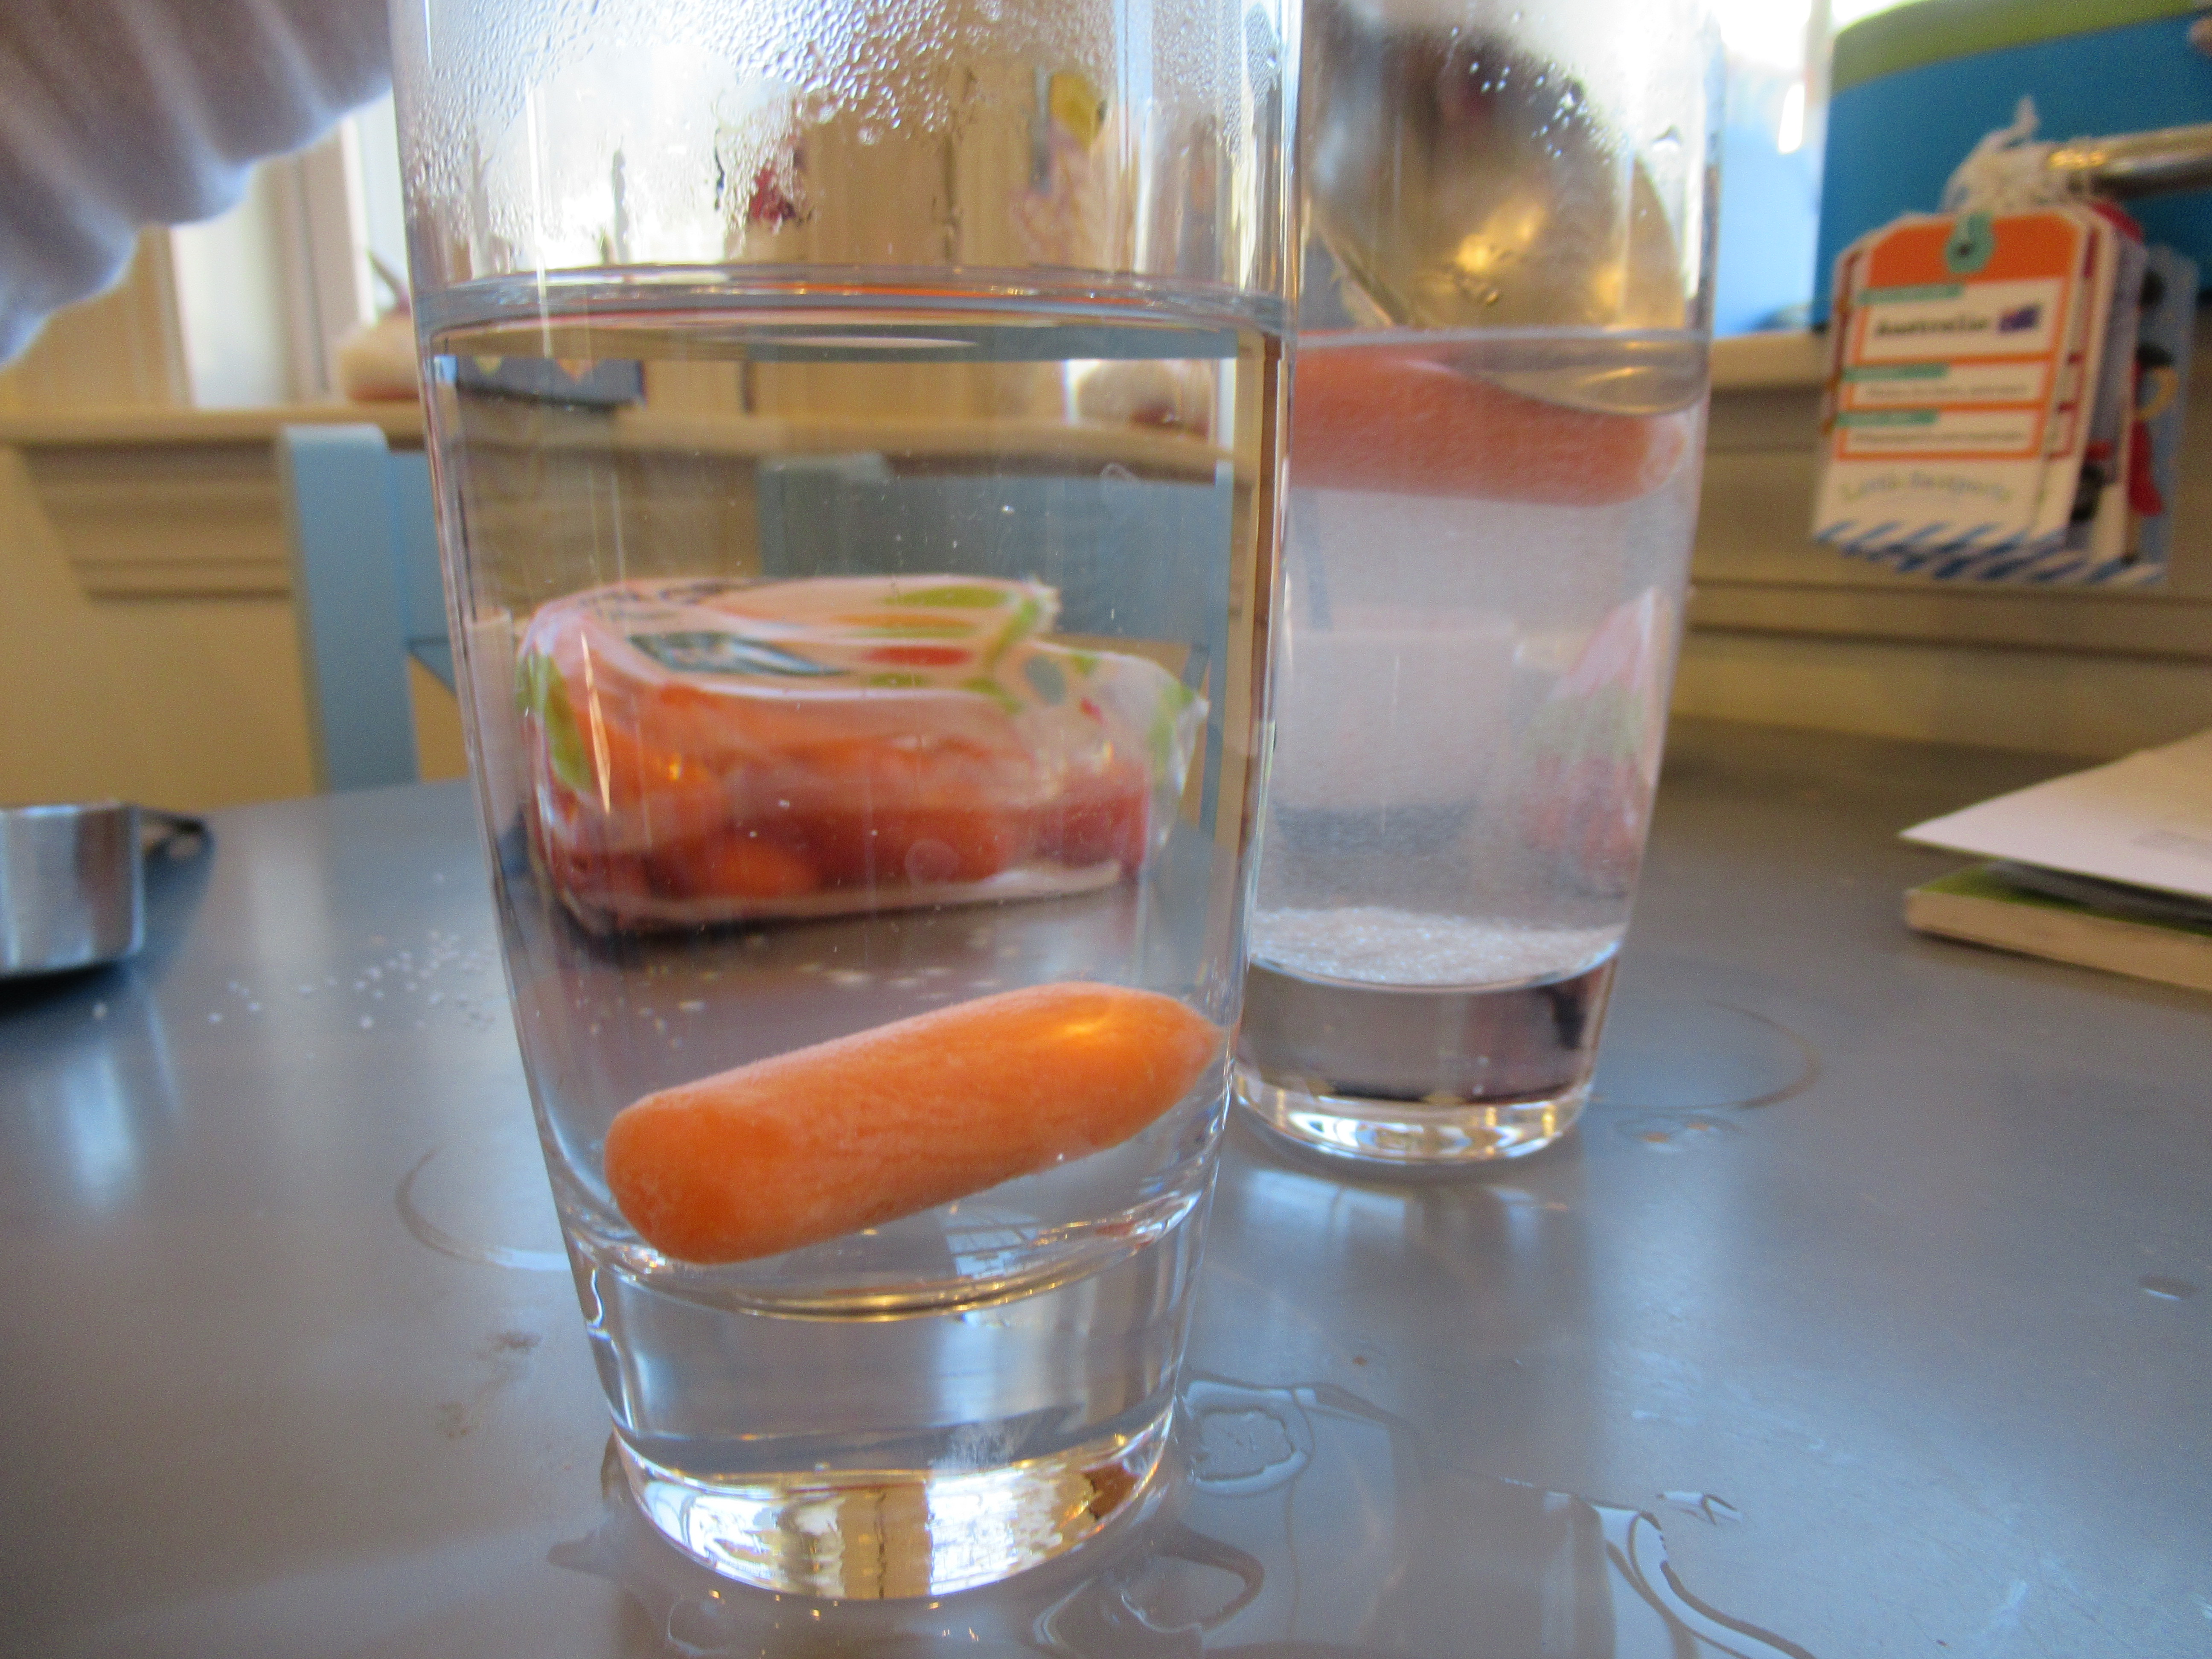
Next up was a science experiment to see what salt does to objects in water, as with the salty Dead Sea. The original instructions were to do this activity with an egg, but we used carrots to make it vegan. Fill each of 2 glass cups with 3/4 cup warm water. Add 1 baby carrot to the first cup. Ker-plop, it sinks!

LP Israel (5)

Next, add 1/4 cup salt to the second cup, stirring until it dissolves. We added a second baby carrot… and it floats!

LP Israel (6)

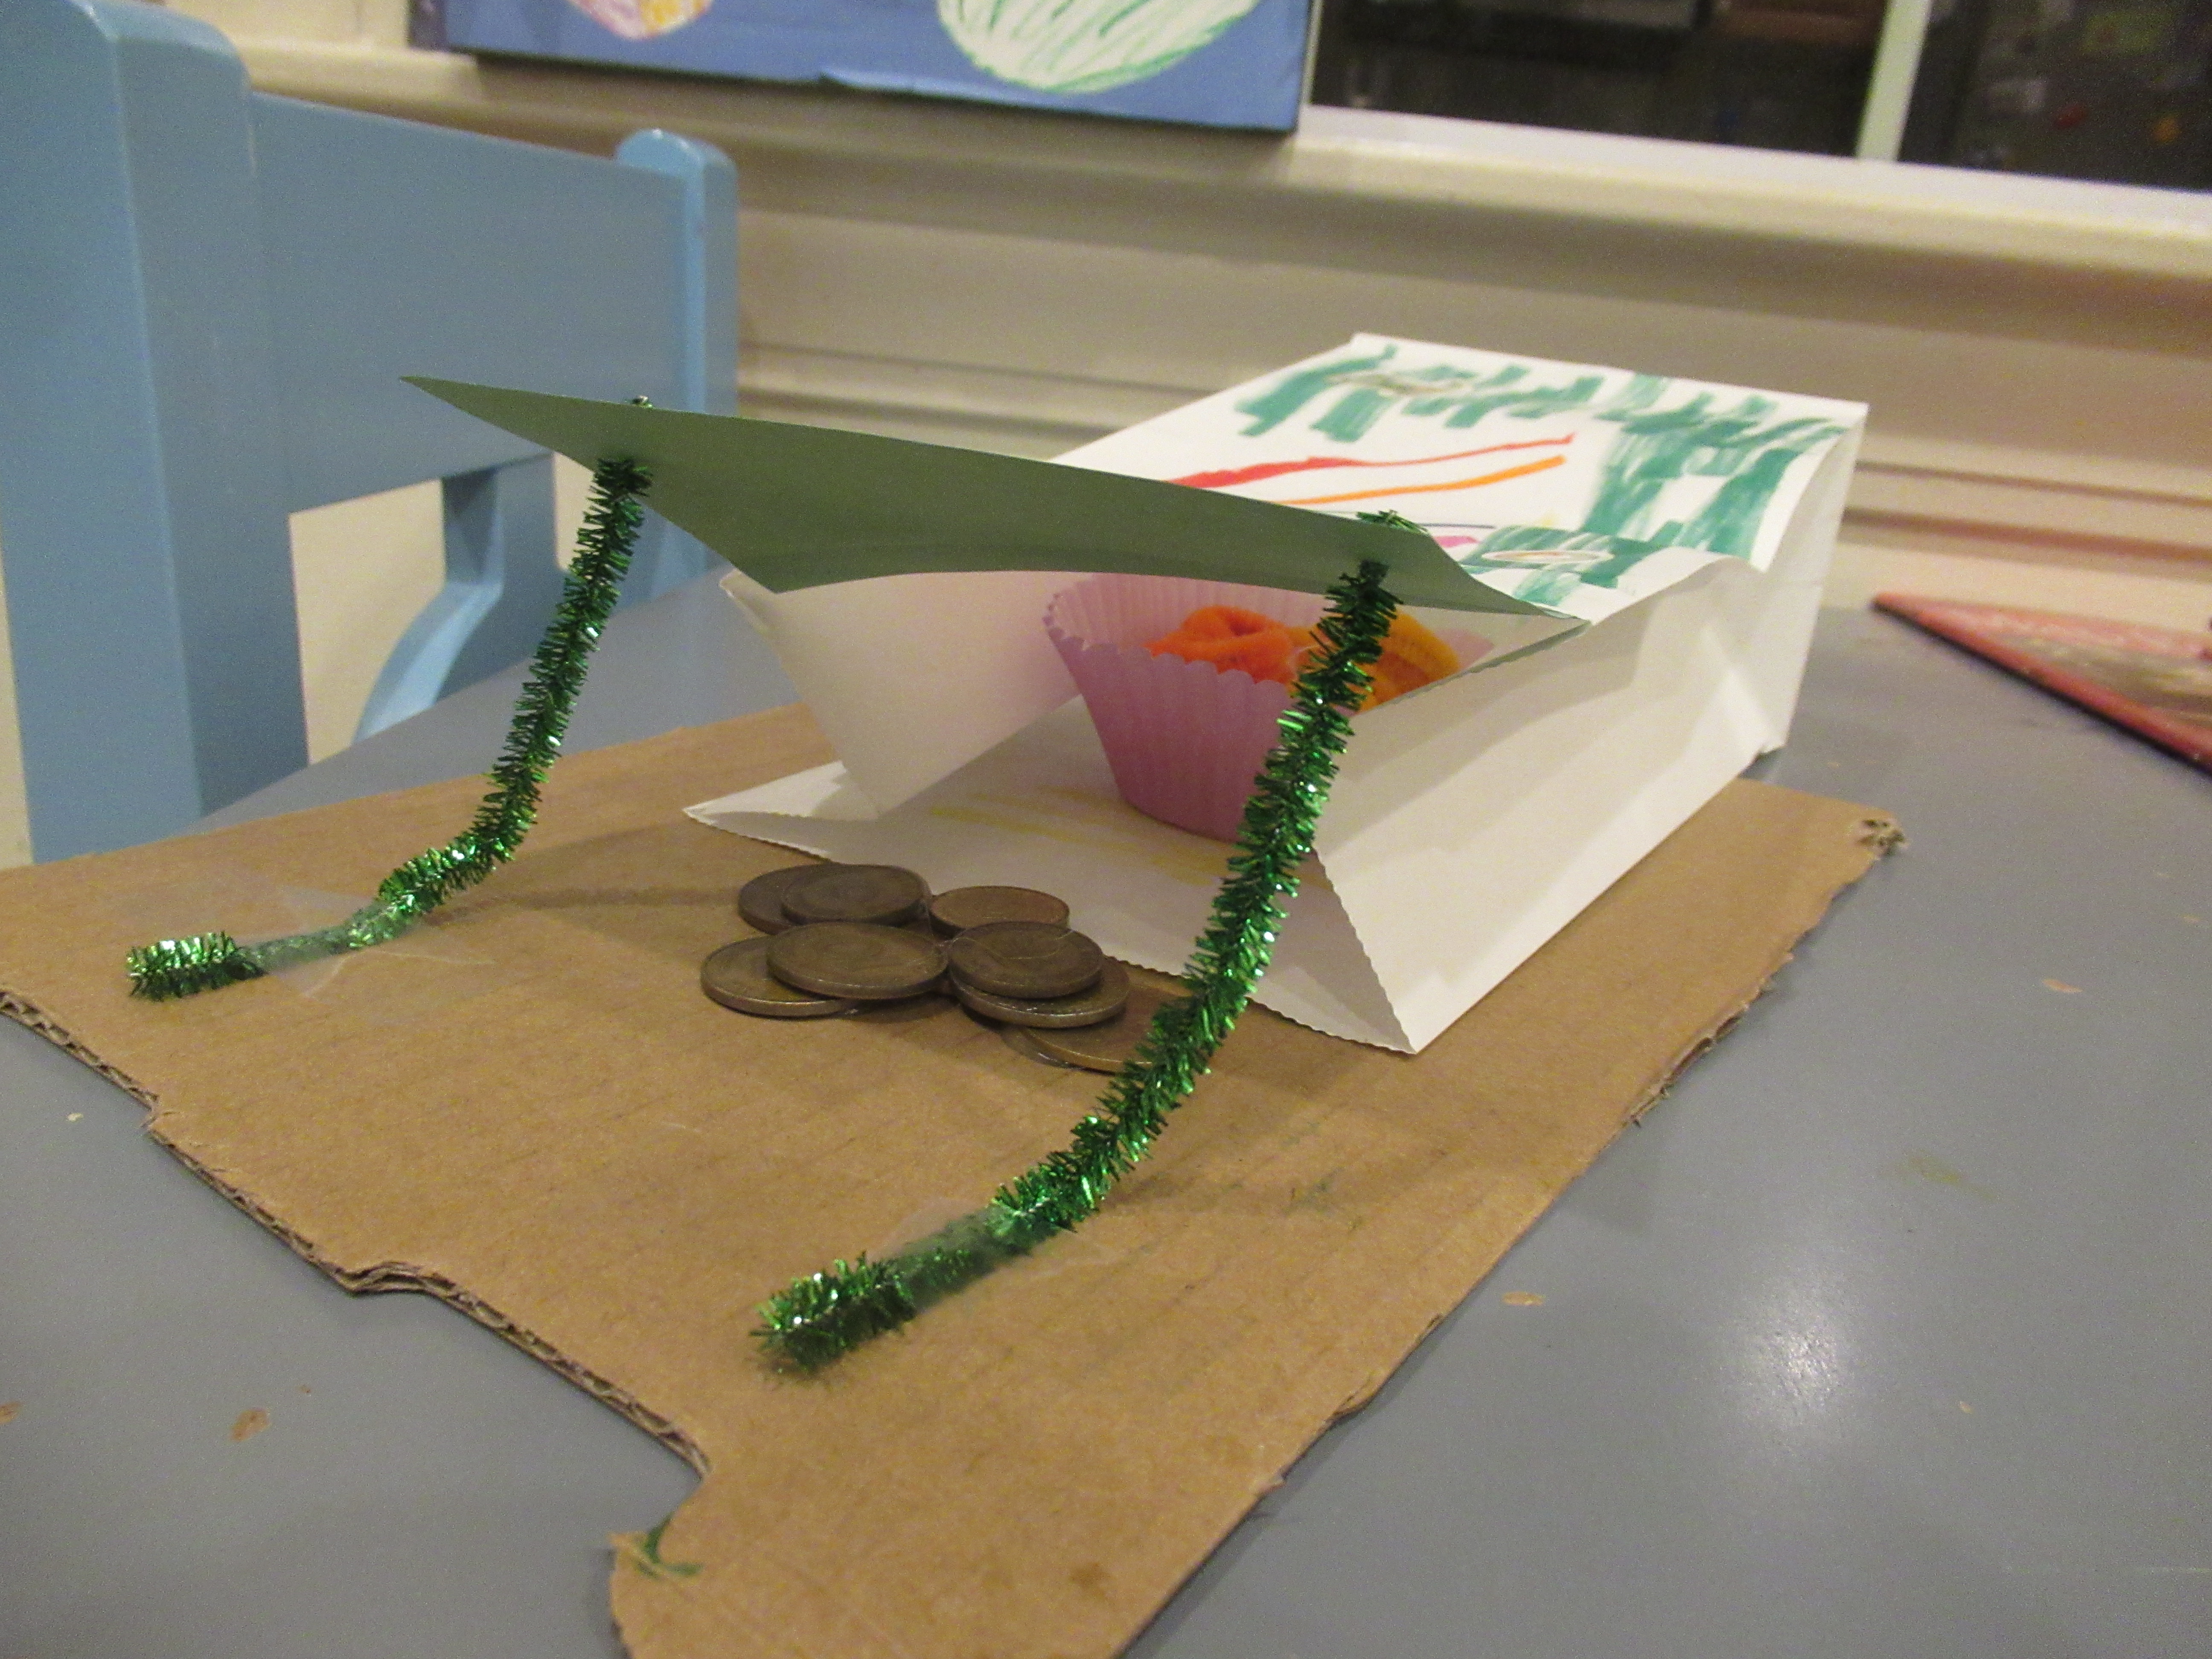
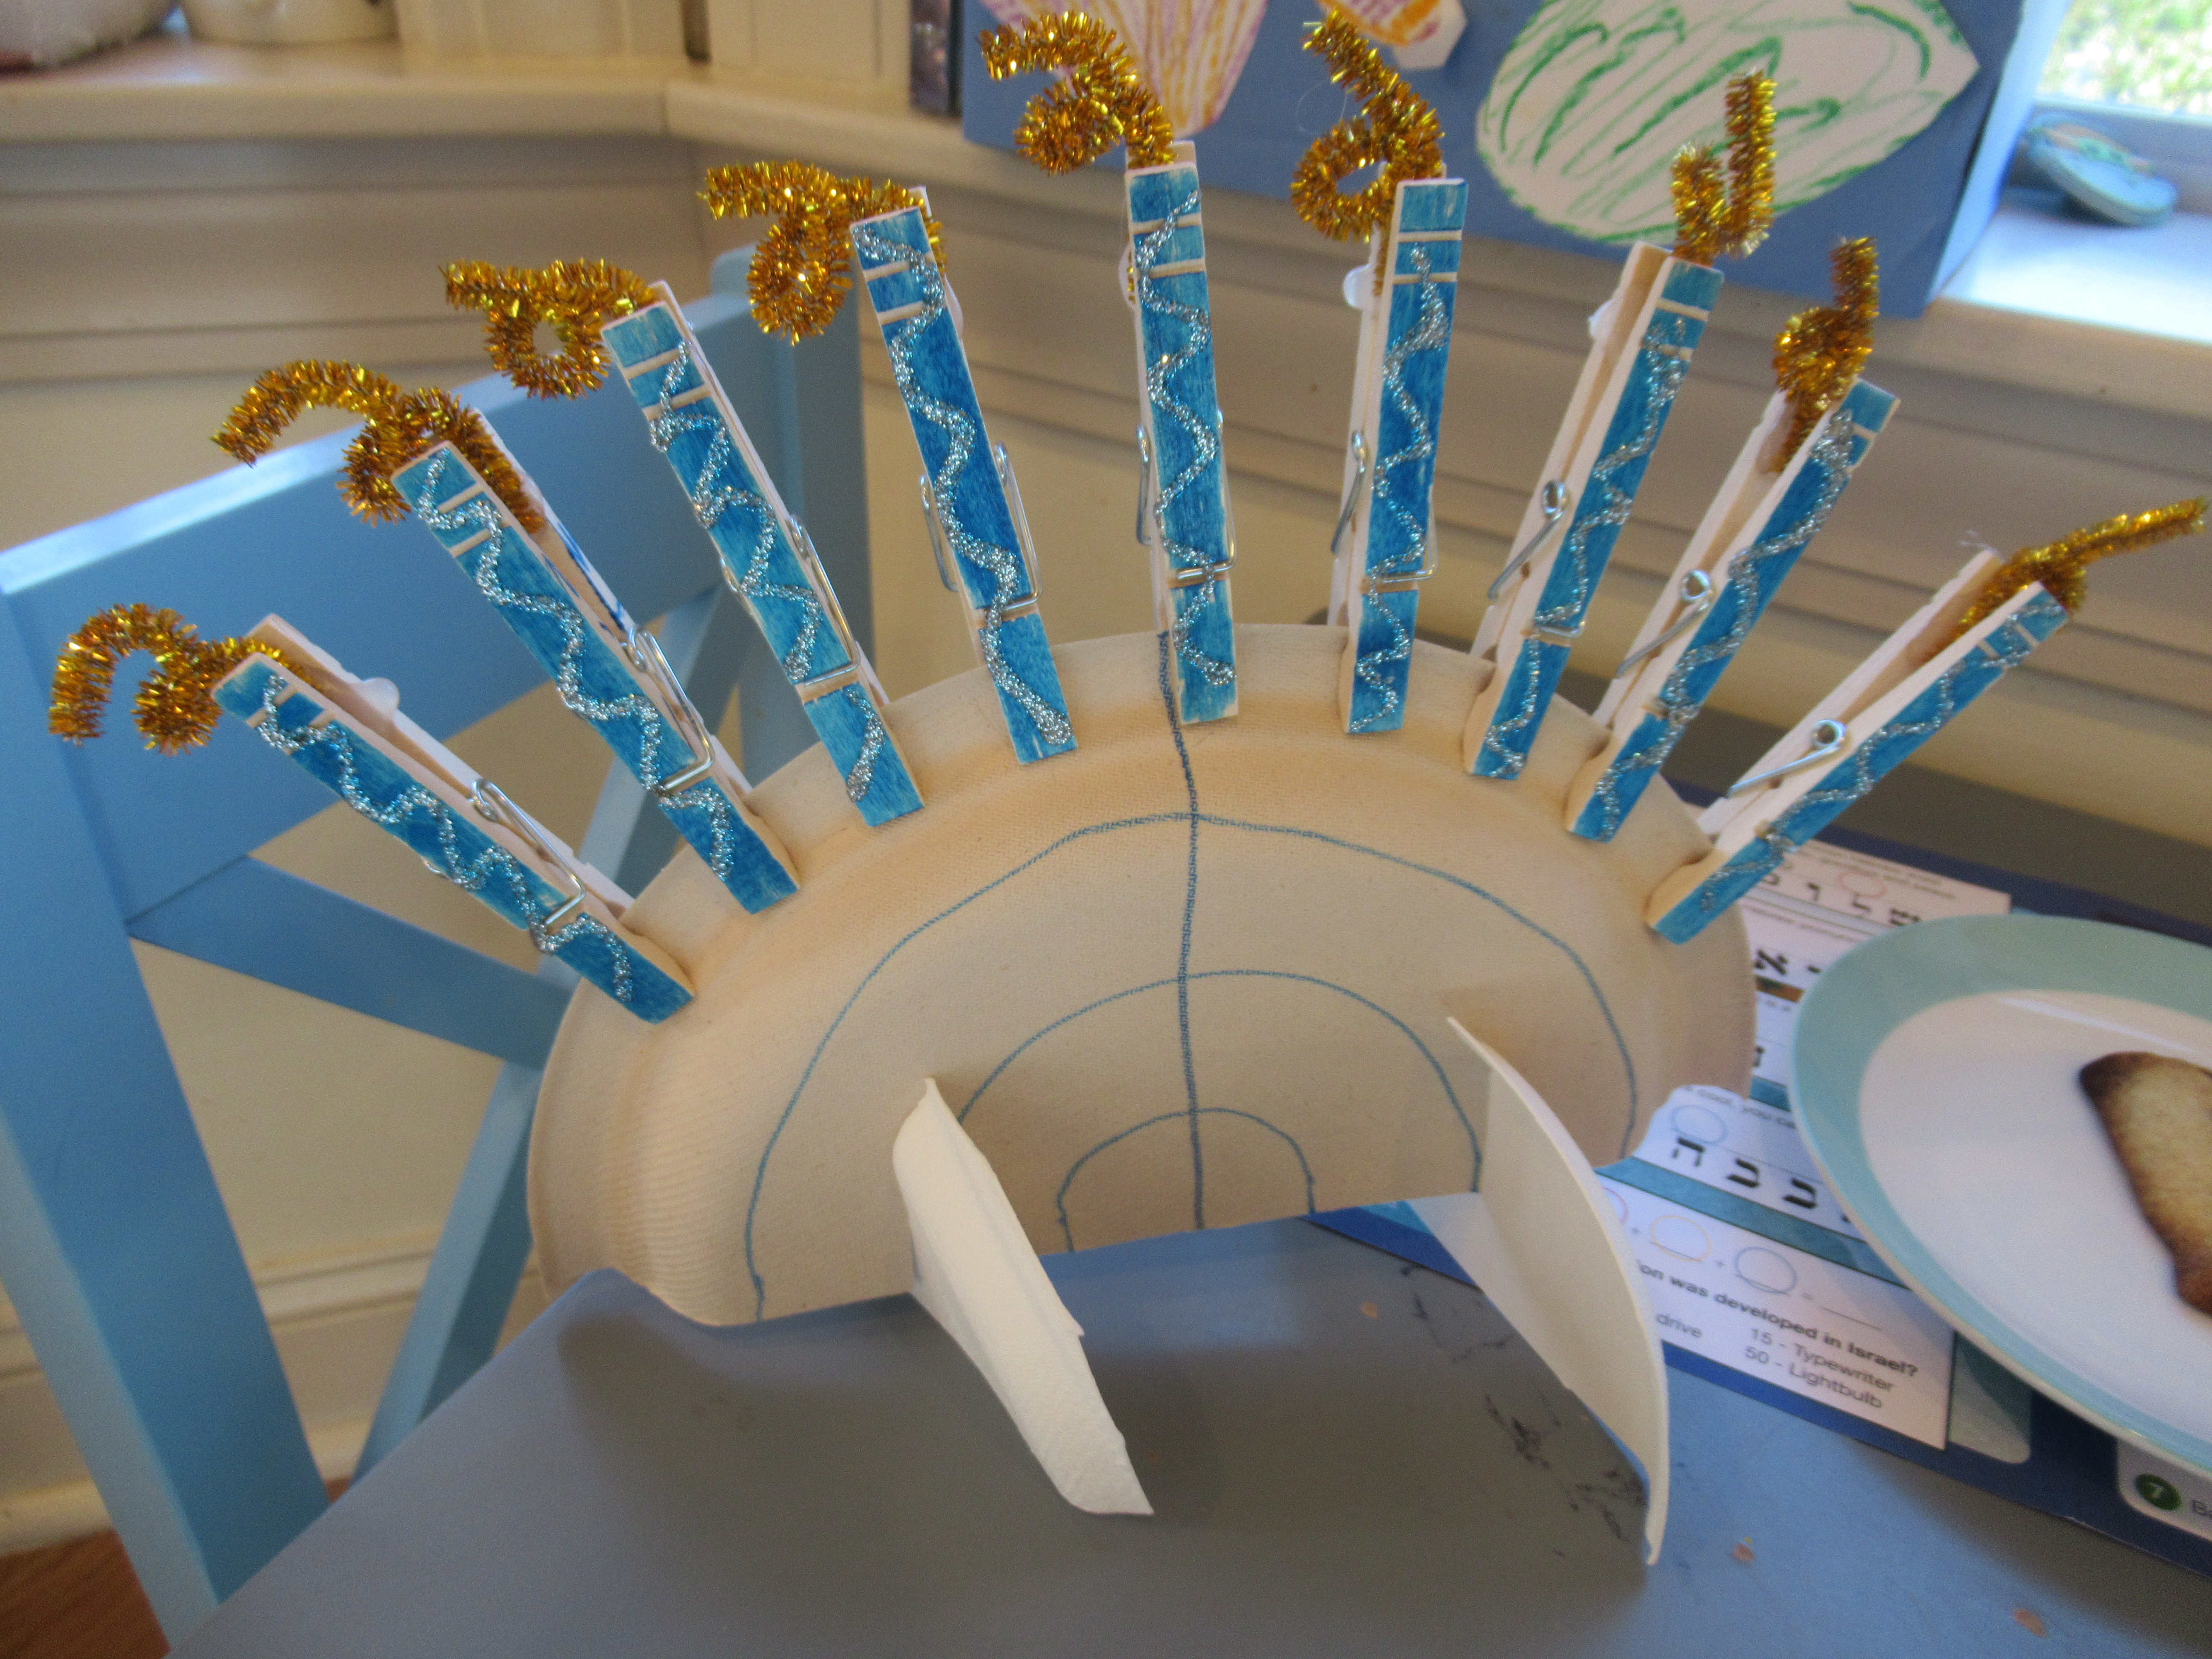
From here, we turned to Little Passport’s blog for a DIY Hanukkah Menorah. To start, cut a large paper plate in half, then mark 8 notches at the top with blue marker. Use the marker to connect these, so you have a series of increasingly smaller U shapes.

Next, we colored 9 clothespins with blue marker and decorated with silver glitter glue; let dry, then twist a small piece of yellow or gold pipe cleaner and use hot glue to attach to the open end of each clothespin. Cut a small paper plate in half; make slits in each half, as well as two slits in the bottom of the larger plate so they notch together to form a stand. Finally, attach the clothespins as the candles!

LP Israel (8)

Recipe:

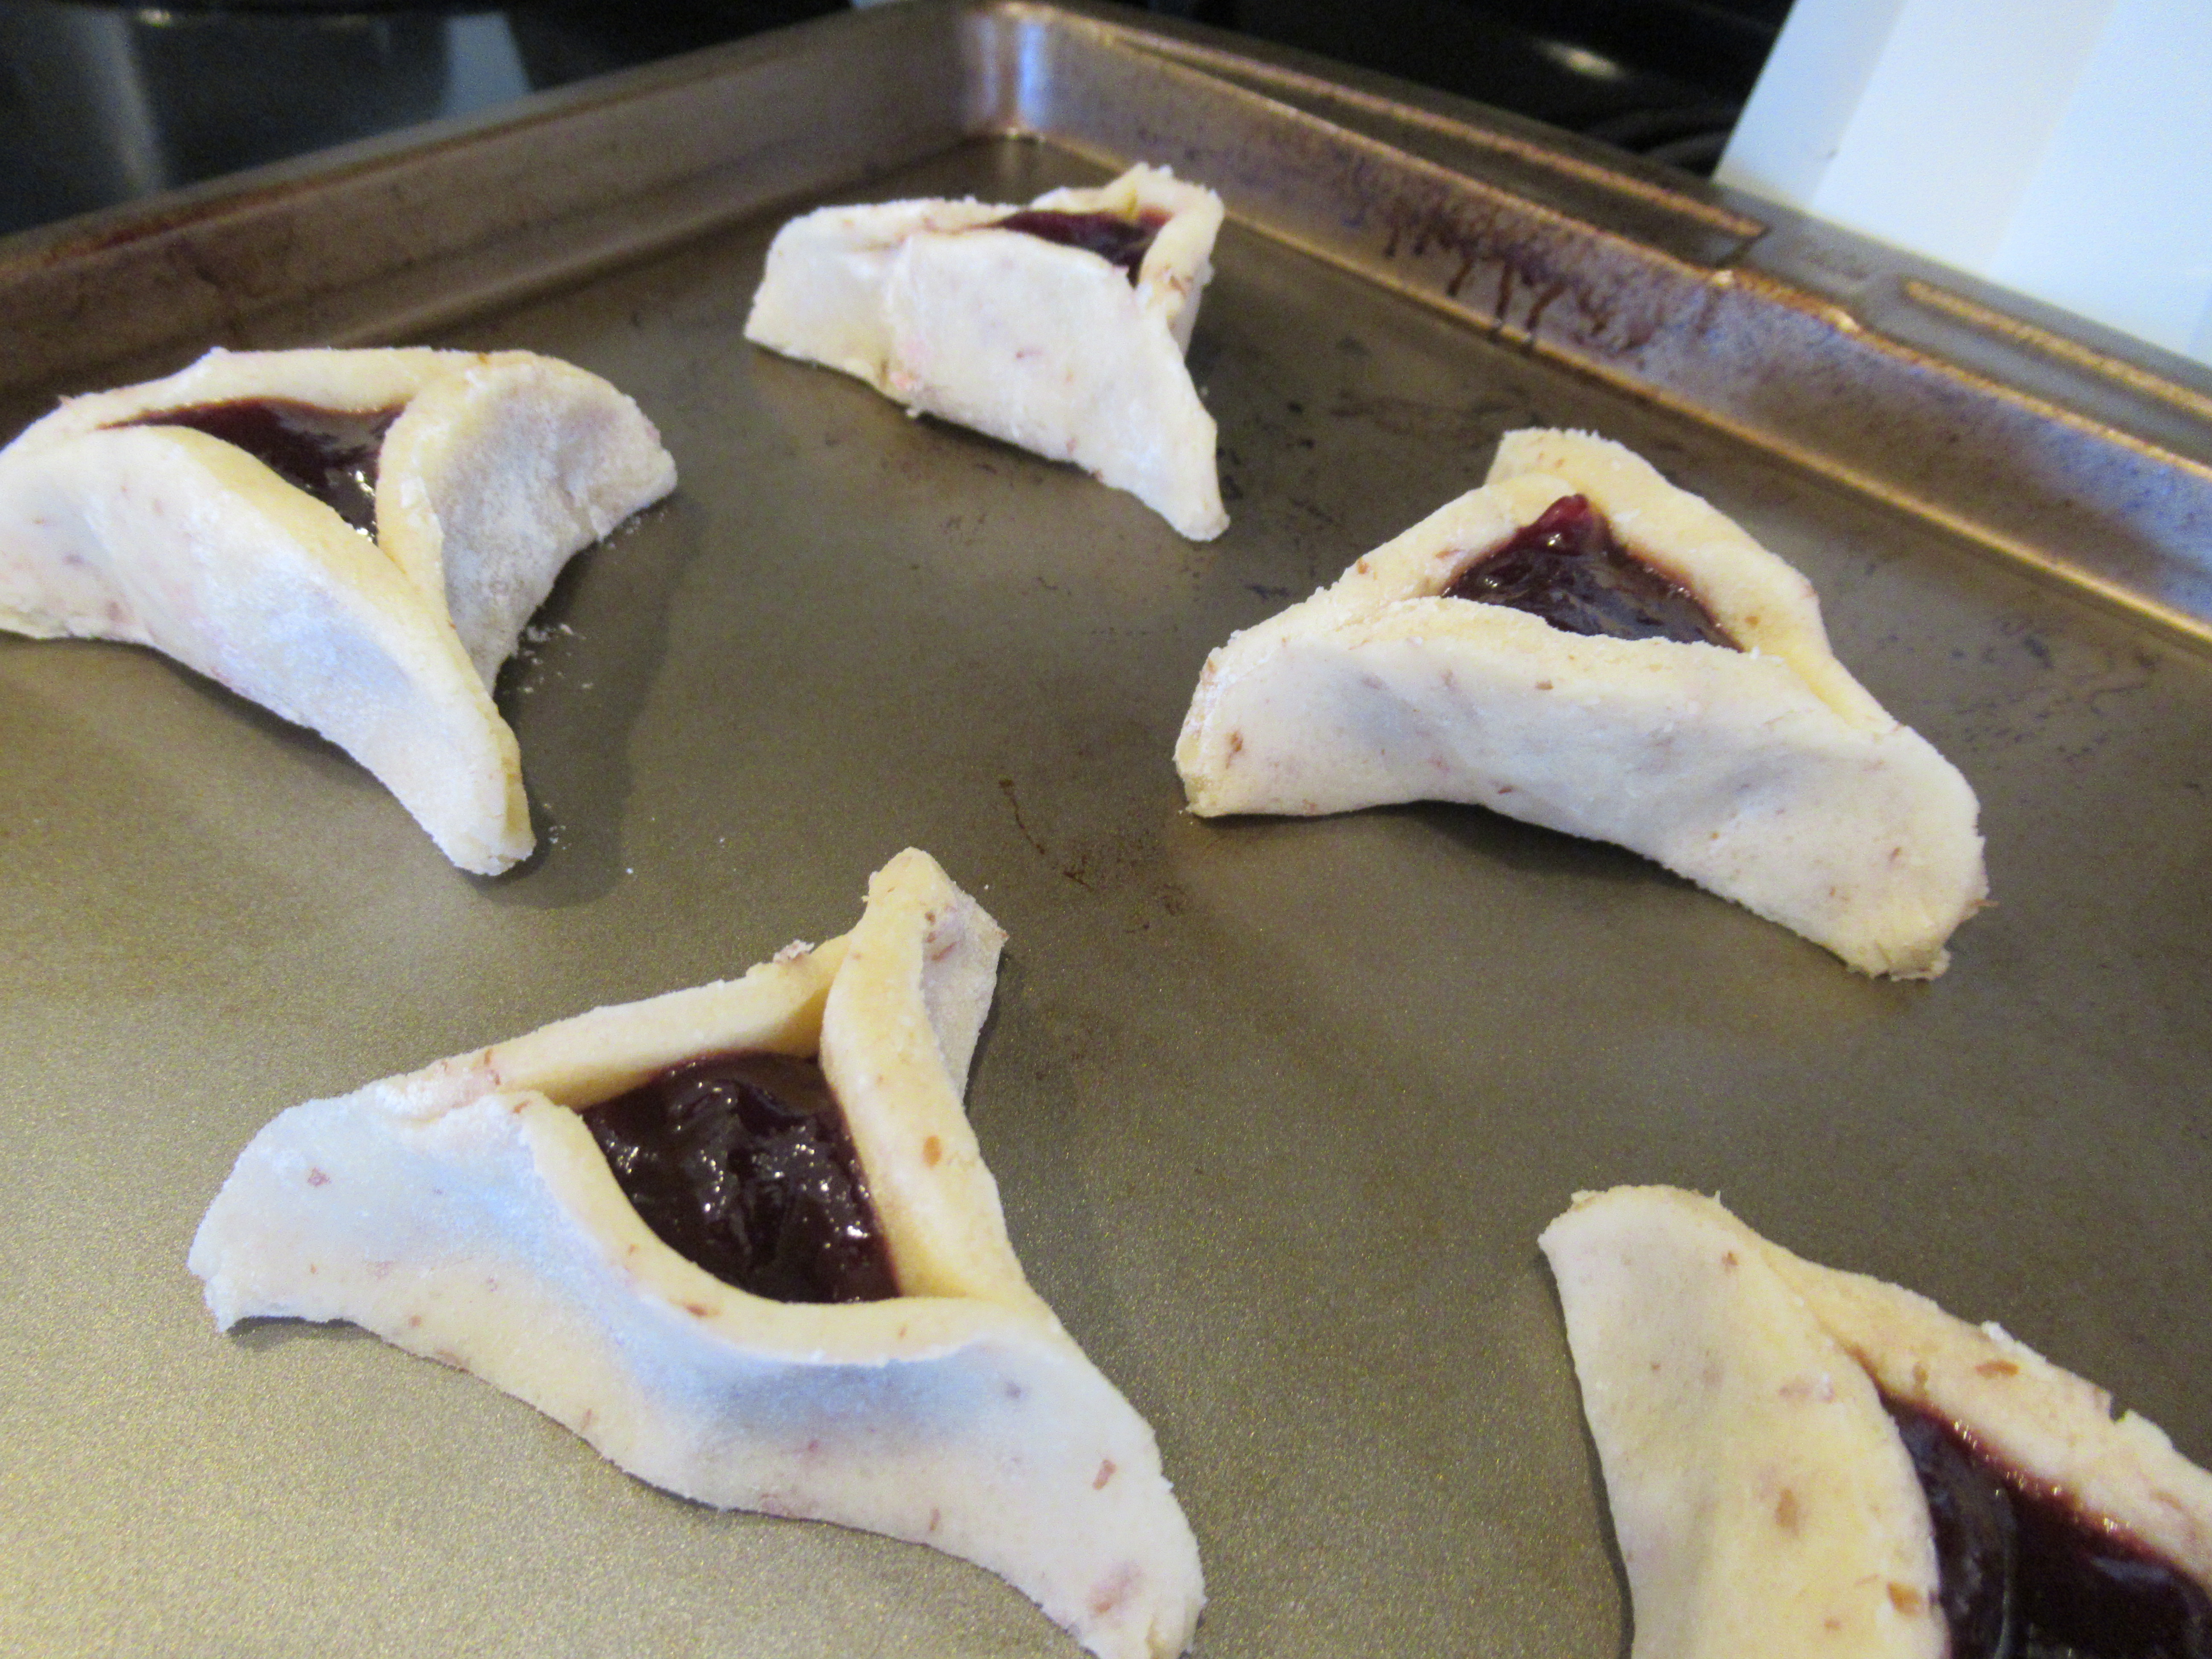
It was time to end the exploration with dessert. We prepared a recipe for traditional Hamantaschen, a triangle-shaped pastry eaten during the holiday of Purim. Pinching the cookies into triangles took a bit of practice, but soon we had a knack for it!

Hamantaschen (2)

Ingredients:

  • 2 cups flour
  • 2 teaspoons baking powder
  • 1/4 teaspoon salt
  • 8 tablespoons Earth Balance butter, softened
  • 1 cup sugar
  • 1 tablespoon orange juice
  • 1 tablespoon ground flaxseed
  • 3 tablespoons warm water
  • 1 cup jam, any flavor
  1. In a bowl, combine the flour, baking powder, and salt; set aside.
  2. In the bowl of a stand mixer, cream the butter, sugar, and orange juice.
  3. Whisk the flaxseed into the warm water to make 1 flax egg. Add to the butter mixture and beat until combined.
  4. Stir the dry ingredients into the wet ingredients, then wrap the dough in plastic wrap and refrigerate for 2 hours.
  5. On a lightly floured surface, roll out the dough and use a 3-inch round cookie cutter to make circles. Spoon a scant tablespoon of jam into the center of each, then pinch the dough into a triangle, forming three corners with your fingers.
  6. Bake at 375 degrees F for 18 minutes. Let stand at least 5 minutes before serving.

Hamantaschen (3)

Little Passports: Russia

LP Russia alt

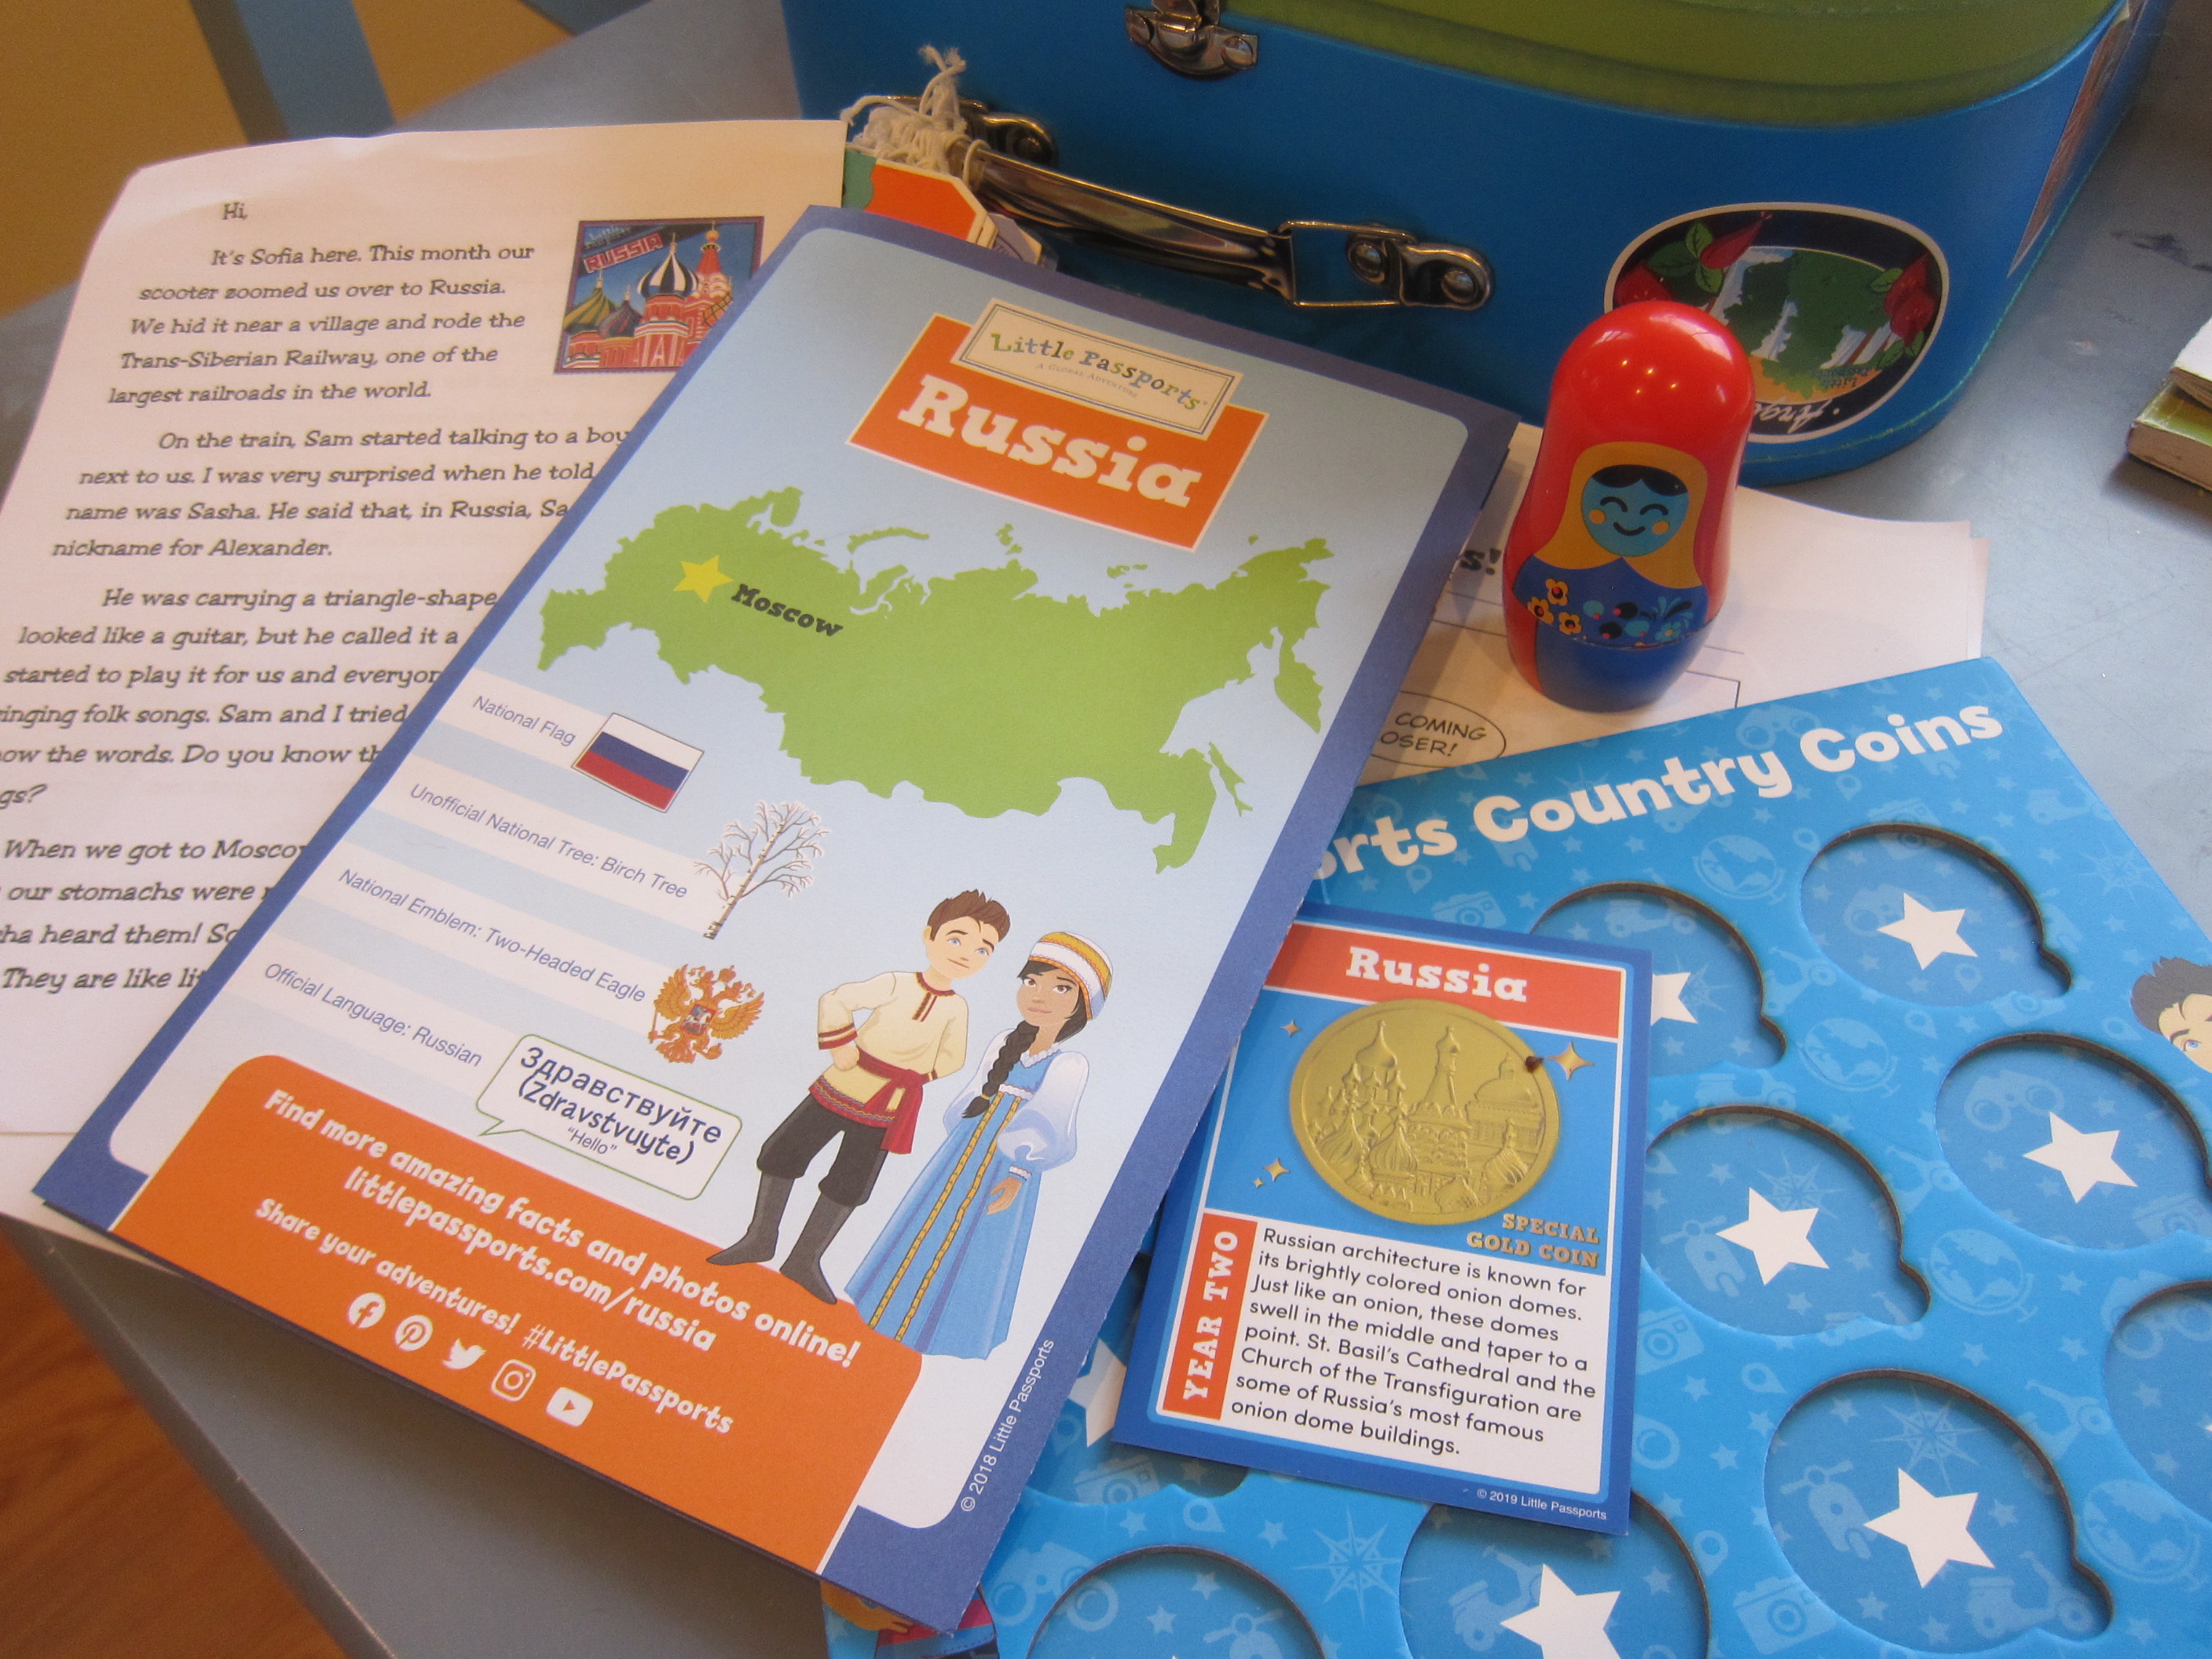
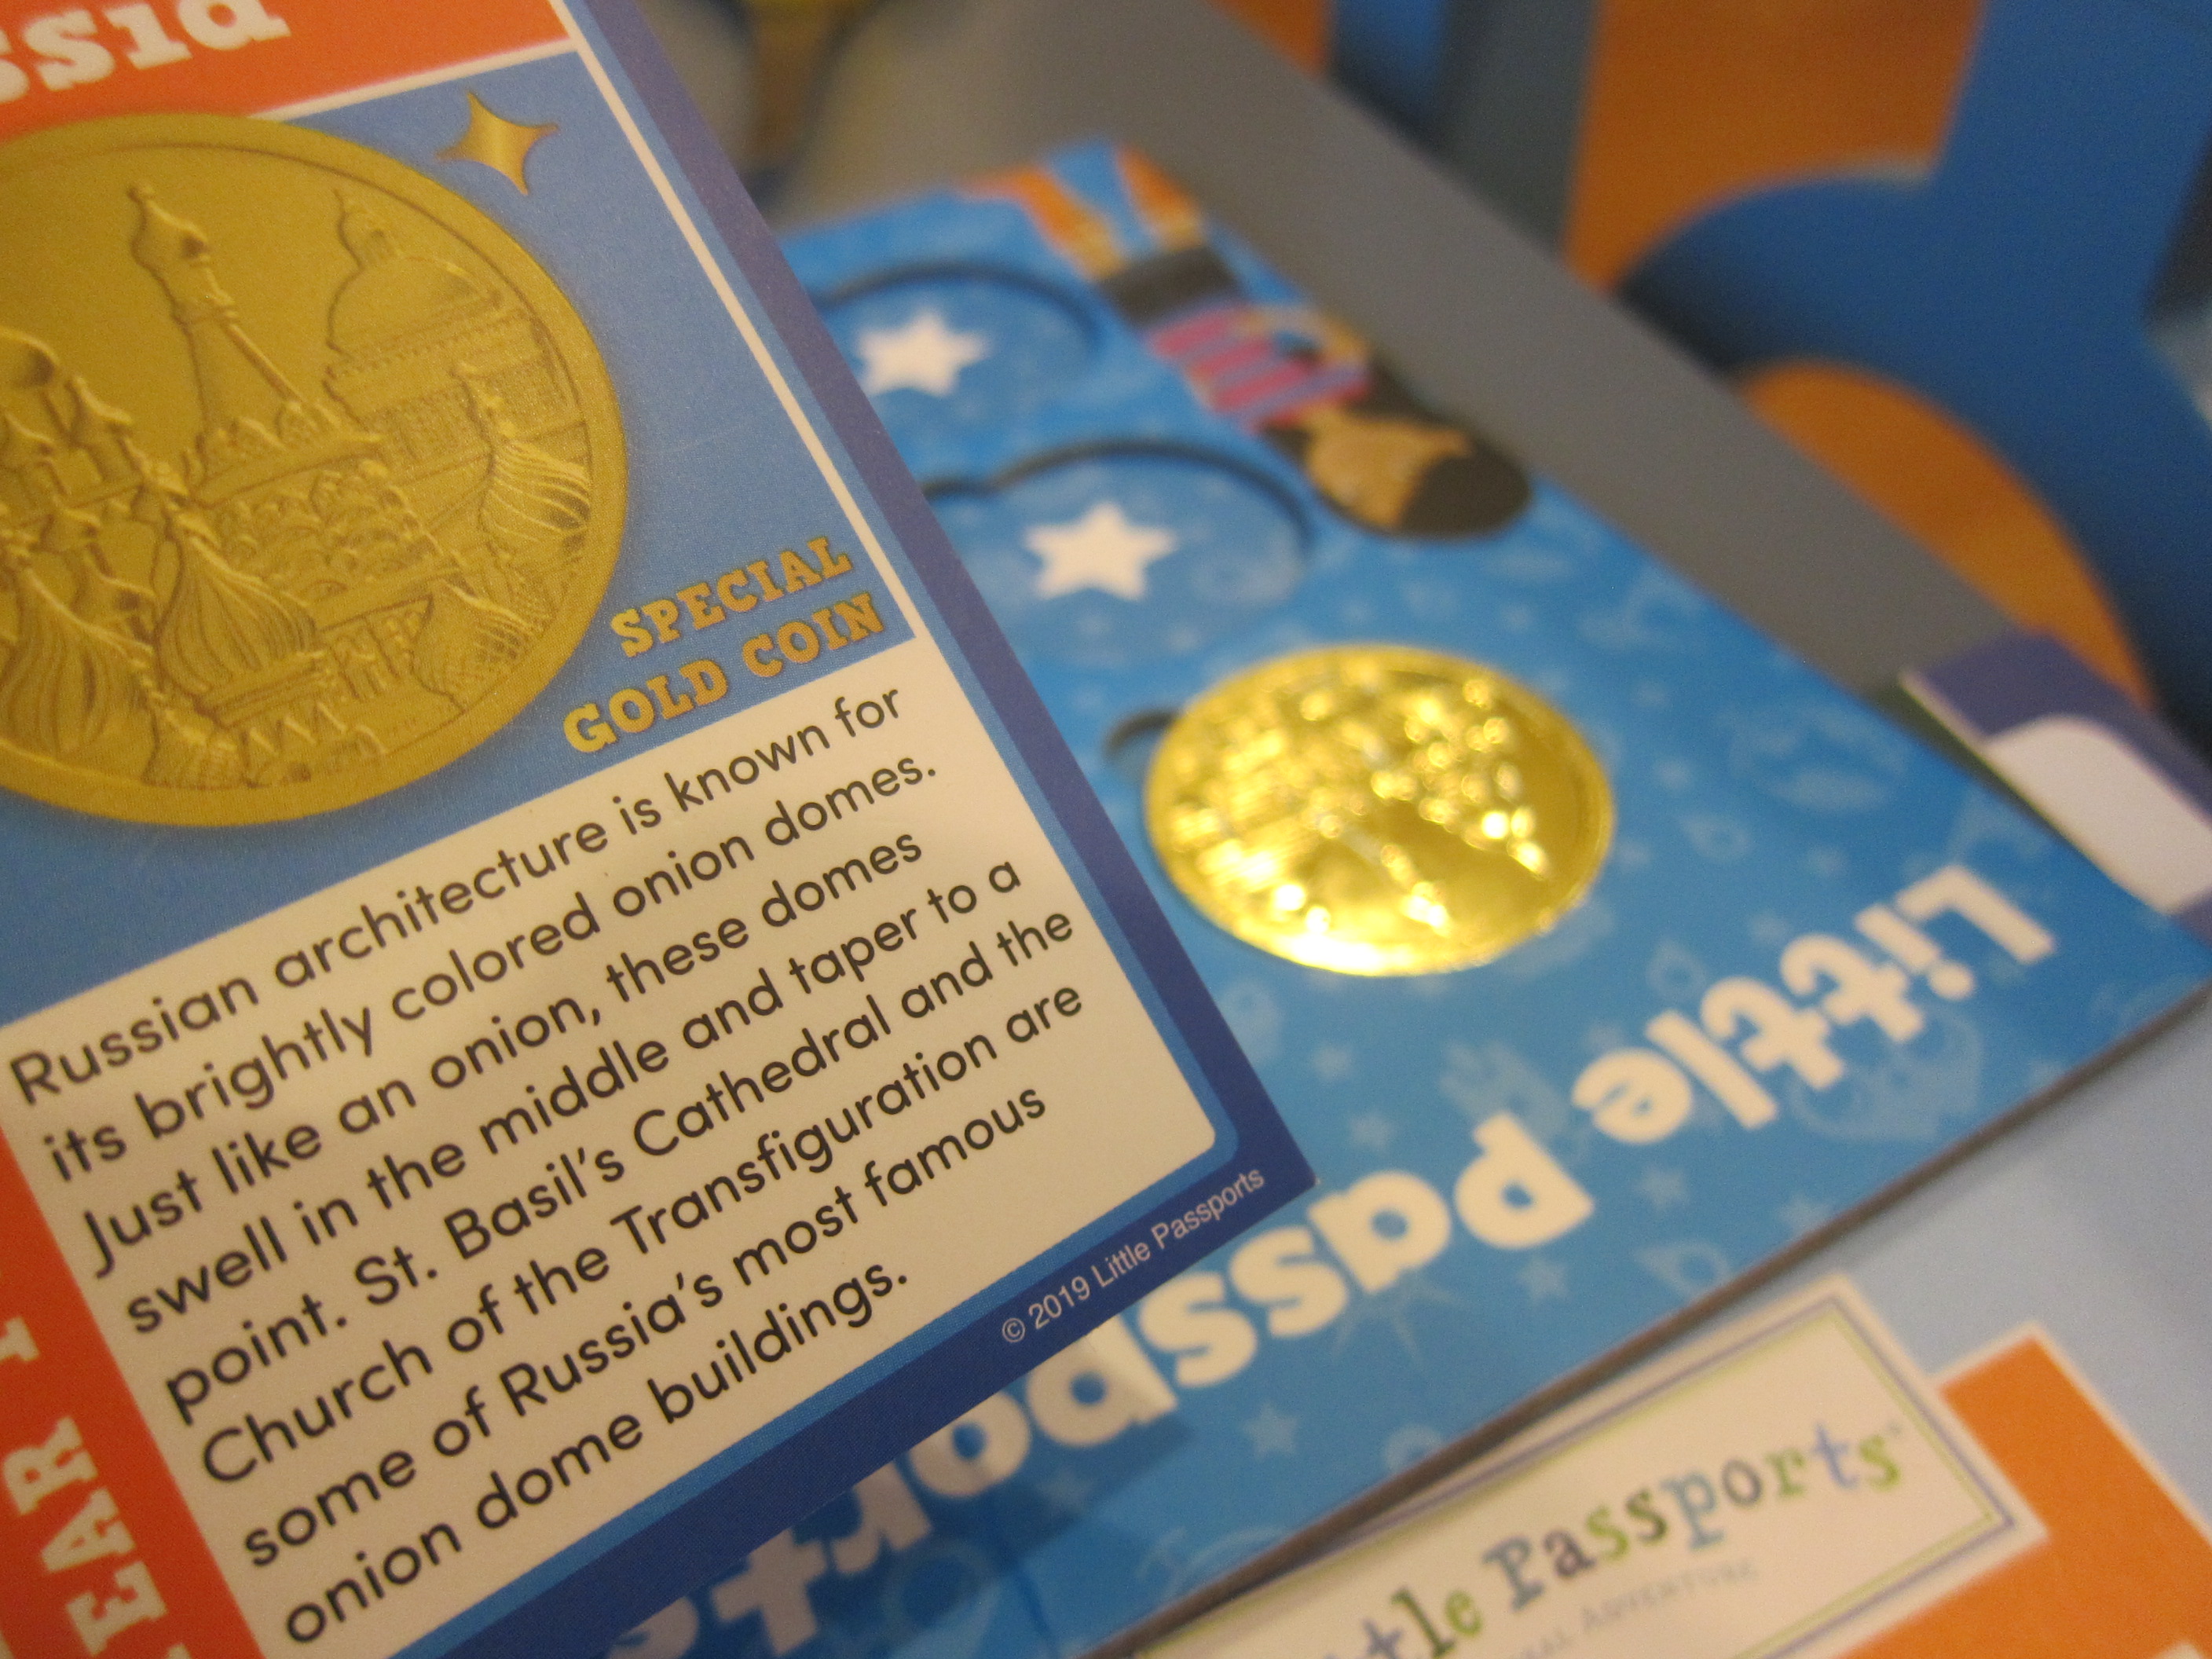
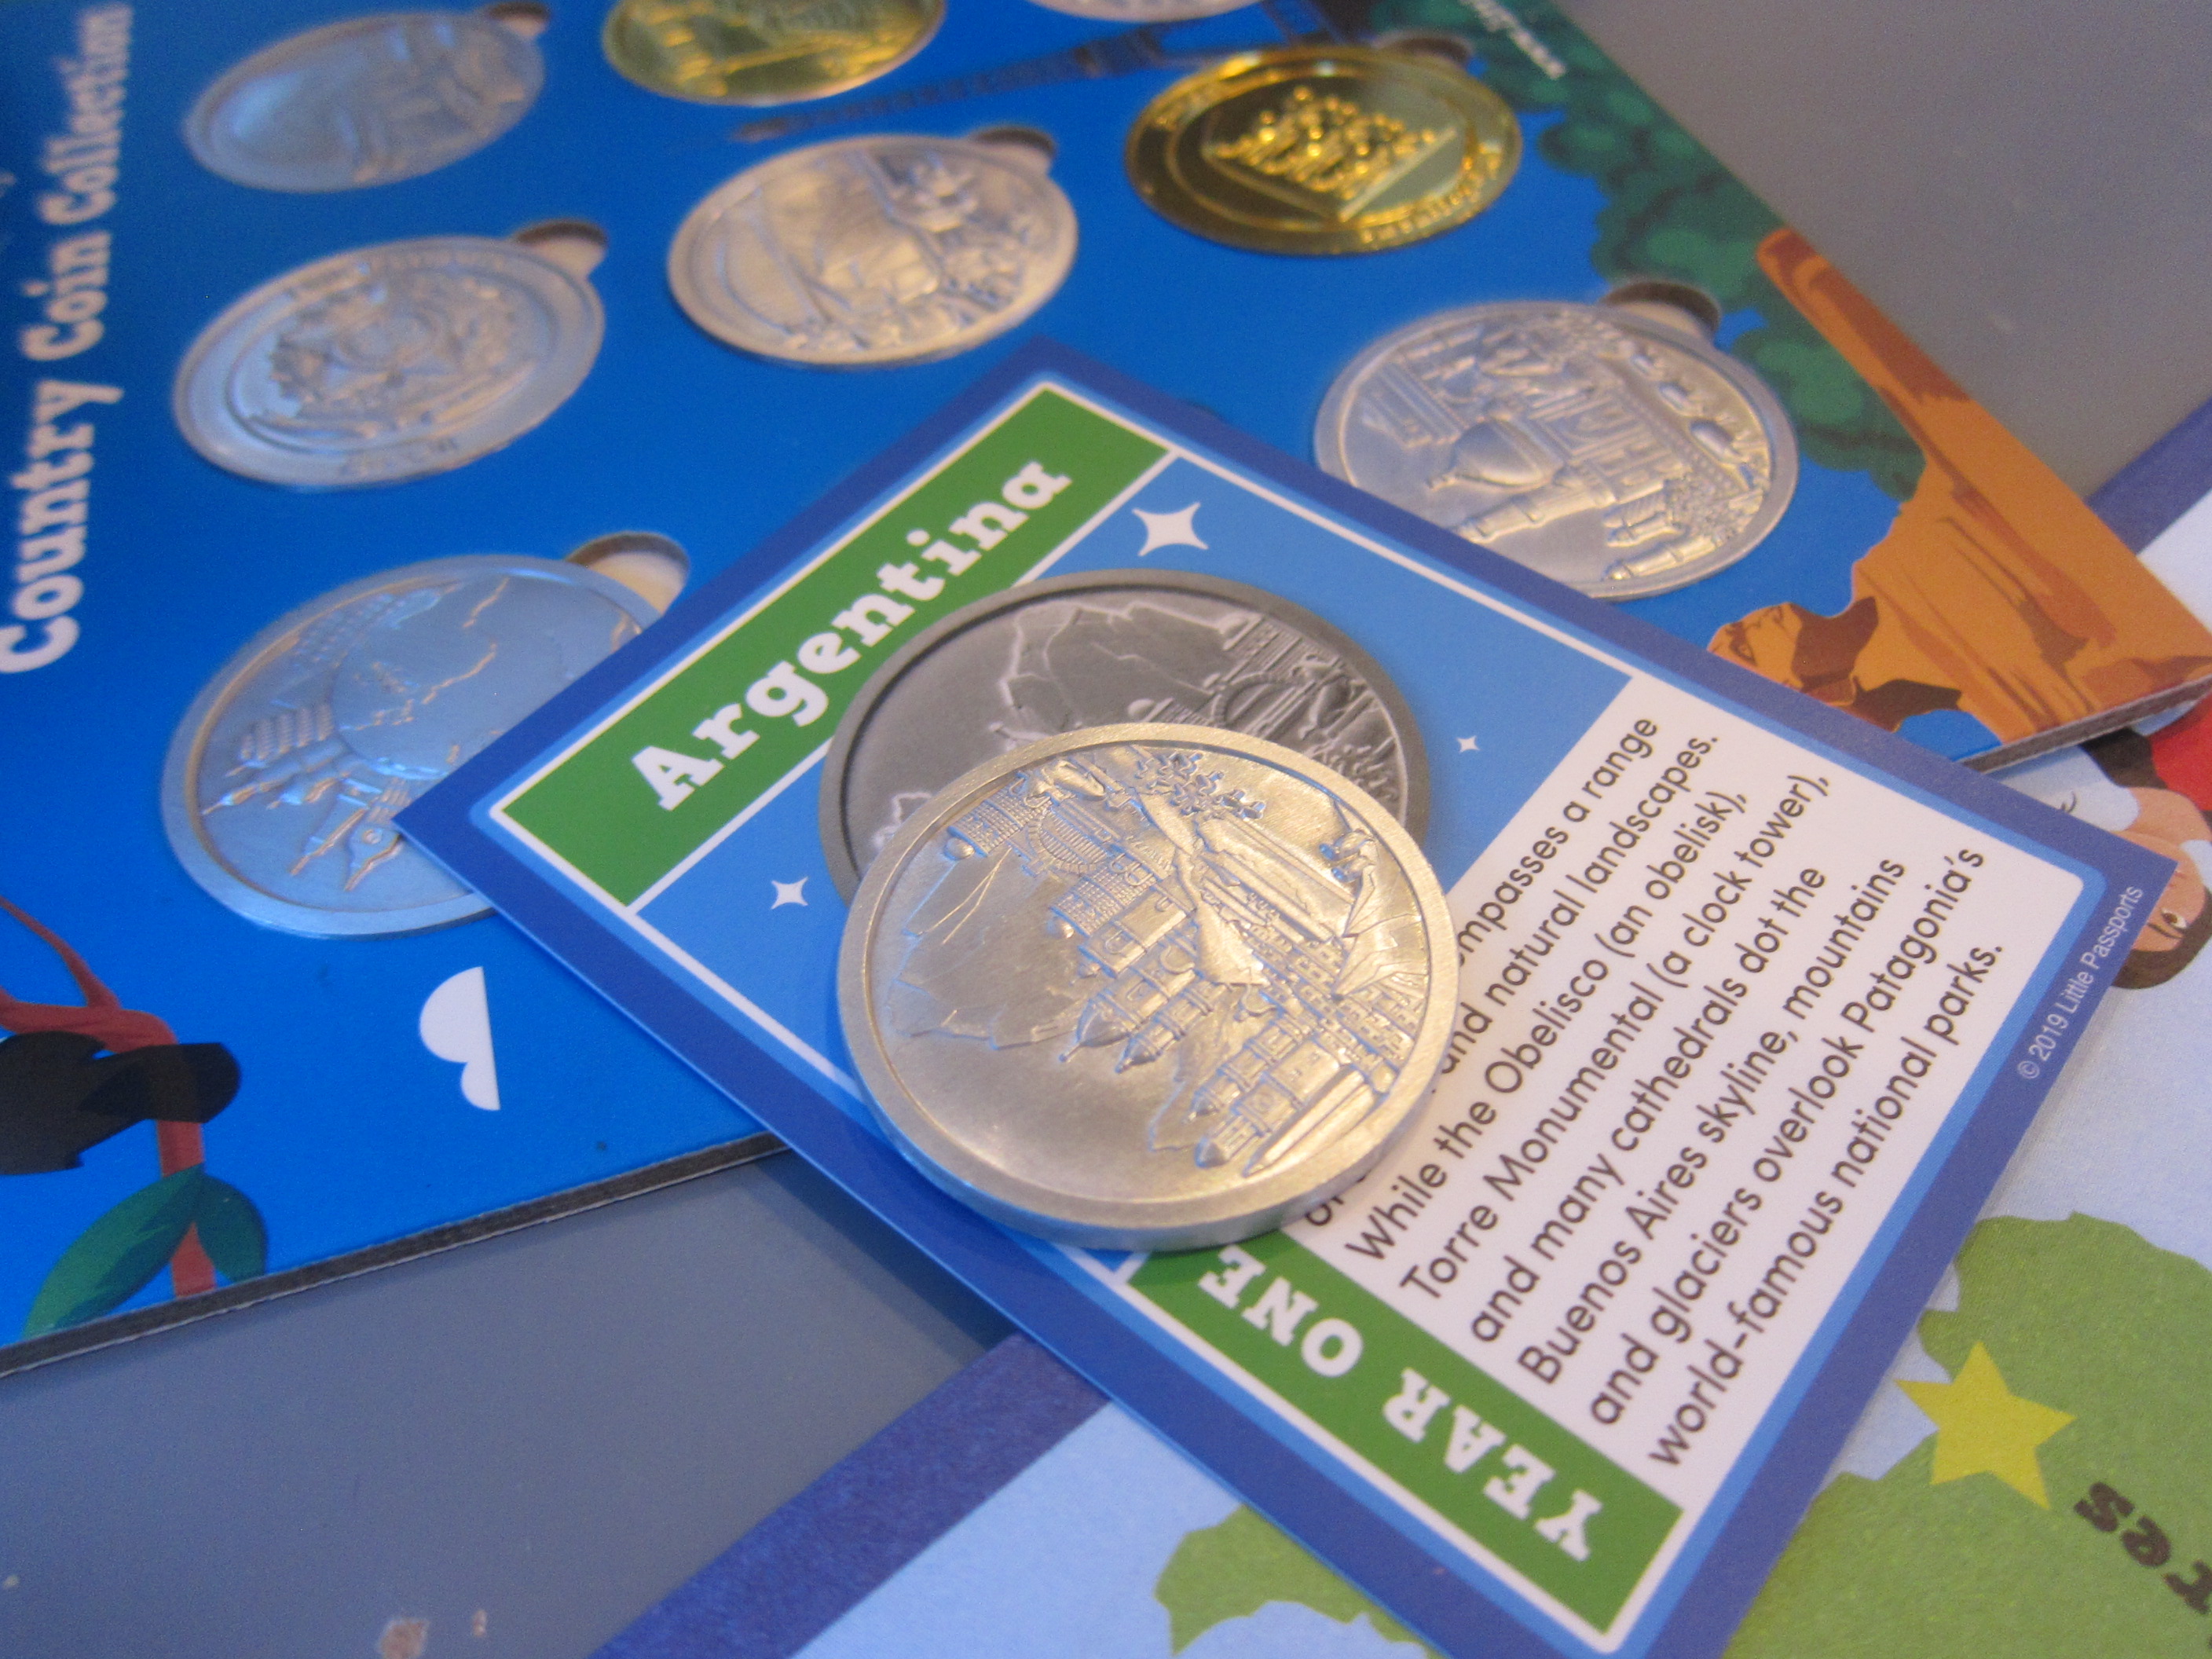
Just in time for wintry weather here at home, Travis’s package from Little Passports was about cold and snowy Russia this month. Travis has been receiving Little Passports for a full year now, so the kit came with a country coin chart with 12 new empty spaces to fill.

LP Russia (2)

He added the sticker to his suitcase and proudly located Russia on the map (“Just look the for the biggest country!” I prompted him). The booklet featured fun activities with Russian history thrown into each, including a Faberge egg riddle to solve. The only one too advanced for my first grader was a word search based on the names of Russian towns.

LP Russia (4)

Souvenir:

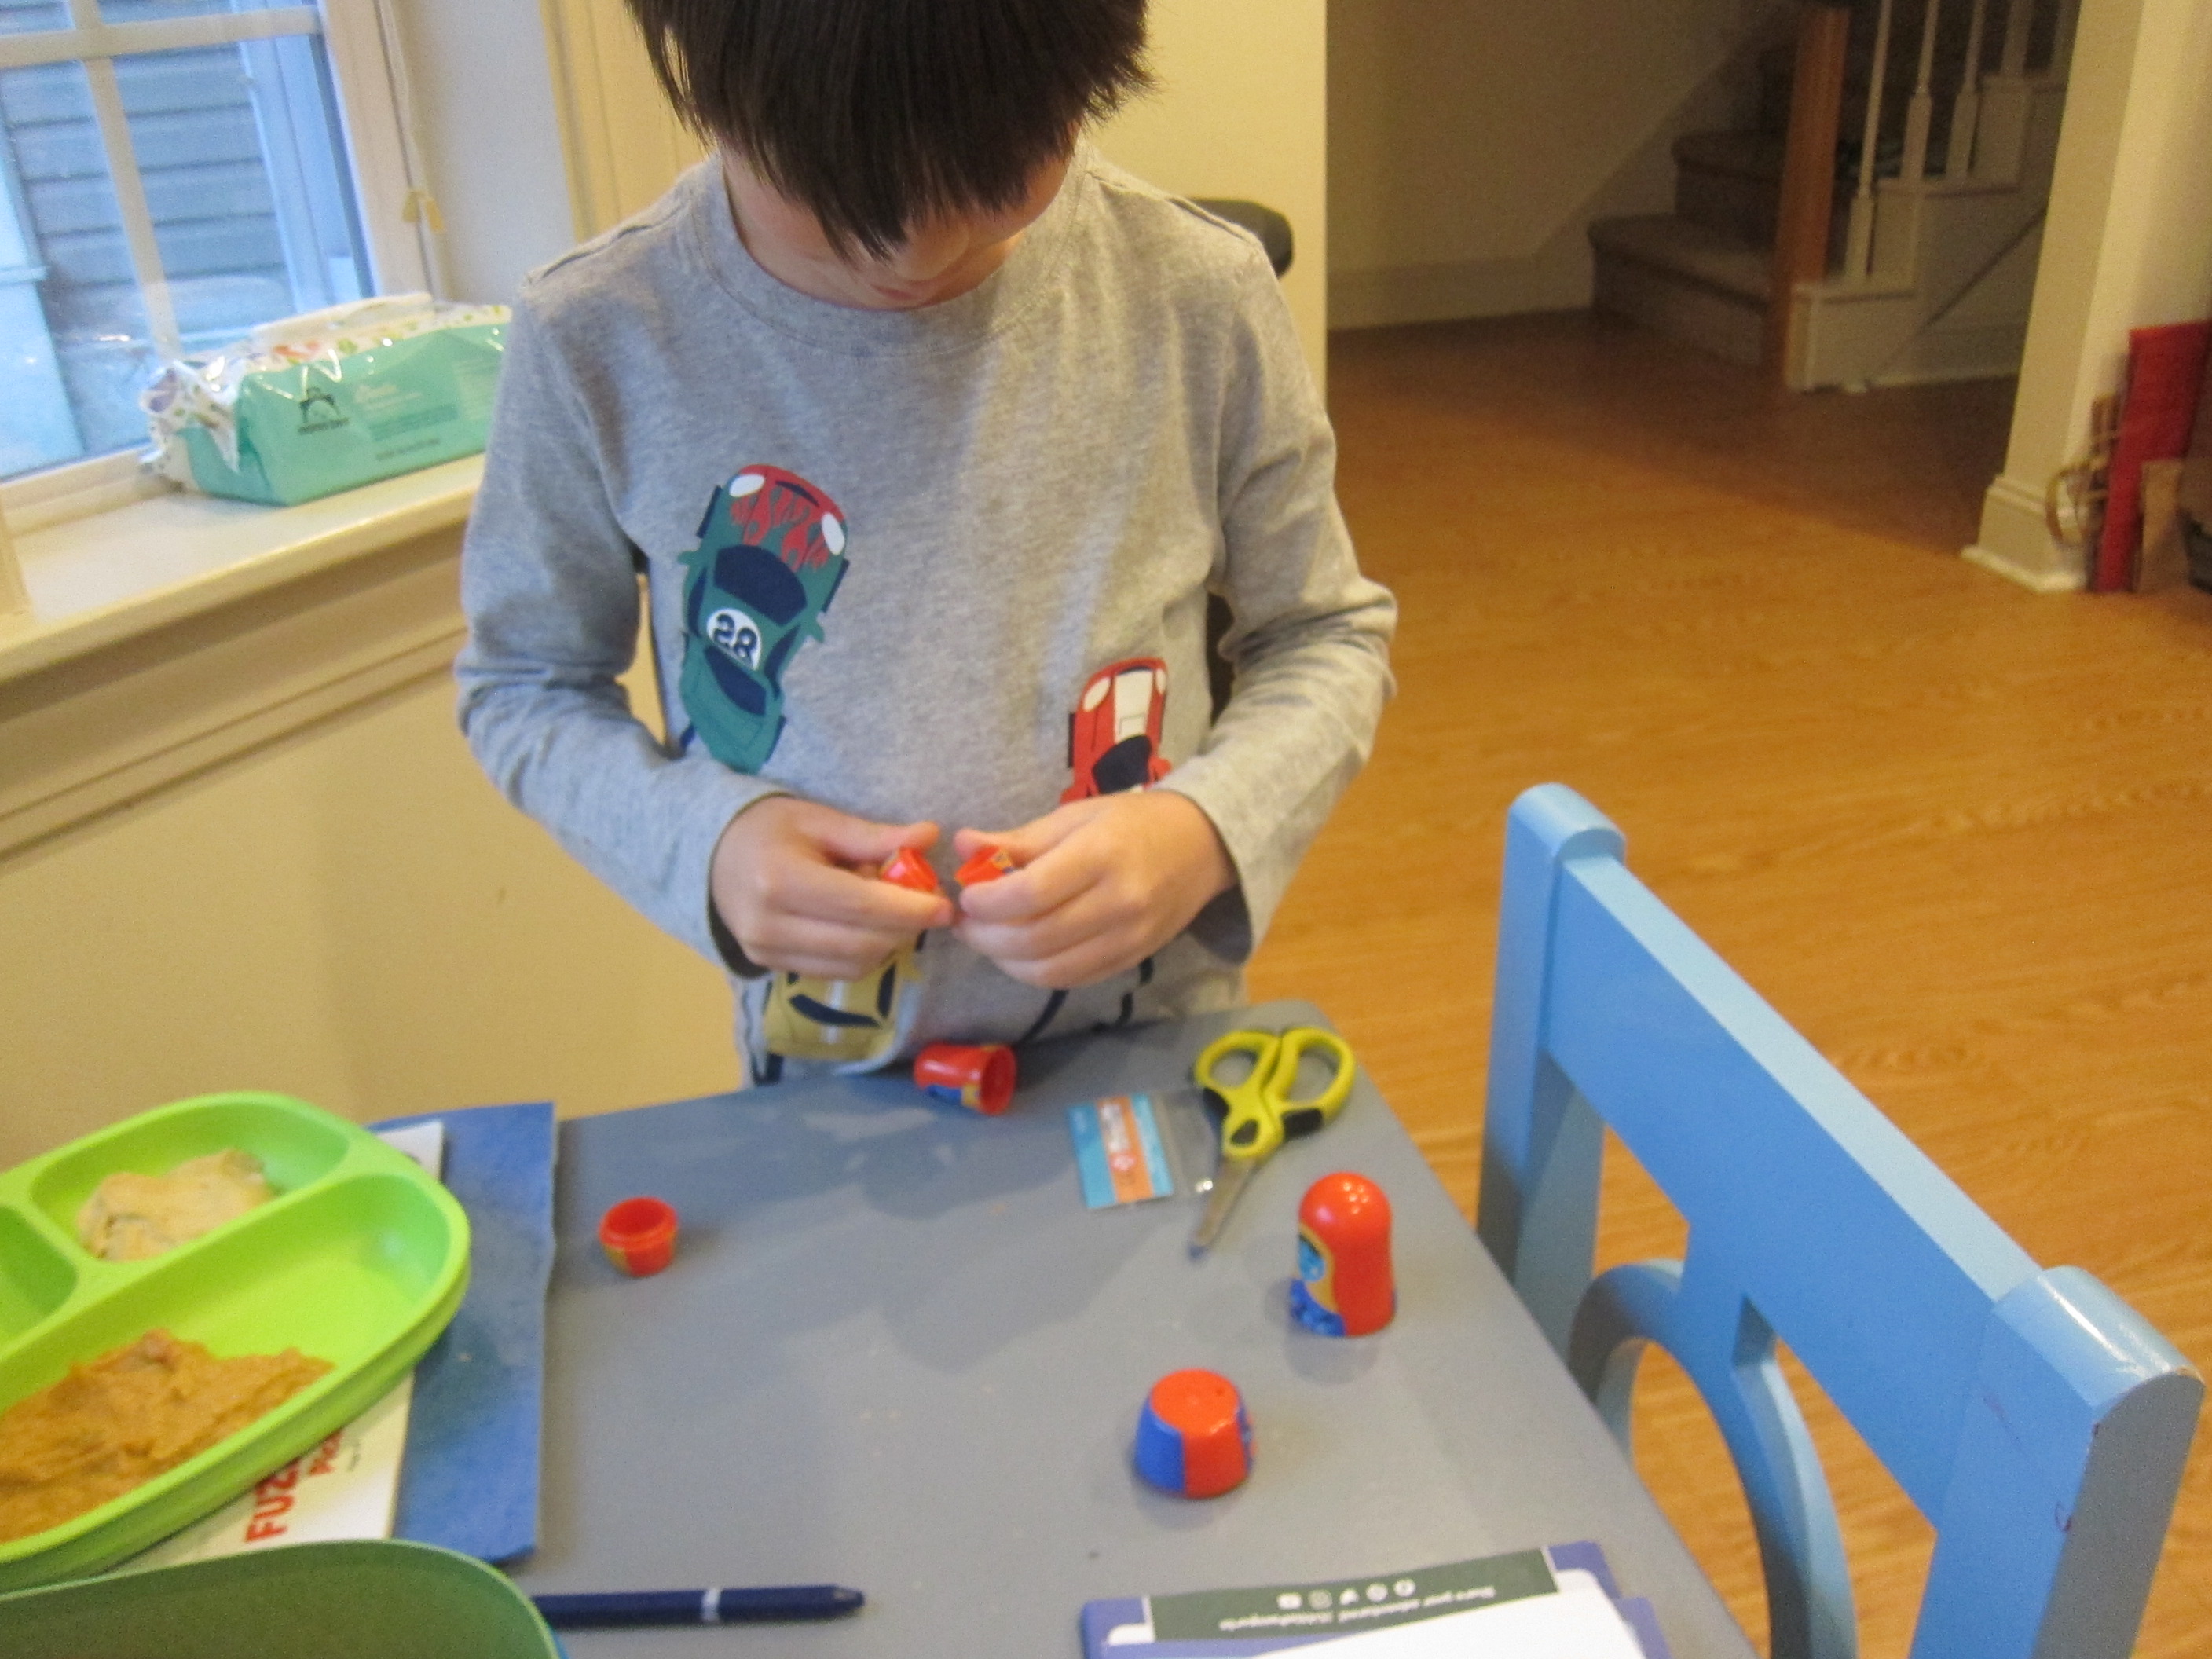
Travis absolutely adored the small matryoshka doll that came with the package, his first time seeing one of these classic nesting dolls. Needless to say he needed to take it apart and put it back together many times.

LP Russia (1)

Further Activities:

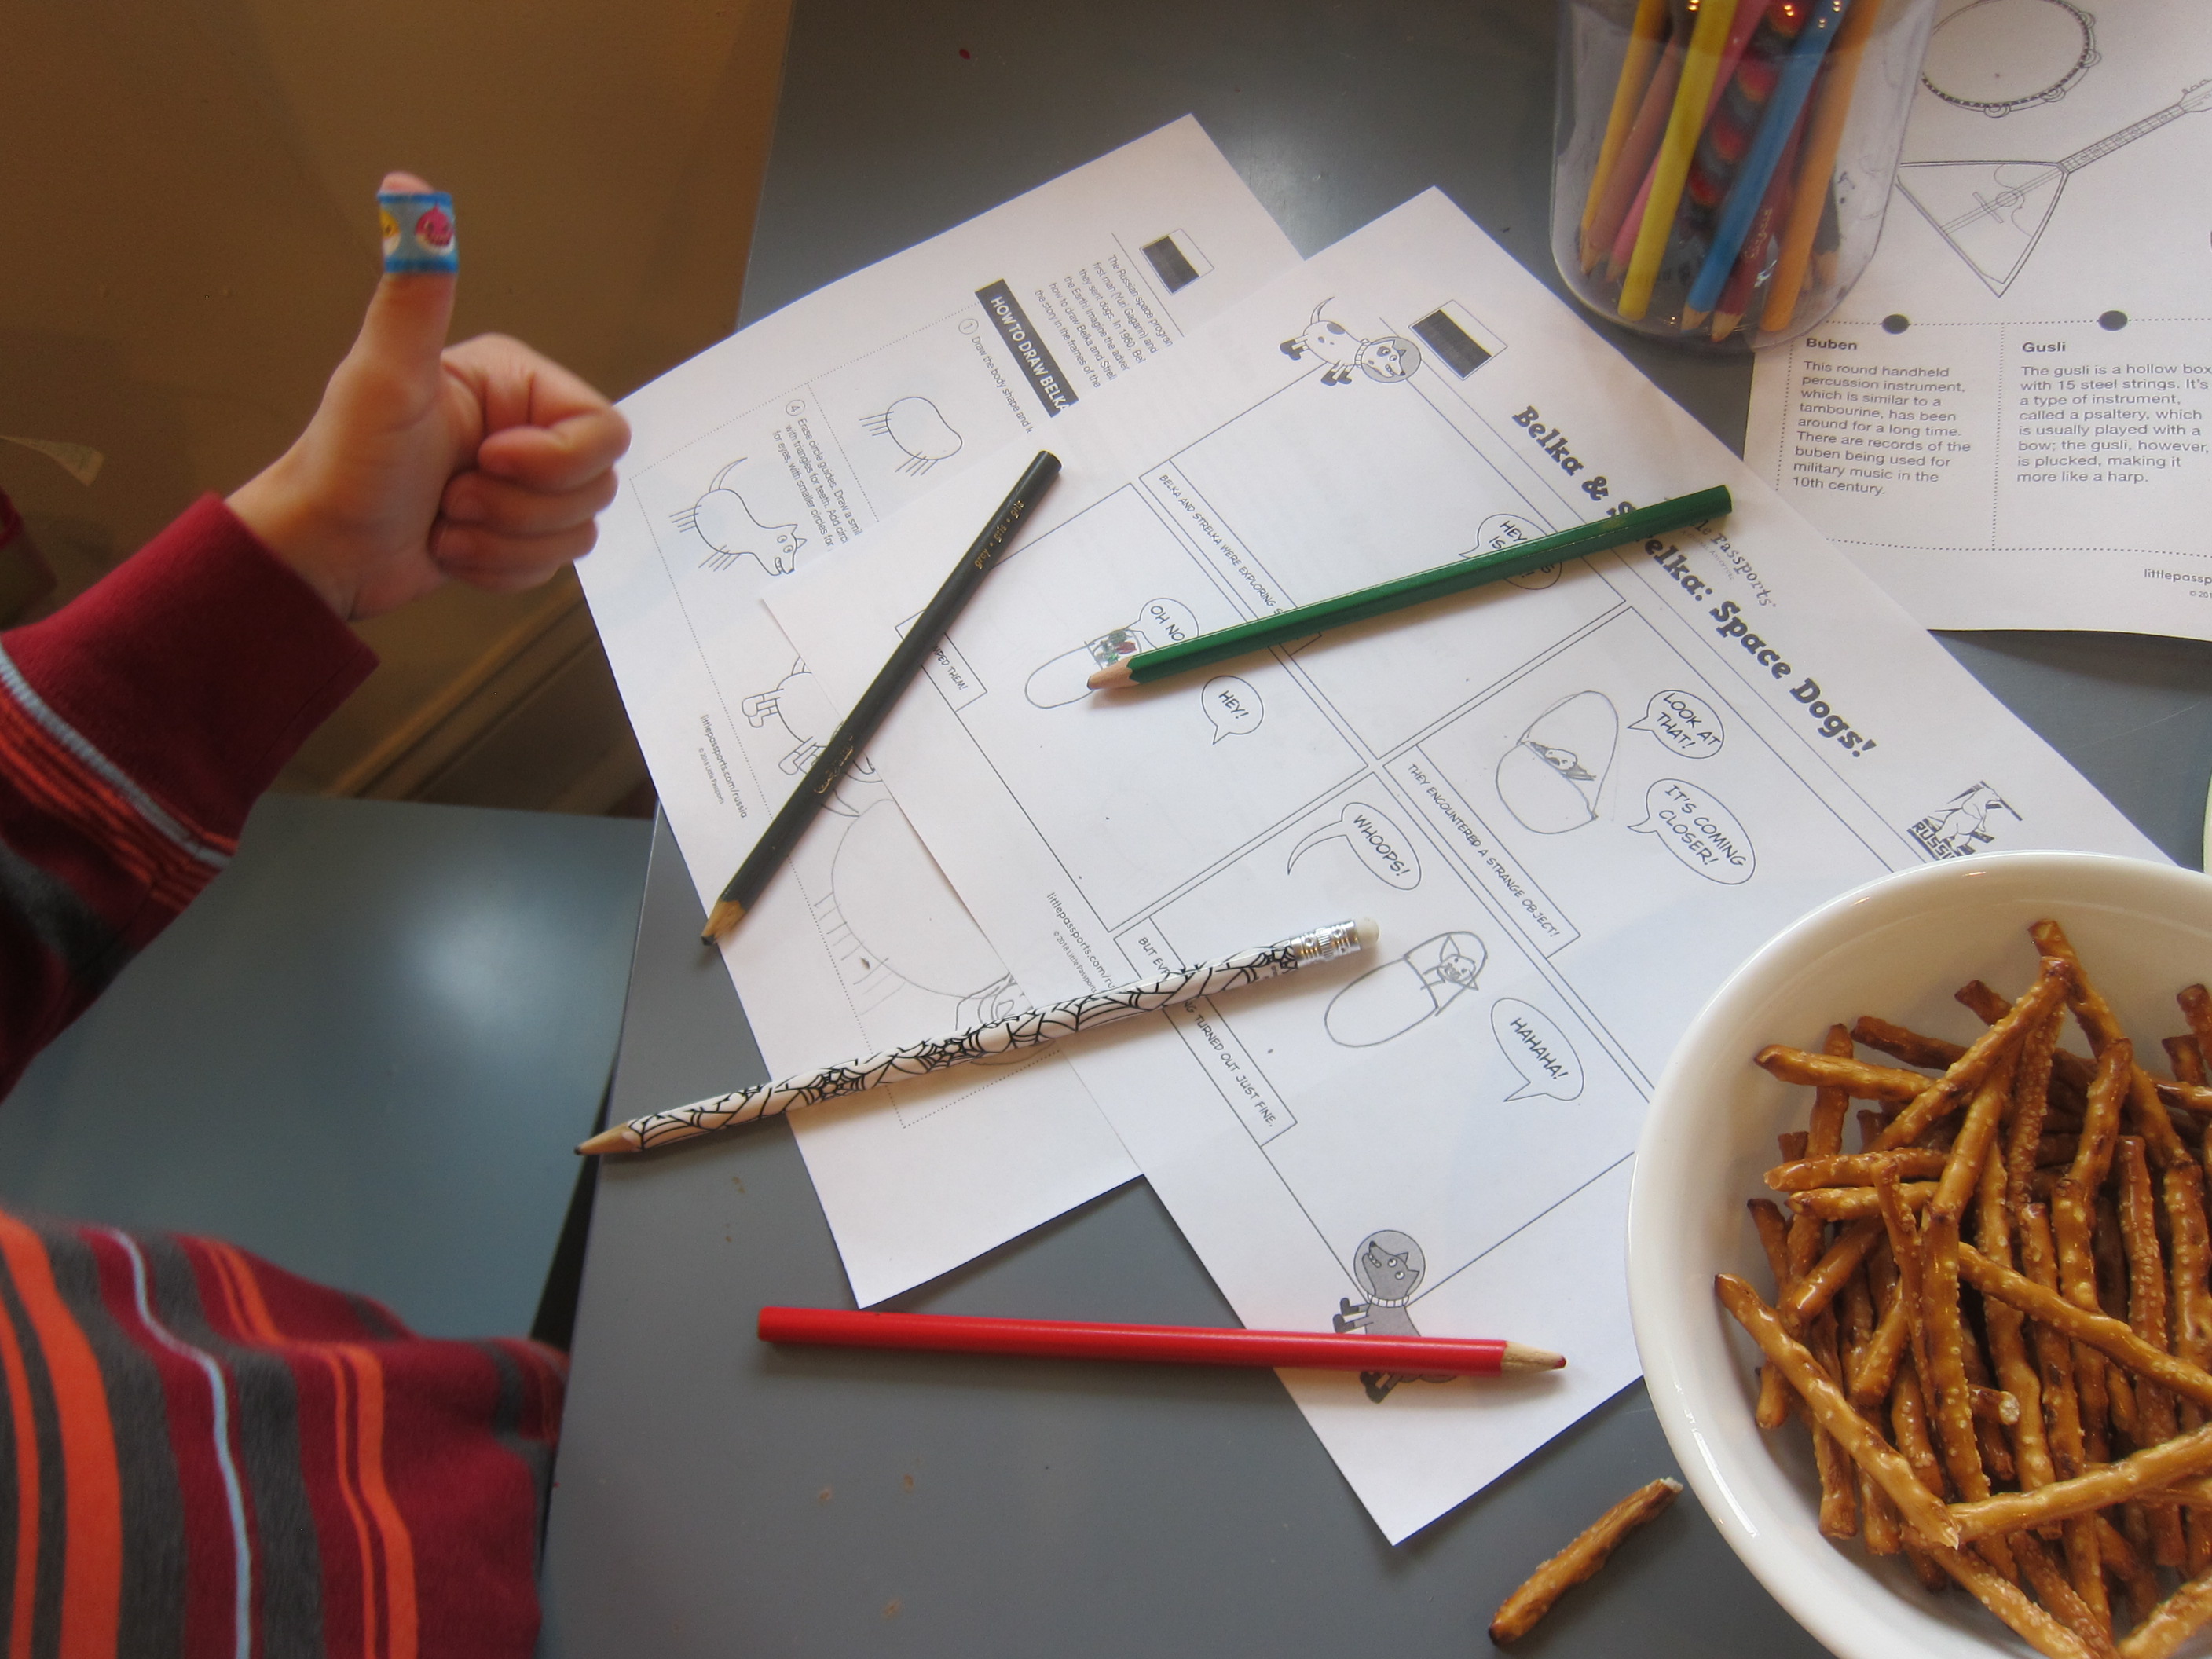
This kit featured disappointingly few additional activities compared to previous packages. Travis did enjoy the template to make his own Space Comic, though, based on the history of space dogs Belka and Strelka.

LP Russia (5)

This was a great STEAM activity for kids! He was less interested in a Russian folk instrument coloring page, but did enjoy the additional photos and facts posted online.

LP Russia (6)

Finally, we read about Russian holiday traditions, particularly that New Year’s Day is a bigger celebration and time for presents in the country than Christmas morning. Perhaps we’ll have to save one present for under the tree on January 1 from “Father Frost”.

Recipe:

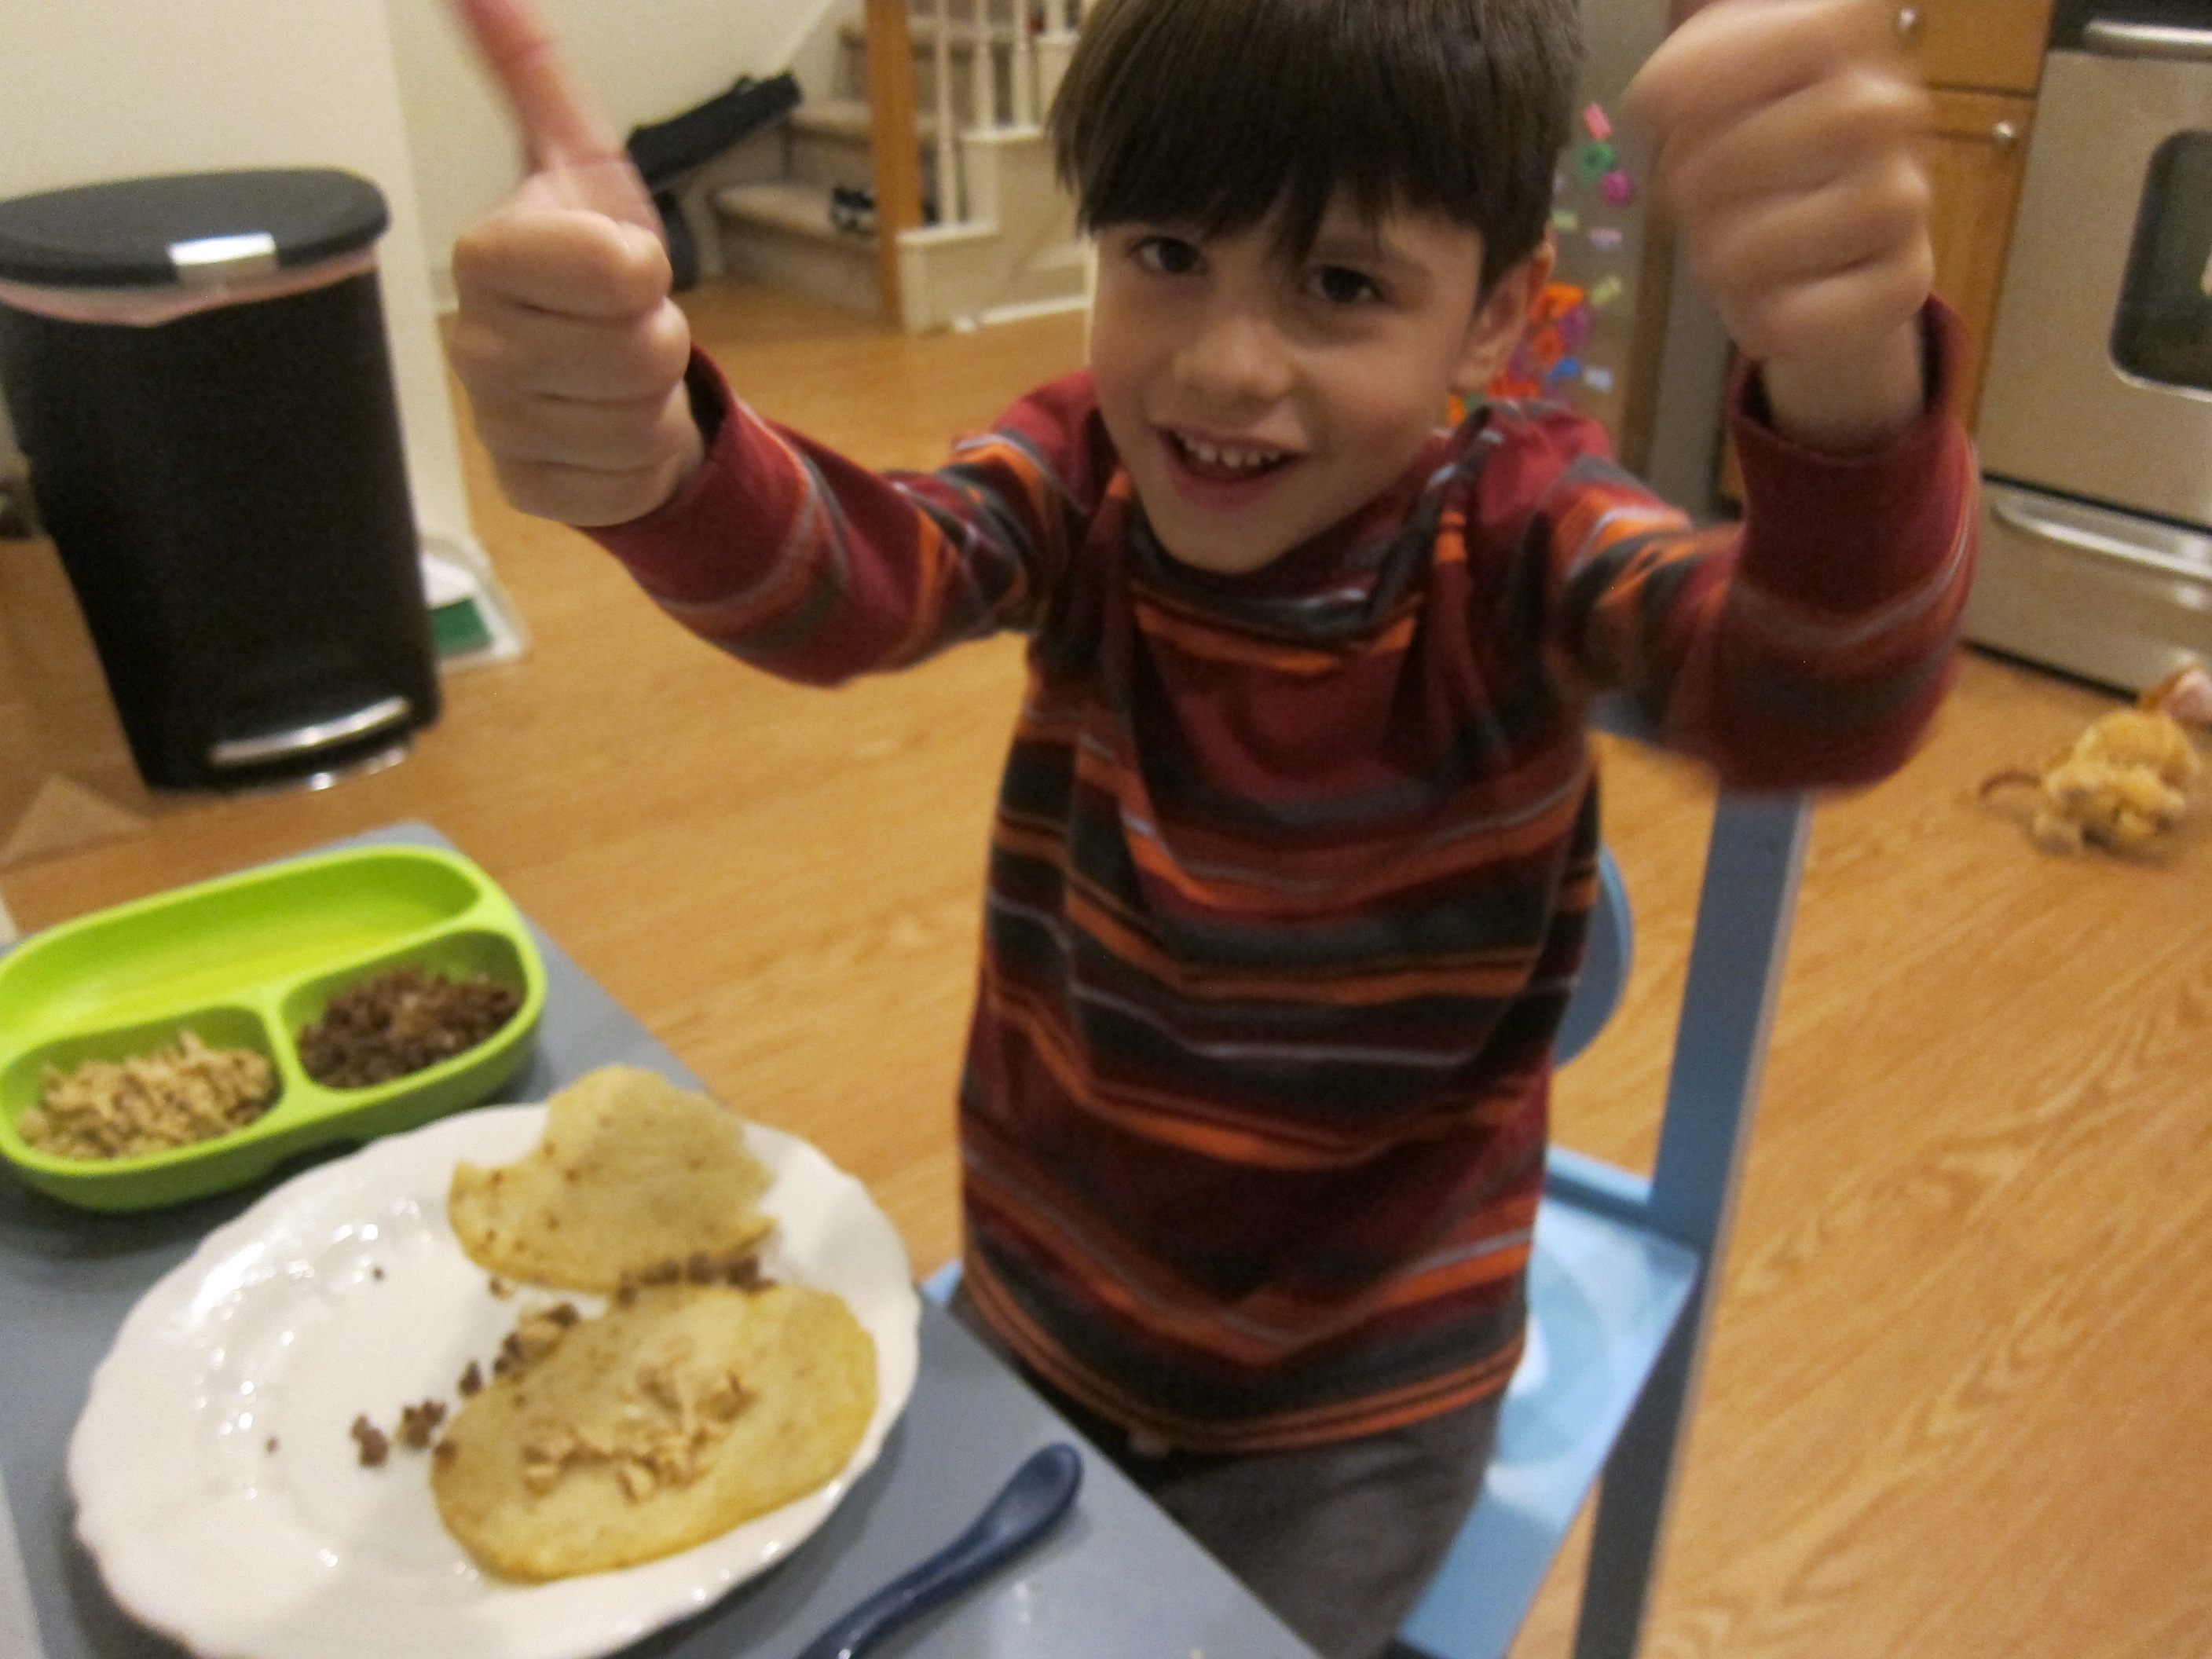
As always, we finished by bringing the country into our kitchen. The recipe for oladushki (thin pancakes) was complicated and messy, but I had happy little diners pretending they were in Russia at the end!

Oladushki (3)

Ingredients:

  • 1 tablespoon apple cider vinegar
  • Scant 1 and 3/4 cups plain non-dairy milk
  • 1 tablespoon flaxseed
  • 3 tablespoons cold water
  • 1/4 teaspoon salt
  • 1 teaspoon baking soda
  • 2 and 3/4 cups flour
  • 1 and 3/4 cups boiling water
  • 1/2 cup canola oil + more for frying
  1. To prepare the pancake batter, pour the cider vinegar into a liquid measuring cup. Add non-dairy milk to equal 1 and 3/4 cups, then let stand for 5 minutes.
  2. Meanwhile, whisk together the flaxseed and cold water to make a flax egg; let stand for 5 minutes.
  3. Combine the milk mixture and flaxseed mixture in a small saucepan, along with the salt and baking soda. Heat over medium heat for about 2 minutes. Transfer to a large bowl.
  4. Add the flour, 1 cup at a time, stirring after each addition. The batter should be quite thick at this point.
  5. Pour in the boiling water and 1/2 cup oil; whisk until combined.
  6. Heat an additional tablespoon or so of oil in a skillet over medium-high heat. Add 1/4 cup batter and tilt the pan to spread toward the edges. Cook for 45 seconds, then flip and cook for about 30 seconds on the other side.
  7. Repeat with the remaining batter to make 16 pancakes.

We served these pancakes in two ways. The first night, they were savory for dinner, topped with either chopped and cooked chick’n…

Oladushki (2)

…or with a mixture of sauteed meatless crumbles and onion.

Oladushki (1)

In the morning, the leftovers became sweet for breakfast! The kids tried them with jam and agave nectar…

Oladushki (6)

…or with a little sweetened non-dairy sour cream (stir about 1/2 teaspoon sugar into each tablespoon sour cream).

Oladushki (5)

Little Passports: Argentina

LP Argentina alt

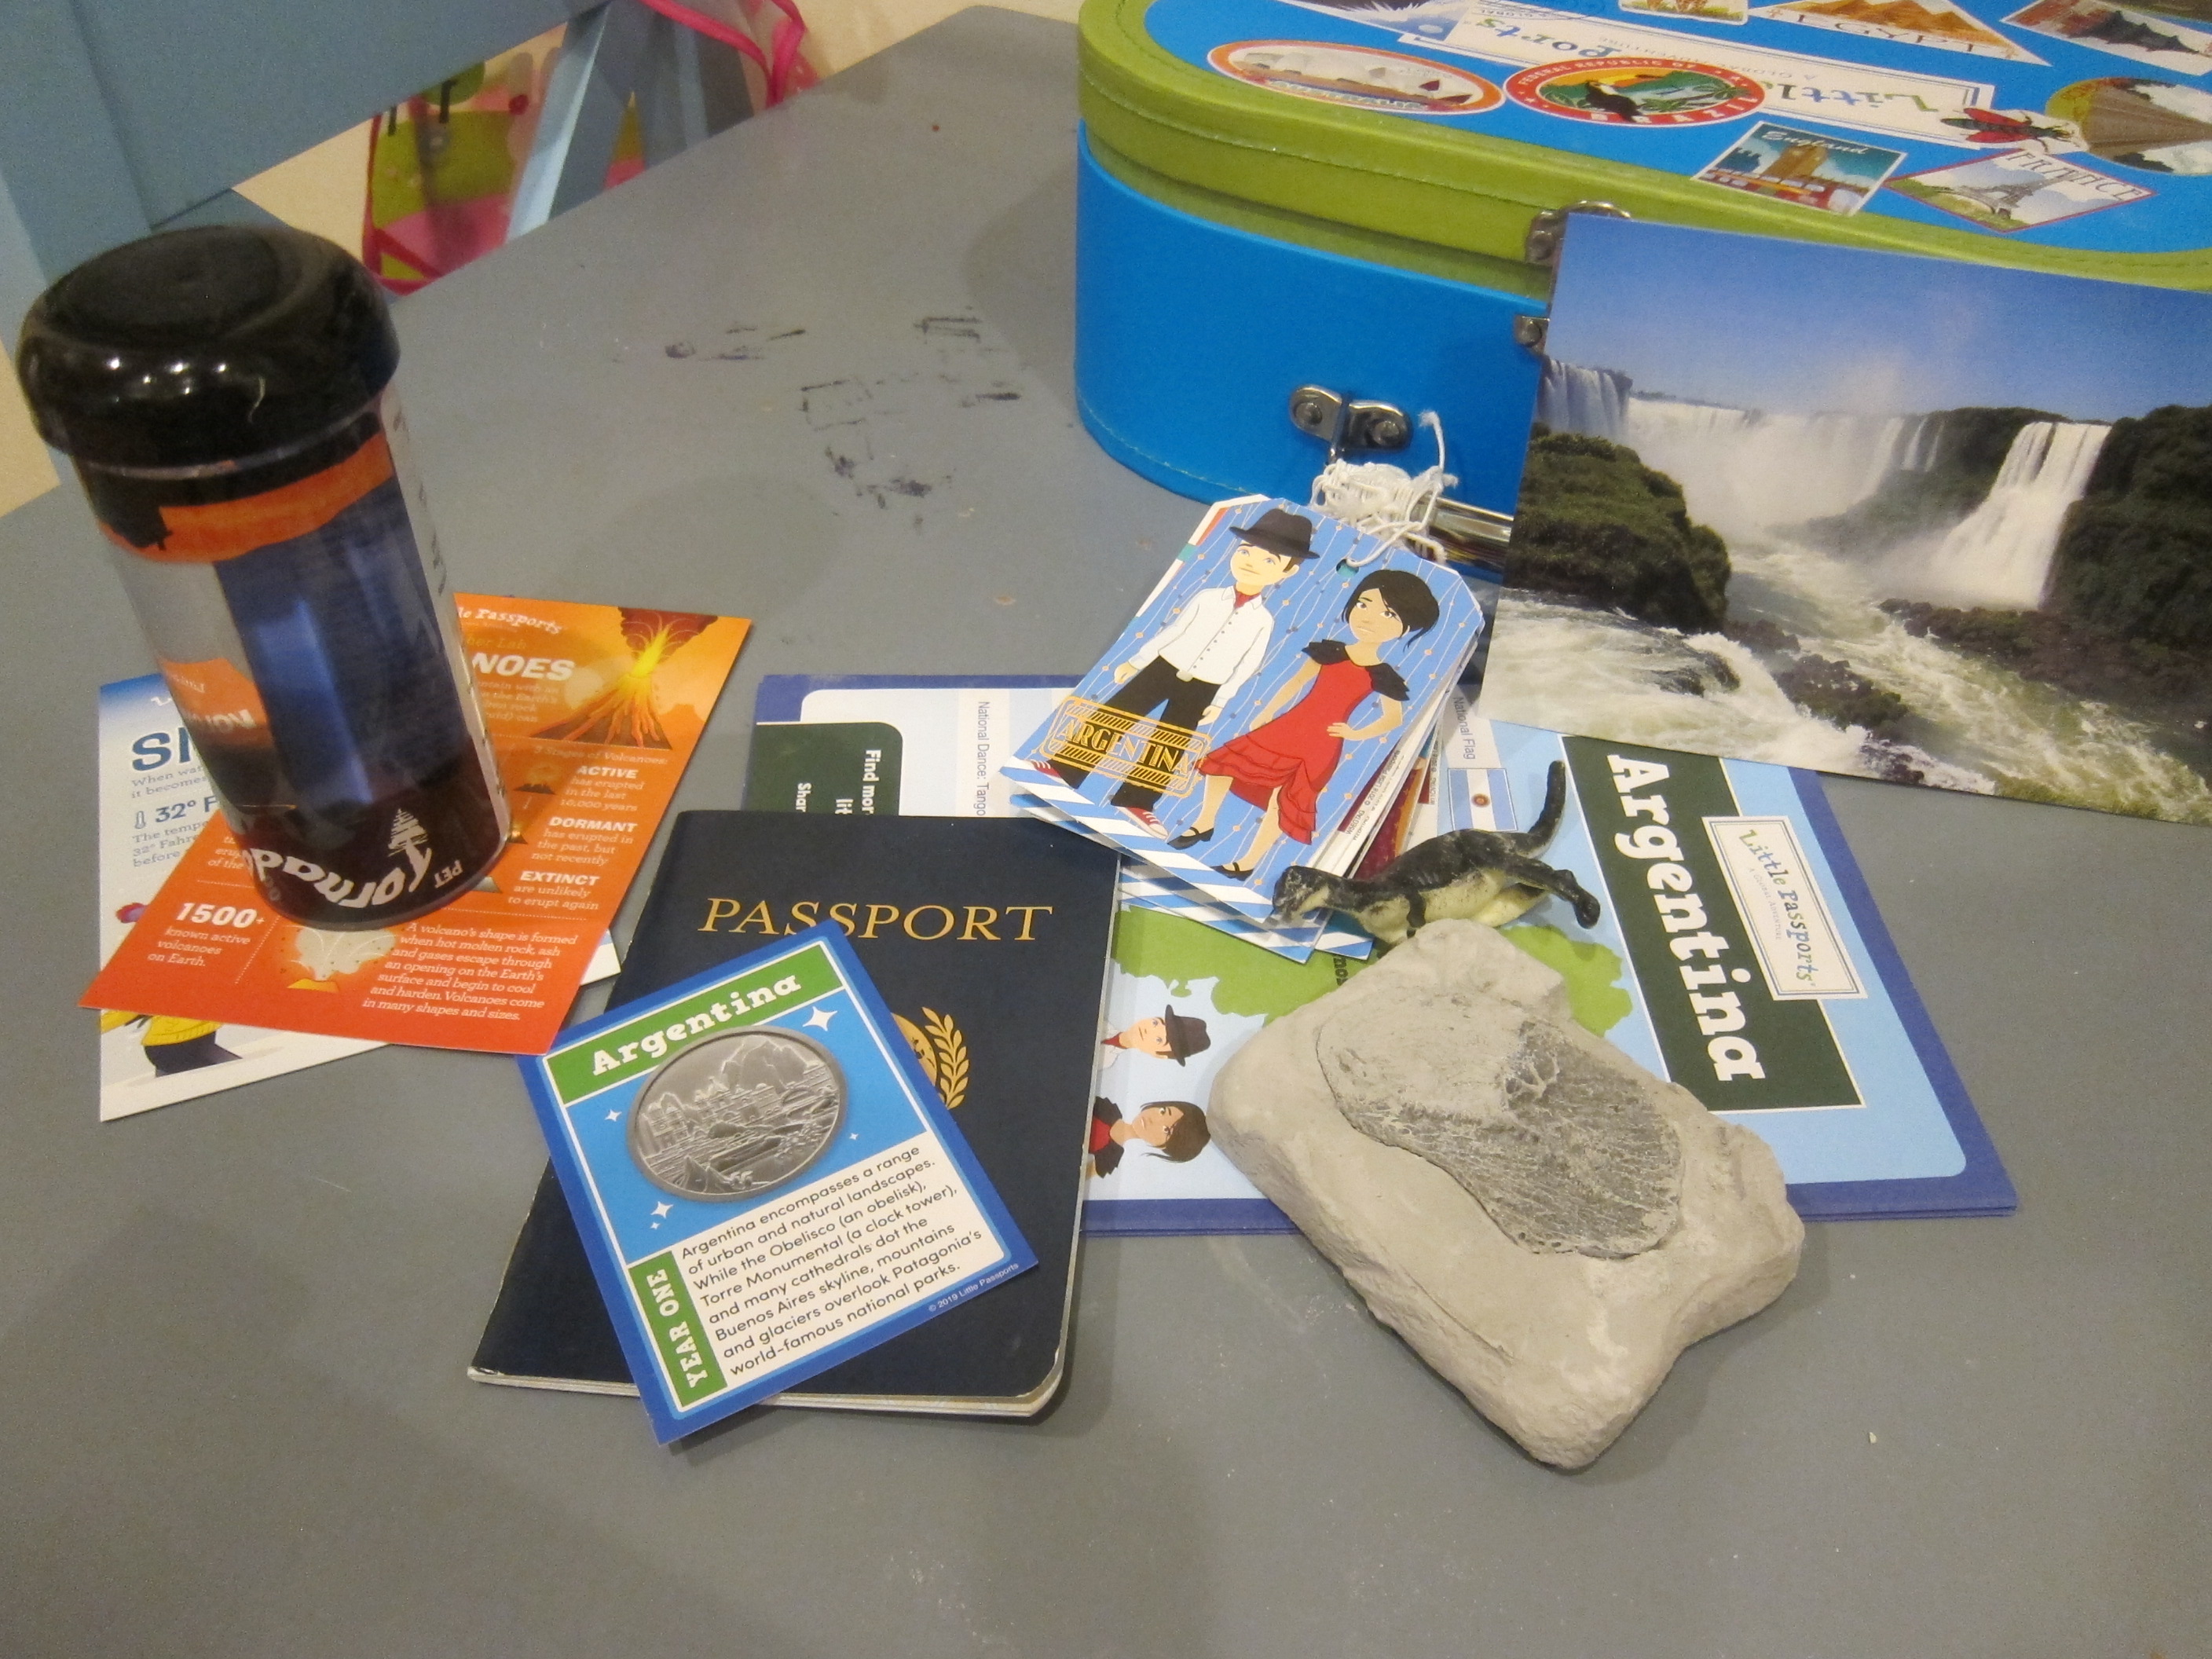
Travis quite enjoyed his Argentina package from Little Passports, particular how hands-on this particular country’s activities were.

LP Argentina (1)

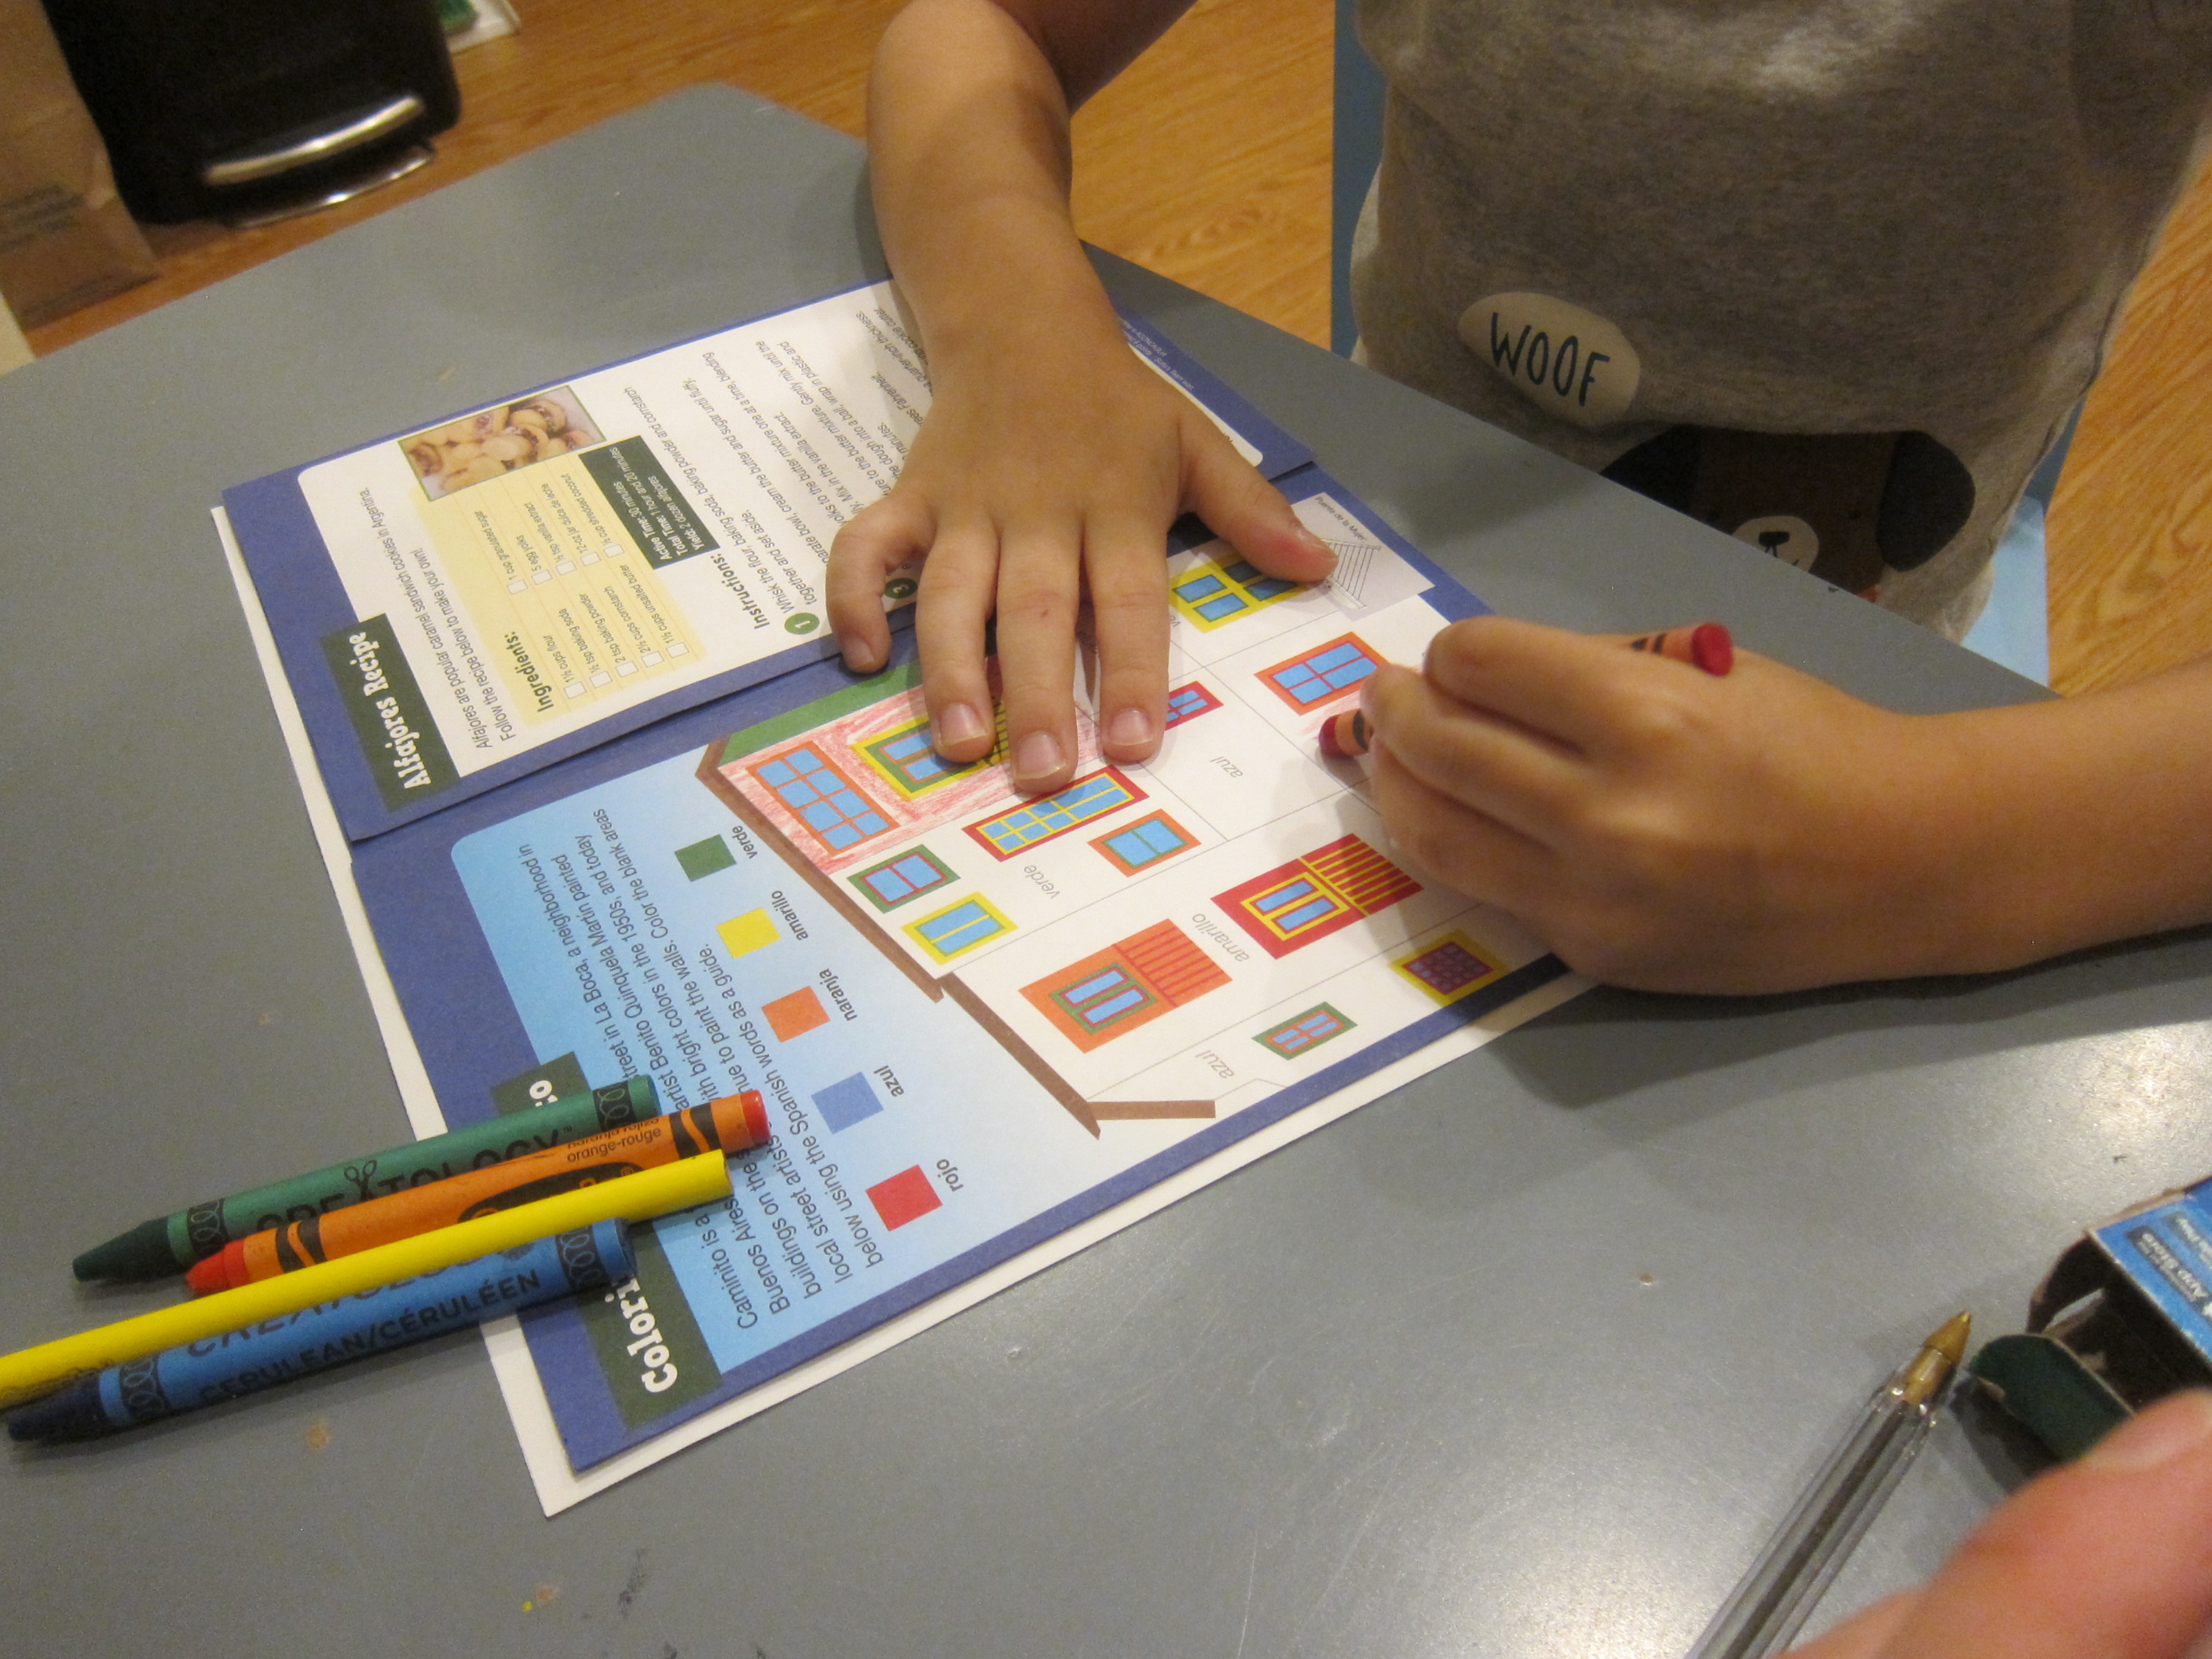
He dove right into the usual fare (a passport stamp, a sticker for his suitcase). The booklet had a few activities that were right at his grade level (learning colors in Spanish, a dot-to-dot) and some that were tricky to grasp as a first grader (adding team scores for Argentina’s national game of Pato).

LP Argentina (9)

Souvenir:

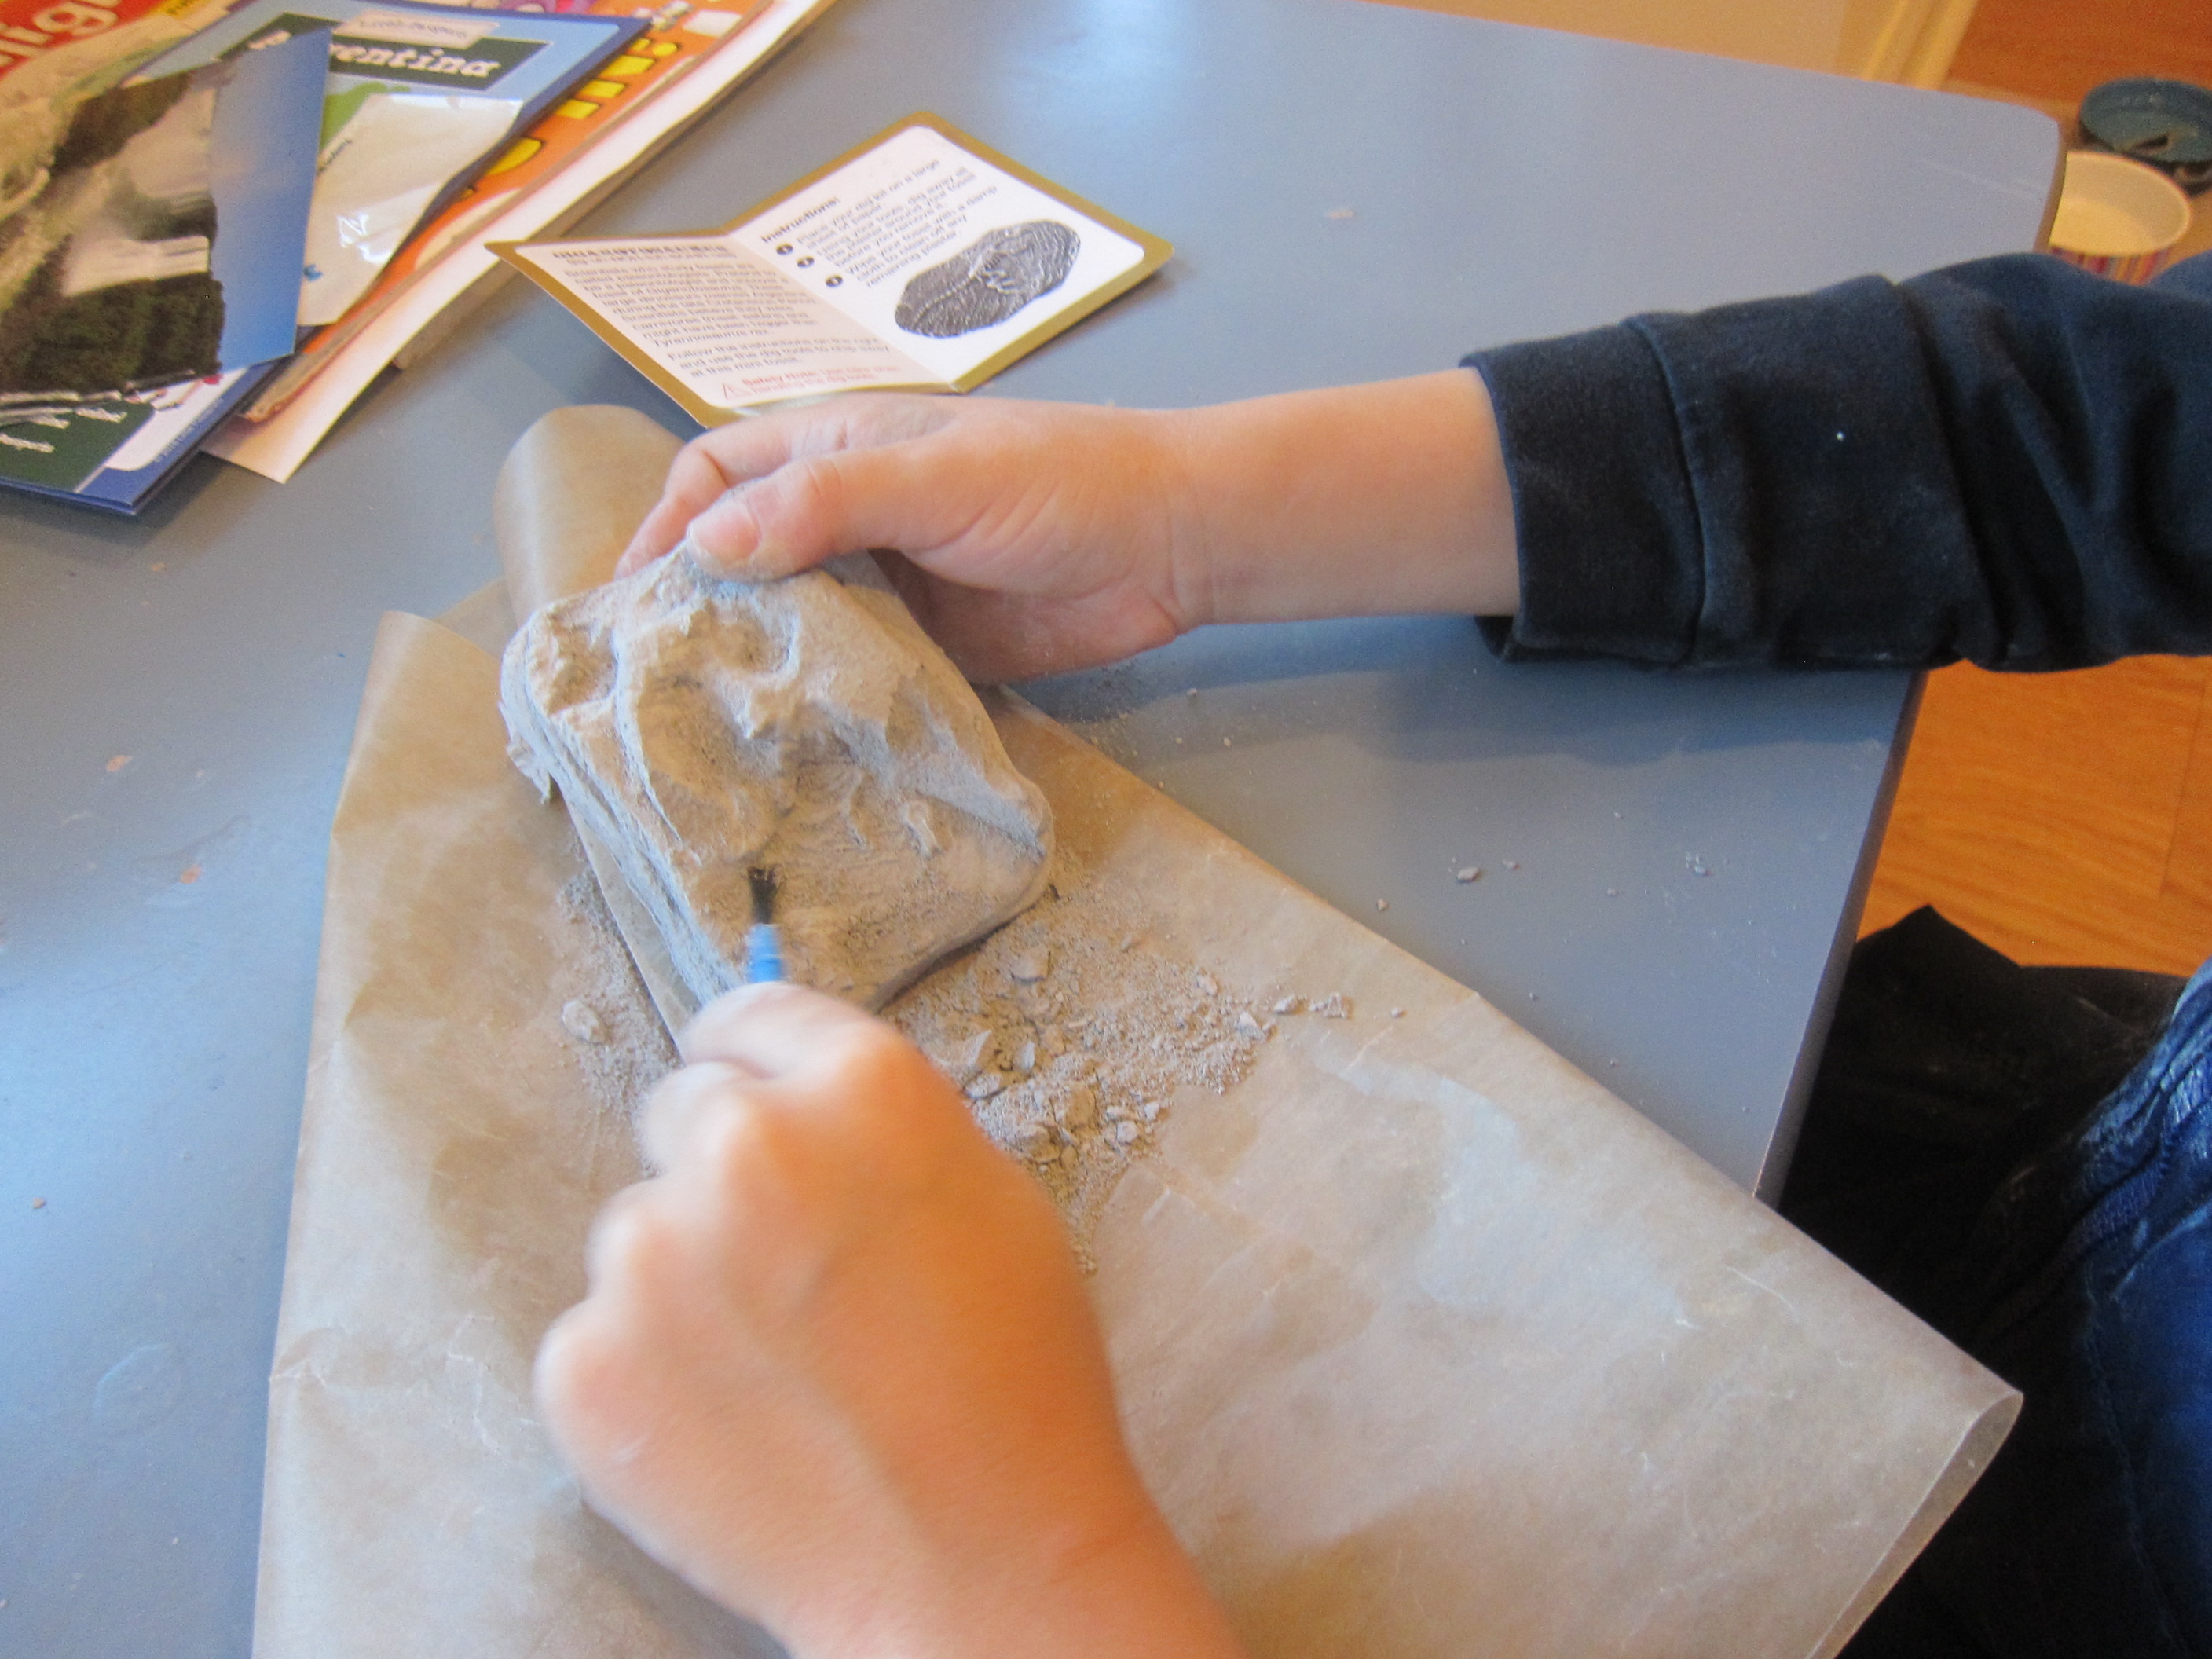
Travis always wants to know what “Sam and Sofia” have sent right away, and this one did not disappoint. After learning that some of the world’s largest dinosaurs have been found in Argentina, kids will have a little fossil kit to dig up their own Gigantosaurus.

LP Argentina (4)

Travis loved alternating between the pick and the brush until he had carefully unearthed the skeleton.

LP Argentina (3)

Further Activities:

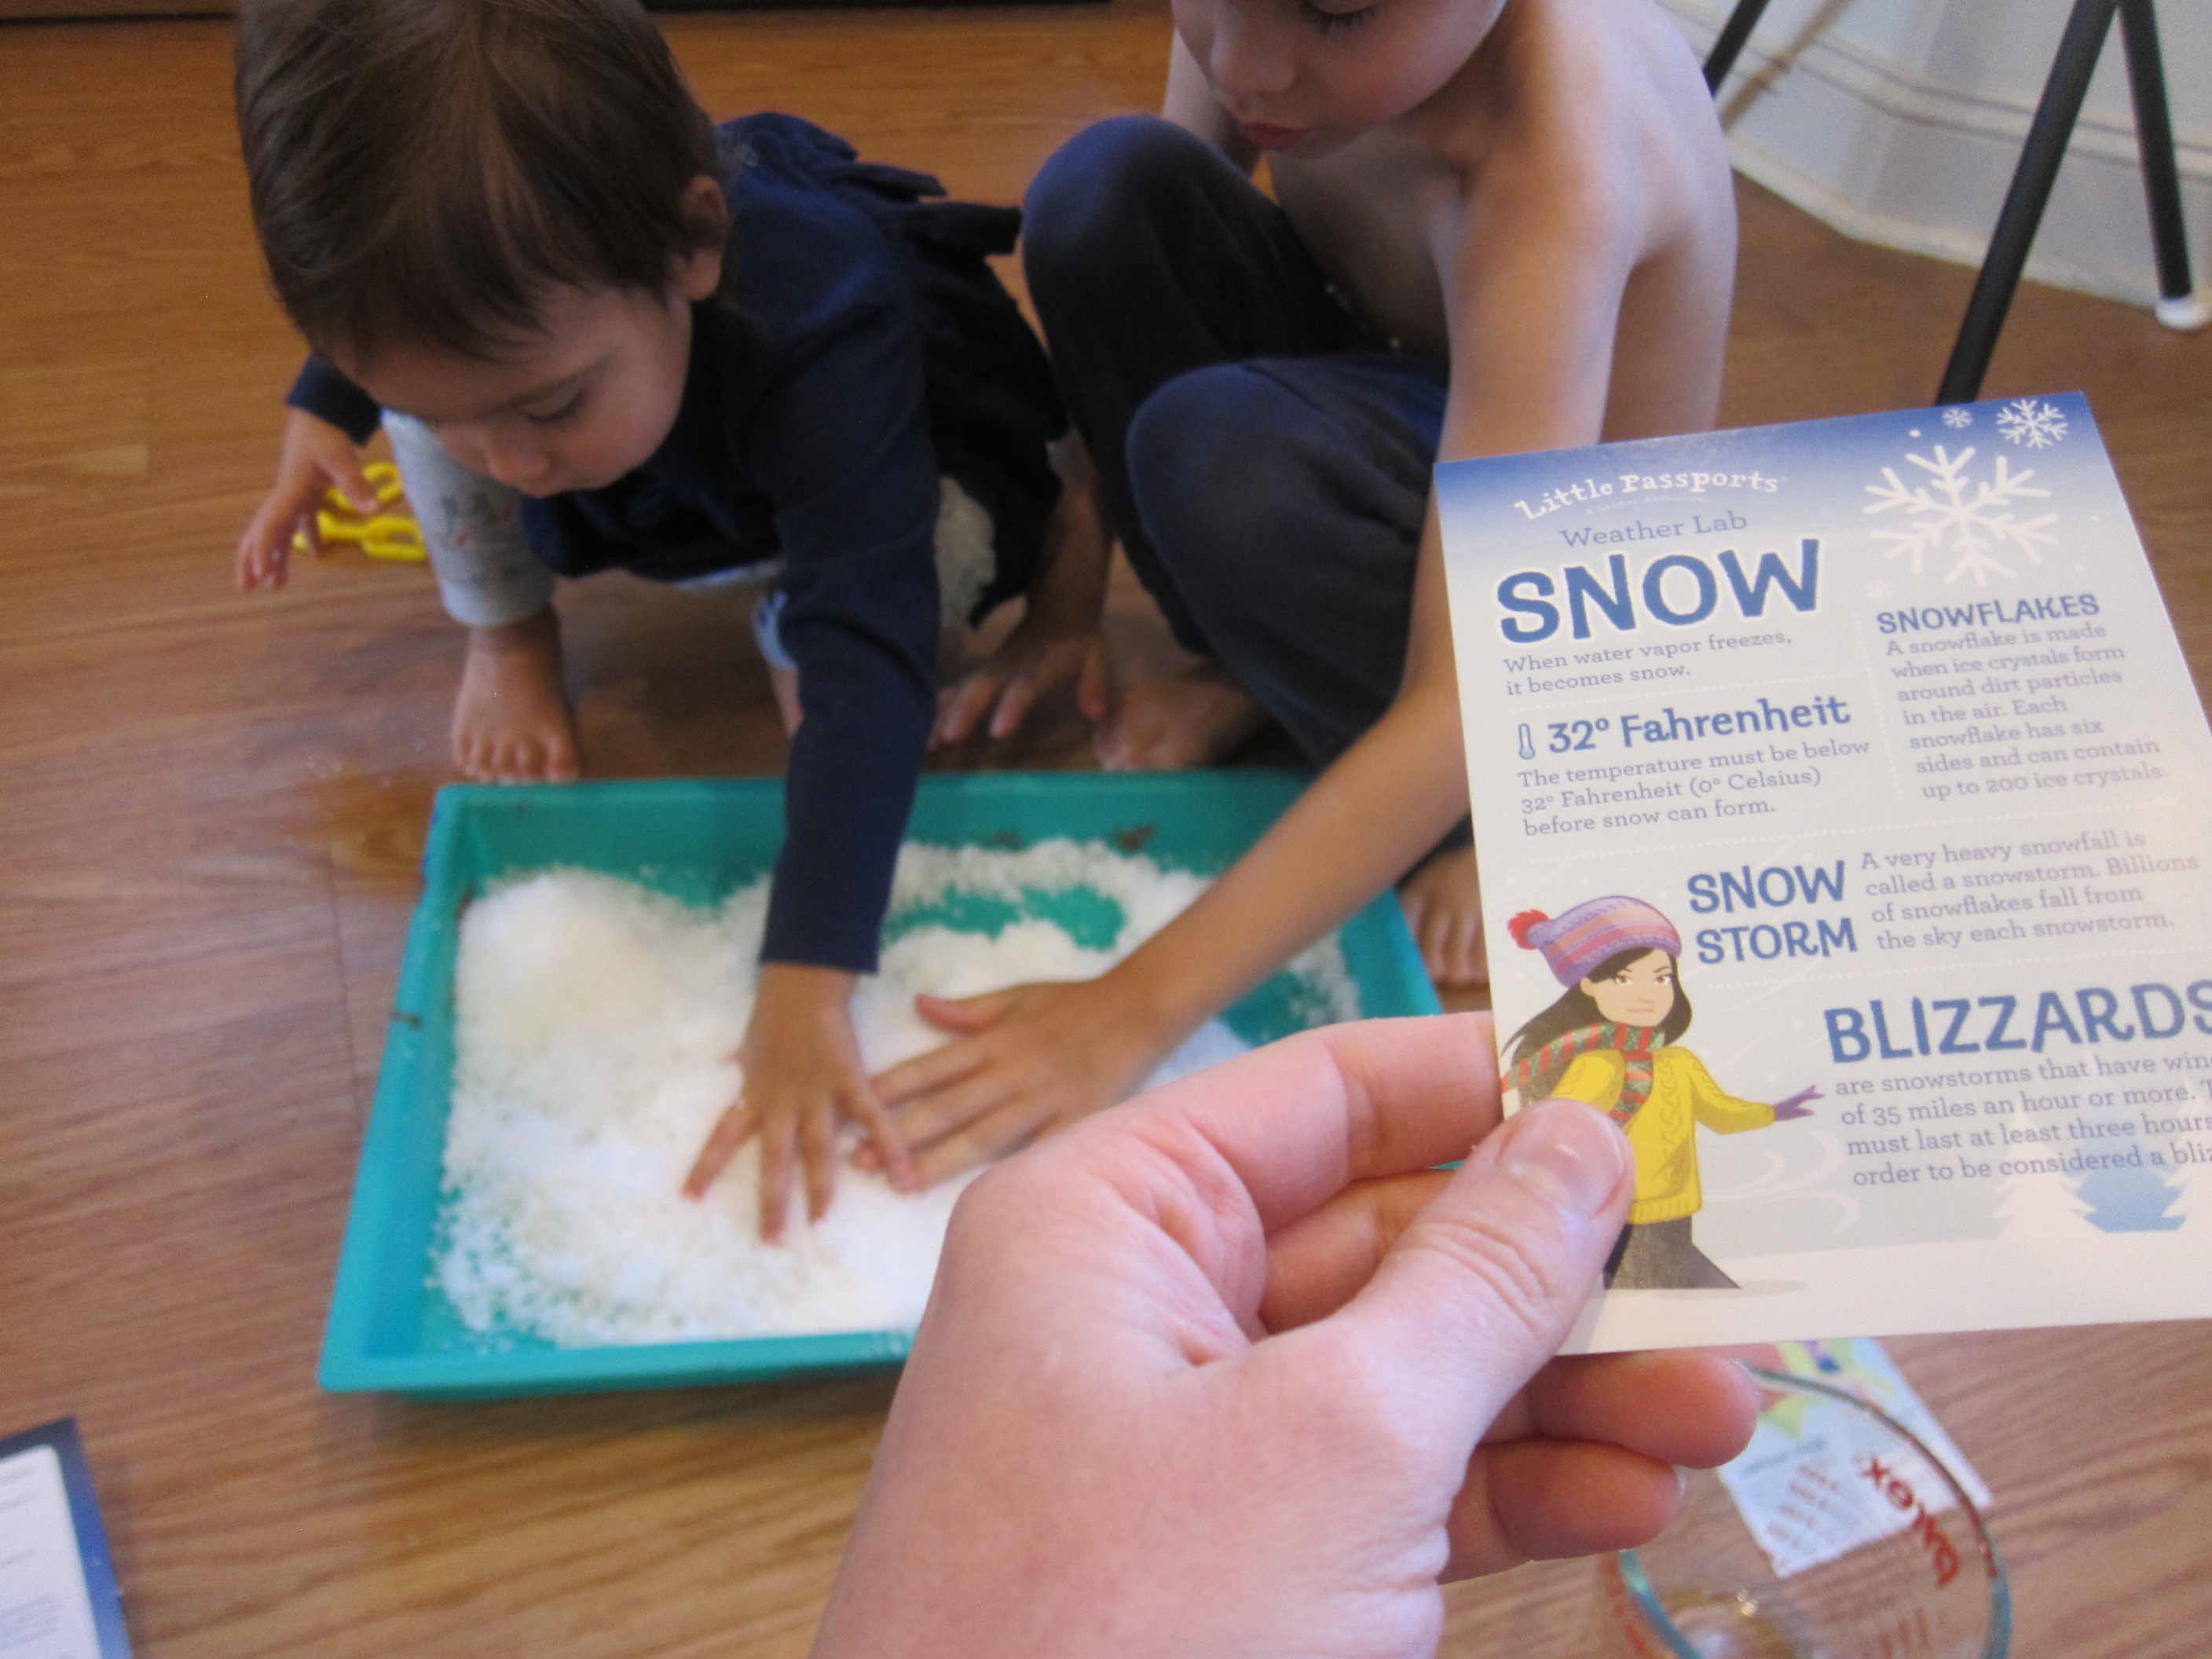
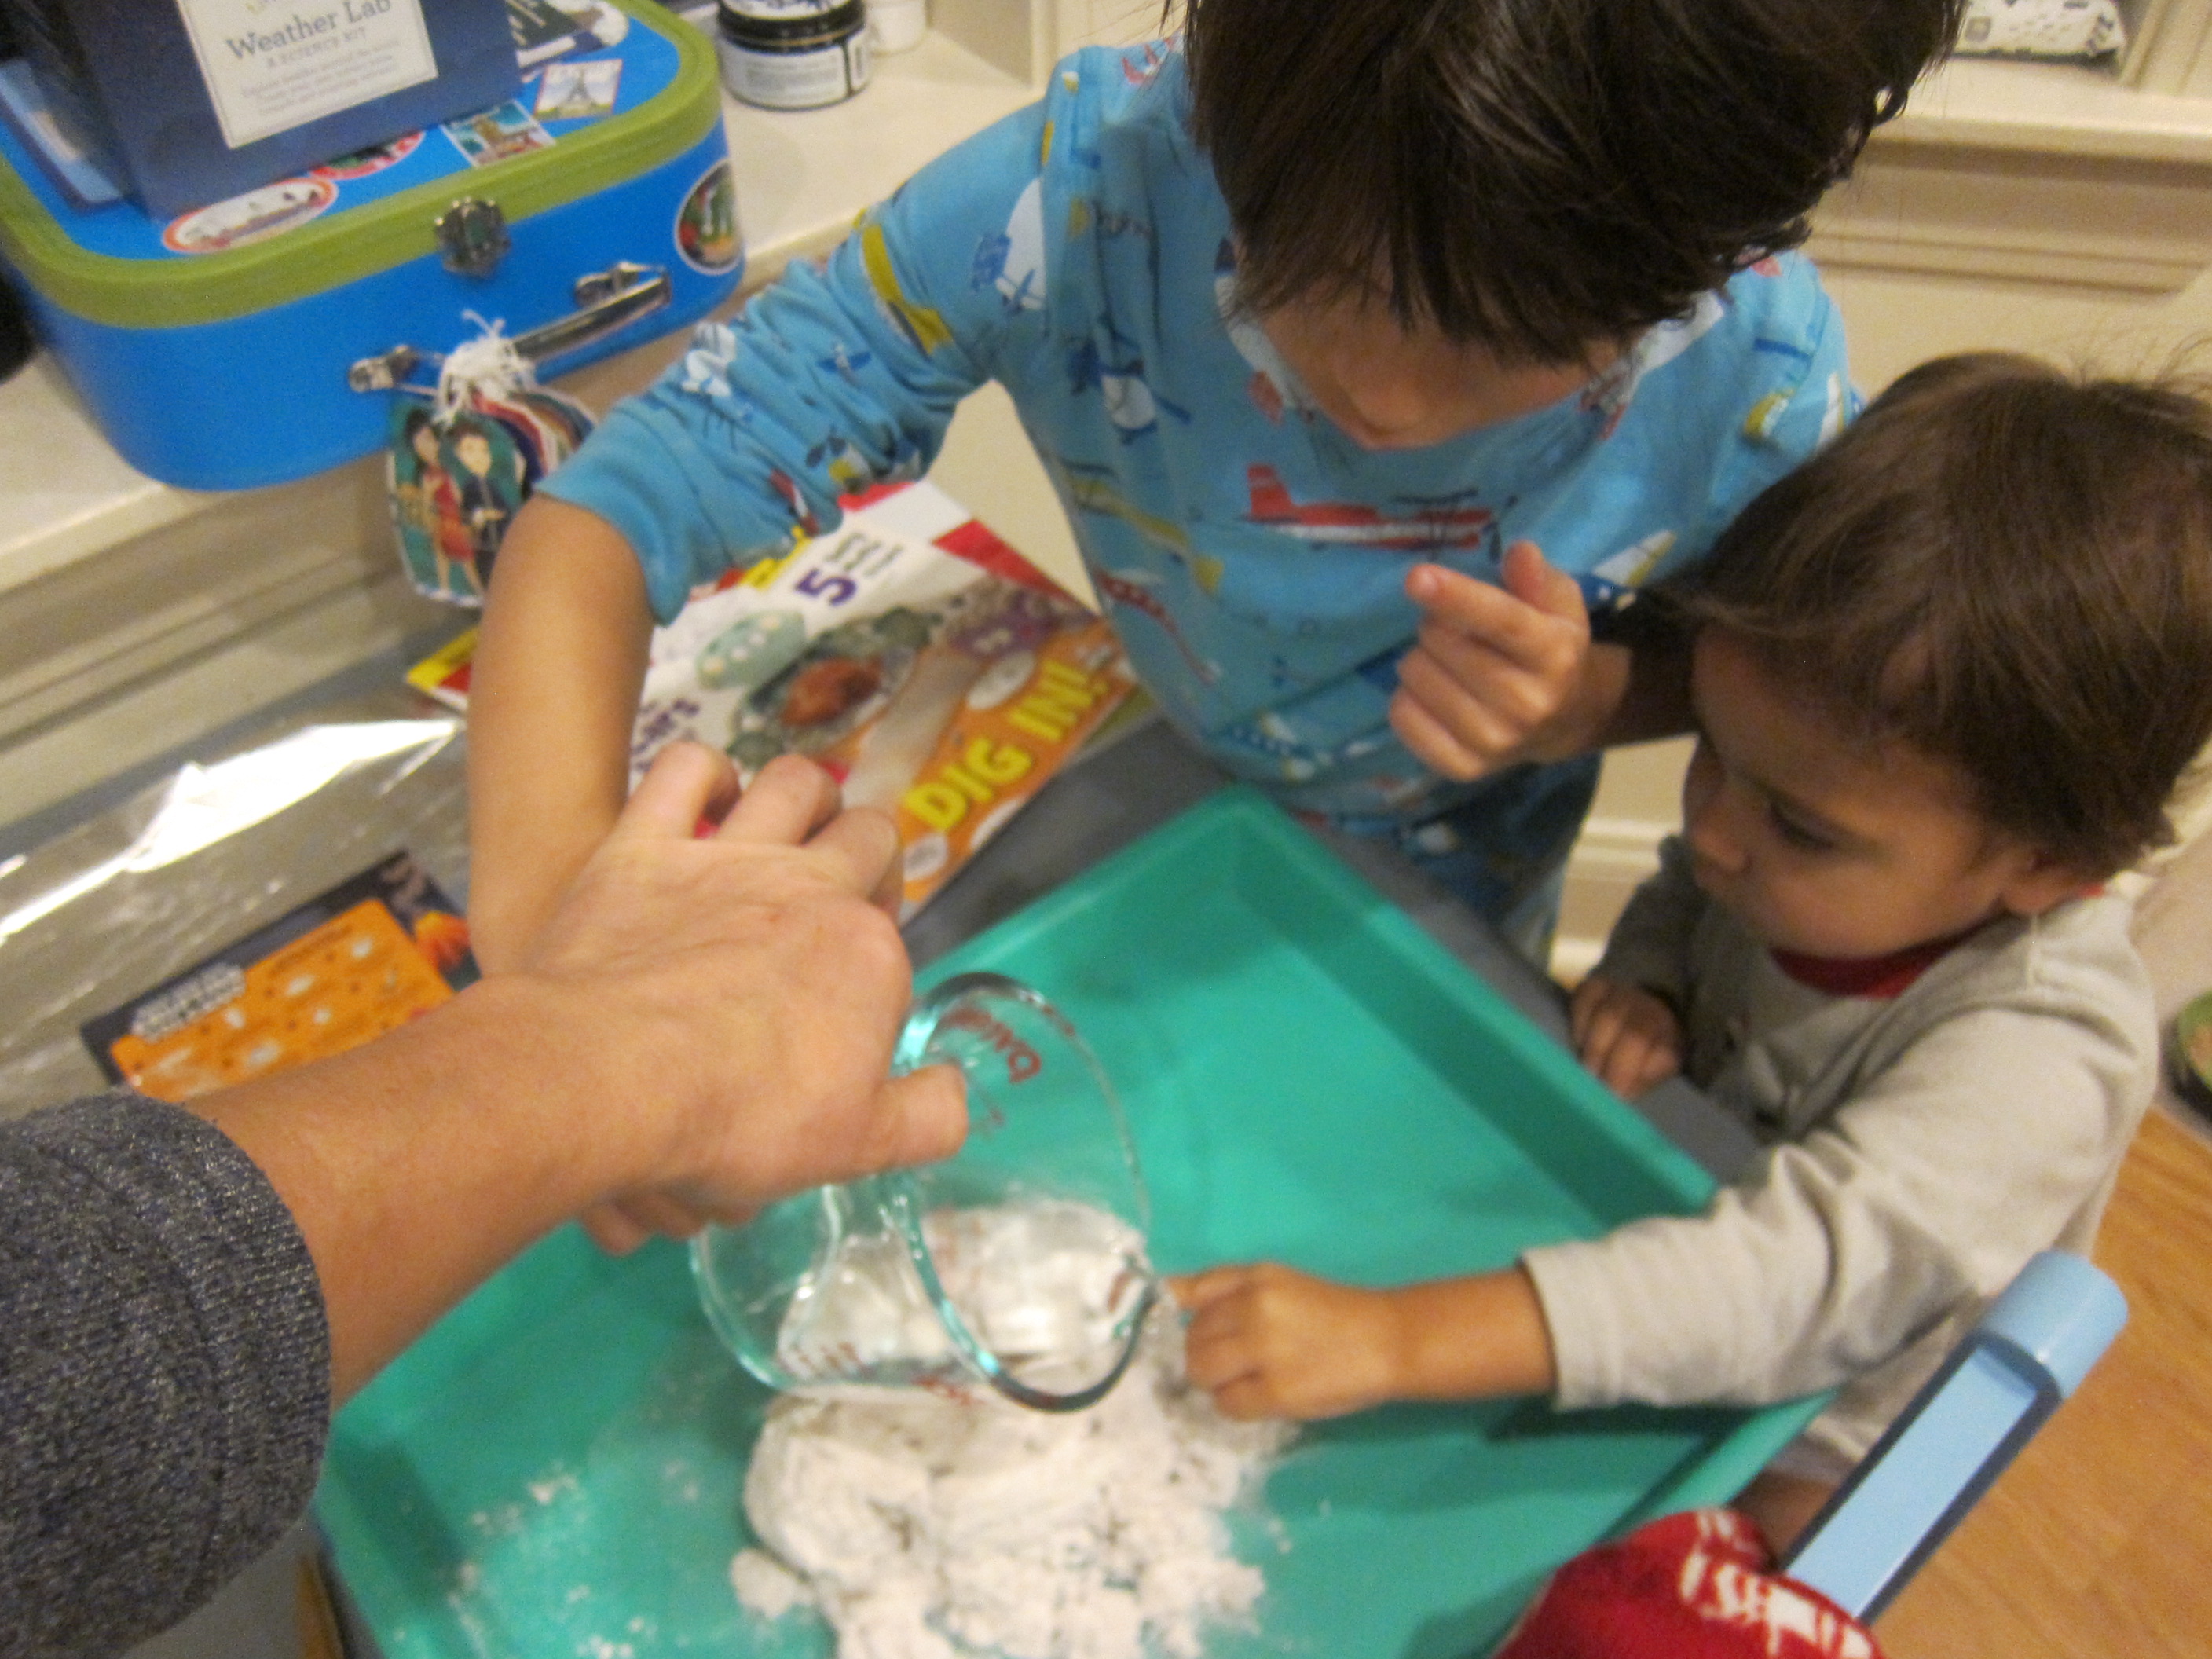
The optional add-on for Argentina was a Weather Lab kit, based on Argentina’s active Andean volcanoes and snowfall in Patagonia. We’re so glad we opted for it! First we made instant snow, which little sister Veronika loved playing with even more than Travis.

LP Argentina (6)

I read them facts about how ice crystals form as the kids played with the neat mixture. Next was a tornado jar which Travis could spin to watch a funnel cloud form.

LP Argentina (11)

But best of all were the provided materials to make a volcano. We mixed warm water into powdered clay (I was proud of Travis getting his hands in there!) and then shaped a little volcano around the provided plastic cups.

LP Argentina (7)

To be honest, this clay was hard to work with, but we got something vaguely resembling a volcano. Once it dried (which may take a few days), Travis painted it with the provided watercolors.

LP Argentina (12)

Time for an explosion! Fill that central plastic cup with 1 tablespoon baking soda. Add a few drops of red food coloring and liquid dish soap, then pour in 1/4 cup vinegar.

LP Argentina (15)

Whoa!

LP Argentina (17)

Online, the fun continued with an Argentine flag to color and a picture-search based on the prehistoric paintings in Cueva de las Manos. The latter was definitely aimed at older subscribers, requiring multiplication, but Travis still a learned a little something.

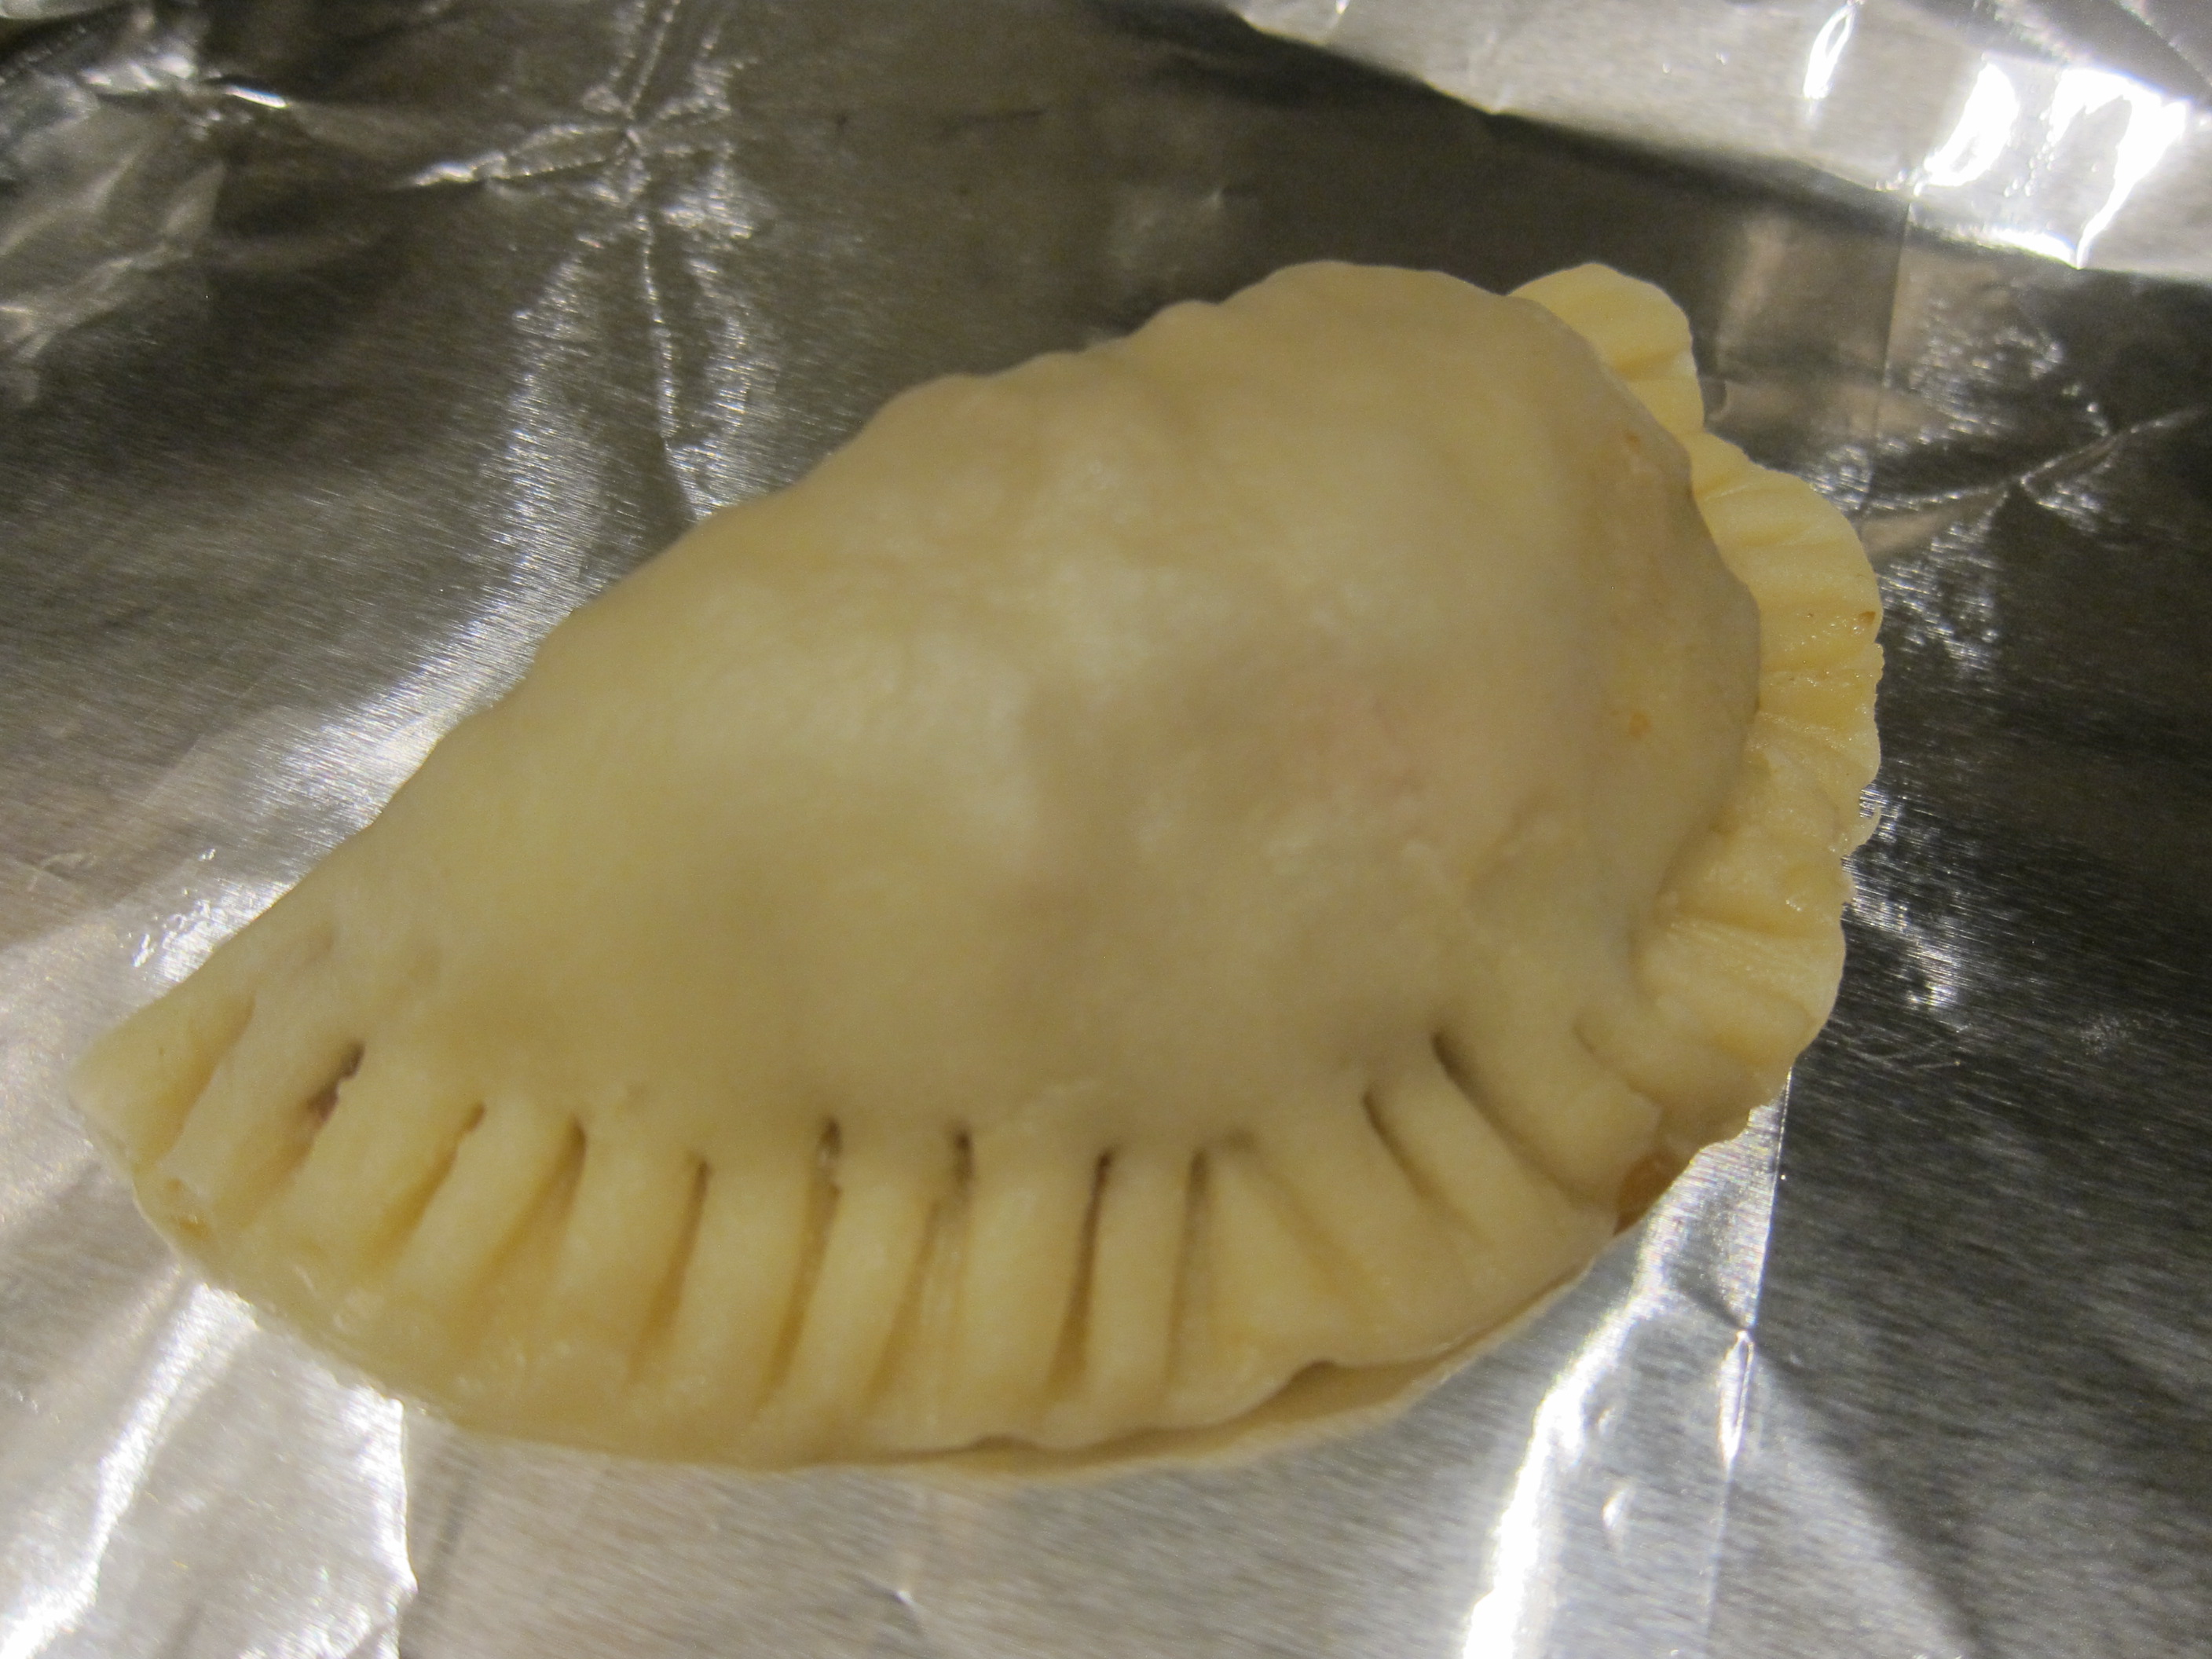
The final website activity was a bonus recipe for empanadas, yum!

LP Argentina (21)

Recipe:

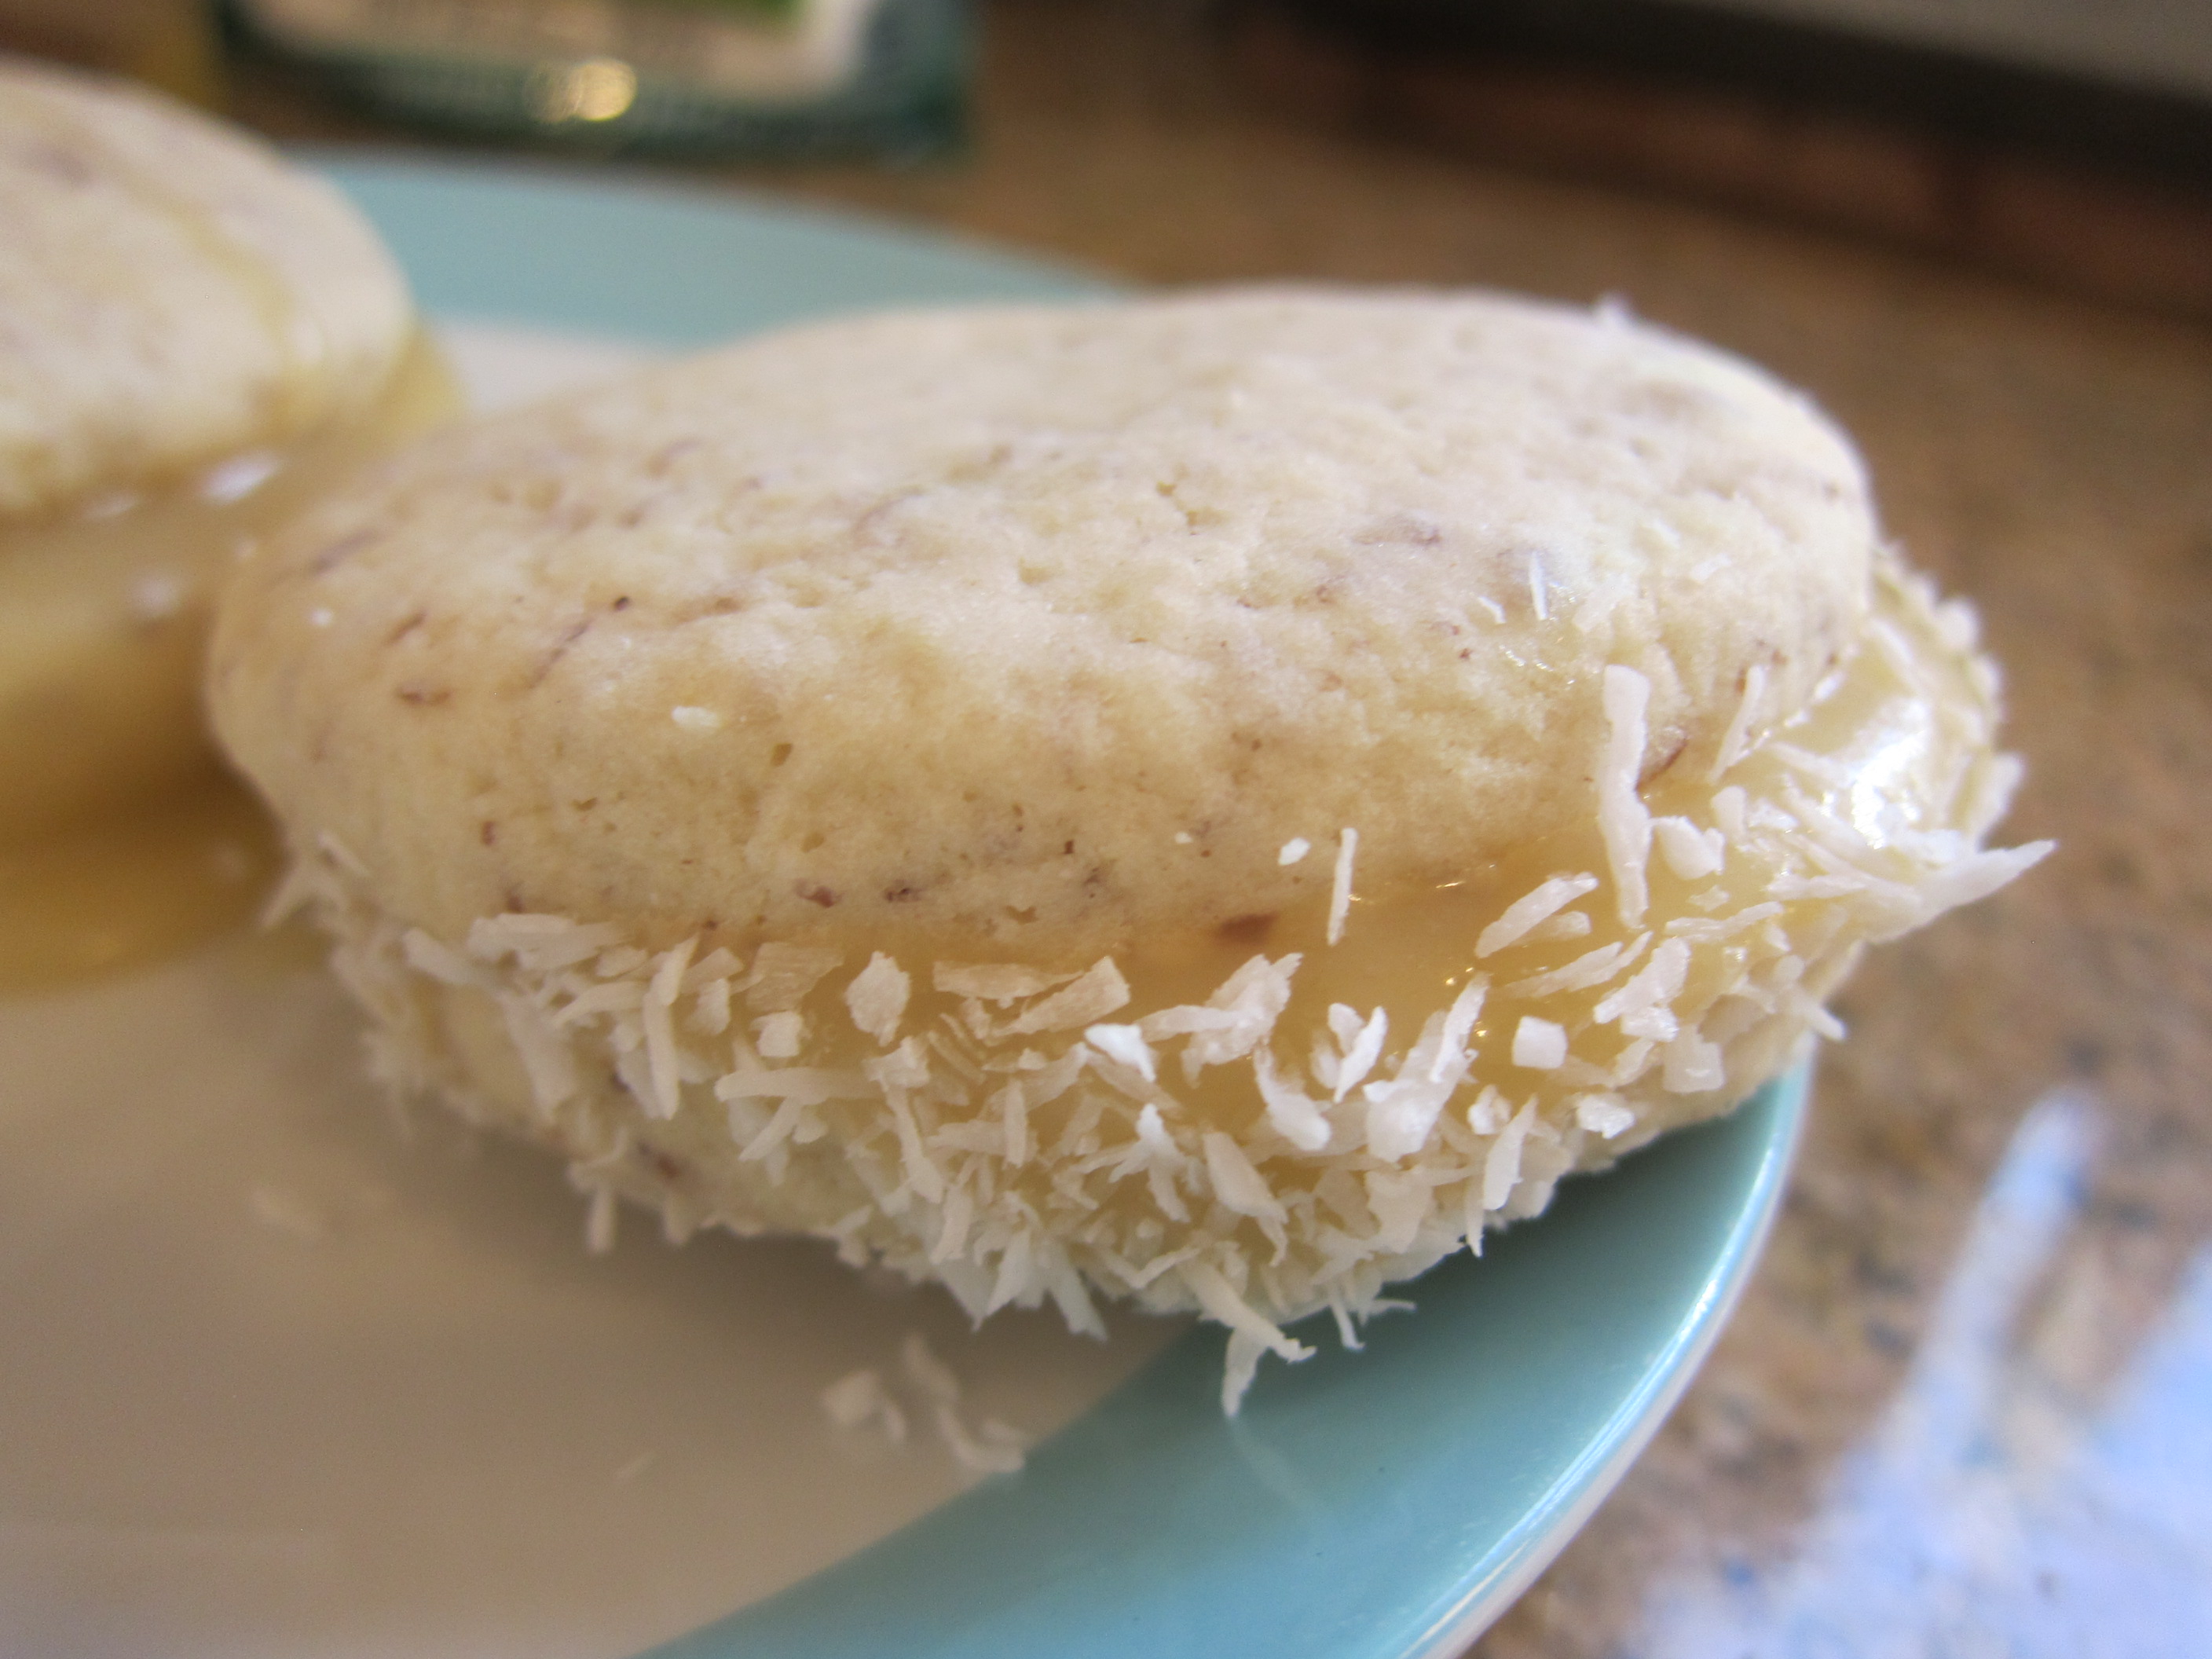
At last it was time for dessert. The dulce de leche-filled cookies called alfajores were tough to make vegan, but we did our best.

Alfajores (2)

Ingredients:

  • 1 and 1/2 cups flour
  • 1/2 teaspoon baking soda
  • 2 teaspoons baking powder
  • 2 and 1/2 cups cornstarch
  • 1 and 1/2 cups Earth Balance butter, softened
  • 1 cup sugar
  • 3 tablespoon ground flaxseed
  • 8 tablespoons warm water
  • 1/2 teaspoon vanilla extract
  • 1 (14-ounce) can sweetened condensed coconut milk
  • Shredded coconut
  1. To prepare the dough, combine the flour, baking soda, baking powder, and cornstarch in a bowl ;set aside.
  2. In the bowl of a stand mixer, beat the butter and sugar until combined. Whisk the flaxseed into the warm water to make vegan egg yolks. Add to the butter mixture, along with the vanilla and beat until combined.
  3. Stir  the dry ingredients into the wet ingredients to form a soft dough. Wrap the dough in plastic wrap and refrigerate for 30 minutes.
  4. Roll the dough to about 1/4-inch thick and use a 2-inch round cookie cutter to make circles. Bake at 350 degrees F for 10 minutes; transfer to a wire rack to cool.
  5. Once cool, spread half of the cookies with a little of the sweetened coconut milk and top with the remaining cookies. Roll the edges in shredded coconut before serving.

Alfajores (5)

Little Passports: Australia

LP Australia (29)

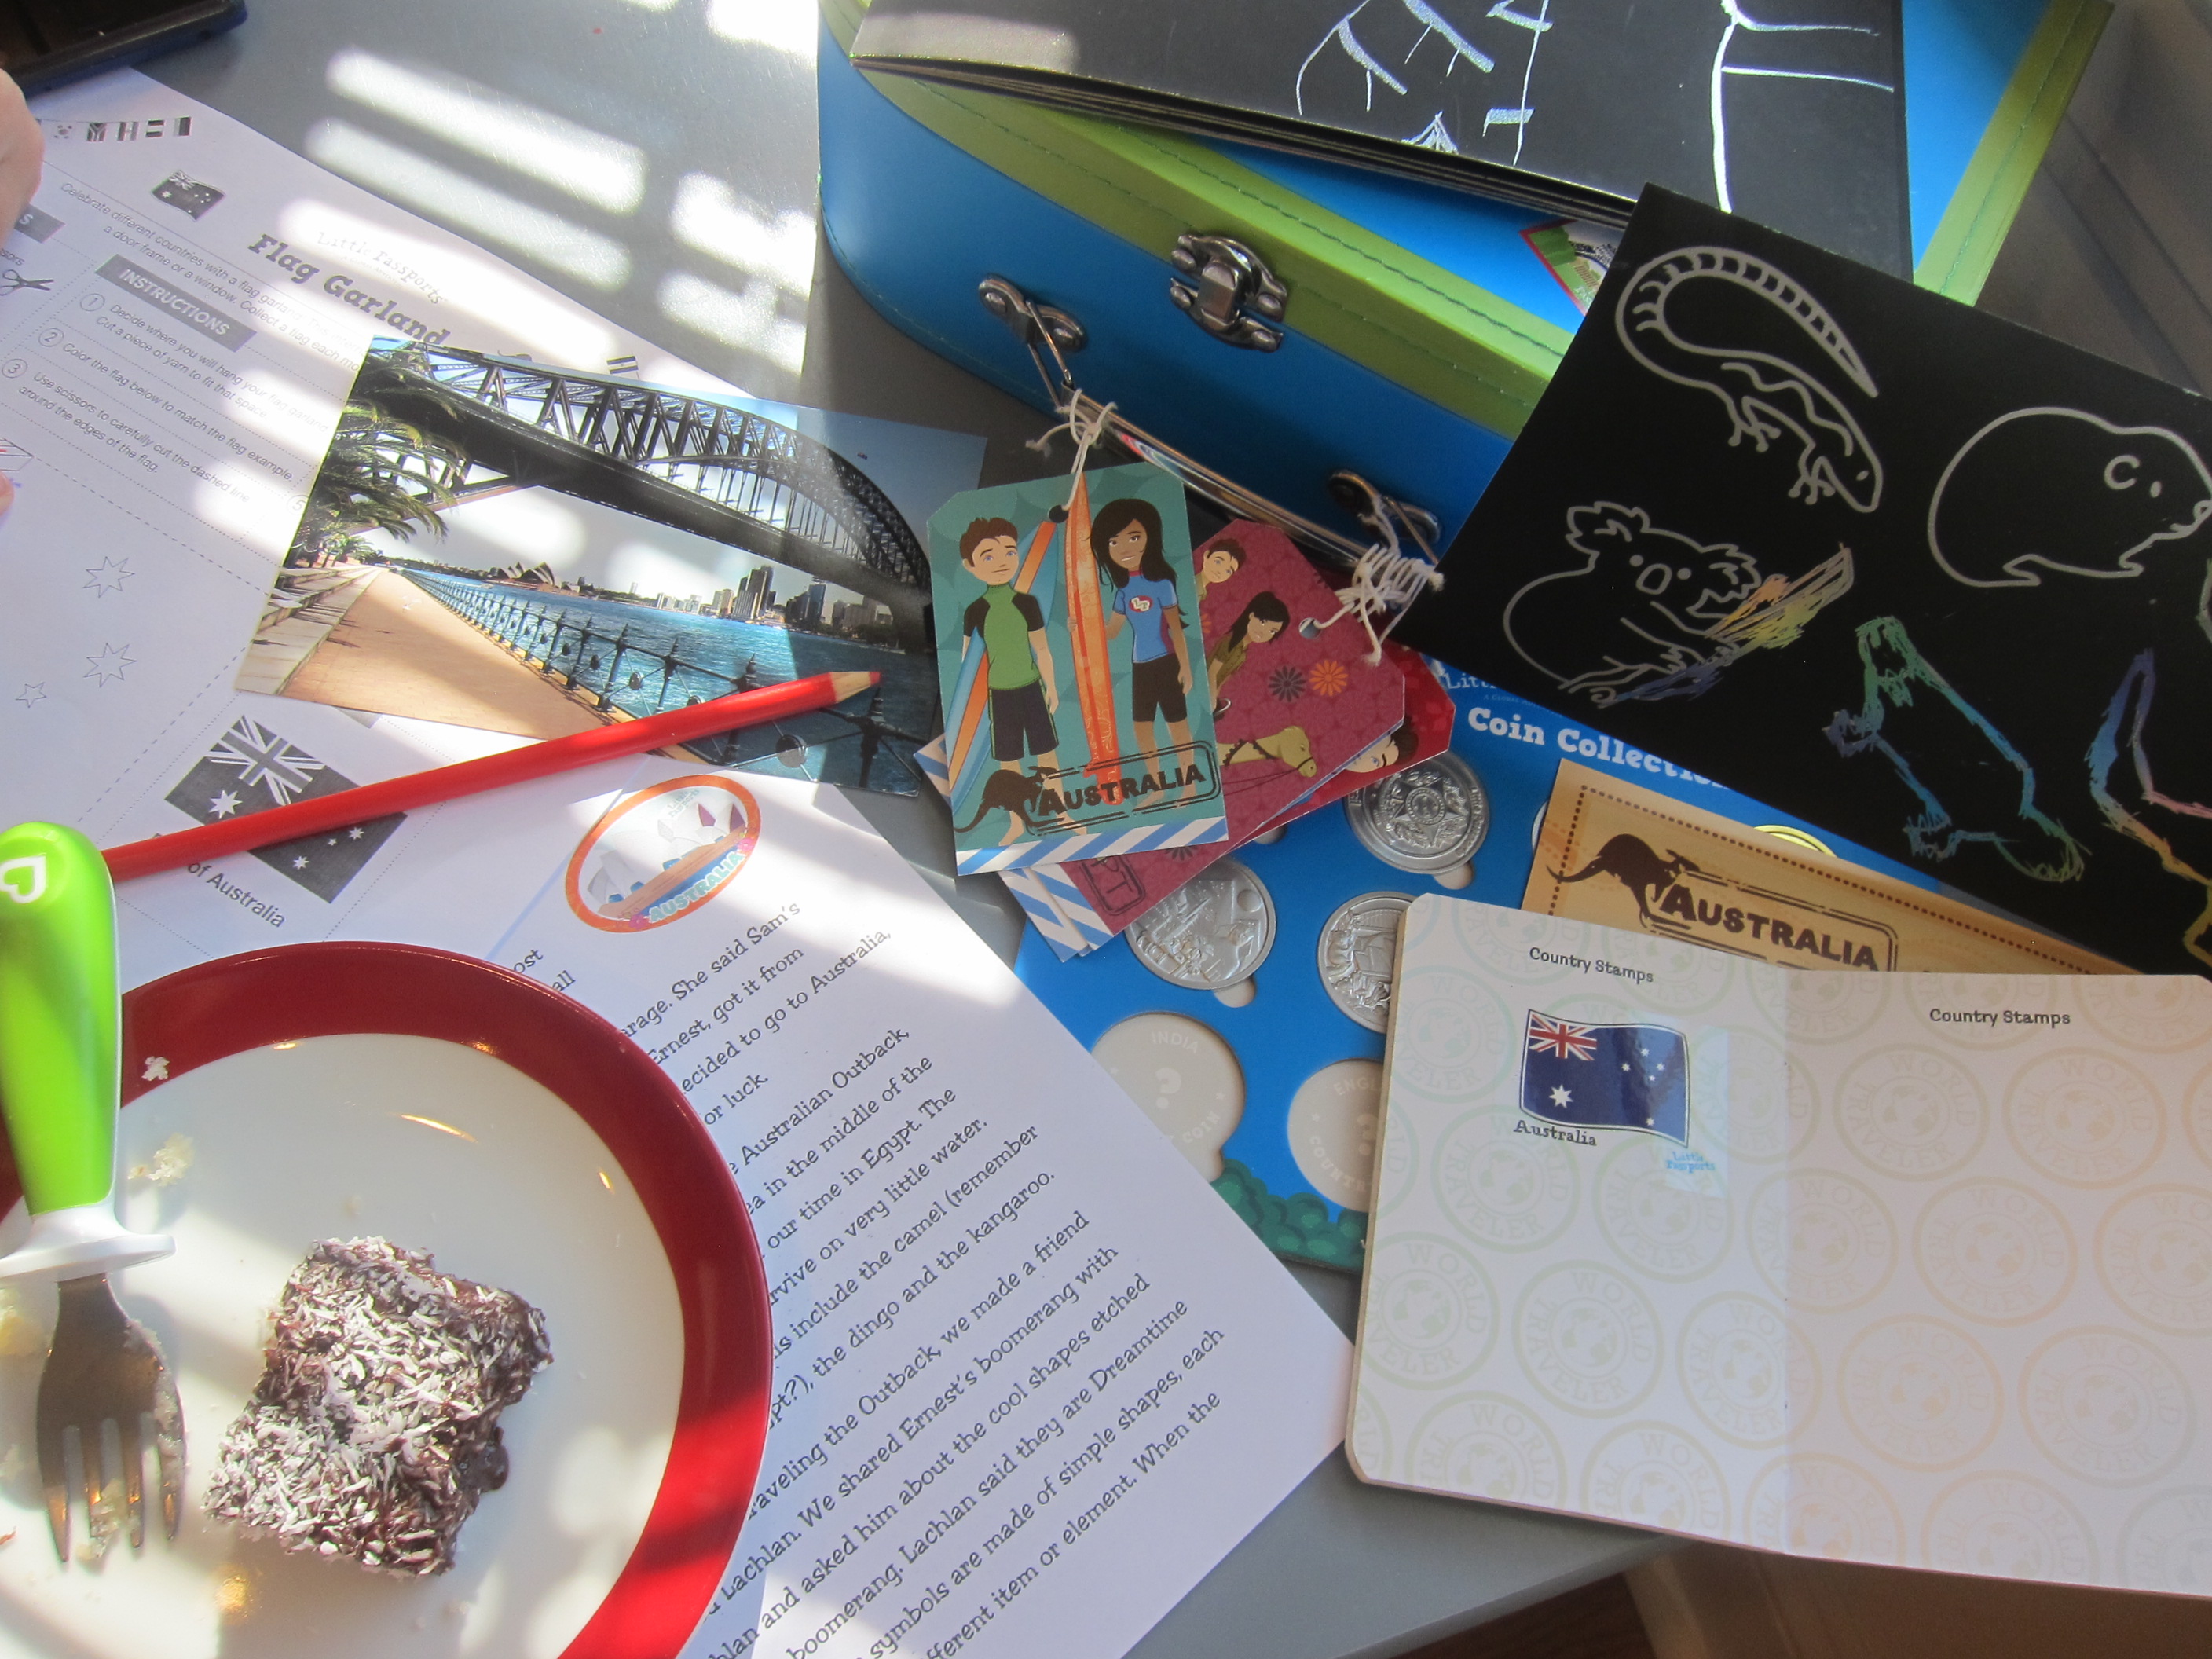
Strangely, I feel as though Travis’s packages from Little Passports are arriving closer together than one month apart… but during home school, we’re not complaining! Travis couldn’t wait to read “Sam and Sofia’s” letter and do all the usual activities: a sticker for his passport, a pin on his map, a coin for his chart, and a tag on his suitcase.

LP Australia (2)

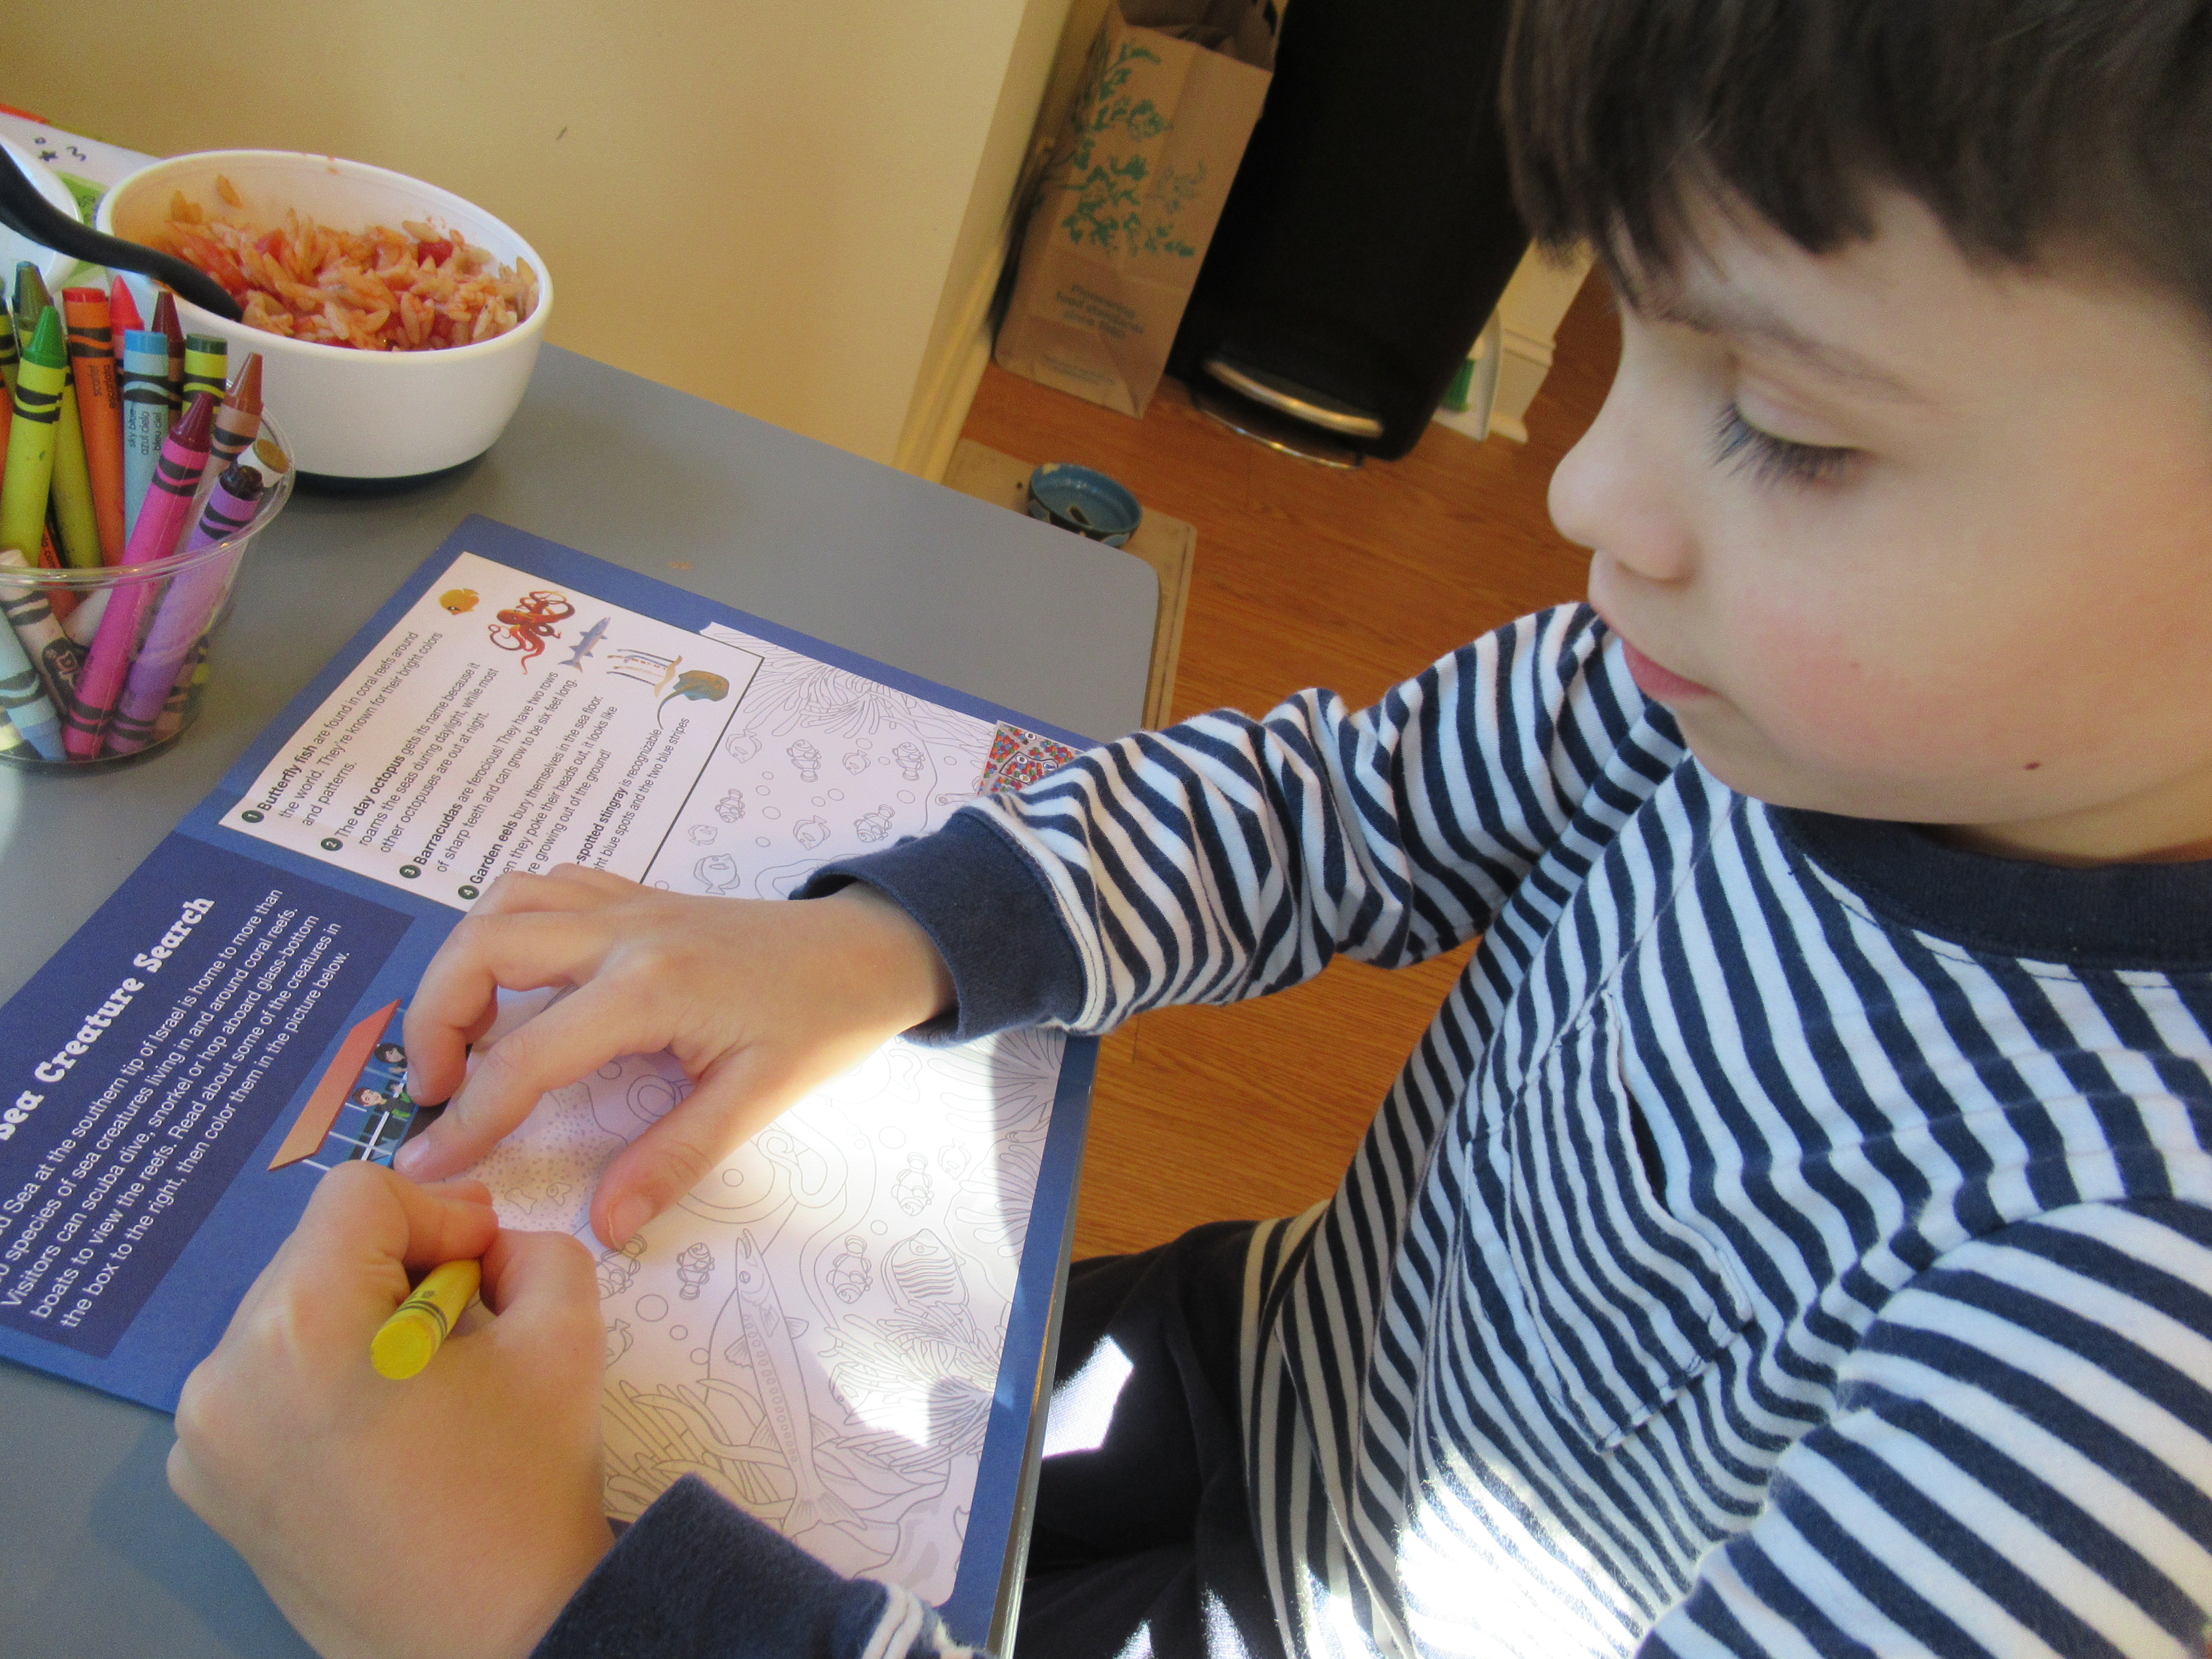
The booklet had a fun coloring activity about a coral reef, color-coded in such a way that my kindergartner could easily follow along.

LP Australia (3)

The word find, on the other hand, was tough even for this mama! Online featured great extras; Travis particularly enjoyed the photos and clips of Australian music. Australian phrases like “rug up” and “ankle biter” got quite a laugh.

Souvenir:

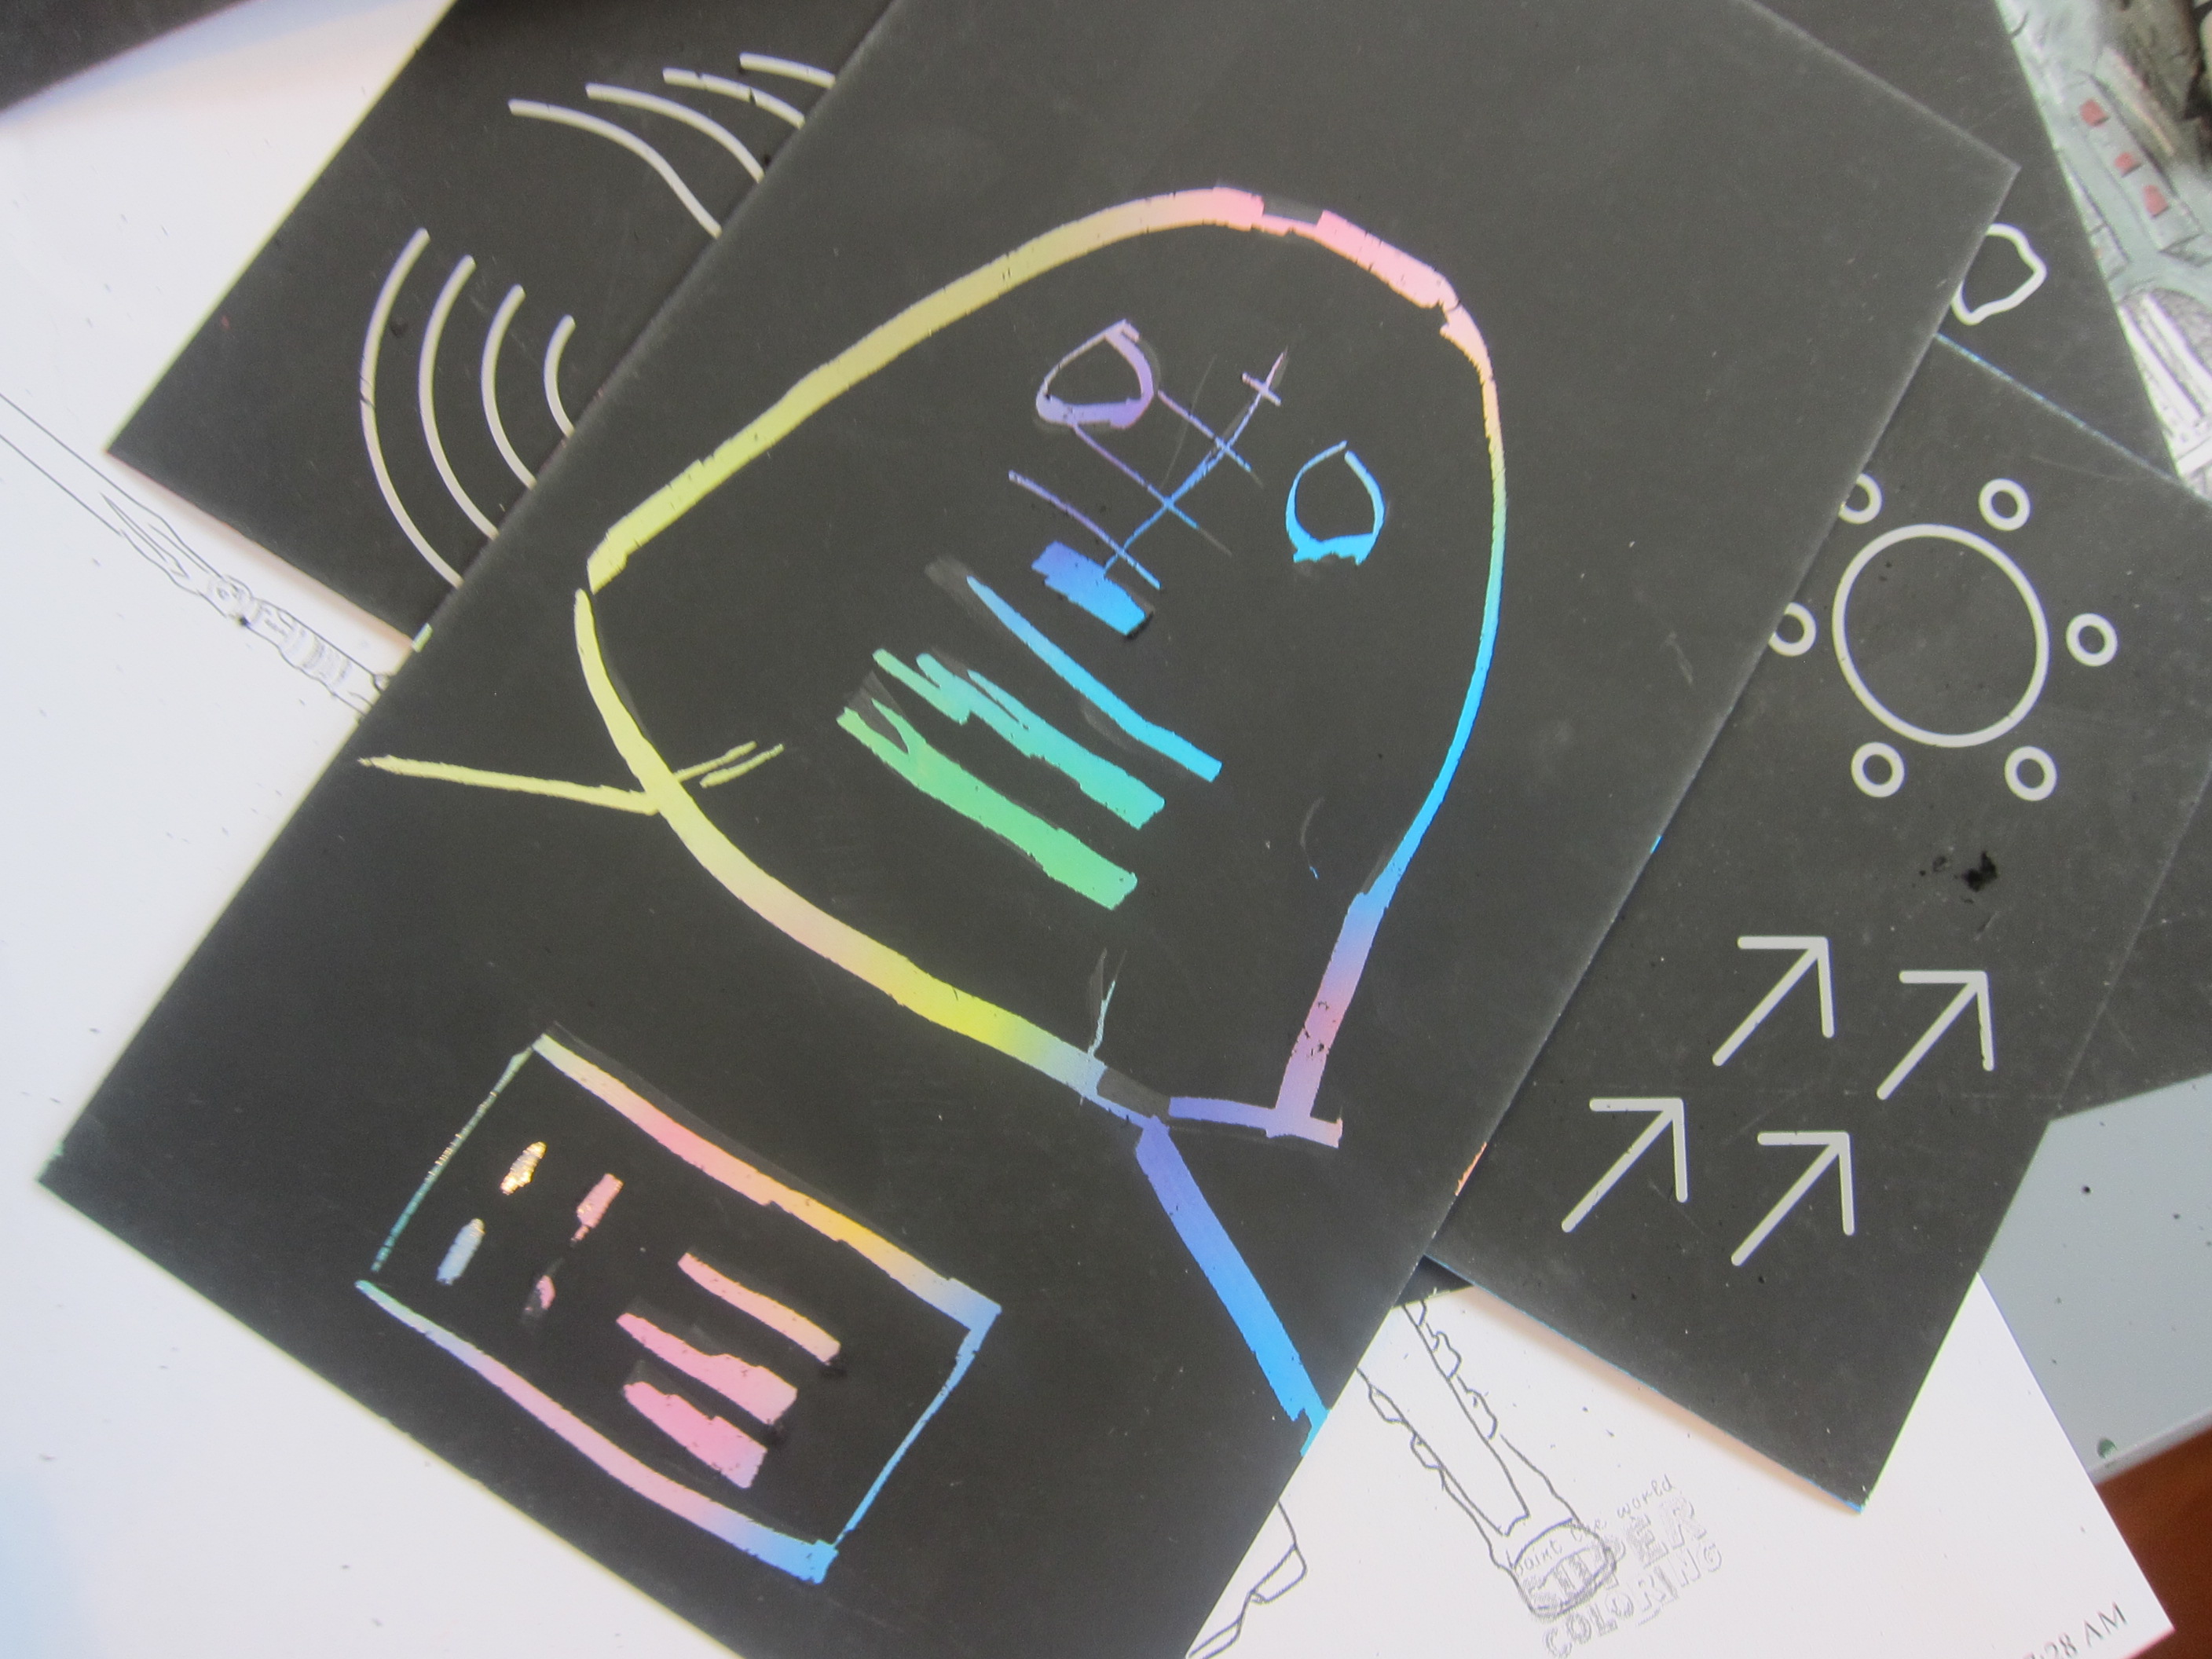
No sooner was the envelope open than Travis was testing out the scratch art kit. The idea is to introduce kids to Aboriginal dreamtime symbols, and Travis loved the rainbow colors that appeared.

LP Australia (1)

He learned a few symbols (“I get it, because a kangaroo jumps up!” he noted, spotting that one), and then designed his own, which had us veering off in a Star Wars direction.
LP Australia (10)

Further Activities:

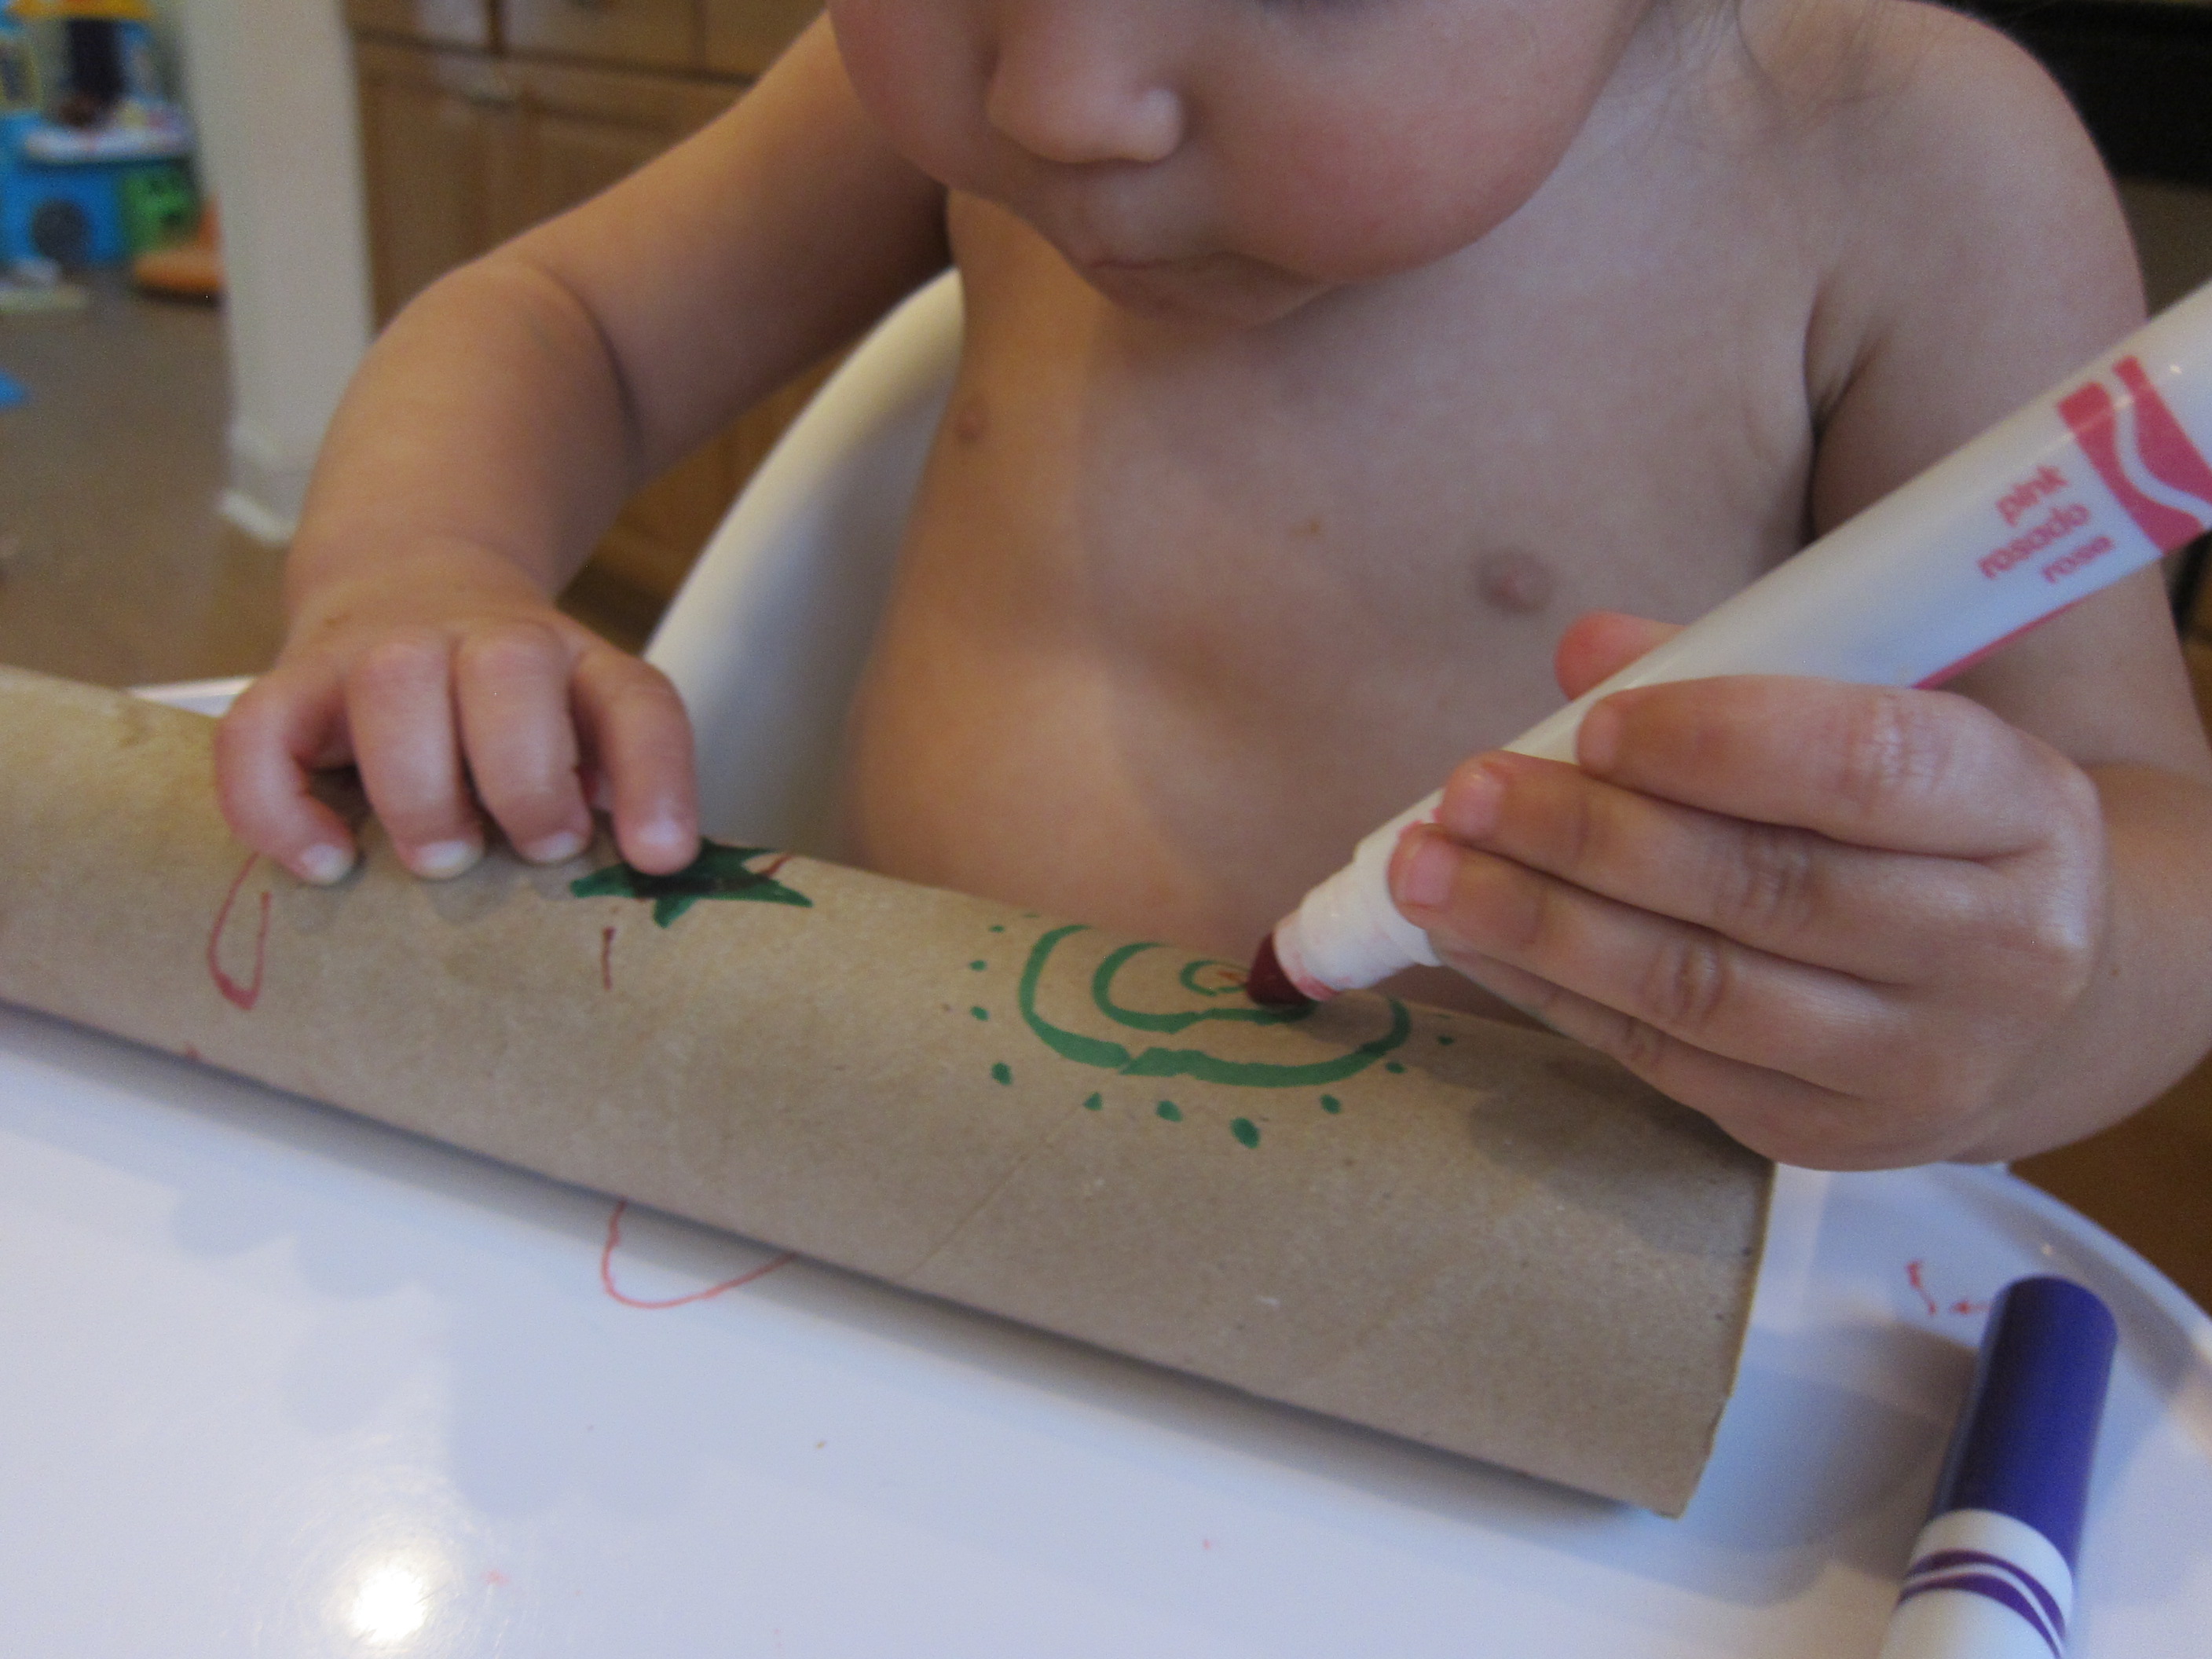
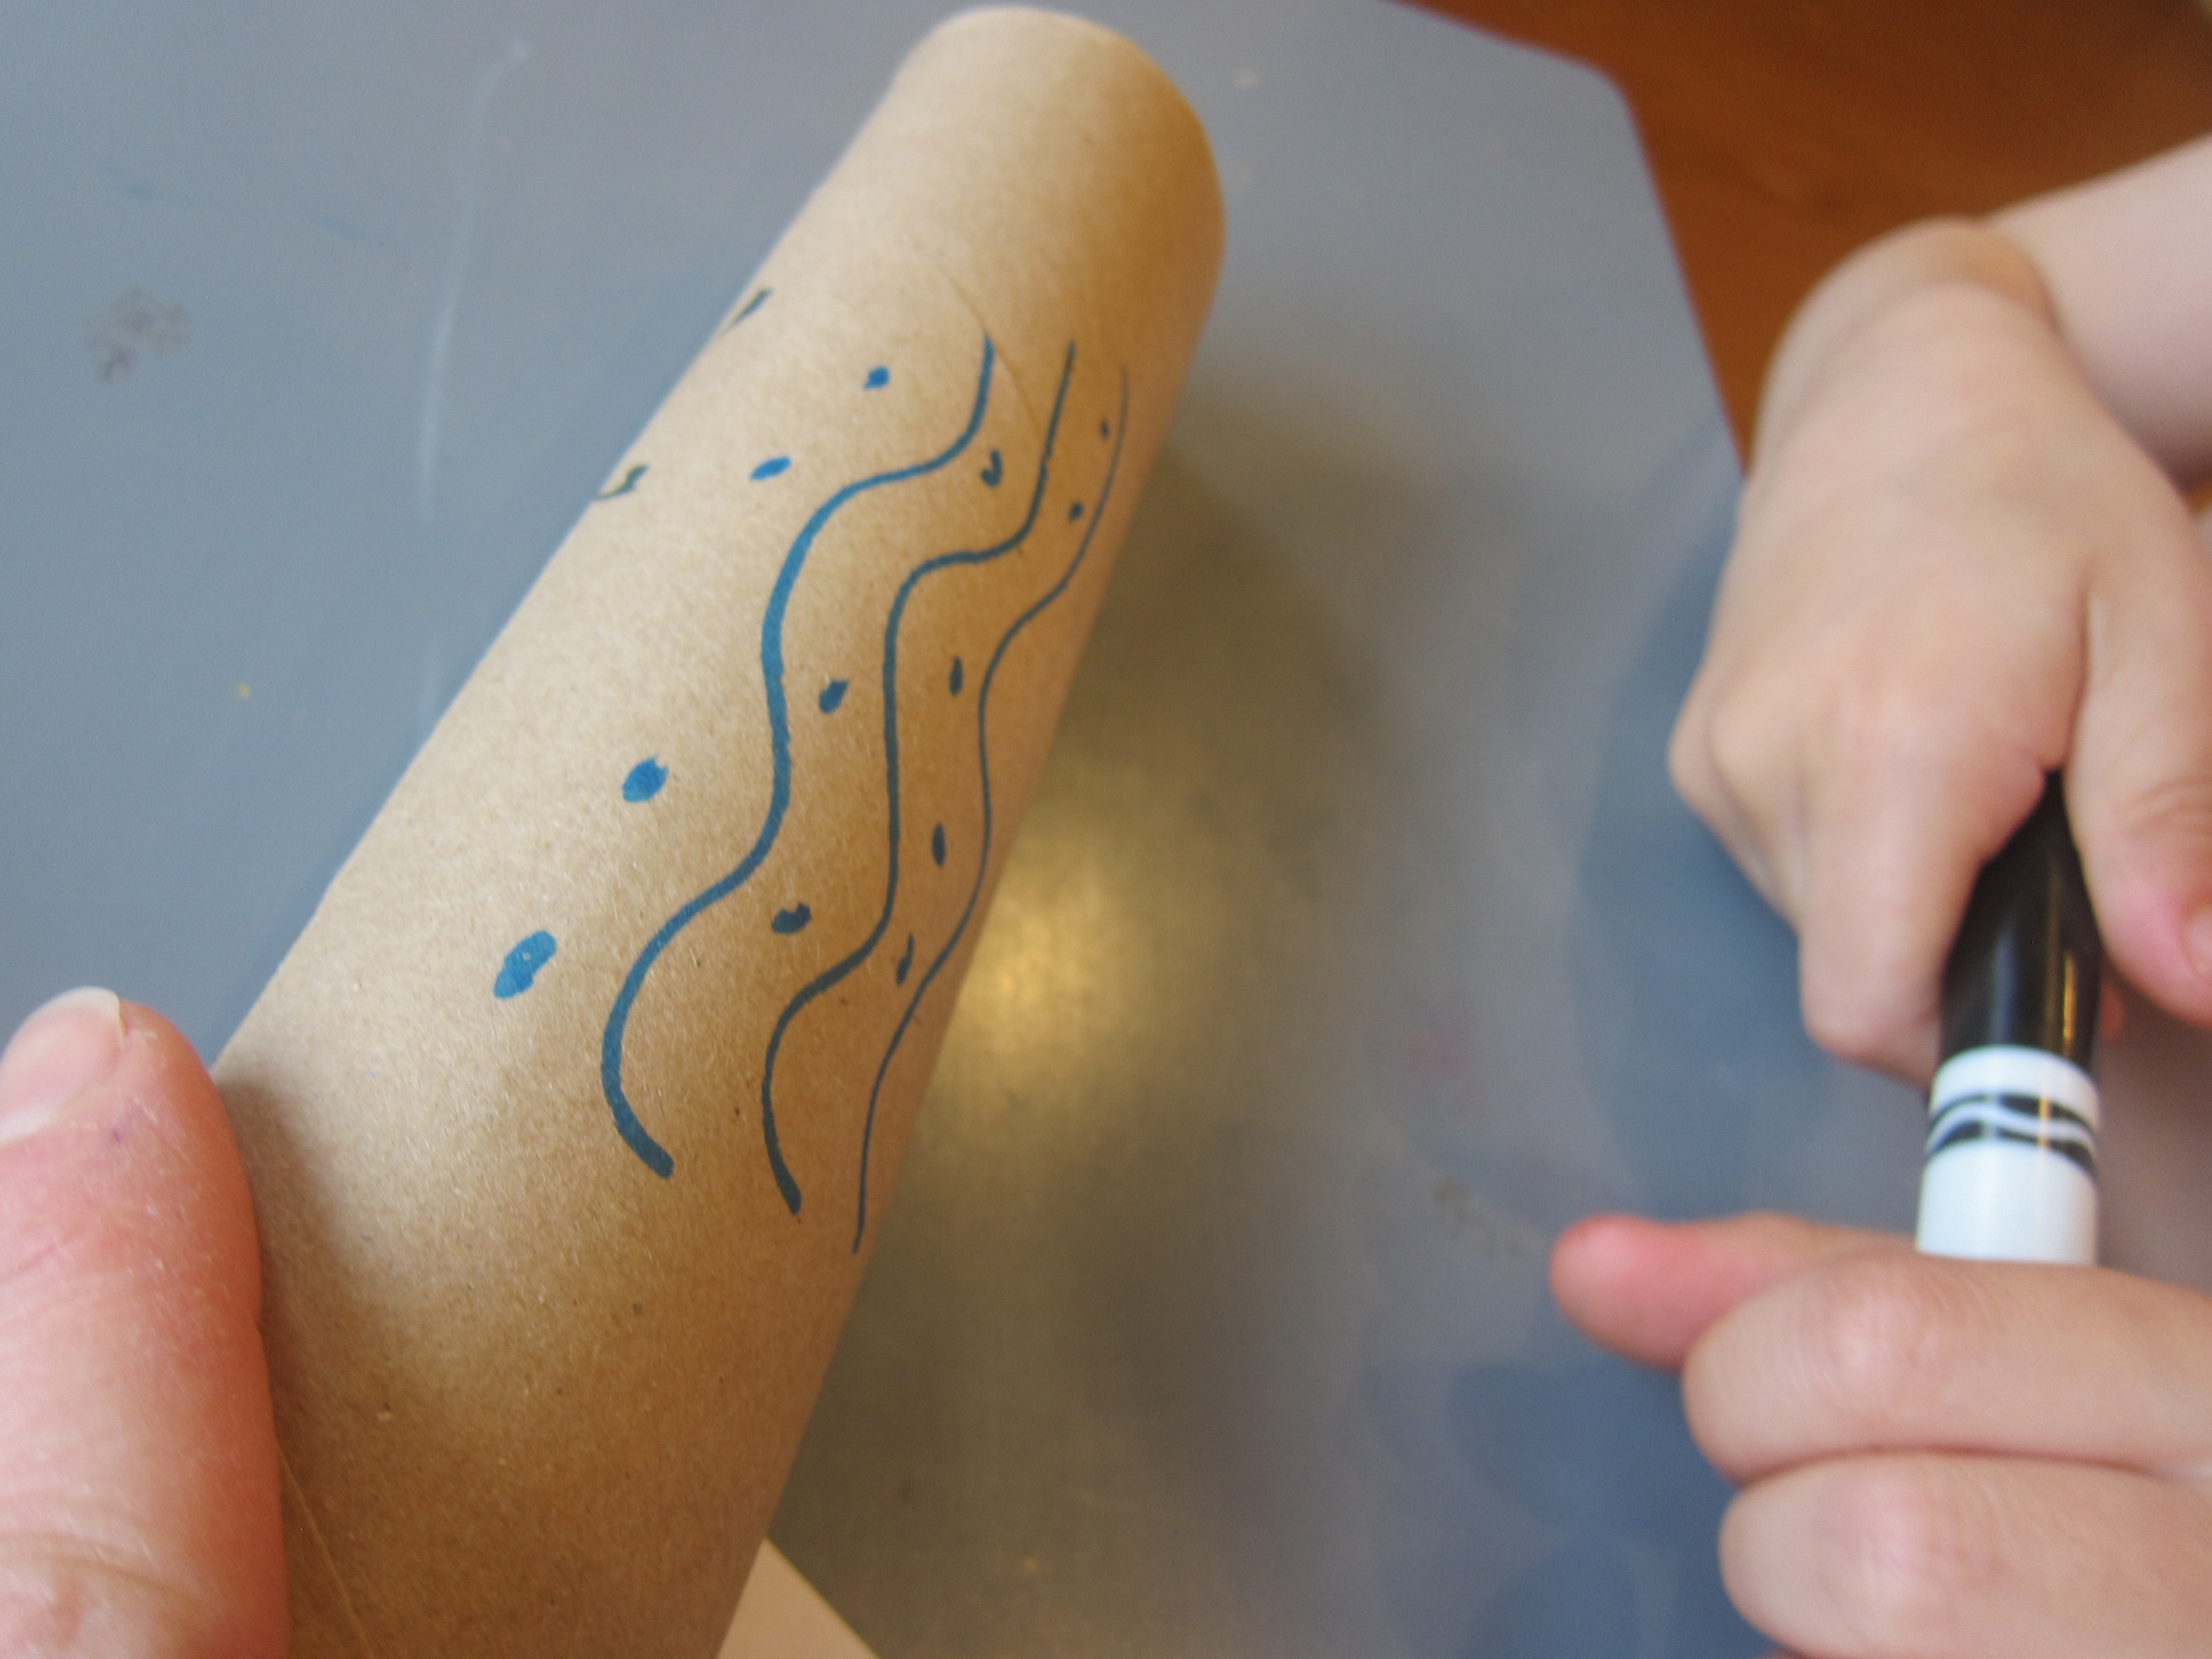
First up was a Didgeridoo Kazoo. Both kids enjoyed decorating an empty paper towel tube with markers.
LP Australia (21)

A lot of it was their own inventive scribbles, but we worked in some dreamtime symbols, too.
LP Australia (20)

As they colored, I read about how the didgeridoo dates back thousands of years. Place a square of wax paper over one end of the tube, and secure with a rubber band.

LP Australia (19)

Hum down into it for a deep, warbling sound. We put on some didgeridoo music to play along too!

LP Australia (18)

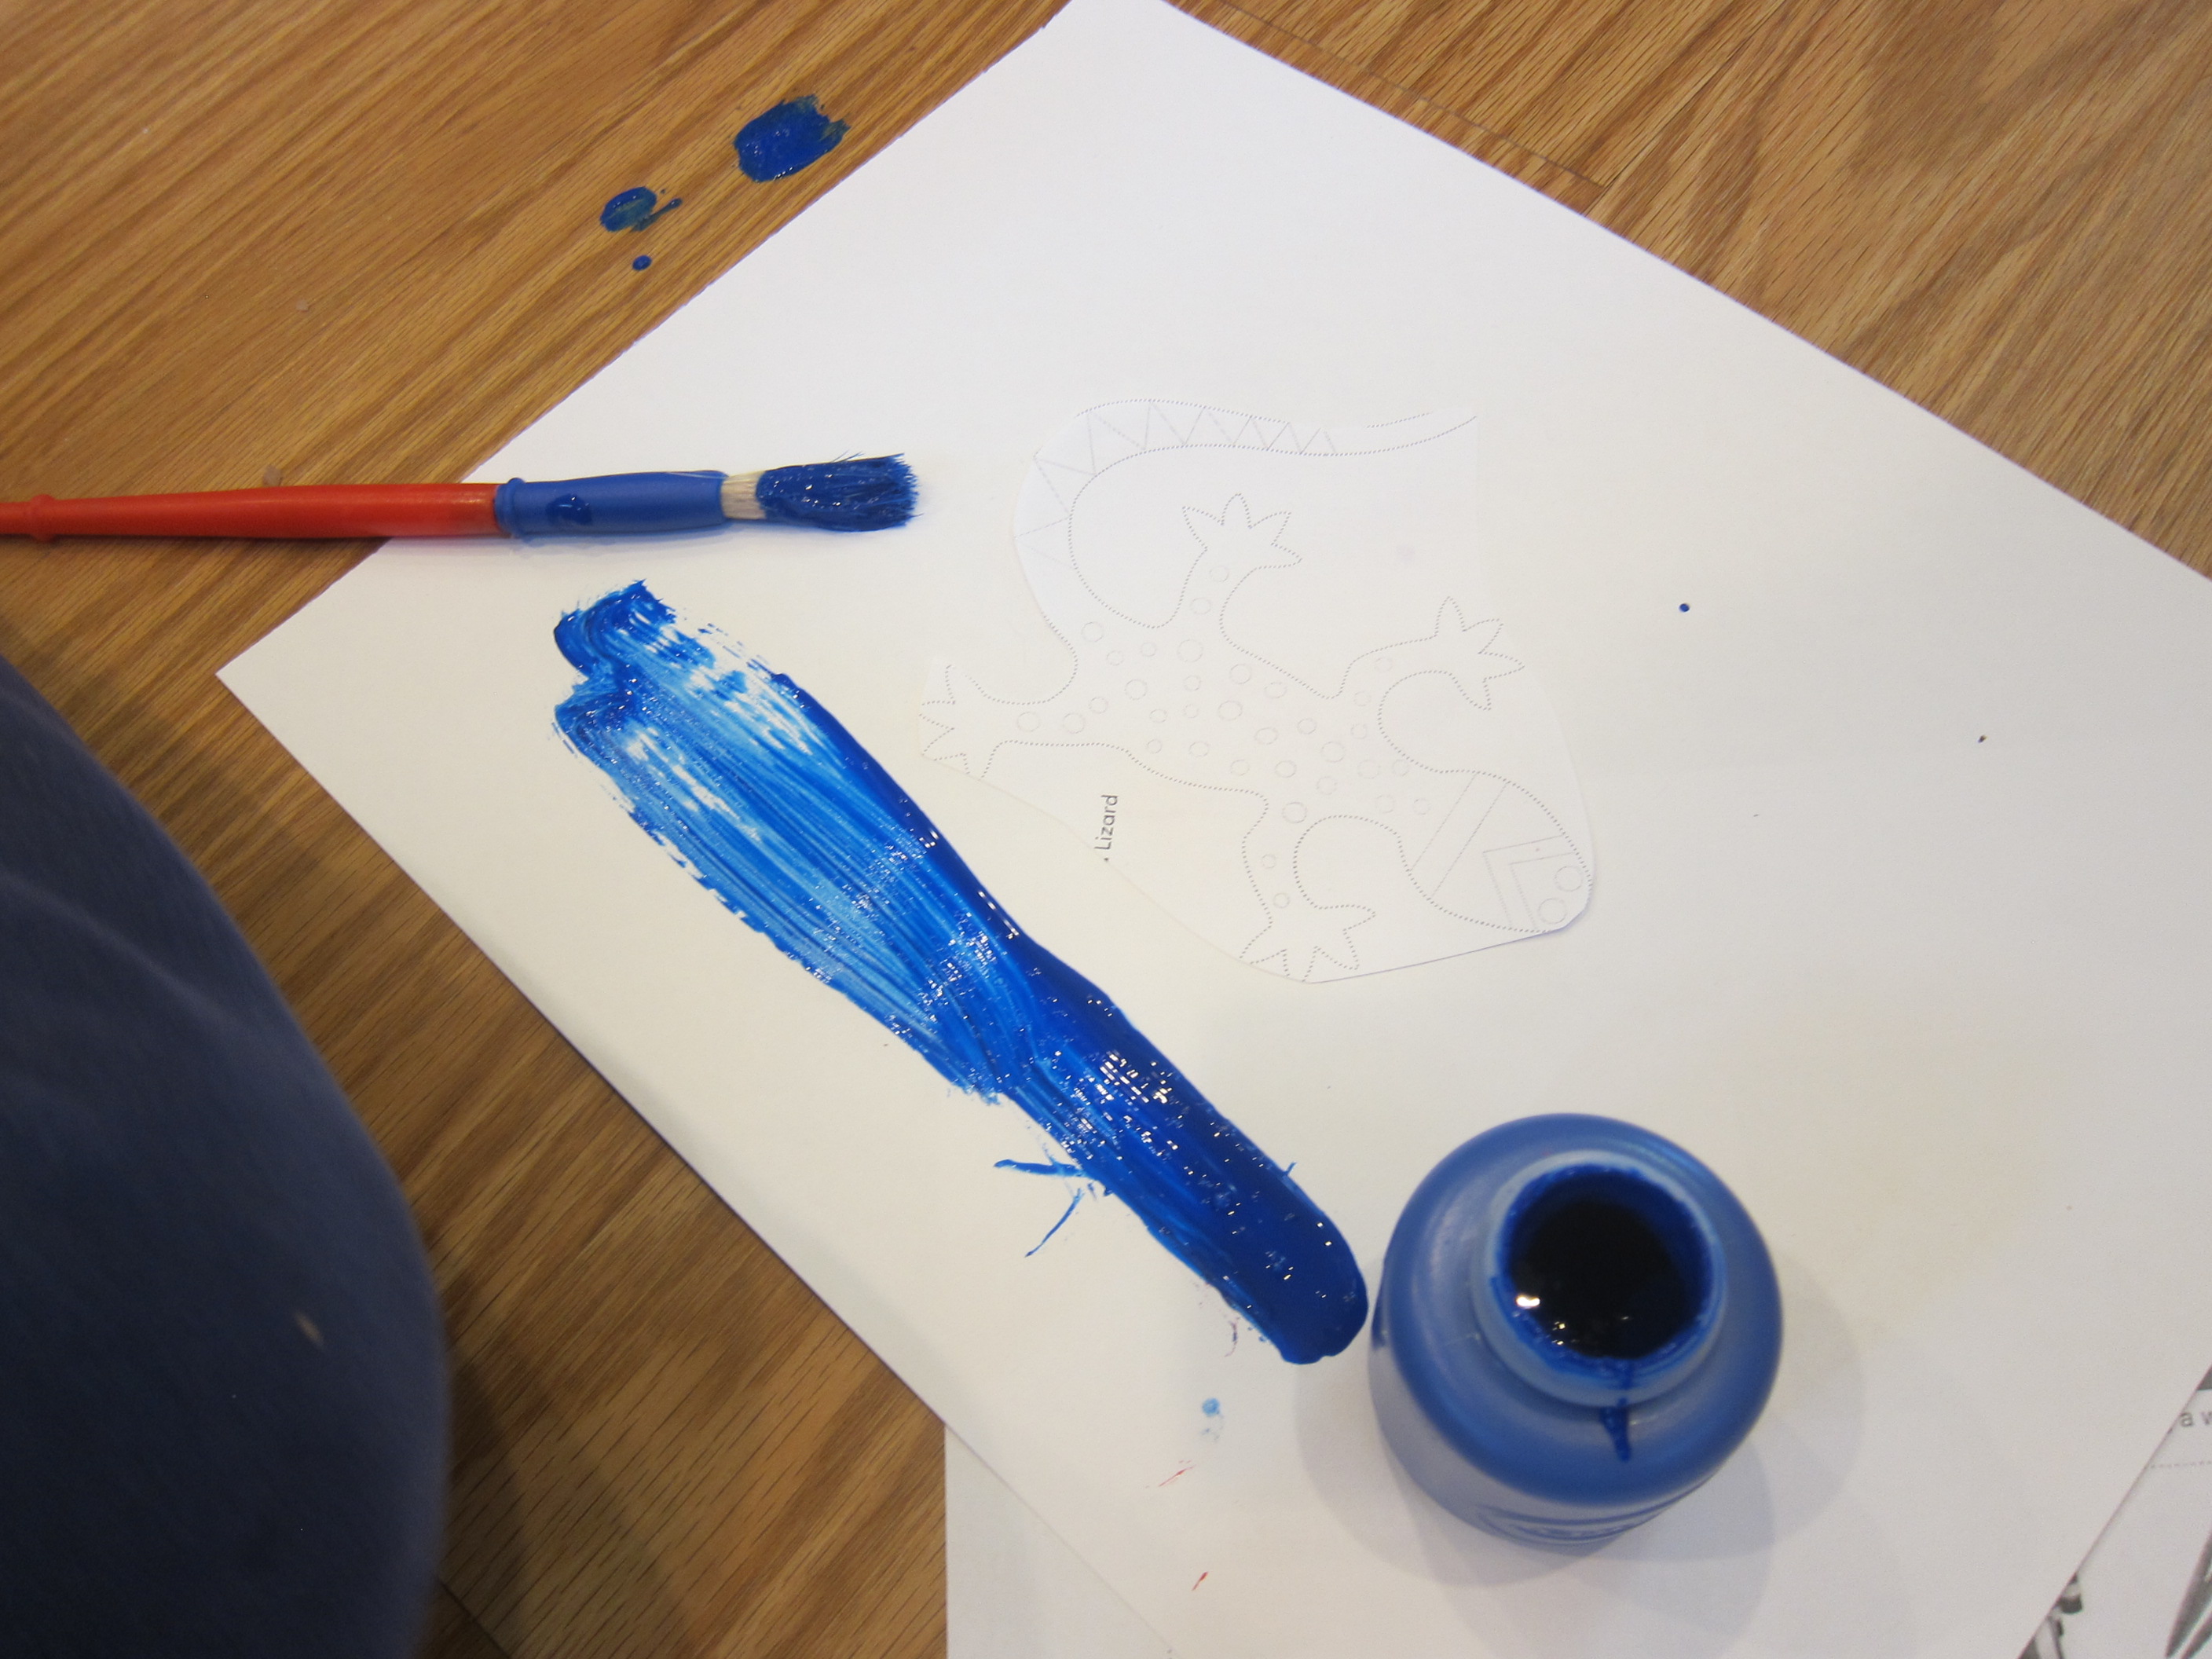
Next up was Animal Art. This project aimed to show the way indigenous Australian art shares stories about animals and nature. First, we cut out the provided animal templates and glued these onto thicker art paper. Travis chose the lizard.
LP Australia (12)

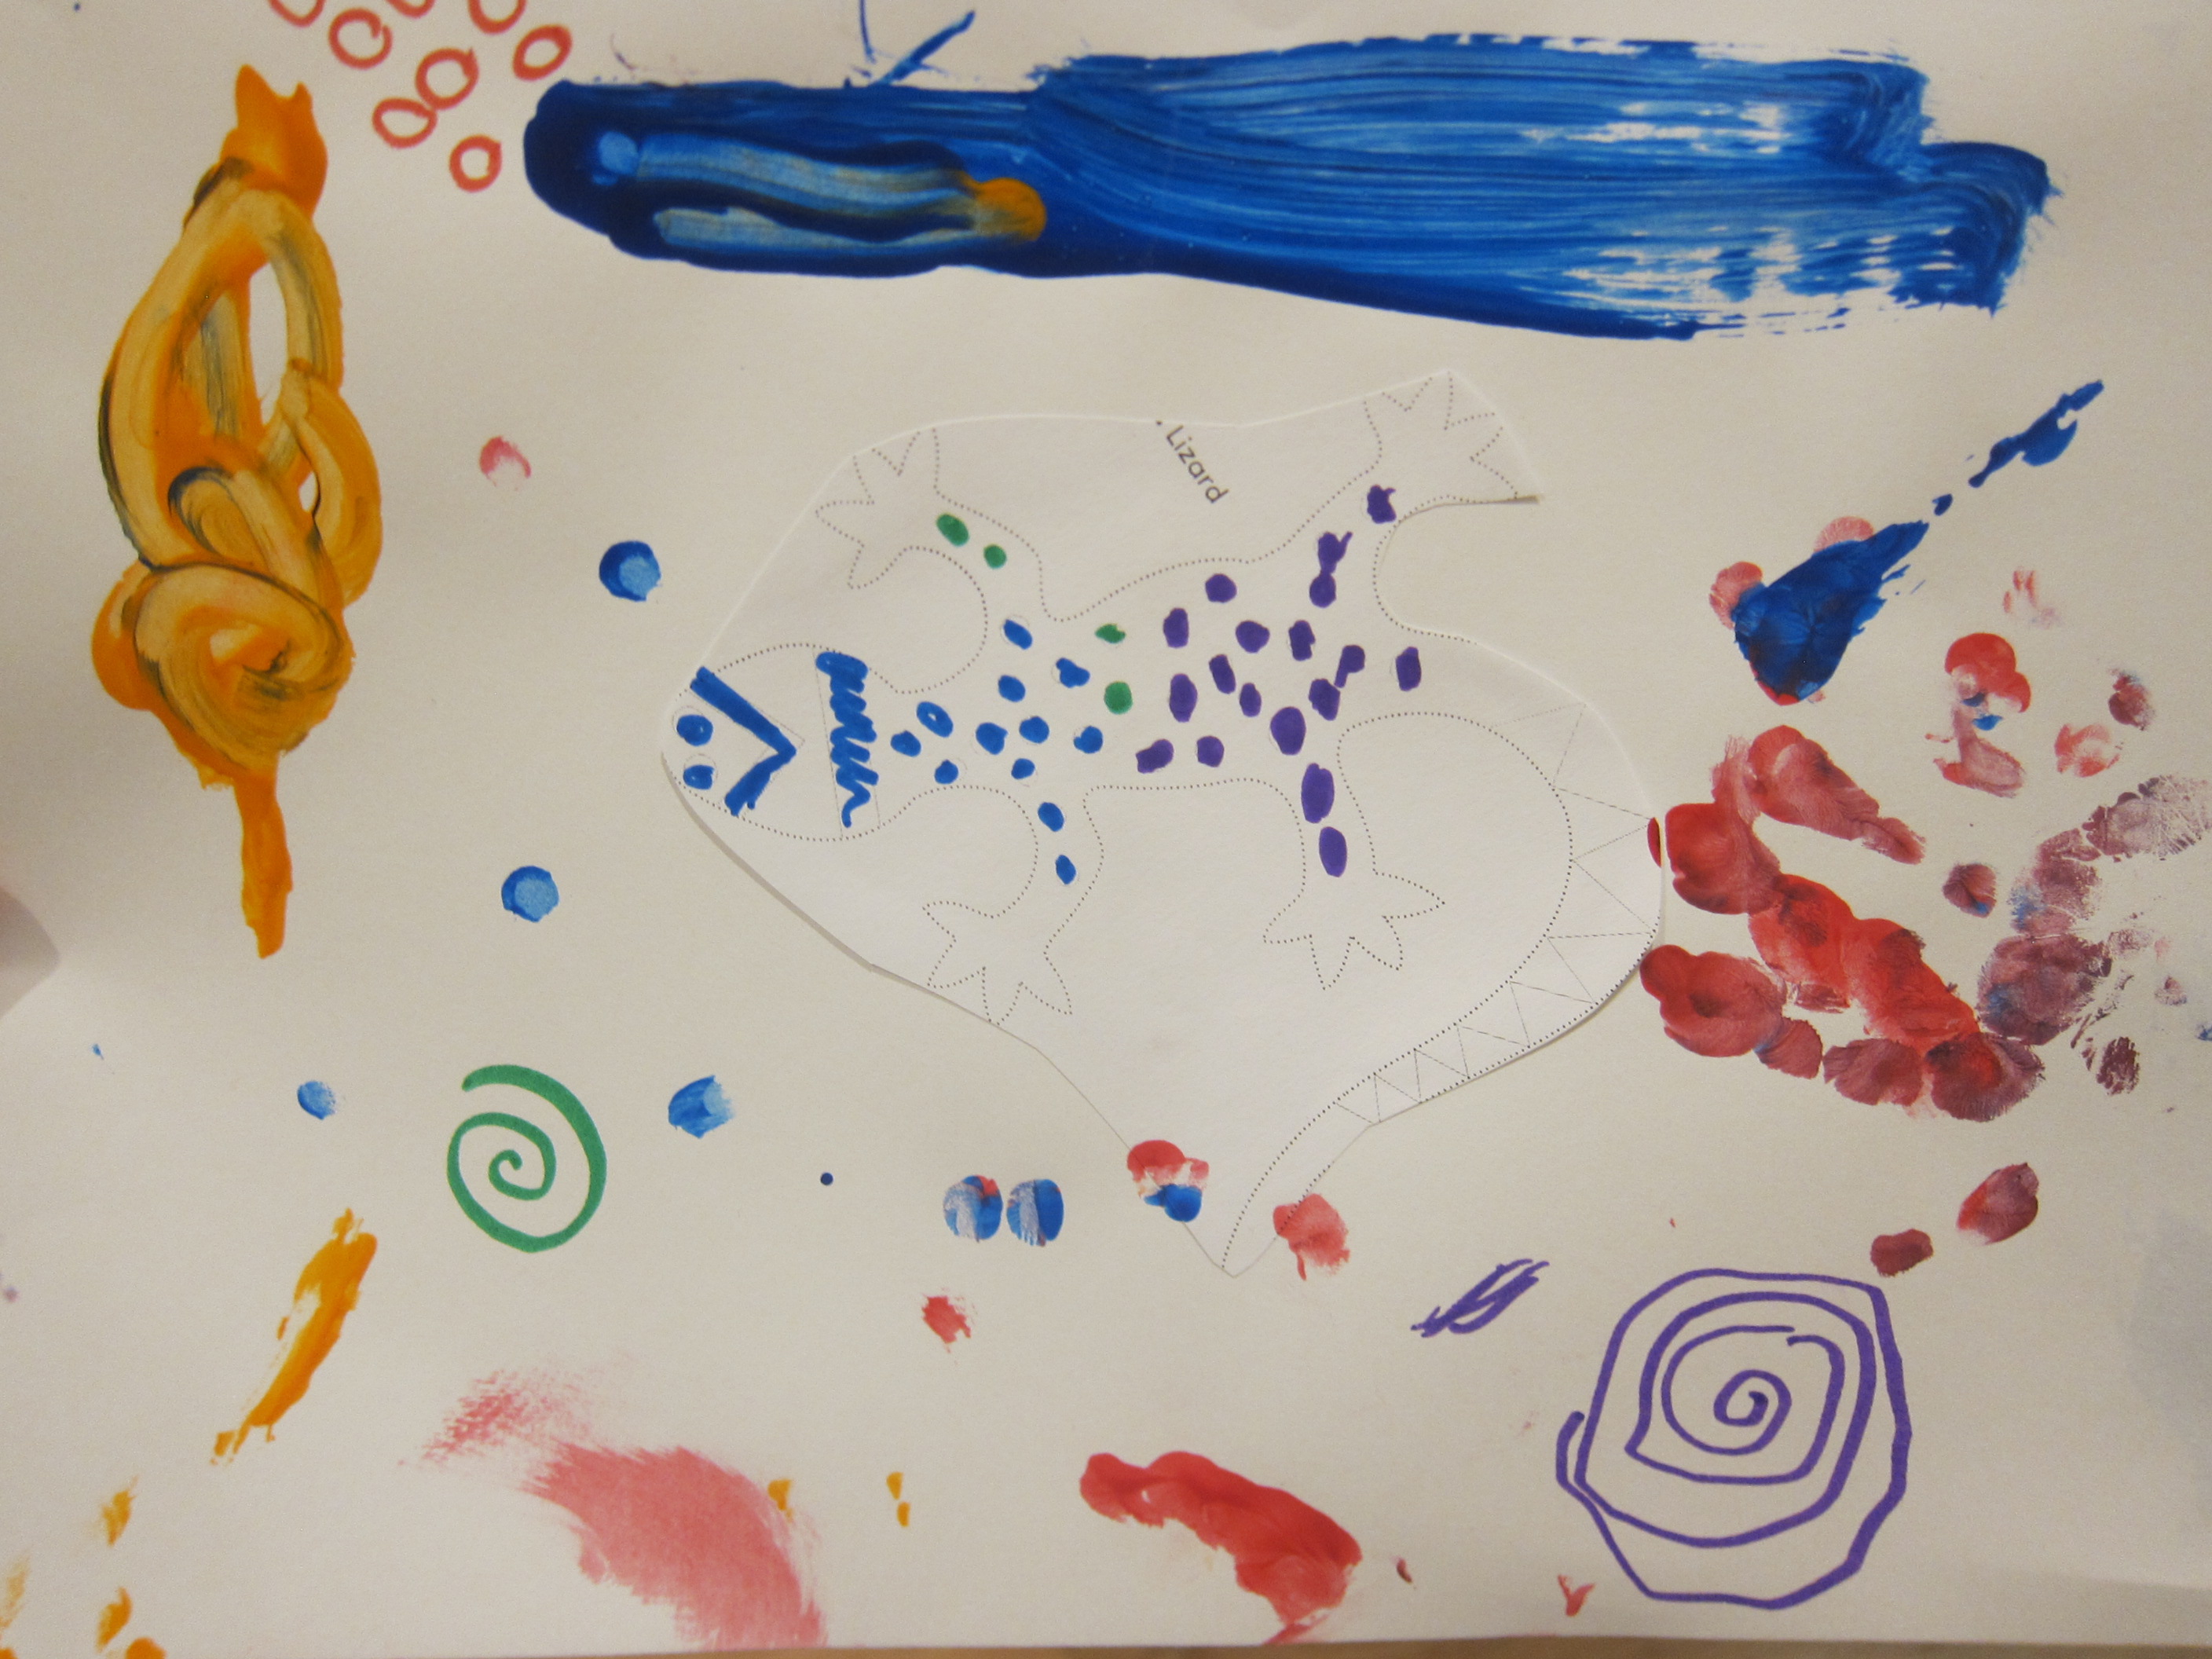
I encouraged him to use paints and markers to make a landscape for his animal. First he just painted water, and declared it done, but then he got more into the idea of adding traditional symbols (swirls, dots, stripes), and filling in the background.
LP Australia (22)

You can use cotton swabs for the dots for extra fun!

LP Australia (16)

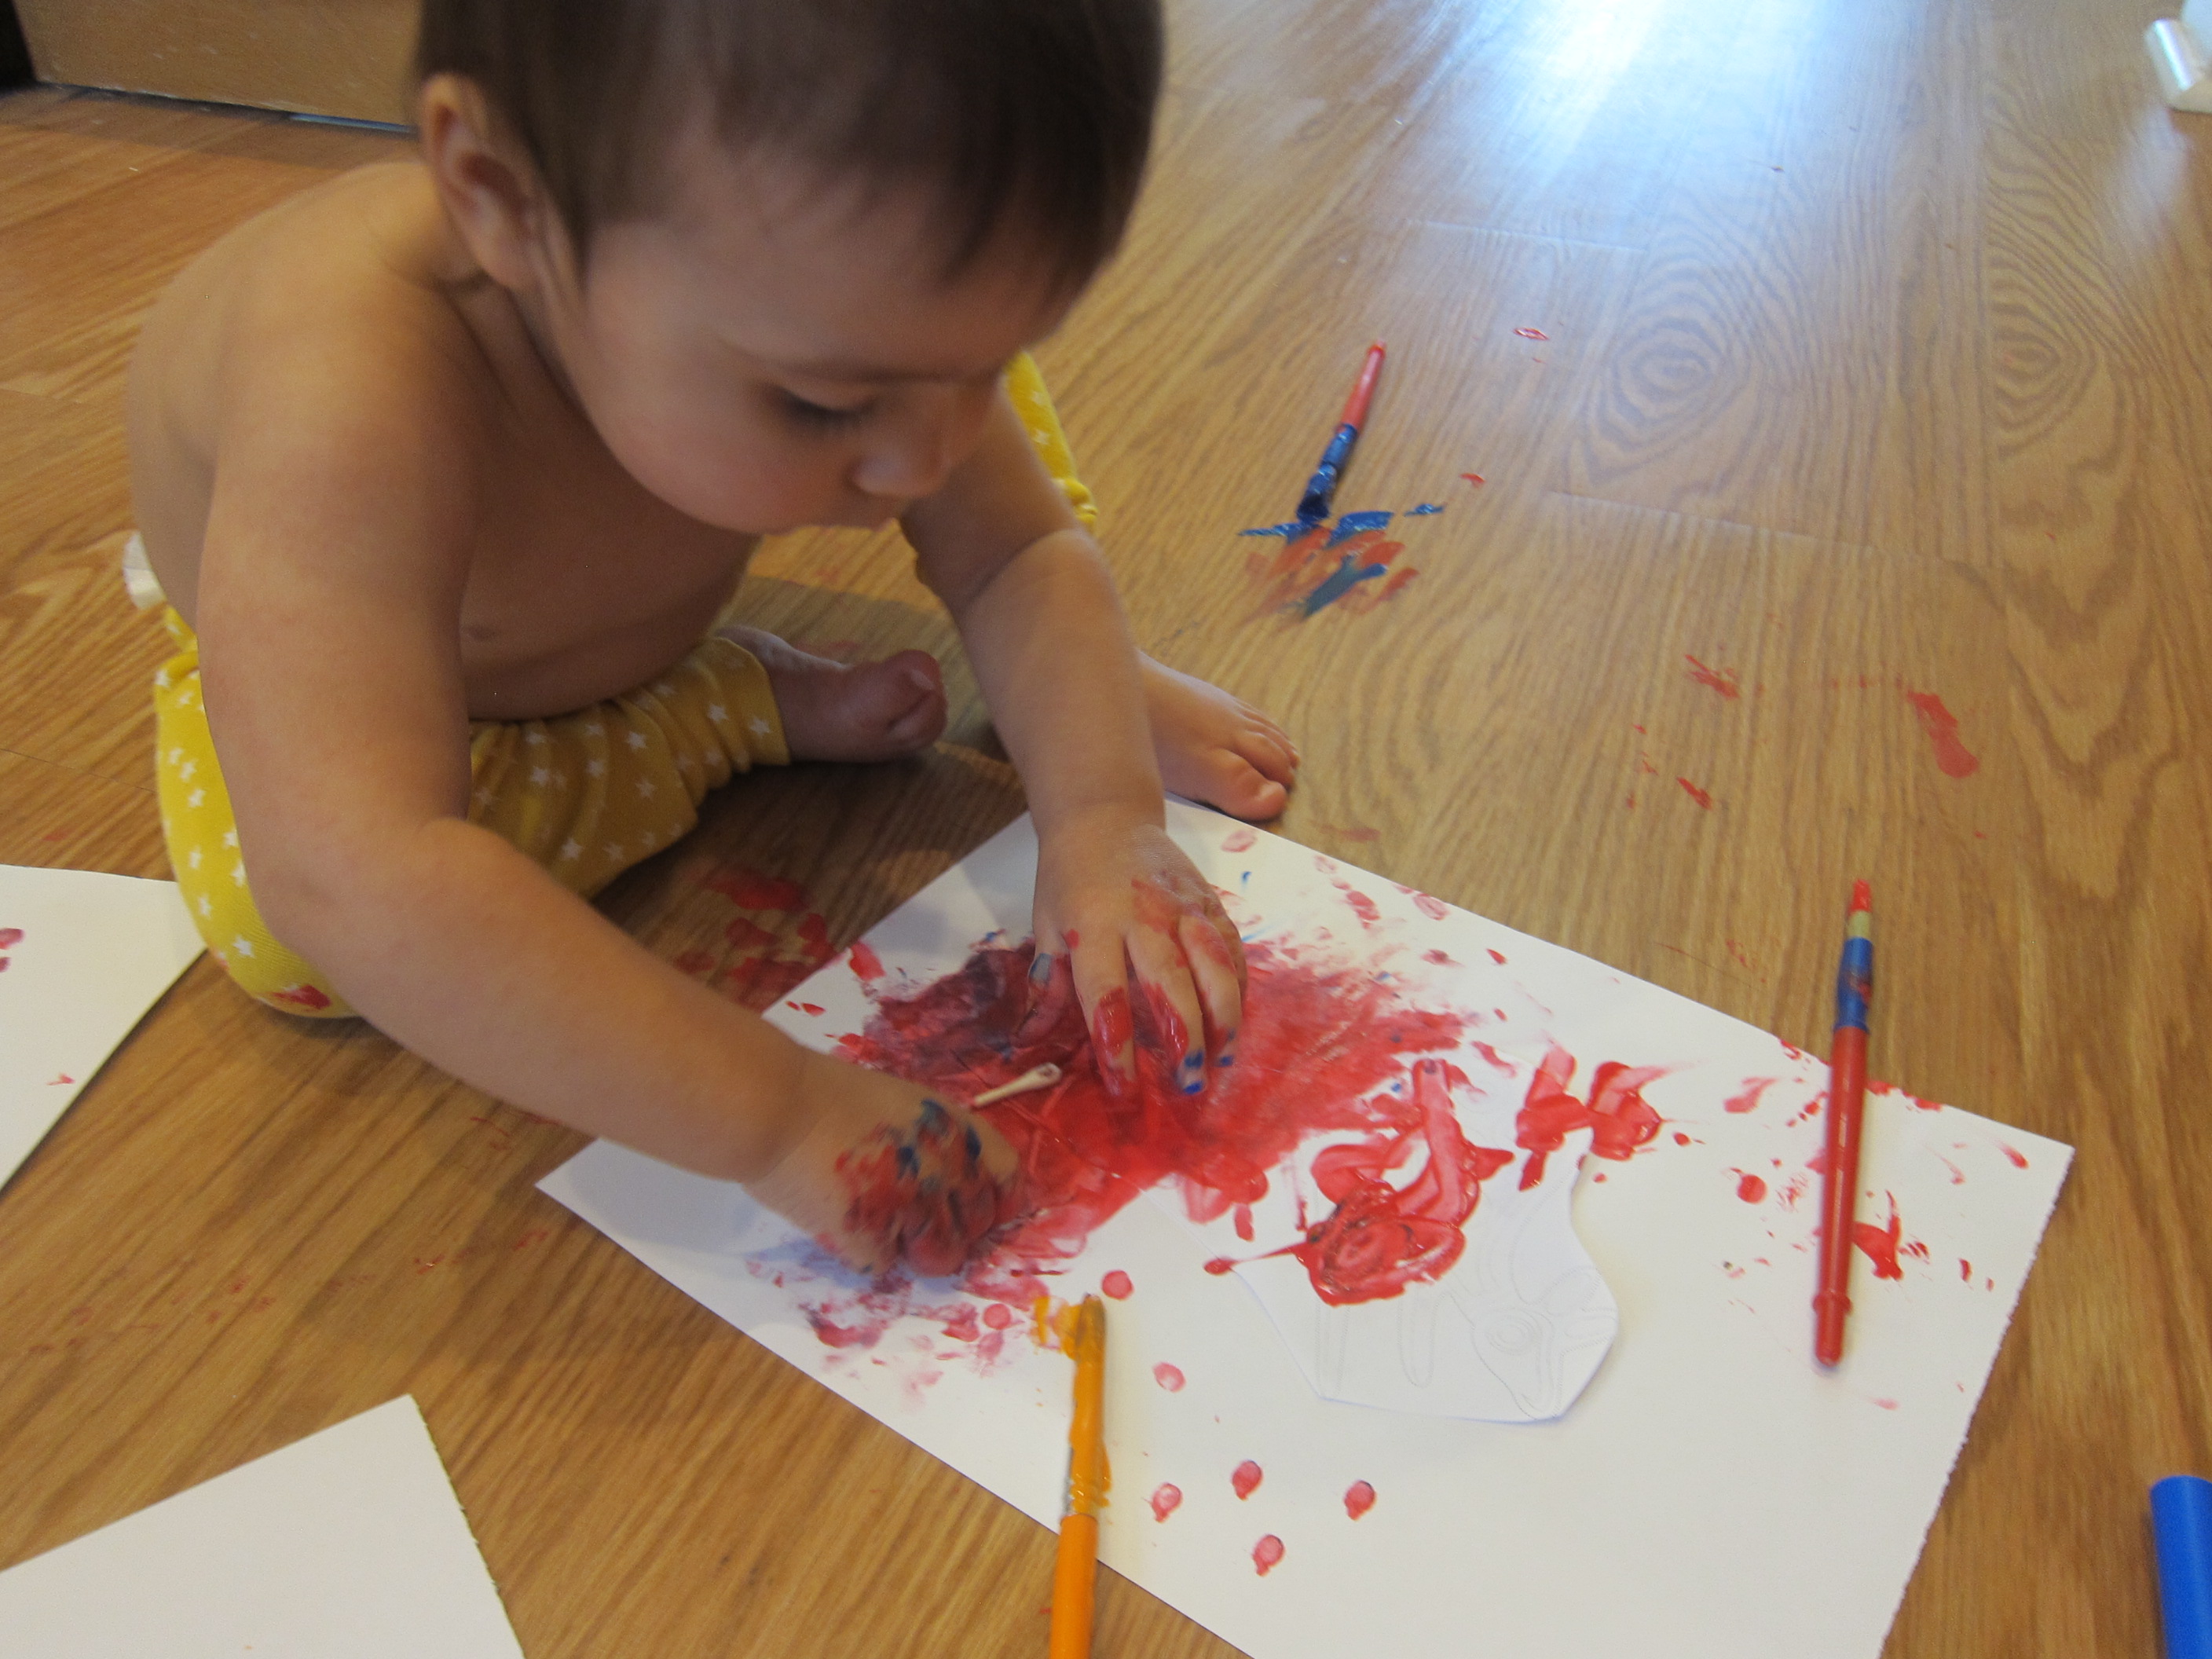
Little sister wanted in on this project too, although her kangaroo was soon a bit of a mess!
LP Australia (14)

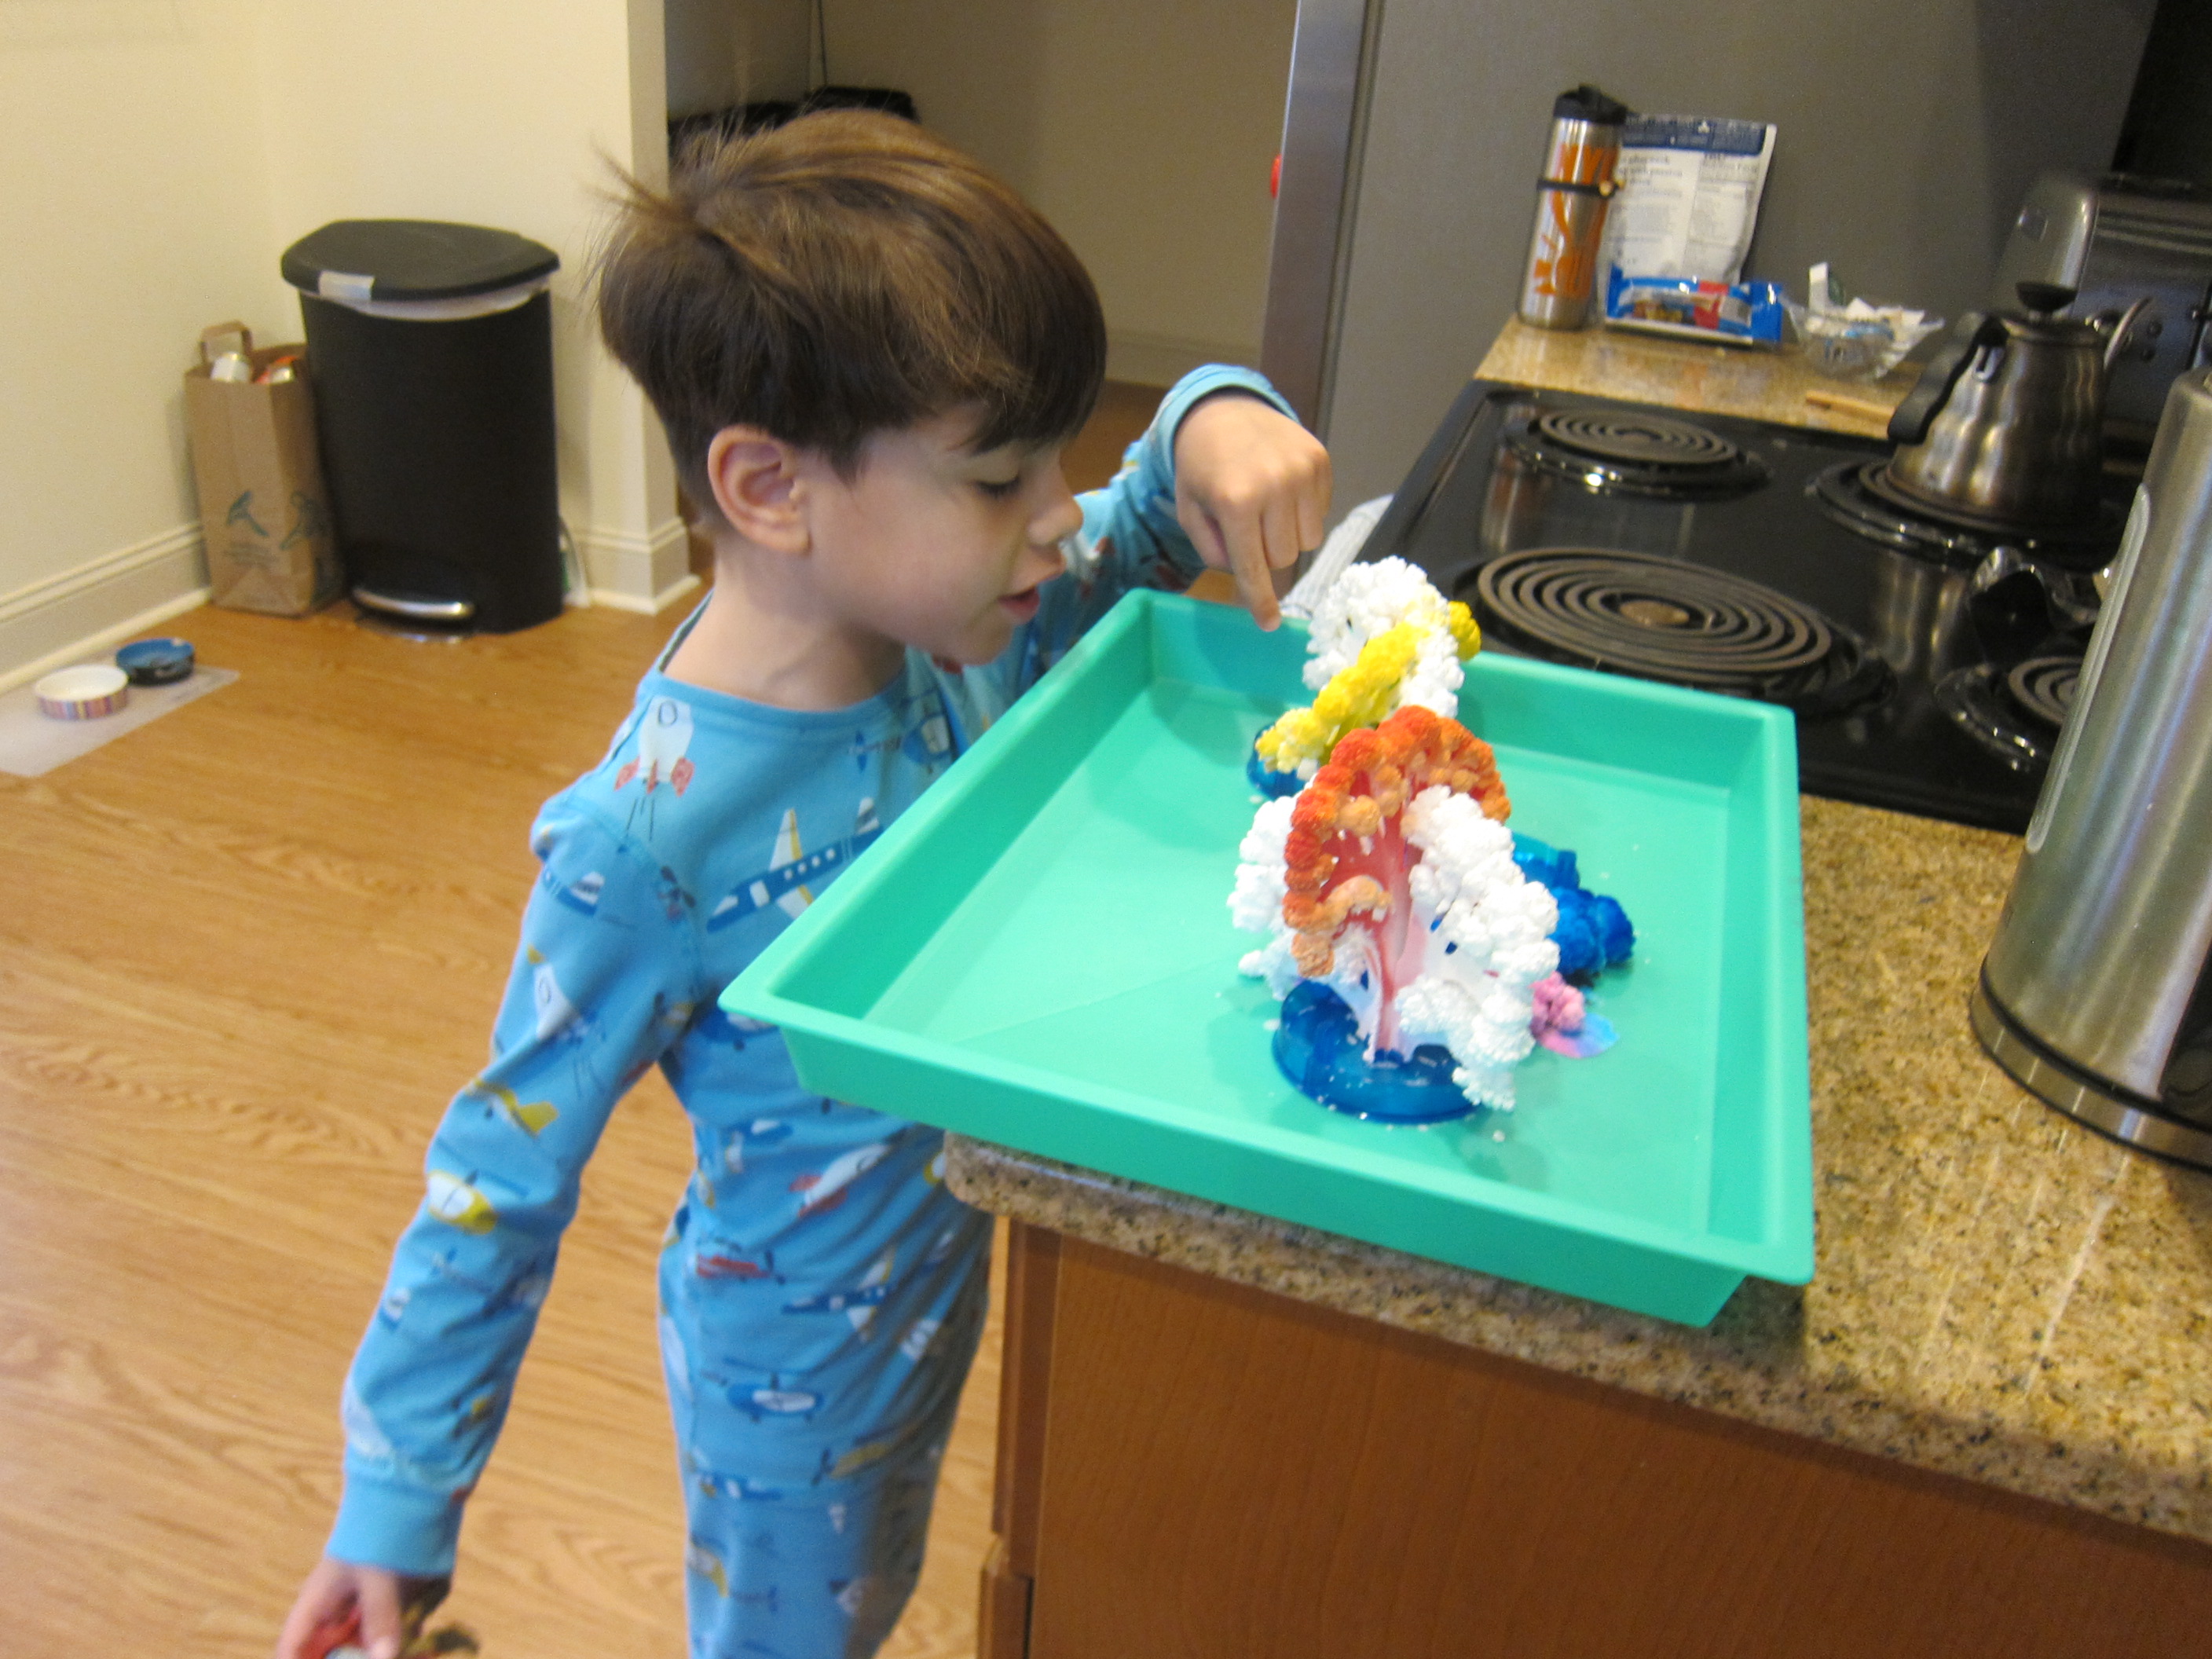
The add-on with this package was to grow a coral reef, similar in science to a crystal tree we made around the holidays. We read about coral reefs and what makes them so important as an ecosystem, and then Travis helped set up the provided absorbent paper in the stands.

LP Australia (4)

Mix the provided powder into warm water, then pour into the bottom of each tray. Whoops! One of corals collapsed right away, although perhaps this was a perfect illustration of how delicate these ecosystems are. Within an hour, we saw the first little crystals forming.

LP Australia (6)

By morning, they were a riotous display of crystal! We almost thought they looked like cauliflower.
LP Australia (8)

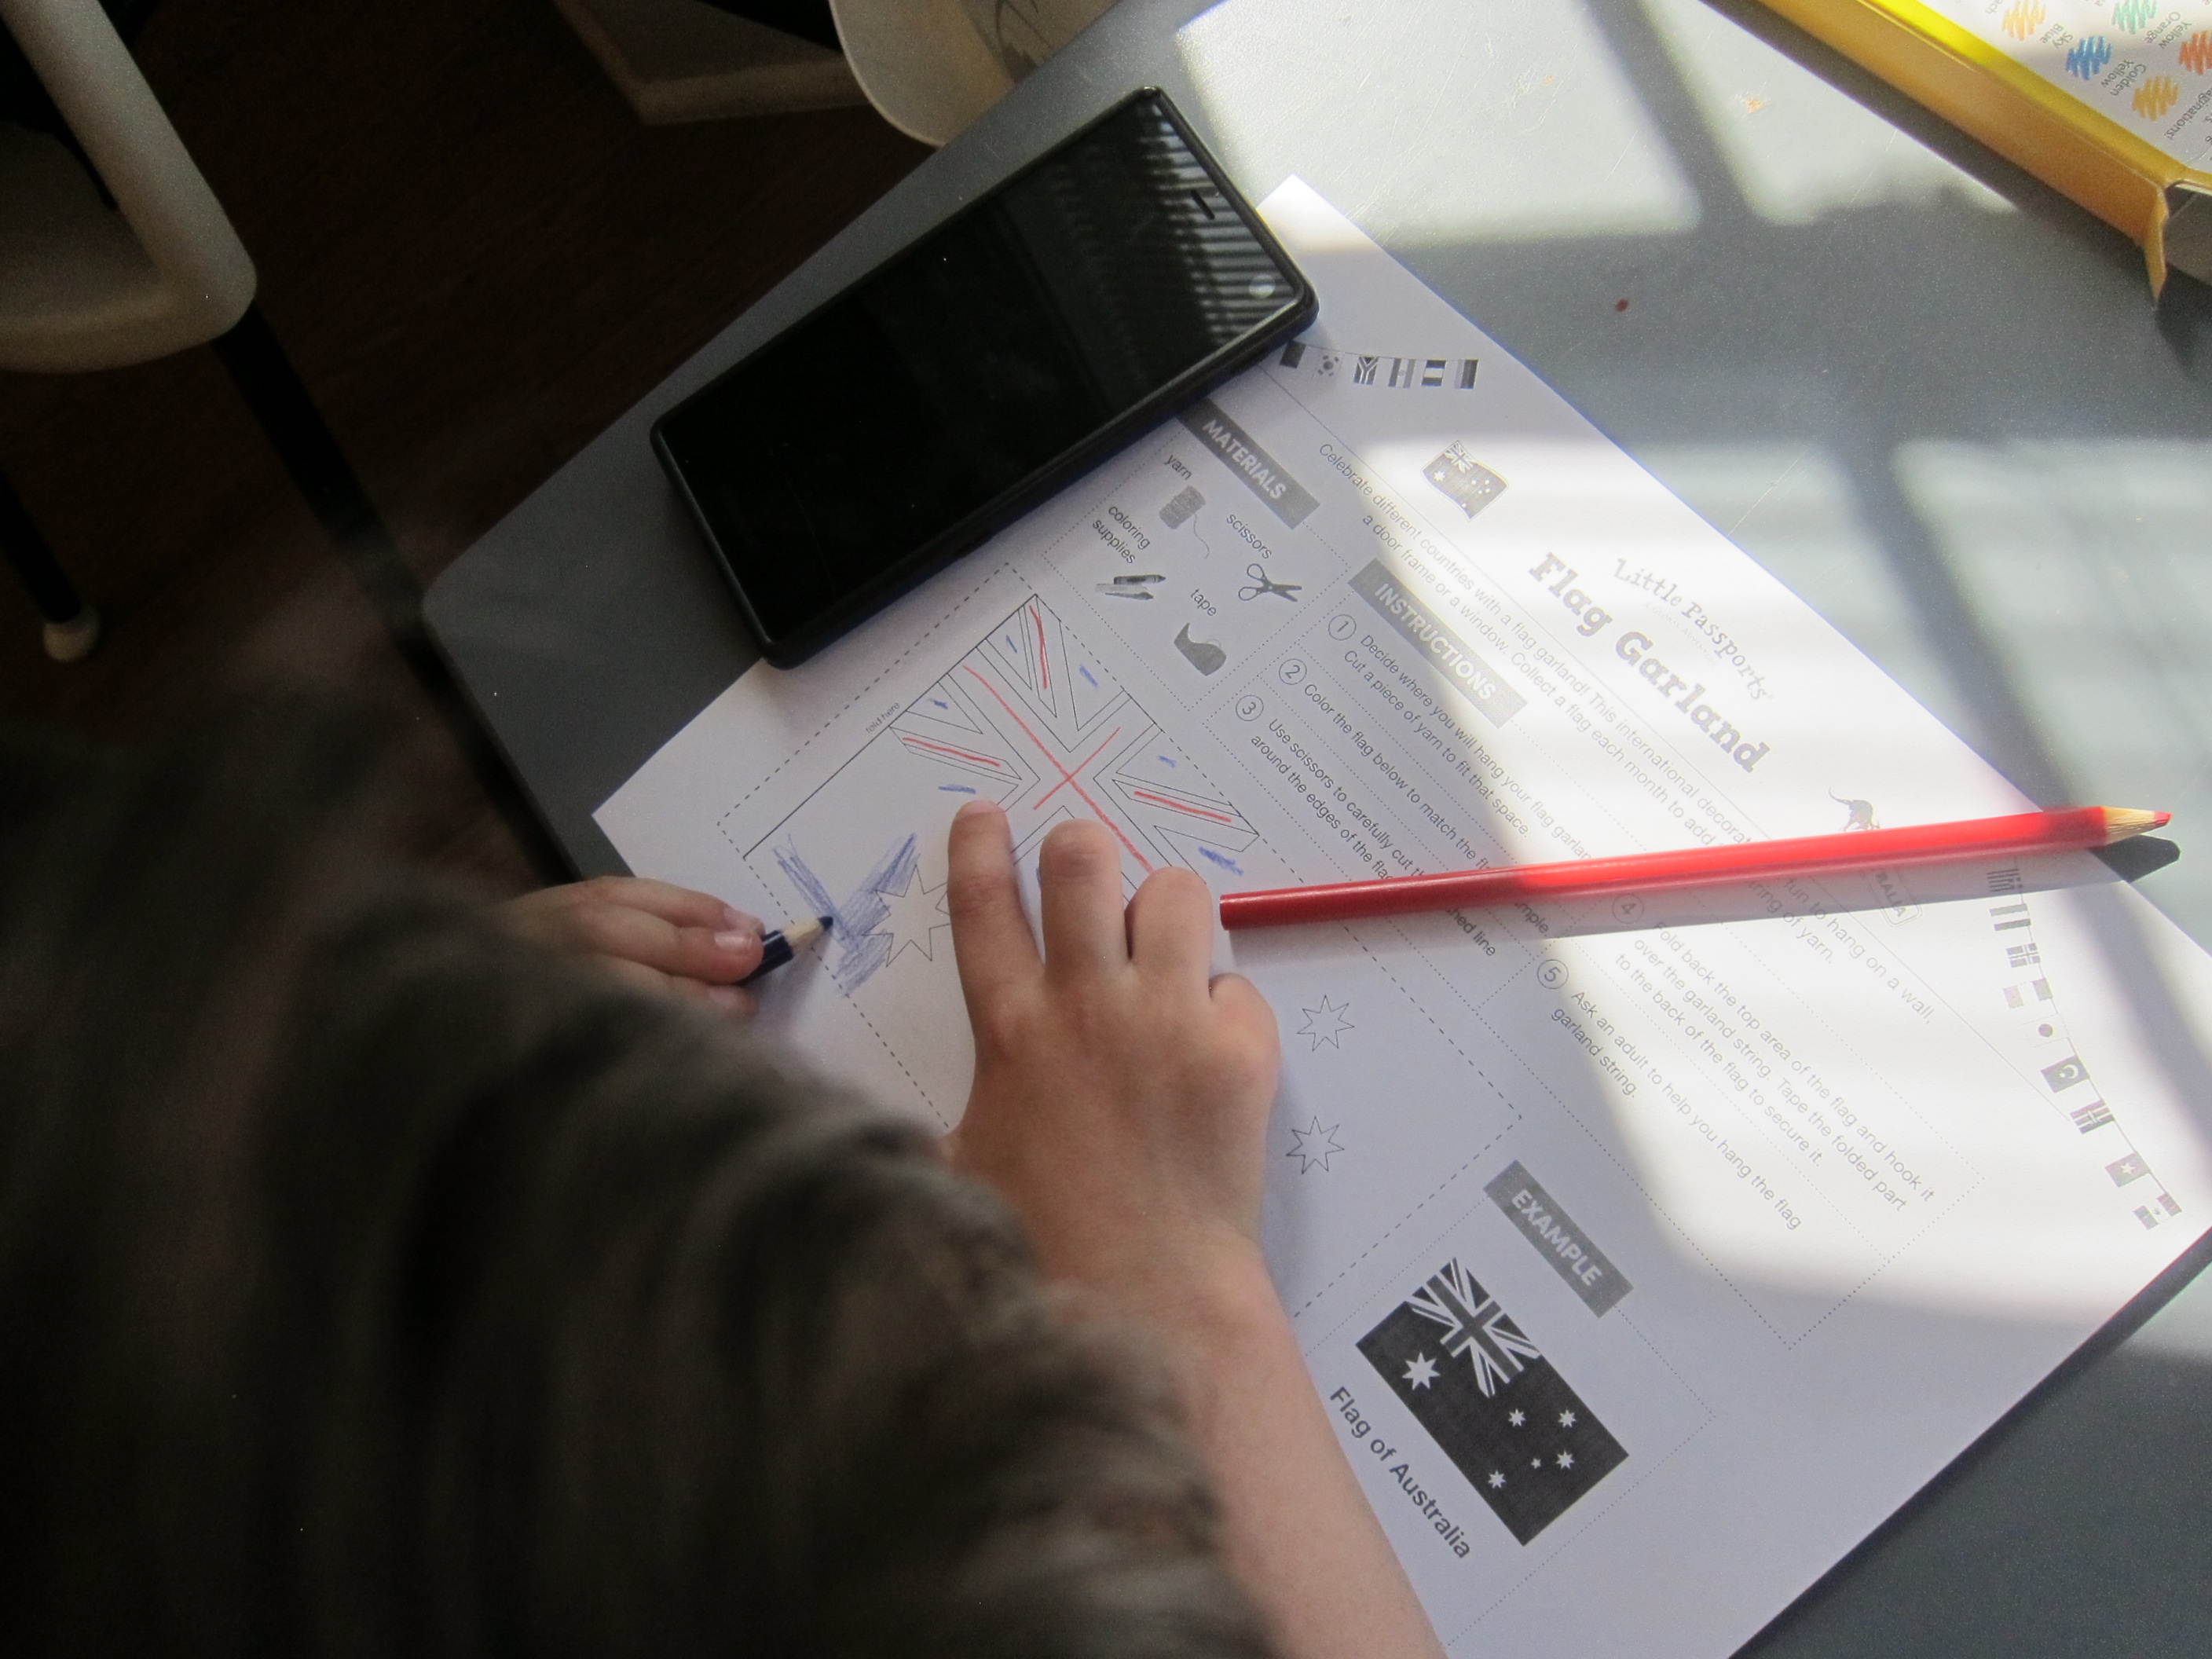
As the final touch, Travis colored in the Australian flag and we added it to the growing collection above his world map.
LP Australia (28)

Recipe:

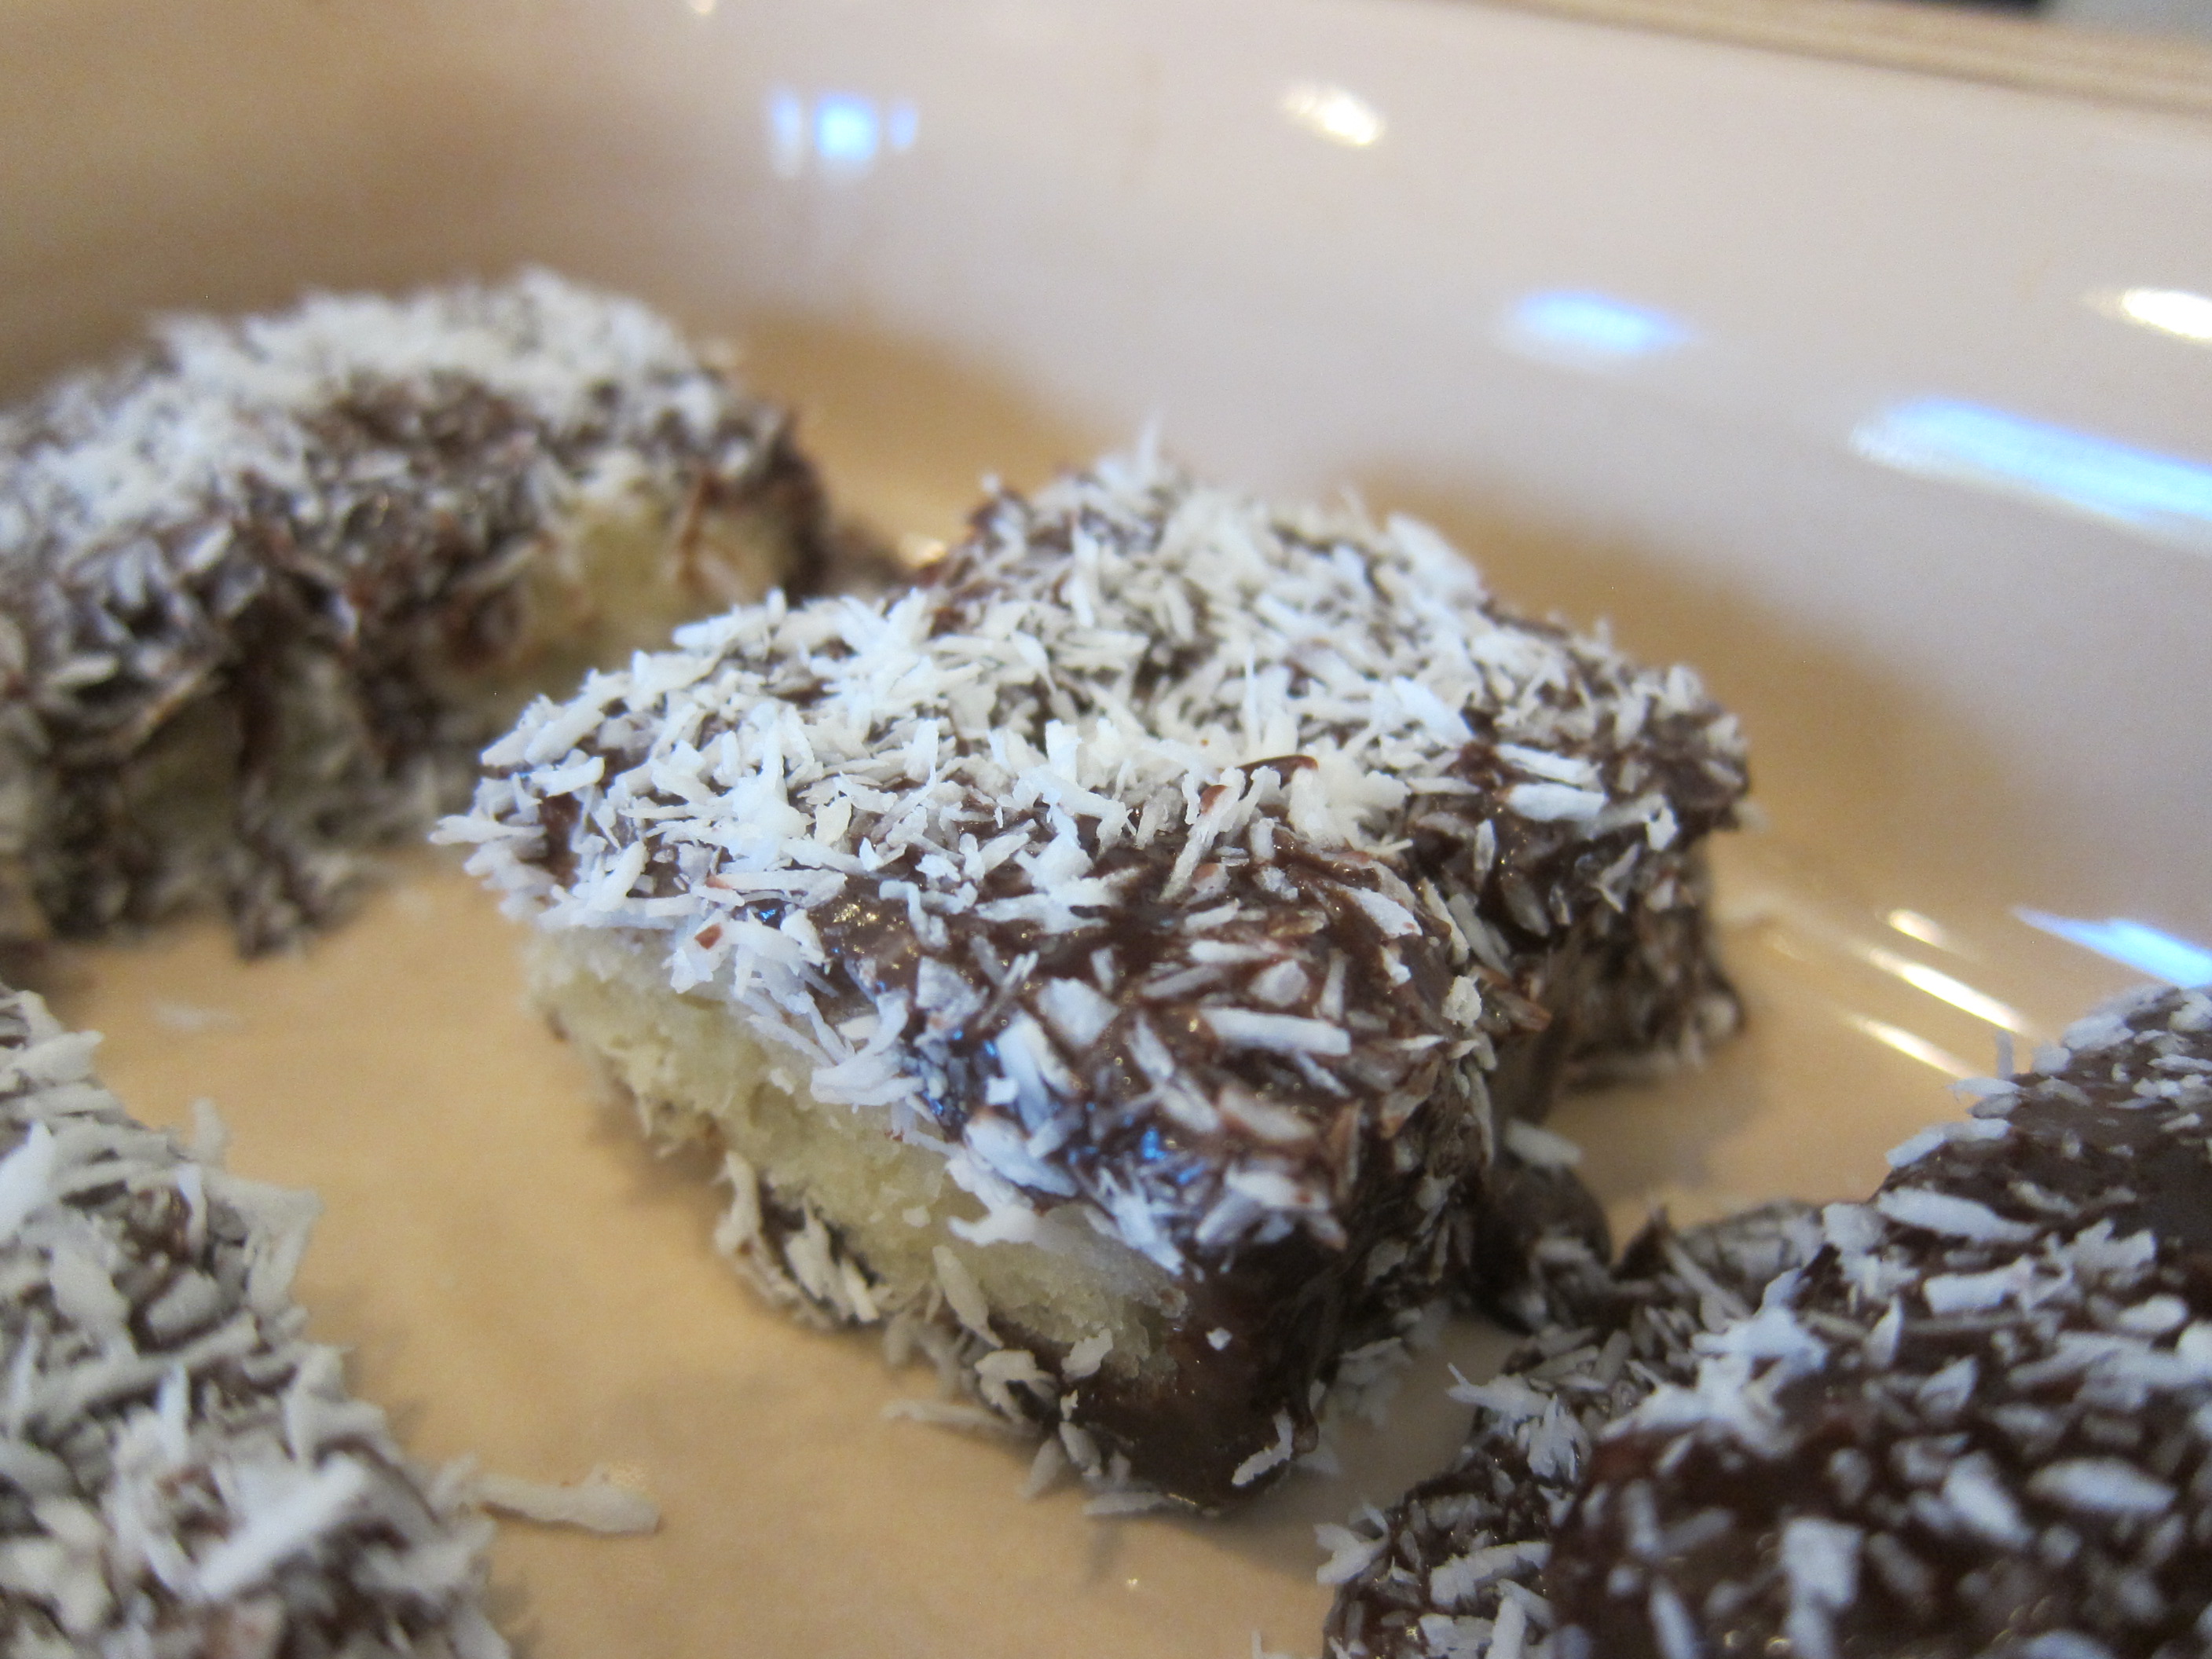
To finish our journey, we baked a popular Australian dessert called Lamingtons, a cake coated in chocolate and coconut. I should note that Little Passport’s recipes aren’t as easy to follow as, say, those from Raddish Kids. As a result, a lot of them become mommy projects after a little help from my sous-chef.

LP Australia (23)

Ingredients:

For the cake:

  • 1 and 1/2 cups flour
  • 1 and 1/2 teaspoons baking powder
  • 1/4 teaspoon salt
  • 1/2 cup Earth Balance butter, softened
  • 3/4 cup sugar
  • 2 Ener-G eggs
  • 1 teaspoon vanilla extract
  • 1/2 cup plain almond milk

For the frosting:

  • 2 tablespoons melted Earth Balance butter
  • 1/2 cup plain almond milk
  • 4 cups powdered sugar
  • 1/3 cup cocoa powder
  • 2 cups shredded coconut
  1. To prepare the cake, sift together the flour, baking powder, and salt into a bowl; set aside.
  2. Beat 1/2 cup butter and the sugar in a stand mixer until creamy. Add the Ener-G eggs and vanilla. Alternate adding the flour mixture and 1/2 cup almond milk, beating until combined.
  3. Pour the batter into a 9×13-inch baking dish lined with foil. Bake at 350 degrees F for 28 minutes; a wooden pick inserted into the center should come out clean. Let cool for 10 minutes in the pan, then lift out the foil and cool the cake completely on a wire rack. Cover with plastic wrap and chill in the fridge.
  4. Once the cake is chilled, make the frosting: whisk together the melted butter and 1/2 cup almond milk in a large bowl. Whisk in the cocoa powder. Add the powdered sugar, stirring until smooth.
  5. Cut the cake into 2-inch squares. Working with one square at a time, dip in the chocolate frosting, then immediately coat in the coconut. Transfer to a wire rack or pan to set.

Because the frosting was thick and the cake was very delicate, I found it easier to work by hand instead of dipping pieces in on a fork. This got messy, but sure was yummy!
LP Australia (26)