Mailbox Pretend Play

Mailbox Pretend Play (6)

Veronika is very into Blue’s Clues right now, and her favorite part of each episode is when Mailbox arrives bearing a letter for “mail time”. So today I set her up with her own post office!

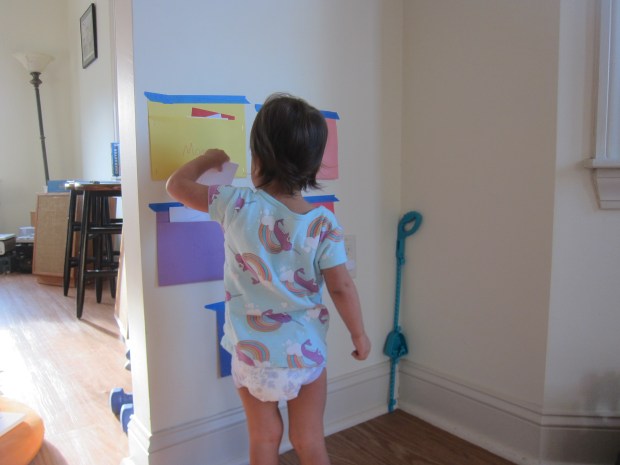
To make each “mailbox”, simply fold a piece of construction paper over itself so the bottom half comes about 3/4 of the way up the top half. Staple shut along the sides, leaving the top open to form a pocket for mail deliveries.

Mailbox Pretend Play (1)

I made one mailbox for each family member (including the cat!) and then taped them up to the wall.

Mailbox Pretend Play (5)

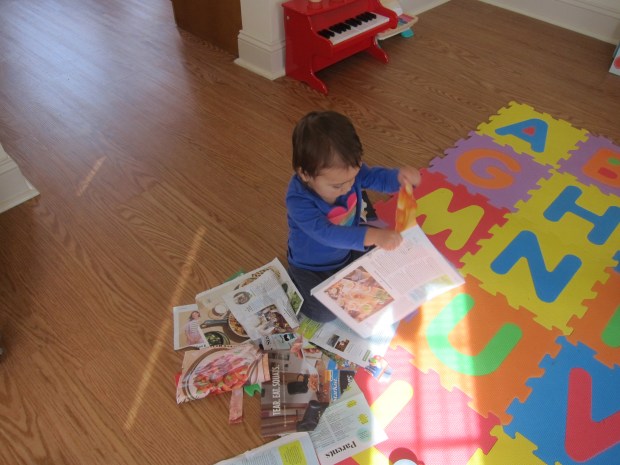
To make our mail, I gave her an assortment of index cards, old envelopes, and leftover holiday cards. She loved scribbling, but was even more excited when I started drawing a few of the Blue’s Clues characters on envelopes so she could receive mail from them.

Mailbox Pretend Play (3)

I would hand her each letter and she proudly decided which “mailbox” to slot it into. “Let’s put this one in the purple!” she might say, and narrated the whole process.

Mailbox Pretend Play (7)

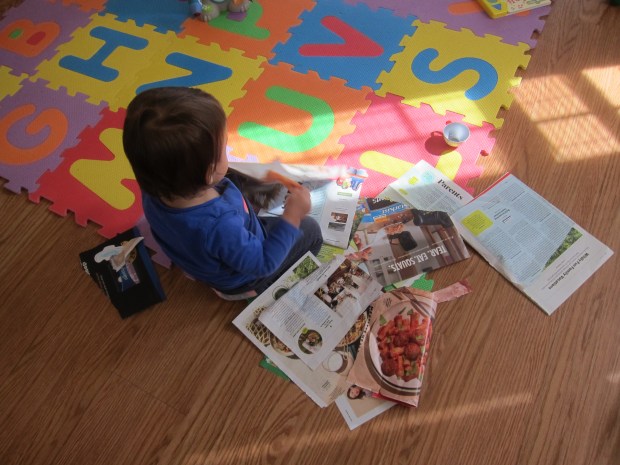
She was so excited pulling letters back out and seeing what she got in the mall!

Mailbox Pretend Play (9)

This was such easy but fantastic pretend play for a two-year-old. Does your toddler like to play mail delivery? Please share in the comments!

Mailbox Pretend Play (8)

Junk Mailman

Junk Mailman (1)

If you ever feel like you can’t open the bills or get through the mail with a toddler in the house, this game is for you!

For a few days running, I set aside the junk mail that arrived and kept a collection in a paper bag. When I needed to sit down and peruse the items that mattered, I presented Veronika with this bag.

Junk Mailman (2)

She thought she’d hit the jackpot! There was paper to rip…

Junk Mail (2)

…and envelopes to open. This last part is still tricky for her, but if I start a corner, she proudly pulls the document the rest of the way out.

Junk Mailman (3)

Inevitably there are lots of pictures and pages to flip through, especially if you save up catalogs.

Junk Mail (1)

At one point, she needed a pen just like mommy and I could tell she felt very important!

Junk Mailman (4)

The game was such a hit that I’m going to make it a regular occurrence around here.

Make a Mailbox

Make Mailbox (7)

Kids just love the mail and playing mailbox, and this is true even before they fully understand what the pretend play is all about! So today I made Veronika her first mailbox, simply by cutting a slit in an old shoebox.

Make Mailbox (1)

We had fun decorating it together; while Veronika proudly scribbled in purple, I added “U.S. Mail” across the top and some red and blue coloration.

Make Mailbox (3)

It was time to send the mail! Use old envelopes or stationary or even playing cards for your “letters”. I showed her how to put them in the slot…

Make Mailbox (5)

…and then reach in to take them out again. She got the hang of it right away.

Make Mailbox (6)

Add to the pretend play by addressing a note or two to your baby. You can then pretend to “read” the mail together.

Make Mailbox (2)

For proof that games like this never grow old, big brother Travis needed to horn in on the action.

Make Mailbox (4)

Soon he was practicing his handwriting as he addressed letters, mailing them through the slot, and opening them back up again.

Make Mailbox (9)

It kept both of them entertained for ages!

Make Mailbox (10)

You can finish the fun with a trip to a real post office, or even just a stop to watch a mail carrier at work, delivering letters from the truck.

Make a Mailbox alt.jpg

Cardboard Postcard

Cardboard Post (6)

For kids interested in stamps and letters, this project is fantastic. Not only do they get to make a unique creation, but you can really mail it!

For sturdy backing, we made our postcards on cardboard, which I simply trimmed from a package that had arrived earlier in the week. Travis decorated with a “message” – he loves pretending to write words these days!

Cardboard Post (2)

I made sure to leave room on the side for lines and the address of our recipient.

Cardboard Post (1)

Turn the card over and decorate – we used glue and cut up pieces of tissue paper.

Cardboard Post (3)

If you like, use a paintbrush to deal your design with an additional layer of glue; this gives your creation a better chance of making it through the mail intact… though I confess we skipped this step!

Cardboard Post (7)

Once the glue dried, we were off to the post office! I think we made the clerk’s day when we showed her what we wanted to mail. Now your lucky recipient will receive a surprise in the mail!

Cardboard Post (8).JPG