Playdough Cars

I’d been saving up a variety of household items for a while with this project in mind, all of which meant this morning I could delight Veronika with a full town for her to drive playdough cars through. This project can easily be tailored to multiple ages; older kids can be a part of some or all of the set-up, depending on their age, while the youngest tots will simply enjoy playing in the result!

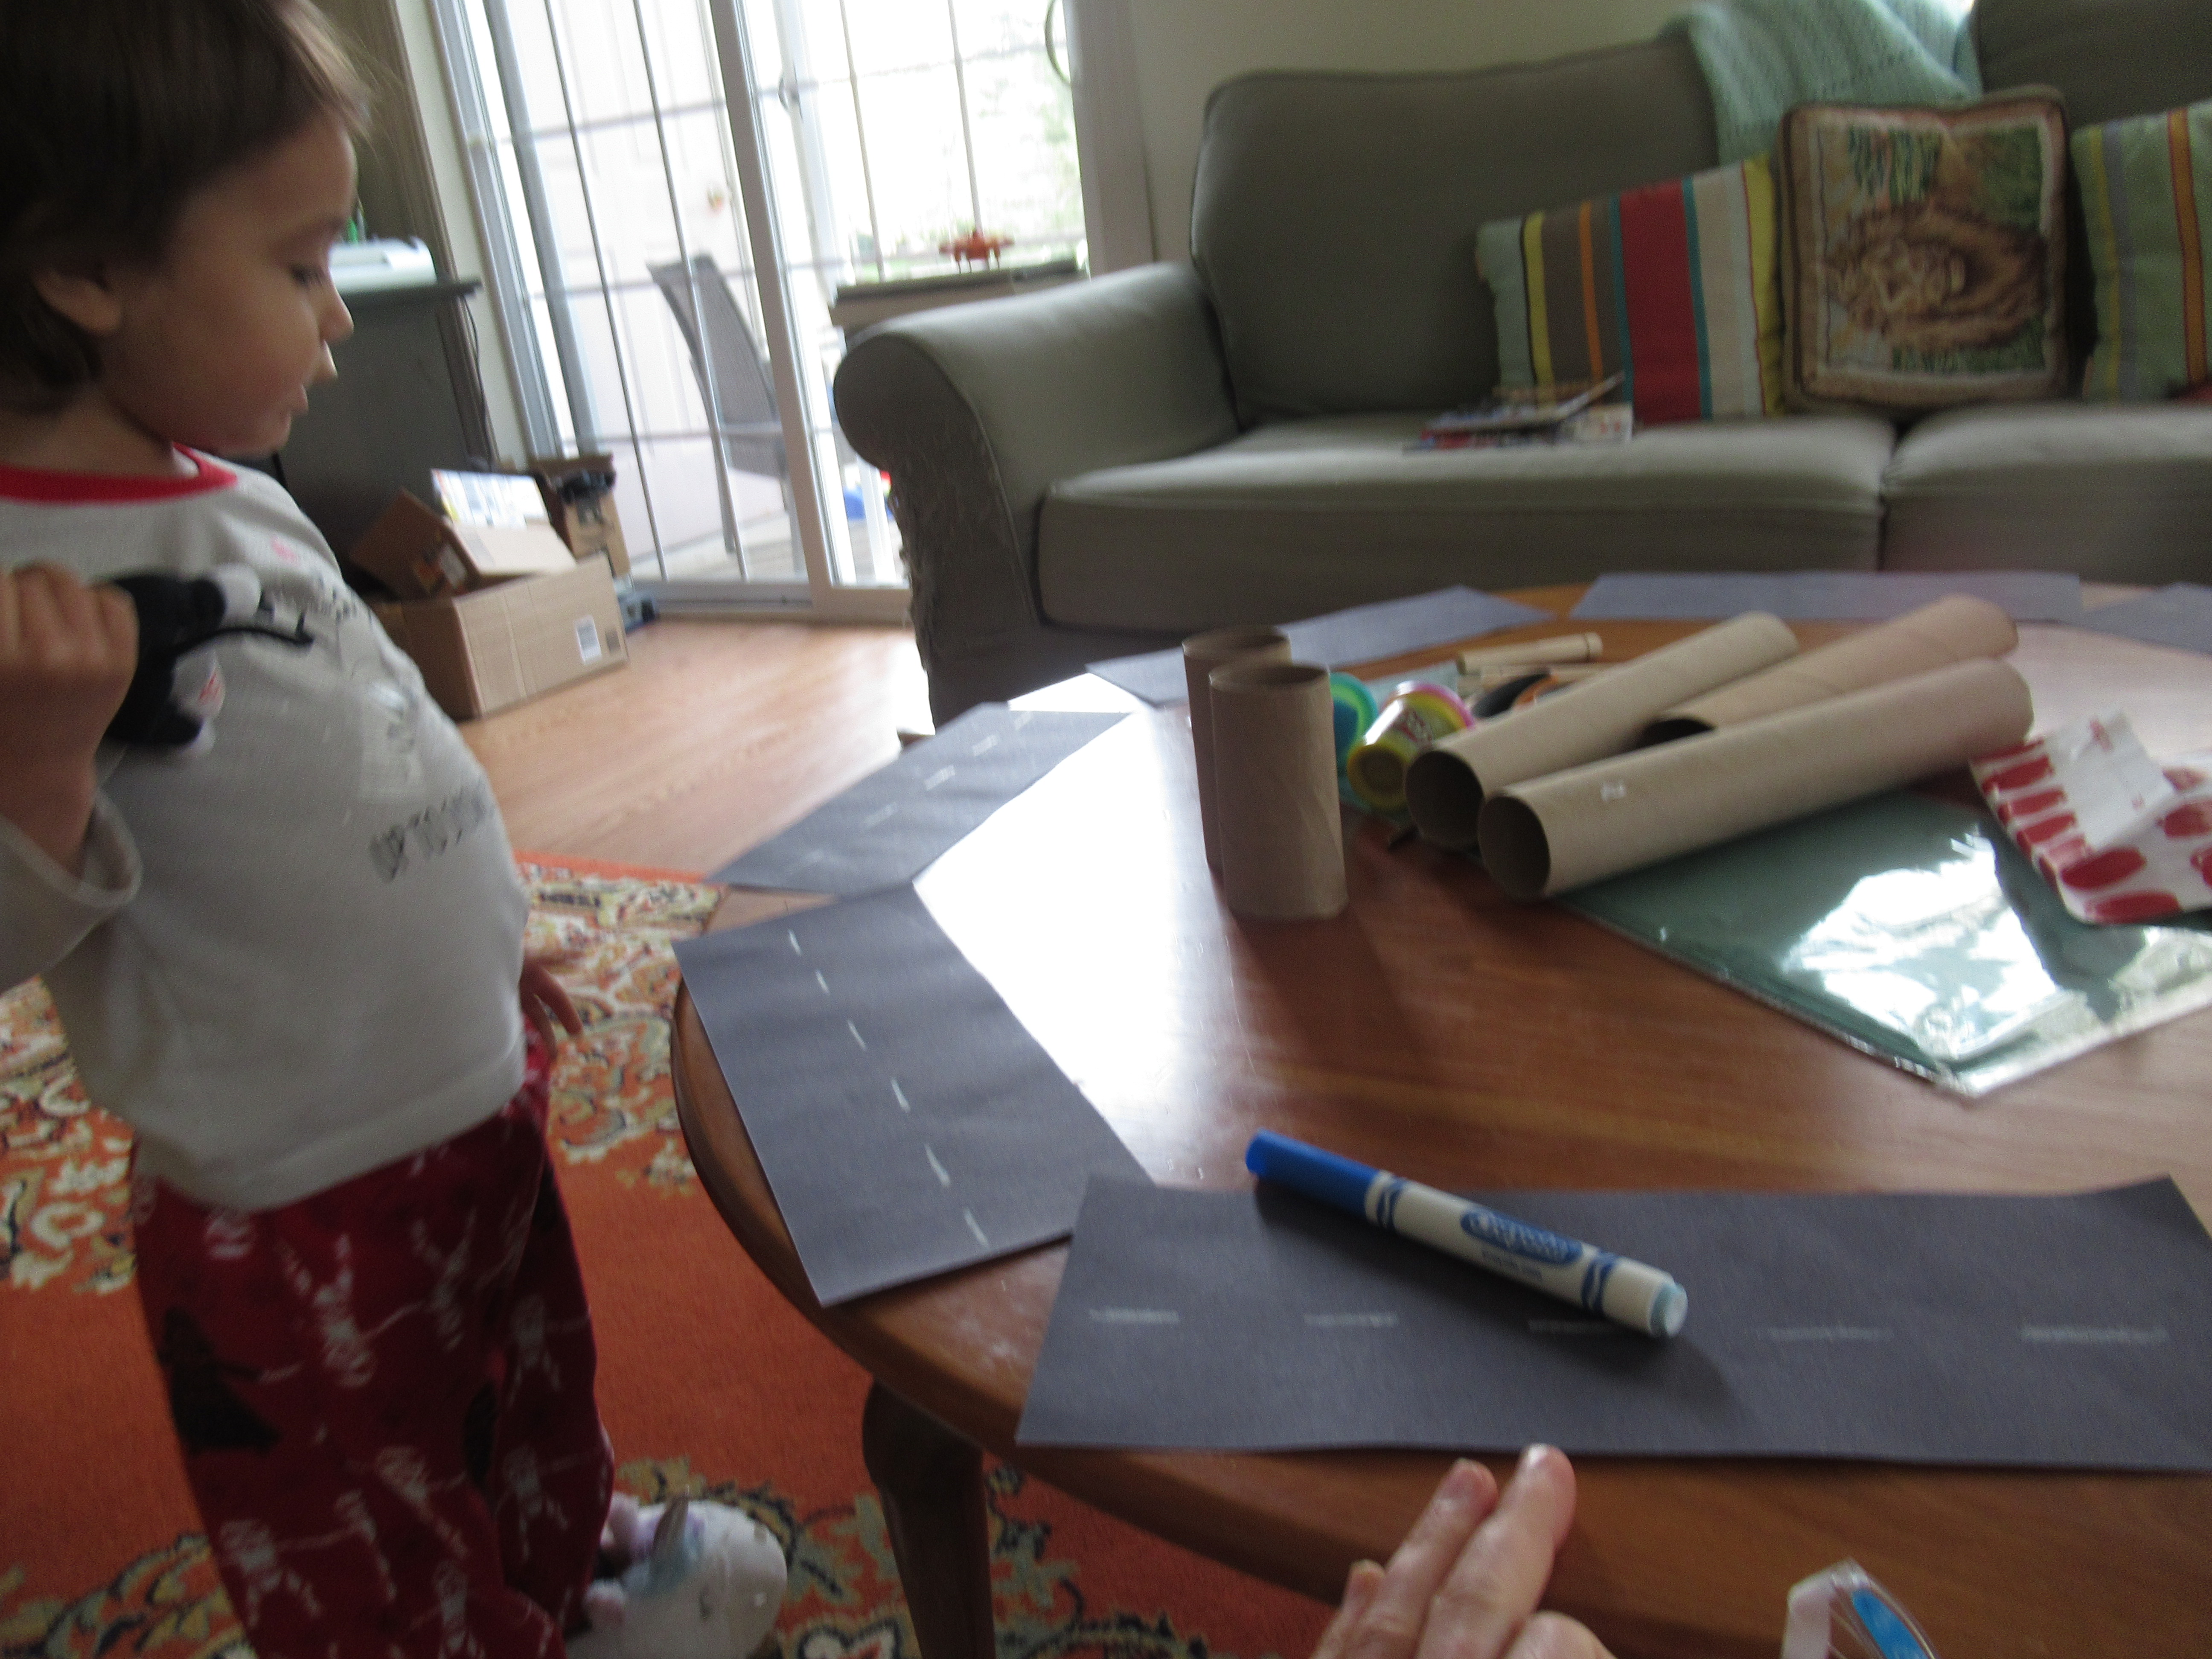
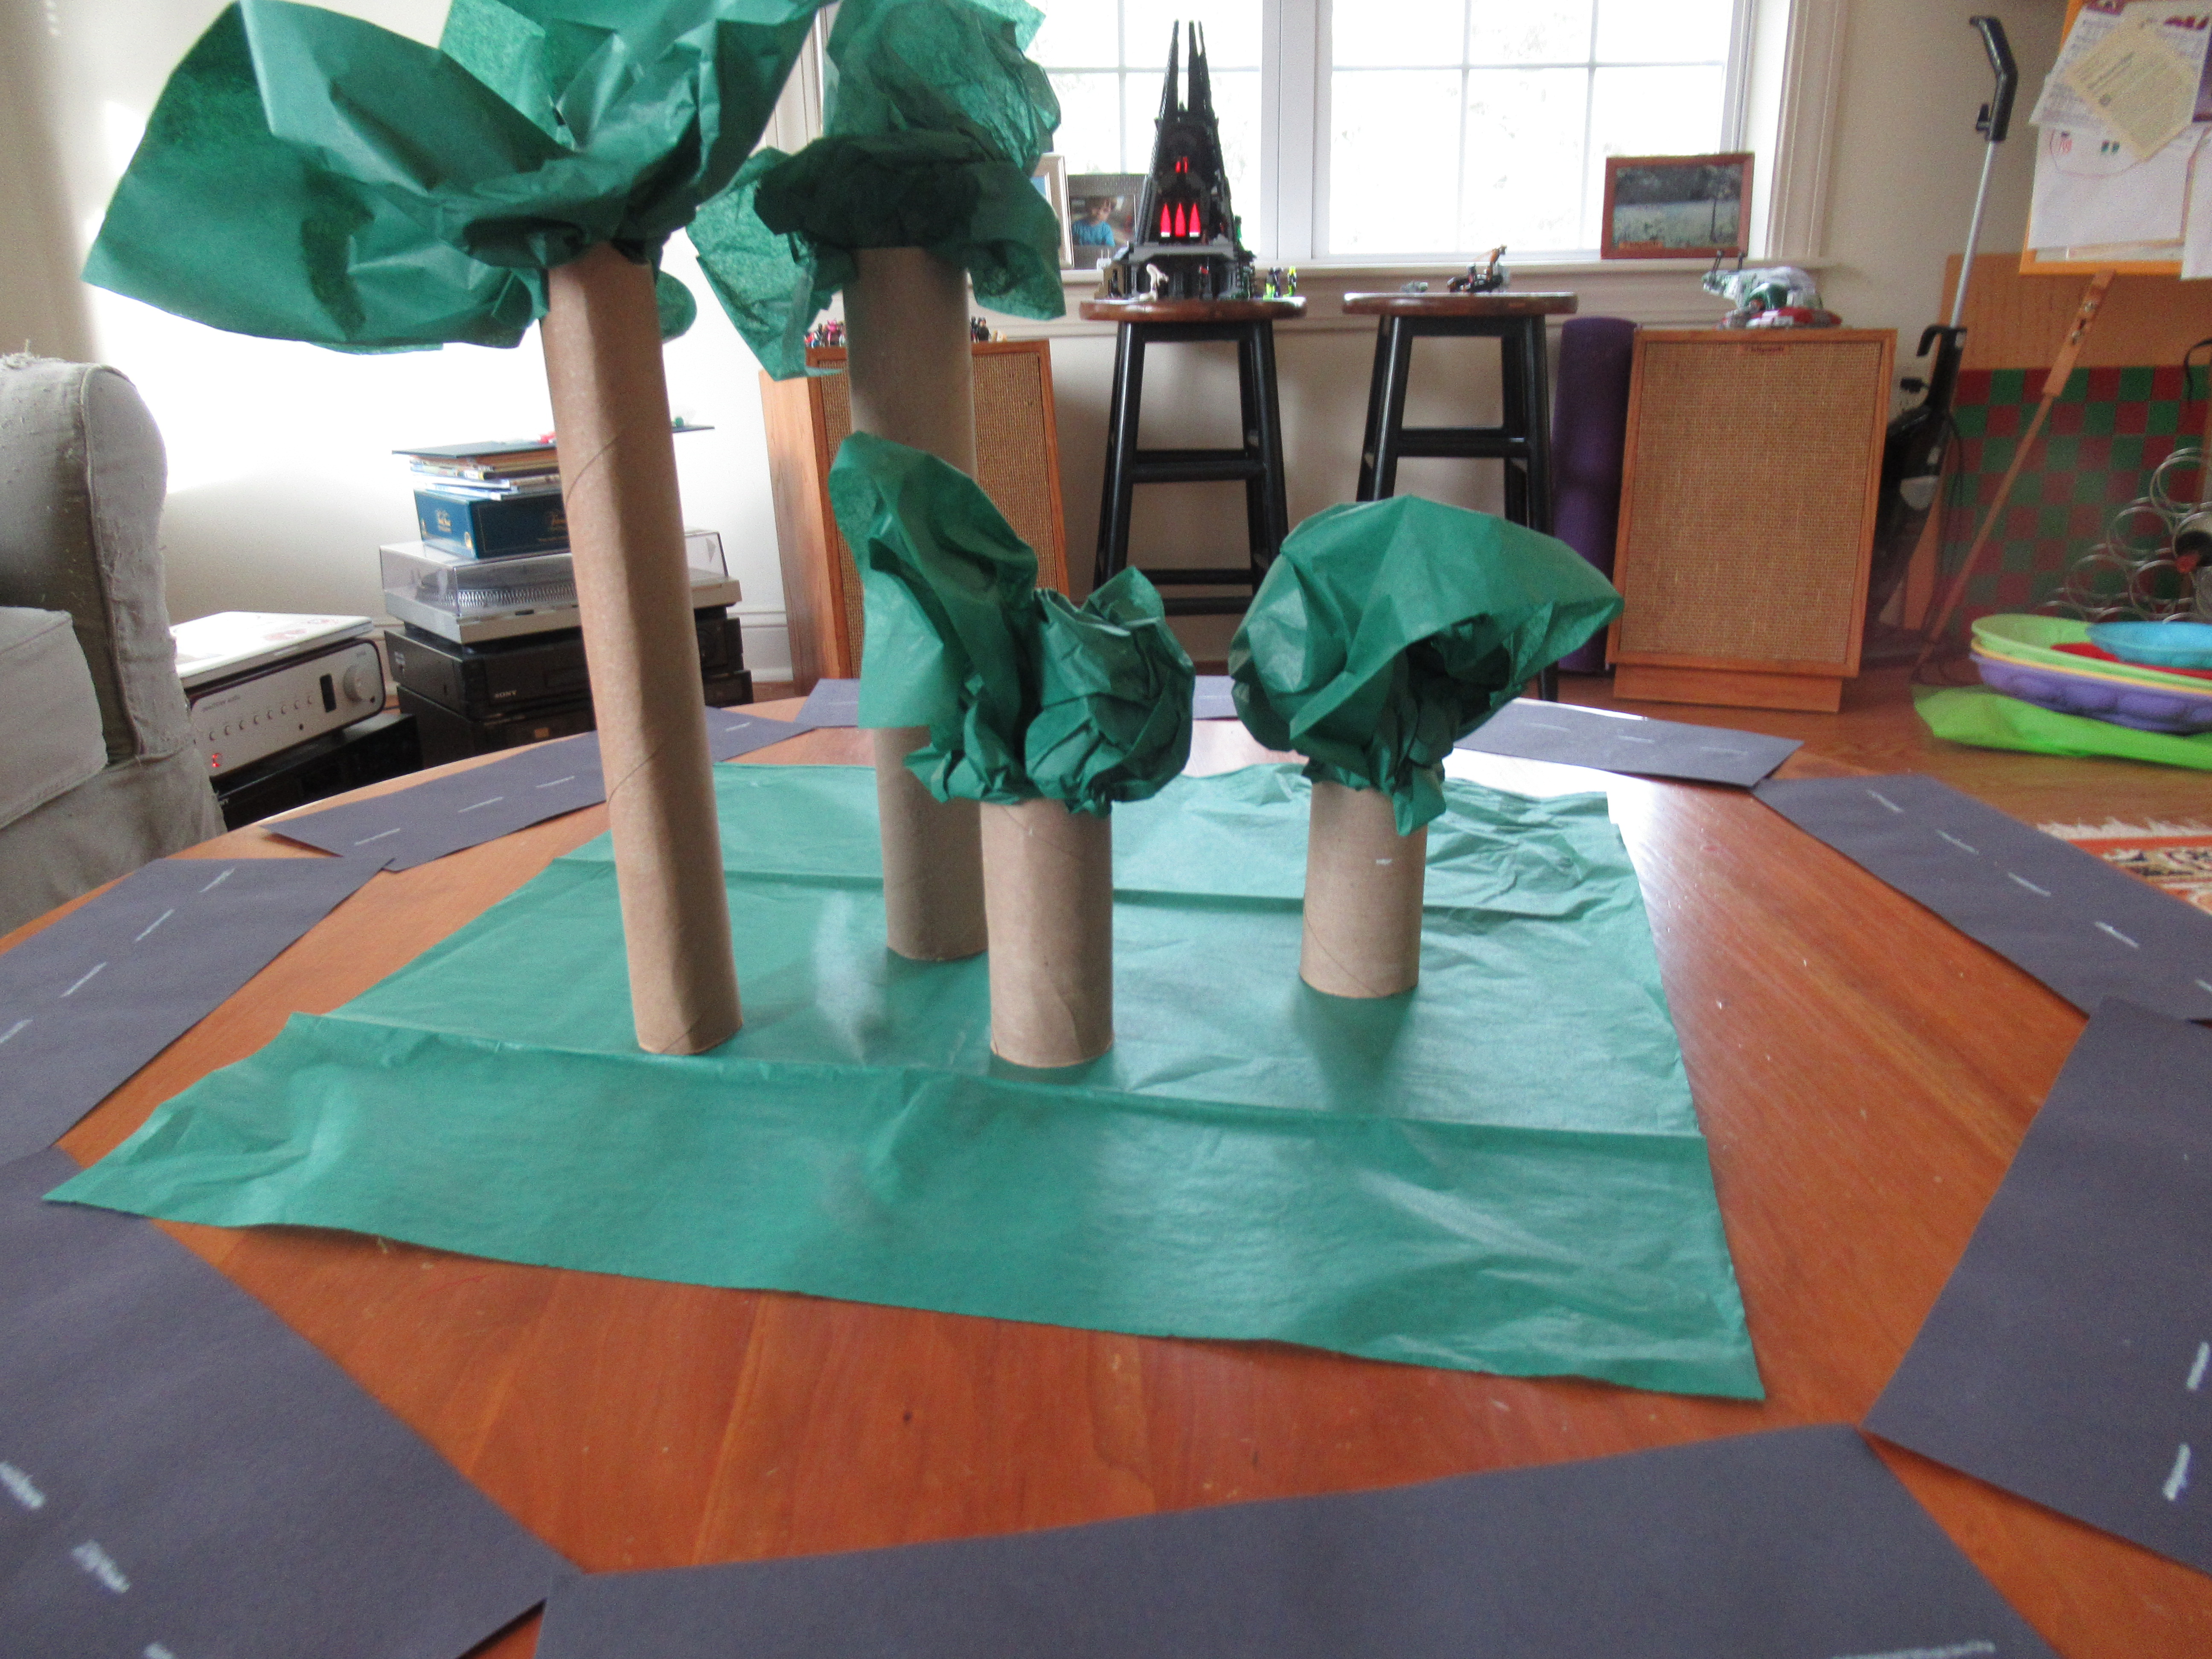
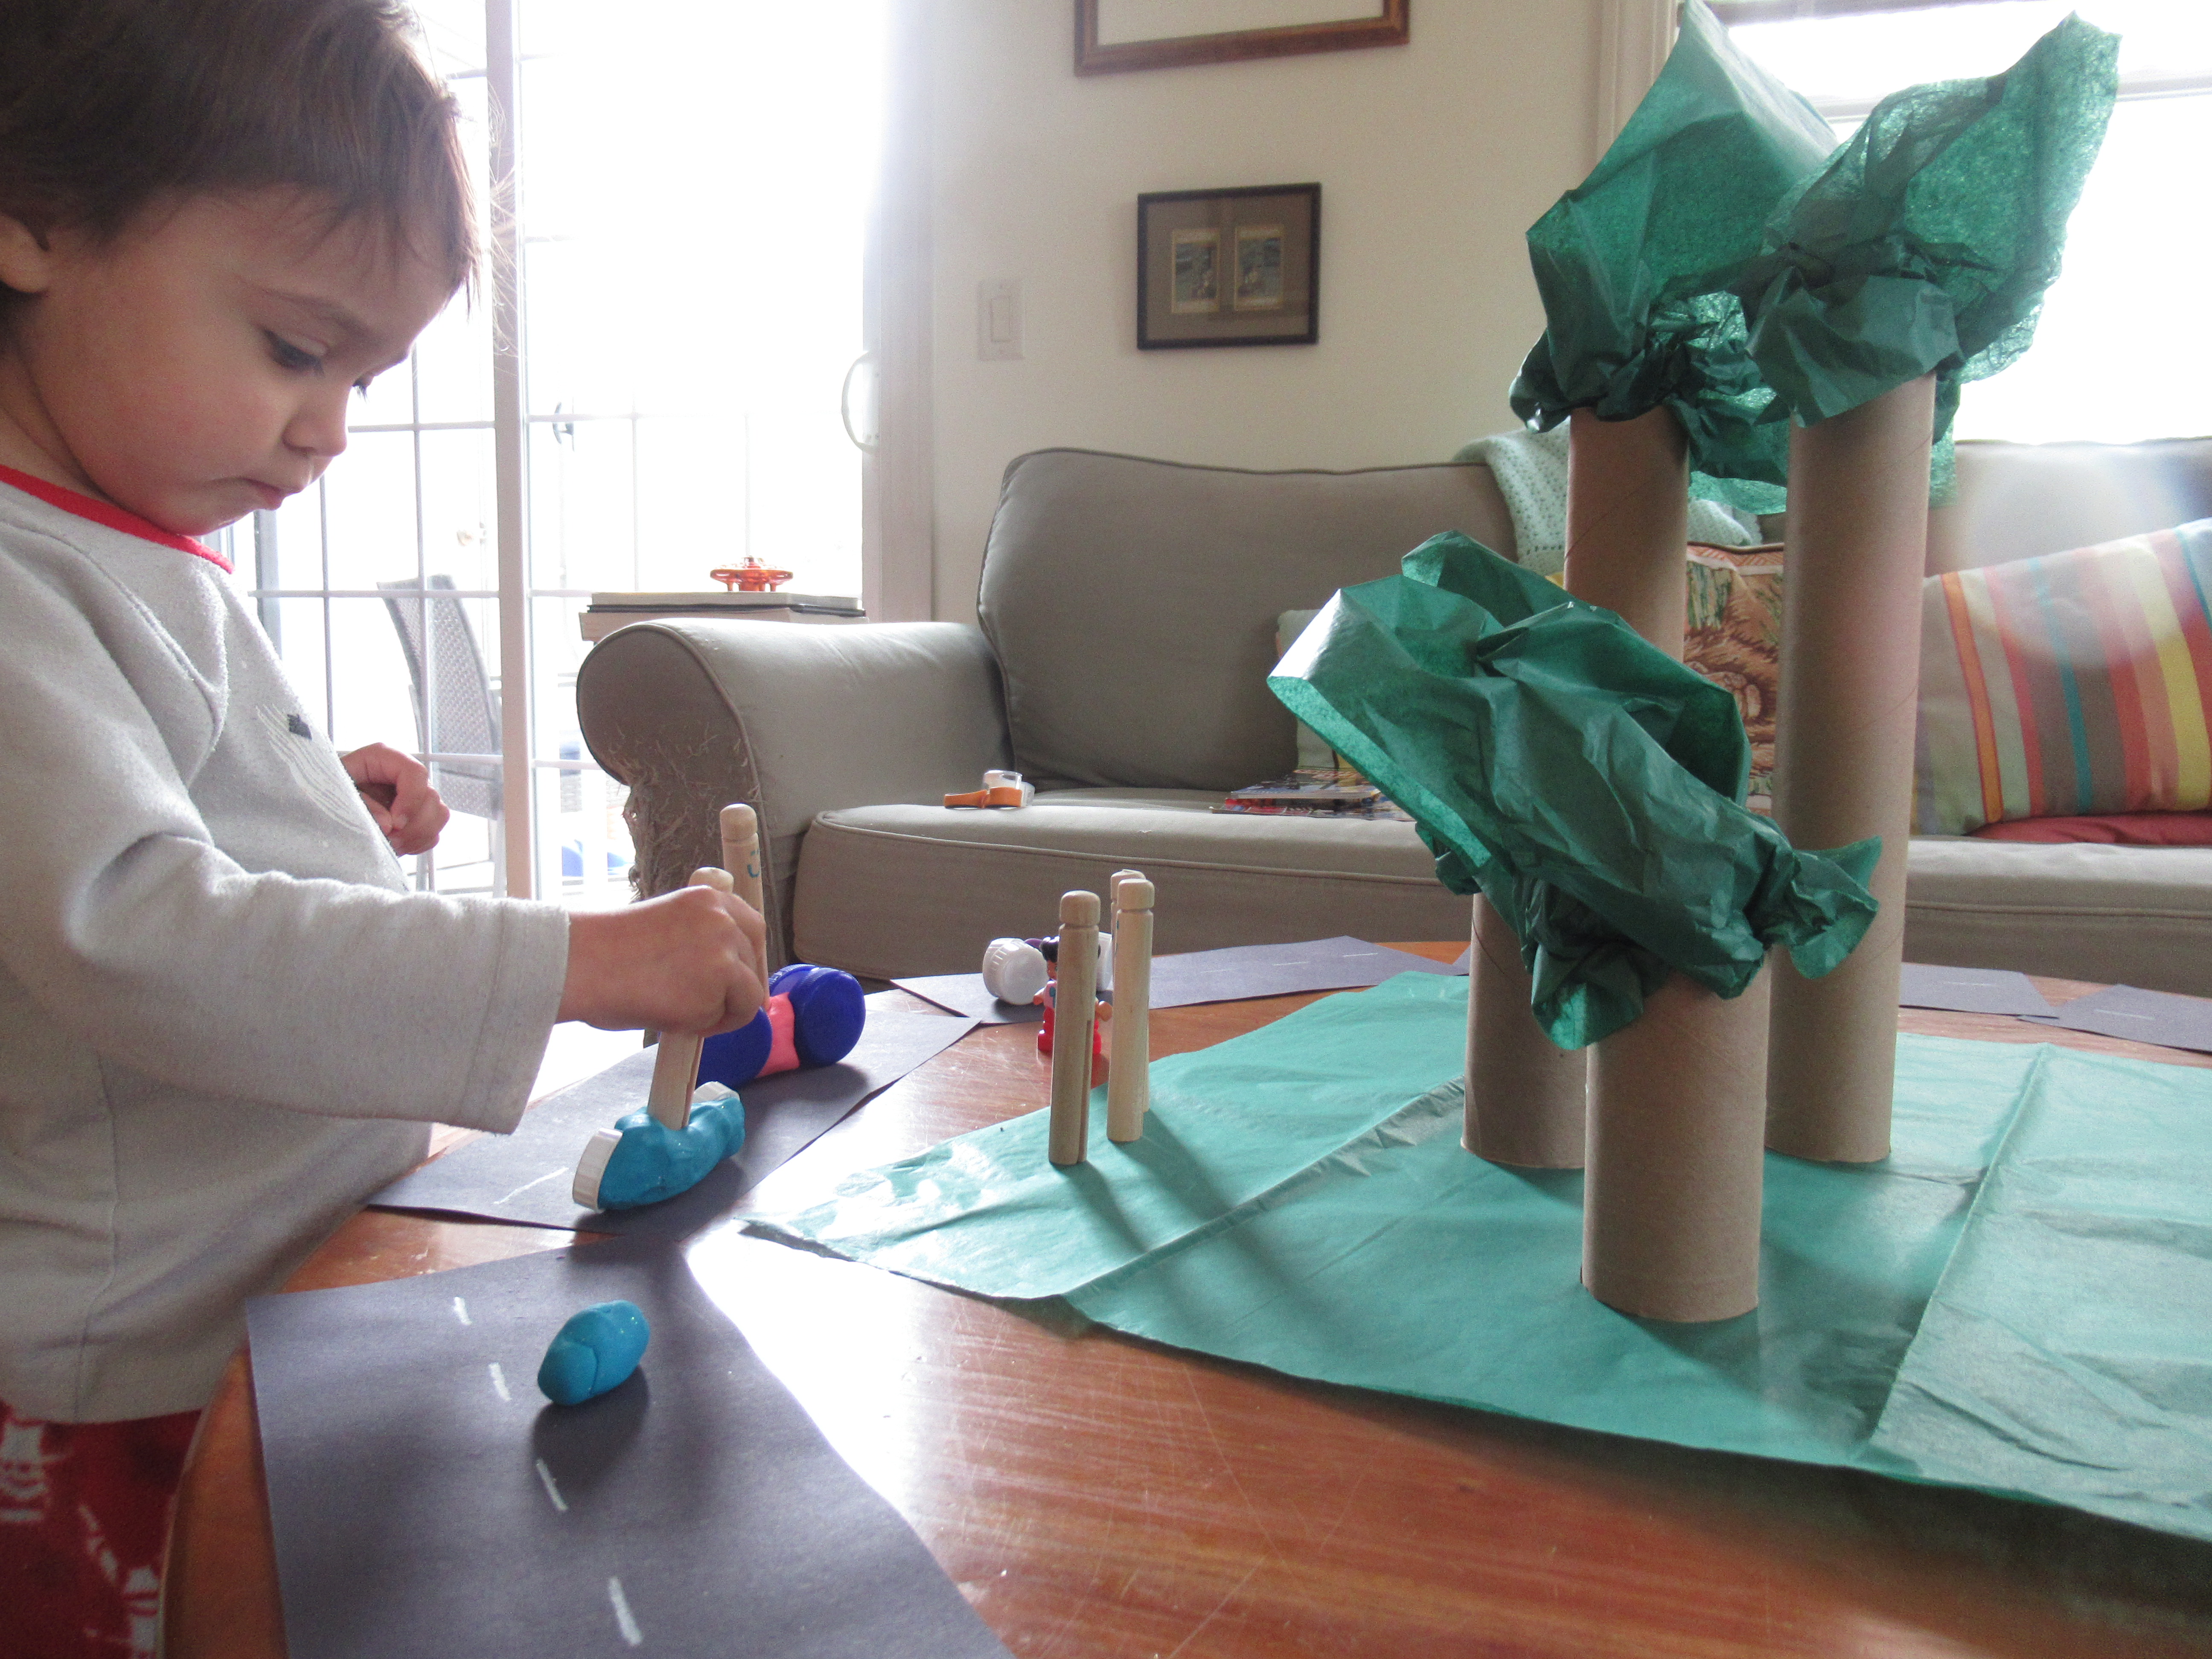
To start, I drew roads on black construction paper, adding white crayon for the dividing lines, and taped them down as a ring road around our coffee table.

Next, green tissue paper went in the center as the grass. I then stuffed additional sheets of tissue paper into the tops of empty paper towel tubes and toilet paper tubes, for trees of varying heights.

For little people, simply draw smiley faces on clothespins.

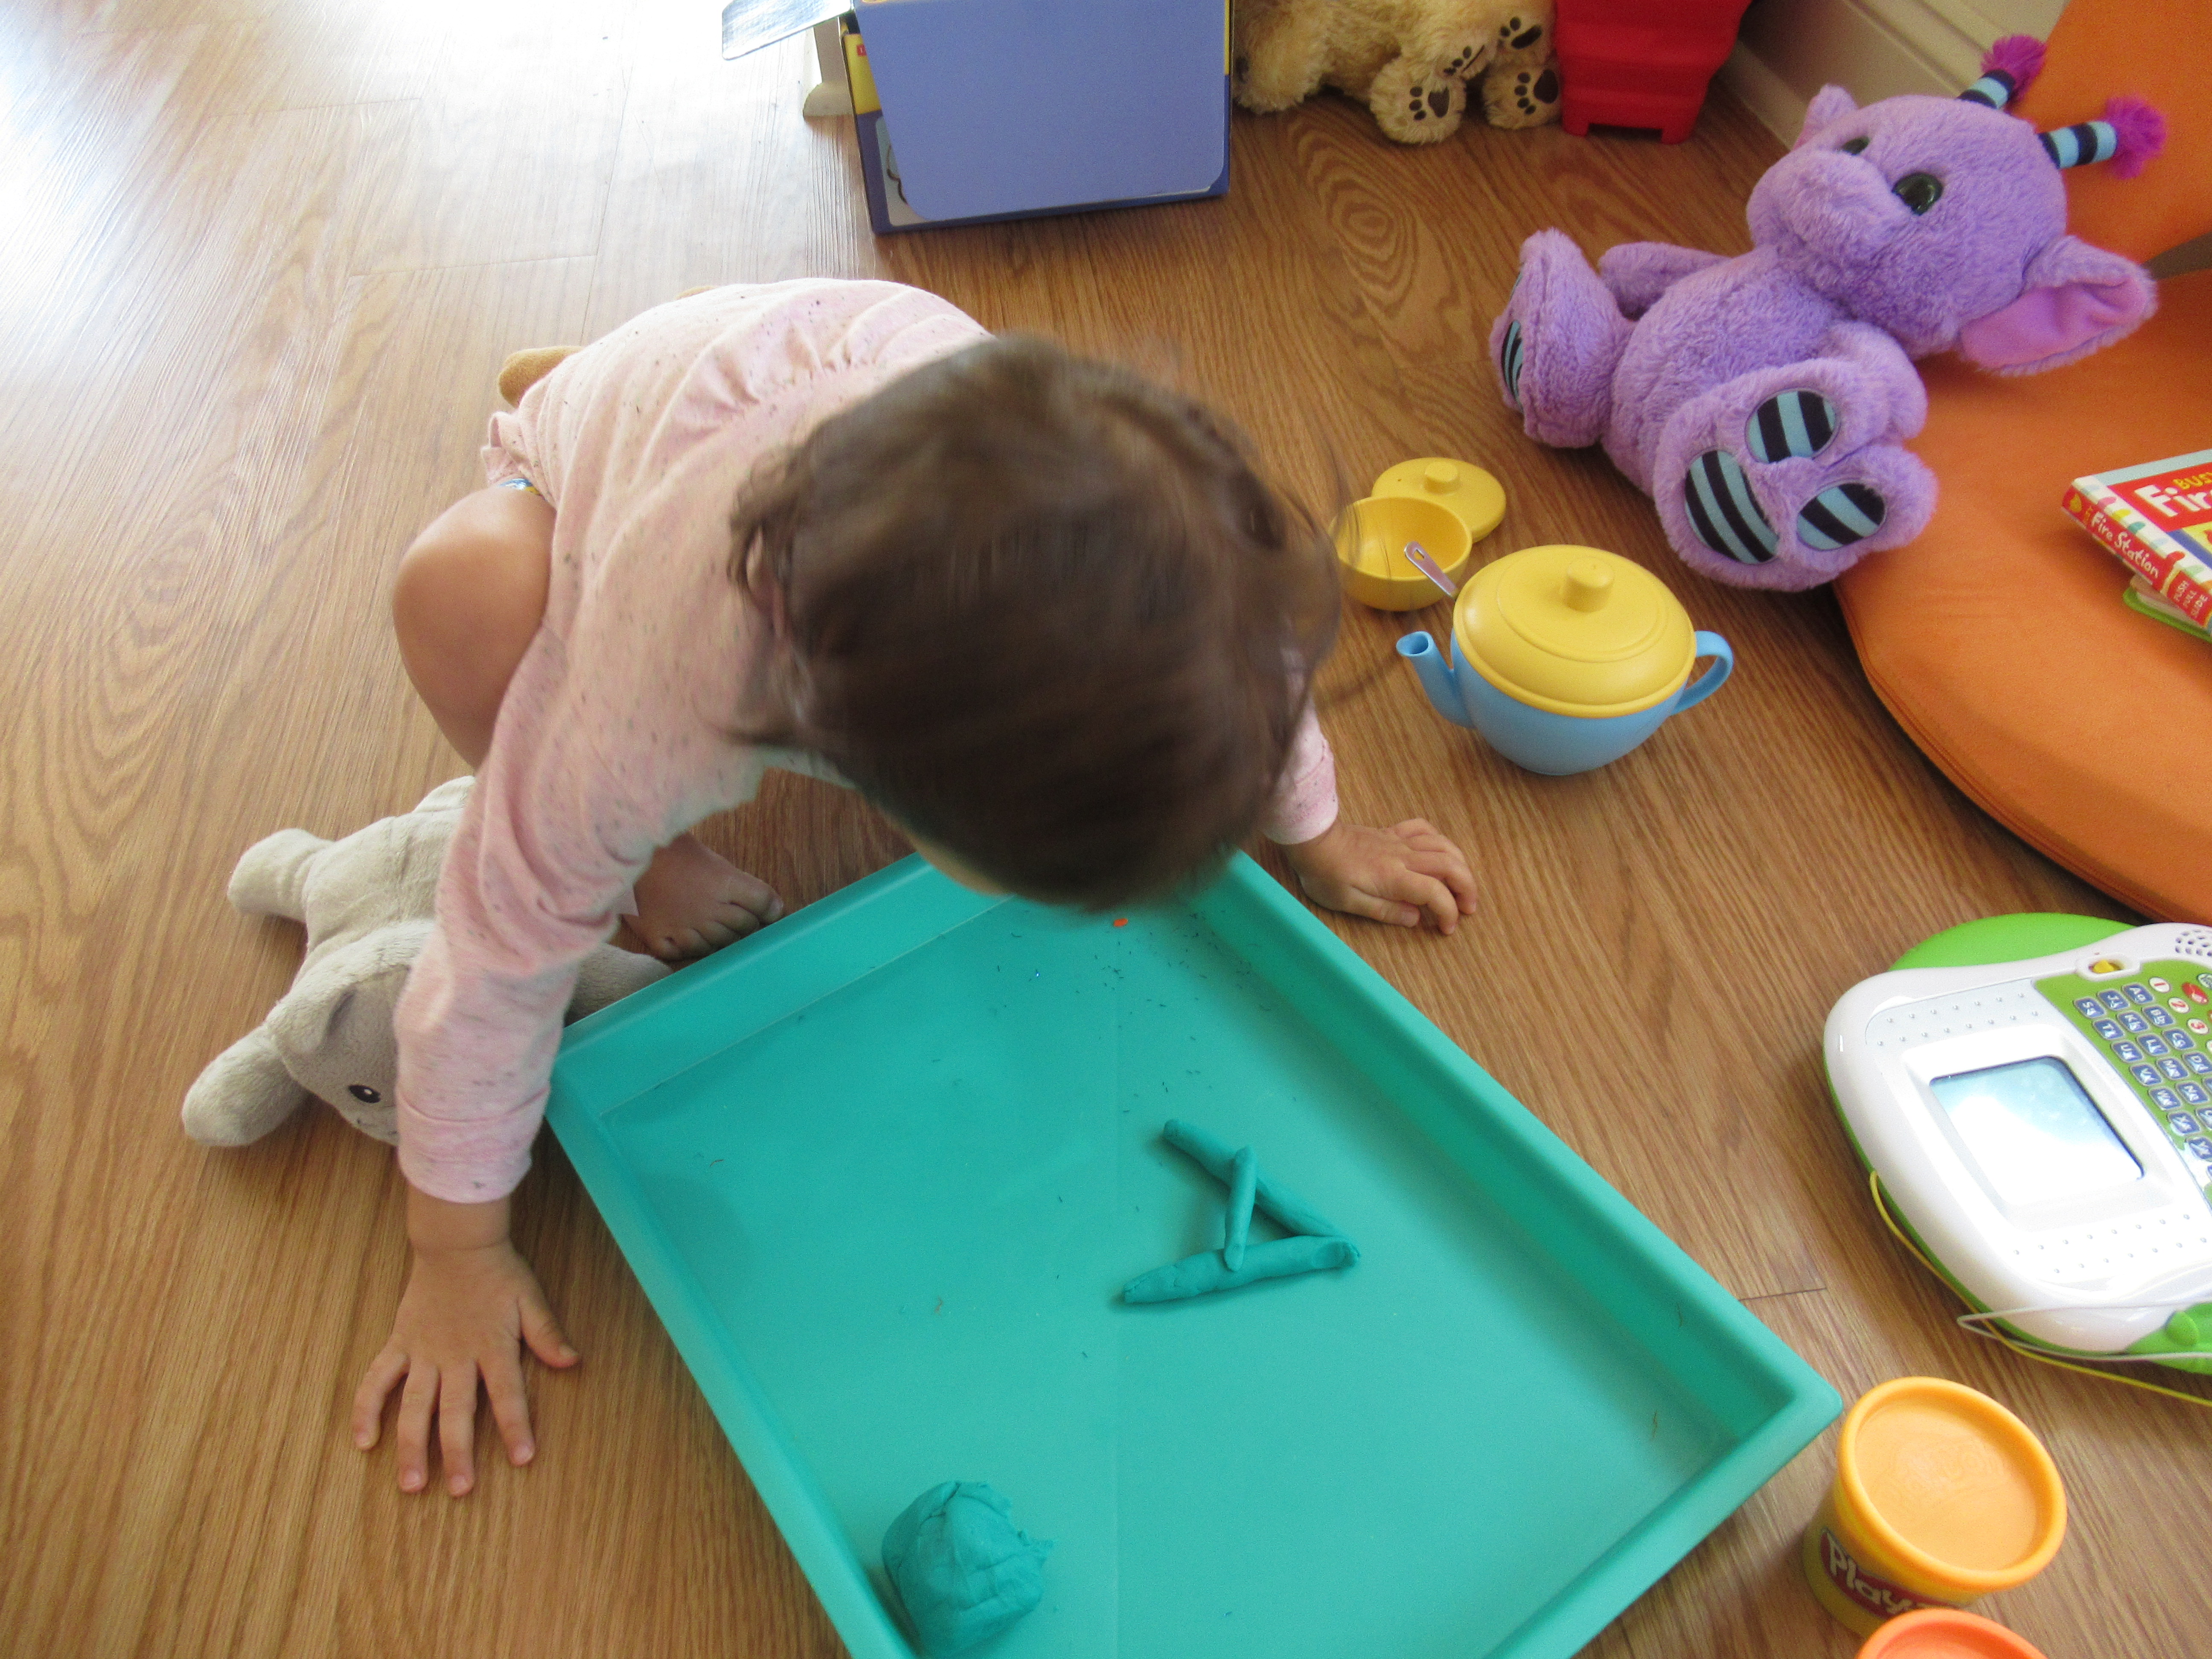
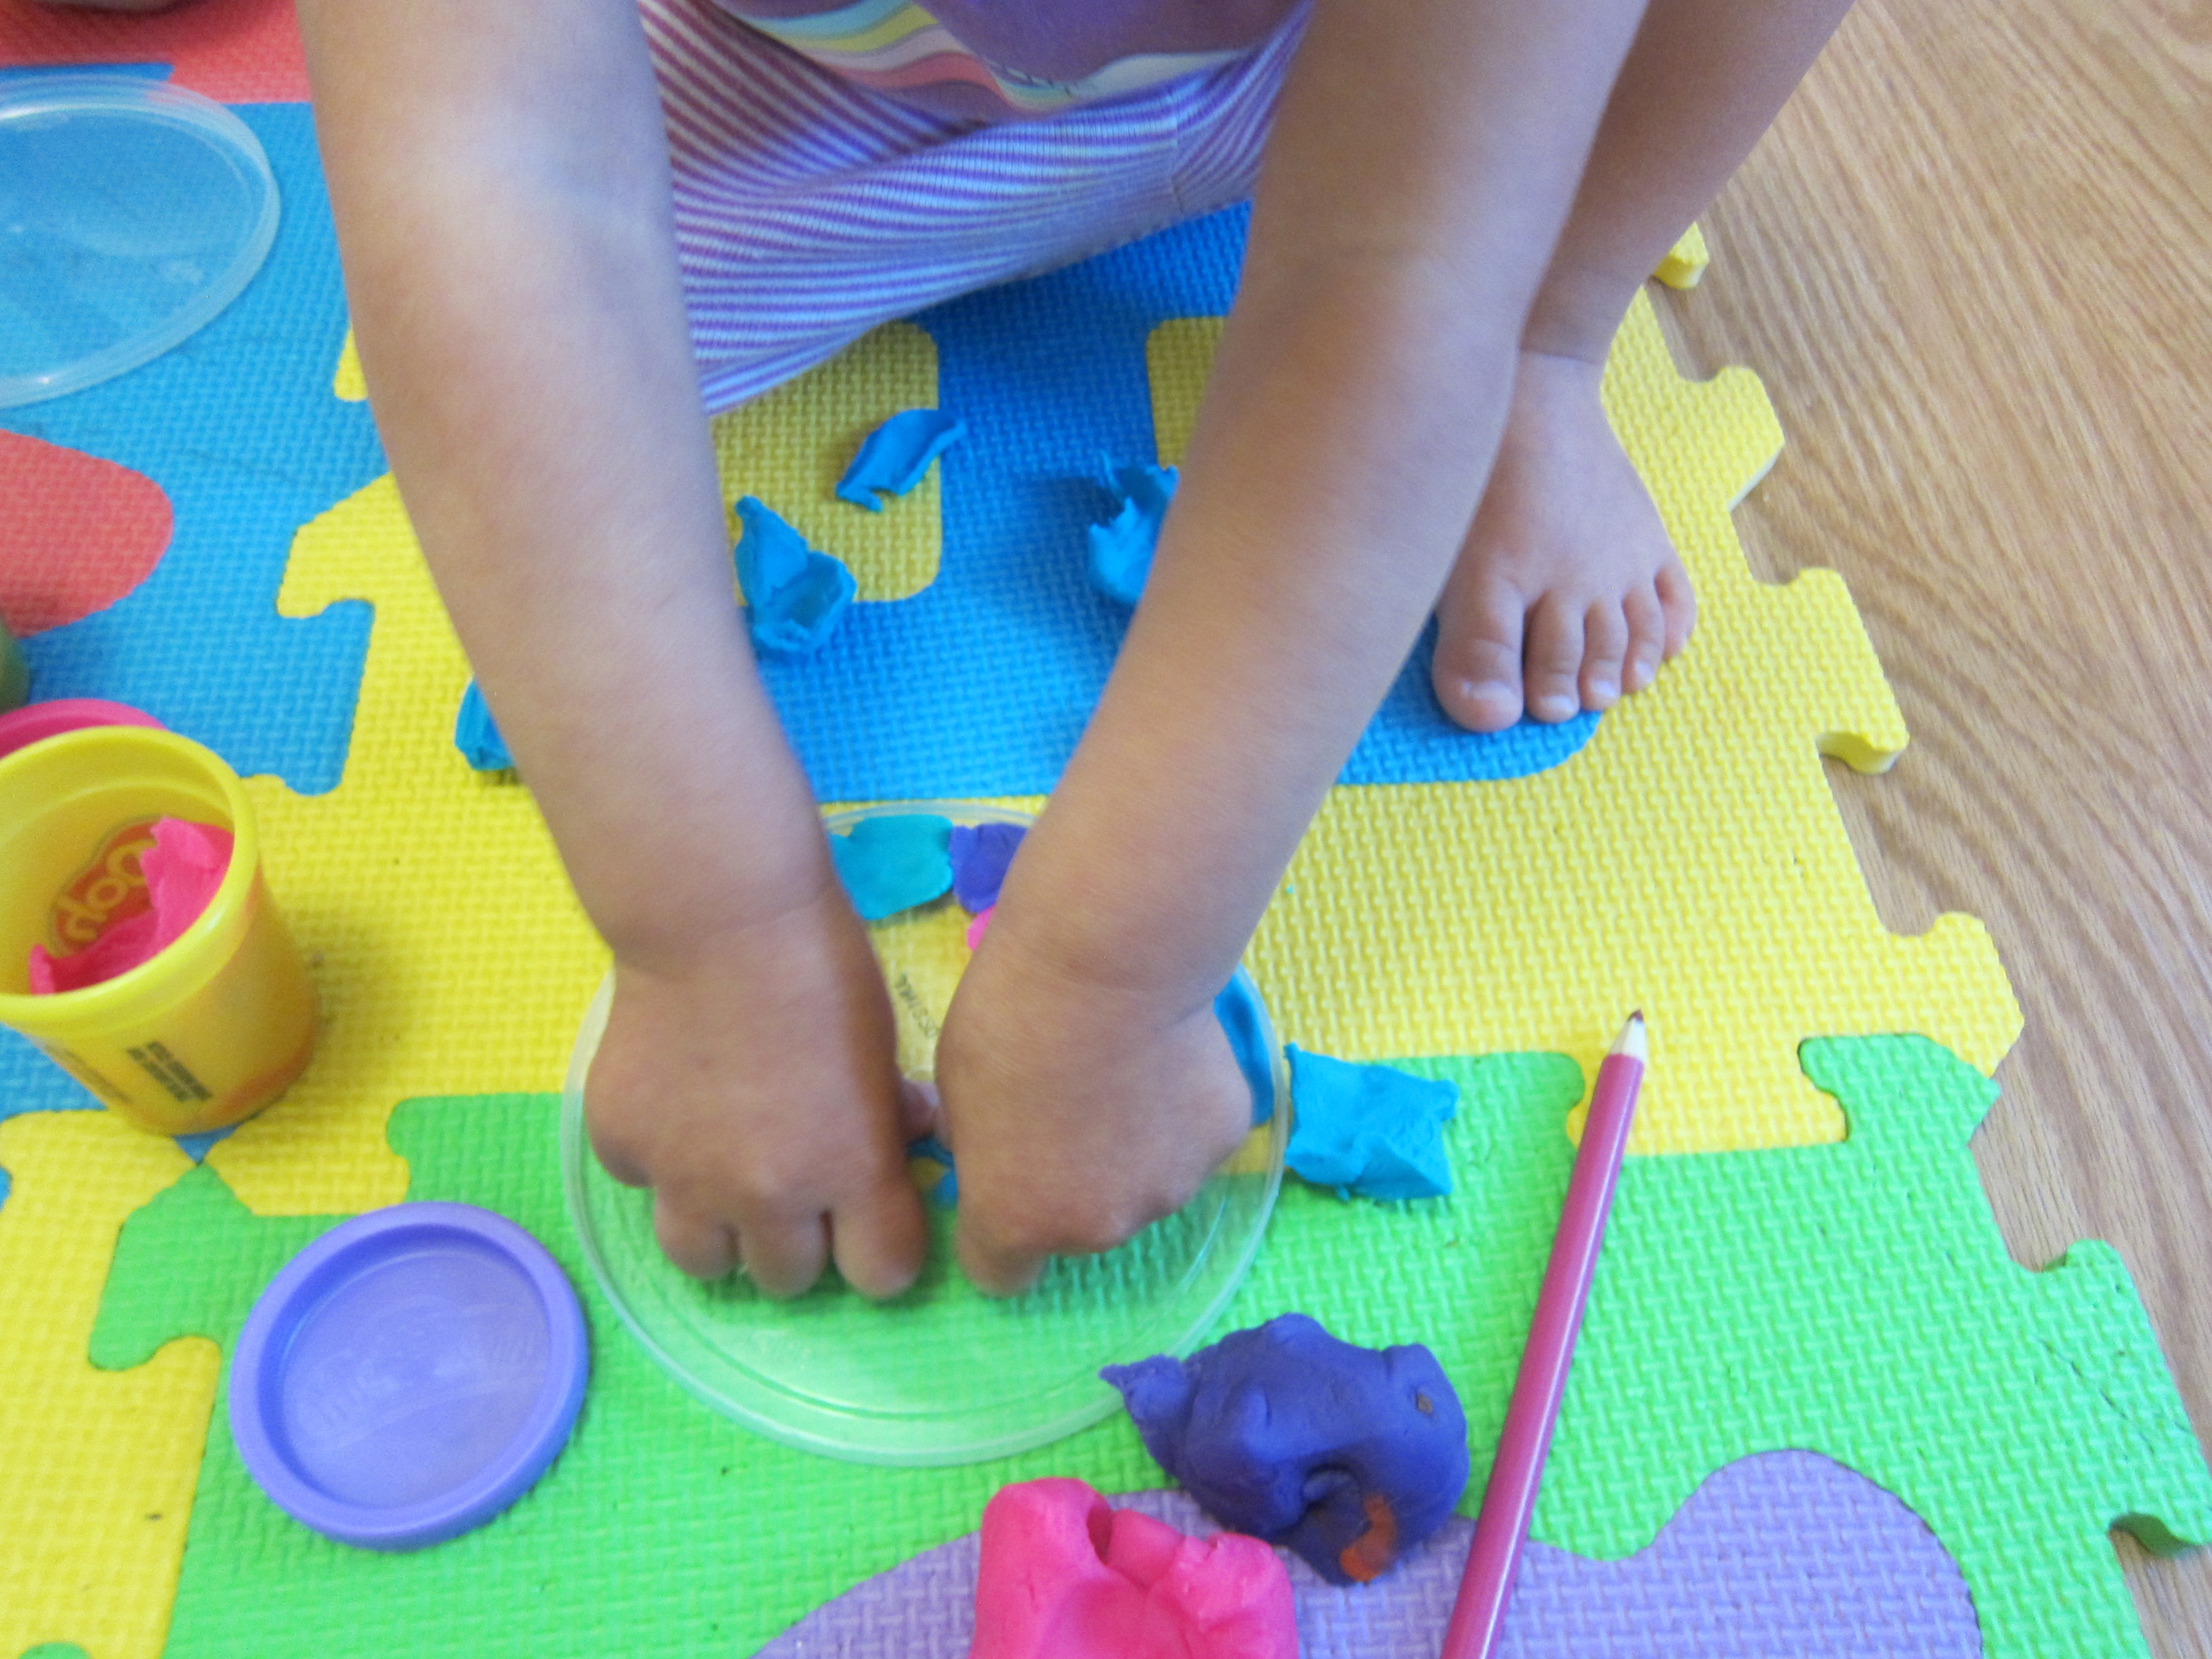
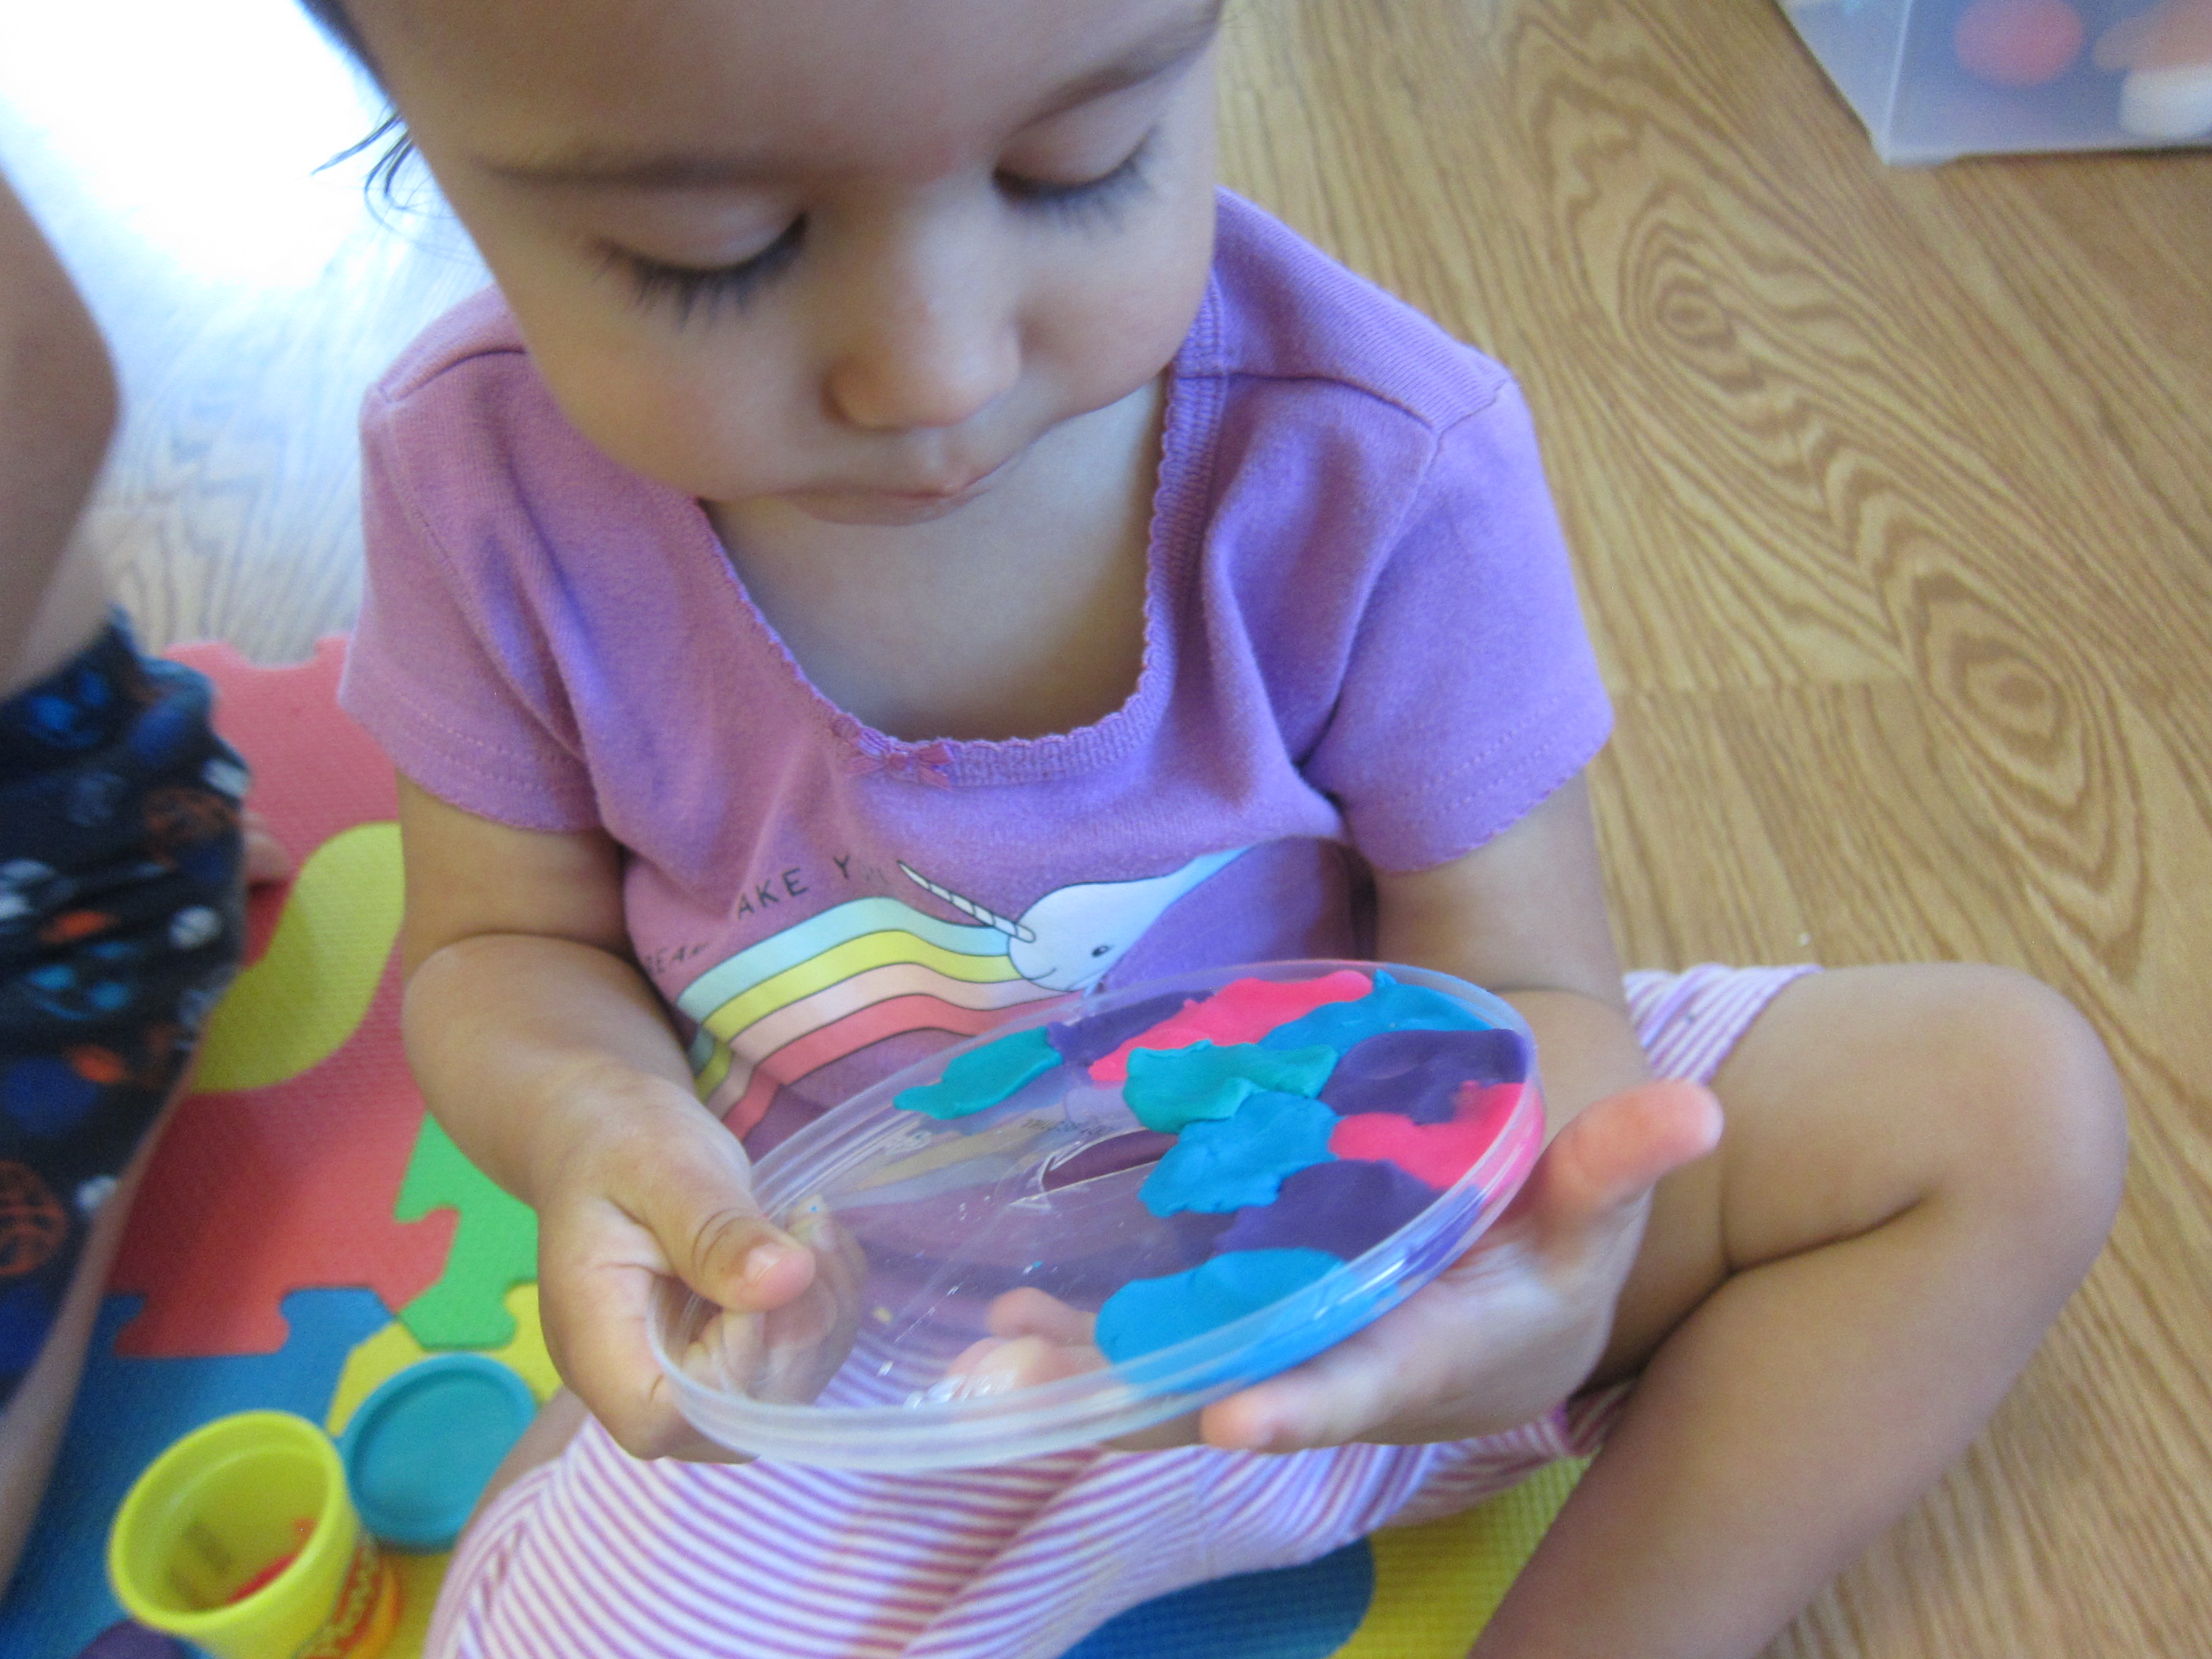
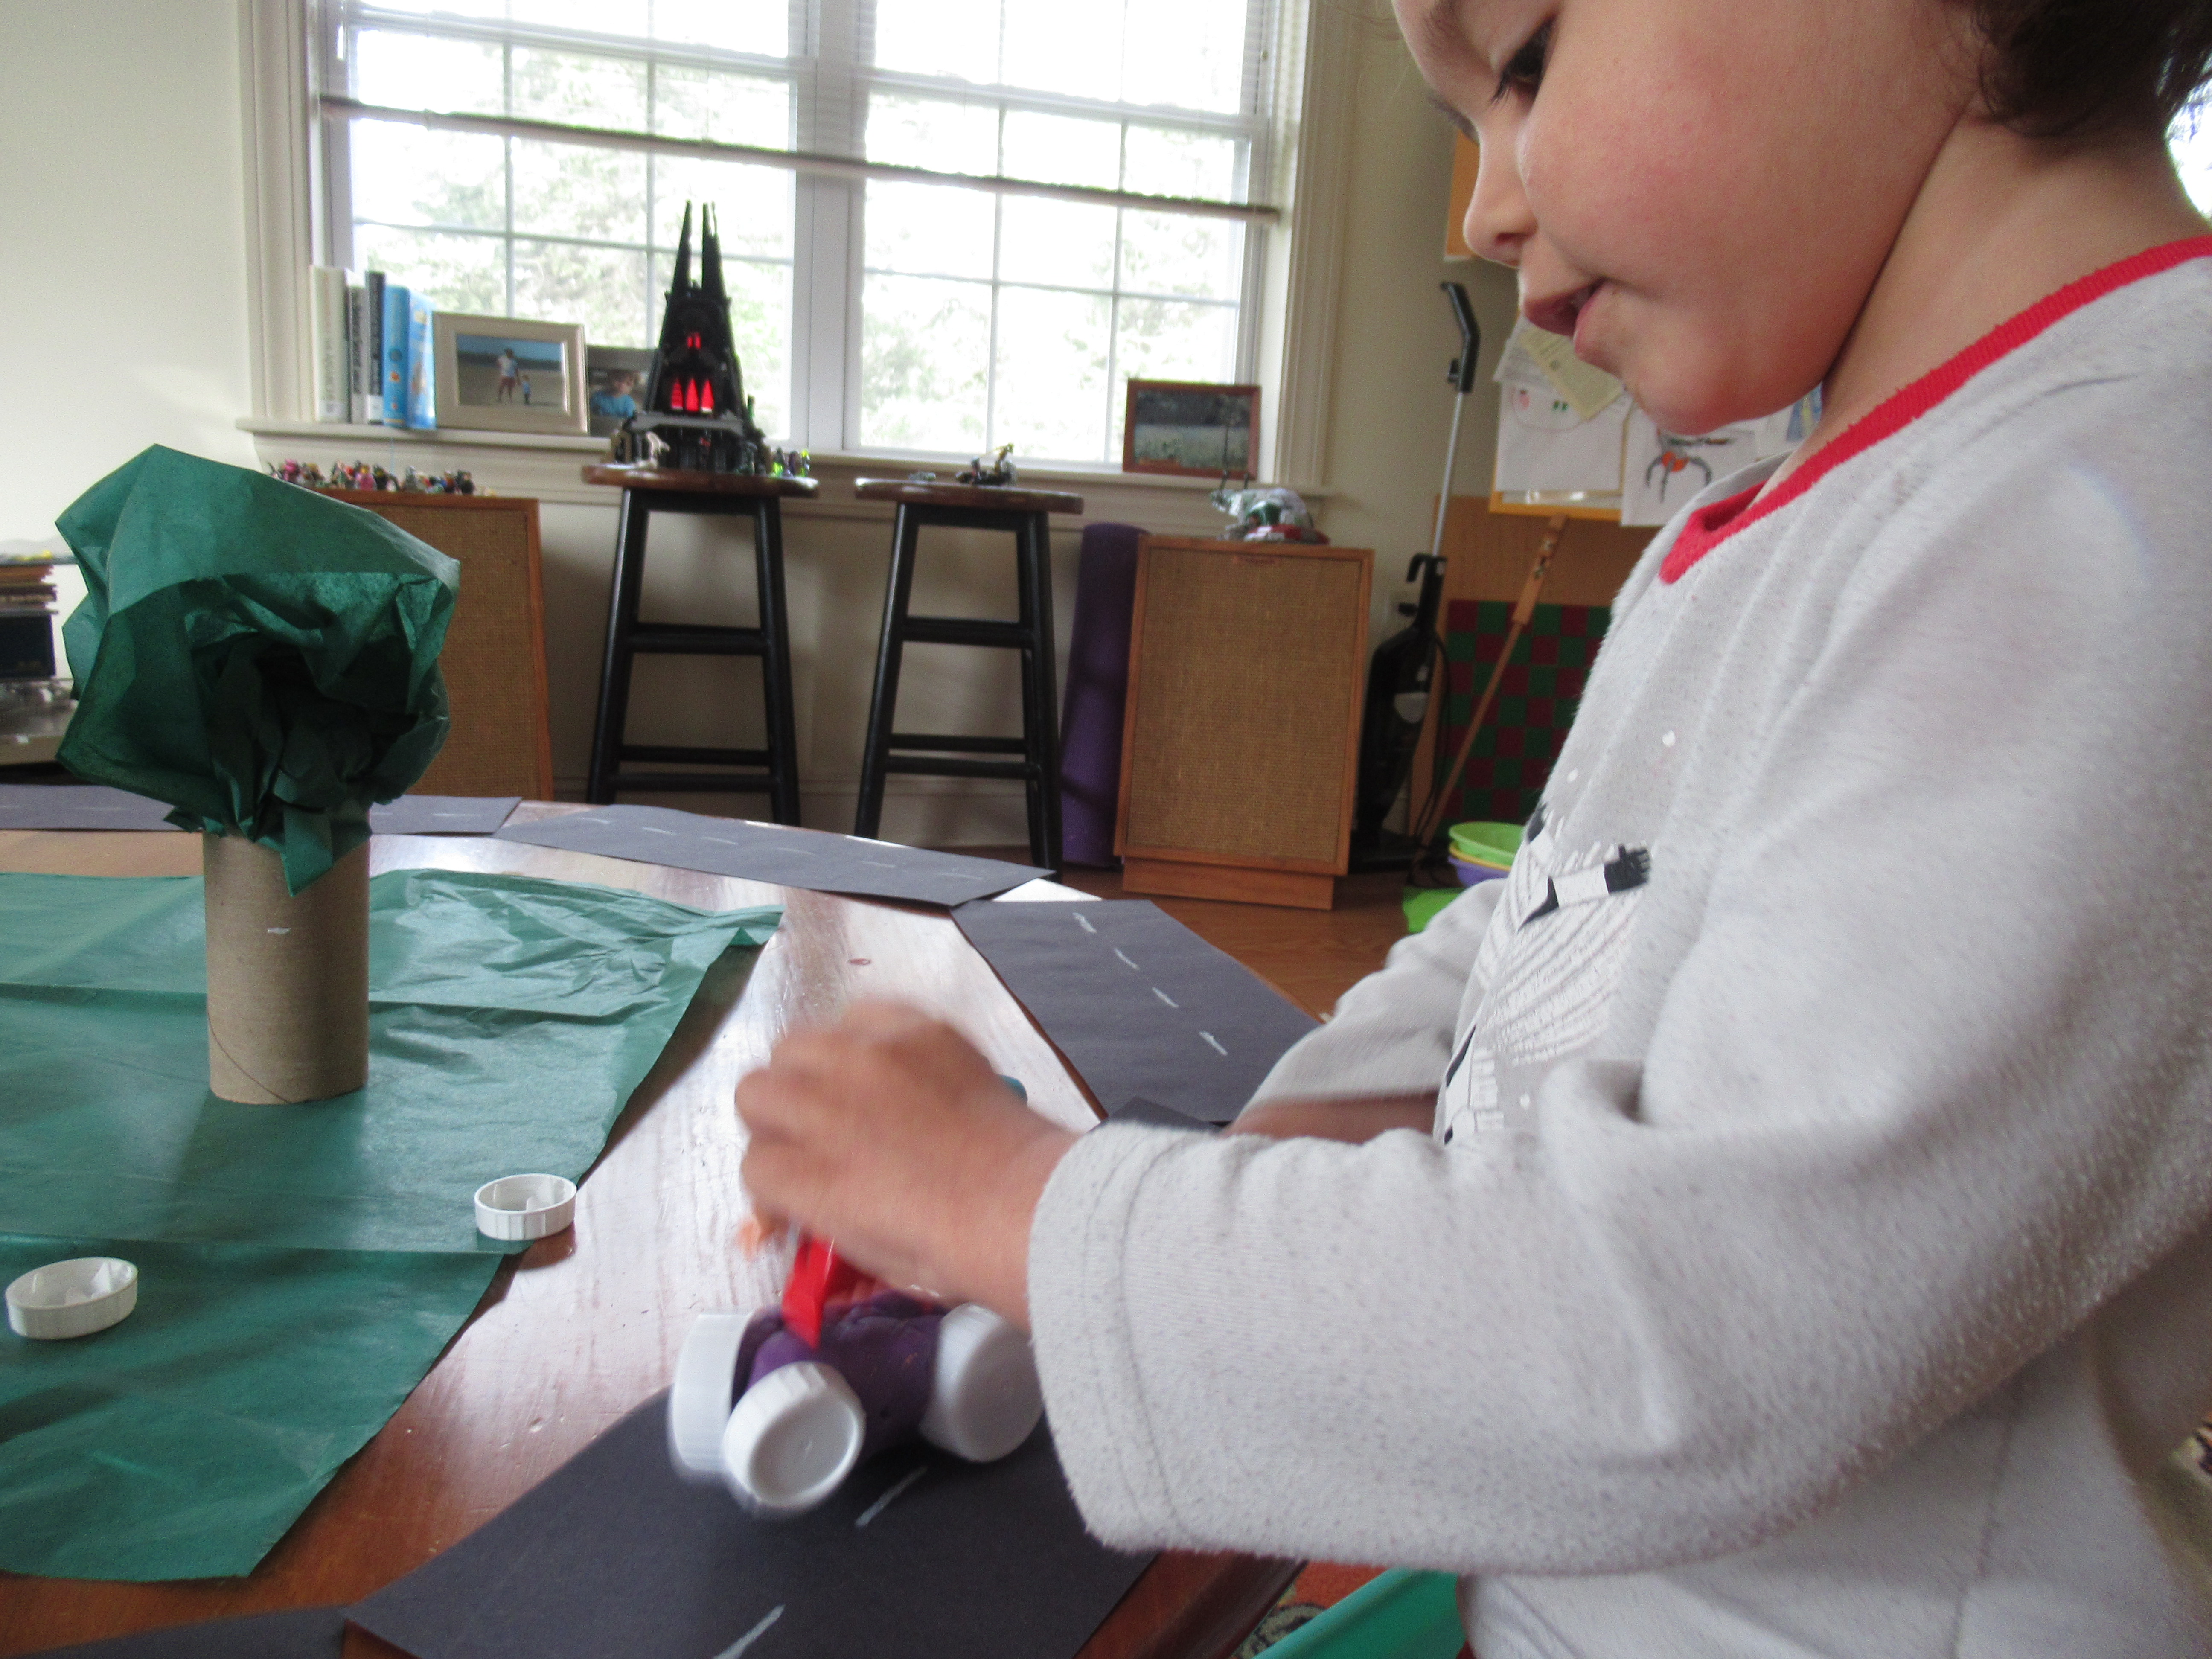
Now our little town just needed cars! Veronika helped shape play dough into long ovals, and then we added “wheels”, which were a variety of juice and soy milk caps I’d been saving up.

She loved chugging these along the road.

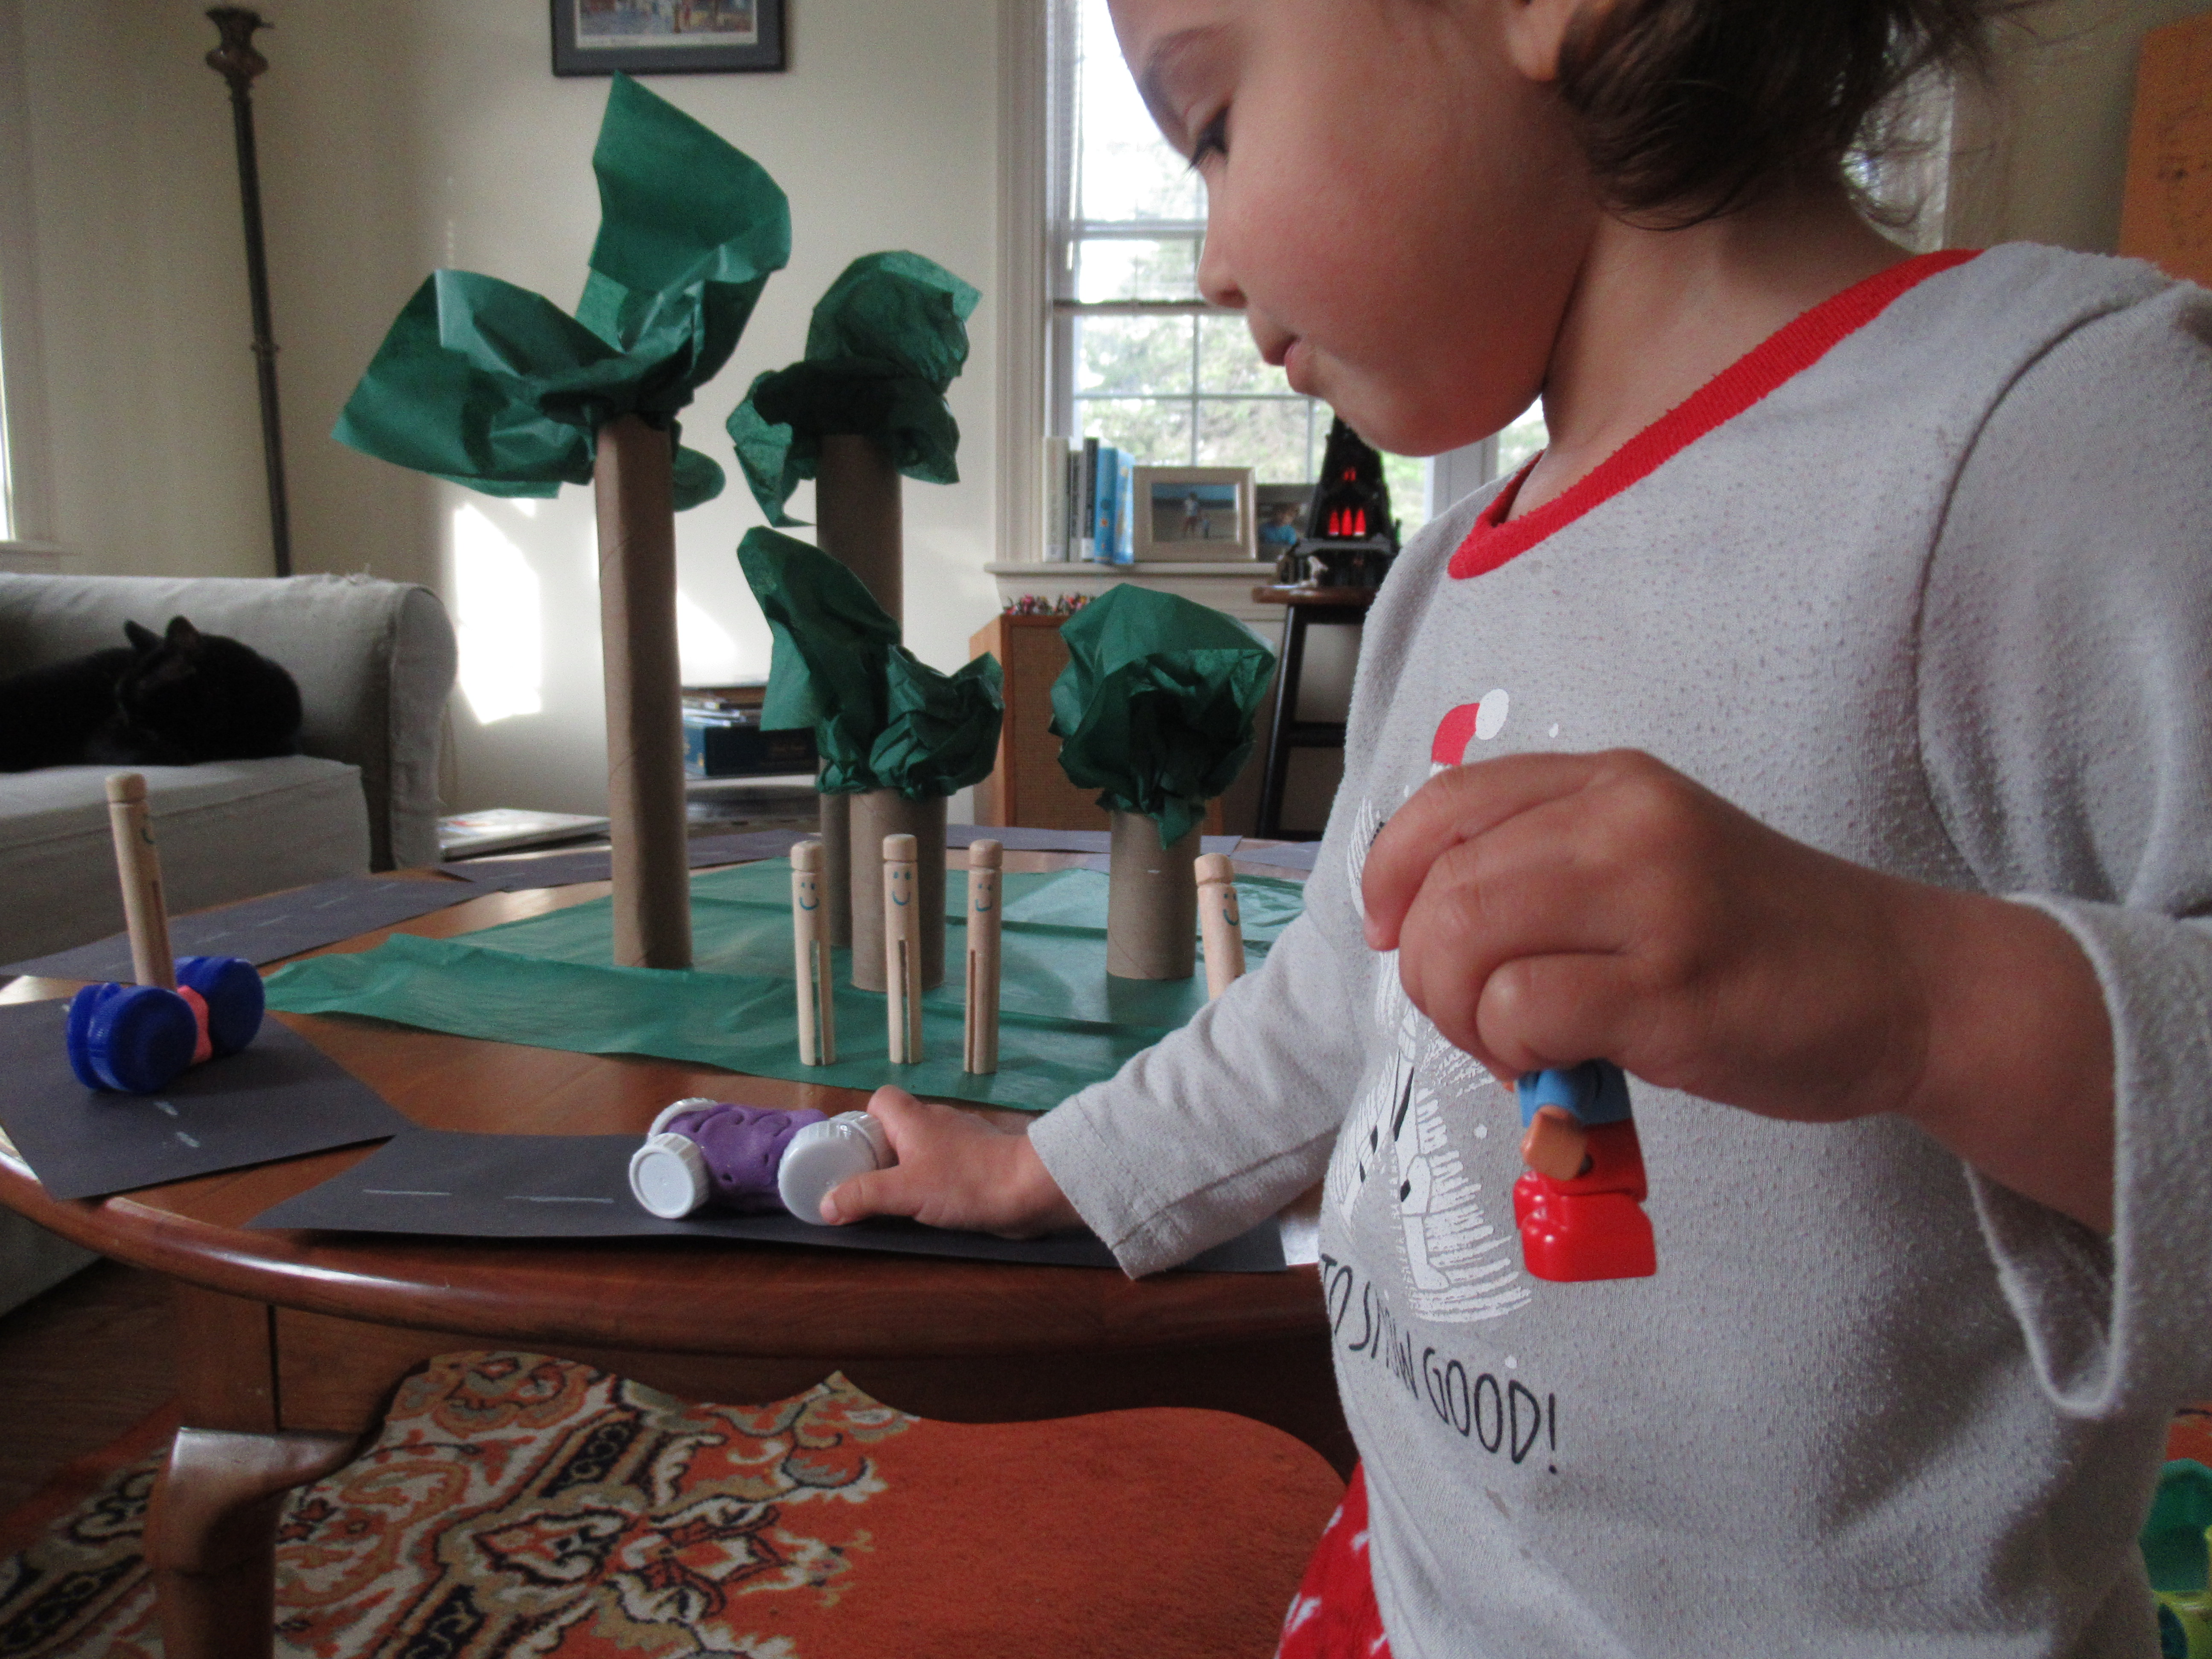
And also loved putting little people inside for a car ride.

Uh oh, traffic jam!

This little make-believe neighborhood was so easy to put together, and yet such a delight!

Pond Play Dough Redux

This is an activity I did when Travis was a toddler. Today it was Veronika’s turn, but it looked so fun that Travis wanted a repeat, too!

To make the play dough, place the following in a bowl (do not stir):

2 cups flour

1/2 cup salt

1 and 1/2 tablespoons cream of tartar

3 tablespoons canola oil

3 drops tea tree oil

Add 1 cup boiling water, pouring directly over the salt. Knead the dough until smooth, adding about 2 tablespoons more flour if it feels too sticky.

We divided our dough into 3 portions to color it the various hues of a pond landscape. Some was green for grass, some was blue for the water, and some was a yellowish-brown for stones or earth.

I set out all three colors on a tray, adding a few plastic frogs and lizards, and Veronika immediately came to see what it was all about. And Travis too!

Veronika loved just moving the toy animals around on the dough.

She clearly enjoyed the sensory elements, whether the way it smelled (the tea tree oil is so authentically earthy!) or the feel of pulling large portions of play dough into small pieces.

Travis enjoyed the imaginative elements that this particular play dough lends itself to. He made little “rocks” from the yellow dough, and set out the turtles and lizards to “sun”.

Next, he built a tree for a frog to hop up! I loved seeing his creativity.

In sum, this simple homemade play dough will be a hit for all ages.

Play Dough Boredom Busters

Play Dough Boredom (3)

We’re getting a touch of cabin fever around here as cold weather lingers, and lately play dough seems to be Veronika’s favorite indoor toy to bust the boredom. So today we played with it in a few novel ways!

First up, since she was playing with an alien stuffed animal, we decided to make play dough aliens! These could be monsters, aliens, or just funny faces, whichever version your child wants to create. To help her imagination, I set out items from the craft bin like large wiggle eyes, feathers, and pipe cleaners, and showed her a few examples for how the creations could look.

Play Dough Boredom (1)

Pipe cleaners proved to be much easier for her if I snipped them into small pieces first, although she tested out big pieces, too!

Play Dough Boredom (2)

Next we added in a little learning with play dough letters! You can use cookie cutters in letter shapes if you have them, but I simply rolled these by hand for her. Preschoolers and kindergartners will benefit from shaping each letter by themselves.

Play Dough Boredom (5)

For Veronika, it was more about shape recognition. I was thrilled when I asked her what letter we needed for Veronika, and she immediately knew it was a V. Before I could even ask she said, “Mom, can you make a T for Travis?” Happy to oblige!

Play Dough Boredom (7)

Next up, we put on our engineering caps and tried to build towers. I showed her how to use playdough as a base to stick in toothpicks, and then we tried to build the structure as high as three layers.

Play Dough Boredom (10)

When our 3-D towers toppled down, she enjoyed connecting two toothpicks together with a sticky ball of play dough as “glue”. This was a great method to make flat shapes like squares and triangles. She kept the play going long after I stepped away to get some work done. I overheard her talking about making “drums” and adding “ears” and all sorts of other imaginative games with just a ball of orange play dough and leftover toothpicks. “And then he lost his ears!” she exclaimed.

Play Dough Boredom (9)

Bug Fossil Play Dough

Bug Fossil Play Dough (3)

We’ve used playdough to make dinosaur footprint fossils in the past, but today Veronika had fun making full body prints of something much smaller: bugs!

A set of plastic bug toys was perfect for this activity. I showed Veronika how to flatten playdough into little pancakes, and then to press down one bug at a time.

Bug Fo7)ssil Play Dough

Lift up…

Bug Fossil Play Dough (5)

…and reveal the imprint! Because the full body of the bug will fit on the playdough discs, these really do look like fossils of ancient creepy crawlies. It also turned into a fun matching game, helping her match each imprint to a 3-D object. I would hold up one “fossil” and ask her which bug it matched. Was this one the ant?

Bug Fossil Play Dough (6)

No, the cockroach! Next she found a match for the centipede.

Bug Fossil Play Dough (4)

Of course bugs aren’t the only thing that leave fun tracks in play dough. We finished the game by rolling a bumpy ball over some of the play dough discs. Perhaps this “fossil” belonged to some very mysterious ancient creature.

Bug Fossil Play Dough (9)

And then she made her toy figures walk through the playdough and loved seeing their footprints!

Bug Fossil Play Dough (10)

What fossil will your mini archaeologist dig up? Please share in the comments!

Snowy White Play Dough

Snowy White Play Dough (5)

I love making homemade play dough with a seasonal theme, and this snowy white version is perfect now that winter is near and snowy days are ahead! The secret to that pure white is to use cornstarch instead of regular flour.

To make this silky-smooth play dough, combine the following in a bowl:

1 and 1/2 cups cornstarch

1/2 cup salt

1 tablespoon vegetable oil

1 tablespoon cream of tartar

Add 1 cup boiling water and stir until combined. Let cool.

Place the dough on a craft tray and knead to the right consistency. You may need to sprinkle with a little extra cornstarch. We also then added a little bit of silver glitter, which made it sparkle just like fresh-fallen snow.

Snowy White Play Dough (2)

Now it was time to play! Veronika had so much fun with this snowy-themed dough. First we simply rolled out snowballs or snowmen. Red beads made fun decorations!

Snowy White Play Dough (9)

It was also great as pretend cookie dough, and I gave Veronika star- and snowman-shaped cookie cutters to keep with our seasonal theme.

Snowy White Play Dough (1)

Her favorite use for it, though, was pretending it was a layer of arctic ice (or, as she called it, the snowy beach). I pulled out a set of arctic animals who could romp through this wintry land.

Snowy White Play Dough (8)

“Seal is on the beach!” she would say with delight, or, “Orca is in the water!”

Snowy White Play Dough (12)

The play dough is also great for leaving animal “tracks” in the snow. She loved hopping along an arctic hare or stomping along the wolf and fox.

Snowy White Play Dough (14)

After spending some time with the play dough together, it was great for her solo play, too; I loved seeing her imagination and senses at work.

Snowy White Play Dough (11)

Thanksgiving Turkey Play Dough

Turkey Play Dough (7)

After having fun with a construction paper turkey craft, I wanted a version Veronika could more readily create all by herself. The solution? Play dough turkeys!

To start, I needed a batch of brown play dough and turned to an old favorite recipe for pumpkin pie-scented play dough that fit both color and season. It does require cooking, but is remarkably easy. In saucepan, combine:

2 and 3/4 cups flour

1 cup salt

4 teaspoons cream of tartar

2 tablespoons pumpkin pie spice

6 tablespoons vegetable oil

2 cups water

Cook over low heat, stirring with a spatula, until the mixture pulls from the sides of the pan. Let cool on wax paper, then knead a few times and it’s ready to go!

Turkey Play Dough (2)

I set out balls of the play dough on a tray along with: wiggle eyes, pipe cleaners (cut in half, which is an easier length for my toddler), bright feathers, and triangles cut from orange craft foam for beaks.

Turkey Play Dough (1)

Veronika loved it when I showed her how to make balls for heads and bodies, then decorate like a little turkey.  She very soon started her own version. “It’s Mr.Turkey!” she said, proudly.

Turkey Play Dough (4)

From there, she was off and running with her own creations. She loved poking pipe cleaners and feathers into the soft dough.

Turkey Play Dough (3)

The biggest hit, though, was adding wiggle eyes, which were “cheeks” and more, according to her narration.

Turkey Play Dough (8)

It turned out the craft foam “beaks: could be used more like little turkey feathers, too!

Turkey Play Dough (11)

Every once in a while she would lift the dough to her nose to inhale deeply. “It smells really good!” she said of the pumpkin pie spice.

Turkey Play Dough (13)

For fun, I also made a flatter turkey body and head for her to decorate, and we added looped pipe cleaners and smaller feathers to this one.

Turkey Play Dough (9)

After that, she kept playing with all the materials for a while… So long in fact that it kept her up past her normal nap time!

Turkey Play Dough (14)

Sandy Play Dough

Sandy Play Dough (10)

This sand-laced play dough requires only 4 ingredients, comes together in moments, and works just like kinetic sand!

To make the “sand”, combine 3 cups flour and 4 cups play sand in a large container. Add 1 and 1/4 cups hot water and 1/4 cup vegetable oil. Stir to mix and then knead with your hands until the mixture comes together like play dough.

Sandy Play Dough (1)

That’s it! I set out this sandy beach with lots of sea shells and let the kids go to town. We could construct sand castles…

Sandy Play Dough (8)

…which needed sea shell decorations of course!

Sandy Play Dough (9)

Veronika loved sorting through the shells and arranging them over the play dough best, even more so than working with the dough itself.

Sandy Play Dough (5)

For Travis, meanwhile, it was soon a landscape to play with Lego figures!

Sandy Play Dough (3)

The play dough molds together so easily, so we could make sea snakes or little sand structures, and so much more.

Sandy Play Dough (7)

No matter how they engaged with it, I loved watching brother and sister have fun with this hands-on bin together.

Sandy Play Dough (11)

Layered Play Dough Excavation

Play Dough Food Tracks (10)

After excavating through Jell-O, today Veronika could pretend to be an archaeologist with play dough instead.

Okay, maybe she didn’t know exactly what we were pretending, but I like to introduce imaginary scenarios into sensory play at this age, as Veronika nears age 2. First up, we explored various ways to make “fossil” marks, and for this we turned to food in our kitchen.

Play Dough Food Tracks (1)

I showed Veronika how to press various items into flat portions of play dough to see what marks they left behind. She was interested in the bumpy lines left by Twizzlers.

Play Dough Food Tracks (3)

And by the swirls from corkscrew pasta.

Play Dough Food Tracks (4)

We tested out nuts as well as rolling bigger items like apples over the play dough, more like a rolling pin, but these weren’t as interesting. Triscuit crackers left a cool print…

Play Dough Food Tracks (2)

…but since she was tempted to eat them, I nixed the idea!

Play Dough Food Tracks (5)

Older toddlers can pretend these are real fossil finds. Prehistoric fish bones perhaps! You can have lots of fun with other items too, like ears of corn, little fruits like grapes or blueberries, or even utensils like a fork.

Play Dough Food Tracks (7)

Next up in the fun, I layered all the colors of play dough together like the strata of an archaeological dig. At first I placed them in a jar, but this proved too tricky for her to “dig” down into with a plastic fork and spoon.

Play Dough Food Tracks (8)

Instead, we mushed all the colors together on a tray. She called these her “rocks” and enjoyed poking at them with the fork and spoon.

Play Dough Food Tracks (11)

Needless to say, the game kept Veronika quite busy, even if she didn’t always understand the pretend that went with the play.

Play Dough Food Tracks (9)

Skin Therapy Play Dough

Skin Therapy Play dough (6)

This is the softest play dough in the world, thanks to a recipe based on silky quick oats with zero salt. It’s a great homemade alternative store-bought play dough. Just note that because there is no salt, it will only last for a day or two.

To make the play dough, stir together 1 cup flour, 2 cups quick oats, and 1 teaspoon vanilla extract. Add 1 cup water and 2 tablespoons olive oil, stirring to form a dough.

Sprinkle on extra flour as needed, if the dough is still a little sticky.

Skin Therapy Play dough (1)

You can add food coloring, but we decided to leave ours natural. I liked this because it really looked like cookie dough! But instead of mommy using it all up for cookies, this dough was all Veronika’s to play with.

Skin Therapy Play dough (2)

She loved using it with a play dough kitchen set, including pots and pans, cookie cutters, and little spoons and knives.

Skin Therapy Play dough (3)

We even rolled up mini cookies.

Skin Therapy Play dough (5)

She later transferred the dough over to her tea set, and was pouring cups of play dough “tea”.

Skin Therapy Play dough (7)

This kept her busy for so long! And I loved knowing how natural and safe it was for her skin and hands.

Skin Therapy Play dough (4)

Play Dough Suncatcher Craft


Playdough Suncatchers alt

You can never go wrong with a morning of play dough play, but to add a fun twist when I pulled out all the colors for Veronika this morning, I thought it would be fun to make suncatchers.

Playdough Suncatchers (1)

I showed Veronika how to press small pieces of color into an empty yogurt container lid.

Playdough Suncatchers (2)

She loved to help mush them in, which was great for fine muscle development!

Playdough Suncatchers (3)

Even more, though, she loves to tear play dough into tiny pieces.

Playdough Suncatchers (4)

That meant she unwittingly created the perfect size pieces for me to gather up and arrange in the lids, alternating colors as much as possible.

Playdough Suncatchers (6)

We filled two lids this way!

Playdough Suncatchers (7)

In order to hang them once complete, I cut two pieces of string and made a loop for each suncatcher, securing with an additional blob of play dough.

Playdough Suncatchers (9)

Let the play dough harden and dry overnight, and then you can hang these the next day to catch the morning sunlight.

Playdough Suncatchers (8)

At first I suspended them in the plastic lids. But then I realized the play dough had set enough that I could pop them out from these molds and simply hang in the window. Even prettier!

Playdough Suncatchers var