Ice Cream Science

Ice Cream Science (4)

Although this is pretty much a repeat of homemade ice cream that Travis shook up back in March, we had no qualms doing it again on a 95 degree day! The recipe was a fun addition to Travis’s Edible Elements kit from Raddish Kids.

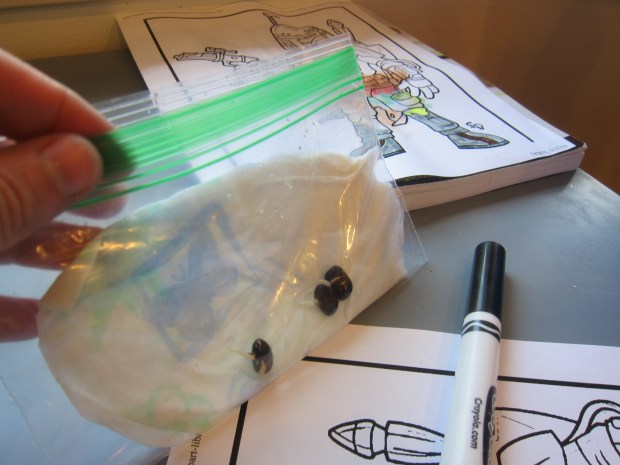
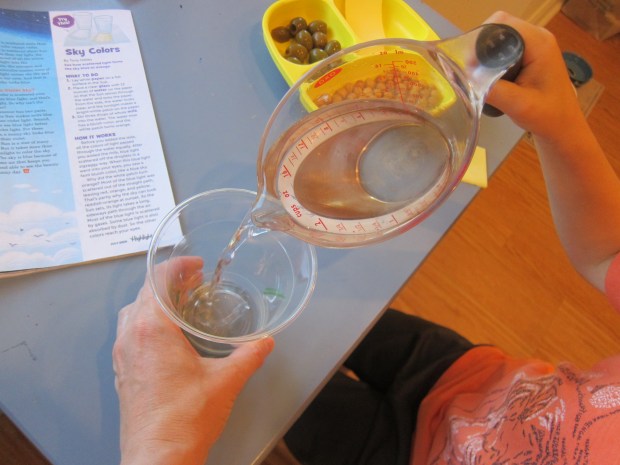
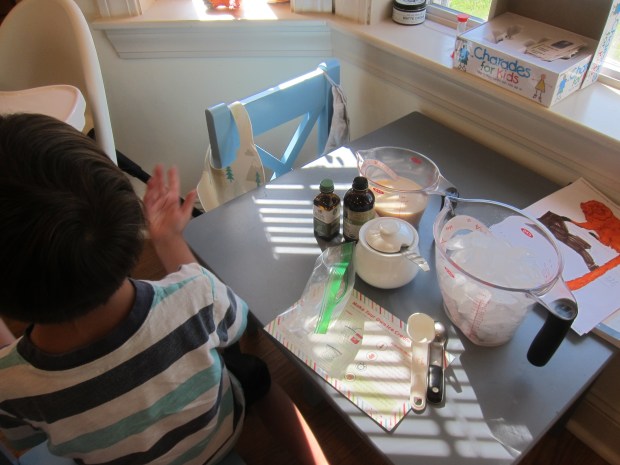
For variation, we decided to make two different flavors this time, turn the project into a blind taste test, too! We poured 1/2 cup non-dairy creamer and 1 tablespoon sugar into each of two small zip-top bags. Then we added 1/4 teaspoon vanilla extract to one and 1/4 teaspoon mint extract to the second.

Ice Cream Science (1)

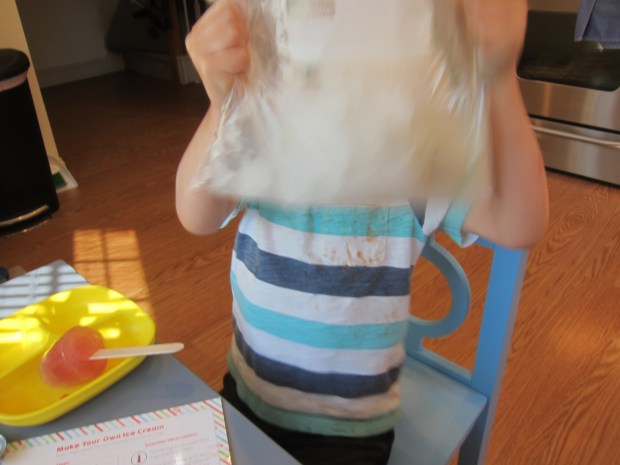
We placed both these small bags in a gallon-sized zip-top bag filled with 4 cups ice and 1/2 cup coarse salt. Seal and shake!

Ice Cream Science (2)

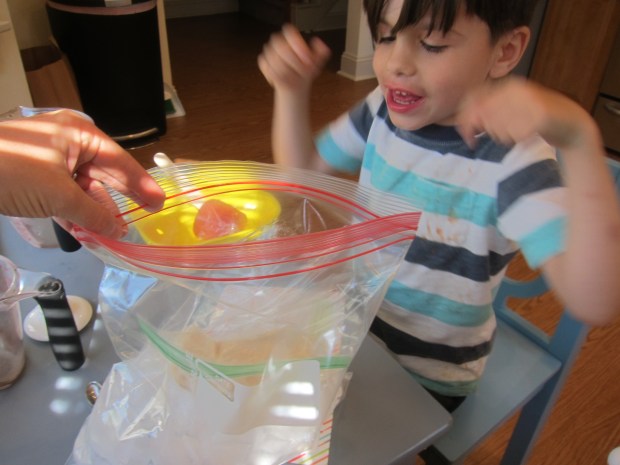
Travis took a few shakes, but then he passed it my way for some mama muscle.

Ice Cream Science (3)

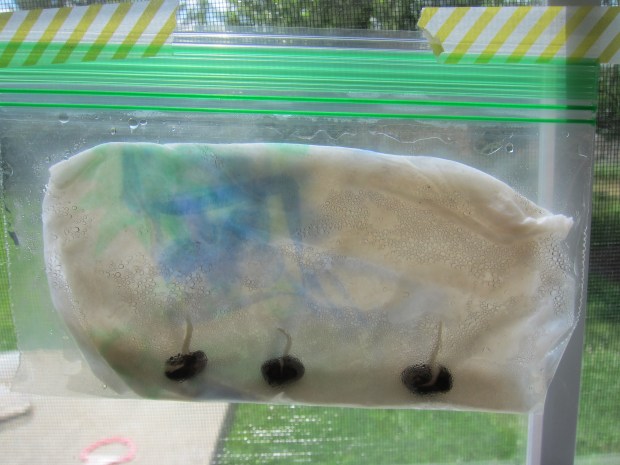
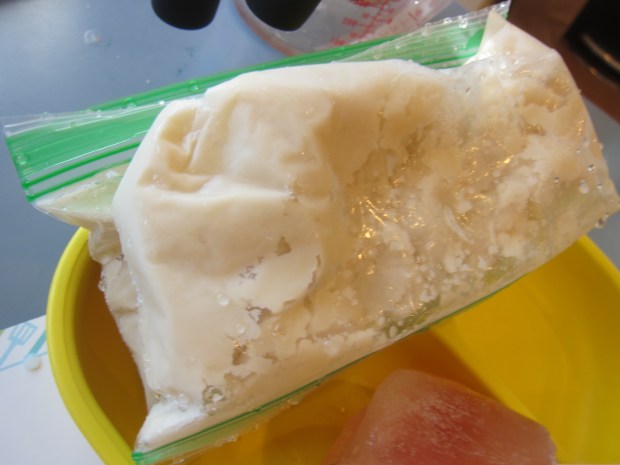
Get ready, because you may need to shake for as long as 10 minutes. Luckily, by the five-minute mark, our liquid creamer had turned into ice cream. (Note: we used oat milk creamer, and we’re curious to hear if other plant-based milks take less time or more, so please share in the comments!).

During all that shaking, we talked about the science behind what was happening; because salt lowers water’s freezing point, it makes the ice melt. As the ice melts, it absorbs heat from the cream. The cream, conversely, becomes colder. And here’s the important bit: because it’s churned, not just resting still on the ice, tiny ice crystal form. These give you smooth ice cream instead of a big chunk of ice.

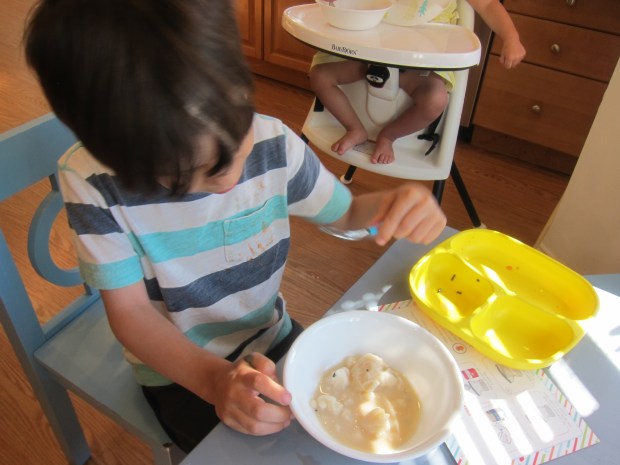
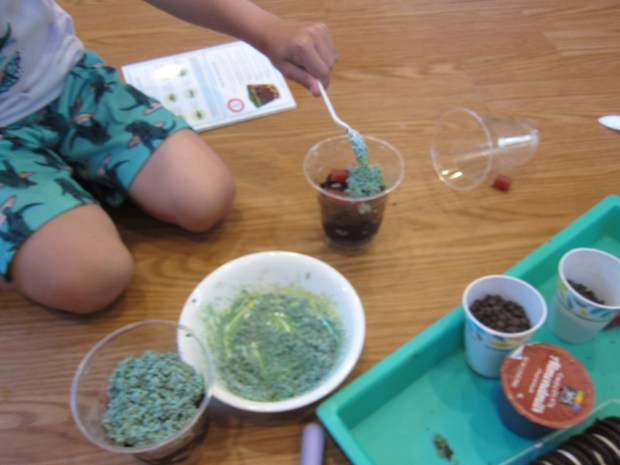
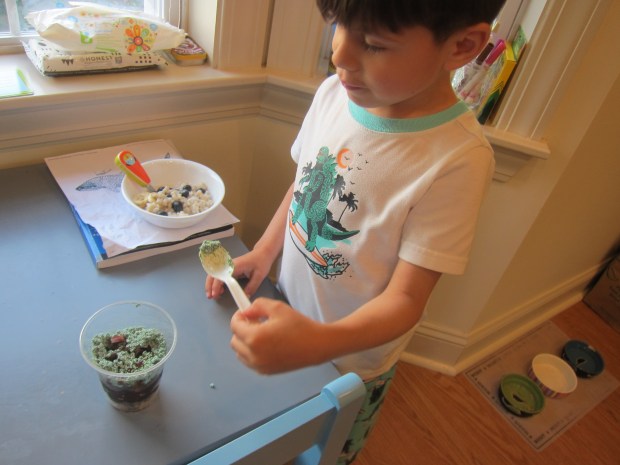
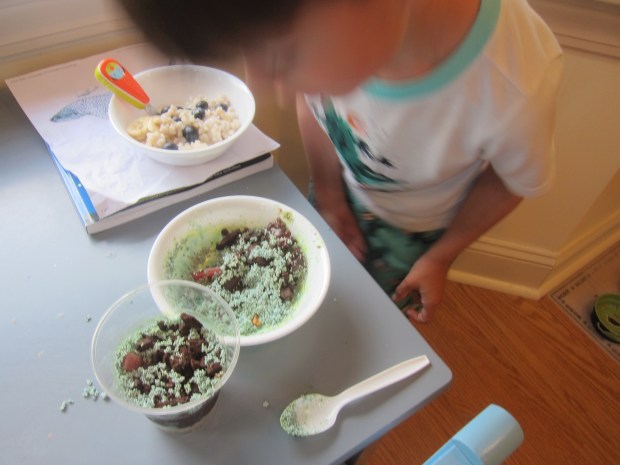
All that aside, now it was time for the taste test! I spooned a scoop of each flavor into Travis’s bowl, and he proudly deduced which was which.

Ice Cream Science (5)

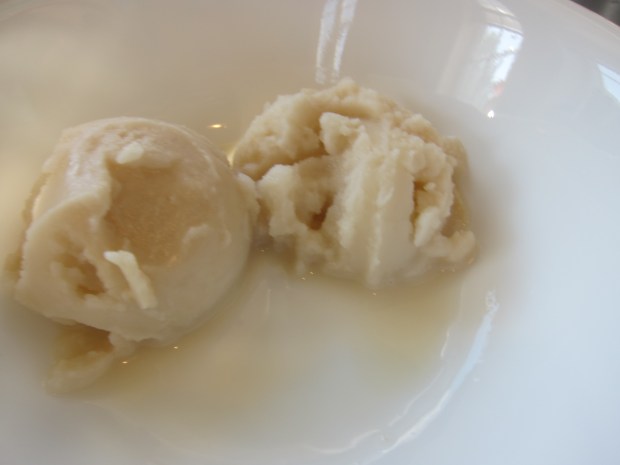
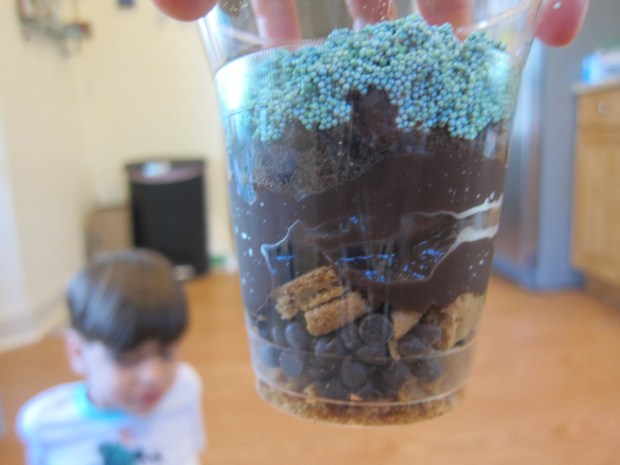
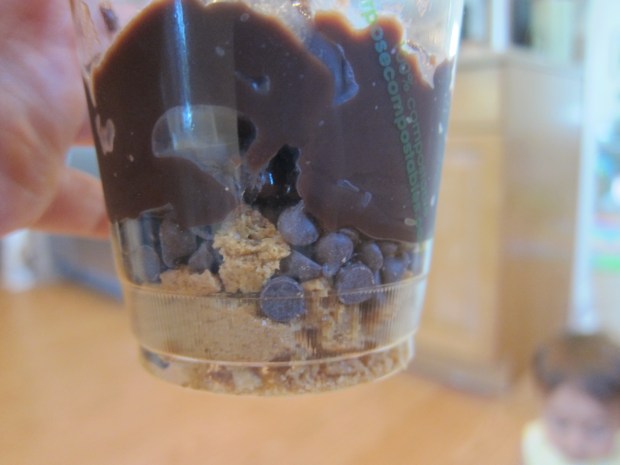
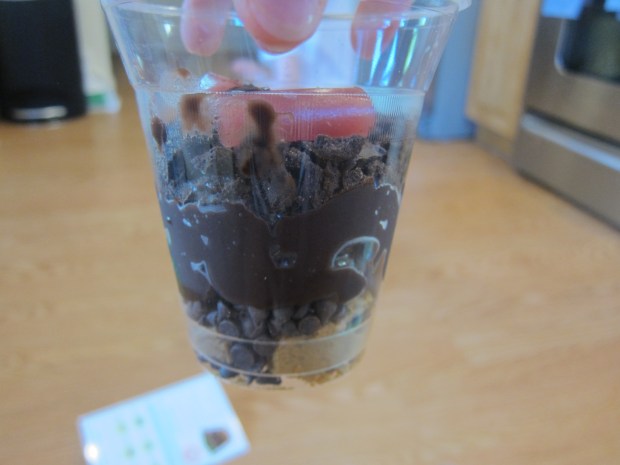
If your child prefers, you can add other toppings, too, like sprinkles, crumbled cookies, or candy. However you flavor it, this project is sure to beat the heat.

Ice Cream Science (6)

Earth Science Pudding

Earth Puddings (11)

Is this project a healthy snack for your kids? Absolutely not. But when Travis declared mid-way through the activity that he was in paradise, I knew I’d brought some magic into a summer morning.

The idea was to show all the layers of the earth, using just about the most amount of sugar imaginable.

Earth Puddings (1)

I laid out a tray with all of the supplies, and we talked about each layer of the earth as we worked, filling clear plastic cups with each step. First up, we needed bedrock, which I explained was the solid rock deep underground. We used a mix of mini chocolate chips and crushed ginger cookies. The crushing is half the fun; place the cookies in a zip-top bag and smash with a rolling pin until you have big crumbs.

Earth Puddings (2)

On top of this, we spooned the “subsoil” (a dense layer of clay and and iron). Chocolate pudding was perfect of course.

Earth Puddings (4)

You’ll notice my taste testers had wasted no time and were busily crunching into cookies and spooning into pudding. They couldn’t believe I was letting them have this free-for-all!

Earth Puddings (3)

Next we needed topsoil. I explained that this is the dirt we see as we play: dirt, bugs, and minerals. Now we needed oreo cookies, but not the creme filling. I showed the kids how to scrape out the creme with a craft stick so we could crush the chocolate cookies.

Earth Puddings (7)

“Can I eat the frosting?” Travis asked. I nodded. “Plain??” This is when he declared the activity paradise.

Earth Puddings (5)

We sprinkled on our crushed “topsoil” and then added a few “worms”. It’s easy to find gummy worms at the store but most contain gelatin. Instead, we sliced pieces of licorice in half to be our worms.

Earth Puddings (9)

Finally, top with green sprinkles for grass, twigs, and leaves. I wasn’t able to find green sprinkles at the store, but a few drops of food coloring on white sprinkles was a quick fix.

Earth Puddings (10)

Now it was time to dig into the Earth.

Earth Puddings (12)

Veronika plunged her spoon right in and began snacking. It made her so happy she began to do a sugar-fueled dance around the kitchen.

Earth Puddings (13)

Travis loved working his way carefully down the layers, almost like he was excavating. He wanted to stop and talk about which strata we were in, and carefully selected which bite should come next. He was ecstatic when he’d gone deep enough to reveal the pudding under the topsoil!

Earth Puddings (14)

Welcome to paradise on Earth, and thanks to Raddish Kids for this great lesson.


Craft-Stick Cars

Race Cars (5)

These little race cars the perfect old-school camp activity for a summer morning at home!

For the base of each car, line up 3 jumbo craft sticks. Trim two paper straws by about one-third, and line up perpendicular to the craft sticks an inch from each end. Use hot glue to attach.

Race Cars (1)

Hot glue the cap of a food pouch to a wooden skewer; let dry. Thread the skewer through one of the straws, trim the end, and hot glue another food cap.

Race Cars (2)

All of this hot glue work meant the set up was largely a grown-up project, but then Travis was in charge of designing the top of the car, adding a nice STEM element to the craft. Once he’d arranged the sticks as he wanted them, I hot glued them on.

Race Cars (4)

Time for a test drive!

Race Cars (6)

After the designing was done, it turned out that little sister Veronika enjoyed zooming the car around even more. So the whole family got to enjoy this one.

Shark Awareness Day

Shark Awareness (13)

Were you aware that July 14 is Shark Awareness Day? Neither were we until Highlights magazine clued us in. I was glad of it, knowing how misunderstood sharks are, plus I knew it was tailor-made for lots of fun activities.

Shark Awareness (2)

First up was some learning. I read Travis ten facts about sharks, and then he loved doing a few coloring pages and shark counting activities. He decided his favorite was the hammerhead shark and filled out a worksheet about them. Now he wanted to know more!

Shark Awareness (1)

We did a deep dive (and I mean deep!) into videos about sharks. By the end of the day, Travis was a graduate of this ‘Shark Academy’.

Shark Awareness (6)

We didn’t forget about little sister Veronika! She was in heaven watching Baby Shark cartoons, and happily shouting out, “Shark shark!”

Shark Awareness (5)

Now it was time for shark crafts! First up was a newspaper shark. Cut a piece from a magazine or newspaper in the shape of a shark nose coming out of the water, and glue to blue construction paper. Add eyes from stickers or wiggle eyes, then a black construction paper mouth. Travis liked snipping all the white triangles for the teeth!

Shark Awareness (3)

We added a strip of blue craft foam at the bottom for the ocean. I swear it is a complete coincidence that the text in the middle said “Brush up on table manners”. This was so perfect I have nothing else to say.

Shark Awareness (4)

Next we made shark puppets. If you have blue craft sticks, simply use those. I painted a few blue in a pinch, and let dry. Attach two sticks together in an X using a rubber band.

Shark Awareness (10)

We traced a shark puppet template onto blue craft foam and then cut out and hot glued onto the craft sticks. Push down on the stick with the lower jaw piece to make your shark chomp chomp chomp.

Shark Awareness (12)

Travis was mad for sharks all day as a result. He pulled out an old shark toy and staged a shark versus Lego battle.

Shark Awareness (9)

This prompted us to add one more STEM activity, constructing a shark from random Lego pieces!

Shark Awareness (15)

We hope you have fun celebrating Shark Awareness Day, too!

Fire and Flavor

Fire and Corn (2)

Travis has been exploring how to cook with different elements (air, ice) thanks to his latest Raddish Kids, and today we did a quick test: would the same ingredients taste different, if cooked using 3 different “elements”? We chose corn on the cob for the experiment and tested out the following: air (roasted in the oven), water (boiled on the stove), and fire (cooked on the grill). Unfortunately we weren’t truly using fire for the last, since I only have an indoor grill pan. But we still had interesting results!

Fire and Corn (1)

Of course first comes the fun of shucking corn. Then for “air”, roast the corn in a 400 degree F oven for about 30 minutes. Boil the “water” version for about 5 minutes in boiling water. Grill the “fire” version over your barbecue or grill pan for about 10 minutes.

Once the three methods of corn had cooked, Travis first wanted to smell them. I had never realized how different these three cooking methods smelled, but it was so apparent when they were lined up on the plate! The oven method had roasted caramel notes, the boiled one smelled sweet and fresh, and the grilled one had a toasty aroma.

Fire and Corn (4)

Once they cooled, it was time for a taste test. Travis far and away preferred the sweet tenderness of the boiled corn. Air (oven) was his second favorite. “It’s sweet and tart!” he declared.

Fire and Corn (5)

He decided he didn’t like the grilled one, which may again be the fault of the grill pan versus a real grill. Which method do your kids prefer? Please share in the comments!

Grasping Objects

Grasping Objects (1)

Has your kid ever wondered why we have thumbs but most animals they see don’t? Or asked what the thumb is for? Travis sure has! This quick STEM lesson illustrates how useful the thumb can be, and how important it is for us as humans.

To start, I taped Travis’s thumb down against his palm. Our tape wasn’t that strong, so he also had to promise not to cheat, ha.

Grasping Objects (2)

Now I challenged him to write his name using only the free fingers. Wobbly letters followed, which made him giggle.

Grasping Objects (3)

Then we placed several small objects down on the table. Smaller and flatter will be more of a challenge for this activity (think keys or coins). It took some pondering on his part, but then he figured out he could pinch items up using the middle and pointer fingers. He was quite proud!

Grasping Objects (4)

If your child knows how to tie his or her shoes, that would be another fun challenge with the thumb taped down. To finish the lesson, we brainstormed other animals that have opposable thumbs.

Travis’s mind was blown realizing that yes, humans are animals (sometimes we forget what our kids don’t know yet!), and that our closest relatives are apes and gorillas with thumbs, too.

Grasping Objects (5)

Summer Boredom Bucket List: Day 2

Boredom 8 l

As promised, here’s a second day’s worth of ideas to combat summer boredom. If you missed it, be sure to read the first four ideas here!

Idea 5: Plant Seeds. This boredom suggestion came at just the right time, since Travis was assigned a summer library challenge to help “Jack” grow the beans for his beanstalk.

Boredom 7 b

We germinated dried black beans overnight in a little water. The next morning, place a damp paper towel inside a zip-top plastic bag. Add the beans and tape in a sunny window.

Boredom 7 a

It was fun to watch these sprout over the course of a few days, even though we won’t have a garden to transplant them to when all is said and done.

Idea 6: Create Doodles from Ink Fingerprints. This idea was so fantastic it nearly merits its own post. Travis was really in a mood, so we started out simple: If he made a fingerprint with ink, I asked him, what could it be? He decided on bugs. One fingerprint could be a bee or a beetle.

Boredom 8 a

Two dots together were a butterfly. Five in a row made a caterpillar.

Boredom 8 b

Now Travis was getting the idea! He started to add details, like spots to ladybugs or wings to flies.

Boredom 8 f

He loved adding 8 legs to my spider. Our “garden” was soon so pretty Travis wanted to do it again on a second sheet of paper. Hmm… How to keep the game fresh?

Boredom 8 e

We tried dragging our ink fingers in a line for worms. These ended up looking a little silly…

Boredom 8 h

Well so now we needed silly bugs! What didn’t we have in the glorious work of art and imagination that followed? There were wizard caterpillars with gentlemen bugs with pipes and tophats:

Boredom 8 i

There were wizard bugs with beards and wands:

Boredom 8 j

There was even a king and queen with crowns! Then we drew a cloud, with fingerprint “raindrops” coming down… and then the raindrops came to life with smiles and hats.

Boredom 8 k

Travis worked on the details for nearly an hour! By the end we even had fingerprint bugs spitting water at each other. Who knew a doodle fingerprint could lead so far.

Boredom 8 n

Idea 7: Write a Rap About Your Pet. This prompt was hard for Travis, who declared himself not a singer and wasn’t initially interested. Aha, but could he be the DJ in charge of the beat for our rap song?

Boredom 9 a

Pretty soon he was playing around with an old keyboard, testing out demo beats and drums. Travis discovered he could increase the tempo and get the drums exactly as he wanted them.

Boredom 9 c

The kids had so much fun mixing and matching melodies and drum beats. You’ll notice little sister joined in and did some dance moves!

Boredom 9 d

So did we exactly follow the prompt to write a rap about our cat? No, but this sure busted boredom! How’s this for a quick solution:

Krishna, Krishna he’s our cat,

And we think that he is all that!

Idea 8: Create a Code. Here’s another prompt that was tough for Travis, since he’s just learning to read English, much less create a code in it. Instead, I created a code he had to crack.

Boredom 11 a

Each letter of the alphabet corresponded to its number. Hunting through the code, he then had to search for which letter lined up with the numbered spaces.

Boredom 11 b

He was so proud to solve it, revealing the answer of “Jabba the Hutt”, of course!

Boredom 11 c

Air Science

Air Science (4)

Having recently prepared a recipe reliant on air to cook (a.k.a. a recipe that needs a leavener), today Travis played around with two different kinds of leaveners to see which worked its magic faster.

In one empty water bottle, combine 1 cup warm water, 1 packet active yeast, and 1 teaspoon sugar. Put on the lid and shake, then remove the lid and place an uninflated balloon over the opening. Set a timer for 20 minutes.

Air Science (1)

Meanwhile, fill a second empty water bottle with 1/2 cup water and 1 cup white vinegar. Working quickly, add 1/4 cup baking soda. Add a balloon as fast as you can over the top of the bottle; it will immediately inflate with air.

Air Science (2)

This was fantastic fun for Travis, since the second bottle will be exploding a volcano of vinegar as you attach the balloon.

Air Science (3)

The results were immediately obvious; baking soda acts much faster than yeast. In fact, our yeast balloon took longer than the 20 minutes we had set on the timer, but after about an hour the balloon was beginning to inflate.

IMG_0001

I explained to Travis that this was part of the difference between a slow (yeast) bread and a quick bread (like banana bread), which comes together must faster. Now he understood why!

Air Science (5)

Stayed tuned for more elemental food science soon!

Create a Compass

Create a Compass (3)

This quick hands-on experience lets kids make their own compass with just a few household objects!

Cut a circle from a piece of craft foam, just a bit bigger than a paper clip. Set aside.

Create a Compass (1)

Rub a metal paperclip with a magnet about 20 times, being sure to scrape in the same direction each time. Travis proudly counted this out! This step will charge your paper clip with a magnetic charge.

Create a Compass (2)

Tape the paper clip to the foam circle, then place in a dish of shallow water. You’ll notice it wobble at first as the water settles, but slowly it will come to point true north. Test it against a real compass for the official results. Getting there…

Create a Compass (4)

….North!

Create a Compass (5)

Travis was thrilled this worked, all the more so because it stayed oriented north even hours after we left the dish on the windowsill. A simple but great way to show off the pull of magnetism.


Sky Colors

Sky Colors (4)

Travis’s latest issue of Highlights magazine included an interesting article about why the sky appears blue even though sunlight contains all colors. (Spoiler: nitrogen and oxygen scatter blue light more so than the other colors). We then played with this quick way to visualize what’s going on right here at home!

Fill a clear plastic cup with 12 ounces water.

Sky Colors (1)

Place the cup on a sheet of white paper in direct sunlight. We immediately noticed that a bright spot of white light (a.k.a. all the colors) appears on the white paper.

Sky Colors (2)

Now we added three quick pours of almond milk to the cup. This makes the water a little blue-ish, because now blue is scattered more than the other colors just as in the air. The color on the paper, on the other hand, changes to orange, since this is opposite from blue on the color wheel.

Sky Colors (3)

I explained to Travis that this is a lot like what we notice at sunrise and sunset, when reds and oranges are allowed to come through.

Even though we could see the blue tint/orange paper a little, it wasn’t terribly pronounced. We’re wondering if perhaps this trick works better with dairy milk? If you use cow’s milk, please share your findings in the comments!

Sky Colors (5)