For a boy who loves bugs, our latest kit from Koala Crate was sure to be a hit. Without any further ado, here’s what we put together – as always you can copy most of these ideas with materials from a craft store.
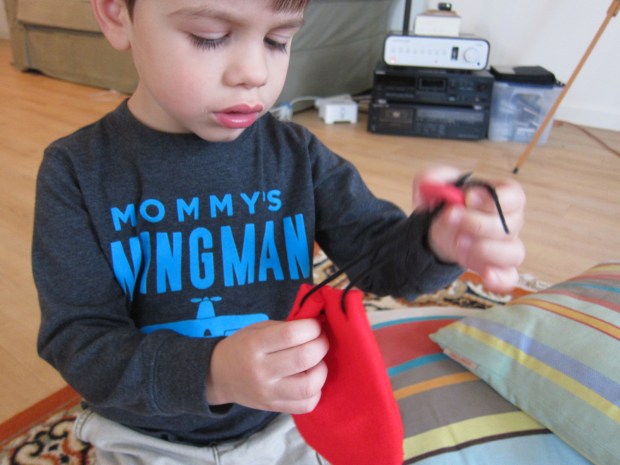
Travis delighted right away in the first project, a Ladybug Pouch. He proudly added dot stickers, a felt semi-circle at the head, and two eyes to the provided felt pouch. In contrast to when we started our subscription, I barely have to direct Travis now for where each piece should go.
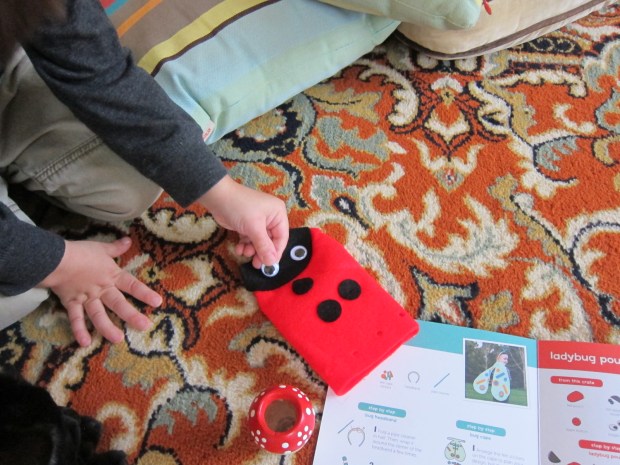
He also enjoyed lacing up the edge of the pouch with the provided thread, after which I added the foam button and tied a knot. Sliding the button allows kids to open and shut the pouch, and this is sure to be a delight for secreting away many a treasure in weeks and months to come.
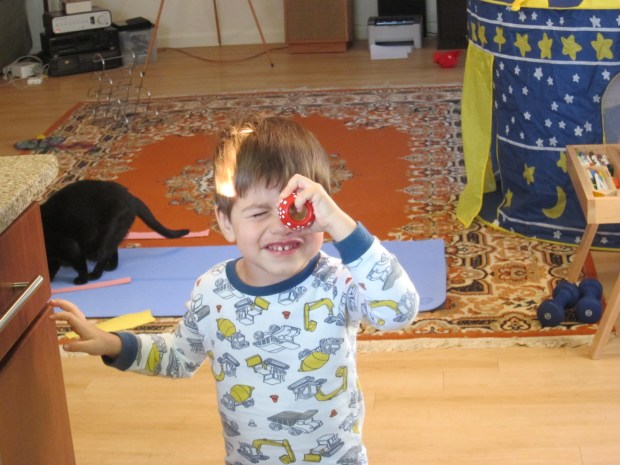
To wit, the kit came with a “bug eye viewer” to store in the pouch, and included information for kids on this “compound eye” that bugs possess. I loved the science lesson thrown in with the art! Using the viewer was tricky for Travis at first, squinting shut the eye that was up to the lens. When he finally mastered the art of it, he announced, “There are multiple mommies!”
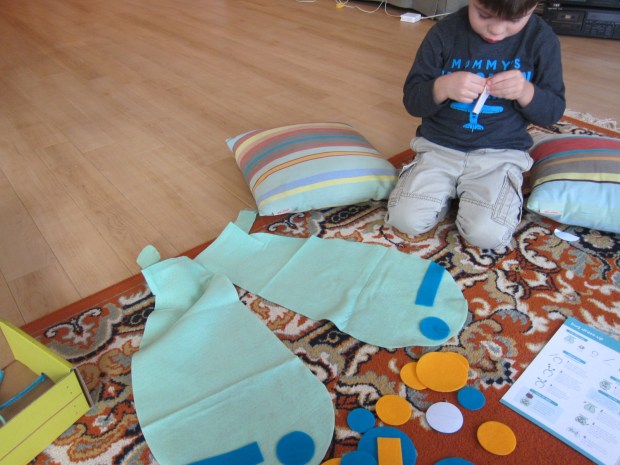
We’d barely finished the ladybug before he asked to see the next craft: Bug Dress-Up, featuring a felt cape to decorate as beetle wings and a headband to become antennae. For a little science, we discussed how bugs in nature (like beetles and butterflies) often show symmetry. So as Travis added a decoration sticker shape to one side of his wings, I would mirror it on the other, until we had a symmetrical costume.
To prepare the antennae, wrap a pipe cleaner around the middle of a plastic headband. Add two felt stickers at the top for a finishing touch.
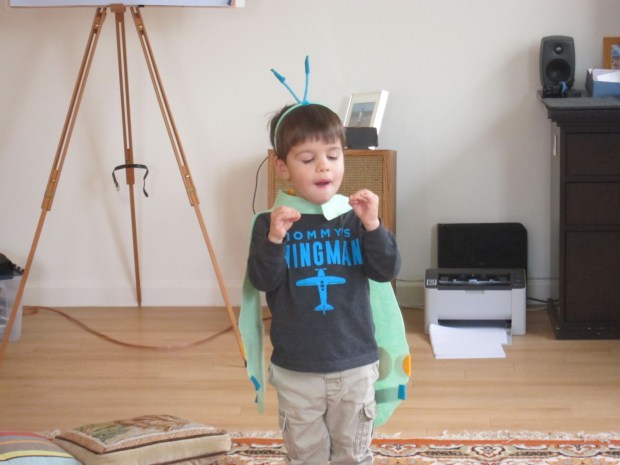
When we received our Bird Crate over a year ago, Travis balked at wearing the wings. Not so this time; he asked to wear the wings right away and began buzzing about with glee, reminded me that I’d forgotten to put his antennae on, and pretended he was a beetle for quite some time!

A singing beetle, I should add.
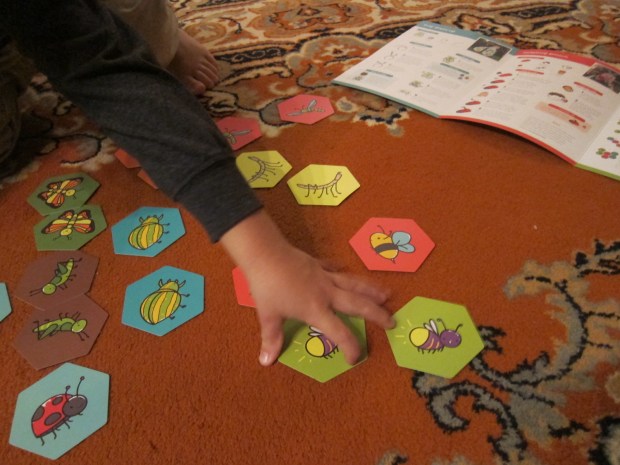
Travis hasn’t had much practice with memory-type games, so I was quite happy to see that the third project in the bug crate was a Bug Matching Game. Twenty sets of insects are shown on hexagonal cards (very clever, to mimic a beehive). First, we talked about all of the bugs shown. Then, we mixed the cards and placed them face down to play a classic Memory-style game.

For younger kids, start with just 4 pairs of bugs, and work your way up!
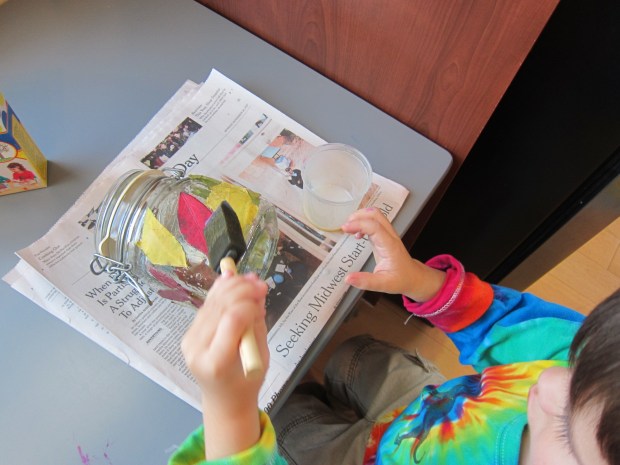
To end the bug fun, we followed one final suggestion from Koala Crate, very similar to a coffee filter butterflies we put together when Travis was small. I remember it being beautiful then, and this time Travis had a bit more impish fun with it!
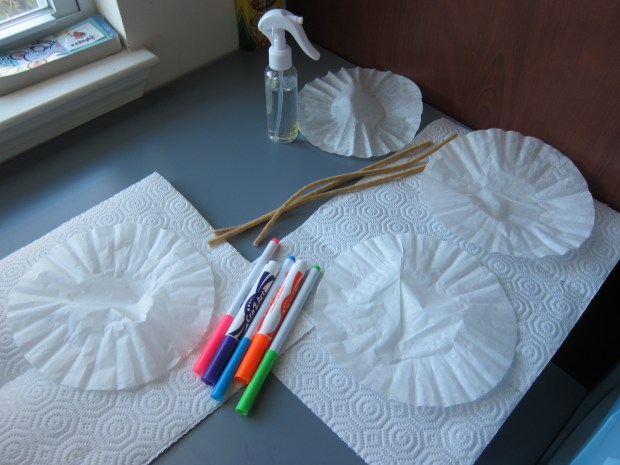
We gathered our supplies – coffee filters, washable markers, and a spray bottle with water.
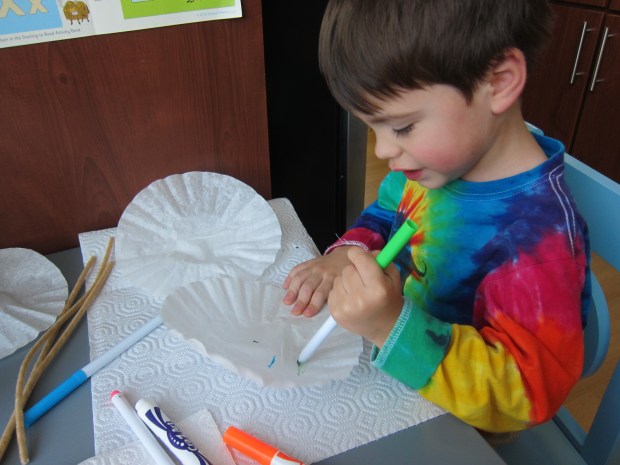
Color all over the filters with the markers. Travis tired of coloring fairly quickly, so I made sure to fill in one filter completely for him to see the results.
Next, spritz your filters with the water, letting the marker colors bleed together; let dry.

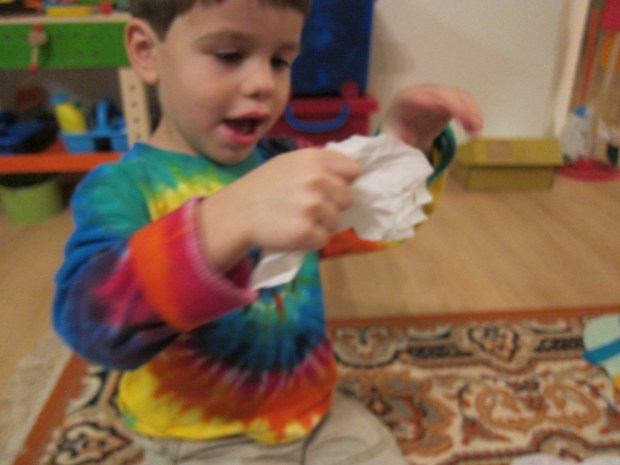
Travis had a blast playing with additional filters and pretending he was fashioning them into all sorts of creatures as I finished the project later.
Twist a pipe cleaner around the middle of each filter, fanning the sides into “wings.” Twist the top of the pipe cleaner down to look like antennae.

You can draw on smiley faces as the finishing touch…

…Before your butterflies flutter away.

High marks for Koala Crate on this one!