Crumbly Coconut Dough

Coconut Dough (2)

With about 2 feet of snow outside, we needed something tropical around here! This easy sensory dough was the perfect indoor amusement.

Coconut Dough (1)

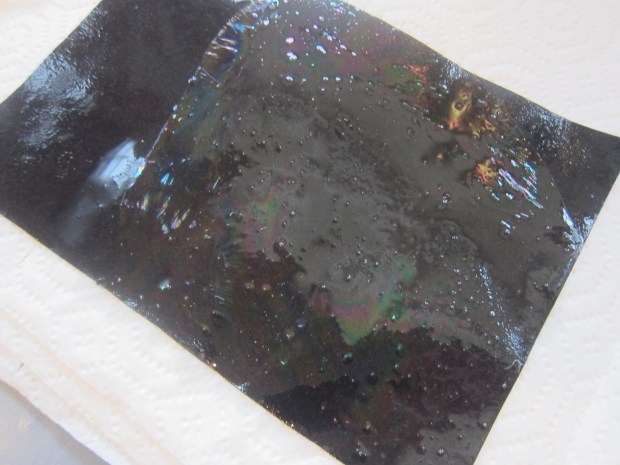
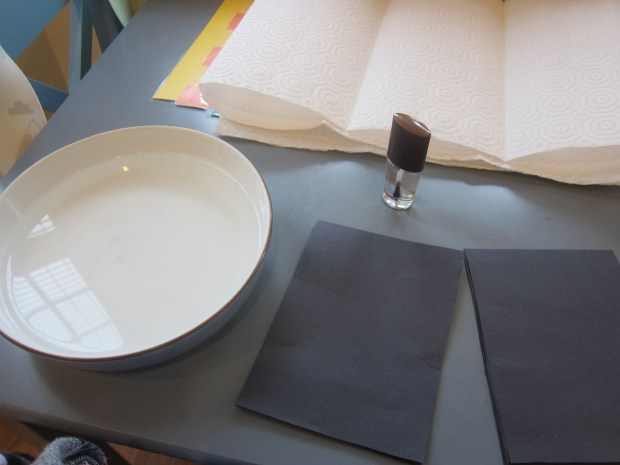
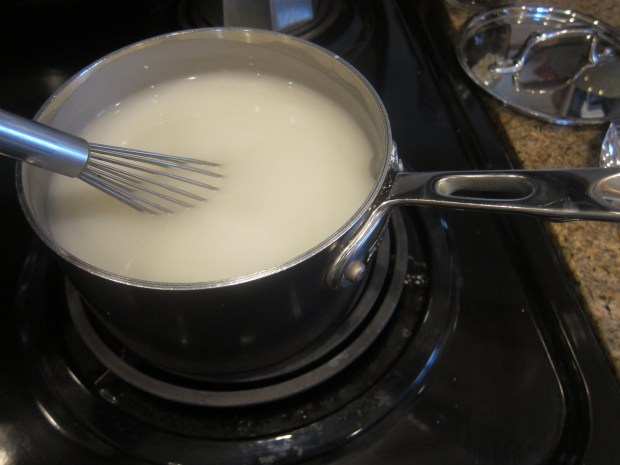
In a shallow bin, combine 1 cup coconut milk with about 2 cups cornstarch. You may have to adjust the ratios slightly; at first I had something similar to ooblek, but dusting the mixture with just a bit more cornstarch made it perfect. I crumbled it between my fingers and it began to look – and smell – like tropical sand!

Coconut Dough (3)

Add any fun items that will heighten the tropical vibe. I had a few bright purple flowers, as well as some star fish from the craft store. Veronika enjoyed plucking the flowers out, and testing their texture.

Coconut Dough (4)

More than anything, she loved simply stirring at the “sand”. This was a great way to keep busy and feel warm on a winter day.

How to… Build a Snow Fort


Snow Fort (g)

It’s only the third day of December and Travis is on the second snow day off from school. That meant we had to test out Highlights magazine’s tips for making the best snow fort!

Highlights recommended first delineating an area for your fort with a stick. We used a shovel instead, making a big square on our patio and then mounding up the walls to give us a base.

Snow Fort (a)

To make bricks for the walls, fill a rectangular container with snow. Drizzle with a little water, than add a final layer of snow on top.

Snow Fort (3)

Depending on the consistency of your snowfall, you may or may not need that extra water. We soon found that we did not – today anyway! Continue building until you have several layers of “bricks”.

Snow Fort (h)

We even tried adding windows.

Snow Fort alt.JPG

Simply twist an empty soup can to drill a little peephole.

Snow Fort var

Even more fun was adding food color to a spritz bottle; now we could decorate our fort’s walls with art (though I wish Travis hadn’t opted for orange!).


Snow Fort (f)

Travis loved being in charge of the “moat”, shoveling a long path away from our fort.

Snow Fort (d)

And we even armed ourselves with ammo, in case enemies (i.e. neighborhood friends) happened to storm the castle!

Snow Fort (i)

Don’t forget a side door to sneak out of! What special activities to you do on a snow day off from school? Please share in the comment!

Snow Fort (j)

Create Holiday Cards

Hospital Card (5).JPG

This holiday season, I’m trying to help Travis understand the meaning of charity a little more deeply. It’s never too early to model charitable giving, especially around the holidays, but you also don’t want to alarm young children with issues like illness and poverty.

One action that’s just right for kindergarten age kids is to spread holiday cheer through cards. Cards for Hospitalized Kids accepts letters all year long, but you can easily tailor it with a holiday message in December.

Travis has a cold right now, which helped him sympathize; he was alarmed to learn that some children have illnesses that last much longer than a cold, and need to live in a hospital. He was immediately excited to make a card for these boys and girls.

Hospital Card (1)

Following the organization’s guidelines, we designed a card and Travis wrote his own Merry Christmas message. We thought happy face stickers were just right for adding a bit of cheer.

Hospital Card (2)

We added just a touch of glitter. When I asked him if he wanted me to draw a Christmas tree on the inside, he insisted on drawing it himself!

Hospital Card (4)

I was proud of the generosity that went into this one project. More to follow as the lead-up to Christmas continues!

Hospital Card (6)


Santa’s Sleigh Automaton

Santas Sleigh (5)

I originally purchased this special holiday crate from Kiwi Co thinking it would be fun to put together with Travis. It turns out that it was so complicated even mommy had trouble with it! But we now have a very cool decoration to last until the holiday is over.

The sleigh works as an automaton, a machine that is pushed into motion, and the instruction booklet included neat STEM learning about other examples of automatons (think jack-in-the-boxes or vending machines), and also a detailed explanation at the end about how you’ve built a “cam”. Here’s a rough outline of what we did:

First we made a frame, slotting together the provided wooden pieces and foam stickers to help hold them in place.

Santas Sleigh (2)

We then needed to build the crank part of our cam by attaching wooden circles to a crank in the proper order.

Next up was the part of the cam that would go up and down. This required fitting plastic rods into the wood stand, securing them onto a paper square at the base, and adding a paper straw and foam donut to hold them in place. Here is where the machine seemed a bit faulty, with the paper squares not staying firmly on the wheels of the crank. Hmmm…

But we forged on, adding the felt reindeer, Santa and sleigh (quite tiny!) to each of the plastic rods. Secure them all with the provided string for a leash.

Santas Sleigh (4)

There is a decorated backdrop with felt houses and trees to attach. Now Santa’s sleigh and team are ready to fly!

Santas Sleigh (3)

Travis does indeed enjoy turning the crank, so there is holiday magic (and science!) to be had in the final product.


Frozen Treasures

Frozen Treasures (3)

Ice play is fascinating for babies and it doubles as a first science lesson on the states of matter (water into ice or vice versa). This little activity is also a puzzle for your little one to figure out!

You’ll need to prep the night before you want to play the game. I cut an old soy milk carton in half, and cleaned it out. Fill with water, then add a few plastic toys. Toy farm animals were perfect! Place in the freezer until completely solid.

Frozen Treasures (1)

The next day I presented the little cube of ice to Veronika. She touched it immediately, then withdrew her hand, quite surprised. It was cold!

Frozen Treasures (2)

I removed the outer carton layer, and posed the question to her of how we could free piggy and the other animals. Big brother immediately swooped in and wanted in on the action.

Frozen Treasures (4)

We tried pouring warm water over the ice first. Veronika loved the cup, and wanted to be a part of every pour!

Frozen Treasures (5)

This made the game great for action words (pour, tip), and great for talking about what was happening. I asked Veronika about how the temperature of the water was changing, from warm to cold once the ice touched it, to warmer again when we poured more from the cup.

Travis wanted to try a little chisel, too, but we decided we liked the warm water method better.

Frozen Treasures (6)

Finally, the animals were free!

Frozen Treasures (7)

Honestly by that point Veronika was more into the tools we had used than the animals themselves, but she was busy and happy, which meant mama was too.

Frozen Treasures (8)

We took the final chunk of ice up to bath time to watch it dissolve – good fun!

Musical Nursery Rhyme Dance Party

Musical Nursery Rhymes (9).JPG

We’re filling a snow day today, which made it the perfect day to set aside some quality time for musical play.

Of course you can always just grab an instrument and play, and in that vein, I laid out every instrument we had at home.

Musical Nursery Rhymes (1)

For some more structured fun, I went through a repertoire of nursery rhymes with Veronika! We started out with Where is Thumbkin. I held up my fingers for the verses, as she played along on the maracas.

Musical Nursery Rhymes (2)

Next up was Head, Shoulders, Knees, and Toes. Make sure to touch each body part, and shake an instrument in between verses!

Musical Nursery Rhymes (3)

The Itsy BItsy Spider was fun with a rain stick for the rain.

Musical Nursery Rhymes (4)

Twinkle, Twinkle Little Star was beautiful on cymbals.

Musical Nursery Rhymes (5)

You’ll probably find that there’s a perfect instrument for each song! For example, bang or rub on a drum for Pat-a-Cake. Or you can simply get up and dance, as I did for The Hokey Pokey while she looked up at me and laughed!

Musical Nursery Rhymes (7)

We added other favorites like Wheels on the Bus, If You’re Happy and You Know It, and I’m a Little Teapot.

Musical Nursery Rhymes (8)

Whatever instrument strikes your little one’s fancy is just fine; there’s no wrong way to play this game. Or simply pick him or her up and dance! This is a great way to pass some time with a one-year-old at home.

Musical Nursery Rhymes (6)

Let’s Count

Let's Count (4)

Counting out loud might seem silly when you play with babies who don’t have many words yet, but it’s never too early to learn! At one year old, here are some fun ways Veronika and I count.

First off, little fingers and toes practically beg to be counted.

Let's Count (2)

You can simply count them out with a touch or a tickle, or recite a classic rhyme like “This Little Piggy”, but add numbers for a twist. (“One little piggy went to market, two little piggies stayed home…”)

Let's Count (1)

Stairs are another fantastic place to count. Chances are your little adventurer loves climbing up these days. Counting helps cement the notion that numbers go in order, plus helps keep grown-ups patient since those little feet take longer than yours on steep steps!

Let's Count (5)

We also play with toys that involve counting, like a veggie farm set or Duplo blocks.

Let's Count (3)

Consider counting bubbles as you blow them. Or pop them!

Let's Count (7)

You could also try counting when you’re out and about, such as when you wait for a green light to change. Finally, read fun counting books together, especially ones with tactile elements.

Let's Count (6).JPG

Before you know it, Veronika will be counting along! Once your baby does reach this milestone, don’t worry if he or she counts out of order. “One, two…five” will still mean he or she is learning these new words and concepts!


Strawberry Banana Yogurt

Strawberry Banana Yogurt a.JPG

This easy yogurt mixture is perfect for babies to spoon up themselves. Or serve it the way we like best – spooned over pancakes!

Ingredients:

  • 1 cup vanilla non-dairy yogurt
  • 1/2 cup chopped strawberries
  • 1/2 cup sliced banana
  • 1/2 teaspoon cinnamon
  1. Combine all the ingredients in a bowl, and stir to combine.

Strawberry Banana yogurt b

Rainbow Paper Experiment

Rainbow Paper (3)

Here’s a quick project that’s equal parts science and art. It was the perfect follow-up to Travis’s Rainbow Optics crate from Kiwi Co.

Because it’s a bit messy and you have to work quickly, I gathered all the materials ahead of time. You’ll need paper towels for drying, small squares of black construction paper, a bowl filled with about 1 inch of water, and clear nail polish.

Rainbow Paper (1)

Place one of the black squares in the water, soaking completely. Let float towards the surface. Now it was Travis’s very important job to add 3 drops of the clear nail polish.

Rainbow Paper (2)

Remove the paper very quickly, pinching it from one corner, and place on the paper towels to dry. Now it was covered in rainbow swirls!

Rainbow Paper (5)

We wanted to make a few more, but found that the nail polish residue made streaks in the water; as a result, each ensuing piece of paper came out a bit messier.

Rainbow Paper (4)

Still, these were quite pretty, and you could glue them onto cardstock for a pretty art print if desired!

Colorful Goo Bags

Goo Bag (4)

These pint-sized sensory bags are just right for little hands, and can be played with in multiple ways.

To make the filling mixture for the bags, combine 1 cup cornstarch, 1/3 cup sugar, and 4 cups cold water in a saucepan. Cook over medium heat, whisking frequently, until the mixture starts to become clearer and thickens. It will be almost like Vaseline!

Goo Bag (1).JPG

Remove from heat and cool completely. From here, I spooned it into snack-sized zip-top bags. Add a few drops of food coloring to each. I used six bags to get the full rainbow.

Goo Bag (2)

Seal the bags and run under water to remove any mess on the outside, then squish with your hands until the color is incorporated. Now you have the perfect squishy bags for small hands!

Goo Bag (6)

Veronika was immediately enthralled with the bags. She loved picking them up and squishing in her hands.

Goo Bag (5)

She could pile them up, or lie one flat on the ground and press her hands down into it.

Goo Bag (7)

Then she had some imaginative game going on for quite some time that involved transferring them from one pile to another and flinging them behind her back. She also loved hiding them under a dish towel and then uncovering them.

Goo Bag (9)

At one point I got down at her level to talk about the colors she was holding, but for the most part, she played solo, quite happily.

Goo Bag (3)

Needless to say, these were tons of fun in a small package.

Goo Bag (8)