Bubble Prints

Bubble Prints (6)

The original plan with this project was to make art, but the kids were way more into the process than the final product. Which was just fine with me, since they were having fun!

To make bubble paints, pour a little liquid food coloring (or liquid watercolor) into the bottom of plastic cups, and add a little dish soap to each.

Bubble Prints (1)

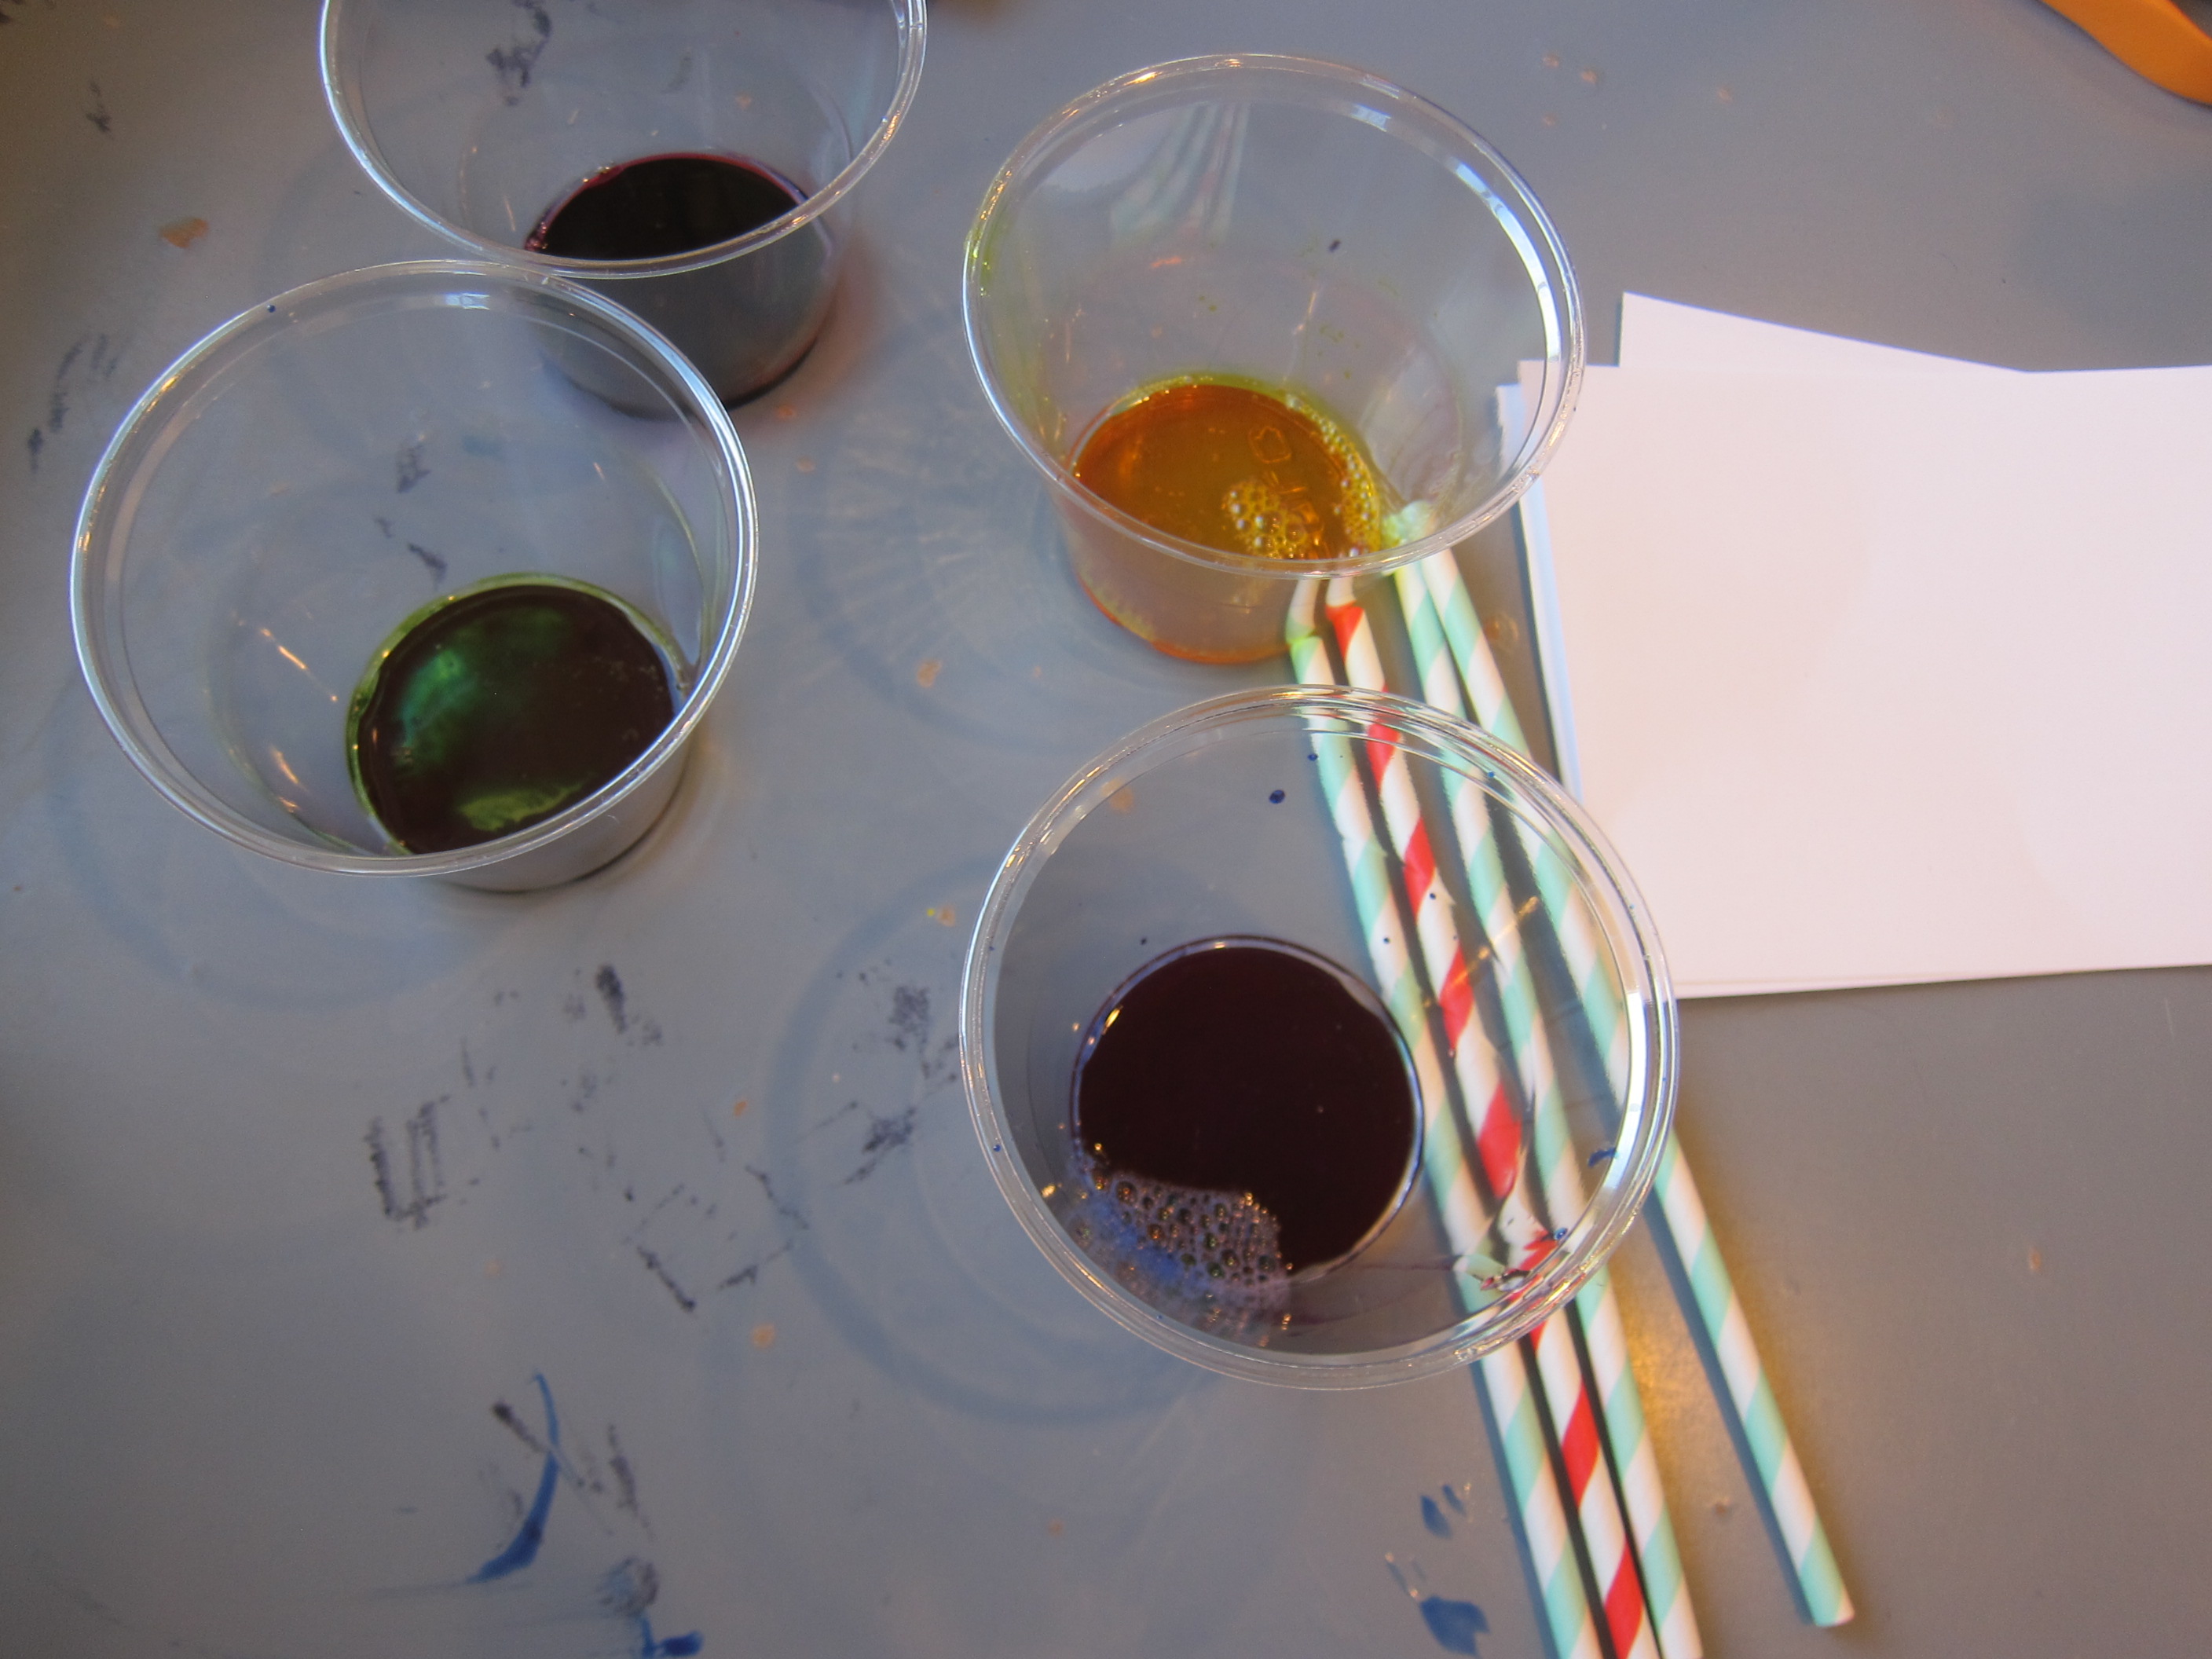
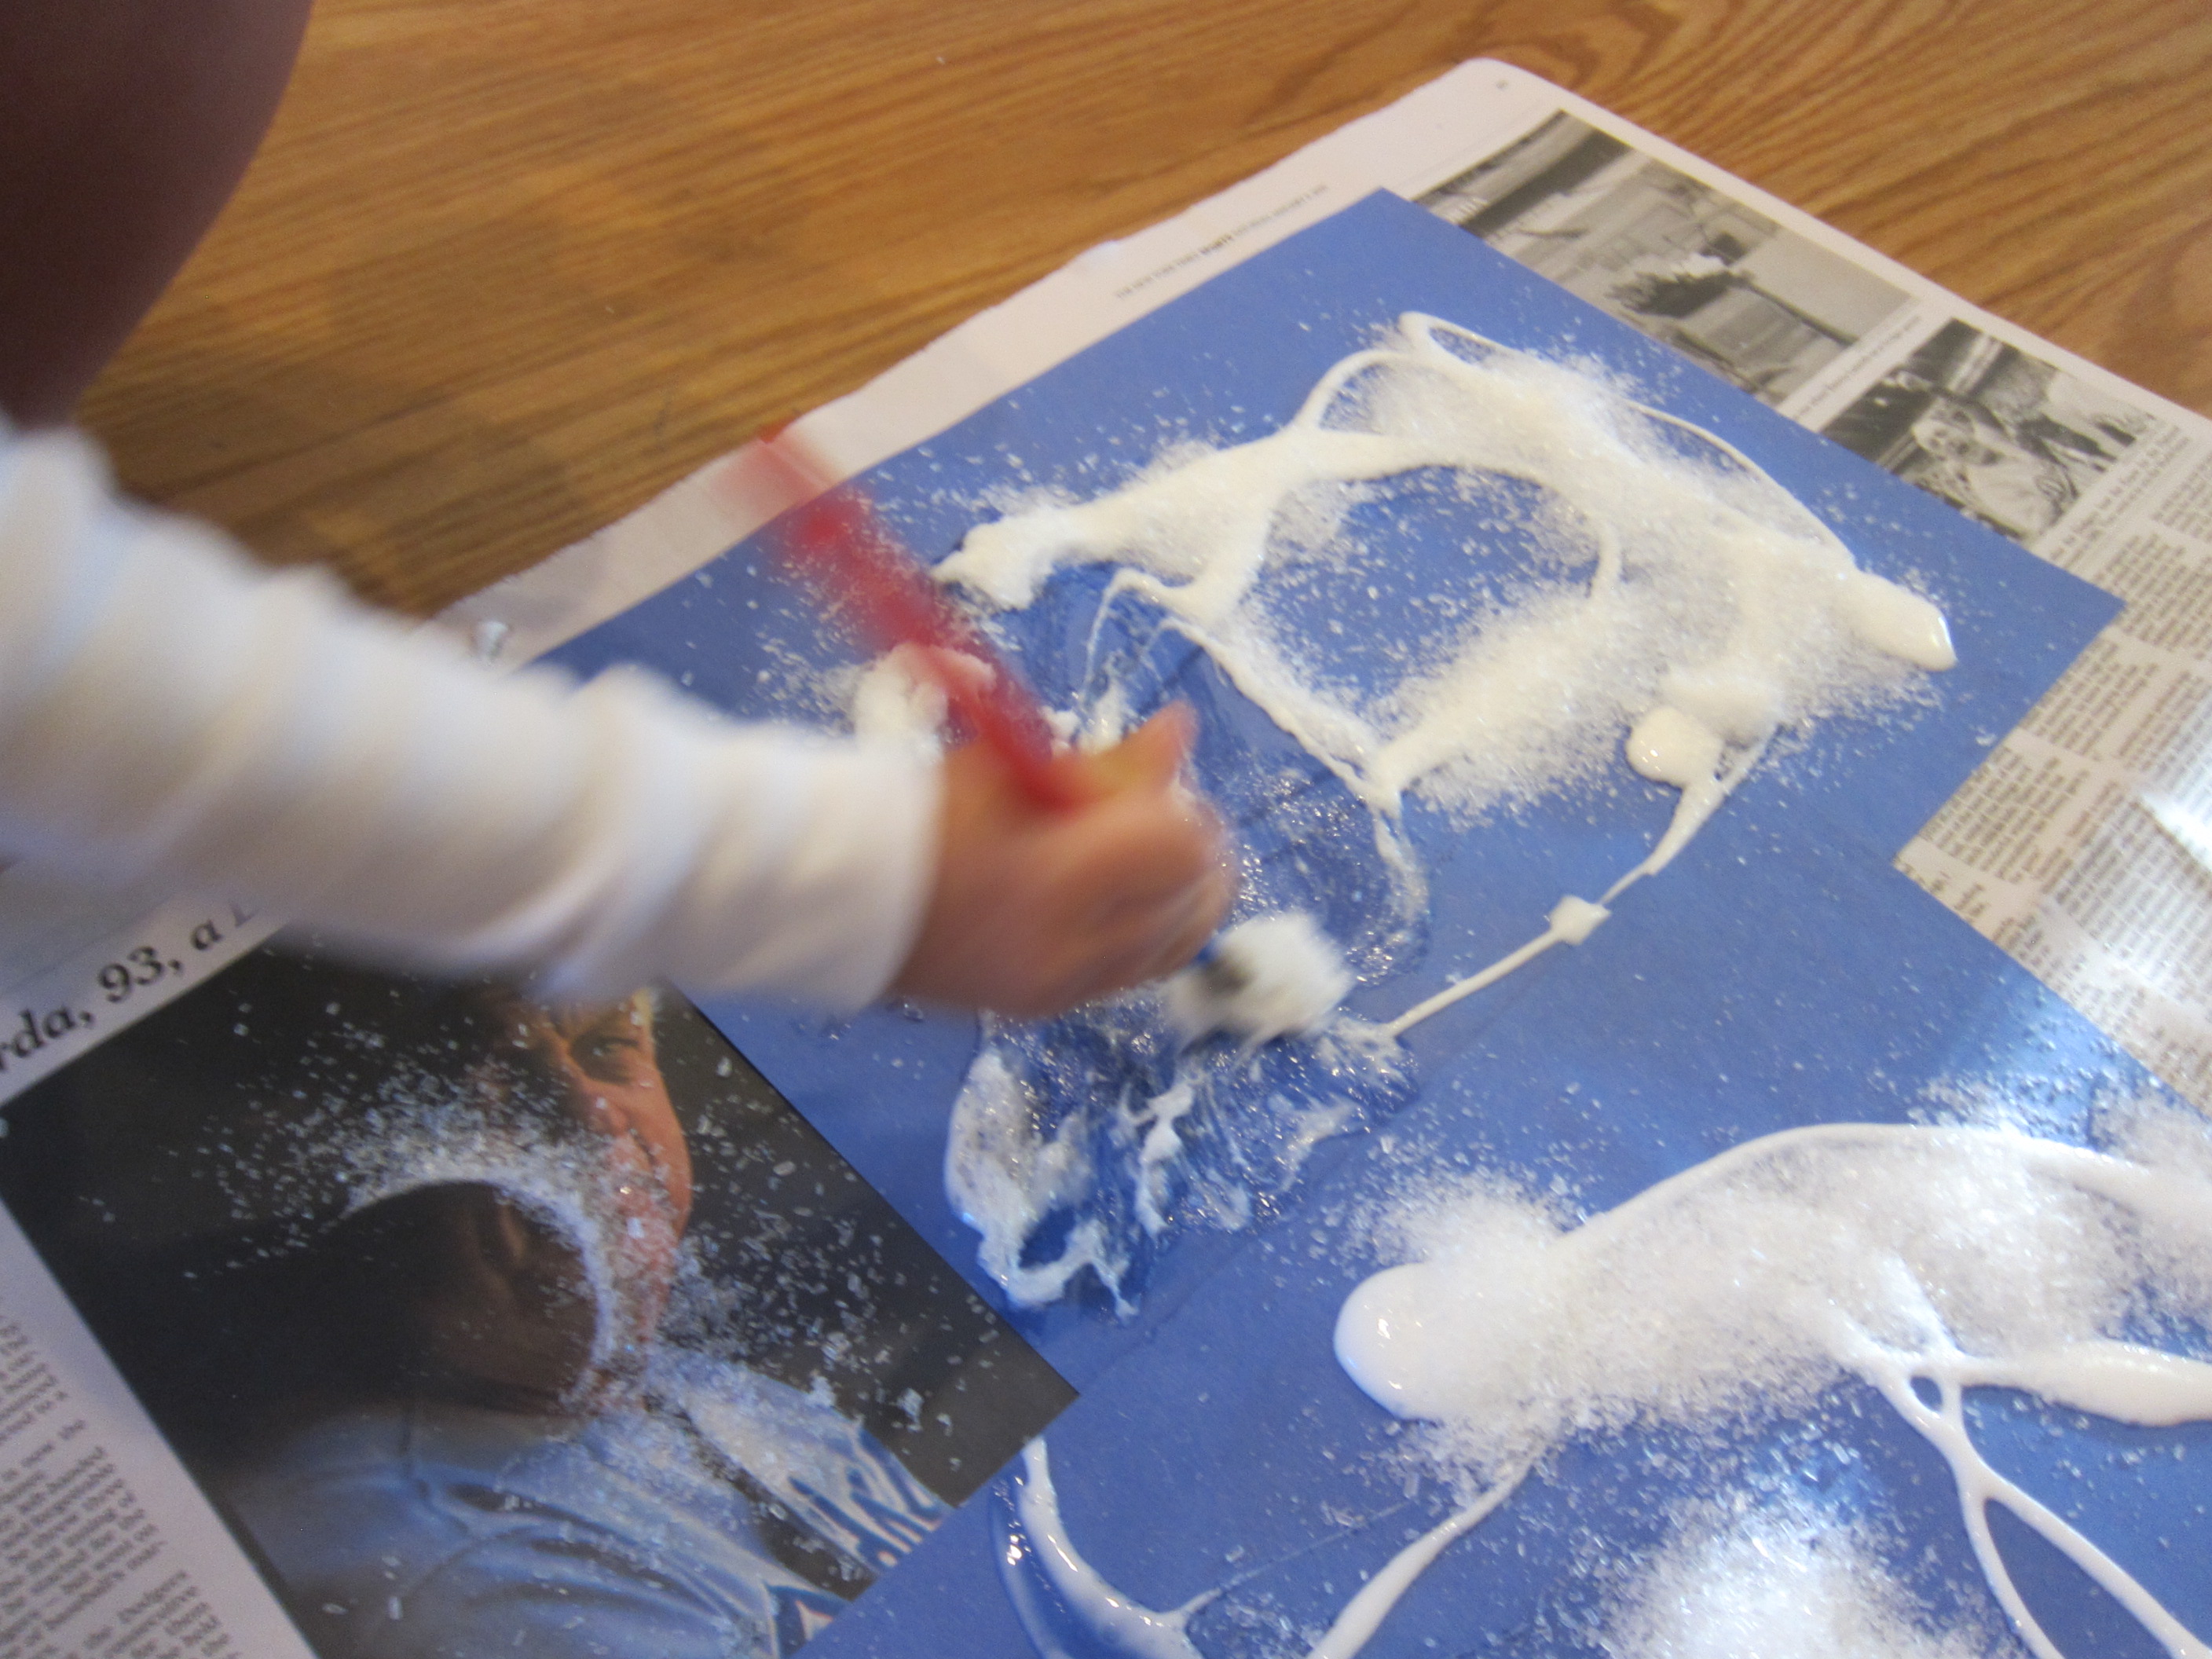
Blow into the cups through a straw to produce lots of bubbles. Travis made a face and was worried he would get bubble solution in his mouth, but I showed him how to huff out of the straw over a piece of watercolor paper, splattering the “paint” down.

Bubble Prints (2)

We tried a few rounds of this, but then truly the kids lost interest in any painting and just wanted more bubbles!

Bubble Prints (5)

They thought it was so fun to watch them rise to the top, or to see how high the pile of bubbles could go before they bubbled over.

Bubble Prints (8)

Hint: they can go very high.

Bubble Prints (9)

The sticky soap substance was so neat to pop with fingers. Veronika loved scrubbing it all over her hands!

Bubble Prints (7)

If we pressed the bubbles from two different cups together, they would stick! This got big laughs.

Bubble Prints (10)

Eventually we did stop all that bubble play long enough to fill our square of watercolor paper with the paints. I had originally planned to give the kids fish stickers (in keeping with a bubbles-and-ocean theme), but Veronika preferred bug stickers. Alternatively, you could cut fish shapes from black construction paper and glue down.

Bubble Prints (11)

These are lovely pieces of artwork in their own right, but would also make pretty gift cards or stationary.

Advertisement

Jump and Match Snowflakes

Jump and Match Snowflakes (6)

Here’s the perfect way to get some indoor exercise on a cold morning, plus sneak in a learning game, too!

I tailored the game so it would be a challenge for both my 6-year-old and my 2 year-old. First, I printed a snowflake template on cardstock showing 6 pairs of snowflakes, each with a match. Attach these to a door frame in your home so they are just high enough for kids to jump and touch the pairs.

Jump and Match Snowflakes (1)

Because I knew matching up snowflake pairs with subtle differences would be beyond Veronika’s ability, I also color-coded the game; each pair of snowflakes dangled from the same color string.

Jump and Match Snowflakes (2)

Travis proved to be an expert at spotting twin snowflakes (quicker than I would have guessed!) and loved jumping up to grab them.

Jump and Match Snowflakes (8)

Veronika was able to jump by color when I asked her to find both yellow strings, for example.

Jump and Match Snowflakes (4)

She’s just learning to get her feet off the ground in a jump, so this was great practice!

Jump and Match Snowflakes (3)

We also later played a quick game down on the floor where I showed her mismatched snowflakes followed by an identical pair, so she could be exposed to this more subtle version of a match.

Jump and Match Snowflakes (9)

Beyond the matching and jumping, simply having all those snowflakes dangling turned out to be lots of fun. Veronika thought it was a hoot to run under the strings so the snowflakes just brushed her head.

Jump and Match Snowflakes (5)

She also loved jumping her dolls up toward the dangling strings! This was a great way to burn some energy on a cold morning.

Icy Winter Scene Salt Paint

Icy Winter Scene Salt (4)

You only need two items to make a toddler happy on a slow morning: white glue and Epsom salts! To wit, Veronika made a winter artwork of “ice and snow” with just these two ingredients.

I set out one cup full of white glue and another with the Epsom salts, along with a sheet of construction paper. We chose blue as a background to evoke the bluish light of winter.

Icy Winter Scene Salt (1)

I thought she might want to paint the glue on with a paintbrush, but she was so interested in the cup of salt that she wanted to dip her brush back and forth between that and the glue. This meant her brush was quickly too gunky to spread the glue around on the paper.

Icy Winter Scene Salt (2)

Instead, I helped her pour the cup of glue right over the paper! Then I showed her how to pour the salt on top. There’s no need to worry about a mess because as you tilt the paper to tap off any excess salt, the rest will stick in the puddles of glue.

Icy Winter Scene Salt (3)

It looked like sparkly snow and ice to us!