This ice activity is really just good old-fashioned ice exploration, but with a winter twist to give it the guise of something new!
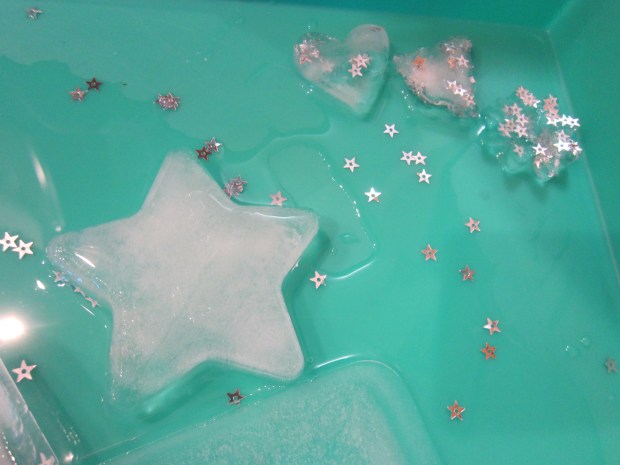
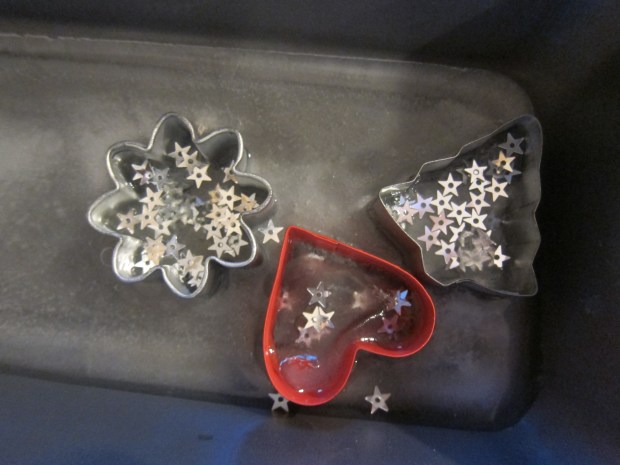
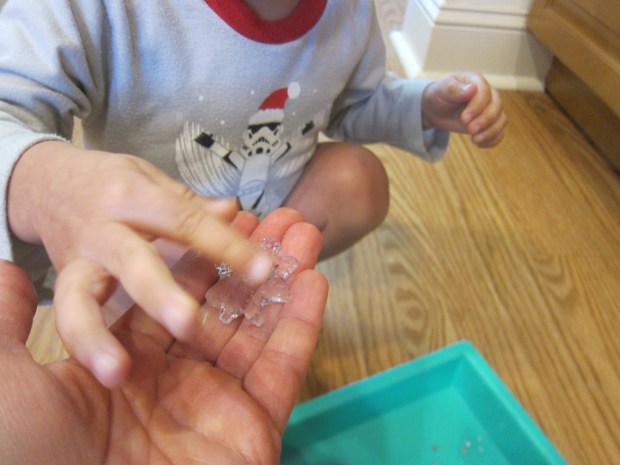
To make our sparkly “winter” ice, ideally use a star or snowflake ice cube mold and freeze overnight. Lacking such a mold, I used winter-themed cookie cutters instead (a pine tree, snowflake, star, and heart). This was a bit trickier because I had to lift the cookie cutters from a larger dish after the water started to freeze, but before the cookie cutters were frozen solid! I also sprinkled star-shaped glitter into the water before freezing for extra winter sparkle.
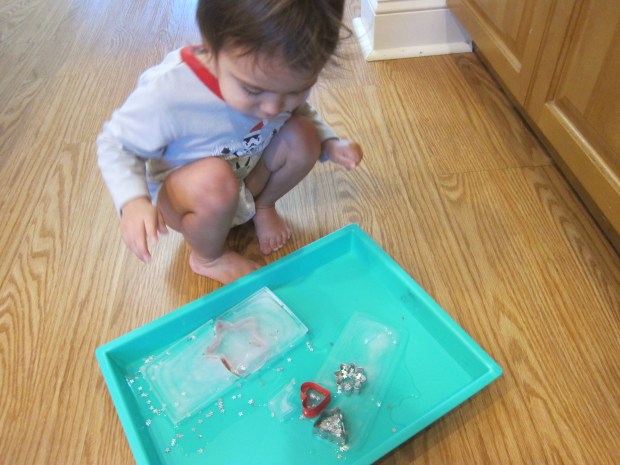
When we took the ice out of the freezer the next morning, Veronika was delighted. “It’s a little snowflake!” she said, spotting this shape.
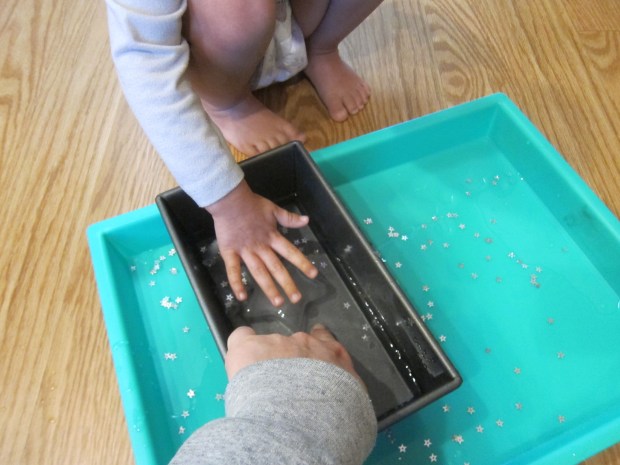
We used our senses to explore them, and she carefully touched her fingers to the ice. “Ooh, that’s cold!” she said.
Then we placed them in a little dish of water to see what would happen. The small shapes melted almost instantly. Good thing our larger star shape lasted much longer.
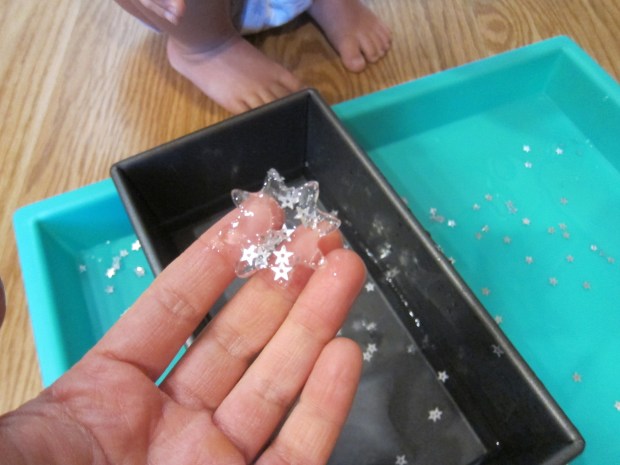
She loved picking this one up and transferring it in and out of the water, testing how cold it was each time.
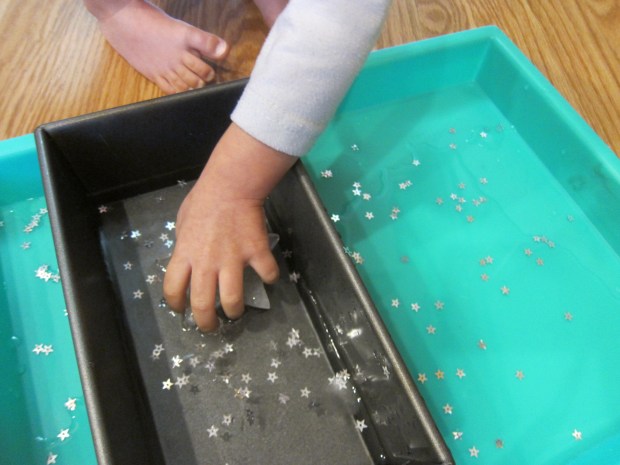
This was a fun winter twist on early STEM exploration of liquids vs. solids. With older toddlers, you can delve more into how water can come in three states (solid, liquid, and gas); test sprinkling salt on the ice cubes to melt them faster; or see if the ice shapes melt faster inside or outside.