Kids’ Hearts Valentine Gift

Kids Hearts (5)

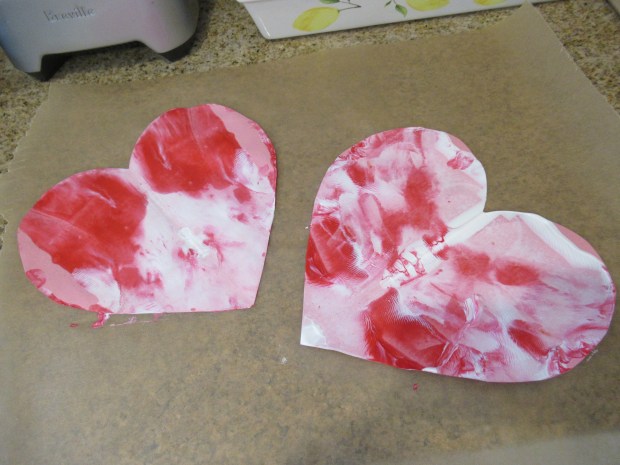
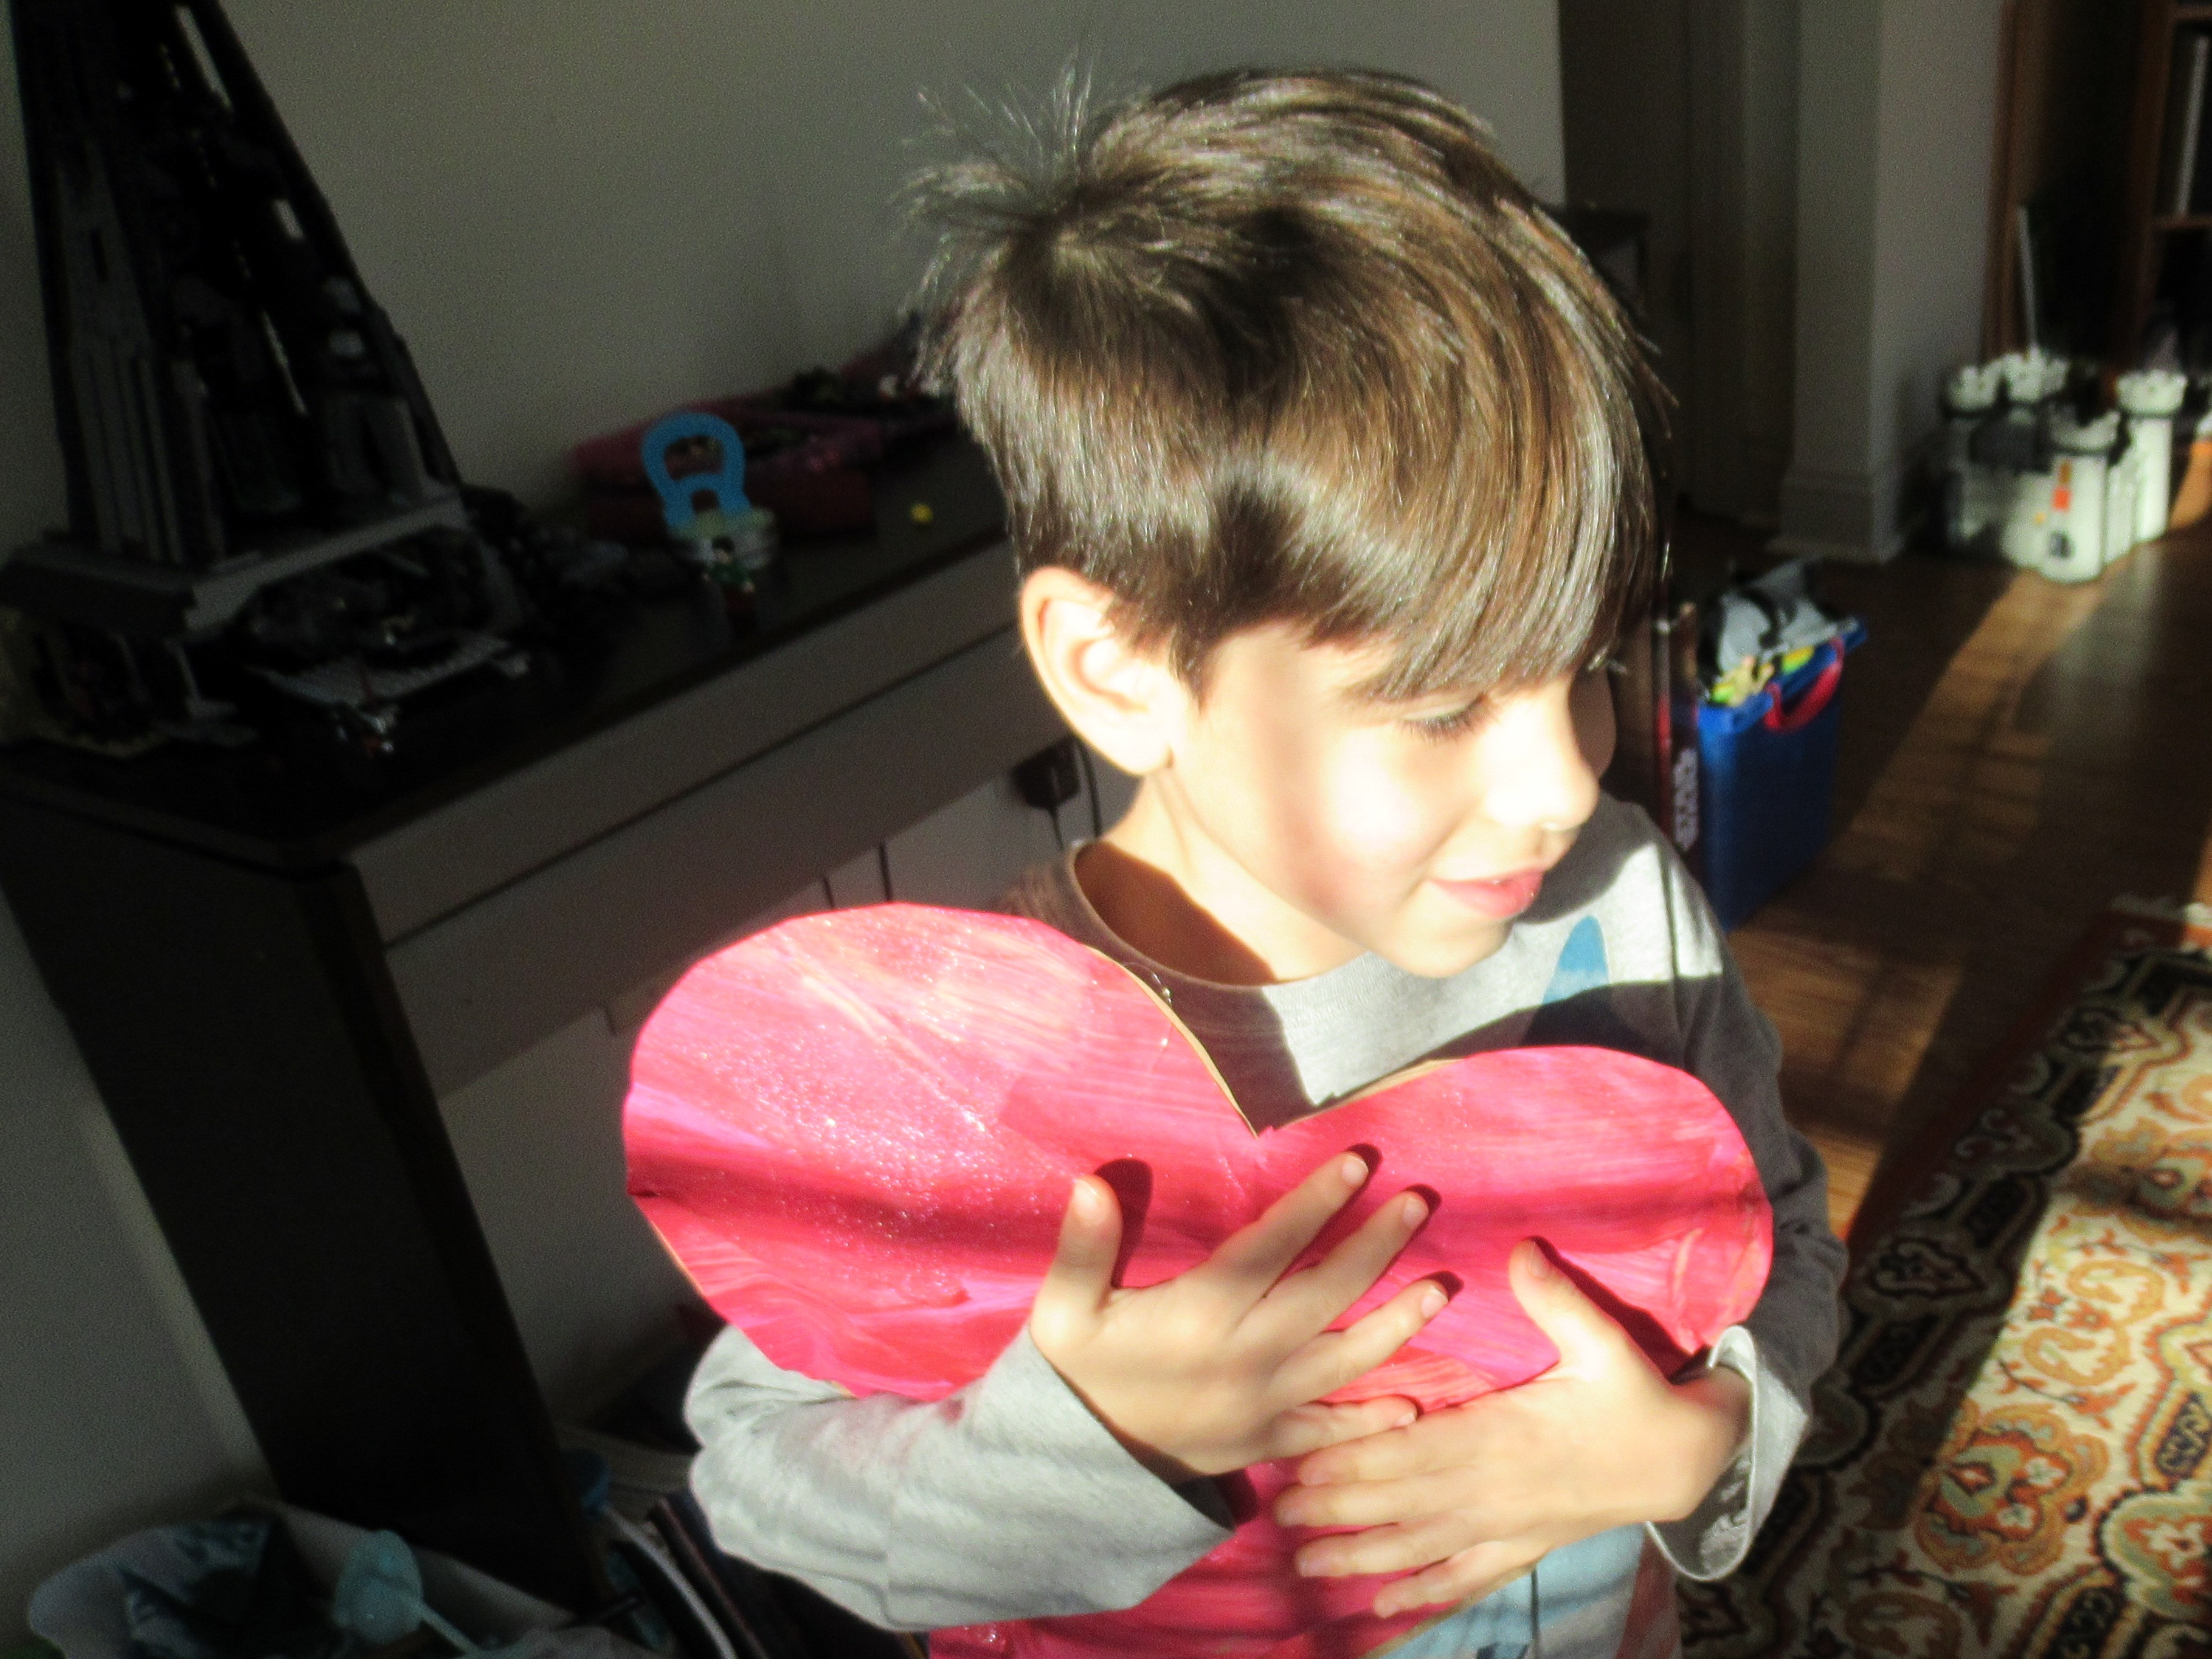
The kids gave daddy their hearts for Valentine’s Day – literally! This is a great craft for siblings to work on together, and results in a beautiful keepsake for any family member.

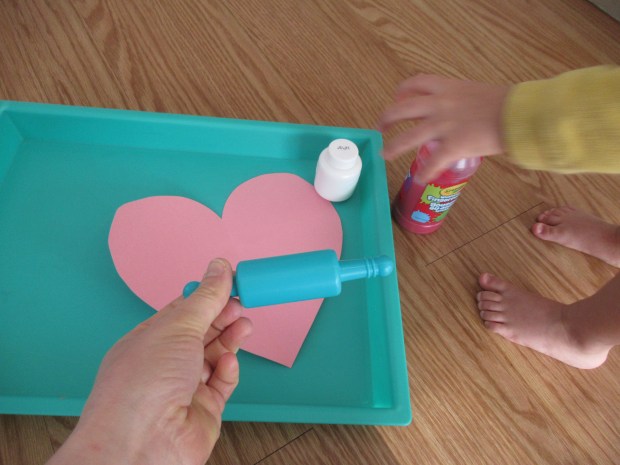
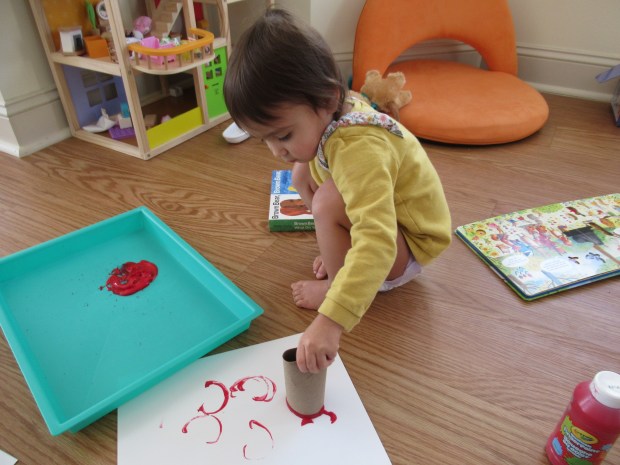
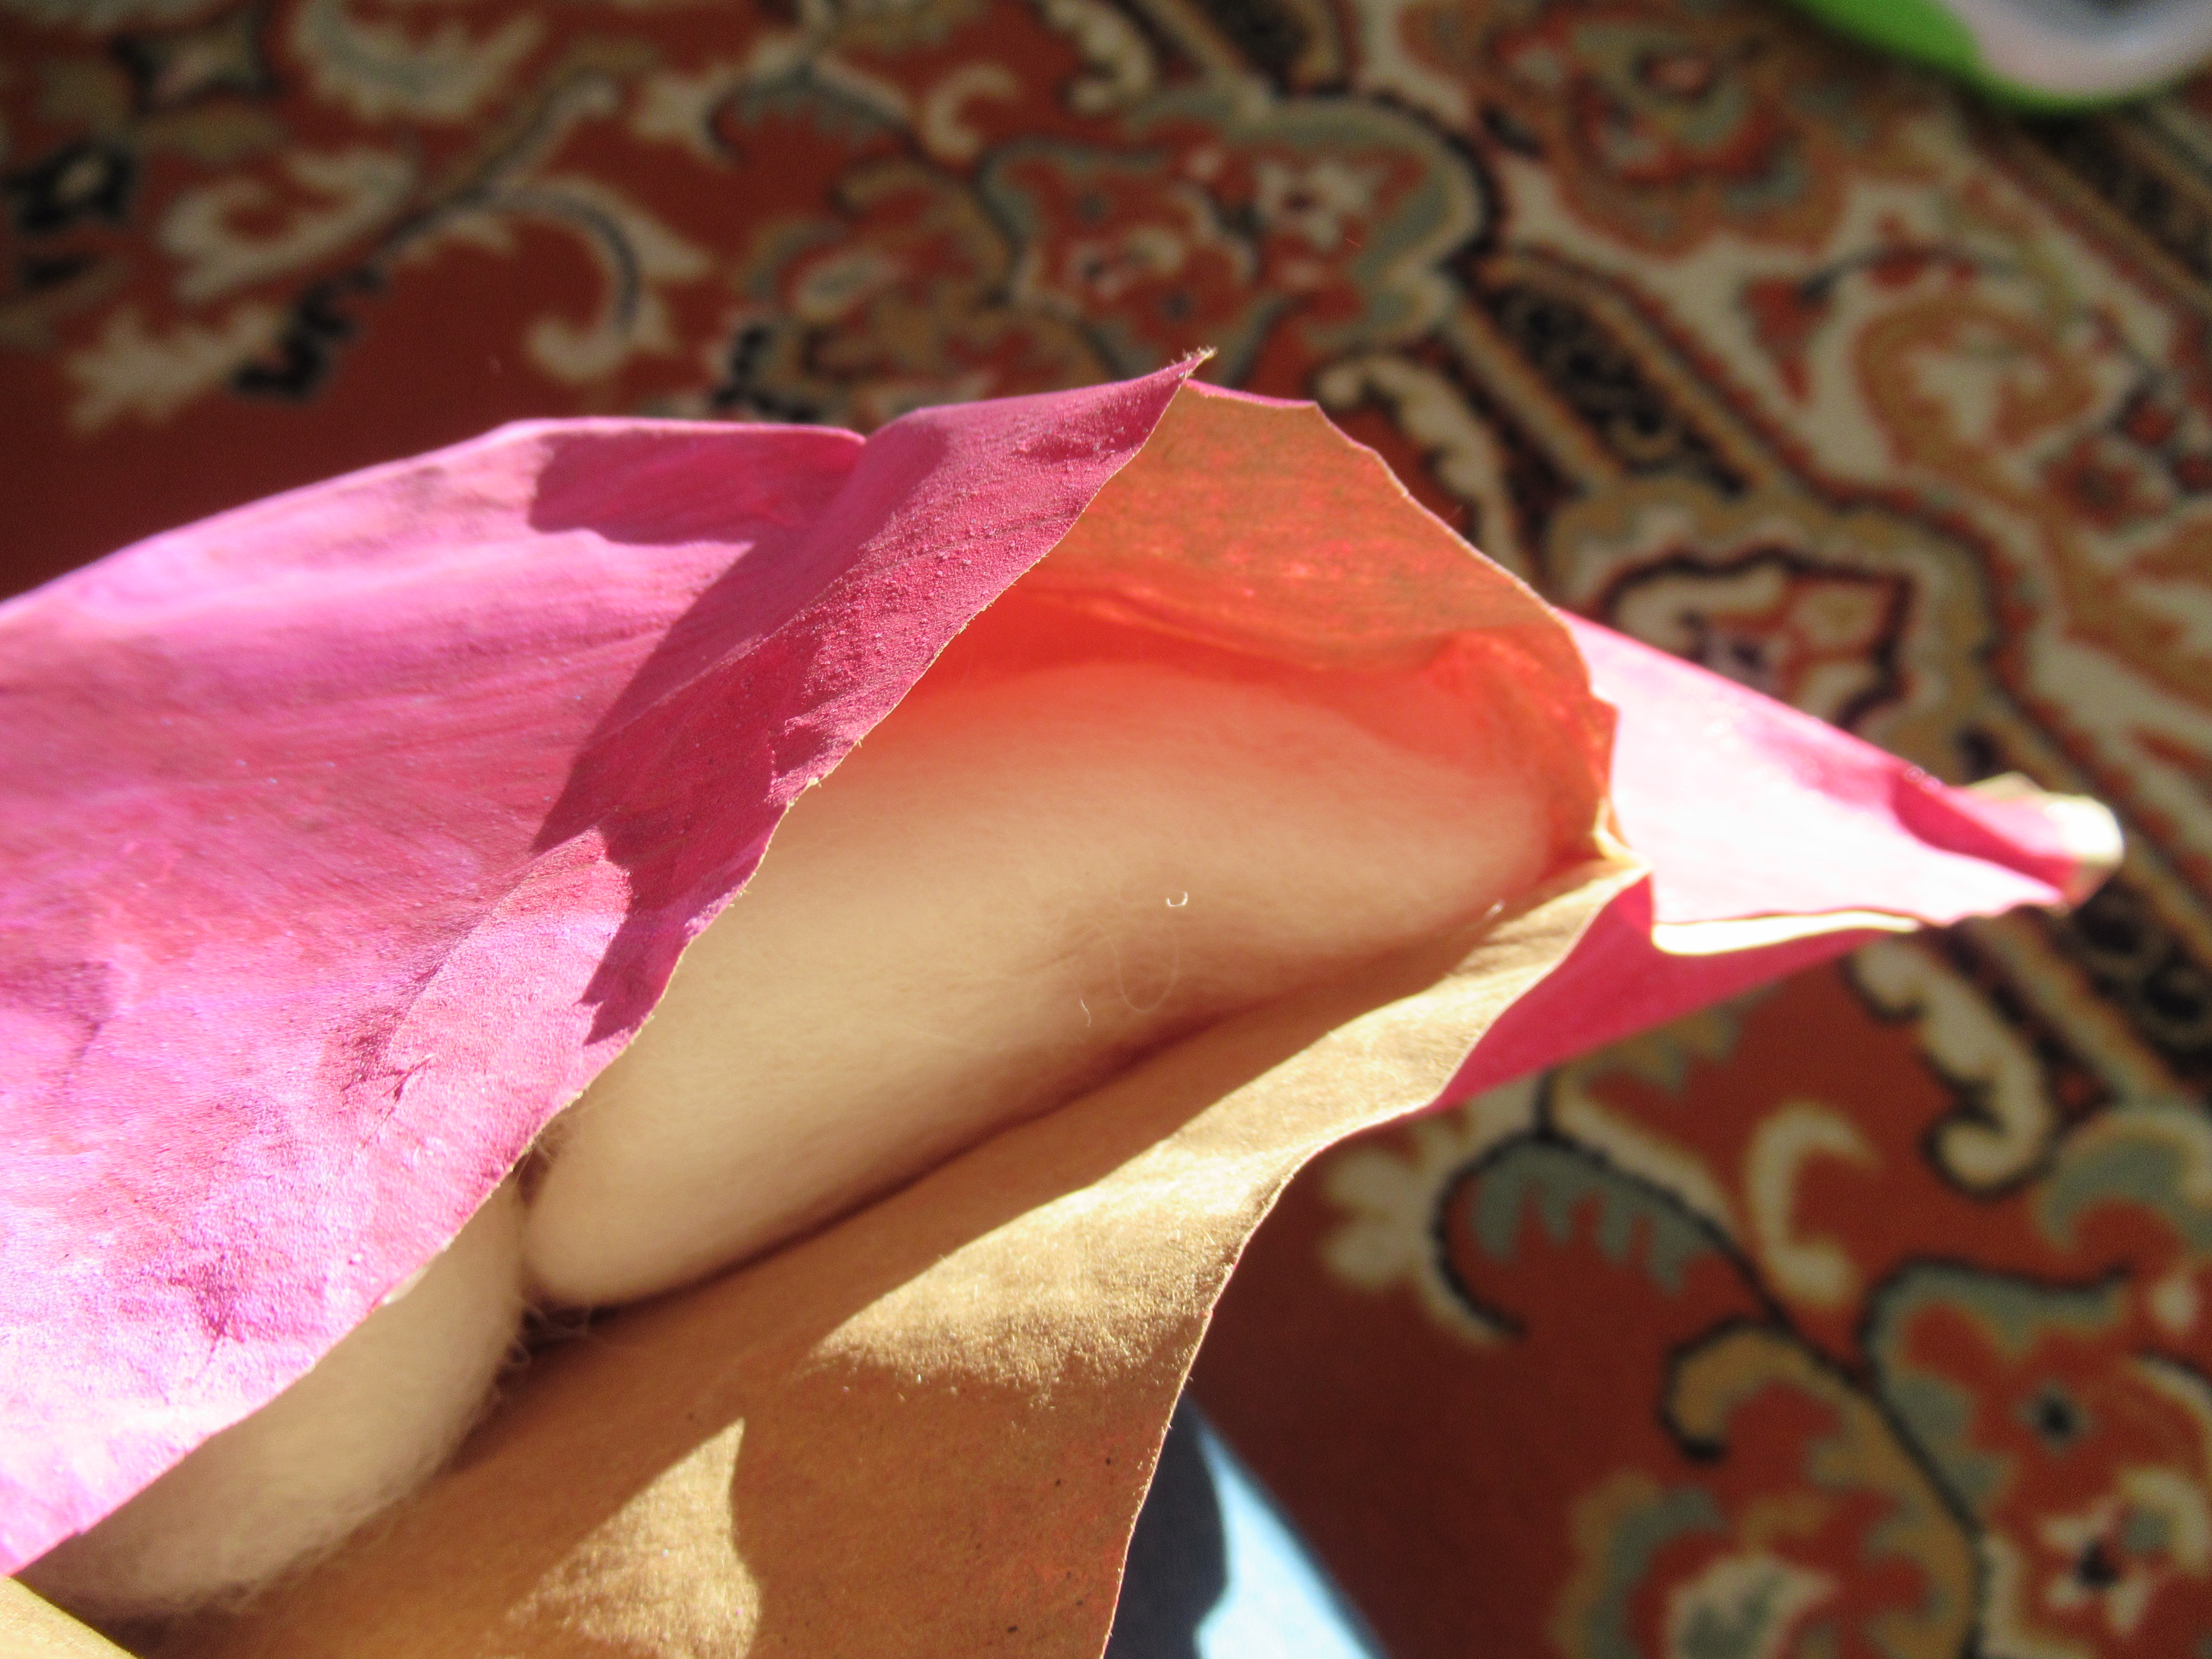
First, I wanted the kids to each paint “their” heart, so I cut two heart shapes from sturdy white paper (older kids can do their own cutting), and set out different colors of paint. But neither kid wanted to get messy! So I slipped the hearts into plastic zip-top bags and squirted in their requested colors of paint: peach and green.

Kids Hearts (2)

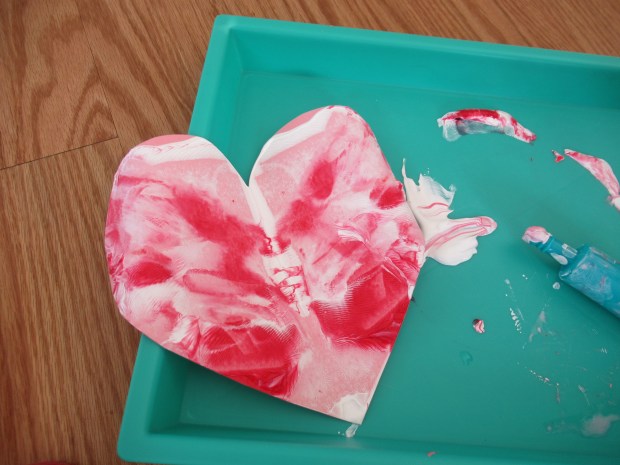
The kids loved smearing the paint on through the bag. Veronika loved that she made circles of paint as she pressed, and Travis loved that he could cover the heart completely without getting a drop of paint on his fingers, my neat boy.

Kids Hearts (3)

I set the hearts aside to dry.

Kids Hearts (4)

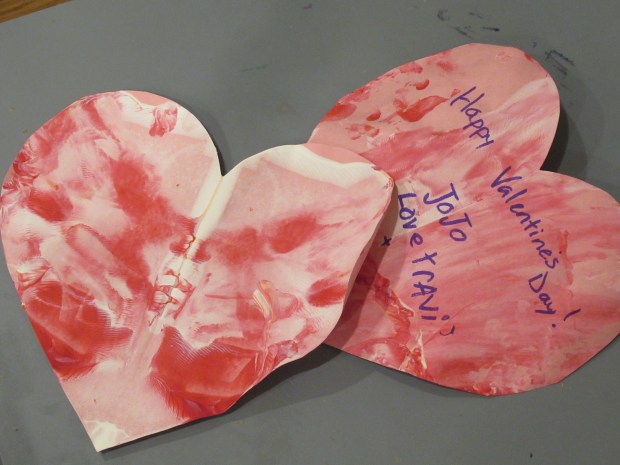
Meanwhile, I removed the mat from inside a frame and traced it onto red construction paper instead. Once the hearts dried, I wrote each child’s name on the one they had painted, then glued to the red mat.

Kids Hearts (1)

Write a sweet message along the top or bottom, replace inside the frame, and then wait for the big smile on your recipient’s face!

Kids Hearts (6)

Valentine Hearts, Two Ways

Valentine Heart (5)

The heart crafts with Veronika continue, a great way to teach toddlers about the connection between Valentine’s Day and love… and messy crafts! Today we used hearts in our painting, but in two very different ways.

For the first, I cut heart shapes from pink construction paper and placed these on a tray. Dribble on a little red and white paint, then fold the heart in half.

Valentine Heart (1)

I encouraged Veronika to flatten out the heart! She could either use her hands or roll over it with a small rolling pin. Because we’d used too much paint, this turned out to be a very smooshy messy process!

Valentine Heart (4)

Open the heart up for the big reveal!

Valentine Heart (3)

Let dry, then write a Valentine message on the back for someone special.

Valentine Heart (7)

The second method is one I did with Travis when he was not much older than Veronika is now (!), making it one of the earliest posts from this blog. It’s fun to repeat activities with my kids and see how they differ across the years. All you need is an empty toilet paper tube; push in one edge slightly to form a heart shape.

Stamped Heart (1)

I showed Veronika how to dip this “stamp” in red paint and print!

Stamped Heart (2)

Make as many heart prints as your child desires. I remember Travis wanted to cover his whole paper, but Veronika tired out about half way through.

Stamped Heart (5)

If you try both of these heart crafts, please share in the comments which one your toddler liked best!

Counting Block Towers

Counting BLock Towers (6)

I recently purchased a new rug for the playroom featuring a hopscotch board. I can envision so many ways we’ll use this in the future, including obviously as an indoor hopscotch mat. But as Veronika was playing with blocks today, I realized the mat will also be great for teaching numbers and counting practice with my toddler!

We’ve used her dump truck to clean up blocks before; now it was time to use the truck to bring them out for play. I ferried the blocks from where she’d been playing with them in the living room and she loved dumping them out atop the hopscotch rug.

Counting BLock Towers (1)

Once we had enough blocks, I sat down with her at the beginning, next to number 1.

Counting BLock Towers (2)

For each number, I named it and pointed to the symbol, and then built a block tower with the corresponding number of blocks. This was fun for her to watch because…

Counting BLock Towers (3)

…the towers kept getting taller!

Counting BLock Towers (4)

At first she helped build. Then she lost interest and wanted to play her own way with the blocks, which was fine. I kept naming the numbers and counting each tower of blocks out loud, knowing she was listening and absorbing.

Counting BLock Towers (5)

As I neared the end with the towering skyscrapers of 8, 9, and 10, she suddenly was mesmerized.

Counting BLock Towers (7)

As soon as 10 was finished, she trotted over and my baby Godzilla knocked down the whole block city!

Counting BLock Towers (8)

This was a great way to introduce the notion that numbers get successively bigger as you count up 1 through 10. We’ll be building on our hopscotch mat again soon!

National Pizza Day

National Pizza Day (1)

Today is National Pizza Day and Travis’s latest issues of Highlights magazine had lots of fun topping ideas to help us celebrate the day. It seemed such a shame to choose just one that we made it more of a pizza week, testing out the following over a few days.

Of course we also celebrated by learning a little pizza history (Google the story behind the margherita pizza, for example, for some fun trivia facts).

For all of the following pizzas, we used the premade crust from Banza; the crust is vegan and gets a nice protein boost from chickpea flour! I didn’t bother to measure the quantities of ingredients for any of Highlights’ suggested toppings; just add as much of each as feels right for your family!

Bright and Early: For this breakfast spin, we spooned pesto onto the crust in place of tomato sauce, then sprinkled with a little of our favorite scrambled tofu (1 block of crumbled firm tofu sauteed in oil with 2 tablespoons nutritional yeast, 1 teaspoon garlic salt, and 1 teaspoon turmeric). Sprinkle on a little chopped red bell pepper. After baking according to pizza crust directions, top with avocado slices.

National Pizza Day (6)

Tasty Taco: This time we spooned salsa on top of the crust in place of tomato sauce. Layer that with cooked meatless crumbles, a sprinkle of shredded vegan colby jack, and sliced black olives. Bake according to pizza crust directions, then add a little shredded lettuce and a drizzle of non-dairy sour cream before serving.

National Pizza Day (2)

Bold Barbecue: Spoon on a little barbecue sauce in place of tomato sauce. Arrange torn slices of vegan Gouda over the sauce, then sprinkle with chopped and cooked Gardein chick’n, thinly sliced red onion, and chopped cilantro. Cook according to pizza crust directions.

National Pizza Day (4)

Keen on Green: Leave the pizza crust white and sprinkle with lots of vegan cheddar. Add chopped steamed broccoli florets and drizzle with olive oil. Sprinkle with oregano… or add red pepper flakes if your kids like a little heat!

National Pizza Day alt

The final night was a return to the classic margherita in the colors of the Italian flag: red tomato sauce, white mozzarella, and green fresh basil leaves.

National Pizza Day var

Which does your family like best? Please share in the comments!

National Pizza Day (5)

A Morning in a Cardboard Box

Dumpster Diving (7)

Travis had remote Zoom schooling today, which meant I had to find a way to keep Veronika entertained, out of his way, quiet (well, mostly quiet!), but also be nearby and ready to swoop in if Travis needed my help. What could possibly tick the boxes to fulfill this criteria? A giant cardboard box of course!

I’d been saving an old box for a while, because Veronika has recently shown a desire just to … sit in them! She gets such joy from climbing into delivery boxes, the bigger the better.

Dumpster Diving (3)

For a spin, I decided to set up this particular box as a “dumpster”, an idea I spotted at Hands on as We Grow. Add recyclables like crumpled newspaper, saved snack boxes, and old sponges. Anything that seems like “trash” without actually being dirty will work!

Dumpster Diving (6)

It turned our that she didn’t love this full box nearly as much as an empty one. That said, she latched onto the sponges right away. Soon she was “cleaning” the box, which I guess made this the cleanest dumpster in town!

Dumpster Diving (8)

I helped her climb out and now those crumpled pieces of newspaper were perfect for target practice. Slam dunk!

Dumpster Diving (10)

Meanwhile, I had also hidden a few cars and trucks under the debris to see if she wanted to hunt for them. She didn’t show much interest in the hidden cars in the box, so instead I cut off one of the box flaps and tilted it like a ramp against our lowest stair.

Dumpster Diving (9)

Now, she loved zooming the cars down, and then started steering them up and down the ramp so carefully. I marveled at the control she’s developed playing with cars, for example always now turning them so the hood of the car faced forward.

Dumpster Diving (11)

Travis’s Zoom class was still underway and we needed to buy more time with the box. So next up was chalk! It turns out that sidewalk chalk shows up beautifully on cardboard, and was a novelty compared to crayons.

Dumpster Diving (13)

She told me she was drawing blue for a daytime sky, and then purple for dark! So I added a sun and moon, which made her so happy.

Dumpster Diving (14)

She kept drawing in the box for almost half an hour by herself after that. Mission accomplished!

Dumpster Diving (15)

Valentine Cookie Play

Valentine Cookies (10)

Sugar cookie recipes are a perfect way to involve a toddler in the kitchen. There’s rolling, frosting, and decorating, not to mention tasting! Because sugar cookies involve multiple steps, a recipe can easily fill a snowed-in morning together, as Veronika and I made it do today!

For the cookies, we used this recipe except (whoops!) accidentally added 1 cup Earth Balance butter instead of 3/4 cup. Luckily, the dough still worked great. If your toddler wants to help with some of the easier steps of making the dough, be sure to let him or her! Veronika wasn’t interested though until I pulled the chilled dough from the fridge and set it down, along with a rolling pin and cookie cutters.

Valentine Cookies (1)

She loved helping roll out the dough with the purple rolling pin!

Valentine Cookies (3)

I helped her press our heart cookie cutters in hard enough to push all the way through the dough, and showed her how to arrange our hearts on cookie sheets. She was so proud and delighted with all these steps! When there were only a few dough scraps left, I let her continue the play solo while I baked the cookie batches.

Valentine Cookies (2)

Once the cookies cooled, it was time to decorate! We nixed homemade icing and instead just tinted a can of store-bought vanilla frosting pink with a little food coloring. Veronika was so proud standing at the counter, just like big brother Travis can! She helped frost the cookies…

Valentine Cookies (5)

…and loved using a spoon to add little white sprinkles.

Valentine Cookies (7)

Of course all of this was combined with lots of nibbling and taste-testing, making for a happy sugar-fueled morning.

Valentine Cookies (6)

Mustache Pops

Mustache Pops (7)

This Valentine’s card idea from Highlights magazine was so adorable we just had to make it, not only for Travis’s classmates but a few extra for ourselves, too!

To start, find any mustache template online and print out. Mustaches range from very simple to the very curved and curly, and I would caution against the latter unless you really enjoy fine scissor work. We found a mustache with a nice country western vibe and I traced it onto sparkly sticky-back foam (available at craft stores), one for each member of Travis’s class.

Mustache Pops (1)

Cut out and then adhere the sticky side to a regular sheet of craft foam (we used red). I needed 2 large sheets to fit 18 mustaches total, 9 per sheet. Cut out around the mustache shape again, this time leaving some of the red visible as trim. Set aside.

Mustache Pops (4)

Meanwhile, cut rectangles from pink or red cardstock. I printed out the message “I mustache you to be my Valentine” on regular paper and then glued to the top of each piece of cardstock. If you have a printer that can handle thick cardstock, print directly onto it instead!

Mustache Pops (5)

Next, I poked a hole in the center of each mustache with a pin, and then inserted a lollipop stick. Fold the cardstock in half horizontally just slightly and make two snips with scissors near the bottom; this creates slits that the lollipop stick can slot through. Finally, have your child write in each recipient’s name and the mustache pops are ready to go!

Mustache Pops (6)

These were adorable on paper, but of course the best part was taking them off the cardstock to sport a lollipop ‘stache. Travis loved looking quizzical and grown-up in his.

Mustache Pops(9)

Little sister Veronika was skeptical at first…

Mustache Pops (8)

But one lick of watermelon lollilop made her a mustache convert!

Mustache Pops (10)

Secret Flower Messages

Secret Flower Messages (3)

With Valentine’s Day just a few days away, roses are everywhere. Well, it turns out that roses are red, violets are blue… and roses can make acids look blue, too! Silly rhymes aside, this is a fantastic STEM lesson on acids and bases and pH indicators for elementary school kids.

To start, Travis needed to write a few secret messages. We filled one cup with a base solution (1 teaspoon of baking soda mixed with just a splash of water) and one cup with an acid (lemon juice).

Use a q-tip to write secret messages or pictures with each solution on plain white paper, making sure to use a separate q-tip for each. Let dry for at least 1 hour. Travis made a few designs his own, but I also left some secret hidden messages for him.

Secret Flower Messages (2)

Now it was time to reveal those secrets! Travis rubbed a rose petal from our bouquet over the acid message I’d left behind to reveal this Valentine’s Day-themed word: love!

Secret Flower Messages (4)

Yup, the rose petals act as a pH indicator and truly will turn the acid a bright blue, such a neat reveal!

Unfortunately, we weren’t able to clearly see the messages we’d left behind in the base, so perhaps our baking soda mixture was too watery. I had hoped for him to reveal a smiley face.

Secret Flower Messages (5)


Stuffed Heart Pillow

Stuffed Heart (6)

We’ve been making lots of Valentine’s Day cards and crafts to send, but Veronika wanted something to be hers around the house! This “stuffie” heart was the perfect Valentine’s friend to keep.

First, I knew we’d need to cover a large area with paint so I laid down our roll of craft paper. I decided the easiest way for her to paint this would be simply to dollop paint all over the paper and let her smear it with a wide-bristle paintbrush.

Stuffed Heart (1)

We used three shades of red, pink, and purple, one of which was glittery, so it all combined into a nice mix.Stuffed Heart (3)

Once we had covered the paper, I set it upstairs to dry where little feet wouldn’t accidentally walk across it!

Later in the day, it was time to make the heart into a “stuffed animal”. I drew a heart shape on the paper and cut out, then traced it so we had two hearts. Use hot glue to attach these at the edges (so much easier than sewing!).

Stuffed Heart (4)

We used cotton roving for stuffing, but if you don’t have any roving, wadded up newspaper would probably work just fine.

Stuffed Heart (5)

I drew on a smiley face as the final touch.

Stuffed Heart (7)

It turns out Veronika wasn’t the only one smitten with this new stuffed friend. It brought an instant smile to big brother Travis’s face.

Stuffed Heart (8)

And needed a big hug, too!

Stuffed Heart (9)

Kids are sure to love this Valentine’s Day friend.


Wonder Wheel Valentines

Wonder Wheel Valentine (5)

These sweet Valentine’s (thanks Parents magazine!) are sure to give every one of your kid’s classmates an ego boost. No matter where the spinning arrow points, a compliment is waiting!

To start, trace a 3-inch round cookie cutter onto cardstock, making enough circles for each recipient. Next, trace additional circles on two different colors of cardstock (we used shades in the red and pink family). Divide each of these circles into 6 segments and cut out. You’ll need double the number of segments as you have classmates (so for Travis’s class of 15 kids, I needed 30 red segments and 30 pink segments).

Wonder Wheel Valentine (1)

Using a glue stick, attach these segments onto your base circles, alternating colors. Such a pretty tricolor effect!

Wonder Wheel Valentine (3)

Next, write in sweet and empowering messages on each wedge of the wheel. Older kids can take charge of this step, but I knew it would be overwhelming for Travis to do so much handwriting. Instead, I wrote 5 of the wedges for each card (with statements like “You’re Gr8!” or “Superstar!”) and left the final wedge blank for him to write in the classmate recipient’s name.

Wonder Wheel Valentine (4)

For the arrow spinner, I traced an arrow on a fourth color of cardstock, then traced and cut out 15 of them. Poke a brad fastener through the arrow and then through the center of the wheel, folding down to secure in place.

Wonder Wheel Valentine (2)

Give that wonder wheel a spin!

Wonder Wheel alt